Materials Used:
Chibitronics:
o One Yellow LED circuit sticker
o 2 strands of 4” Copper Tape
o Battery
Paper:
o Card base: 4.25”W x 11”H cardstock scored at 5.5” mark
o Inside page: 4”W x 5.25”H cream cardstock
o Candle Paper: 4”W x 5.25”H (Carta Bella)
o Pink frame: 3”W x 4.25”H
o Cream base: 2.75”W x 4”H
Embellishments:
o Candle die cut (Stamps of Life – candles dies)
o “Wish!” stamp (Stamps of Life – candles4birthday)
o Tag die cut (My Favorite Things – Blueprints #14)
o Ribbon: 4” green polka dot ribbon
Adhesive:
o Foam Dots
o Glue Dots
o Tape Runner
Directions:
1. Layout the Chibitronics LED stickers and tape
a. Die cut the candle and use a 1/16” punch to punch a hole in the flame for the Chibitronics LED to shine through.
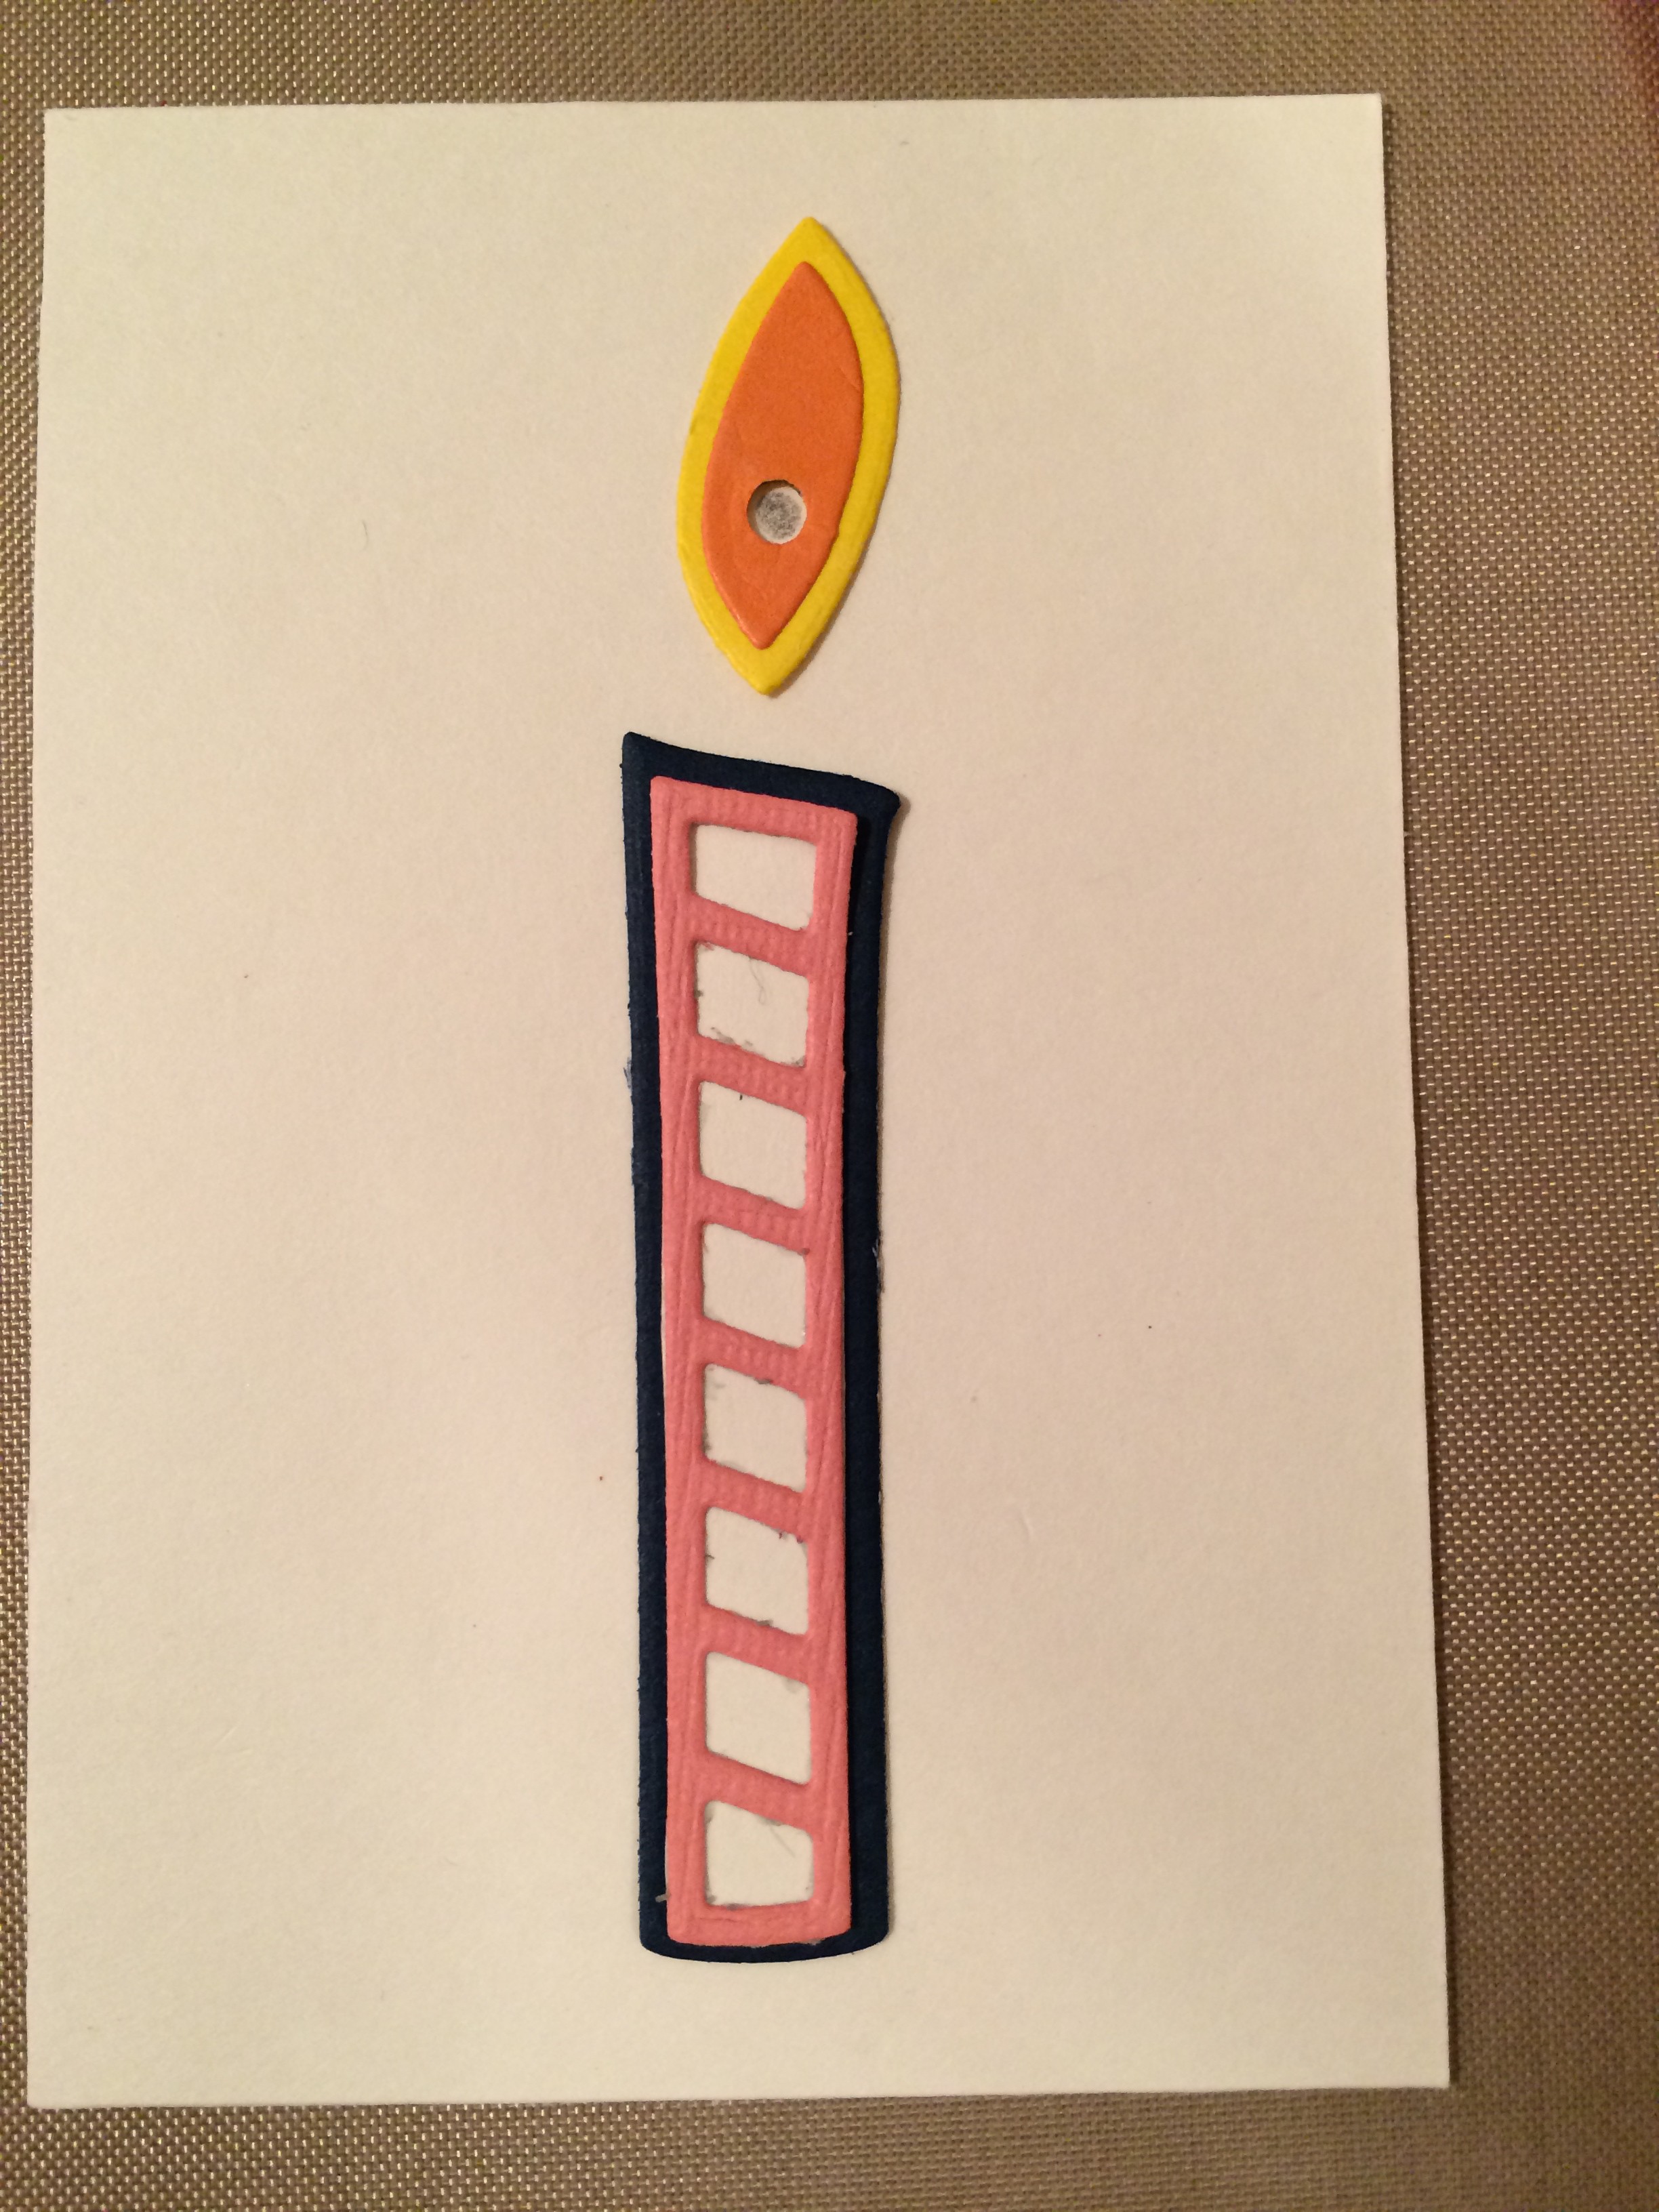
b. Temporarily place the candle on the smaller cream cardstock and mark off the LED placement on the white, pink and candle cardstock; punch holes in the white and pink layers, but not the candle layer.
c. Place the Chibitronics LED and copper tape on the candle cardstock. Add a battery holder using scrap paper. Add battery.

d. Use foam dots to hold the battery in place.
e. Test the wiring to make sure it lights up.
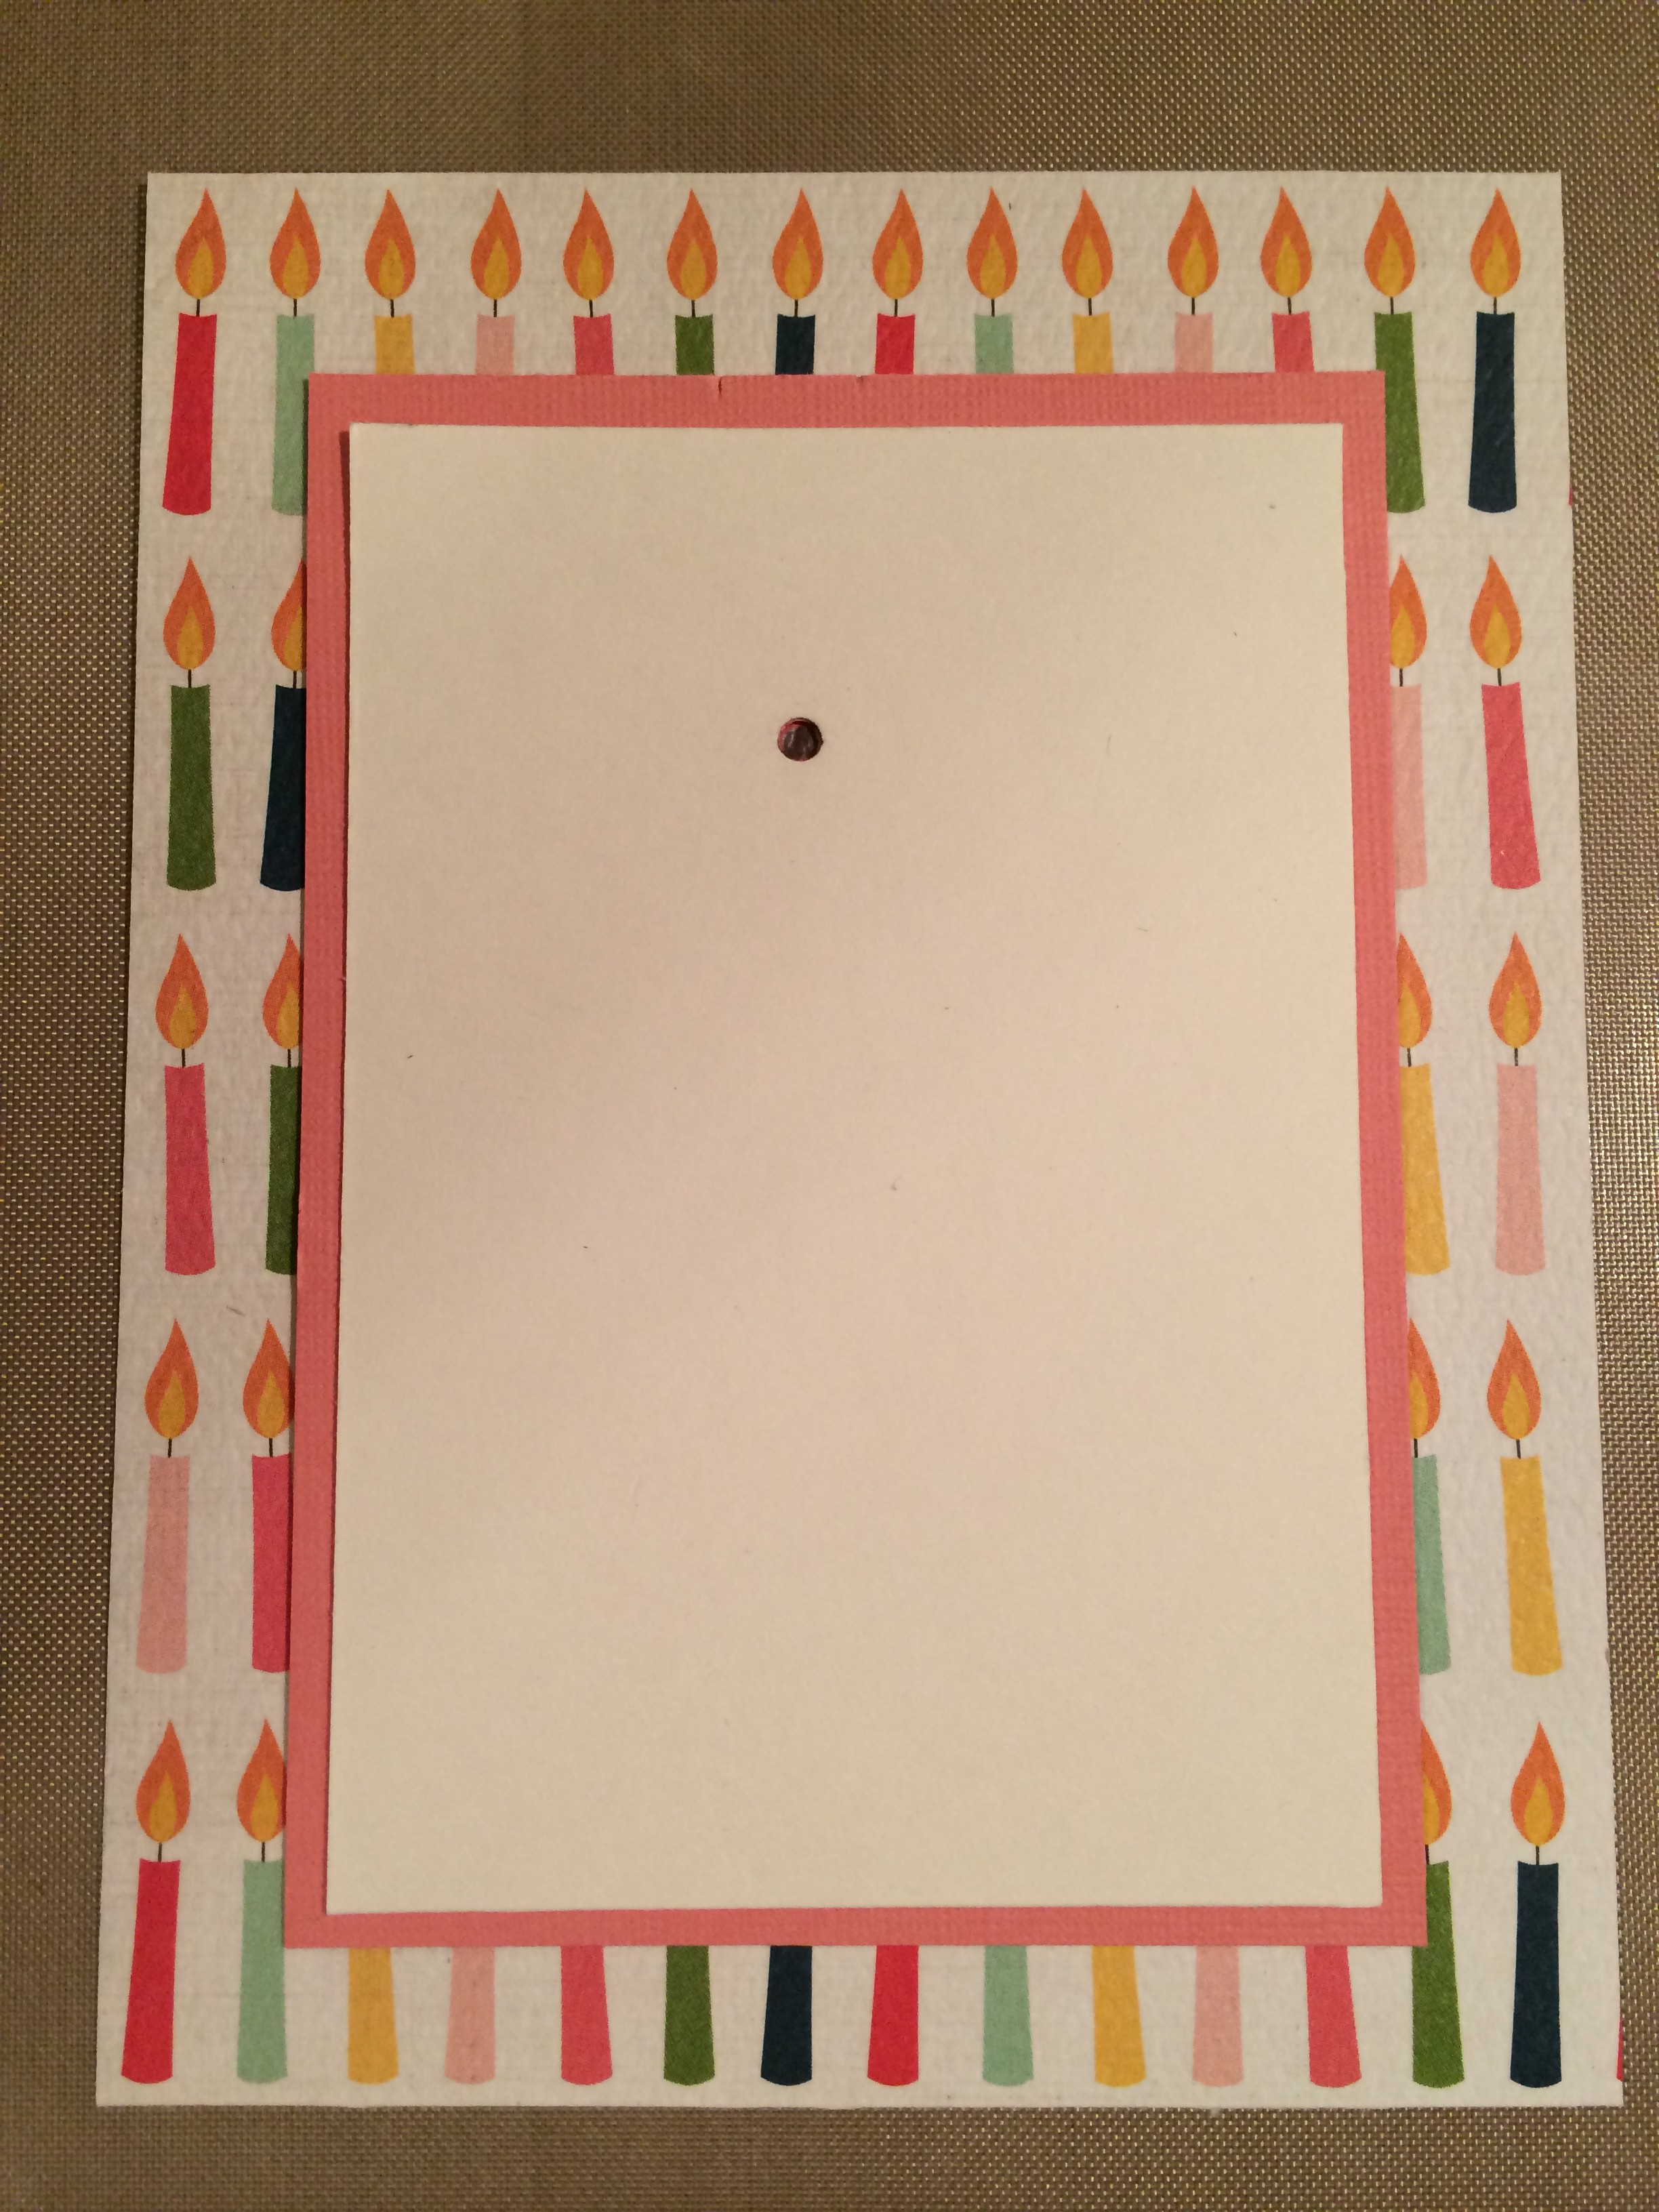
f. Once the LED works, add some vellum to the back of the hole on the pink paper. This helps soften the light as it shines through the card.
2. Assemble the Card
a. Adhere the candle to the cream cardstock and add a ribbon to the bottom; wrap ends of the ribbon around the back of the cream base.
b. Add “Wish” tag to the ribbon using strong adhesive such as Glue Dots.
c. Glue the cream cardstock to the pink cardstock. Adhere the pink cardstock to the candle paper using foam dots. Make sure the LED shines through
d. Glue this entire piece to the card base.
e. Add white inside page to the card base.
f. Enjoy! Make a Wish.
