 I hope you are enjoying your weekend and get some time to get crafty. Today I wanted to share a pretty simple card. I have a trick I wanted to share. It will help when you don’t have much space to put your copper tape without having it show. Read along and I will show you how to make this card.
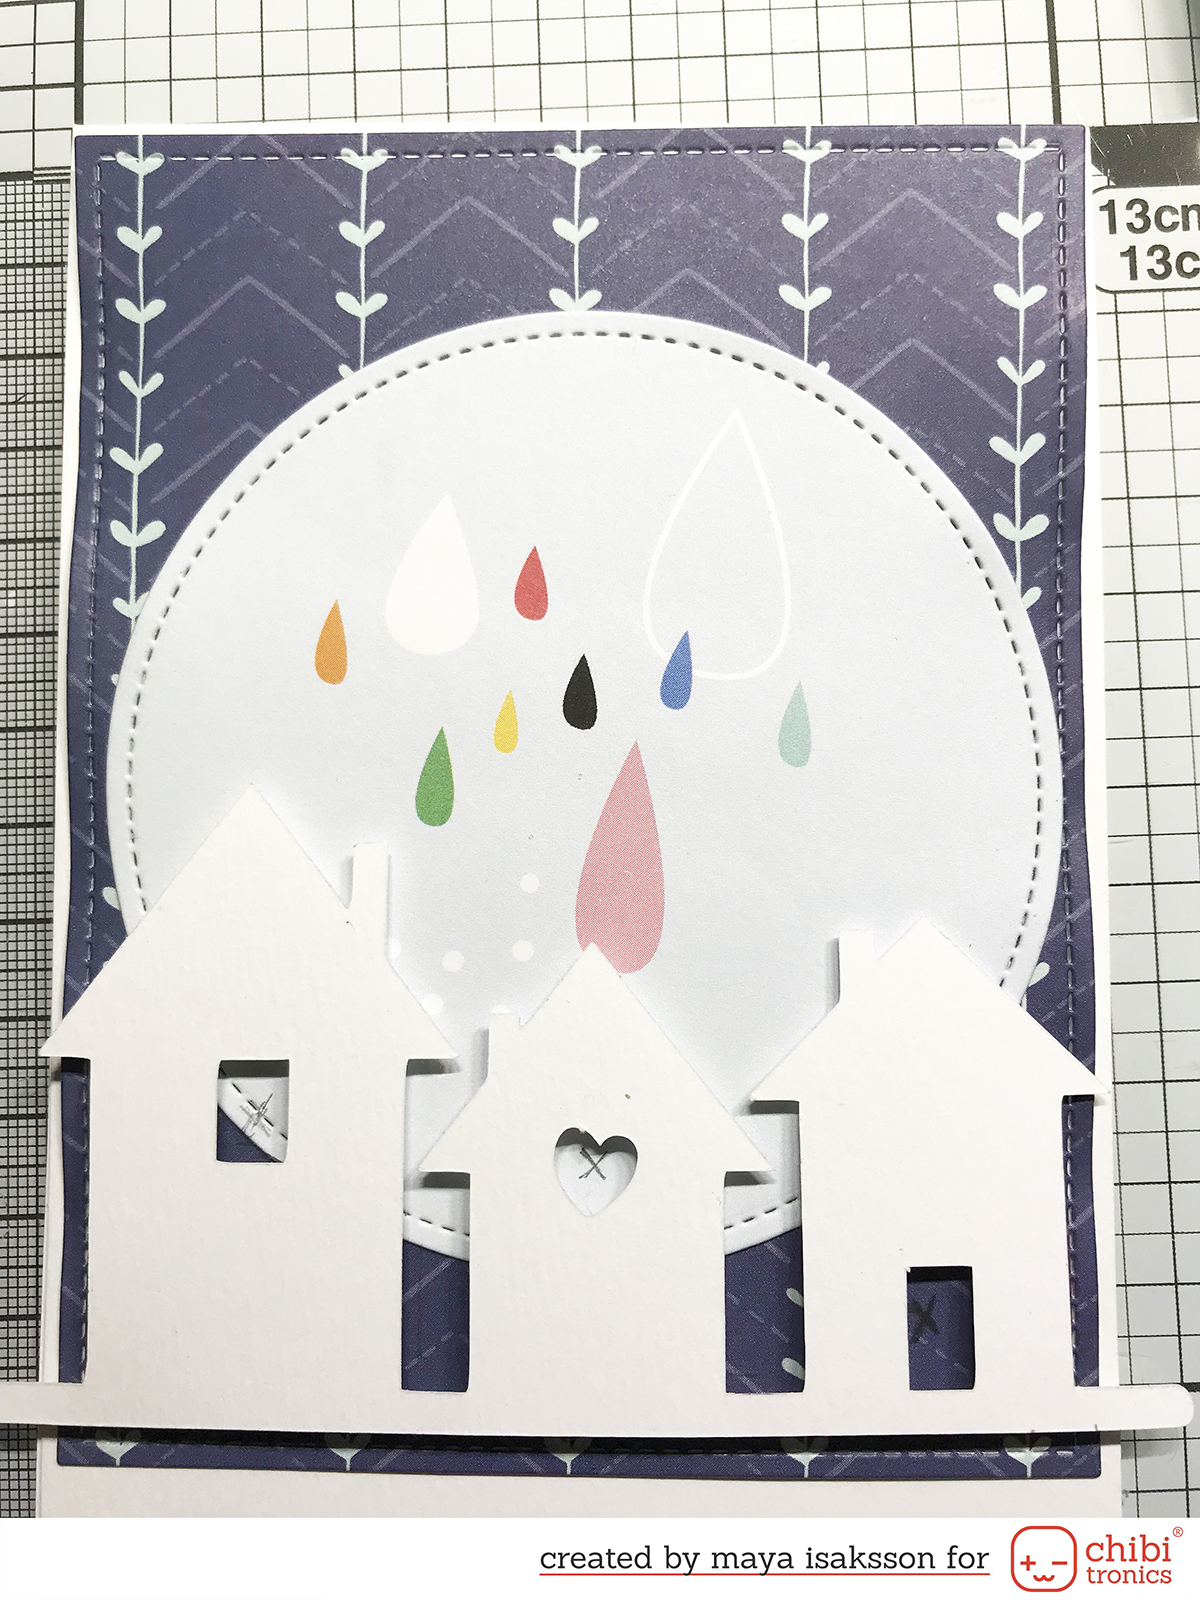 To start I placed my houses where I wanted them on the background. Normally I would hide the whole circuit under the card front. Instead, I got inspired by my clever teammates here on the Chibitronics team. I wanted to try to make the card flat and just lift up the light up element, in this case, the house windows and door. I used a pencil to mark where to put the lights and also where to hide the copper tape going between houses. As you can see it’s a really narrow strip to hide everything behind. I will show you how I solved this in a later step.
 Here’s a close up after marking where to put the lights and the battery and placing the tape on the negative side of the battery and LEDs. I even had to cut the narrow tape in half lengthwise to fit it under the diecut.
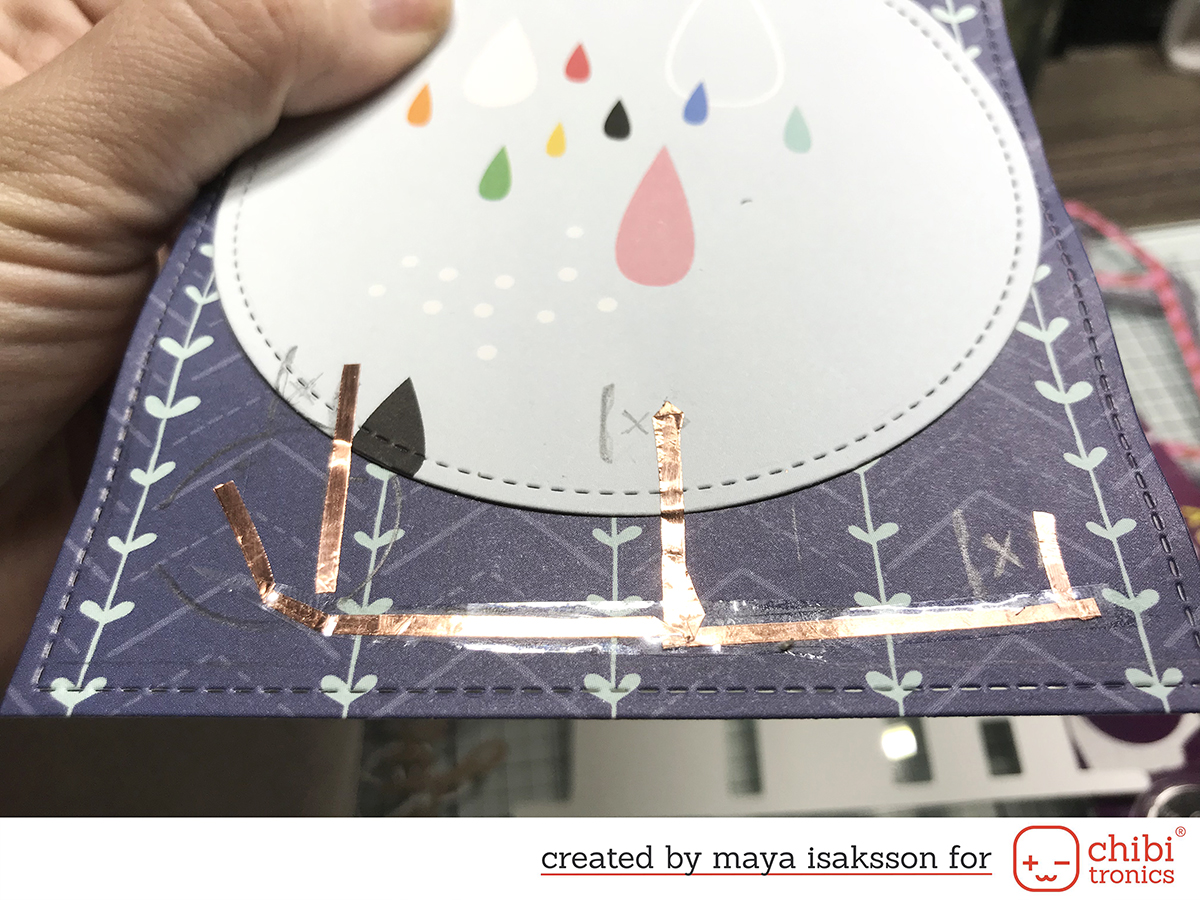 And here’s the trick I was talking about earlier. I grabbed a regular piece of transparent scotch tape and covered the first layer of copper tape. If some of the tape was to peak out you can barely see it since it’s transparent. Now you can put the positive tape on top of the first layer of copper tape without short-circuiting the battery.
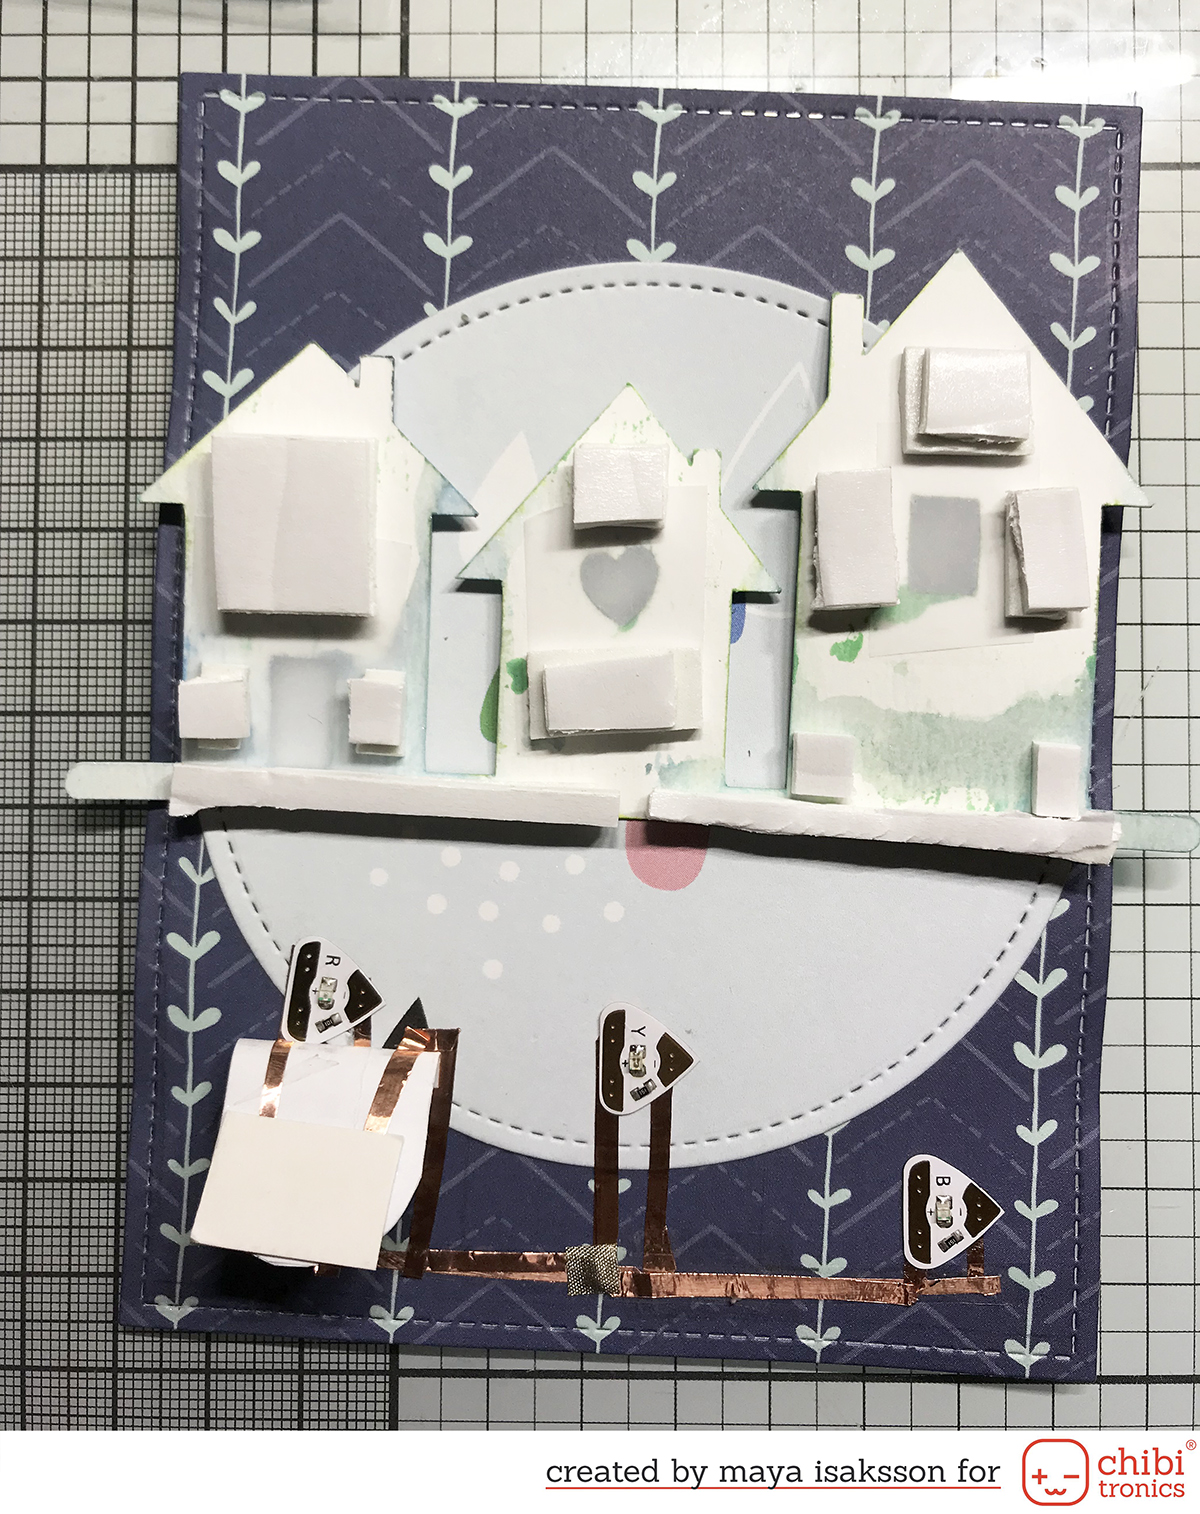 Here’s the full circuit when done and the back side of the house diecut. I know it looks super messy and so ugly but that’s fine. No one will see it when everything is stuck down. If you accidentally rip your tape the conductive fabric patches are great for patching it up. I happened to drop some tape on my copper tape and ripped it when removing it. That’s why I had to patch up my copper tape as you can see in the picture above.
I used a regular push switch, made by using a flap of printer paper. Since I had two separate circuits to reach all lights I stabilized it with a piece of cardstock. That way both copper tapes would touch the battery when pressing down. Otherwise, I noticed that only some of the lights would light up depending on where on the flap you pushed. Remember to always try the circuit before gluing everything down.
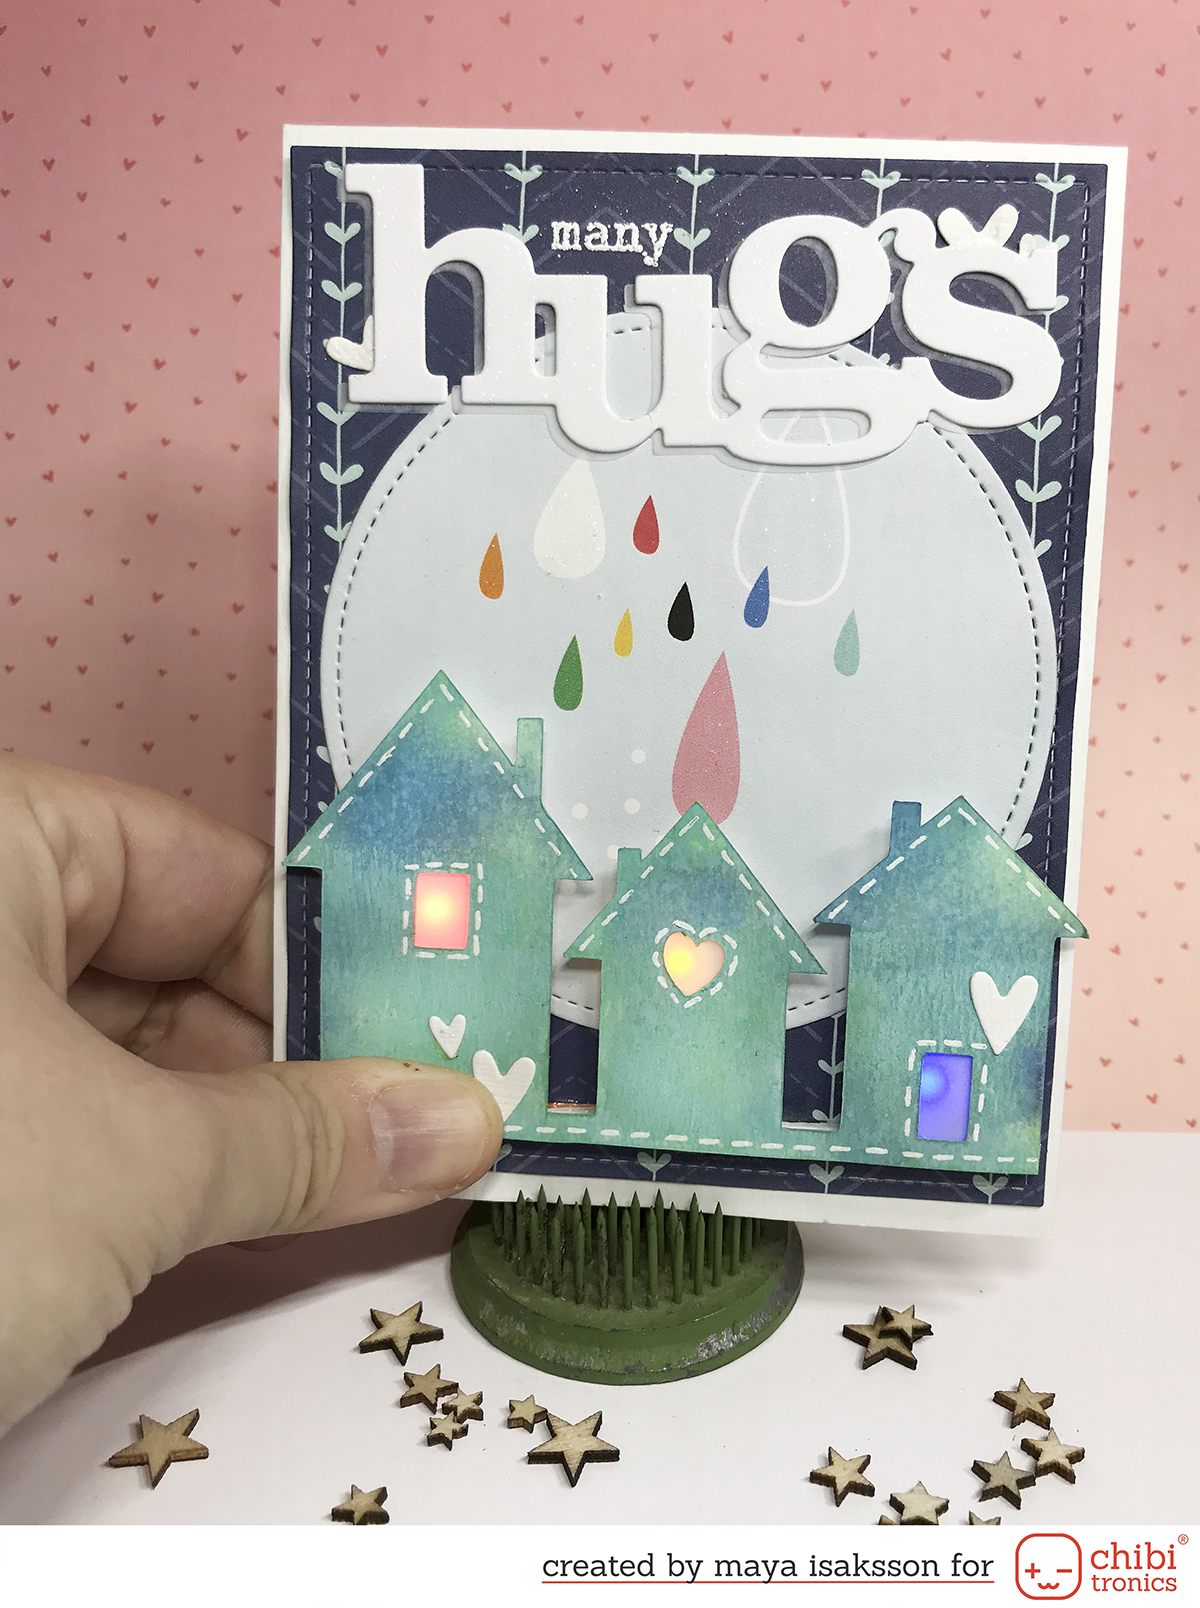
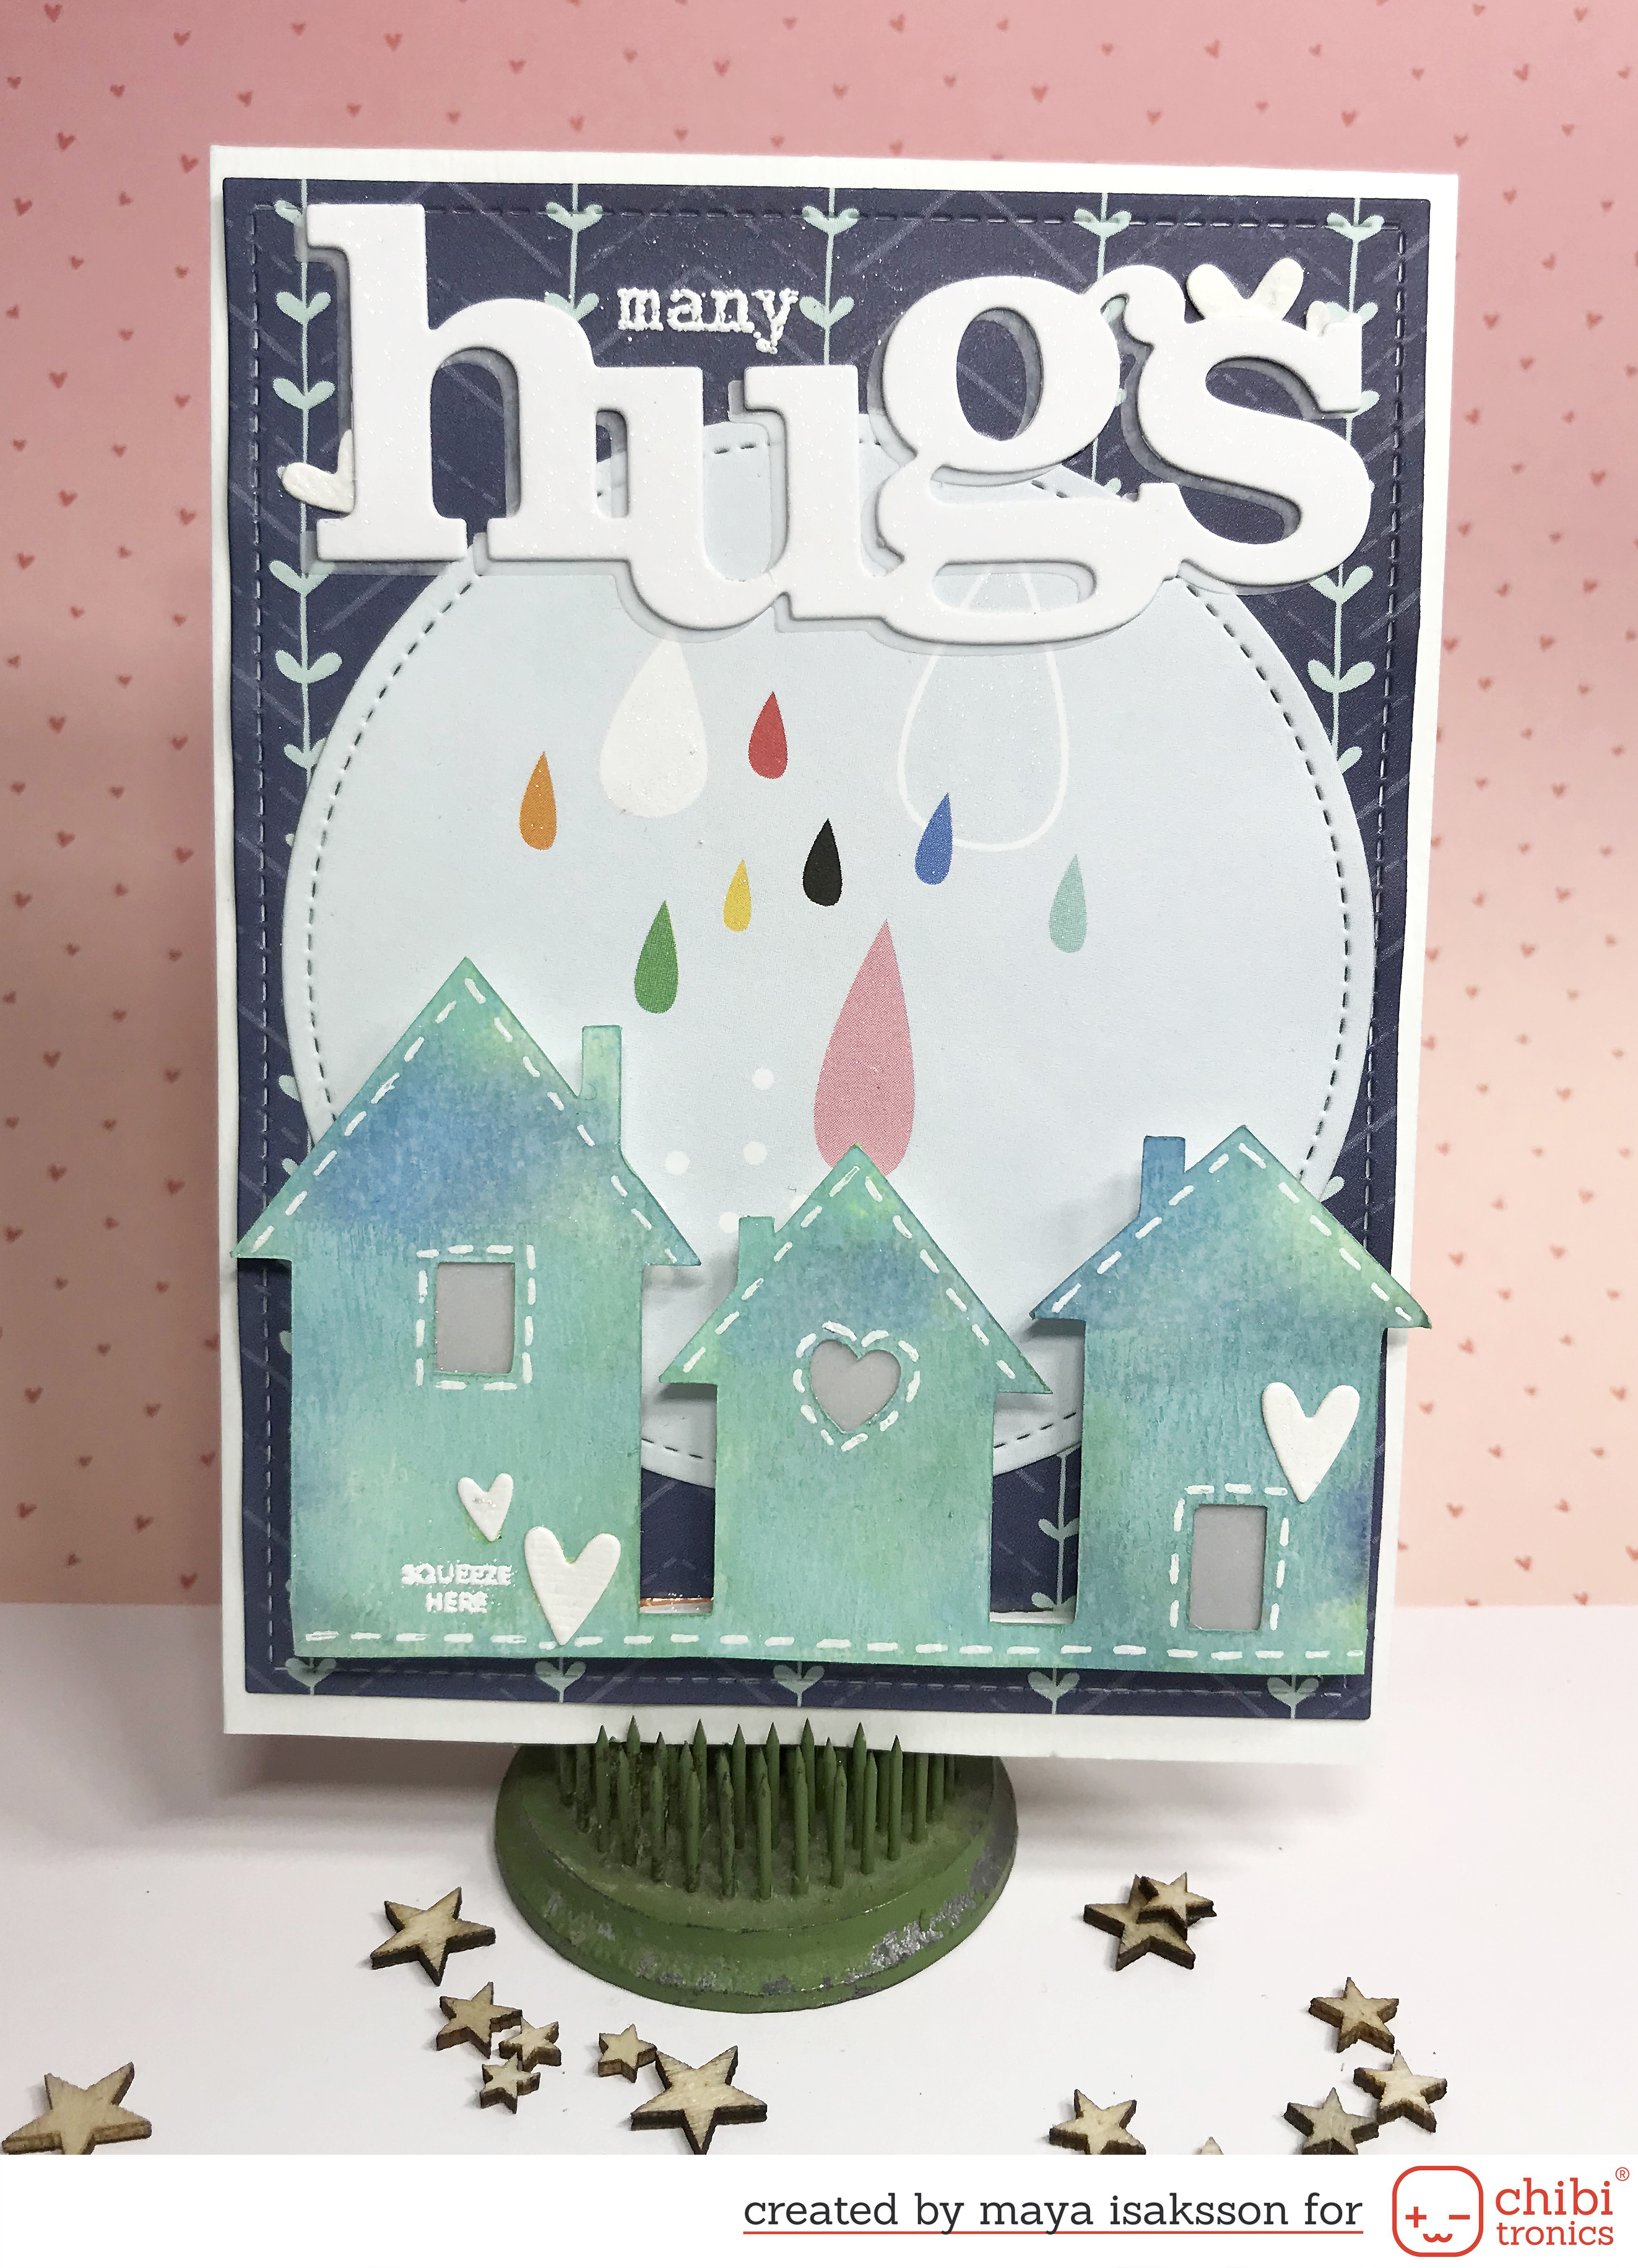 After making sure everything worked as it should I just glued everything down and decorated the card. I hope you enjoyed this tutorial, see you again soon!
Chibitronics supplies used for this card:
Neat tip! Thanks for sharing! HVe a lovely day!