Introduction
In this tutorial, you’ll learn to make a light-up paper helicopter.
Contents
This paper toy spins as it flies!
Topics
paper, LED, flying toys, simple circuits
Template
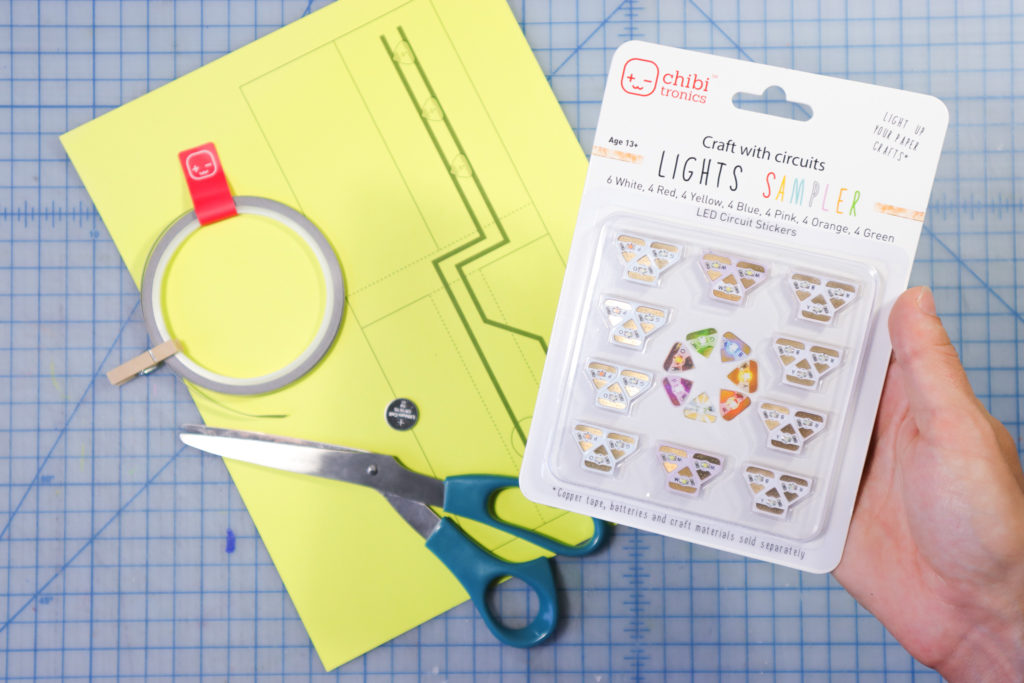
Materials
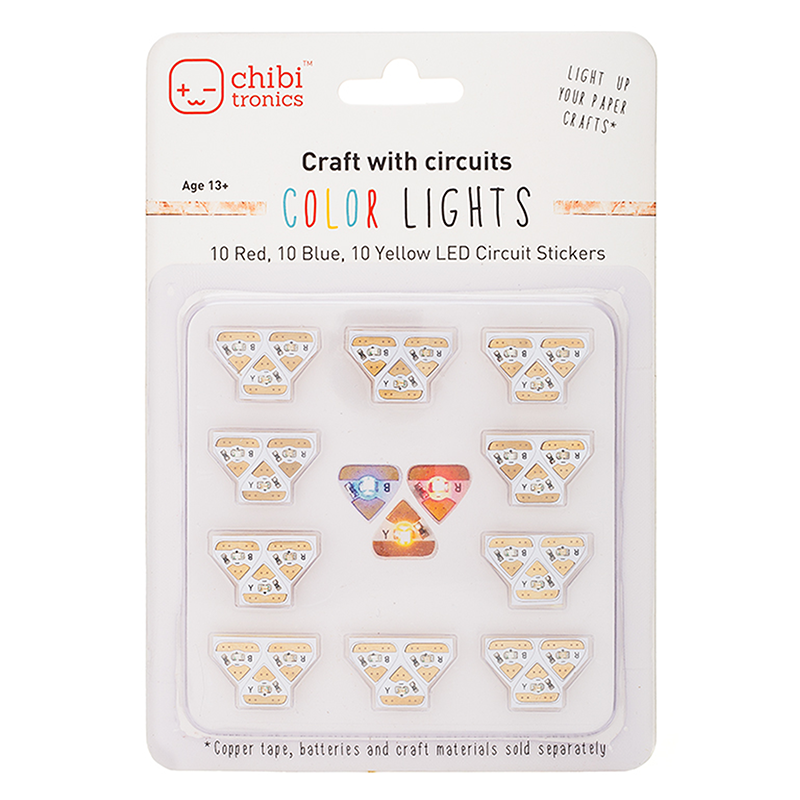
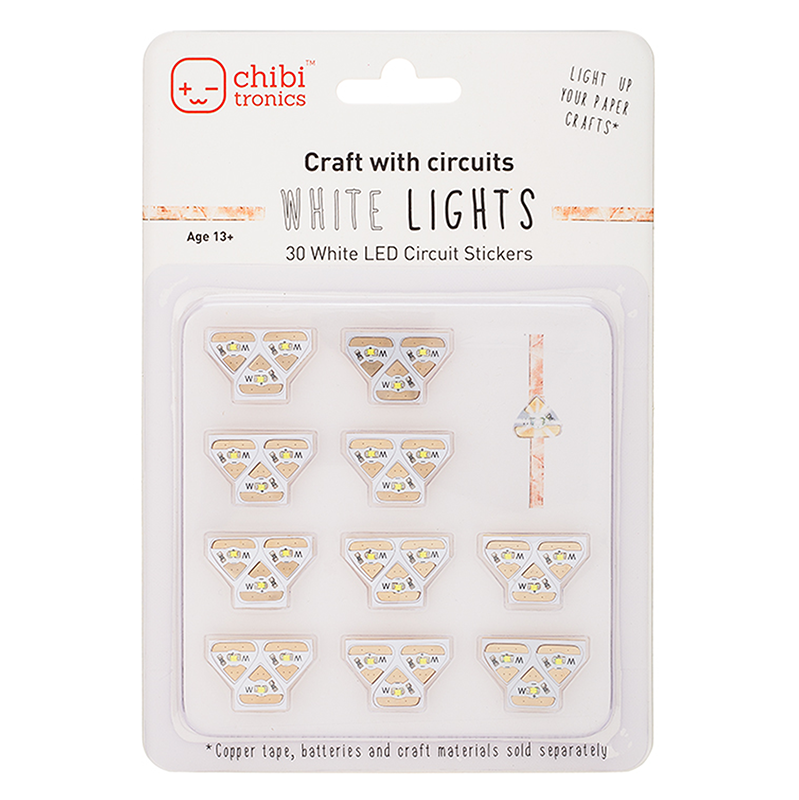
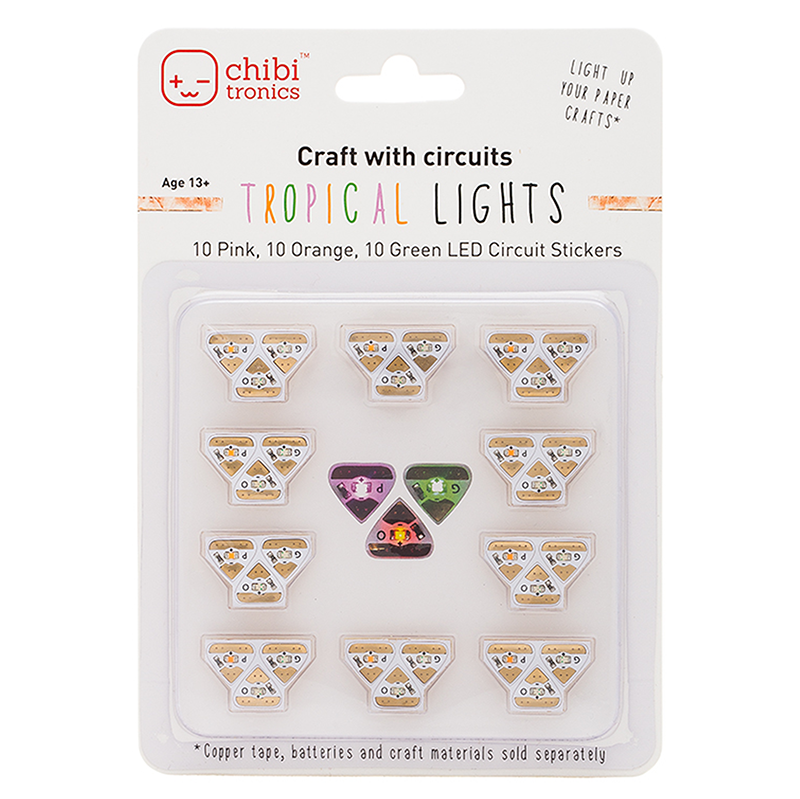
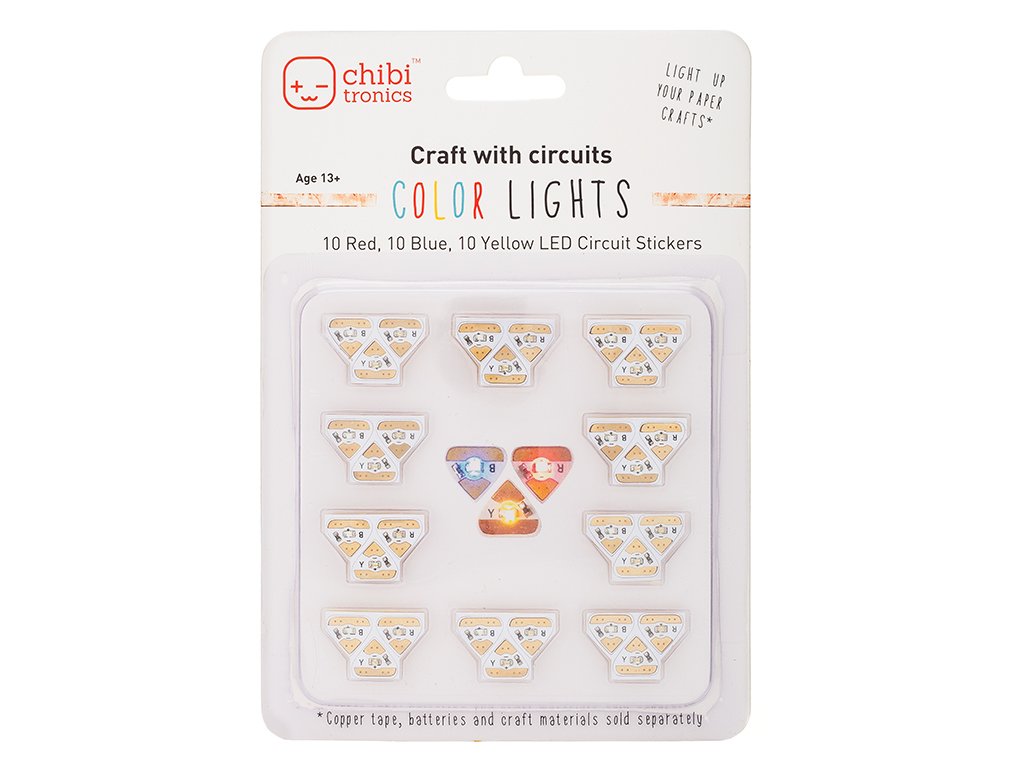
- LED Circuit Stickers (3)
- Conductive Fabric Tape
- Coin Cell Battery
- Binder Clip (battery holder)
- Thick printer paper or cardstock
Tools
- Scissors or craft knife
- Printer for Template
Directions
Video Overview:
Step 1
Print the template on thick, colorful paper. Choose three LED Circuit Stickers for your project.
Step 2
Cut out the template along the solid lines as shown. Lay conductive fabric tape along the black lines on the template.
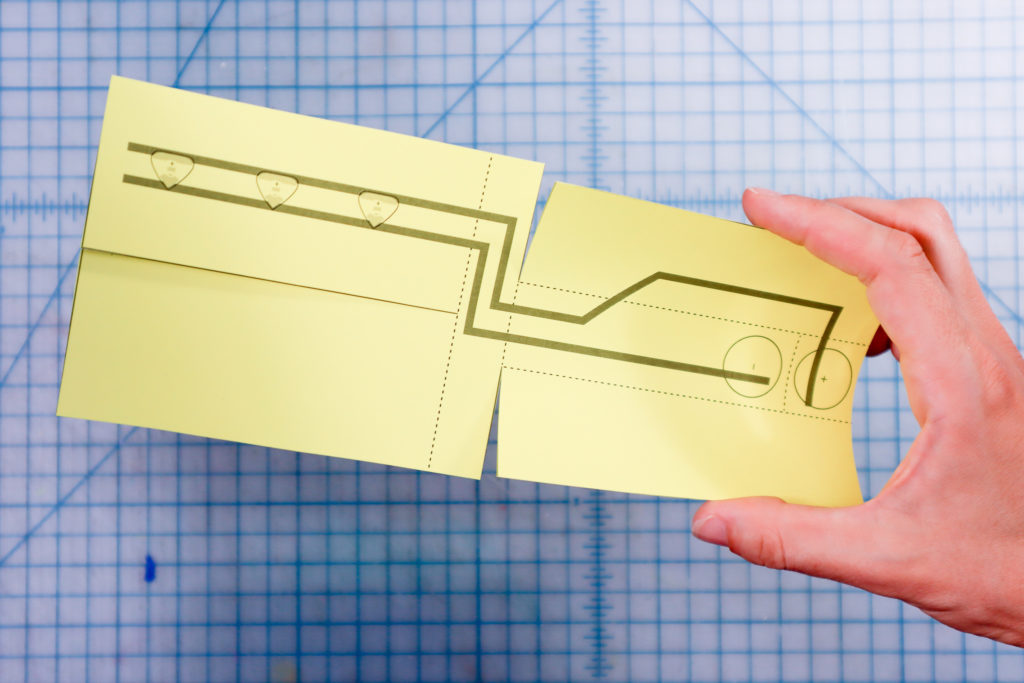
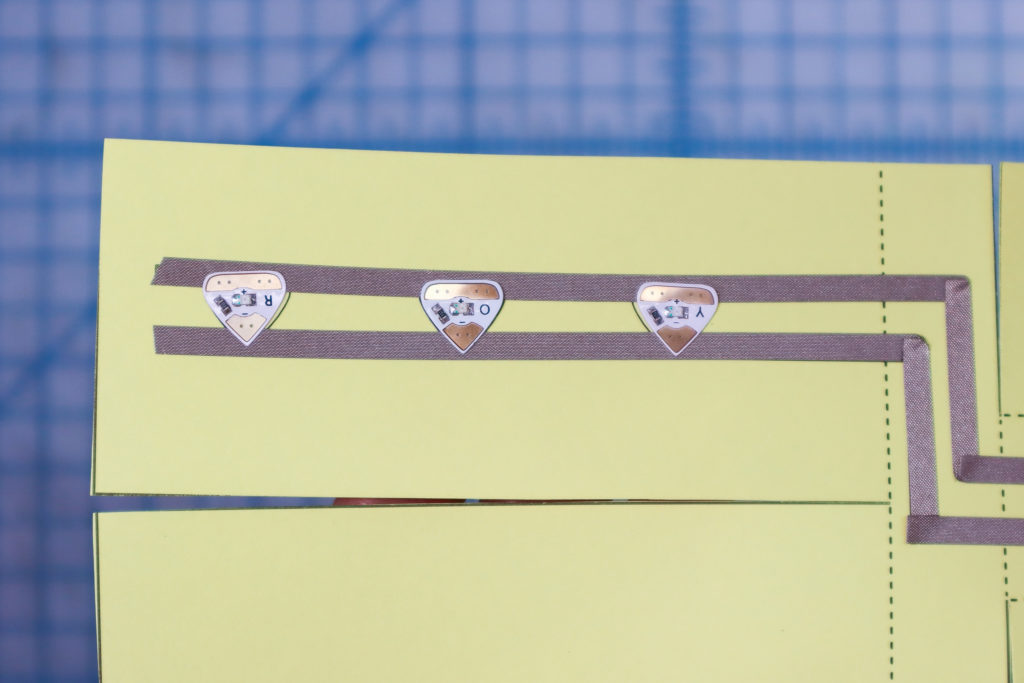
Step 3
Place the LED Circuit Stickers over the conductive fabric tape, following the template as shown:
Step 4
Fold the two flaps behind as shown:

Step 5
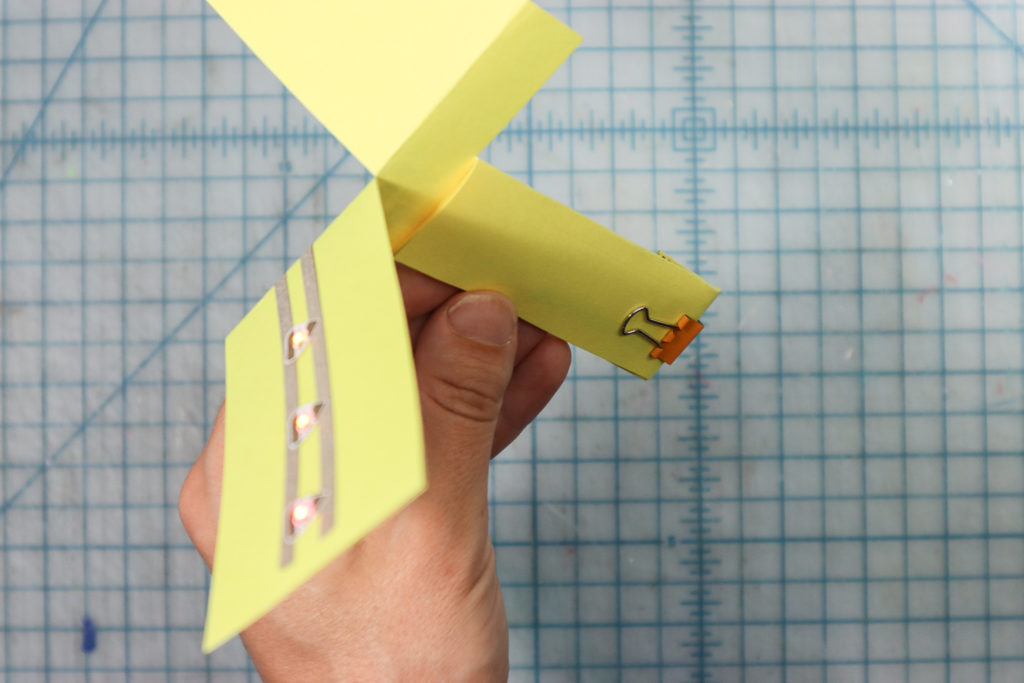
Place the coin cell battery with the “+” side facing up on top of the “-” circle:
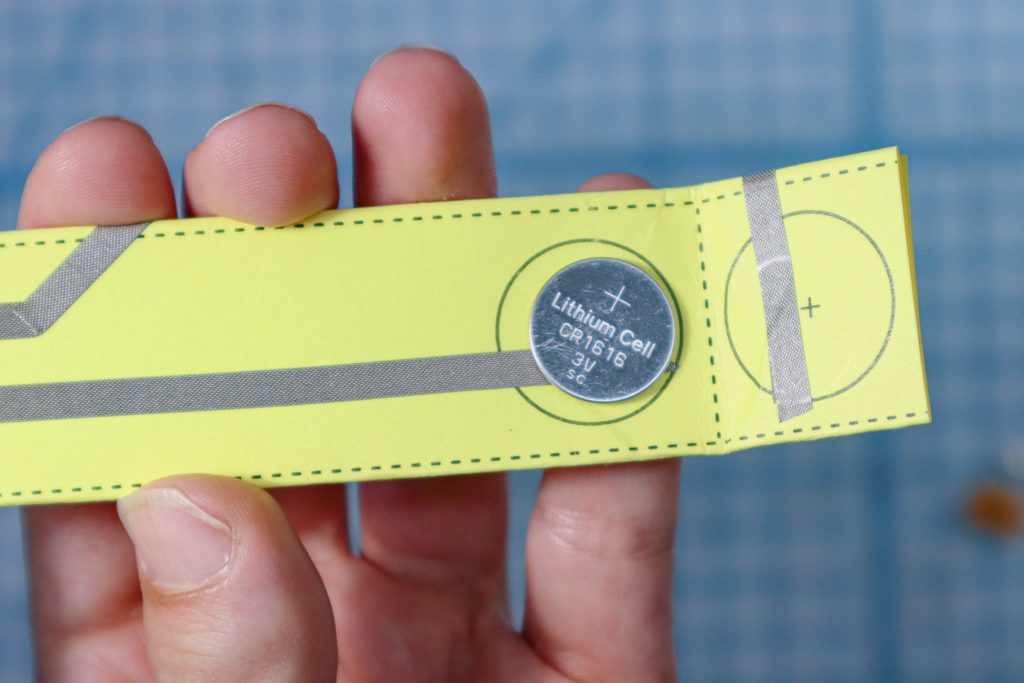
Use a binder clip to fold the paper over and clip the battery inside.
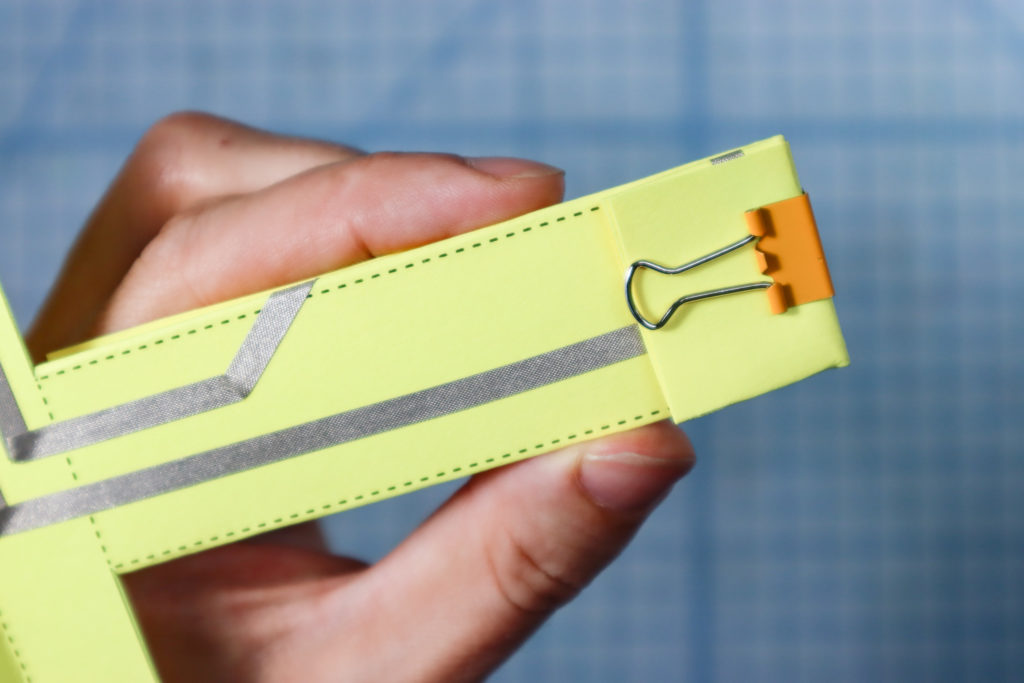
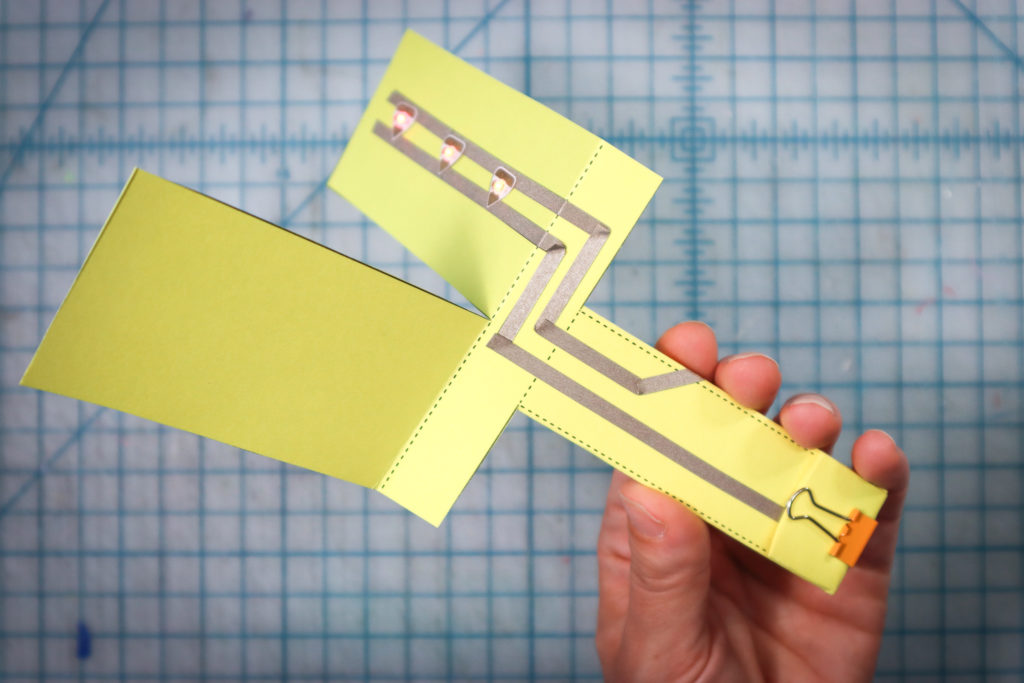
Step 6
The LEDs should turn on! Fold the top flaps over in opposite directions.
Step 7
Now you are ready to throw your Whirlybird! Enjoy throwing it high up and watch it twirl!