Introduction
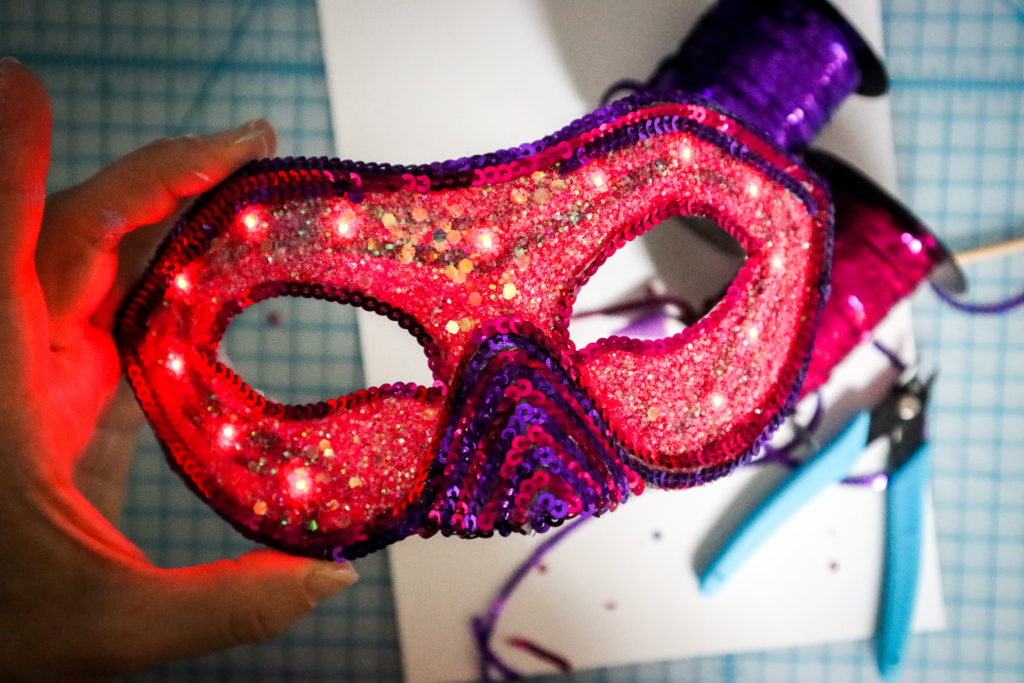
In this tutorial, you’ll learn to make a DIY Masquerade mask that lights up. It’s the ultimate disguise.
Contents
Be the spectacle of the night.
Topics
LEDs, Halloween, Seasonal, Fall, Masquerade Ball, Fancy Party Mask, Conductive Fabric Tape, Coin Cell Battery Holder
Materials
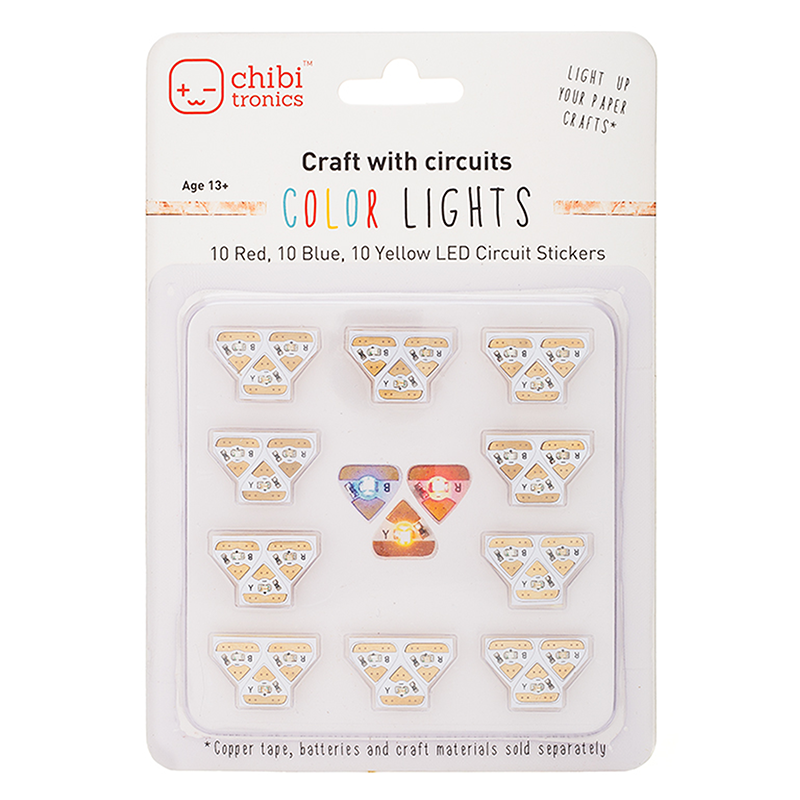
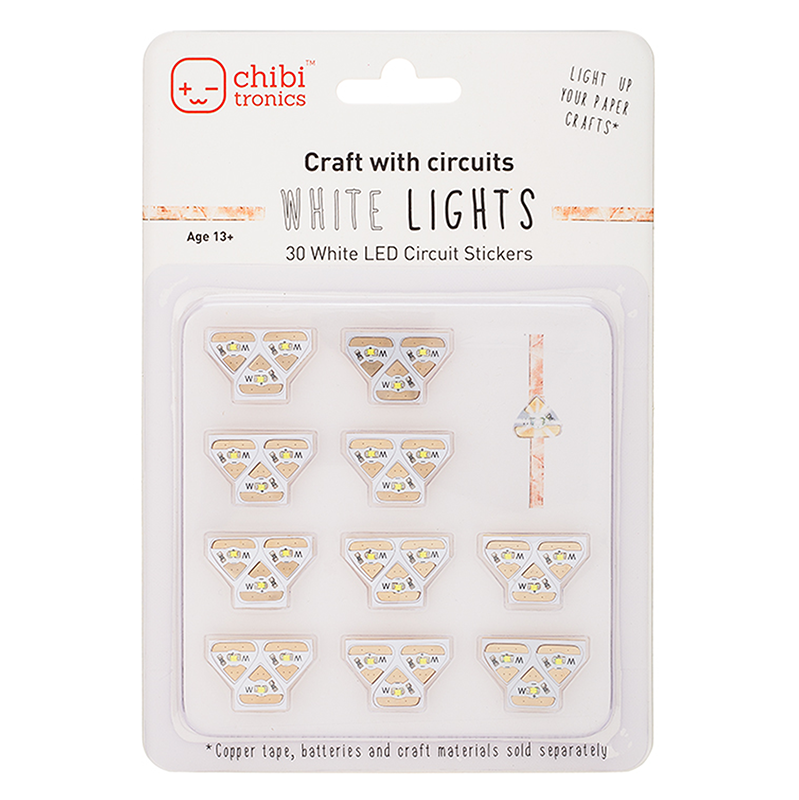
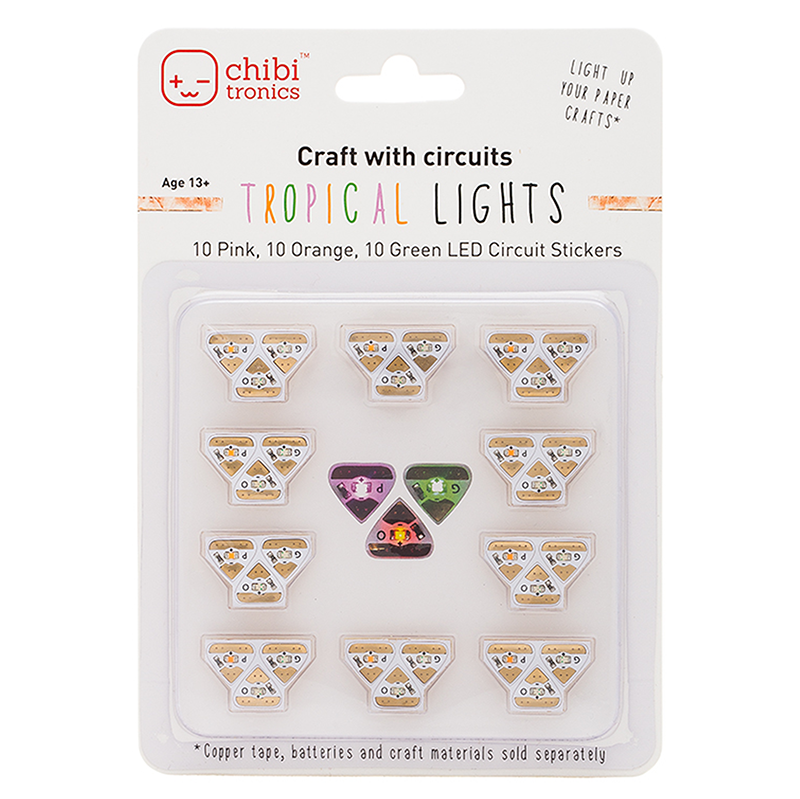
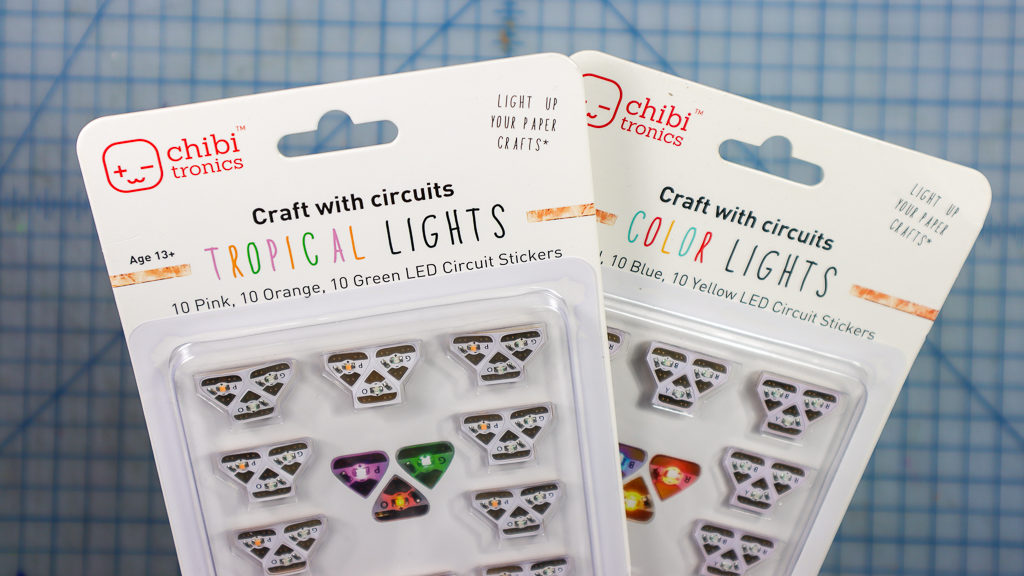
- LED Circuit Stickers
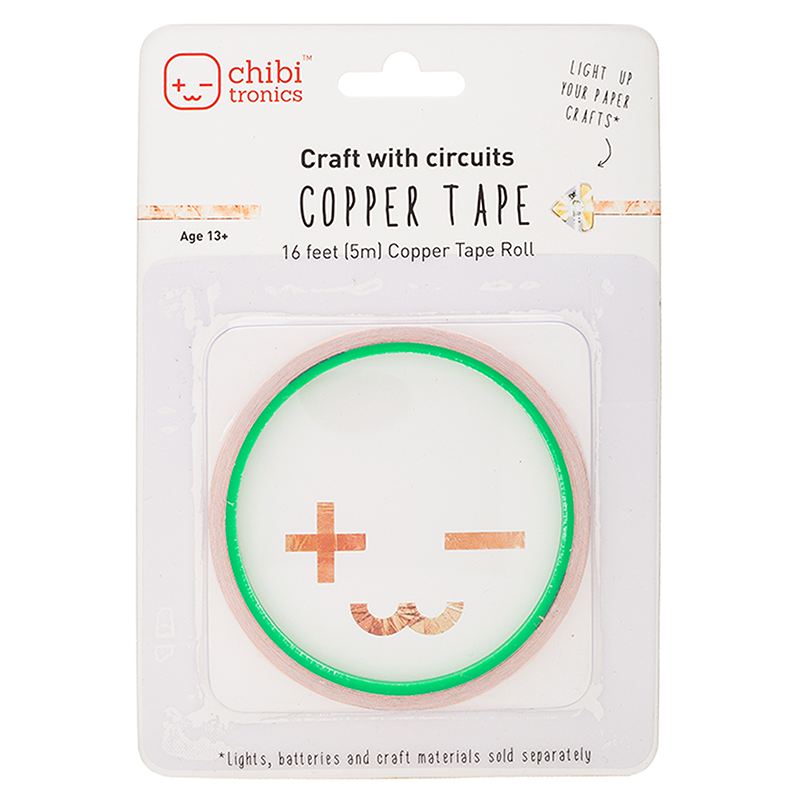
- Conductive Fabric Tape
- CR2032 Battery Holder
- CR2032 Battery
- Paint, Glitter, Gems, Sequins, Feathers, or other embellishments.
- Optional: A wooden dowel for the mask rod, or Elastic to hold it to your face
Tools
- Scissors
- Hot Glue and Glue Gun
- Wire Strippers
- Paint Brush
Directions
Video overview:
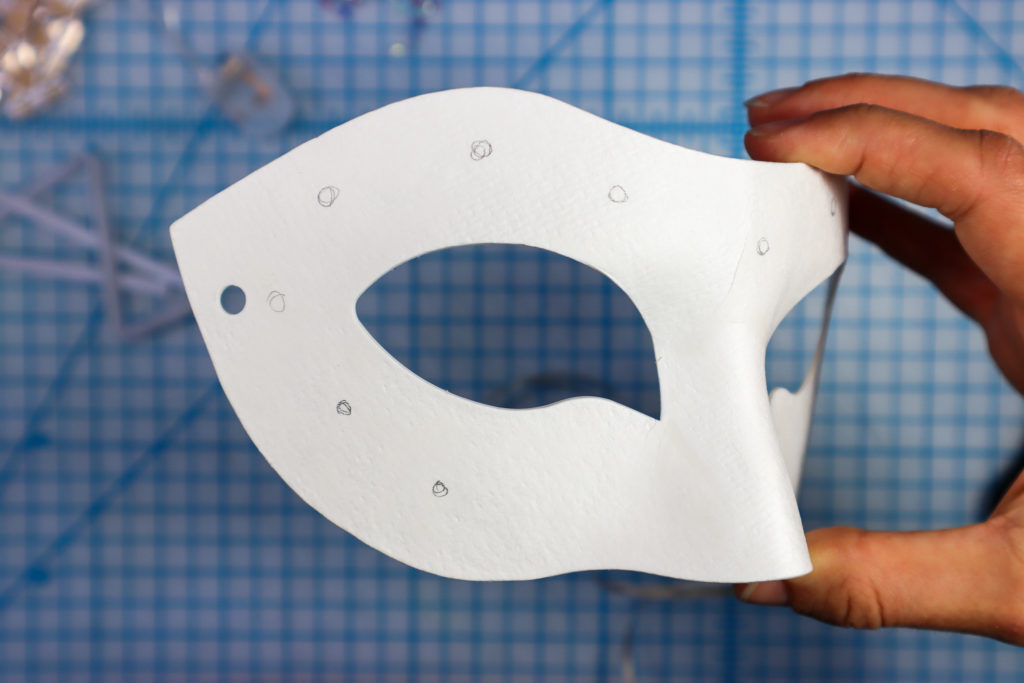
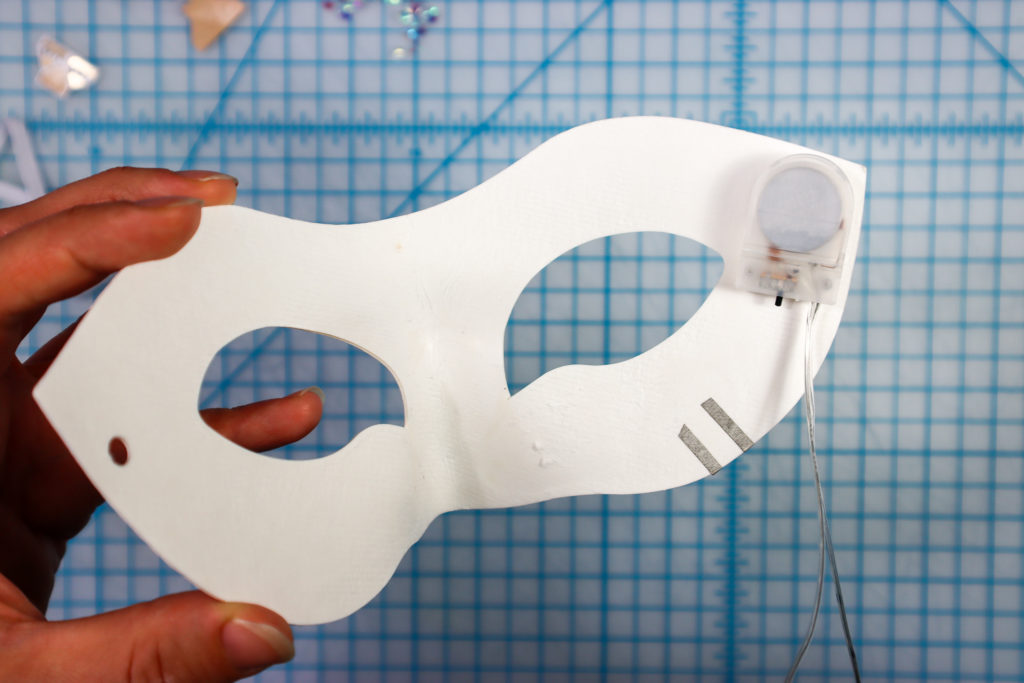
Step 1
Plan the locations of the LEDs by marking dots with a pencil.
Step 2
Using Conductive Fabric Tape, draw a path to one side of each dot, continuing to the back of the mask.
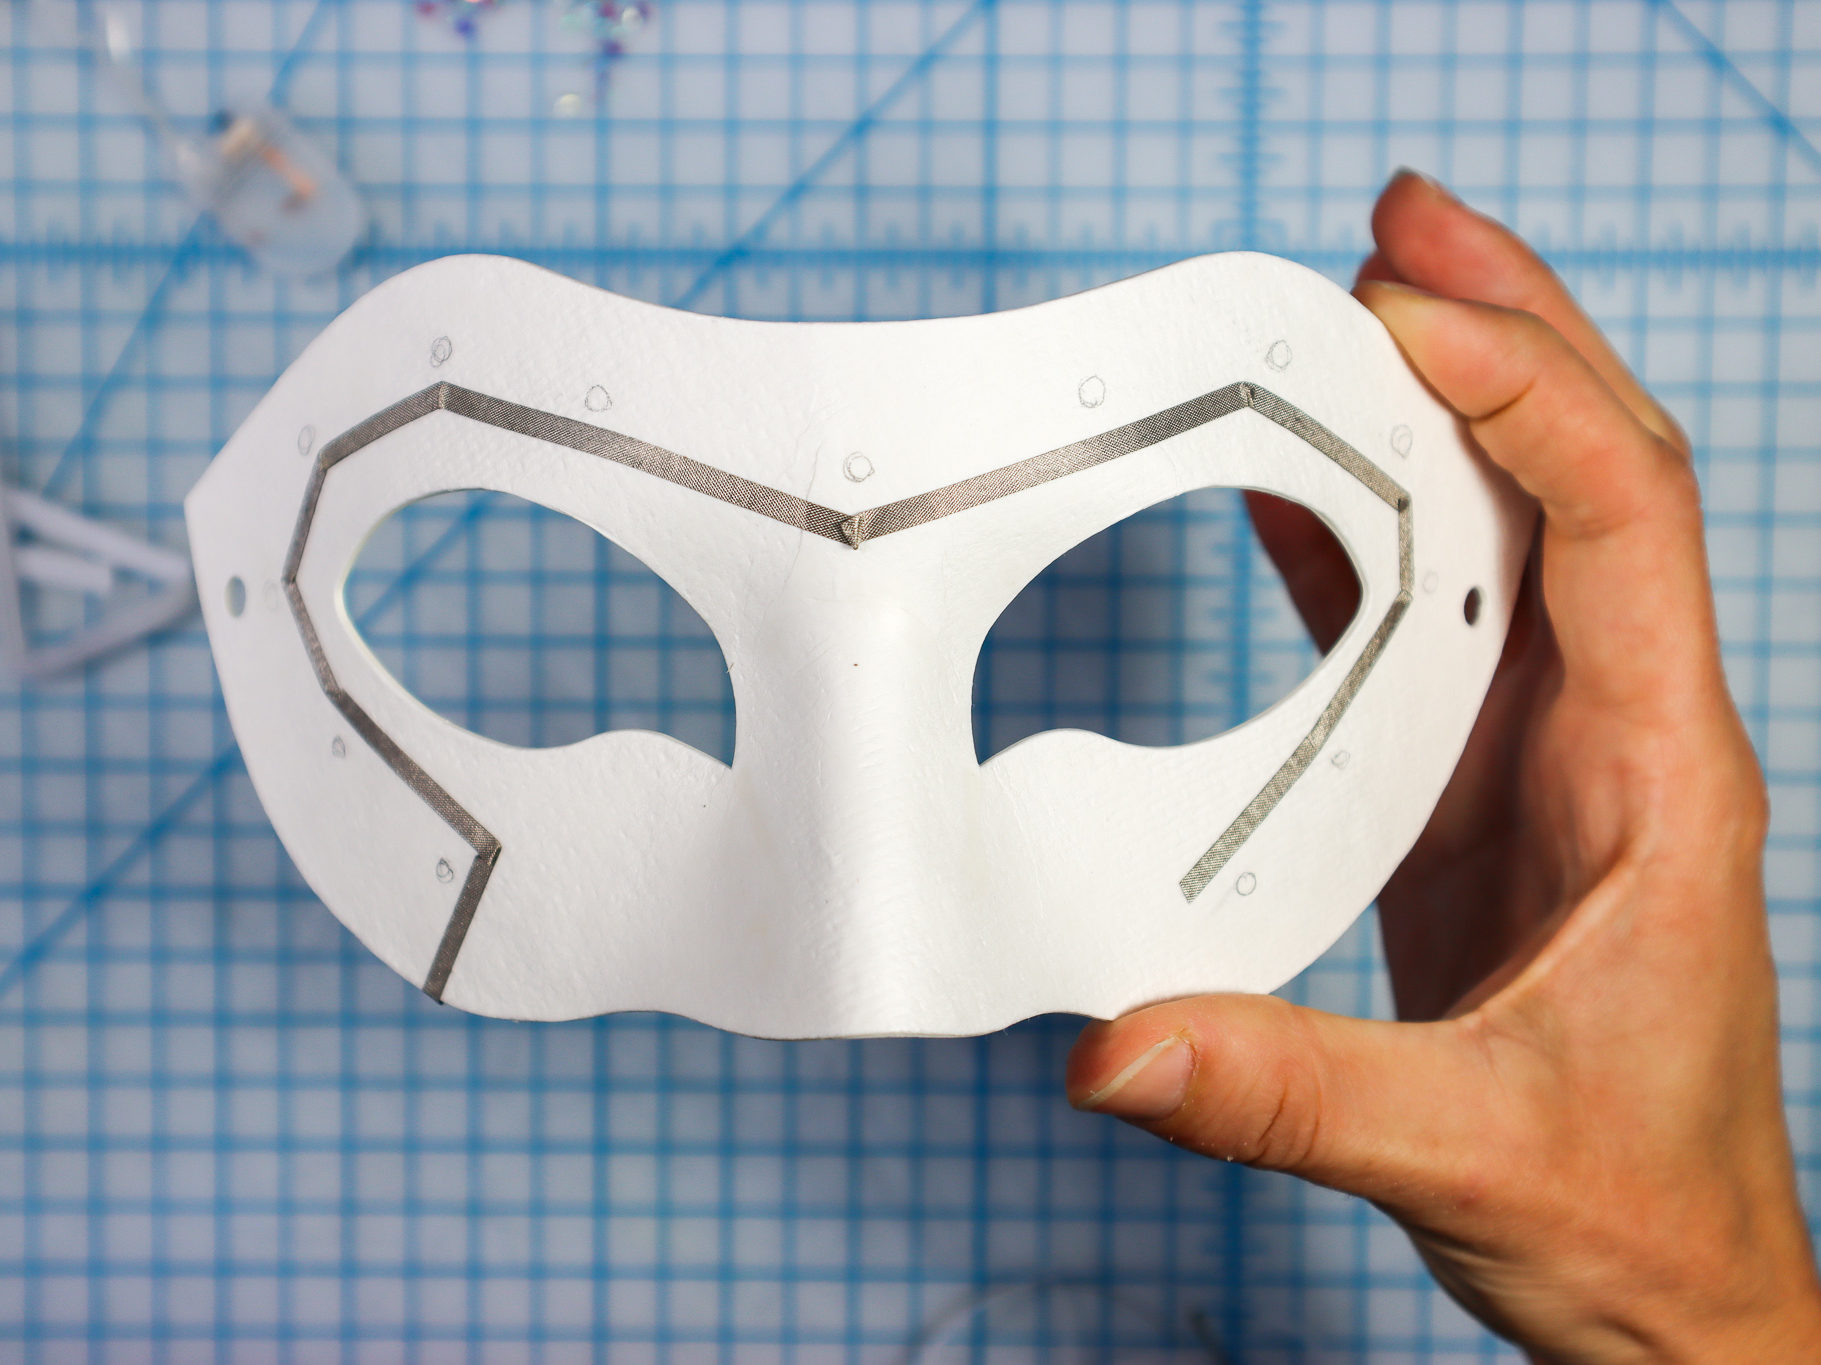
Step 3
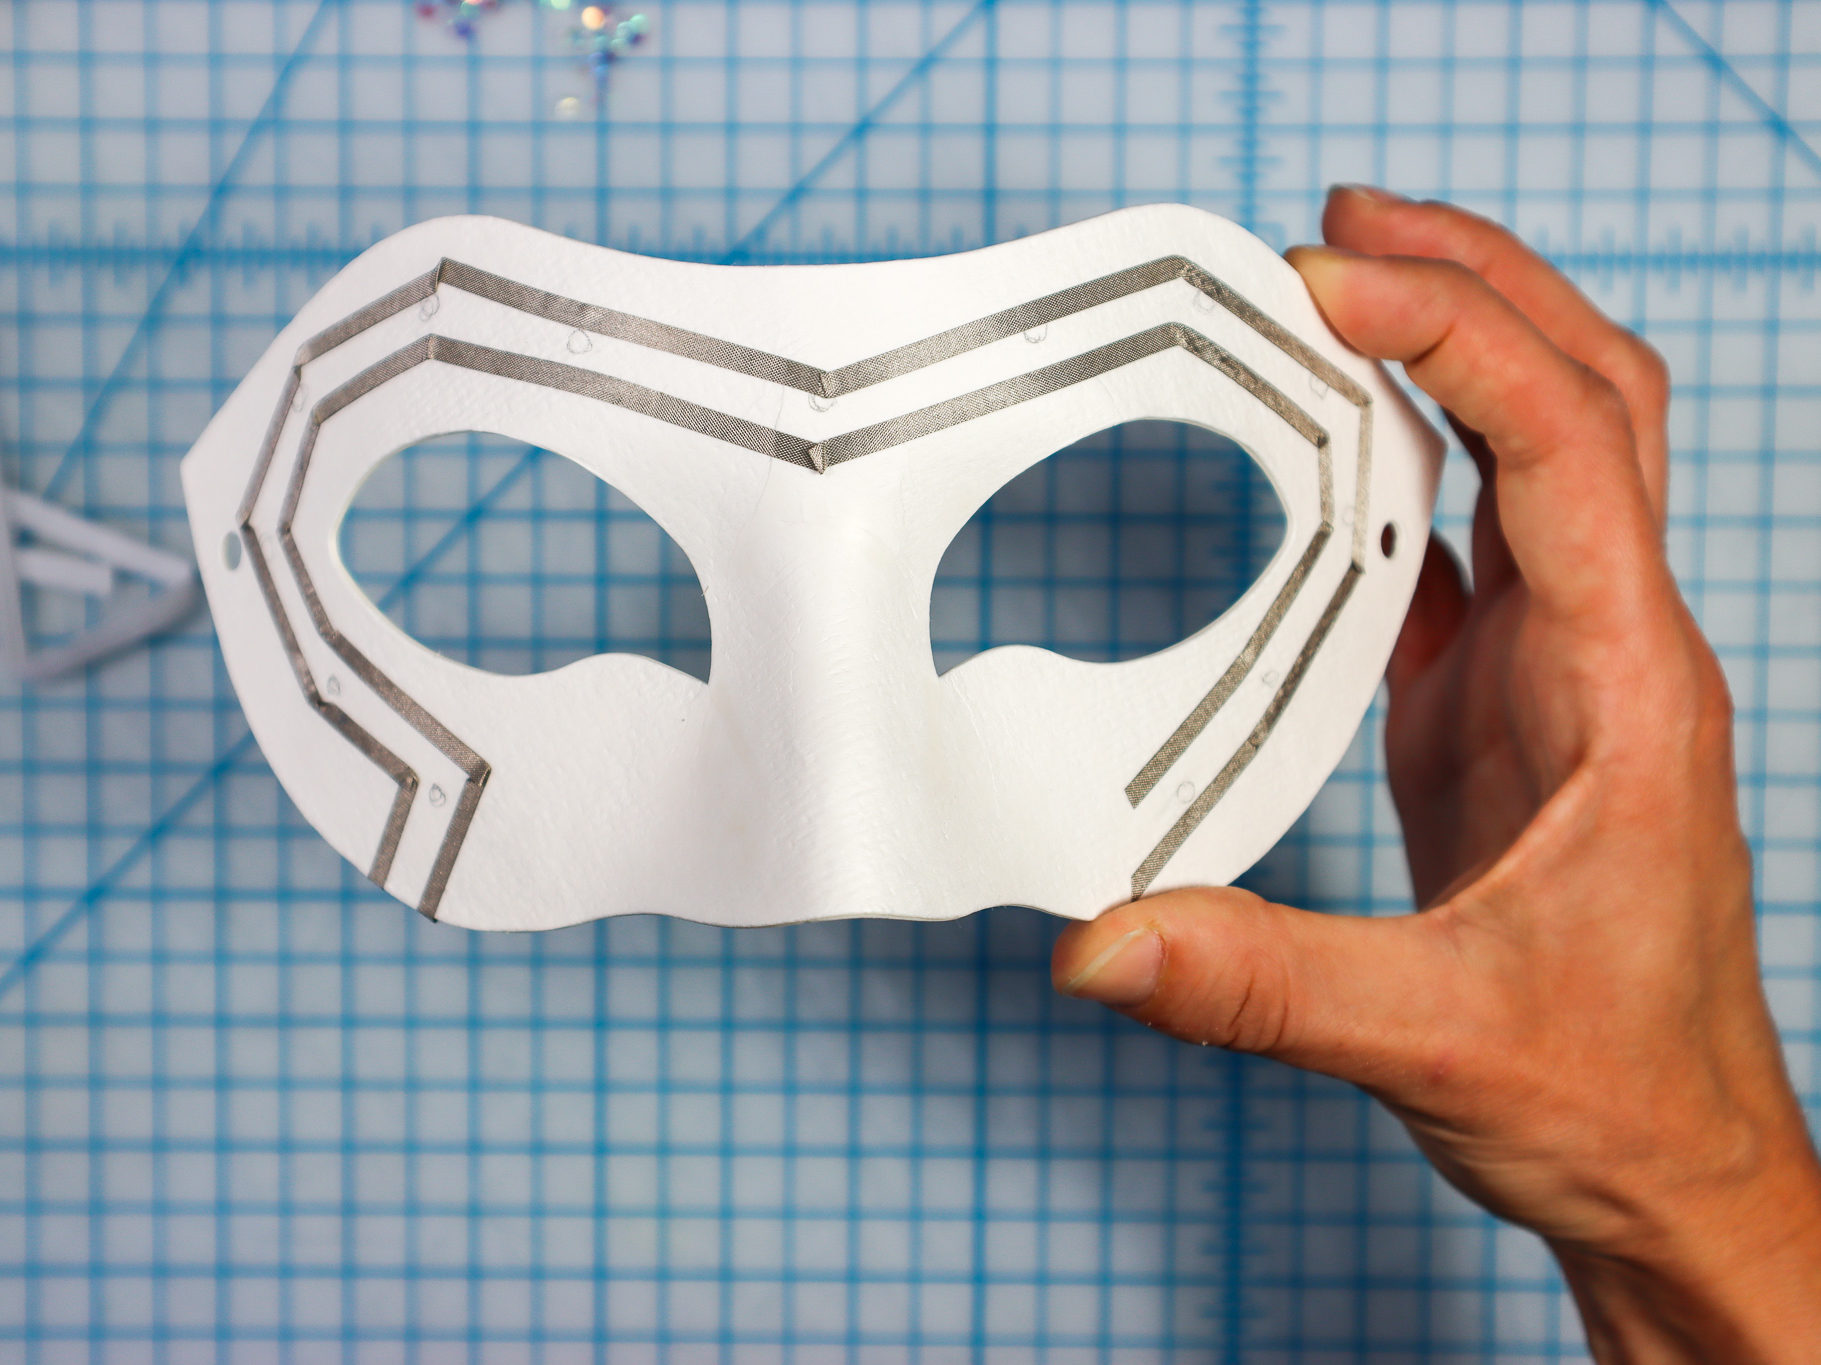
Using a new piece of Conductive Fabric Tape, draw a second line parallel to the first on the other side of the dots. Continue this piece of tape around to the back of the mask as well. The two lines should be about 1/4 inch apart.
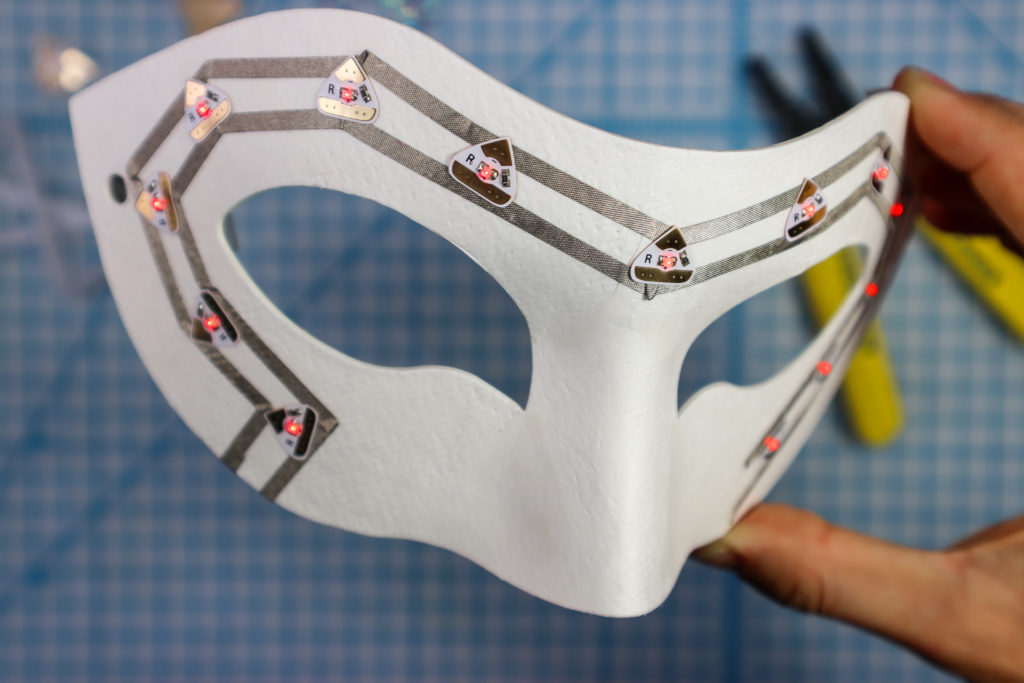
Step 4
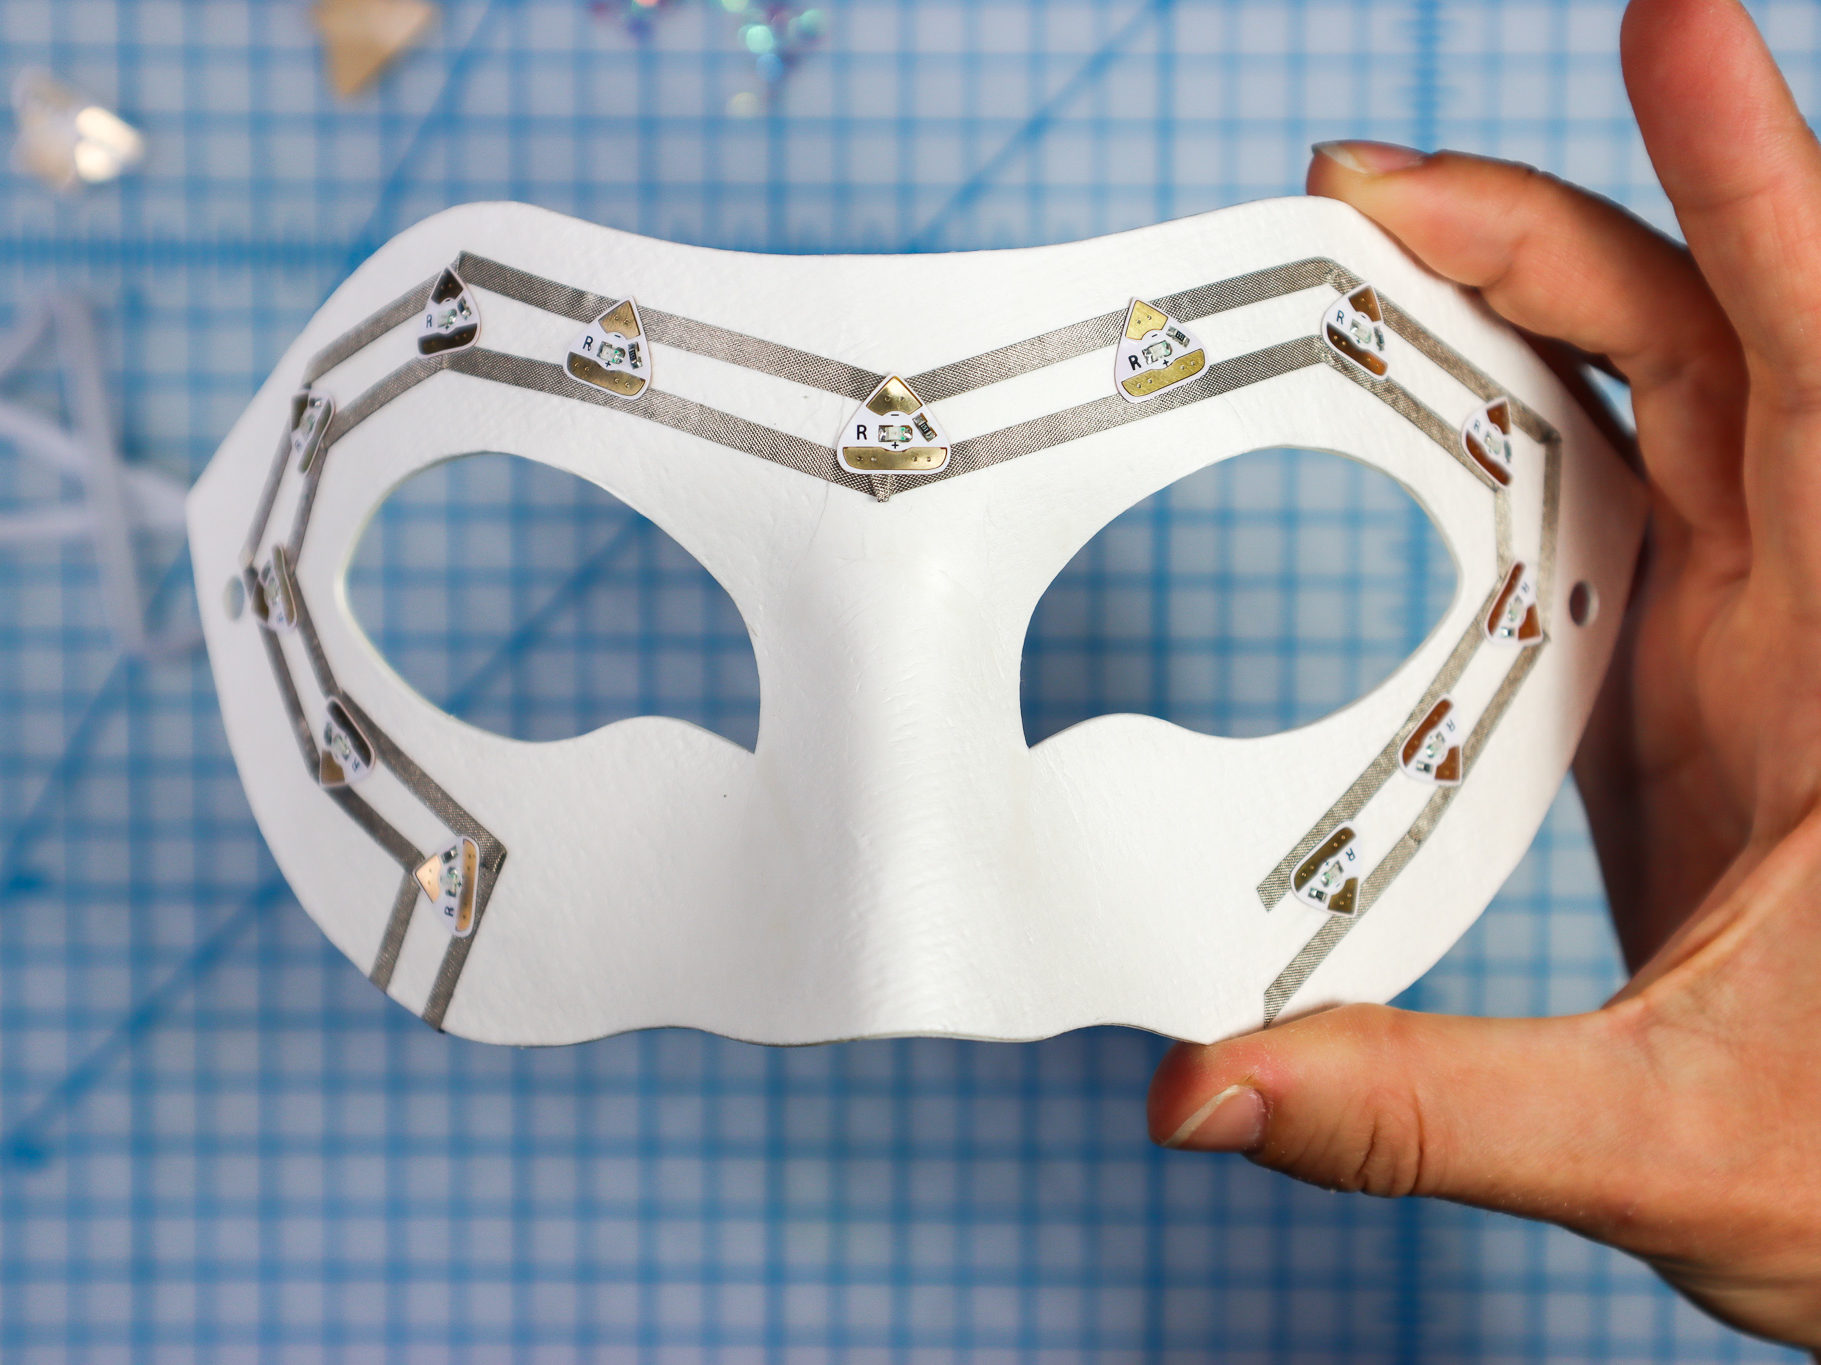
Adhere circuit stickers to the tape, making sure that all of the positive sides (flat) are touching one piece of Conductive Fabric Tape, and all the negative sides (pointy) are touching the other piece of tape.
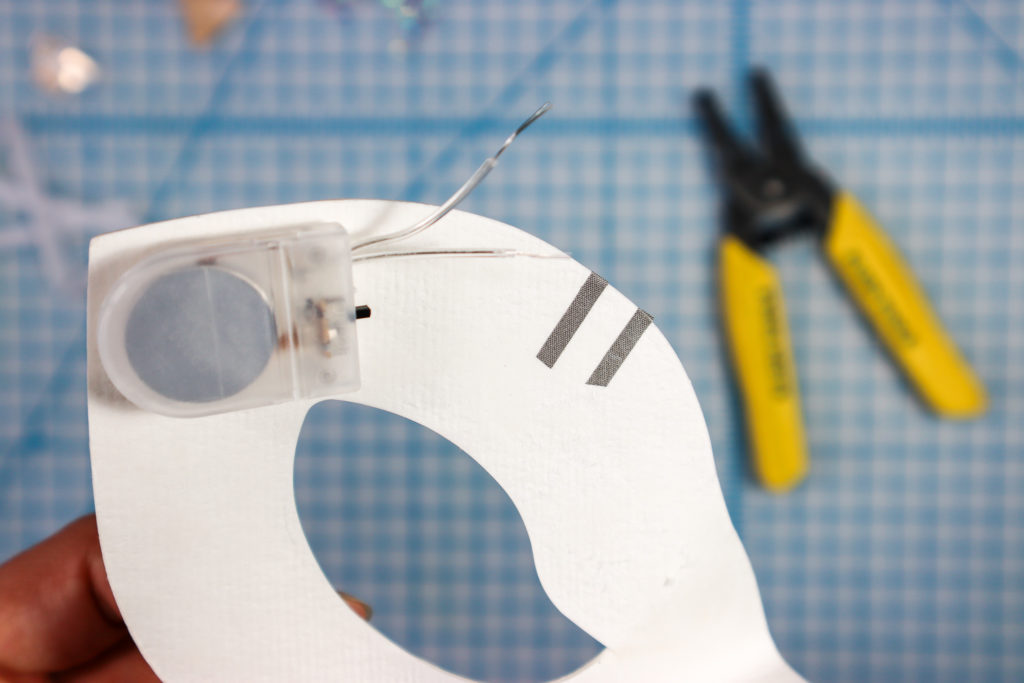
Step 5
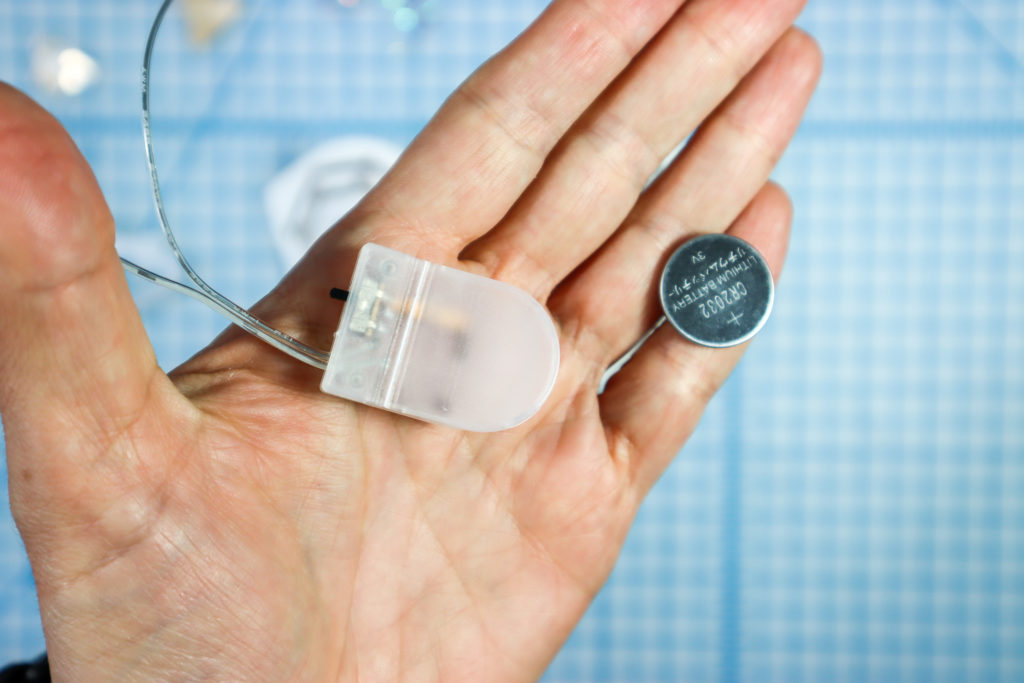
Place the battery inside the battery pack and adhere it to the back of the mask, on the corner where the mask doesn’t touch your face. I used foam mounting tape, but hot glue would work as well.
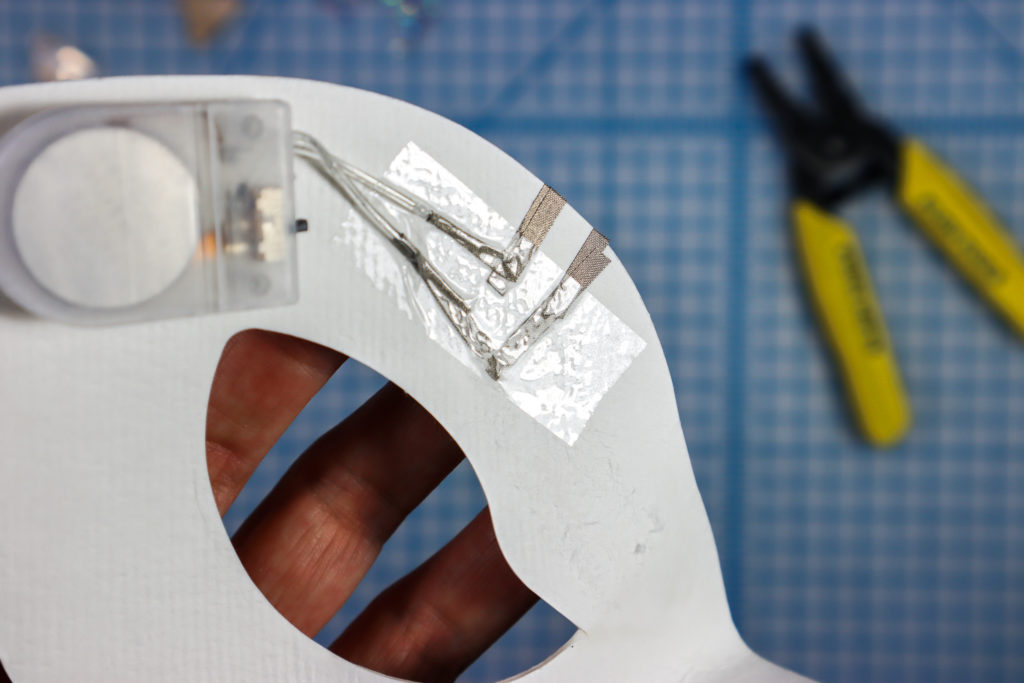
Step 6
Use a pair of wire strippers to trim and strip about 1/2 inch of the insulation off of each wire.
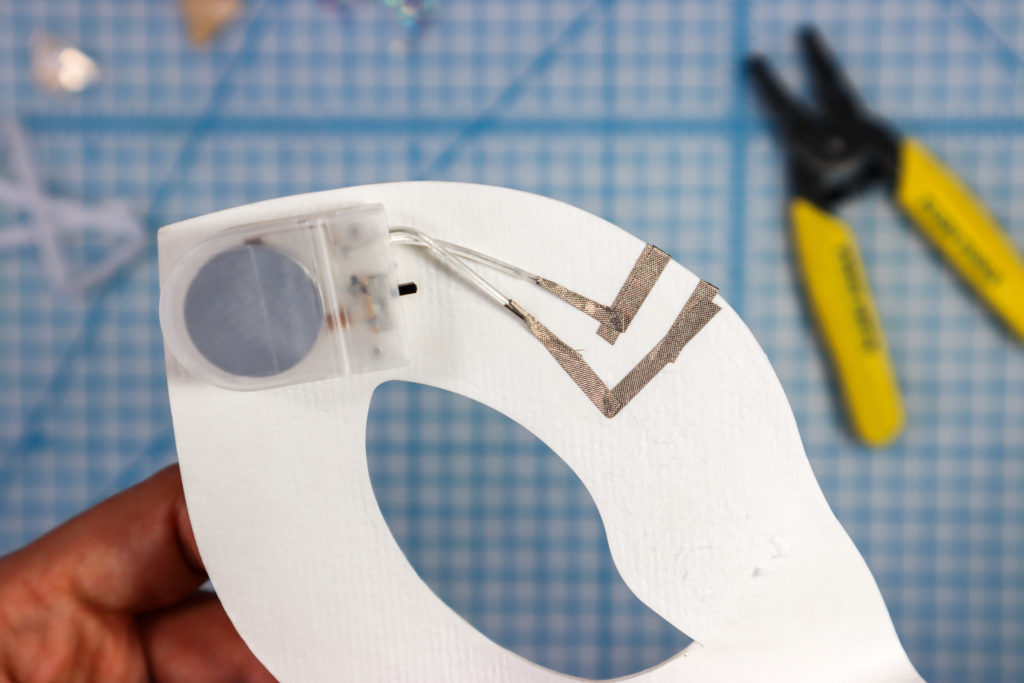
Step 7
Tape a piece of Conductive Fabric Tape to the exposed wire, and fold the edges around it. Repeat for the other wire. Gently stick these new tape pieces to each of the two existing pieces of tape.
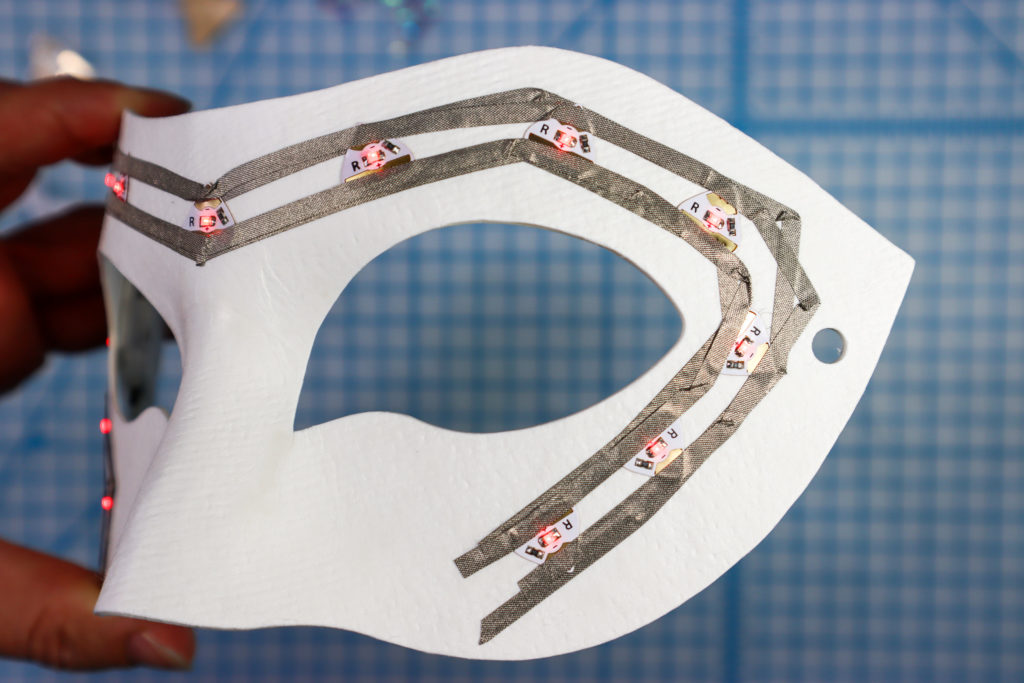
Step 8
Test it! Did all the lights turn on? Great! If not, try switching the two wires to touch the opposite pieces of tape.
*Make sure to troubleshoot any loose connections or incorrect LED placements before continuing to the next step.
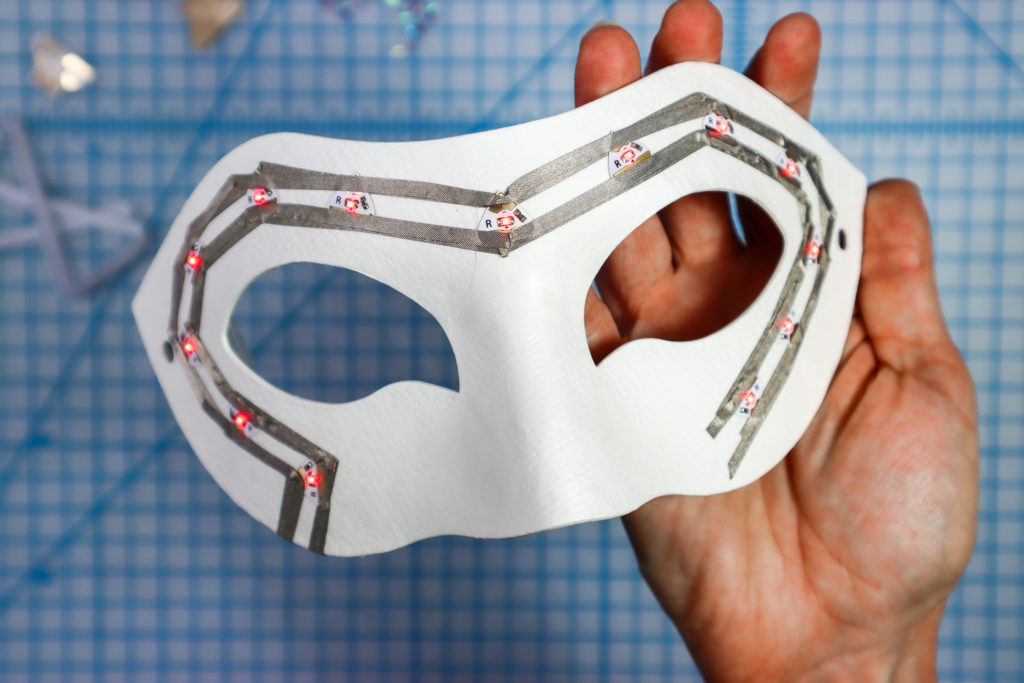
Step 9
With the LEDs lit up, reinforce the connection with a piece of transparent tape.
Step 10
Double it up for good measure:
Because I’ll be painting on top of the tape, I like to add another layer of Conductive Fabric Tape on top of the LEDs. This will ensure a good connection, which is important since the act of painting locks the circuit away from being able to fix it later!
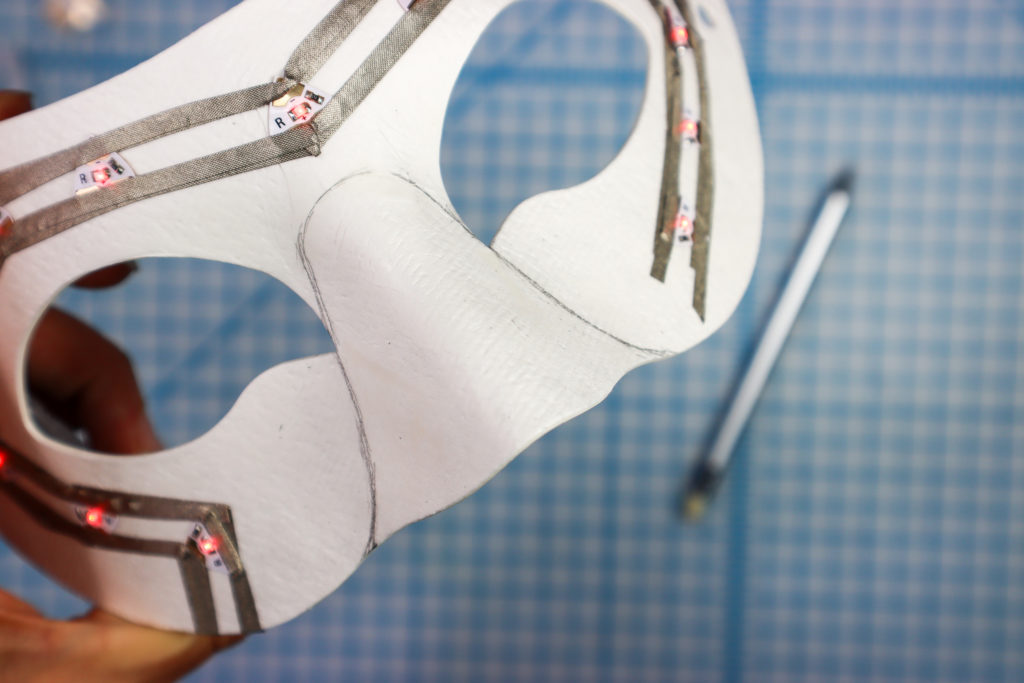
Step 11
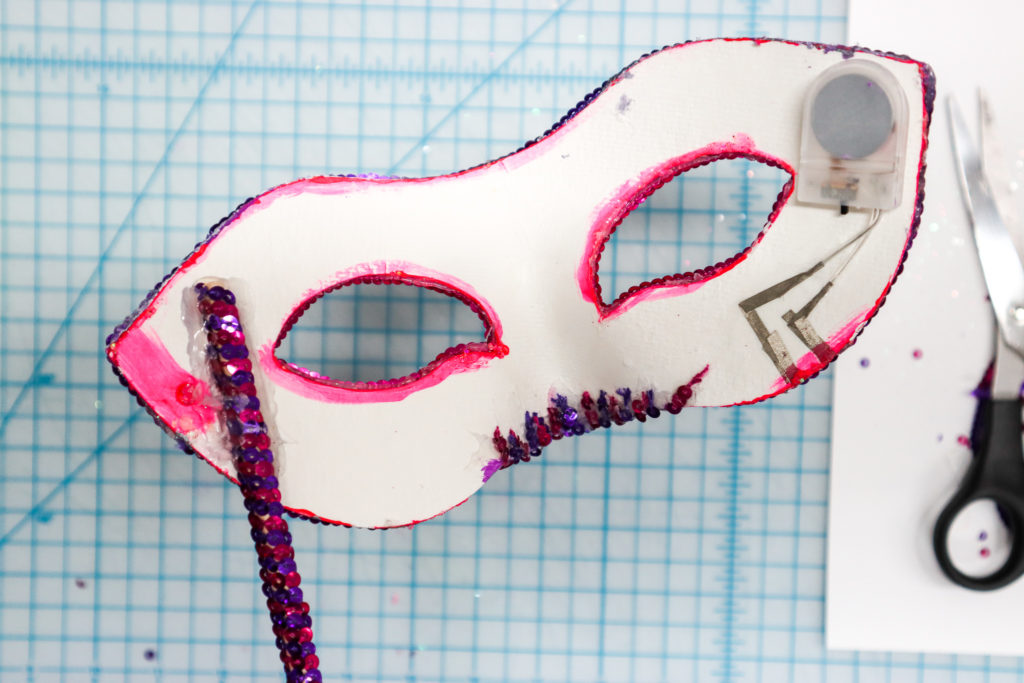
Sketch any design lines in pencil before painting.
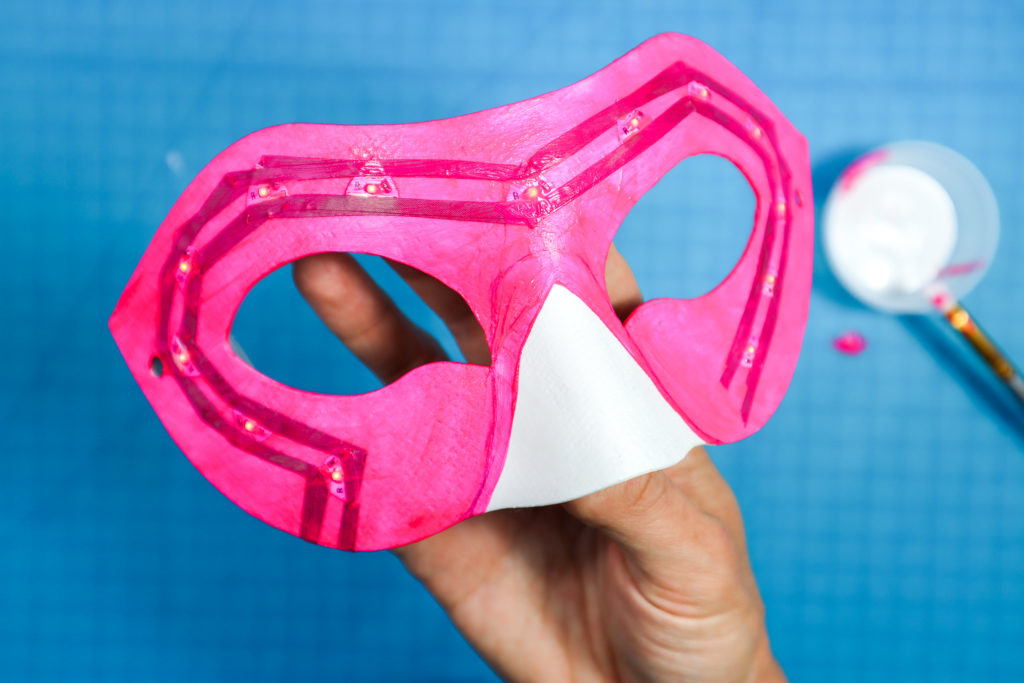
Step 12
Place a piece of tissue paper on the table to protect it from paint and glitter spills. Then, paint the mask – you can paint right over the LEDs. To make the paint job more uniform, you could paint the tape and LEDs white first and let that paint dry before adding color. In this case, my circuit was visible due to the contrast between the white mask and the silver Conductive Fabric Tape, but I figured that didn’t matter because I was going to add glitter on top of the paint as well.
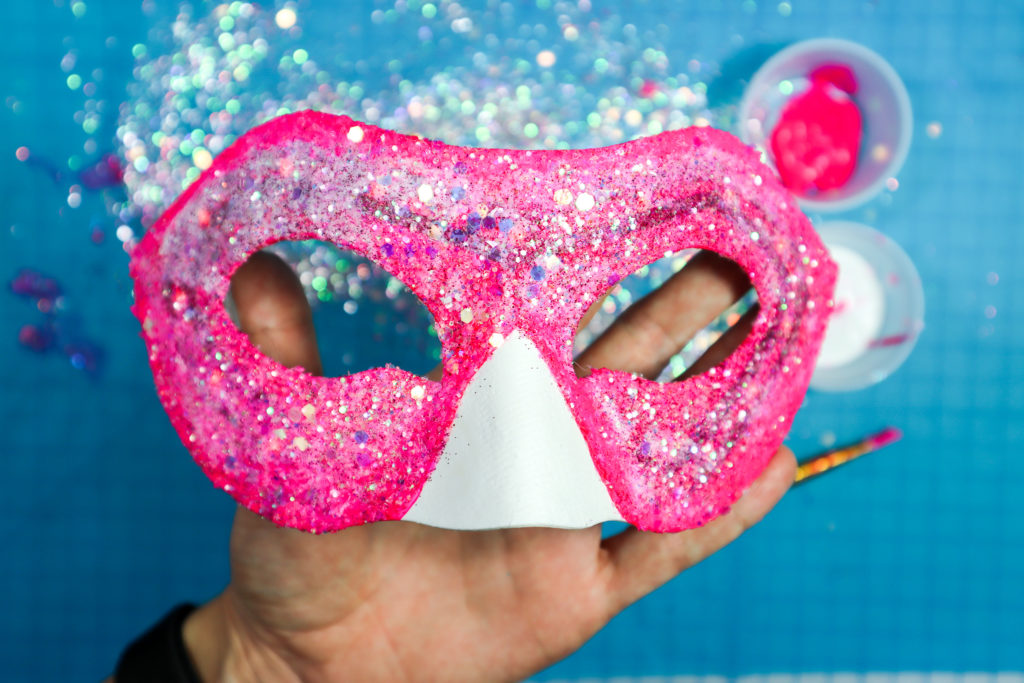
Step 13
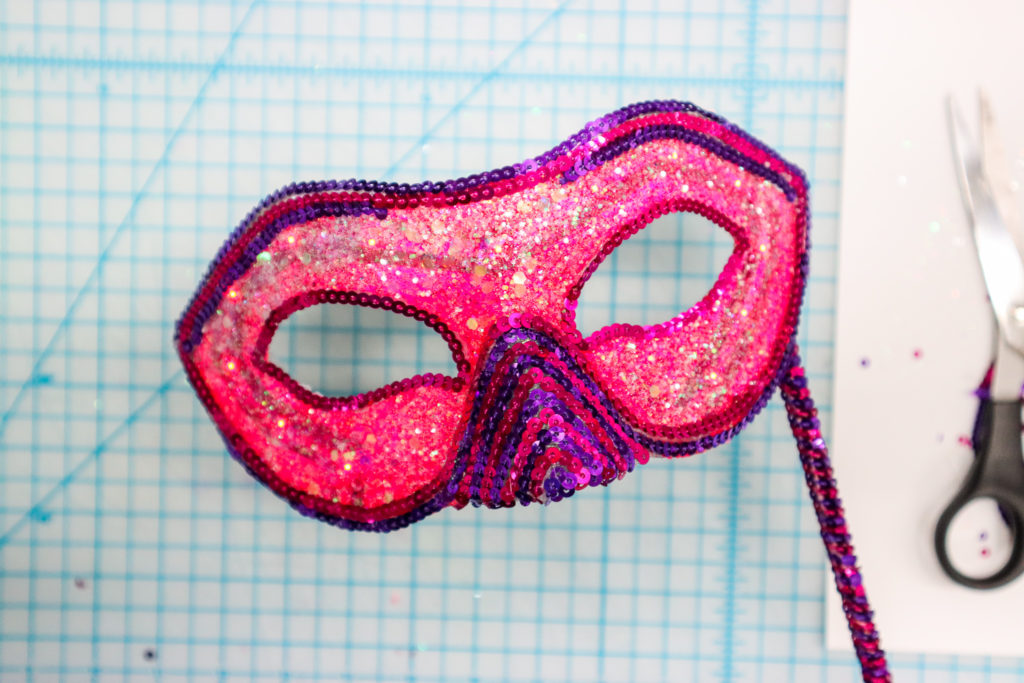
I added glitter by painting glue on top of the pink areas and pouring the glitter over the wet glue.
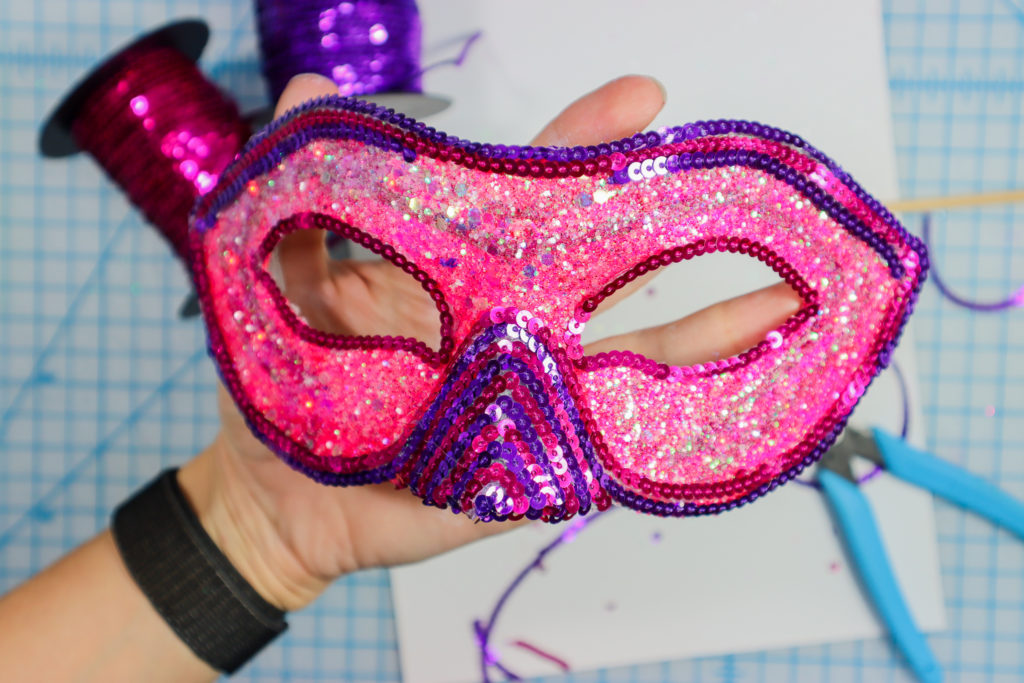
Step 14
I added sequin ribbon to trim out the rest of the mask, but you could do anything! I wish I had some feathers to add to it! The possibilities are endless.
Step 15
Once the paint is dry, test that the mask still turns on. If any LEDs are out, give them a squeeze and they should turn back on!
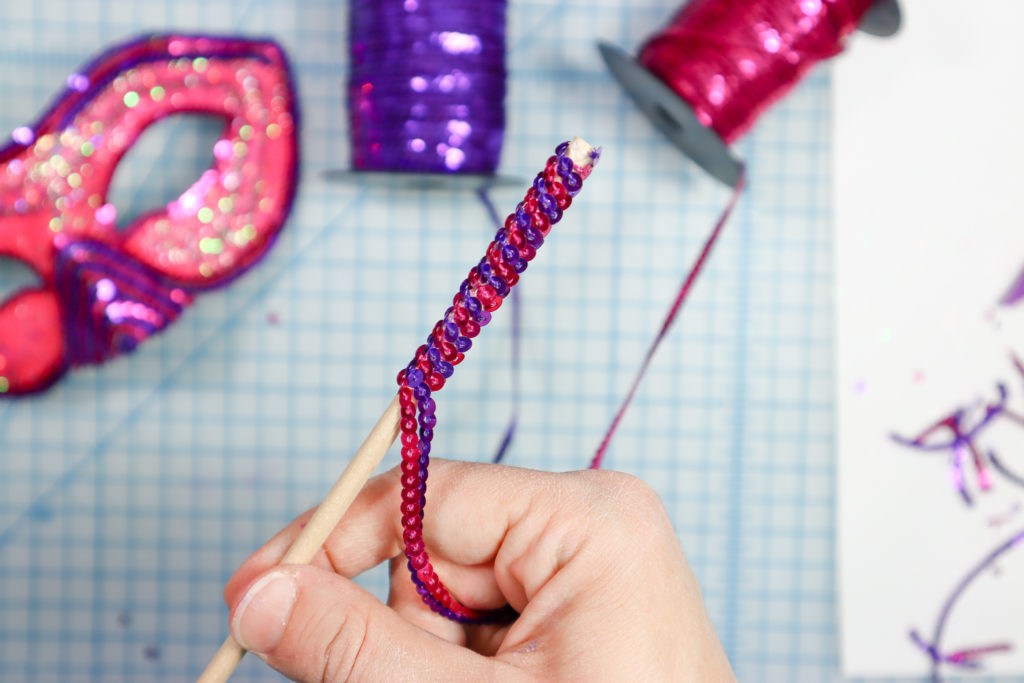
Step 16
Decorate a wooden dowel to make a handle to hold up the mask. Glue the dowel to the back of the mask. (Or, you could add elastic instead to keep it on your face).
Step 17
Time to party! This mask is perfect for Halloween, a Masquerade ball, or any moment when you need a fancy addition to an ensemble. I hope you have fun customizing your own!