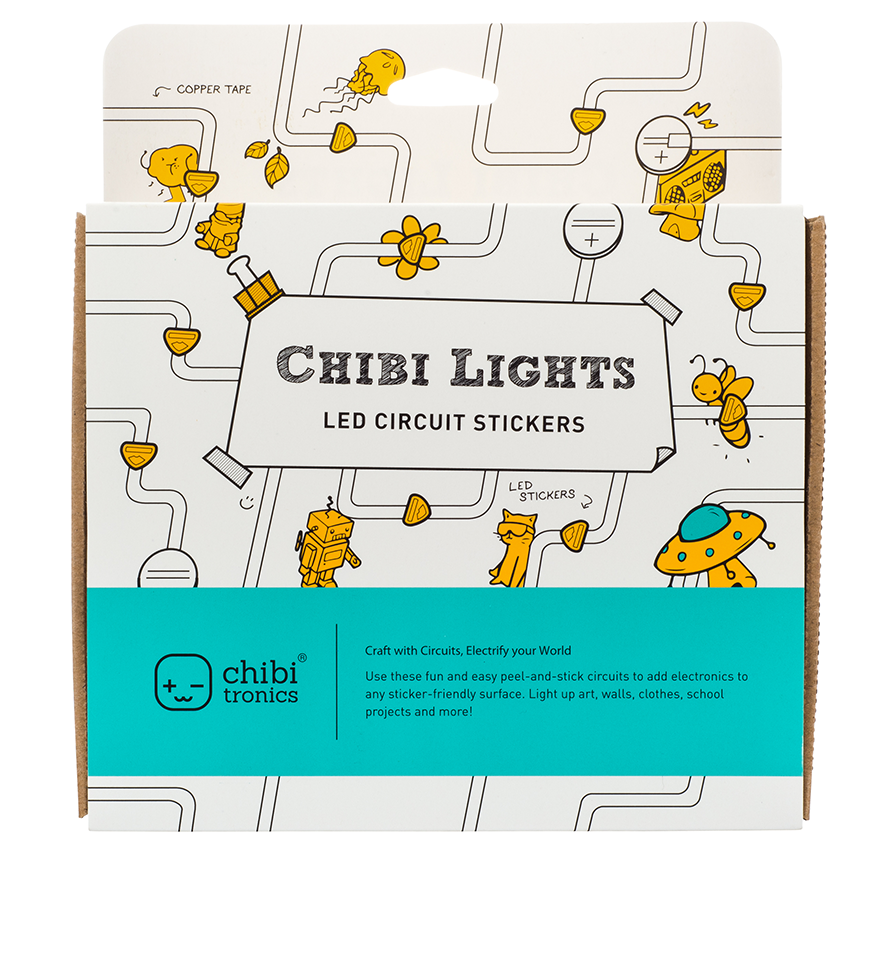
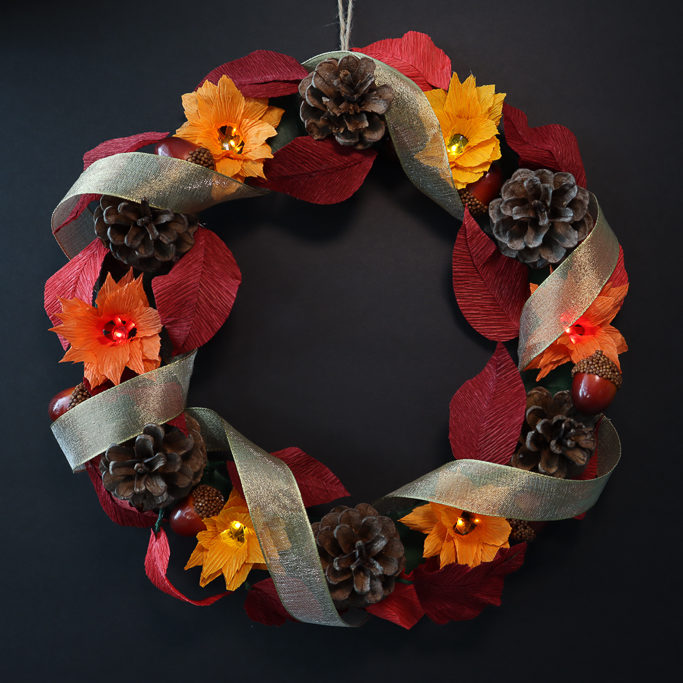
Introduction
In this tutorial, you’ll learn to use circuit stickers and conductive fabric tape to make a light-up wreath for fall.
Contents
Make Fall Festive
Topics
LEDs, Wreaths, Seasonal, Fall, Flowers
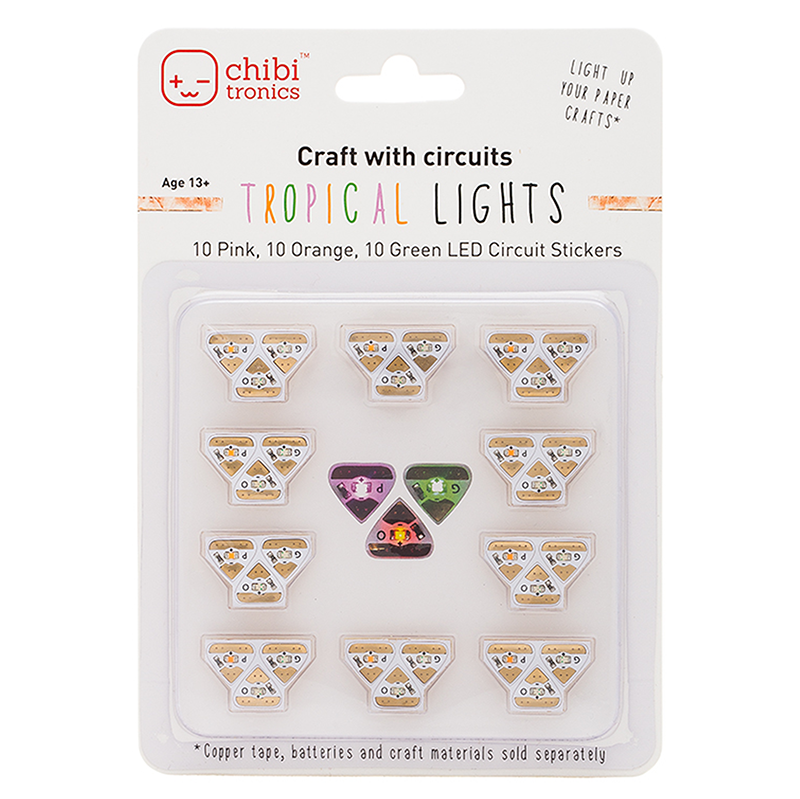
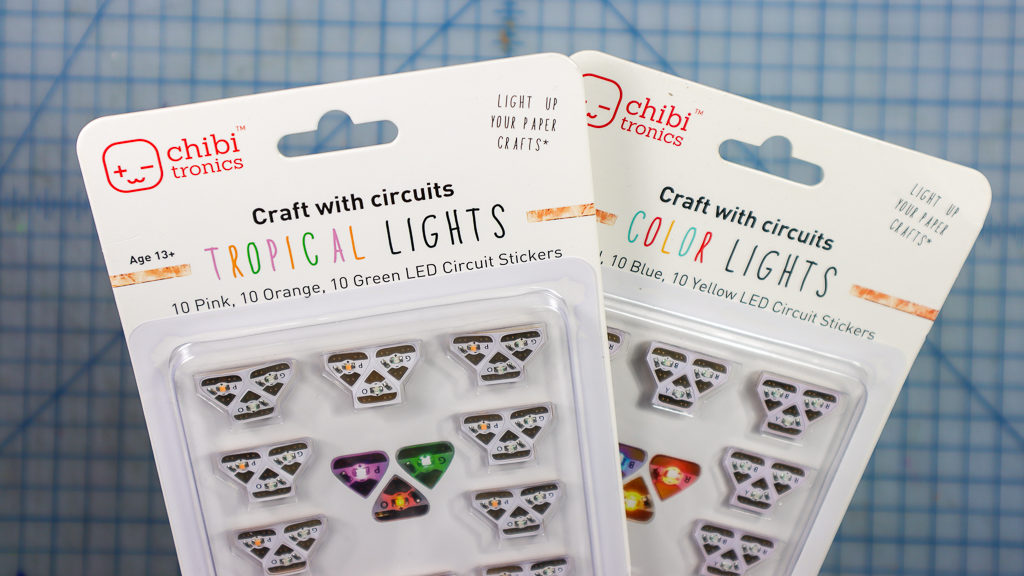
Materials
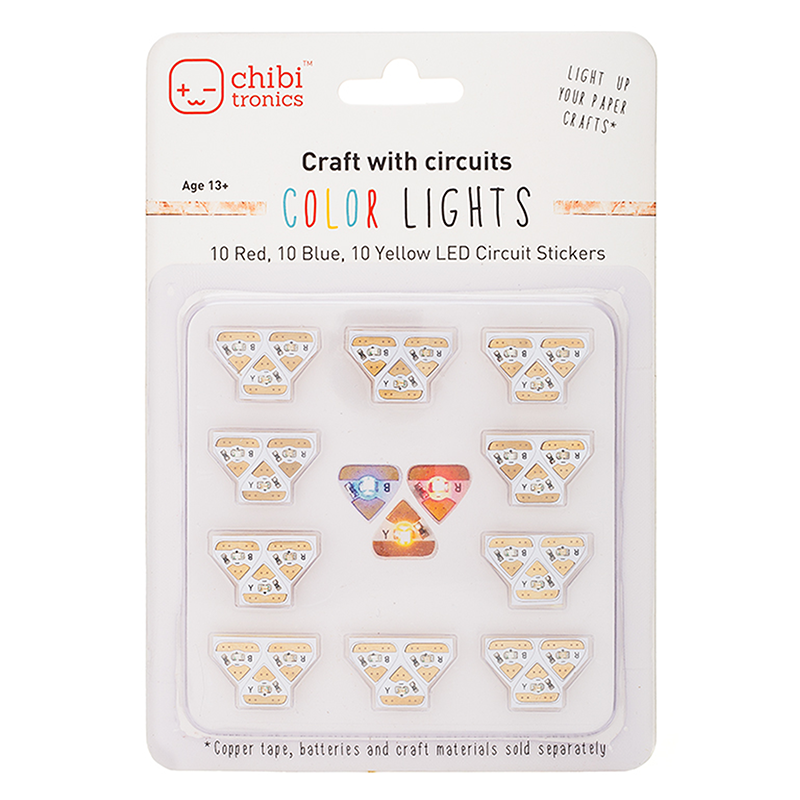
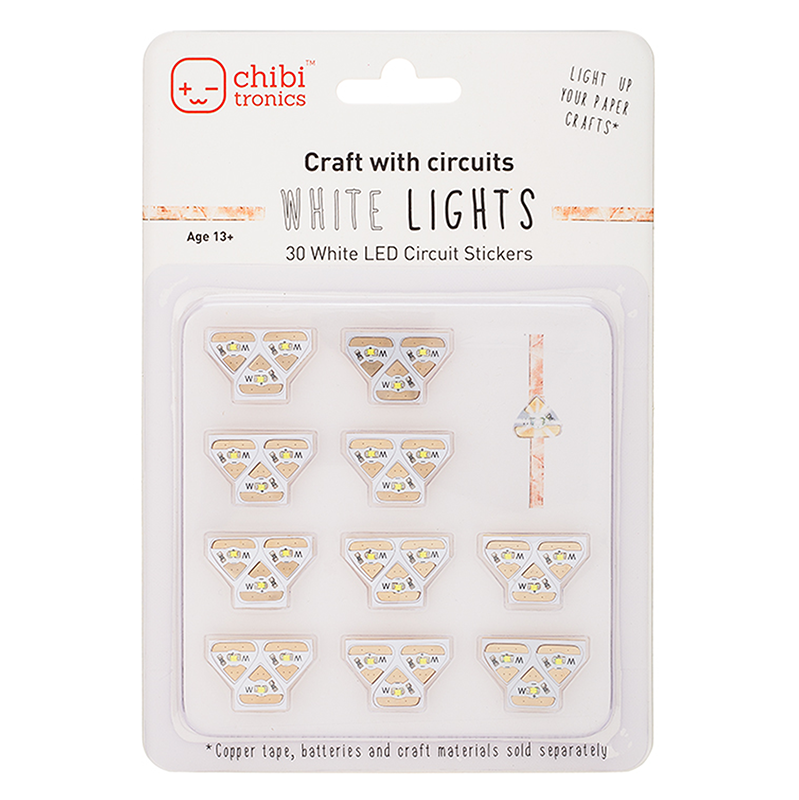
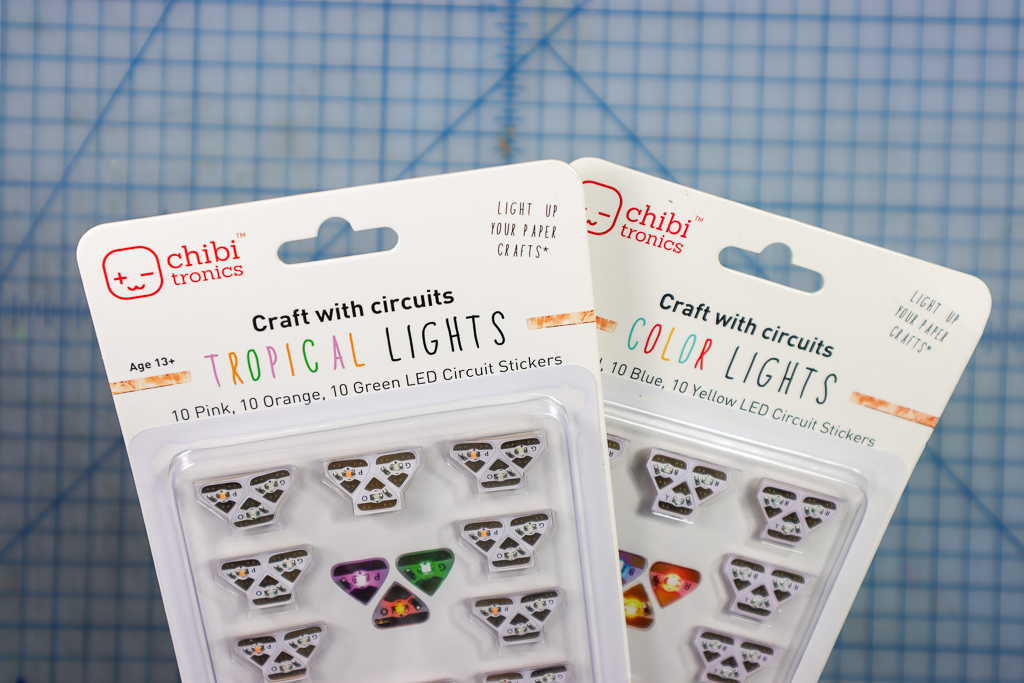
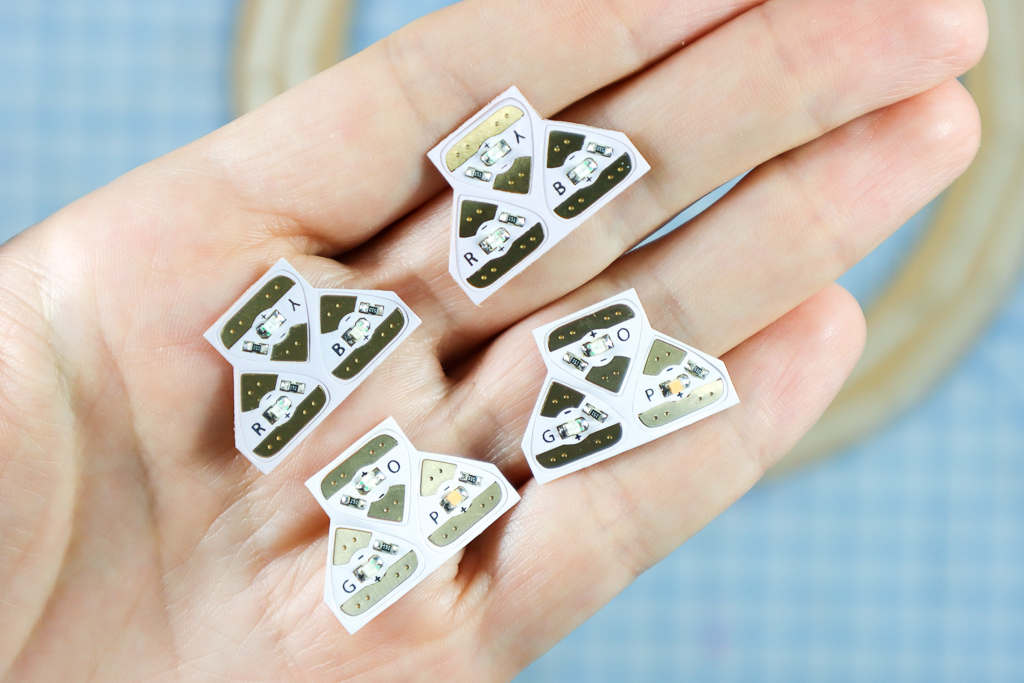
- LED Circuit Stickers 2 yellow, 2 orange, and 2 red
- Coin Cell Battery
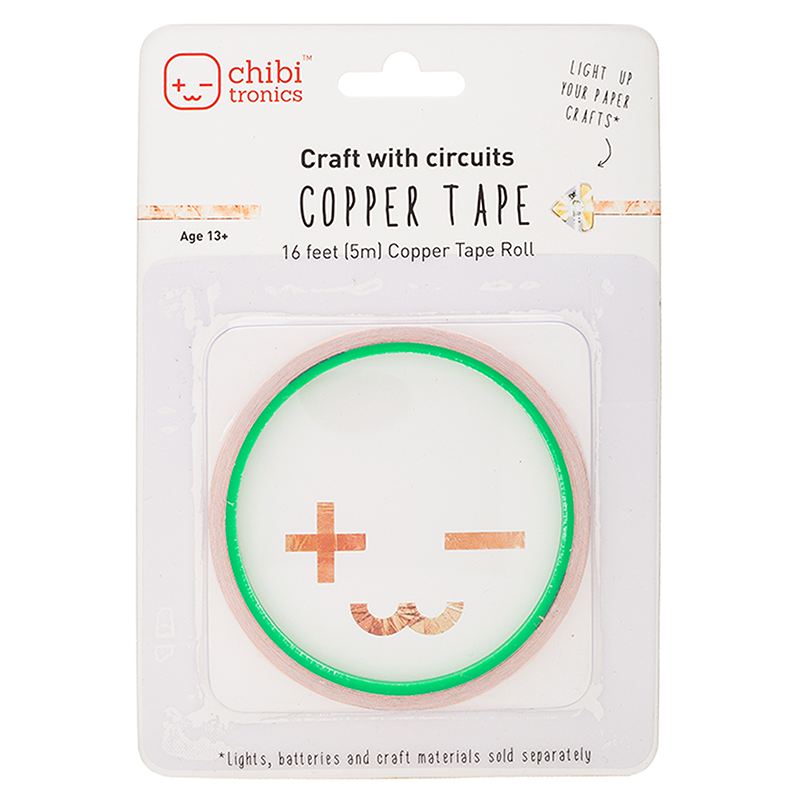
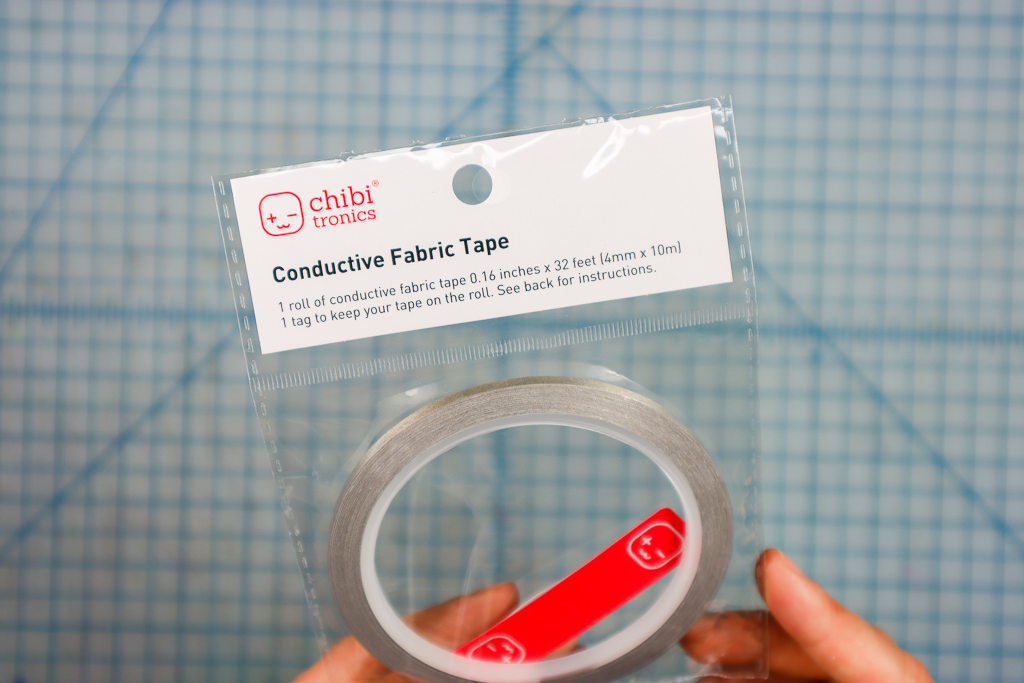
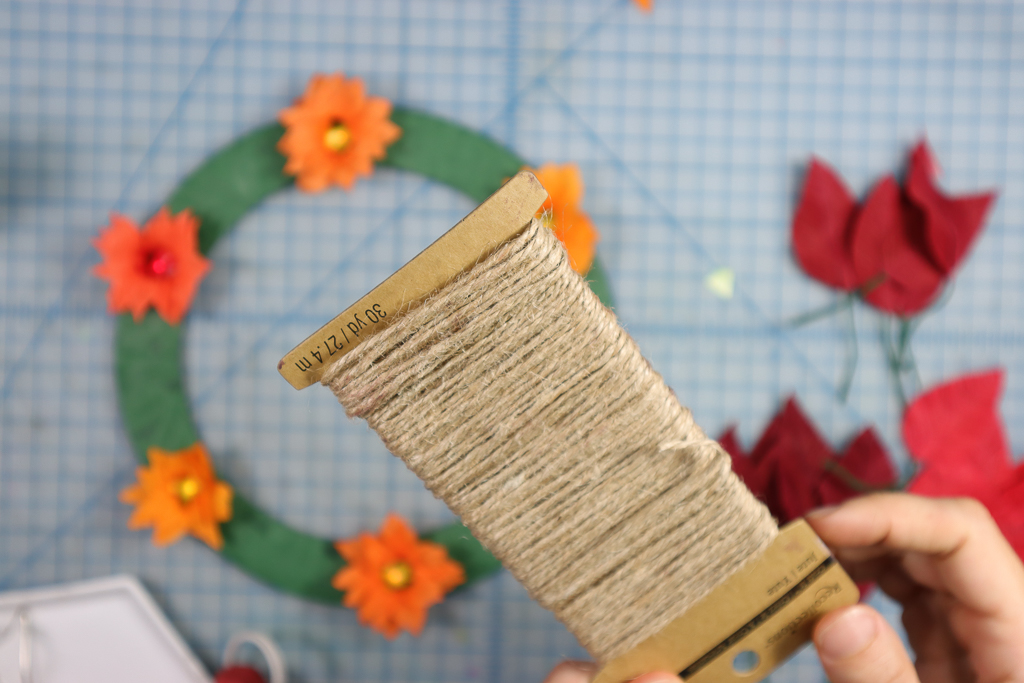
- Conductive Fabric Tape
- Cardboard
- Floral Tape
- Floral Wire
- Heavy Crepe Paper in Fall Colors
- Red and Yellow Transparent Craft Plastic Sheets
- Pine Cones, Acorns, Ribbon, or other fall floral decorations
Tools
- Scissors
- Craft knife
- Hot Glue and Glue Gun
- White Tacky Glue
- Printer to print template
Template
Download the template here:
Directions
Video overview:
Step 1
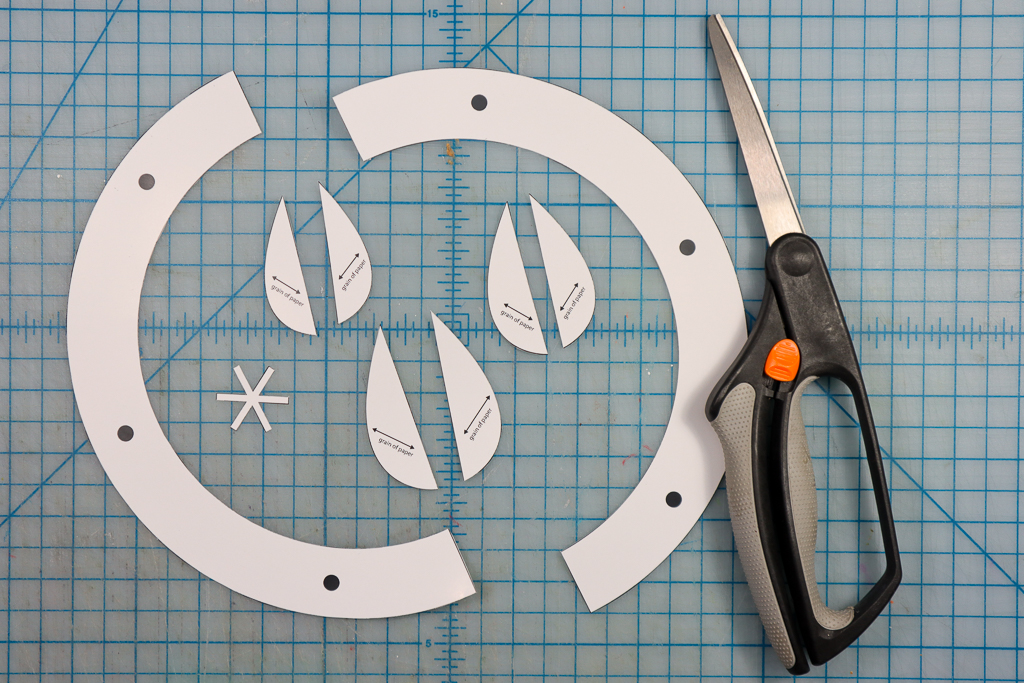
Print and cut out the template.
Step 2
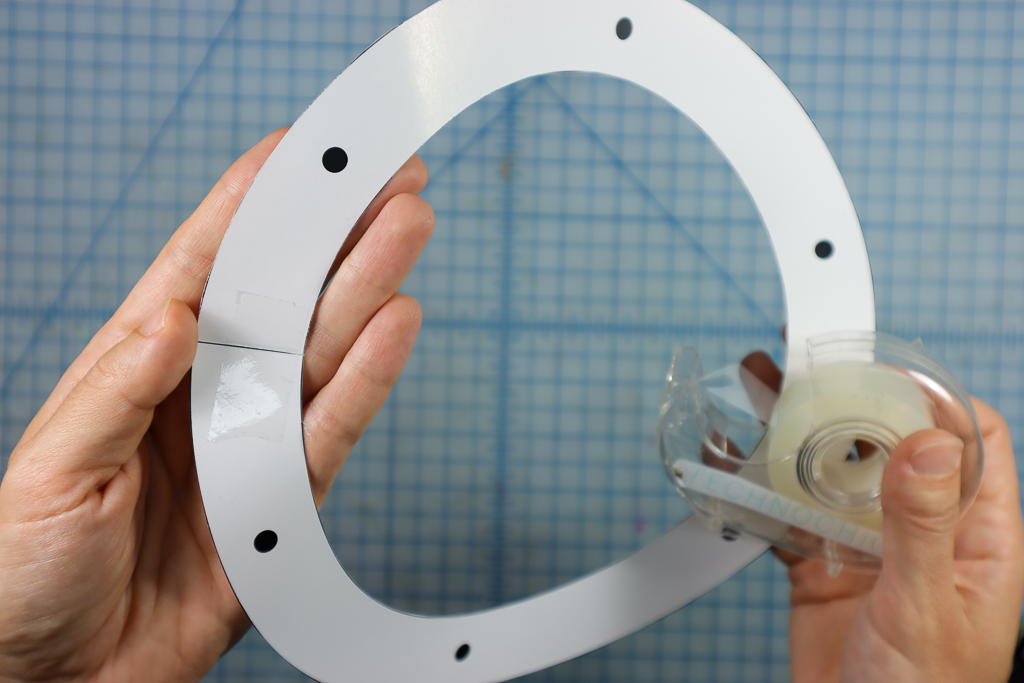
Tape the two sides of the wreath template together as shown:
Step 3
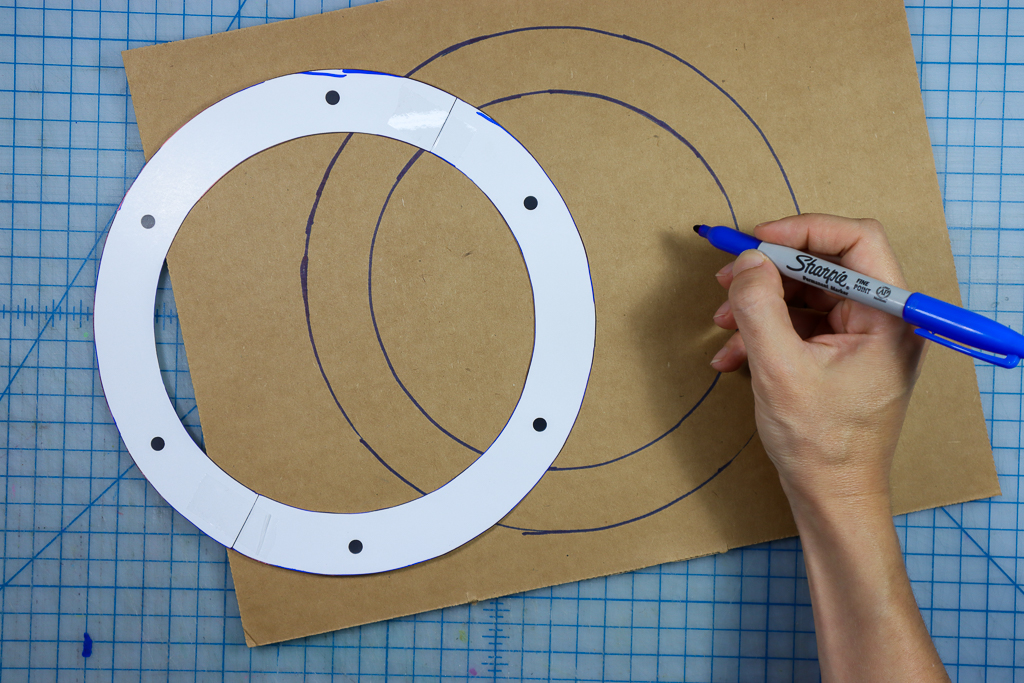
Trace the template on a piece of cardboard:
Step 4
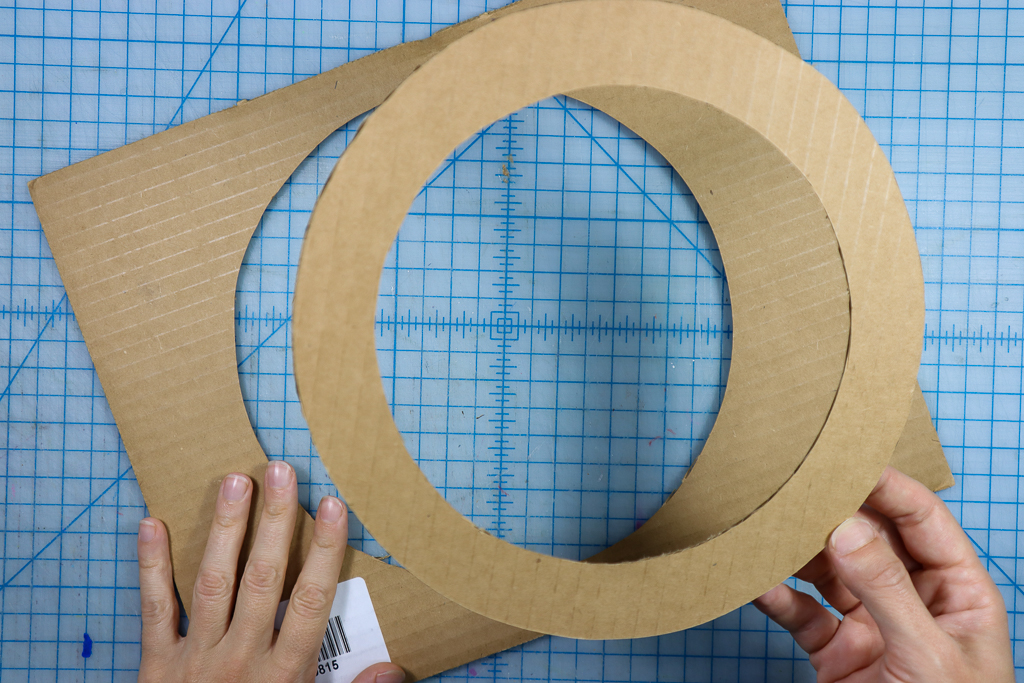
Using a ulitlity knife, cut out the shape:
Step 5
Pleace the template over the ring and mark where the black dots are. This is where you will place your LEDs later. If you don’t have an awl, a ball point pen will work as well.


Step 6
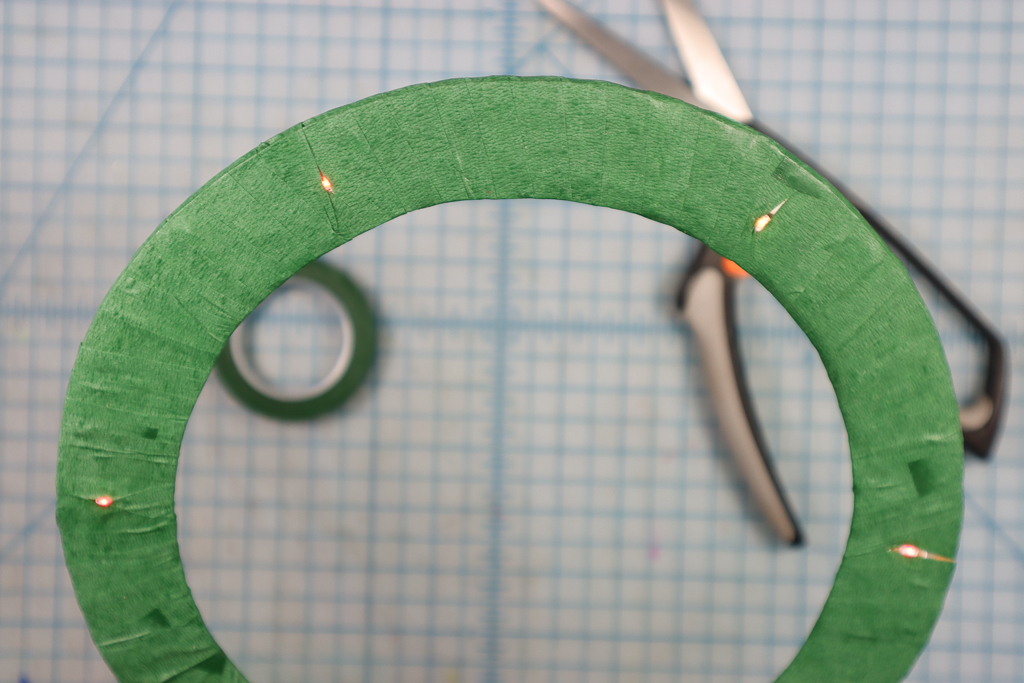
Select your cirucit stickers and get out your conductive fabric tape.
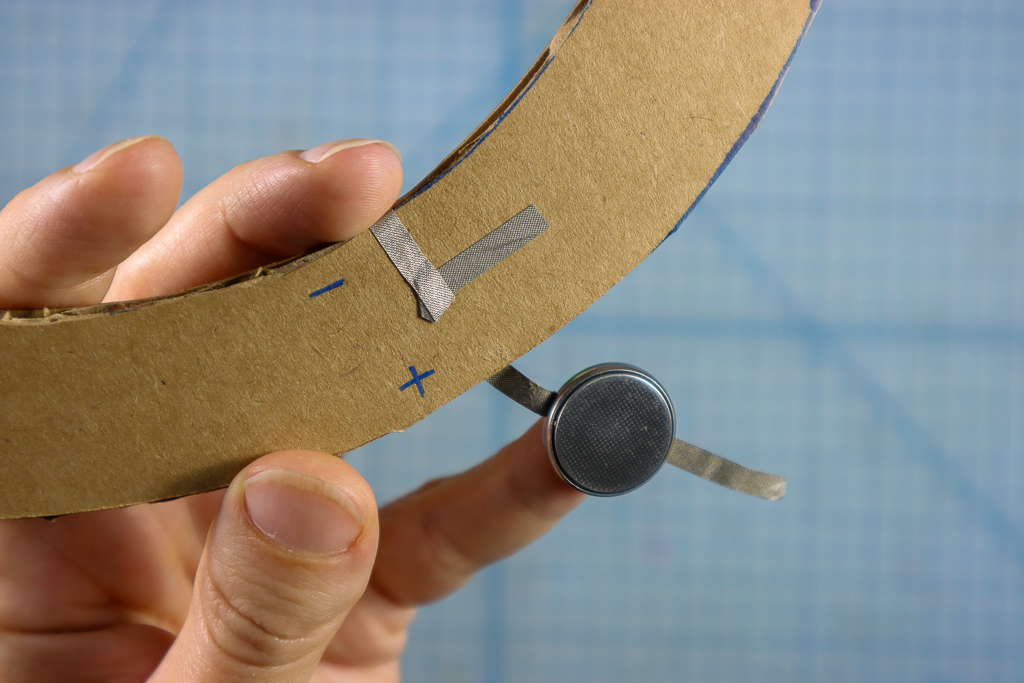
- Adhere two pieces of conductive fabric tape around the circle – one piece should run inside the LED marks and one should run just outside the LED marks.
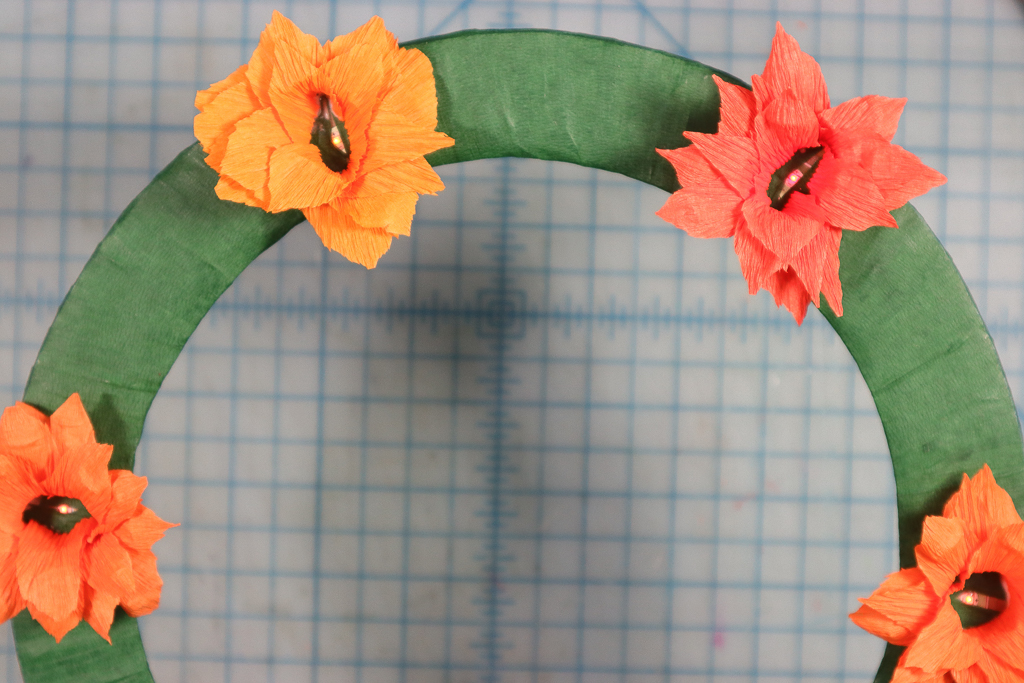
- Stick the Circuit Stickers inbetween the two pieces of tape with the negative side pointing inward as shown. I coordinated the three colors so that the same color shines across the wreath. (Red, Yellow, Orange, Red, Yellow, Orange)
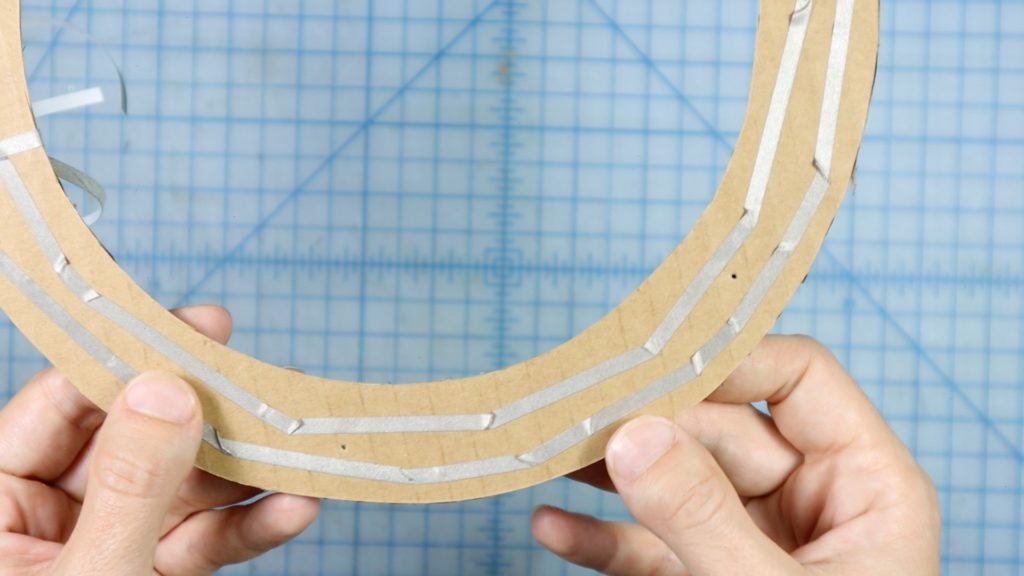
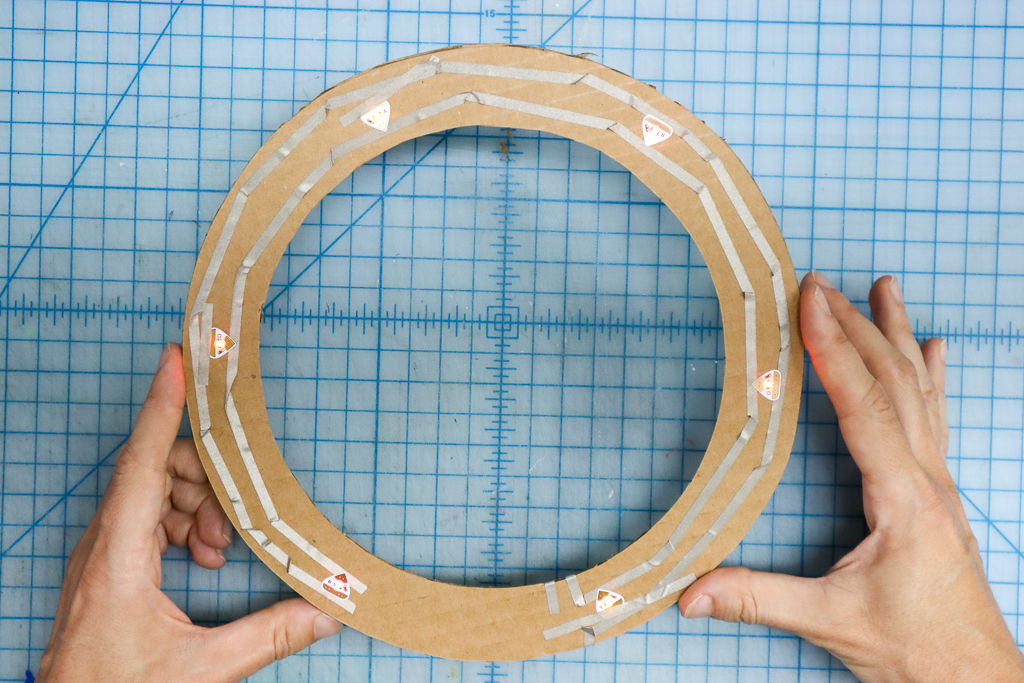
*If the distance between the two pieces is too large to touch, just add another piece of conductive fabric tape to connect it.
Step 7
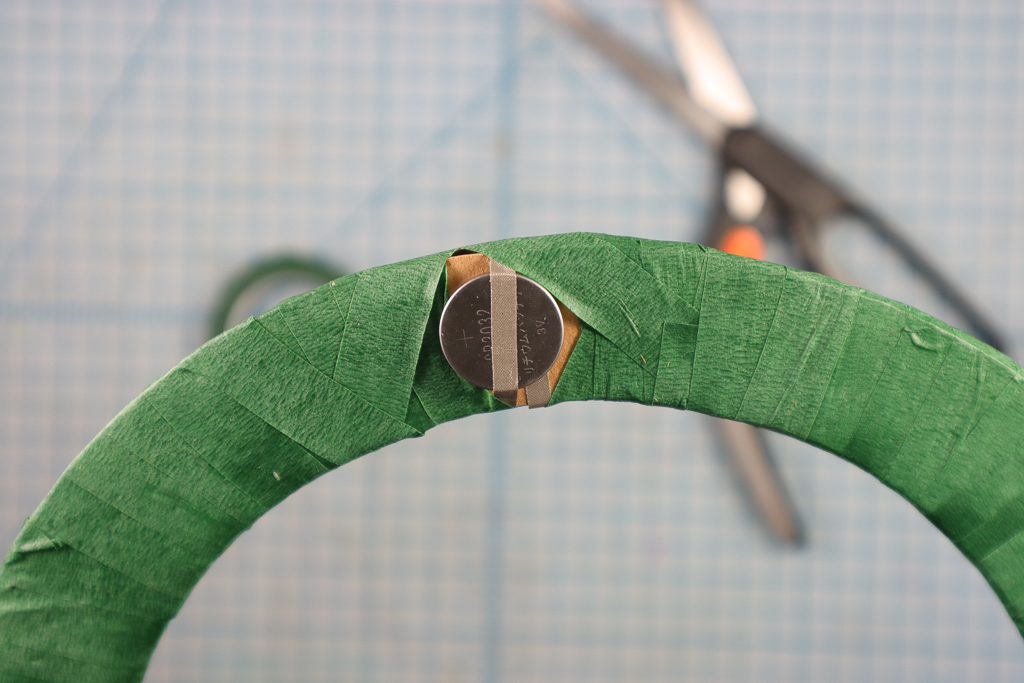
Add the battery by connecting a piece of conductive fabric tape to the inner ring and wrapping it around to the back.
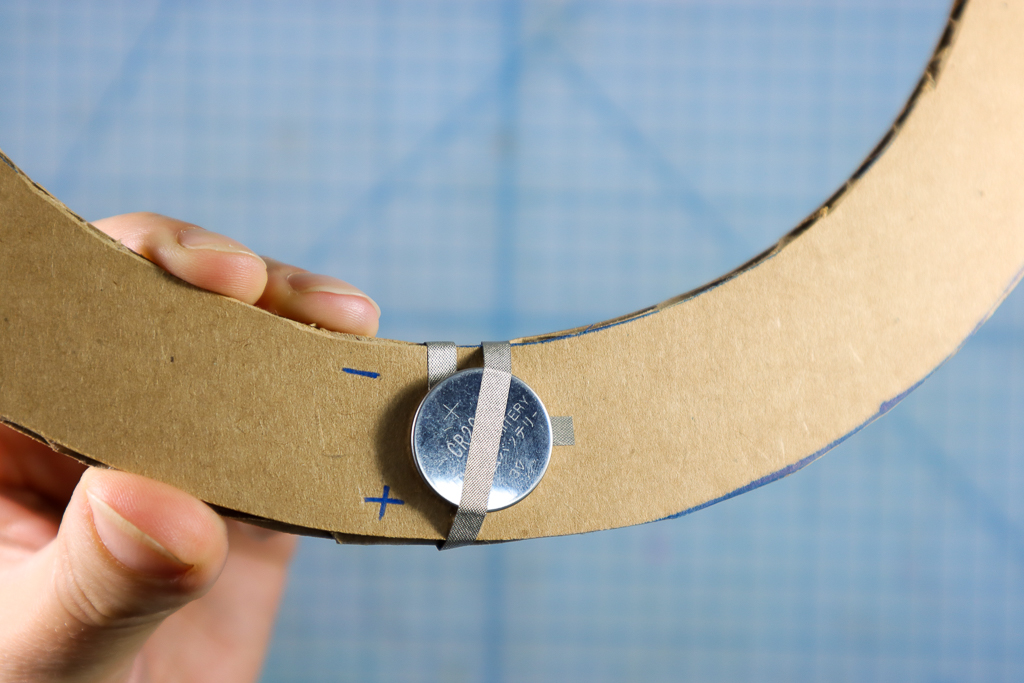
Connect another piece of conductive fabric tape to the outer ring and wrap it behind. Place a battery inbetween the two pieces and use the tape to secure it to the back. Be sure that the positive and negative tapes don’t touch each other.
Step 8
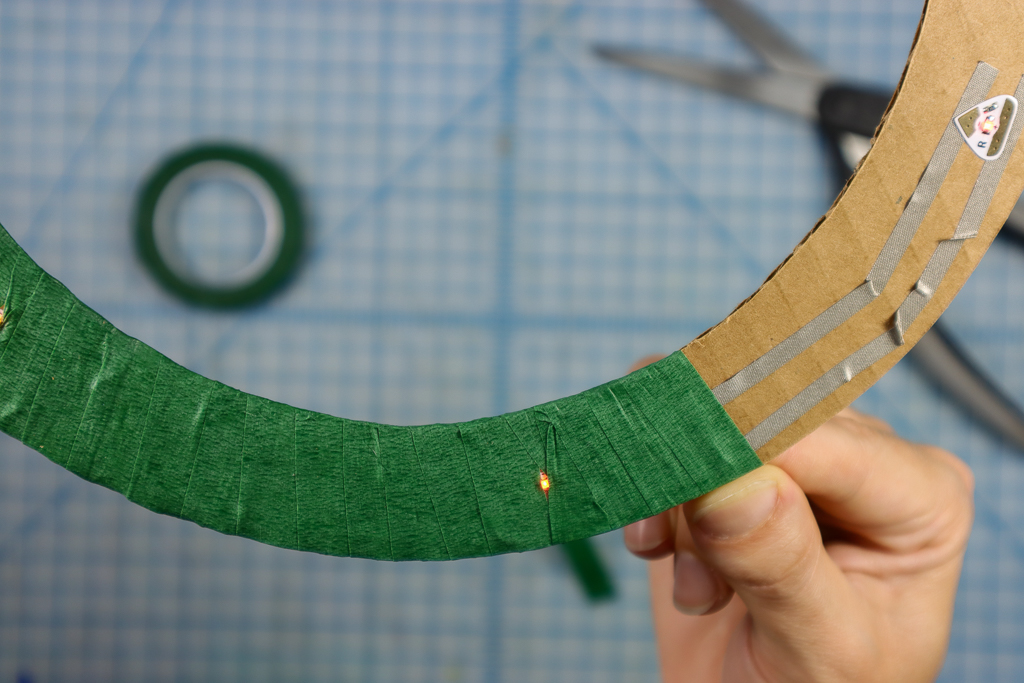
Test it! Did all the lights turn on? Great! If not, troubleshoot any loose connections or incorrect LED placements before continuing.
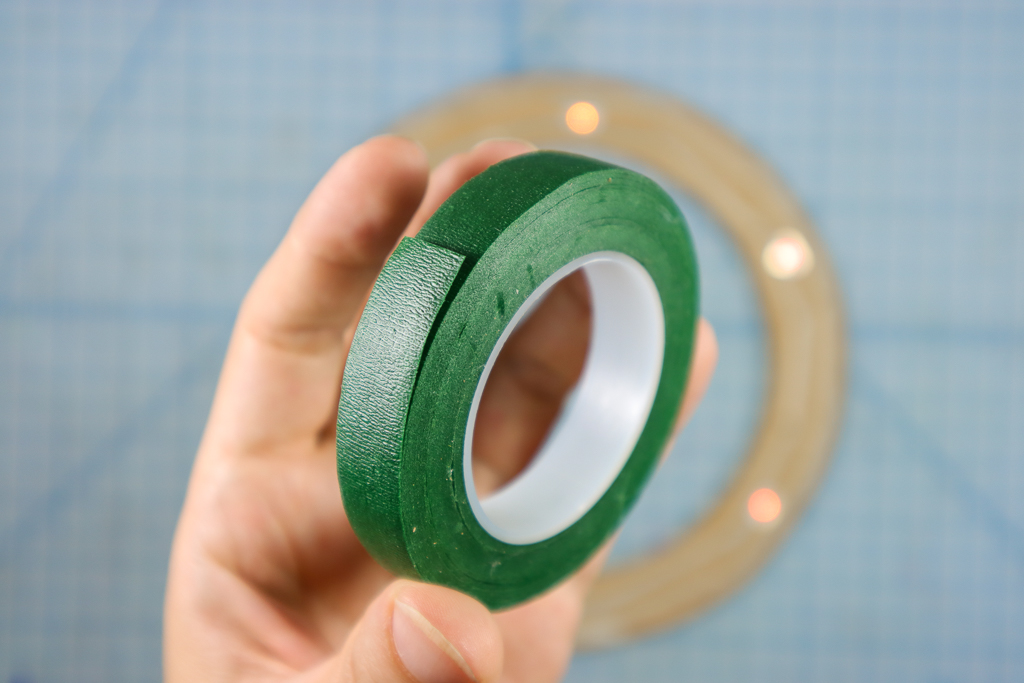
Next, wrap the ring in floral tape, leaving a very small opening to let the LED lights shine through. Don’t cover the battery either so that you can change it in the future.
Step 9
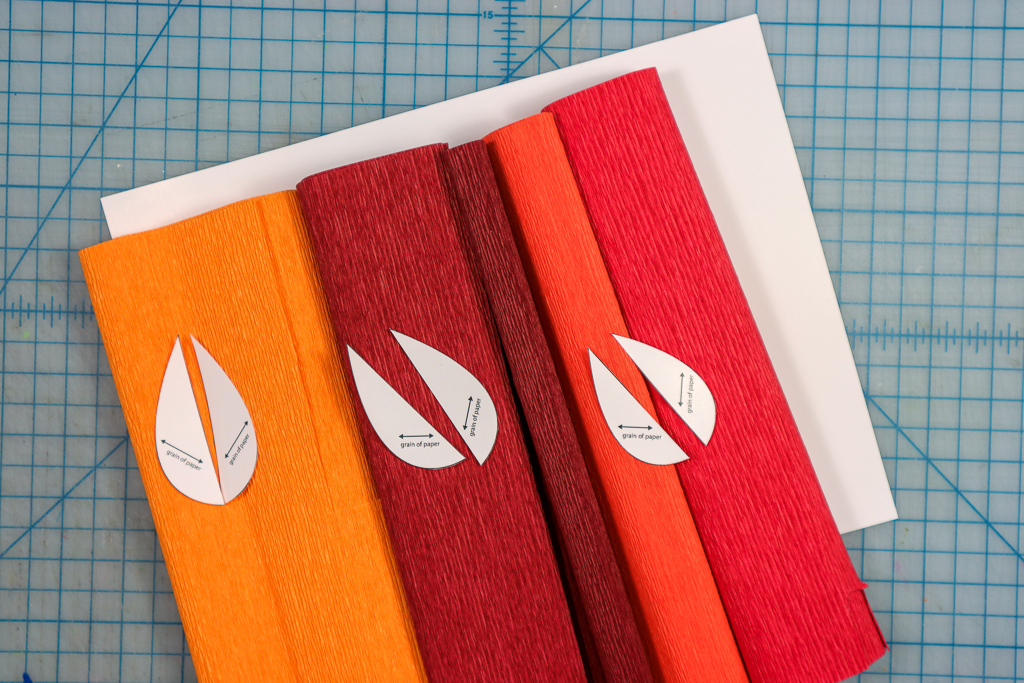
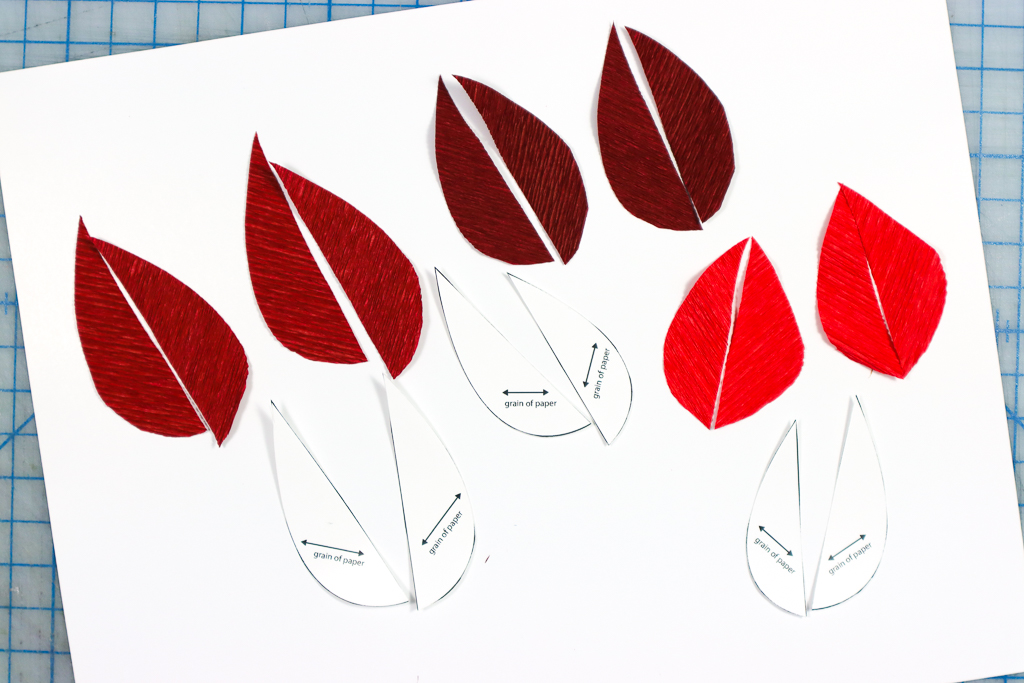
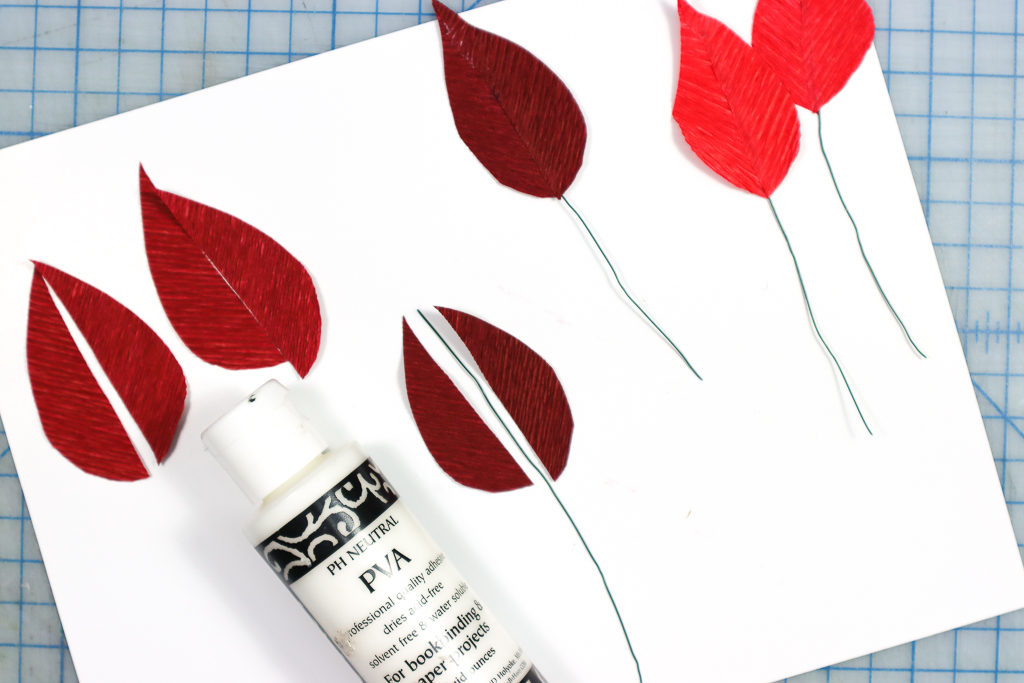
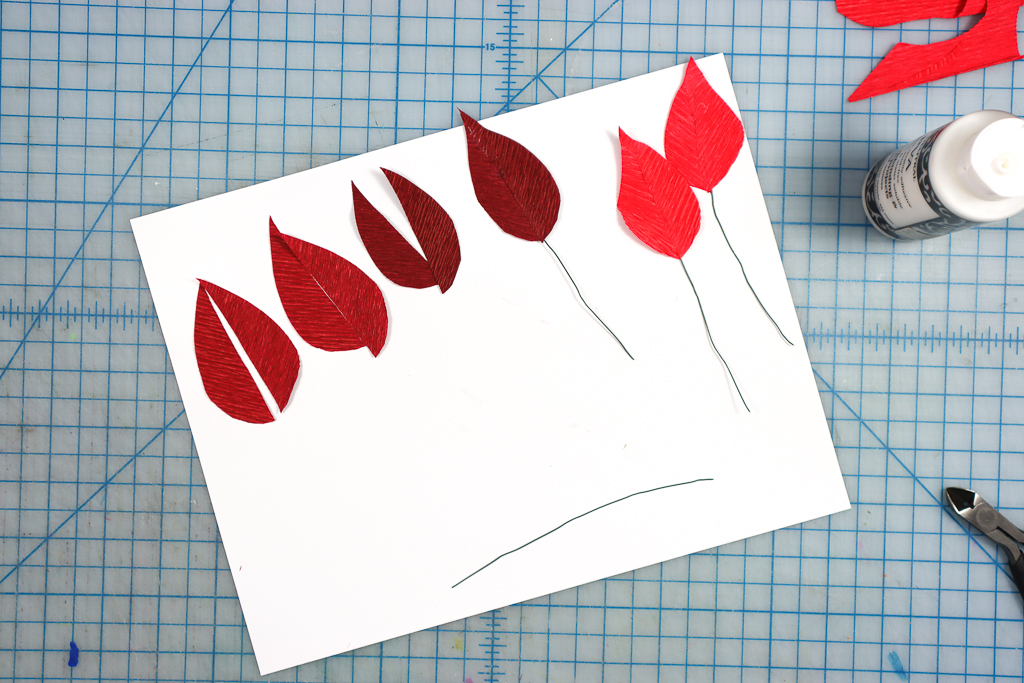
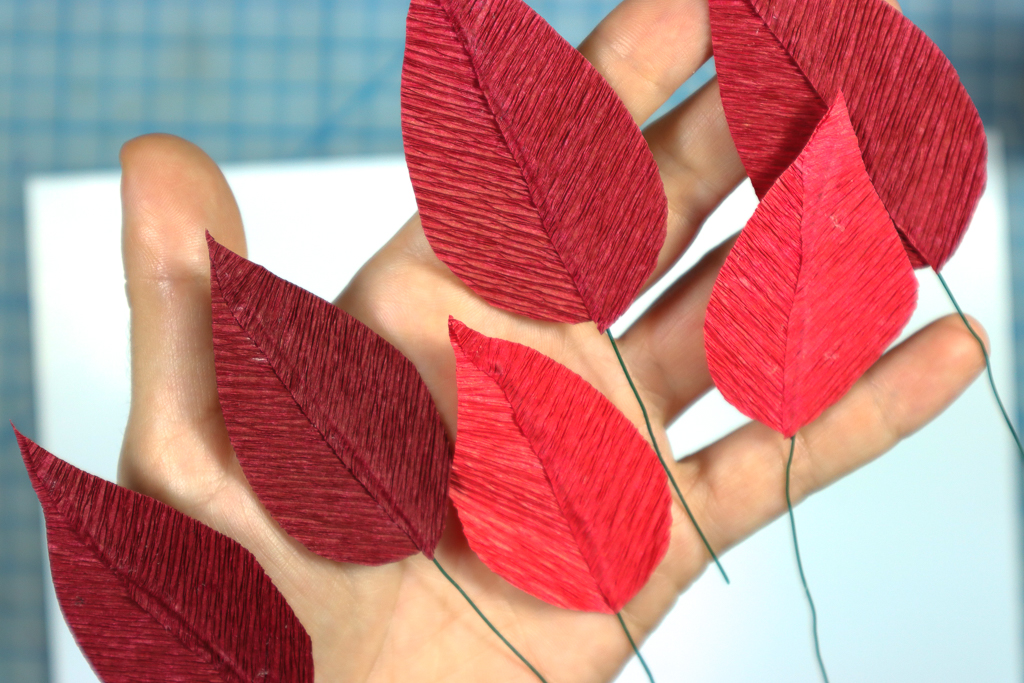
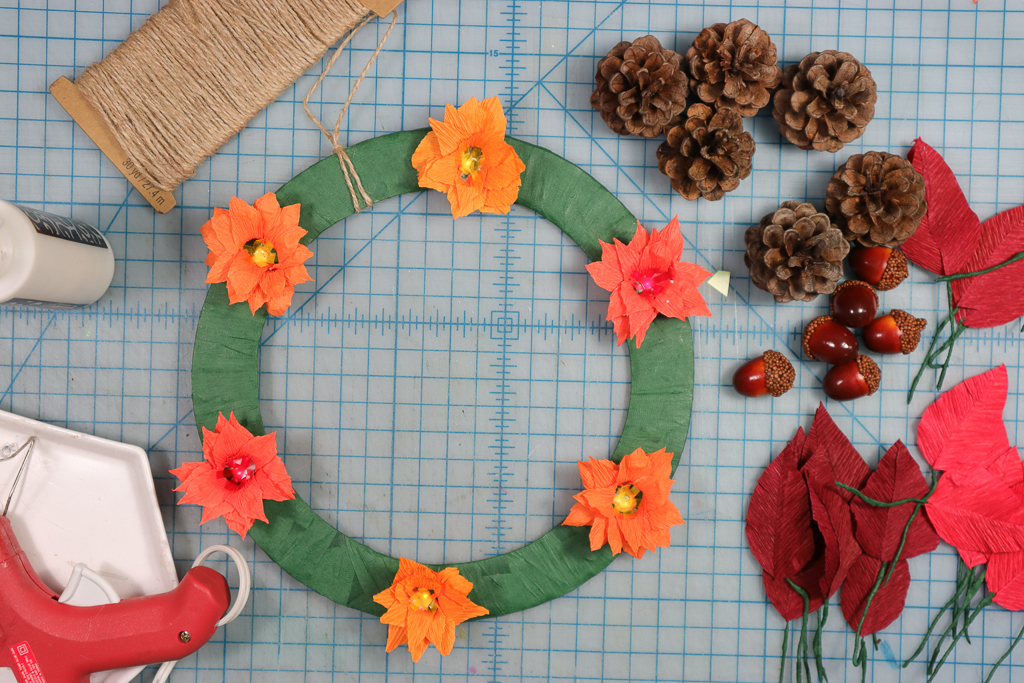
Choose some fall colors of heavy crepe paper for the leaves. Cut out many leaf shapes in the three sizes. I used 24 leaves in my wreath.
Step 10
Cut pieces of floral wire (about 5 inches each) and glue the wire inbetween the leaves, overlapping slightly to trap the wire inside.
Make as many leaves as you’d like to fill out your wreath!

Step 11
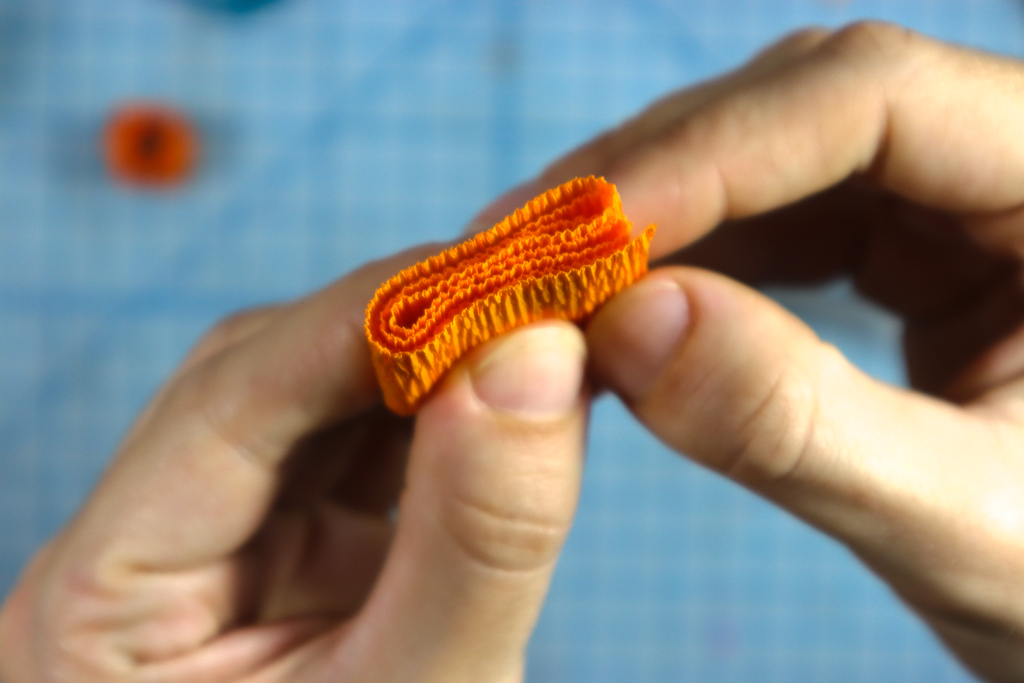
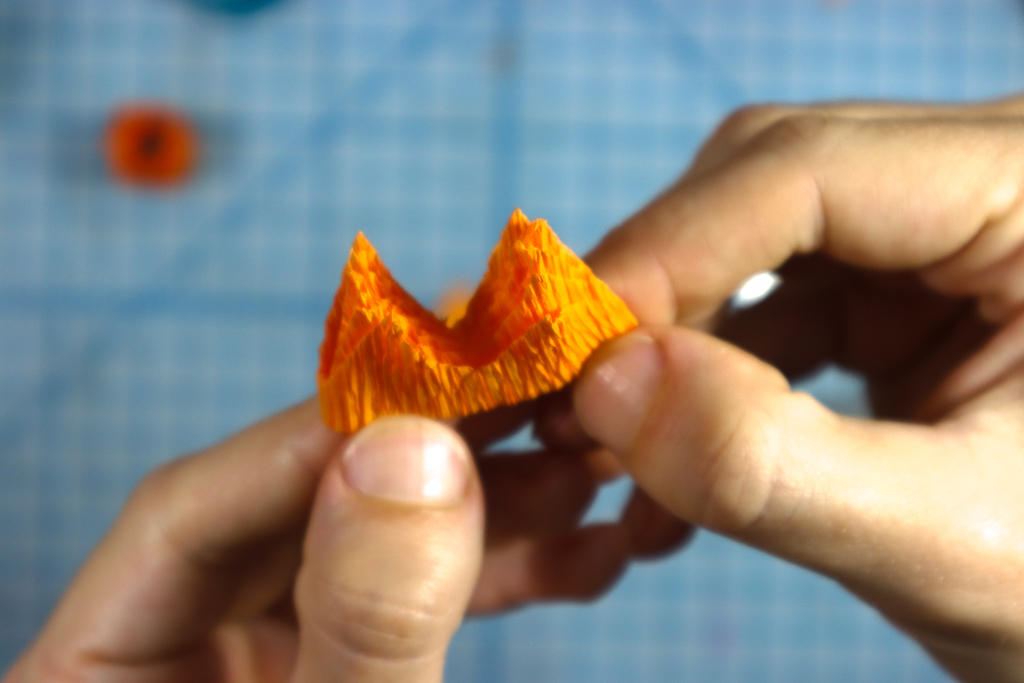
Time to make the flower petals.
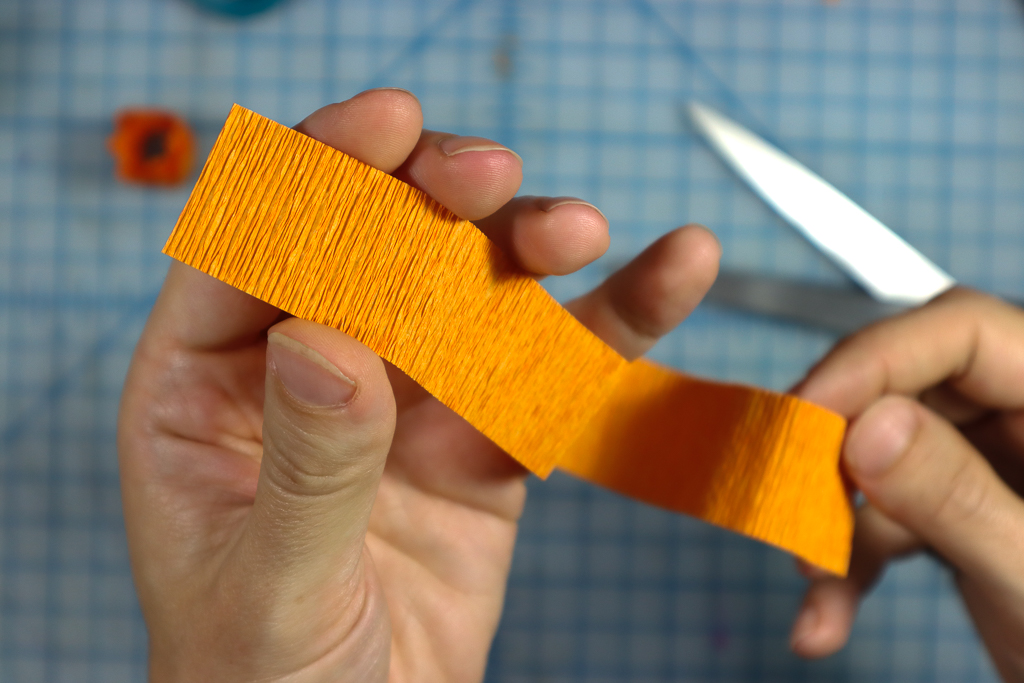
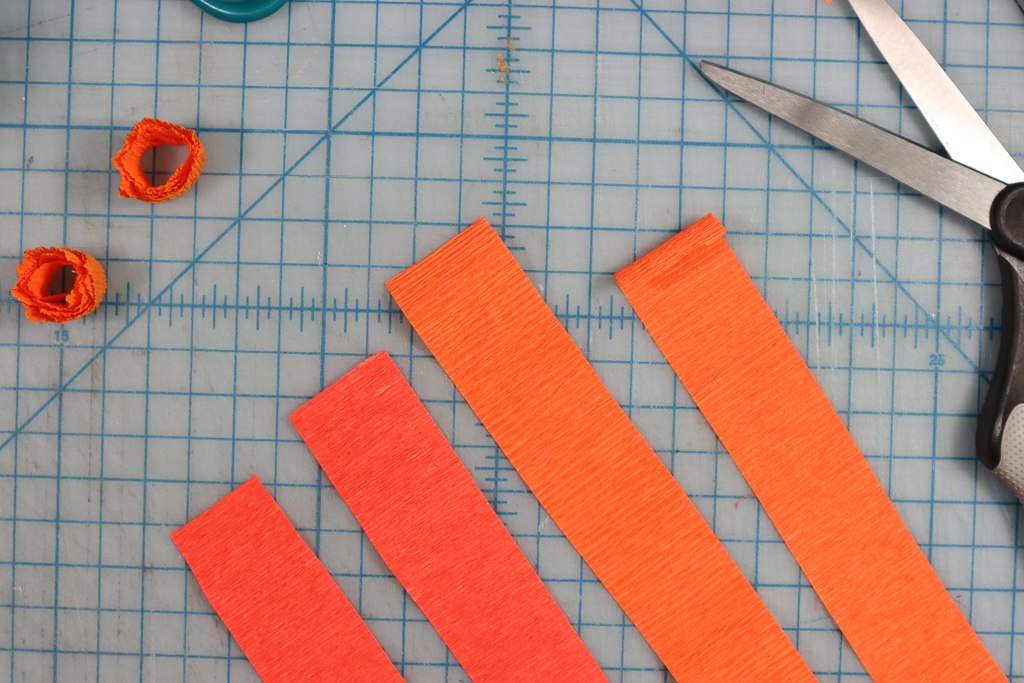
- Cut a strip of crepe paper about 1.25 inches x 11 inches.
- Fold the strip in half over itself 4 times as shown, then cut two “mountain” shapes from the edge to shape the petals.
- Unravel the strip.
Step 12
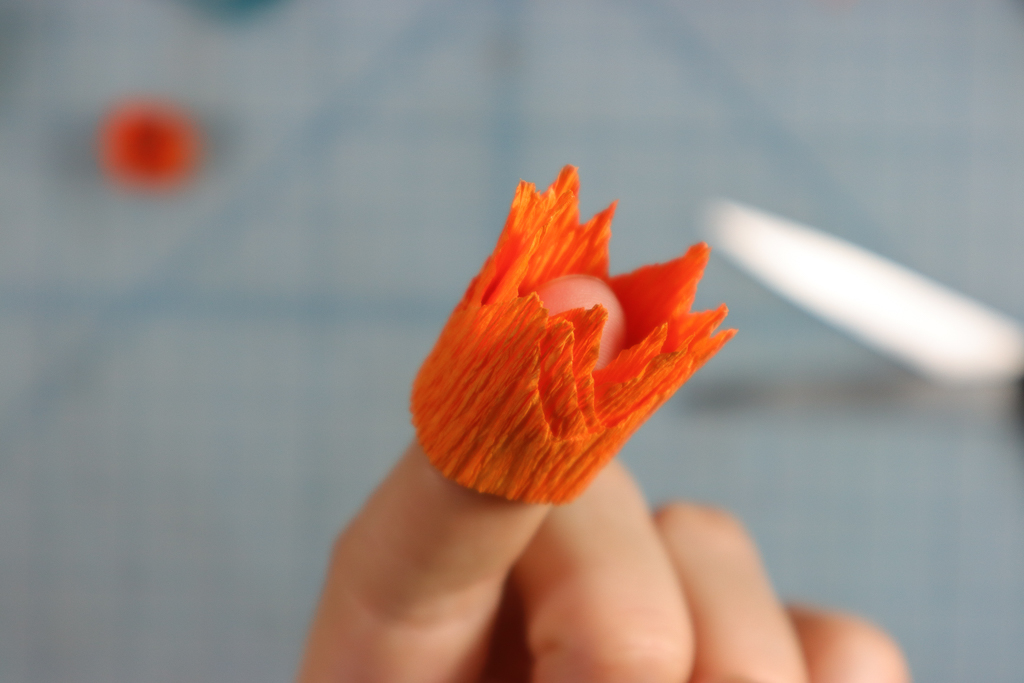
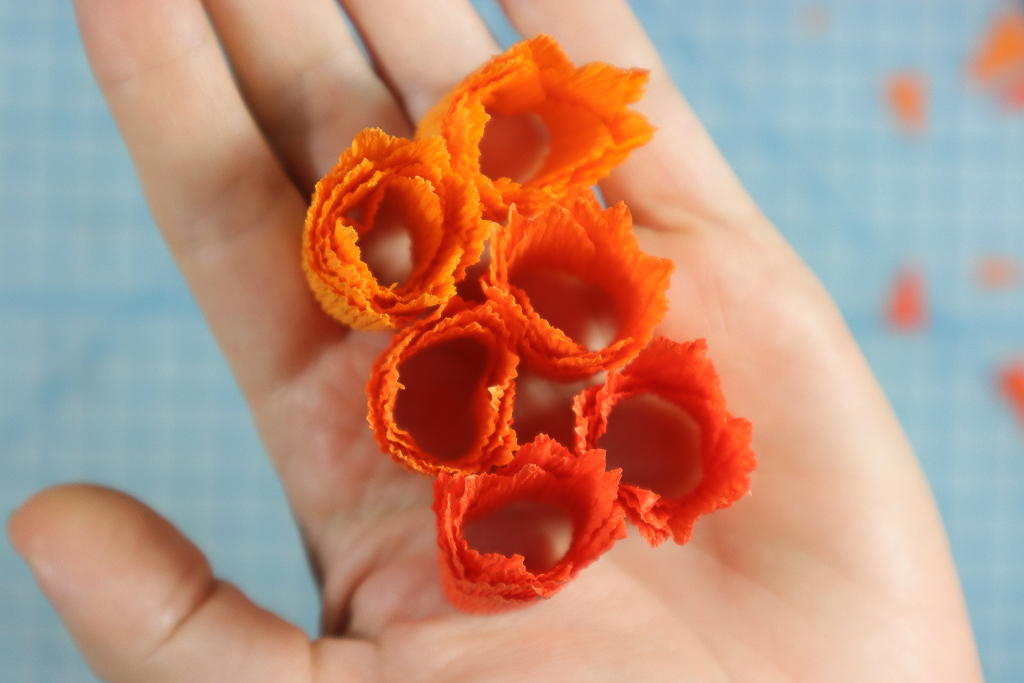
Glue the flower petals together by wrapping them around your finger and applying a dot of glue every time you wrap. The finger width will provide a place at the center of the flower to let the LED shine through.
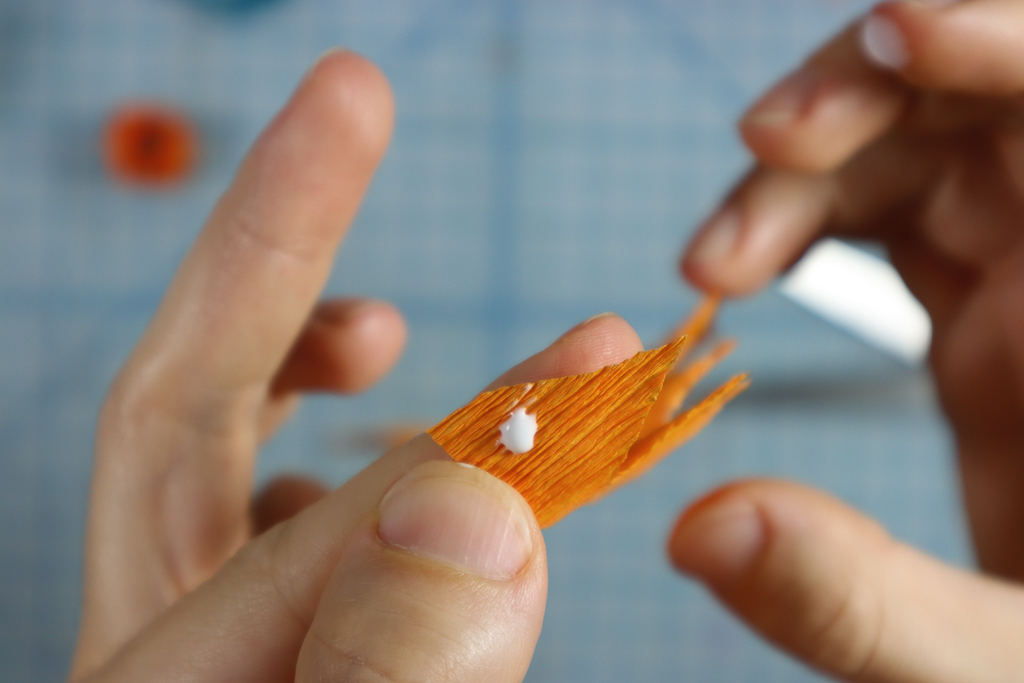
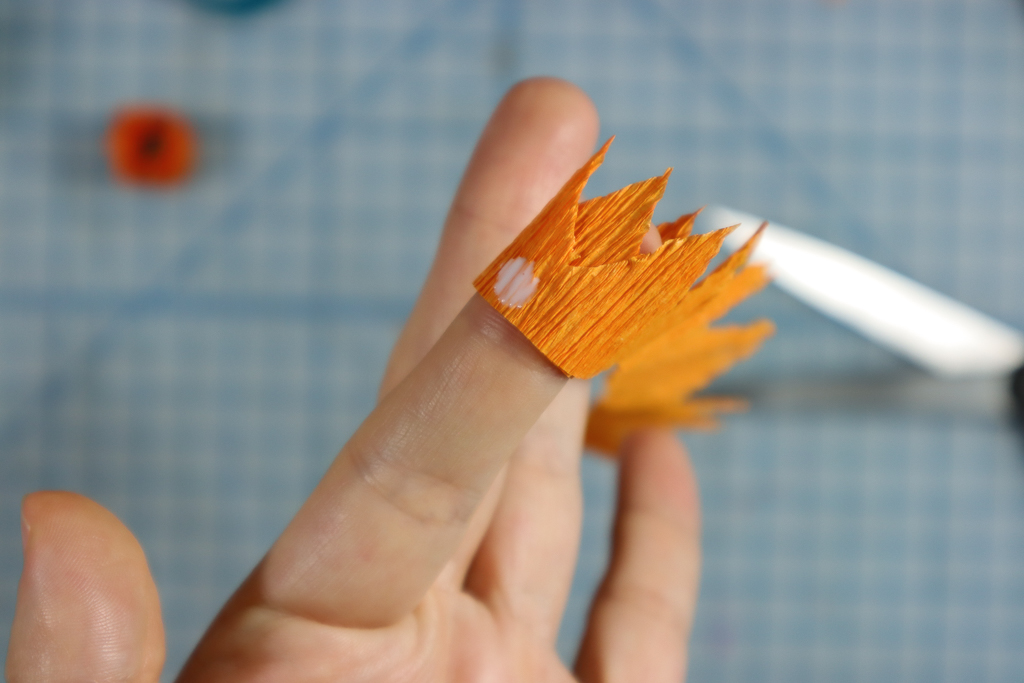
Step 13
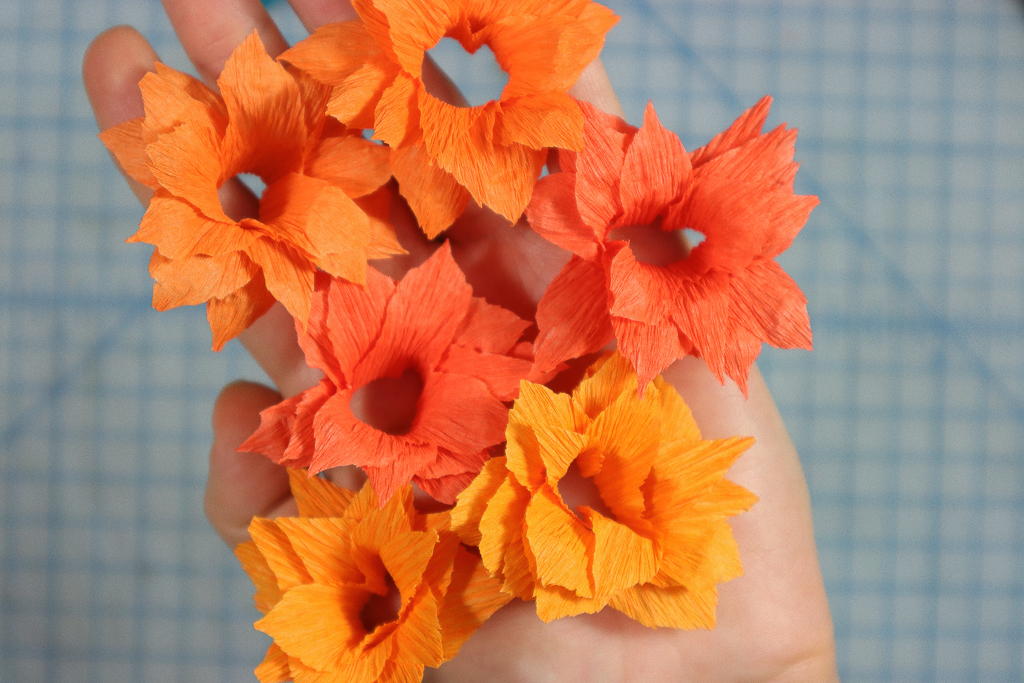
Repeat this process for the other 5 flowers. I chose to go with crepe paper colors that match the LED colors.

Step 14
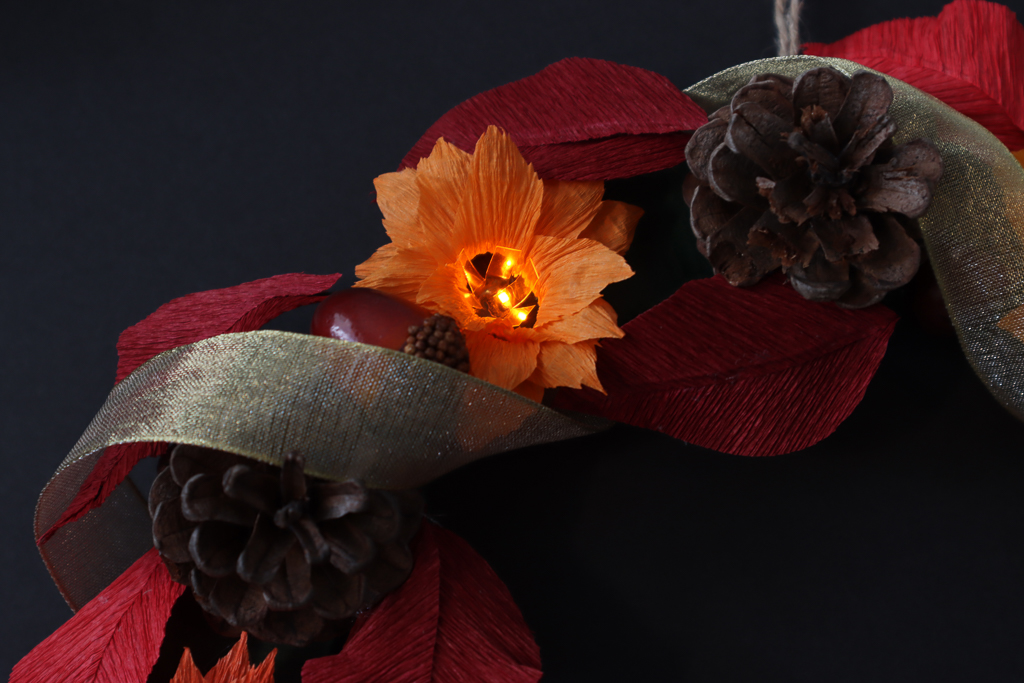
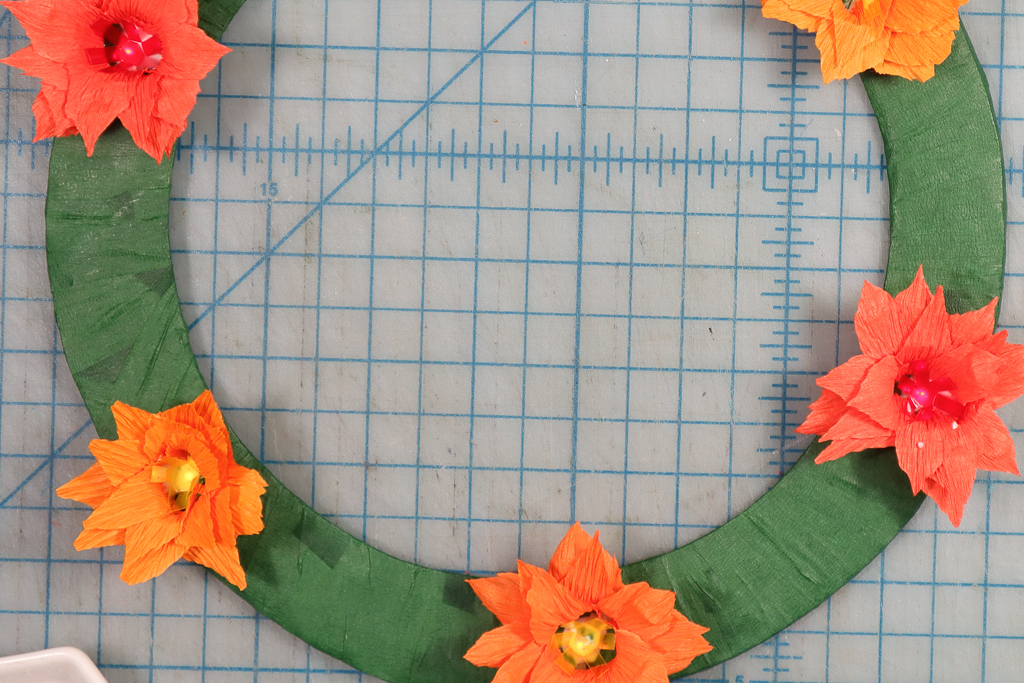
Fluff the petals by gently separating each one with your fingers, then glue the flowers in place over the LEDs.
Step 15
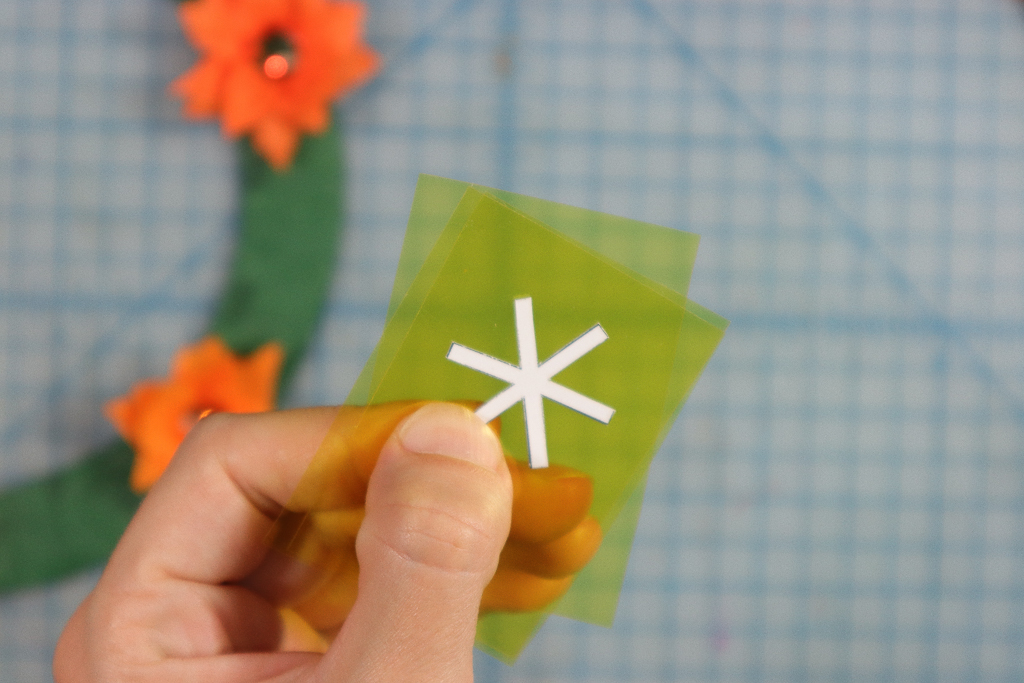
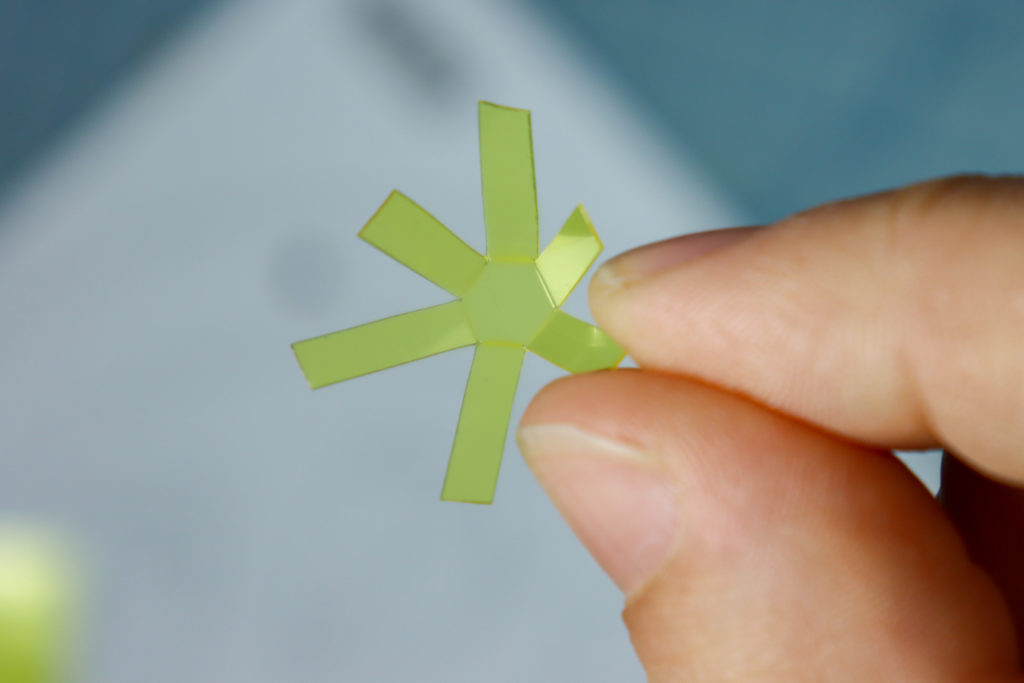
Create the flower centers by cutting the star shape out of yellow and red craft plastic. Fold each of the legs of the shape so that it becomes 3D.

Step 16
Use white glue to glue the craft plastic centers into the flowers. The glue will be white at first but will dry clear and help to disperse the light.
This technique reflects the single LED and makes it look like there are 7 LEDs in one!
Step 17
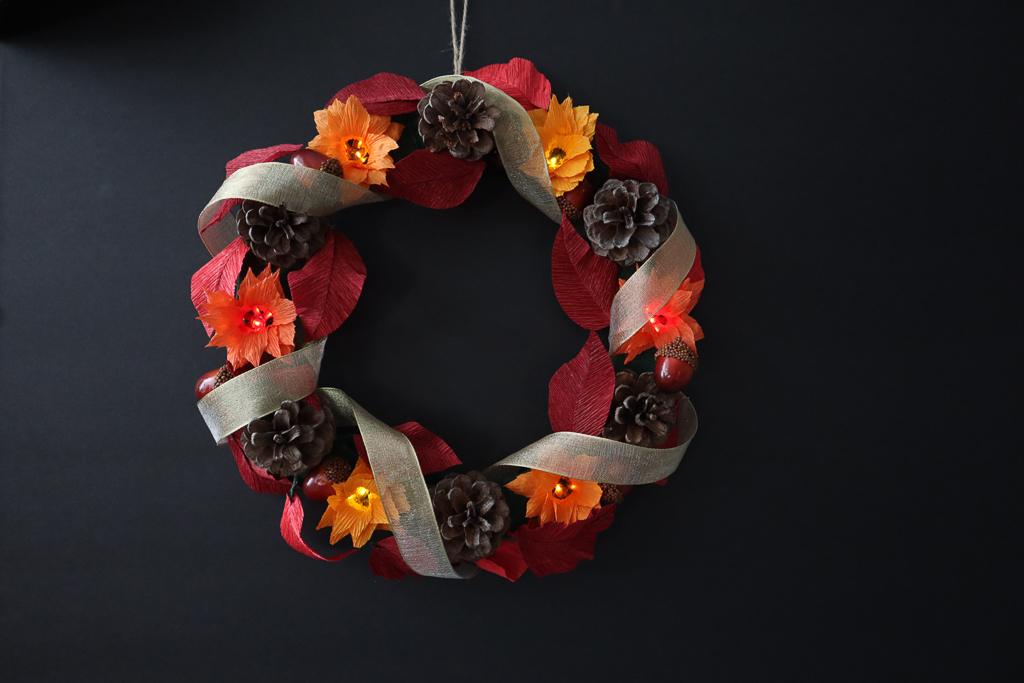
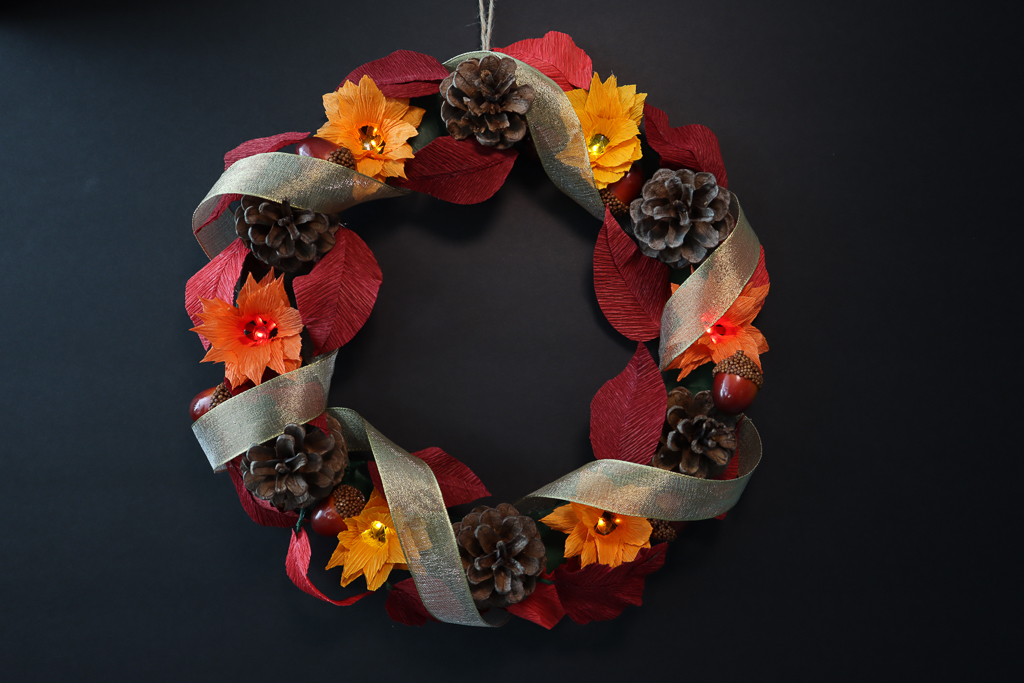
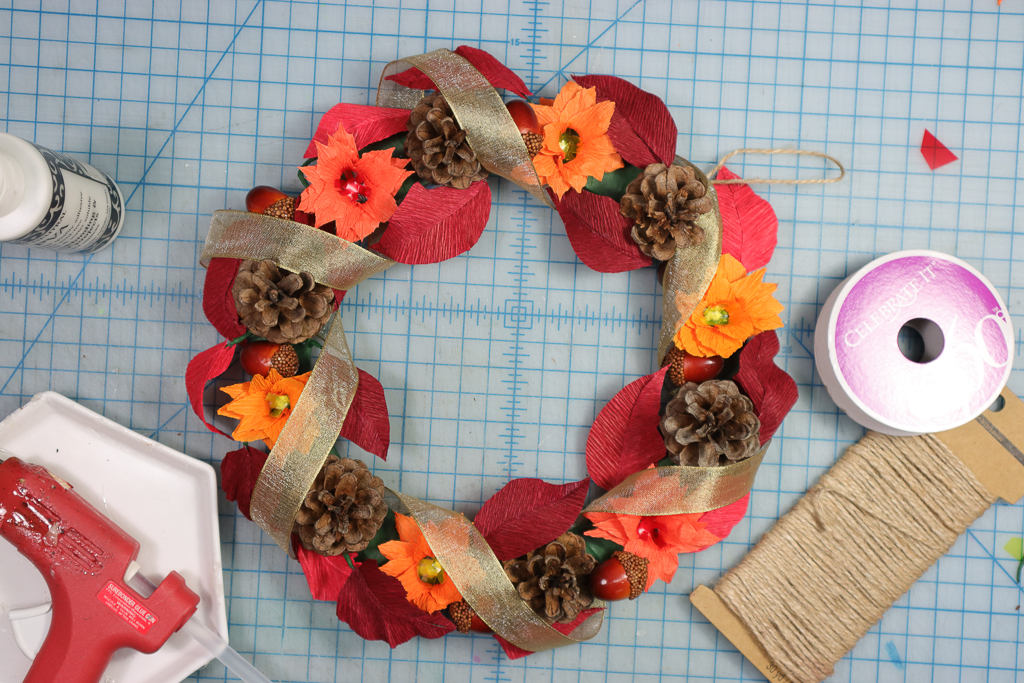
Time to decorate! But before you do, tie a string to the ring so that you have a way to hang it.
Step 17
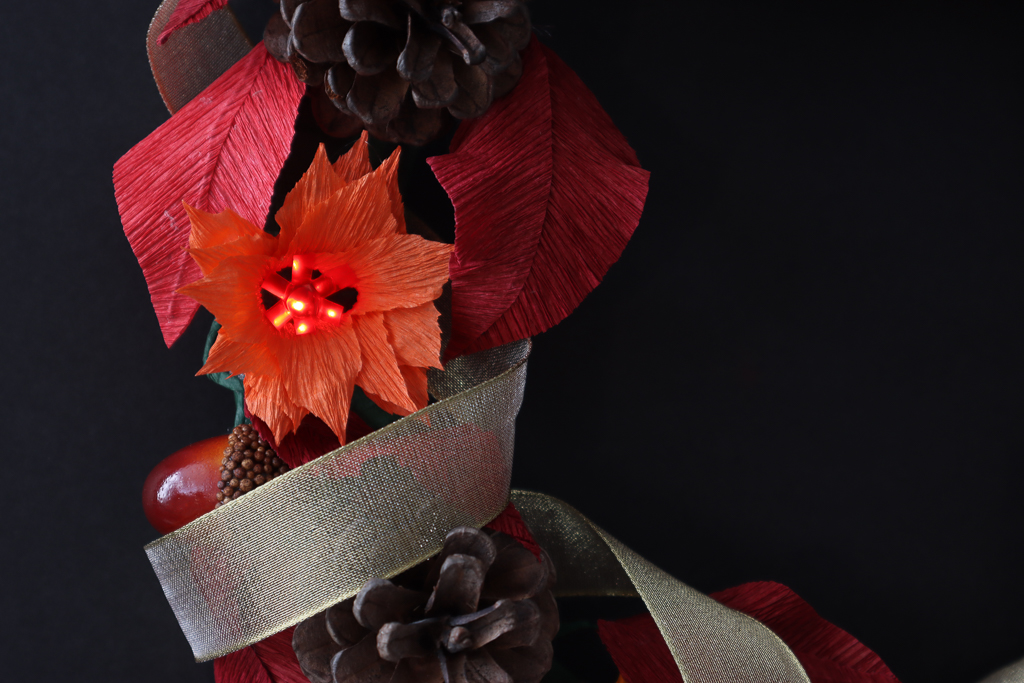
Use hot glue to adhere the leaves and other fall foliage to the wreath. The leaves can be positioned and twisted to give it a very full look.
Step 18
Hang your wreath. HAPPY FALL!