Introduction
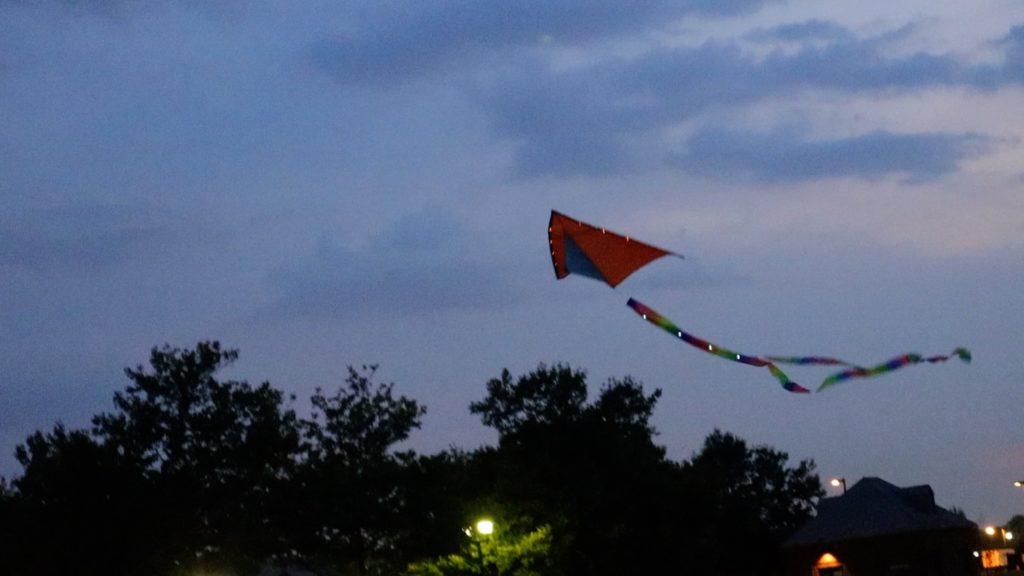
In this tutorial, you’ll learn to add LED lights to a kite so that it can be seen at night.
Contents
Light-Up the Night with LED Kites!
Topics
paper, LED, flying toys, simple circuits
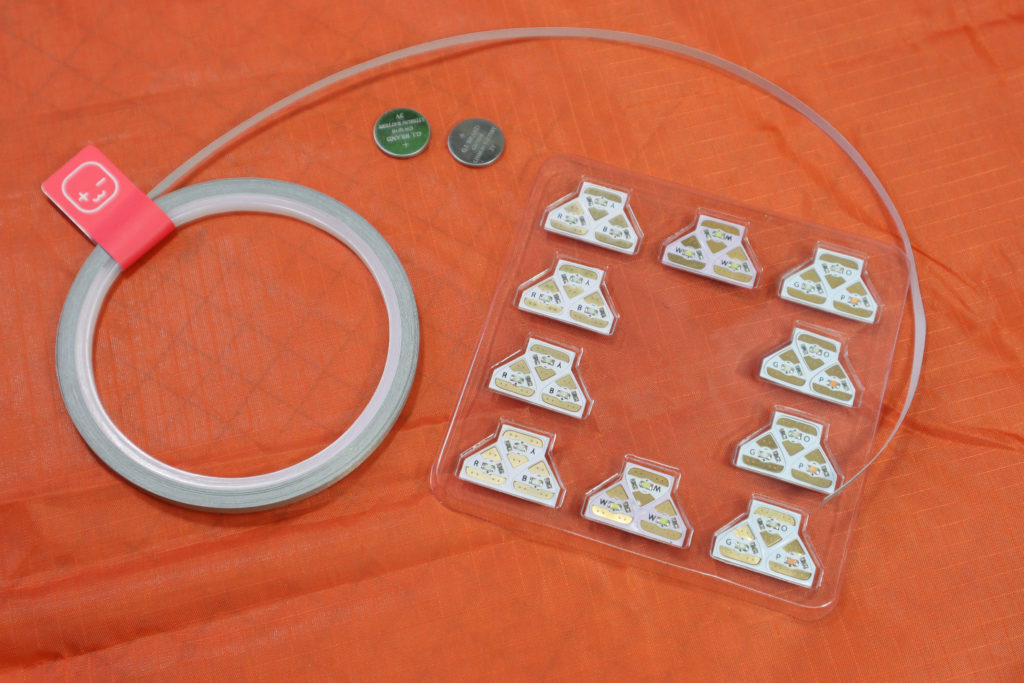
Materials
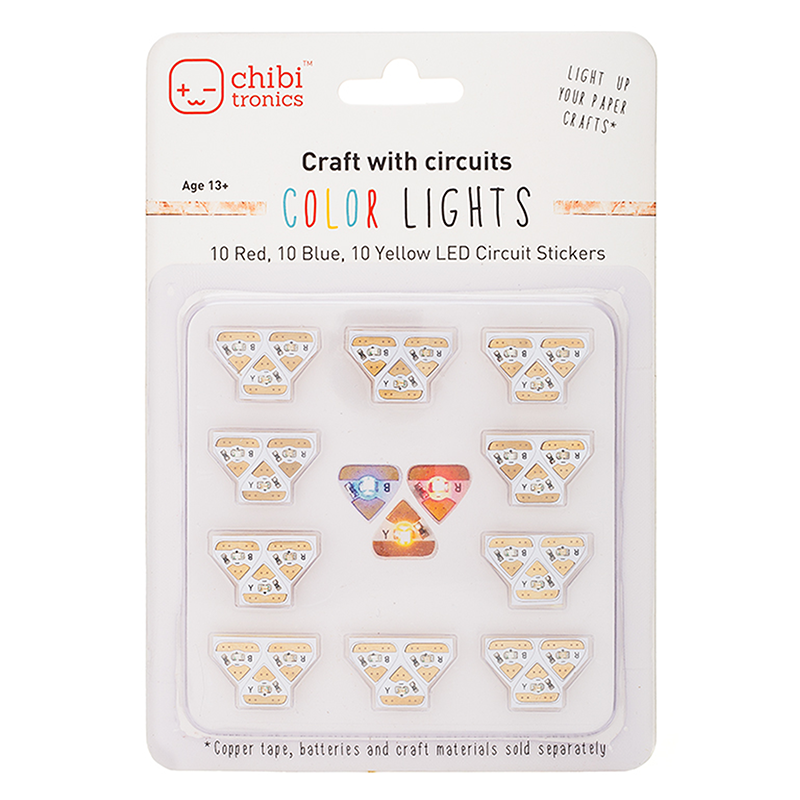
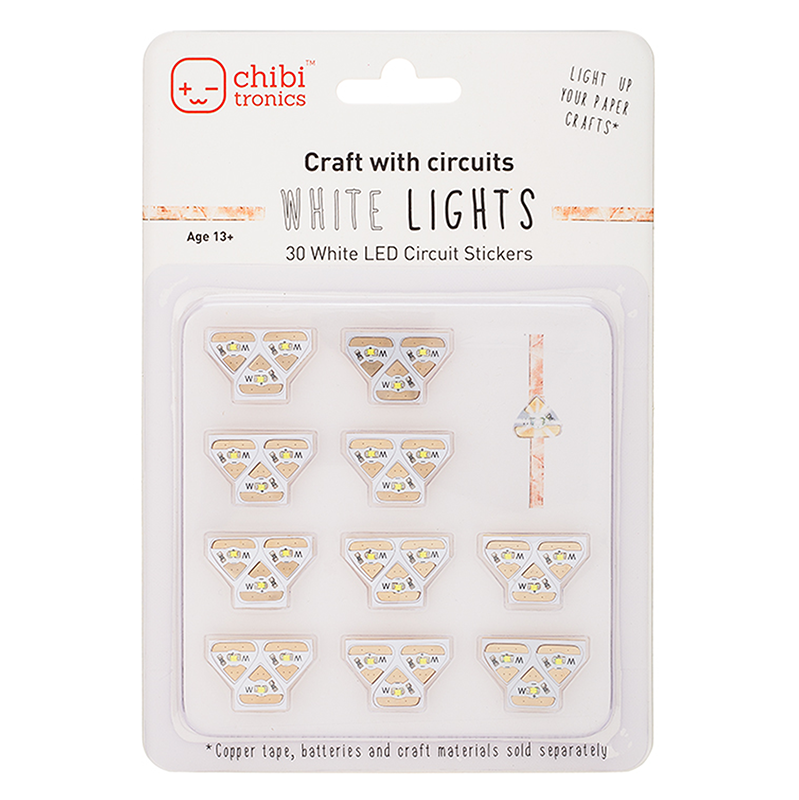
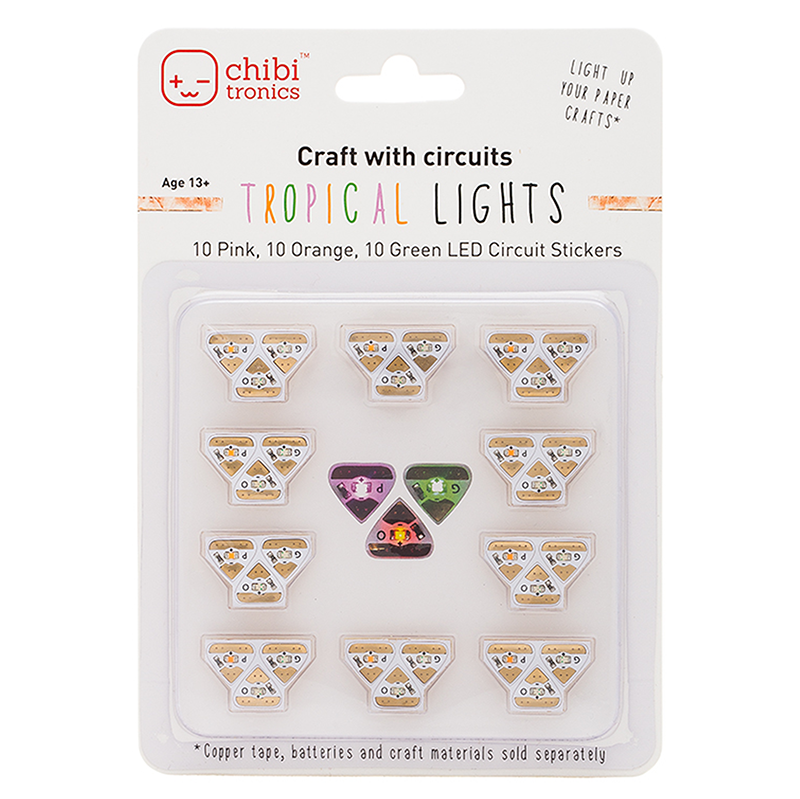
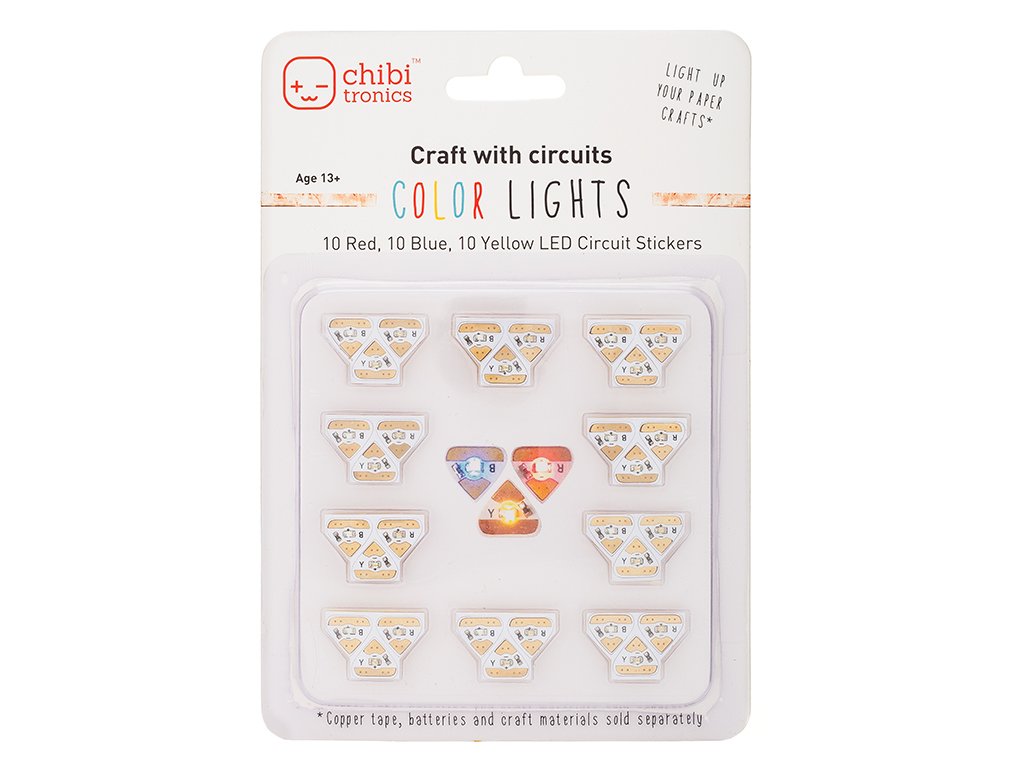
- LED Circuit Stickers (3)
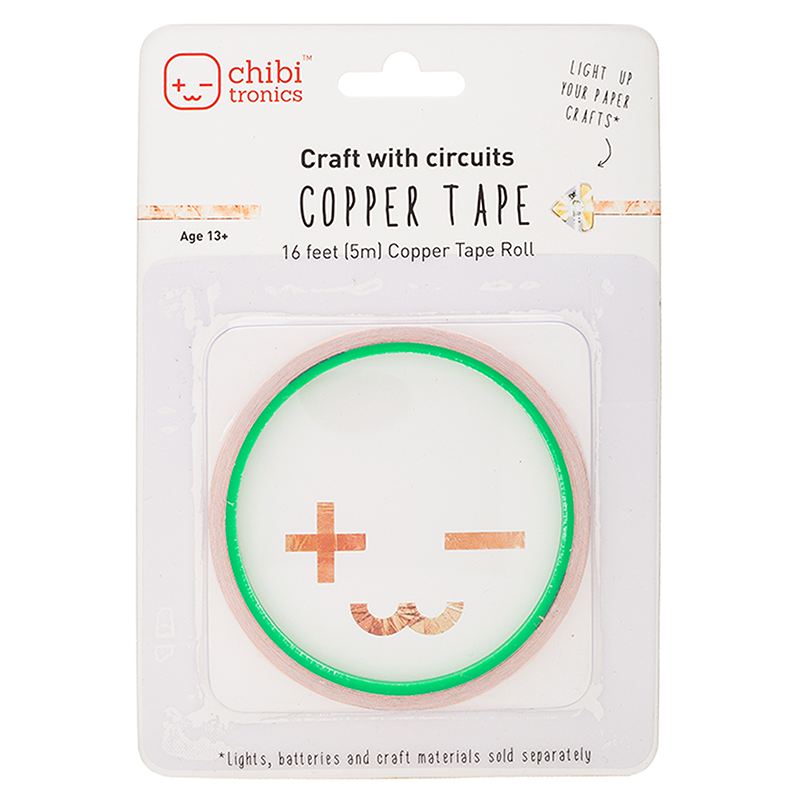
- Conductive Fabric Tape
- Red Kite or Bat Kite
- Coin Cell Battery
- Black Electric Tape (optional)
Tools
- Scissors
Directions
Video Overview:
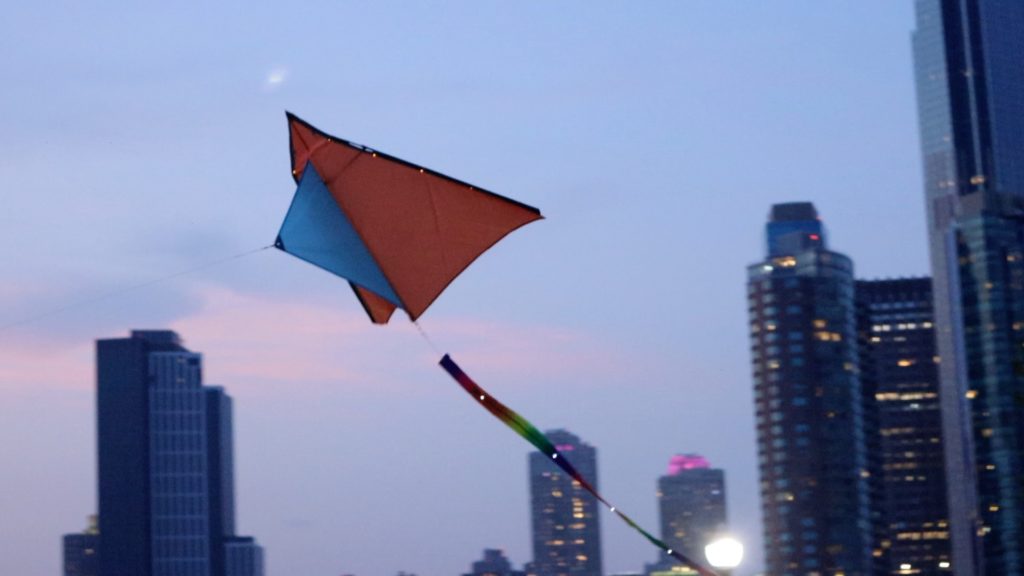
Red Kite:
Step 1:
Gather supplies, Choose four LED Circuit Stickers for each circuit in your project.
Step 2
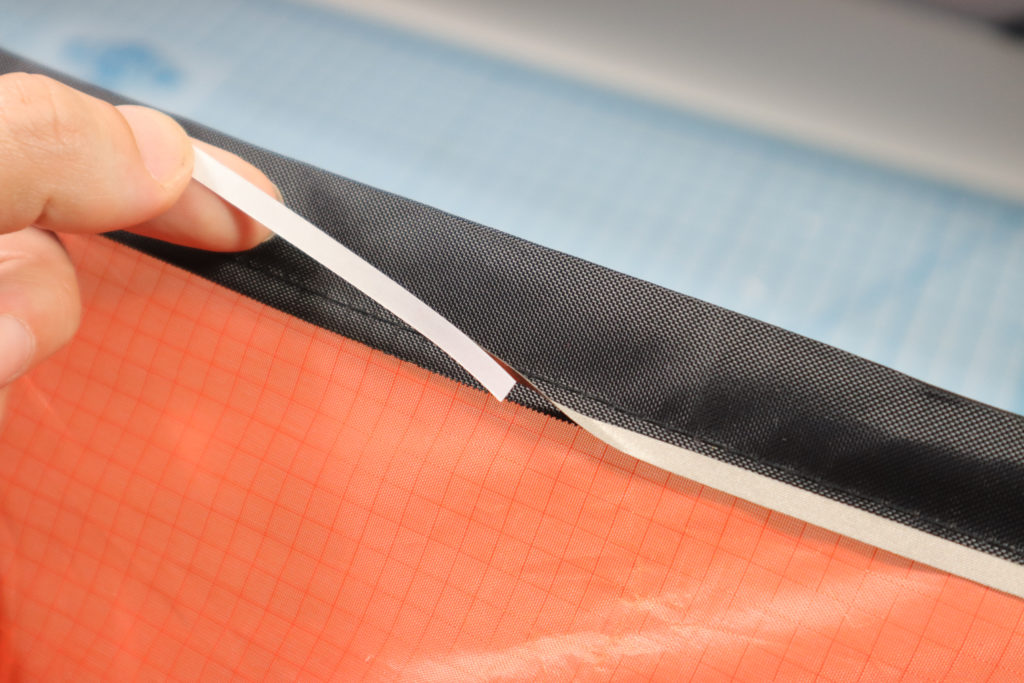
Adhere a piece of conductive fabric tape along the edge of the kite on the side that faces down when it flies. Leave about 3 inches of extra tape with the backing still intact to use later. This will be the positive wire in the circuit.
Step 3
Lay a second row of conductive fabric tape next to the first as shown. This will be the negative wire in the circuit.
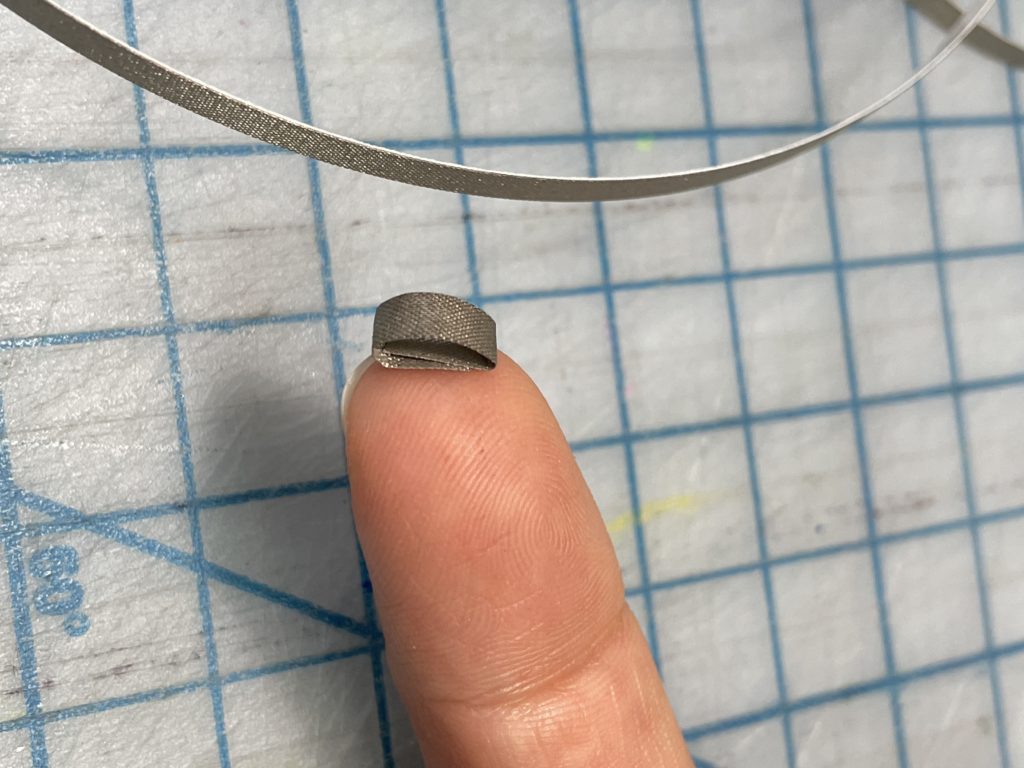
To connect the battery, add a small loop of tape (shown in the photo below) to the negative line of tape, then place the negative side of the battery on top of it. Finally, peel away the 3-inch section of tape and use it to secure the top of the battery (positive side). Adding an extra piece on top as shown will add extra security.

Step 4
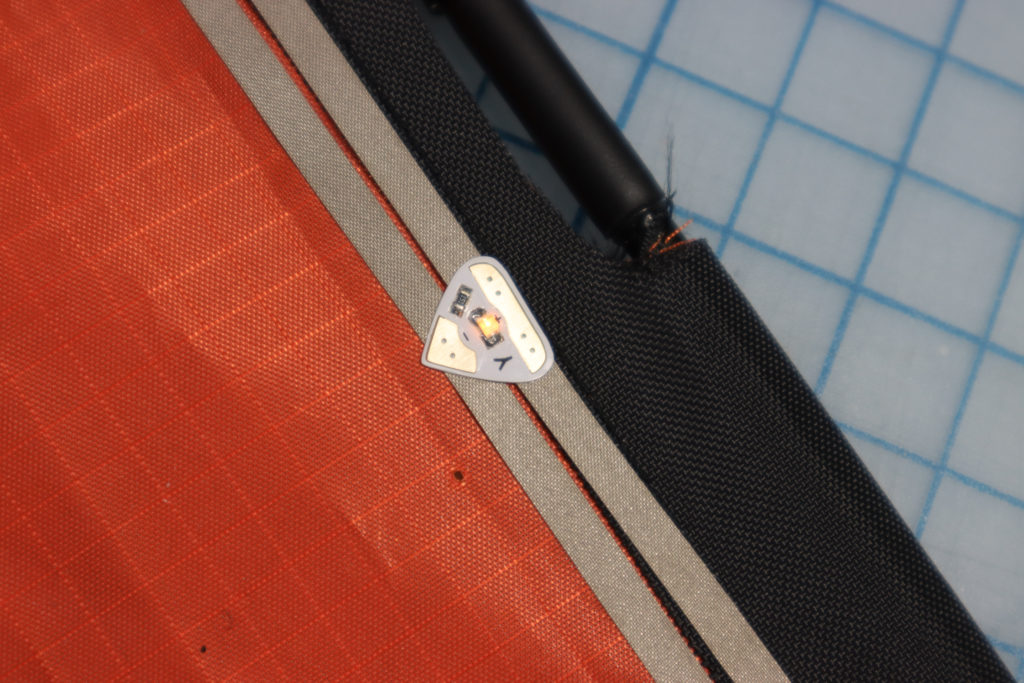
Place 4 LED Stickers between the positive and negative wires as shown. To make them equidistant, measure the size of your kite and divide it by 5, then center the 4 stickers. If you are using the red kite linked in the description, 7 inches between each sticker looks nice!
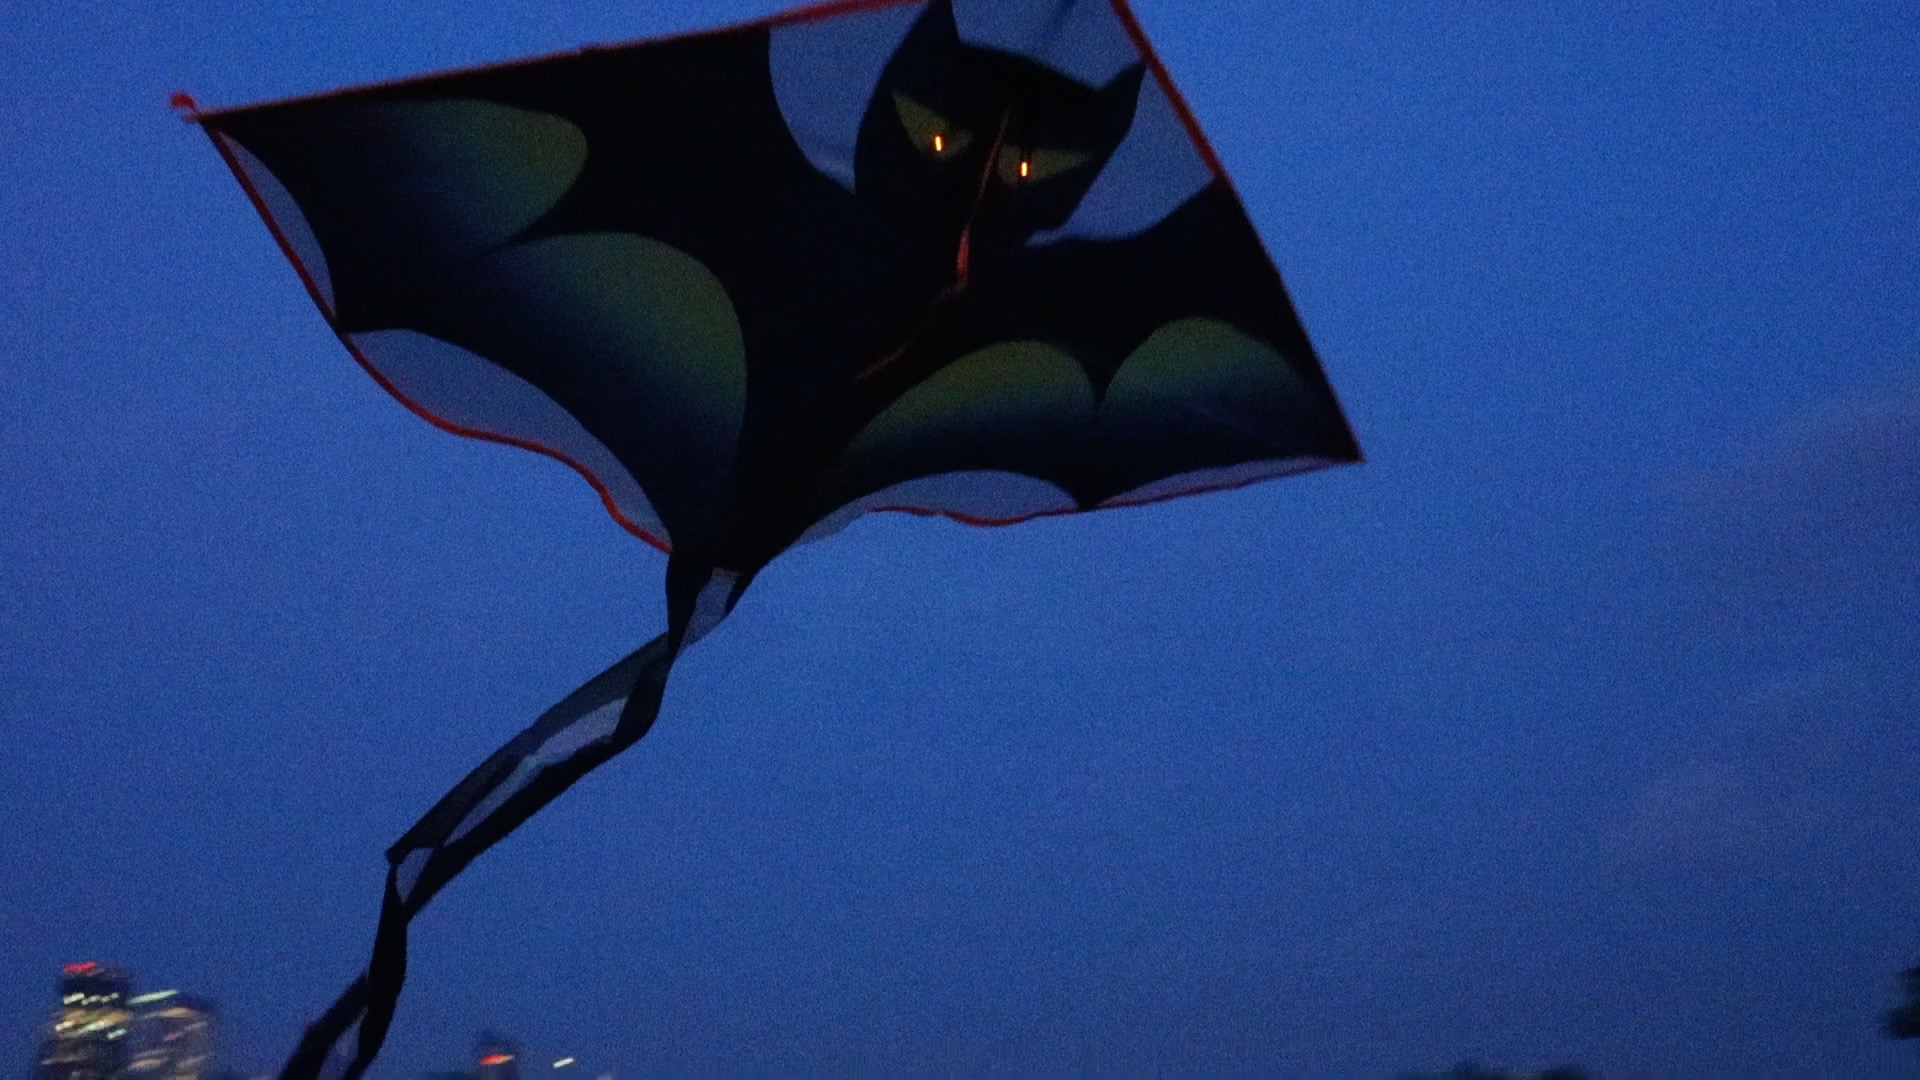
Bat Kite
Step 1:
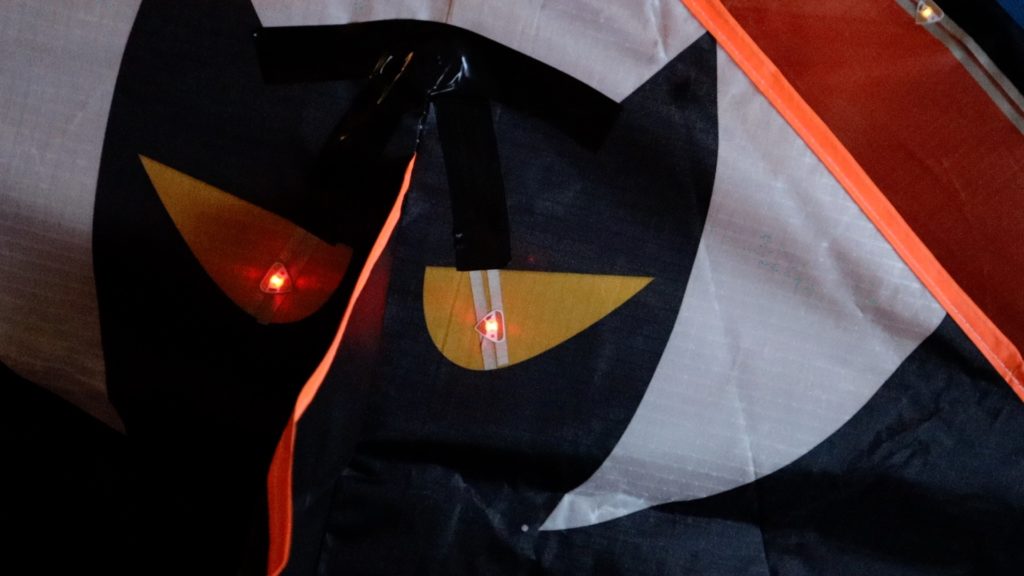
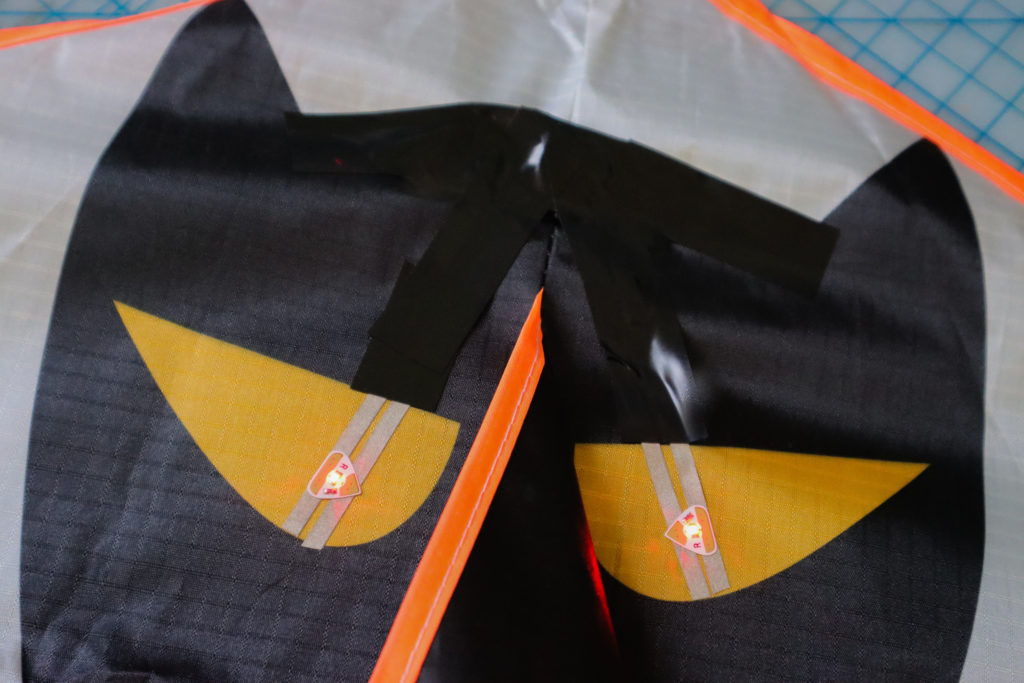
Build the circuit and attach the LEDs as shown.
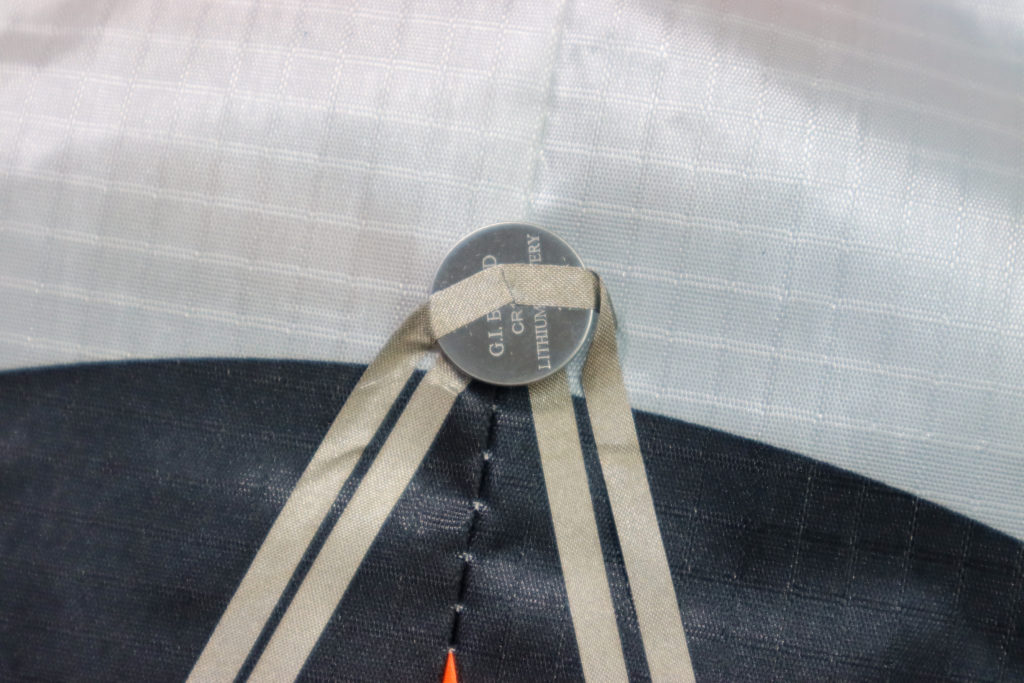
- Make a negative wire of conductive fabric tape in a “V” shape that goes through both eyes
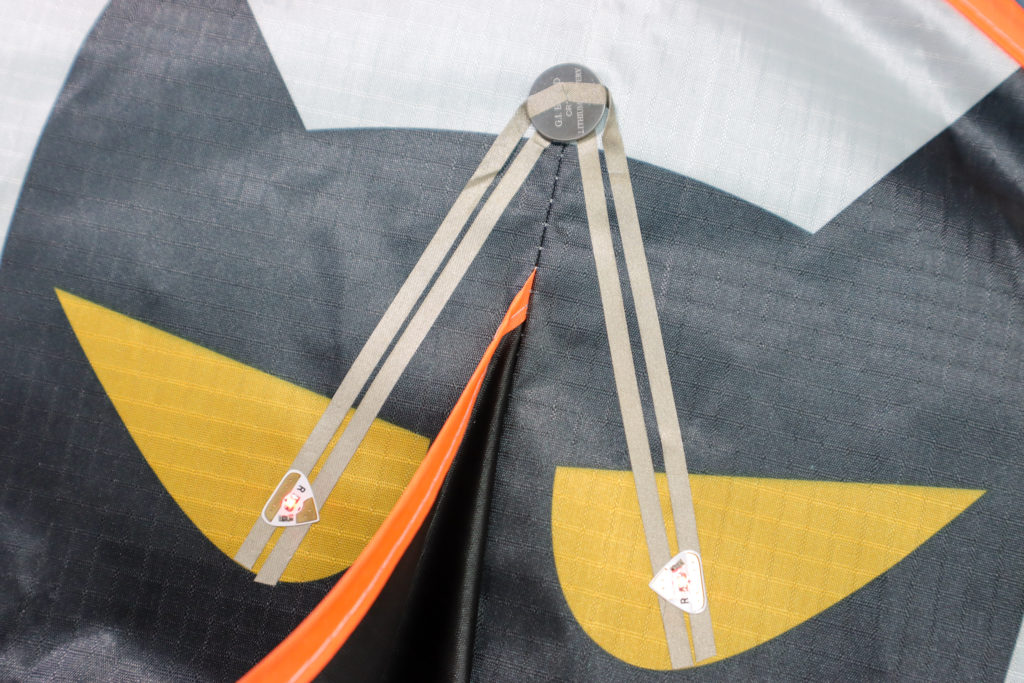
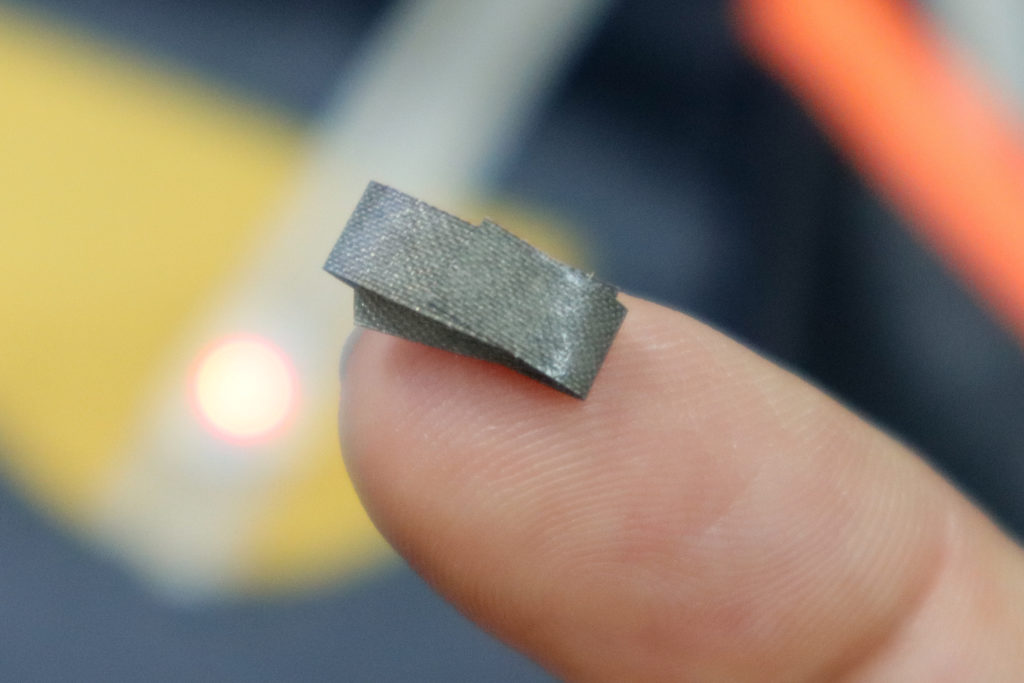
- Before you place the battery, put a small ring of conductive fabric tape on the negative side.
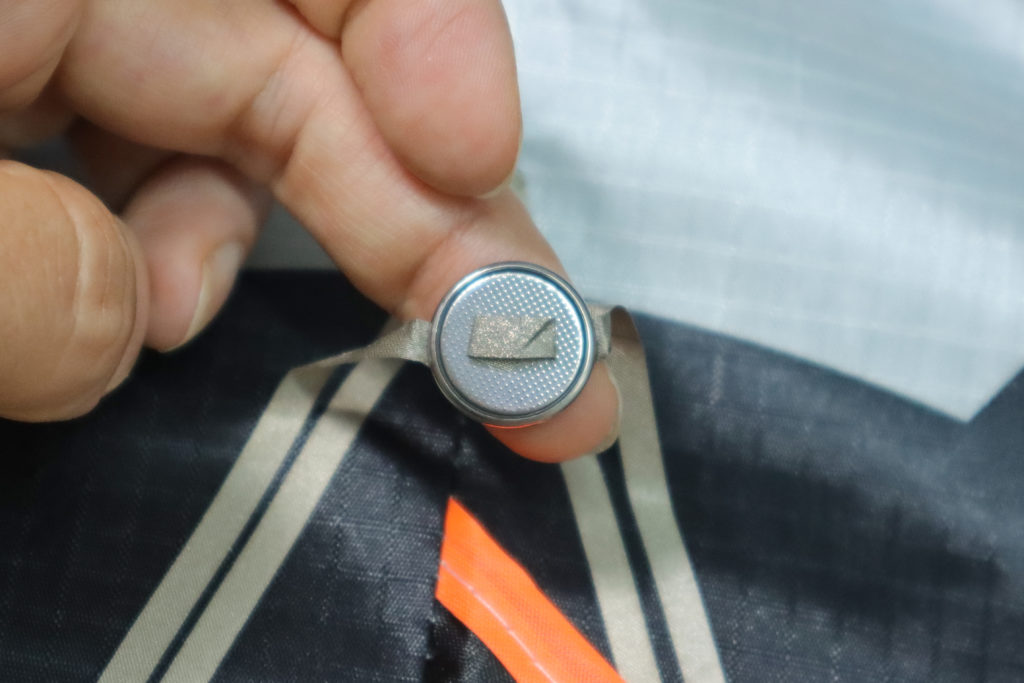
- Place the positive wire of conductive tape on top.
- Add LEDs to each eye, aligning the positive and negative sides. The LEDs should turn on!
Step 2
- Cover the traces with black electrical tape to disguise them.
You’re ready to light up the night.
Go fly your kite(s)!