Introduction
In this tutorial, you’ll learn to use copper tape and sticker circuits to make a night light that reveals a secret image when you turn it on!
Contents
Make a Night Light
Topics
3D, secret messages, shadows, recyclables
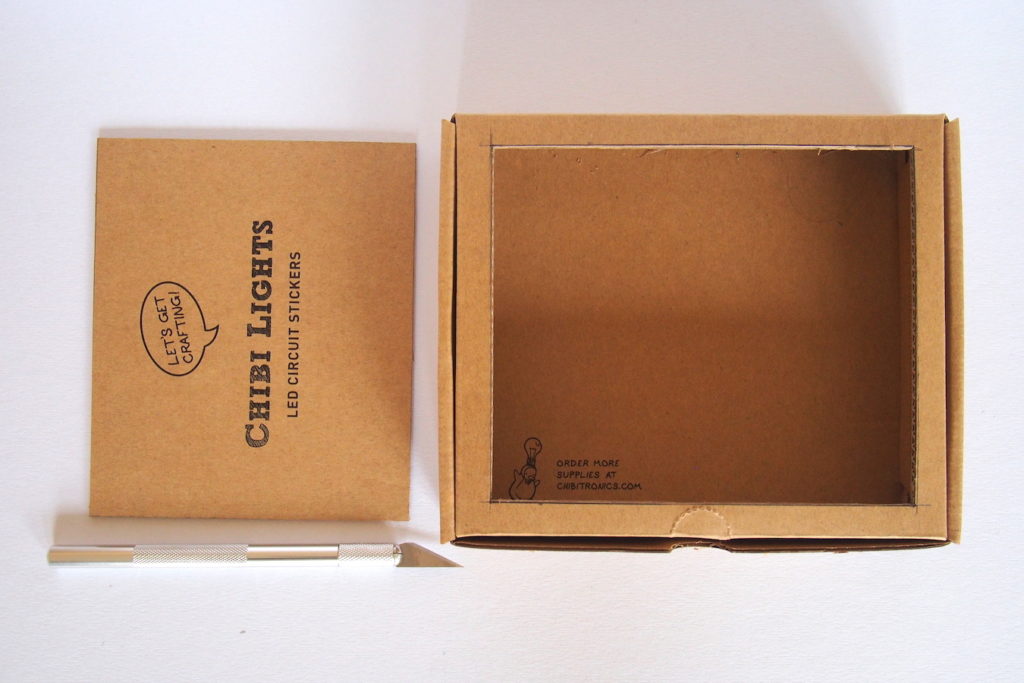
Materials
Tip: All of the materials except for the printer paper are already included in the Chibi Lights STEM Starter Kit!
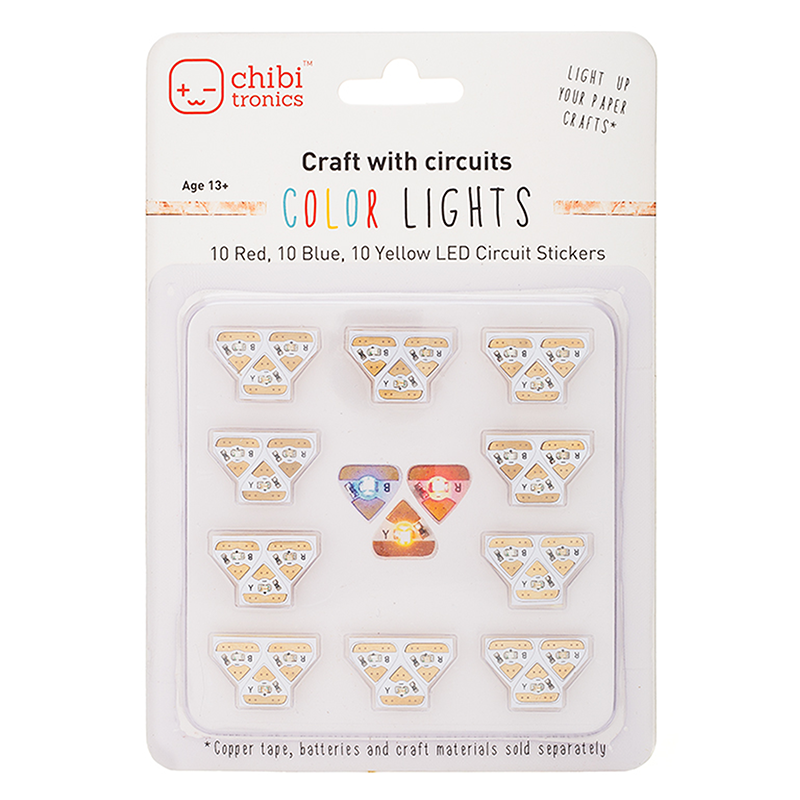
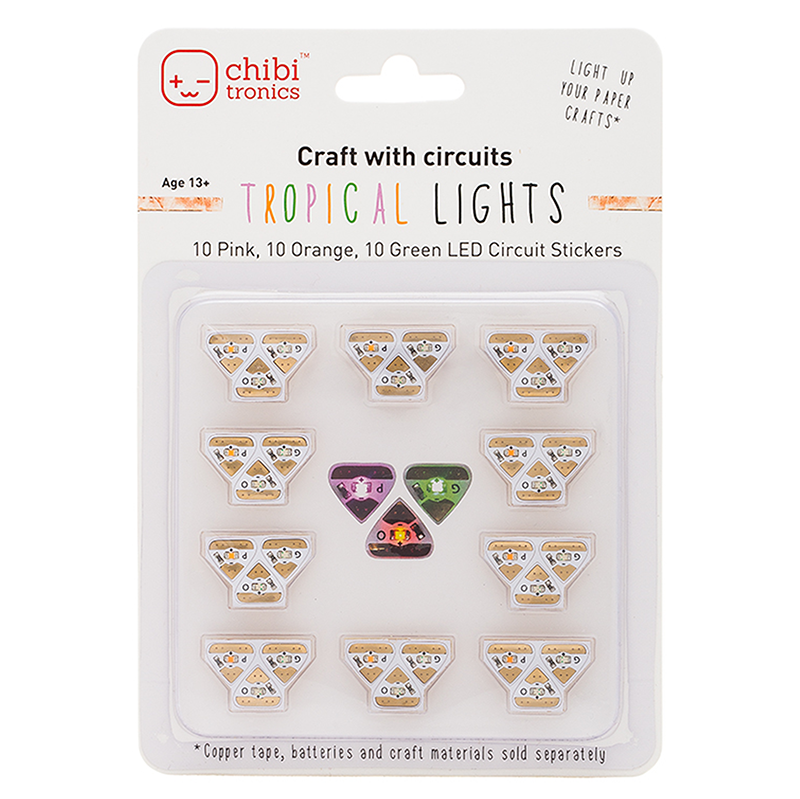
- LED Circuit Stickers (at least 4)
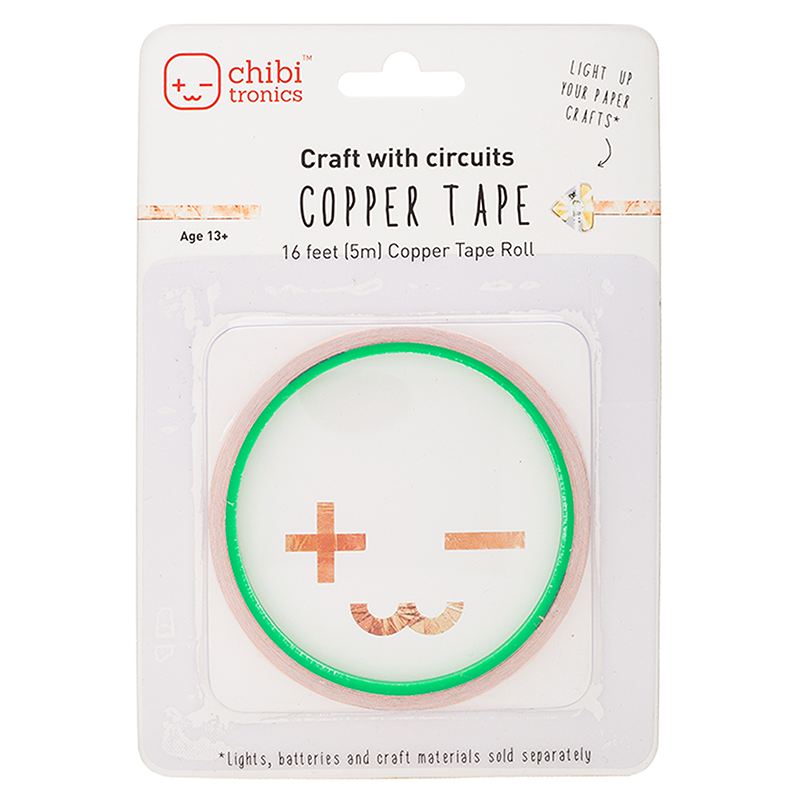
- Copper Tape
- Coin Cell Battery
- Small cardboard box (if you’re using the Starter Kit, you can use the box it comes in!)
- Binder Clip (battery holder)
- White printer paper
- Aluminum foil (optional)
Tools
- Scissors or craft knife
- Pen or marker
- Glue stick
- Ruler (optional, but it helps)
Directions
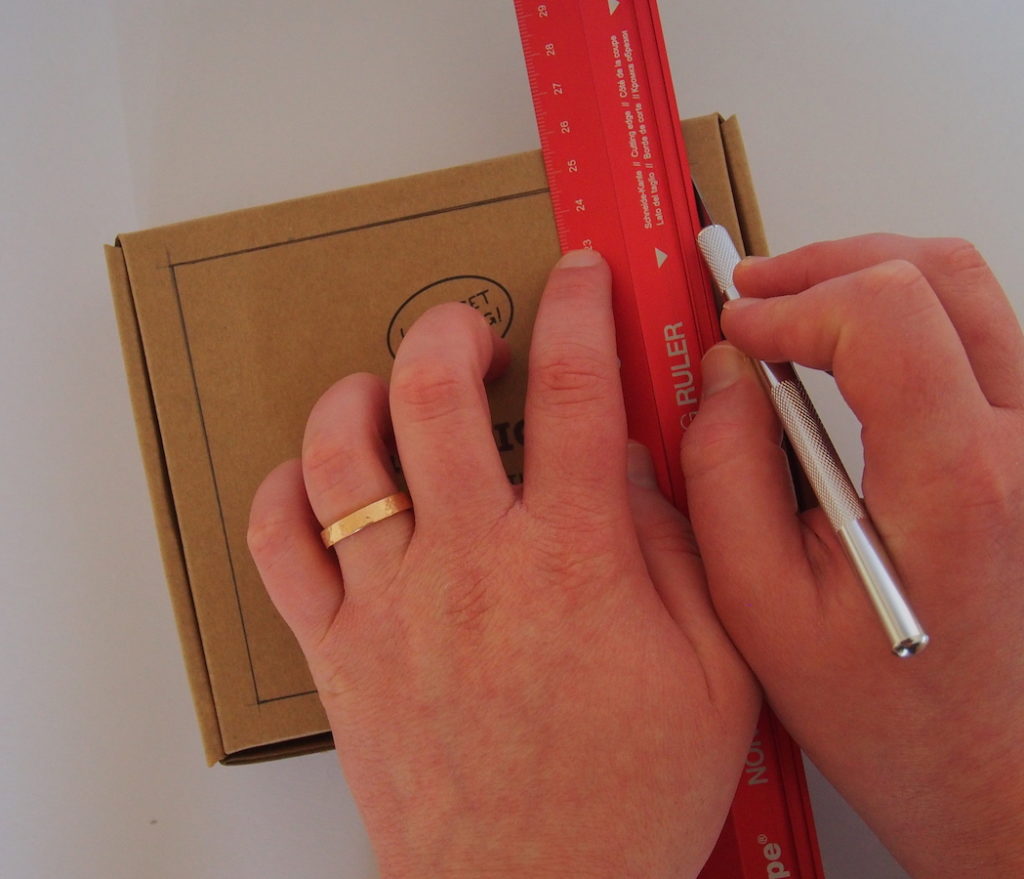
Step 1
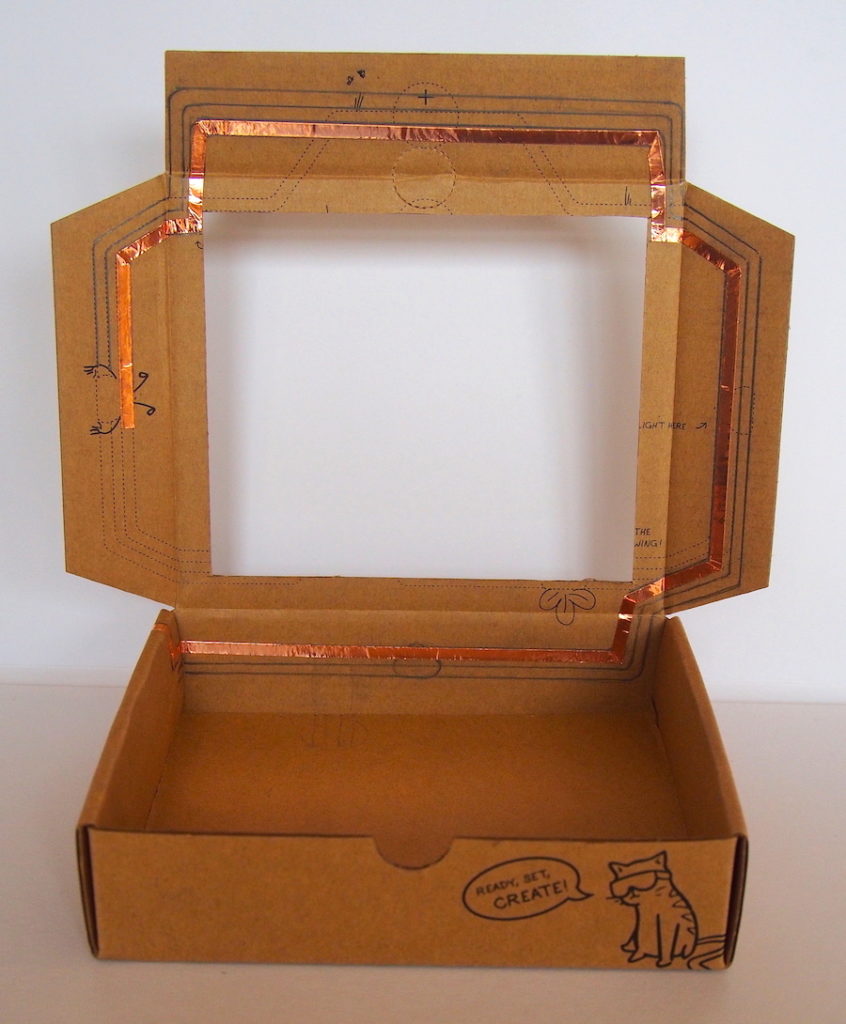
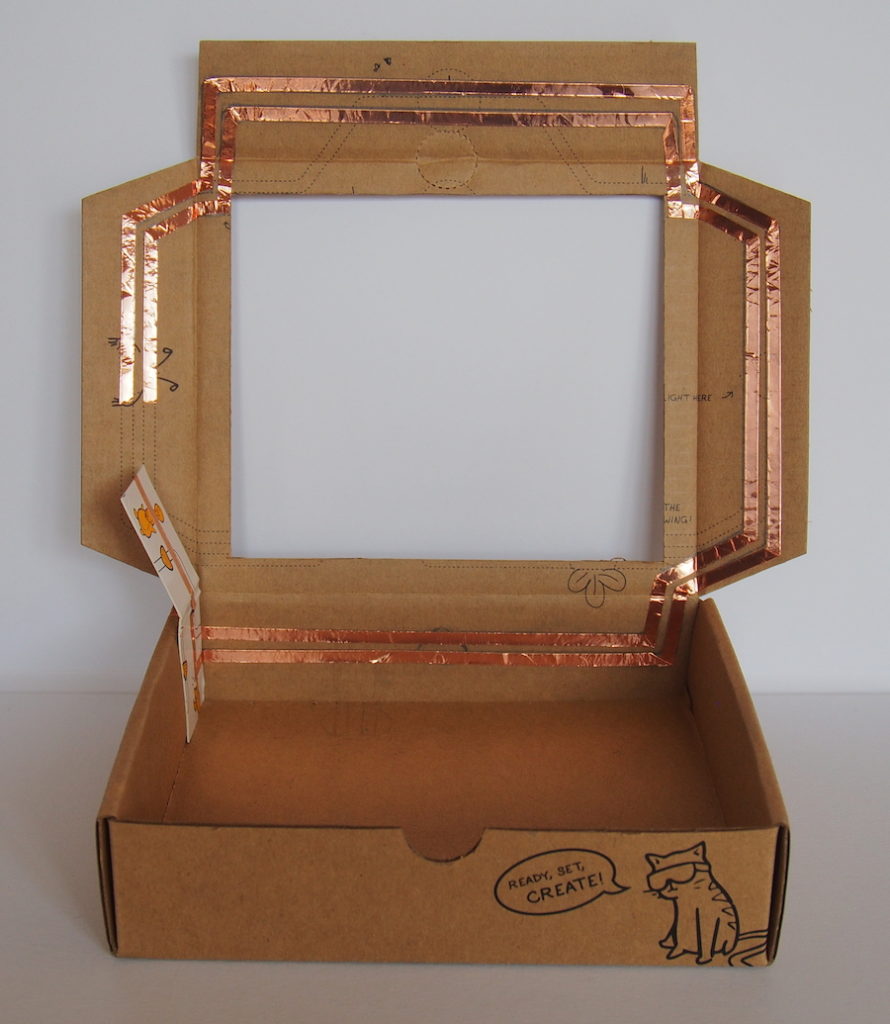
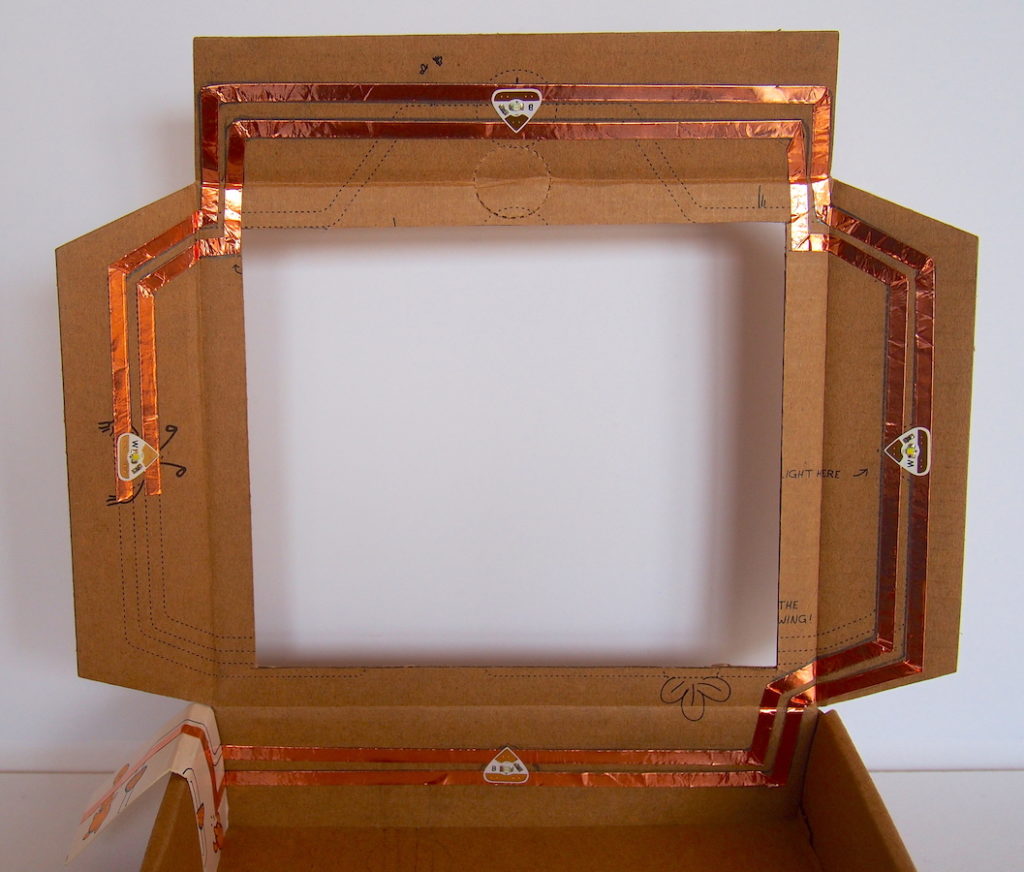
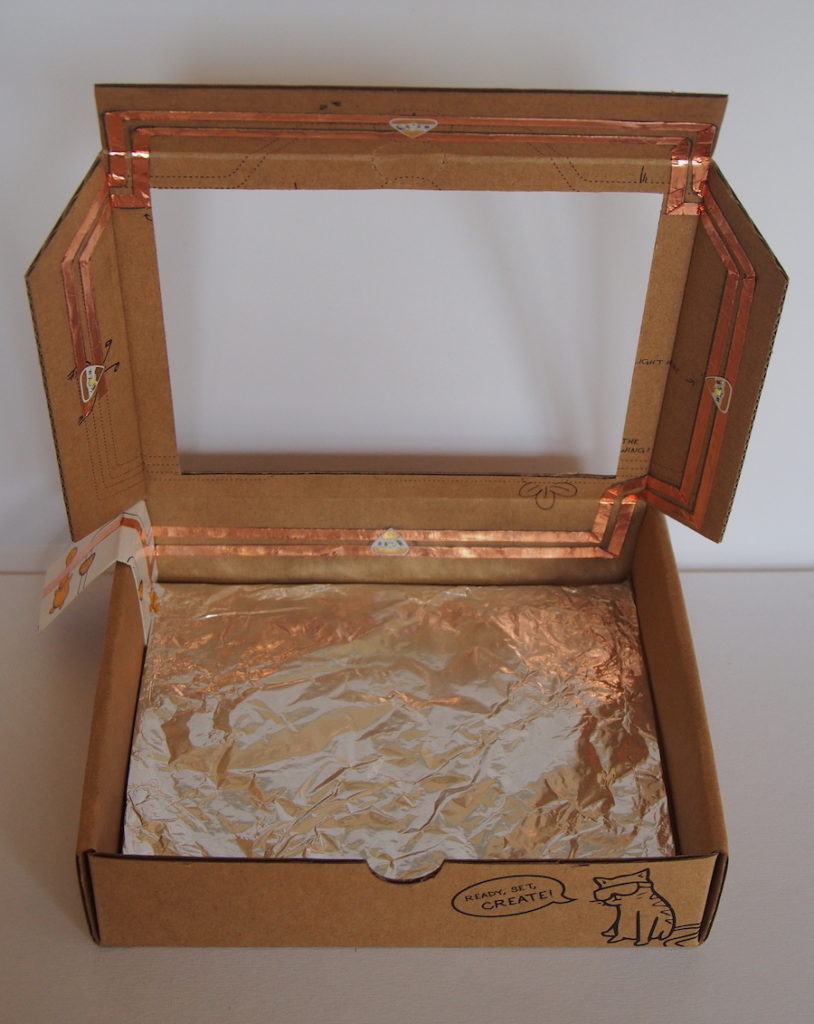
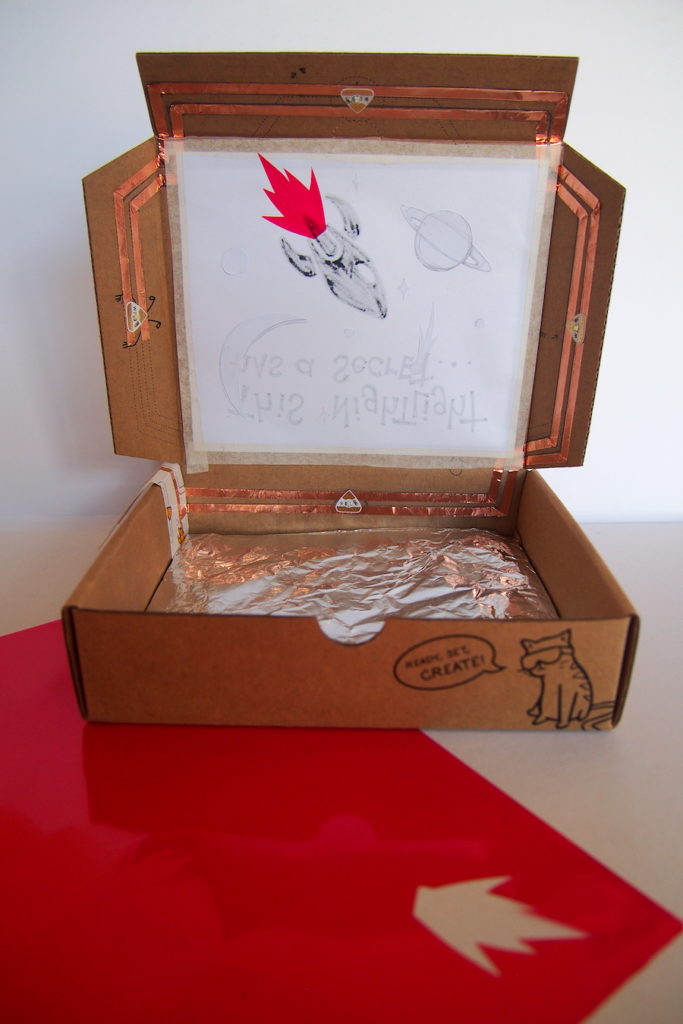
Draw a frame on the top of the box. Leave about 1/2″ inch gap between the edge of the lid and your frame.
Step 2
Cut out the top using the frame you drew in Step 1 to guide you. This is best done with a craft knife and a ruler, but make sure to have adult supervision.
Step 3
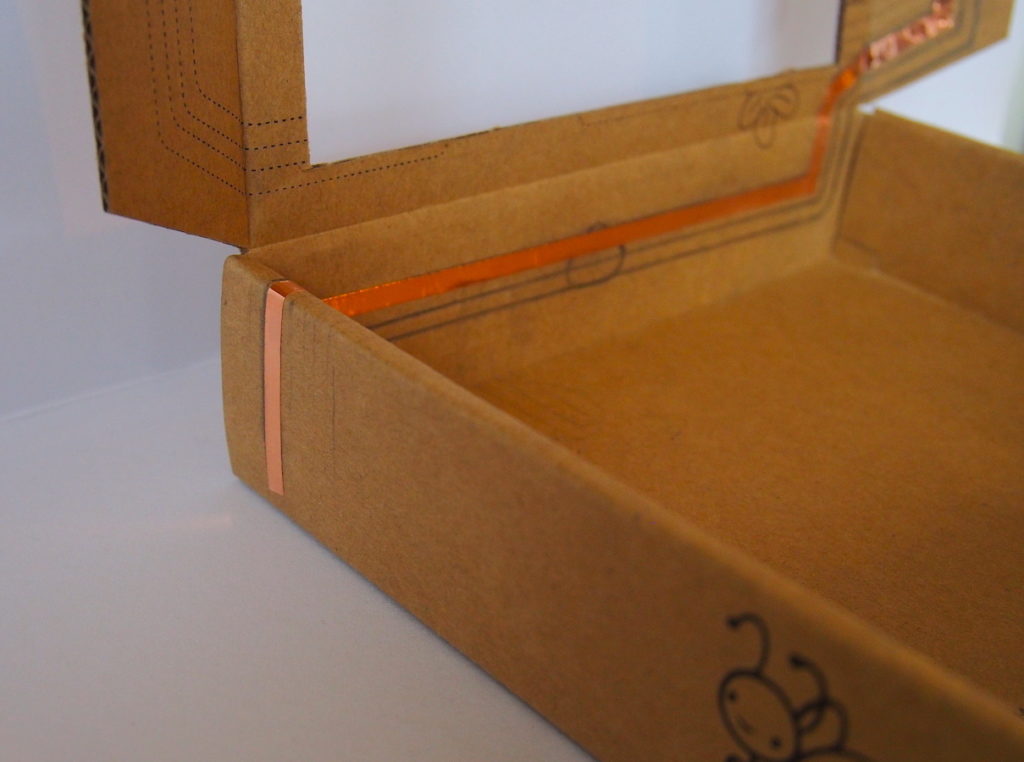
Sketch out where you want the copper tape to go. This will make it easier when you apply the tape in the next steps. I used some of the paths already printed on the box and modified them.
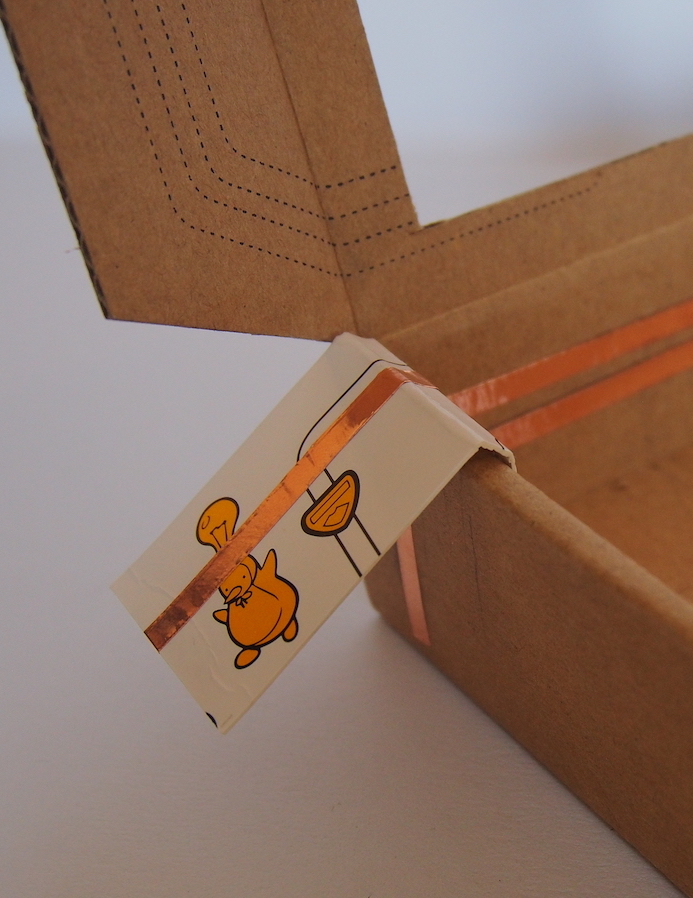
Note that the path goes over the edge and onto the outside of the box. This will be used to attach the battery later on.
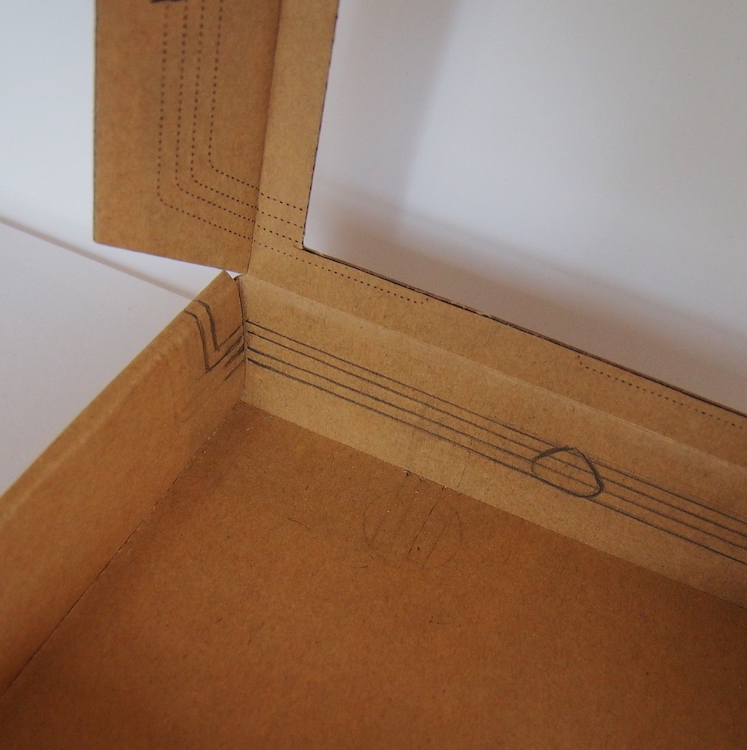
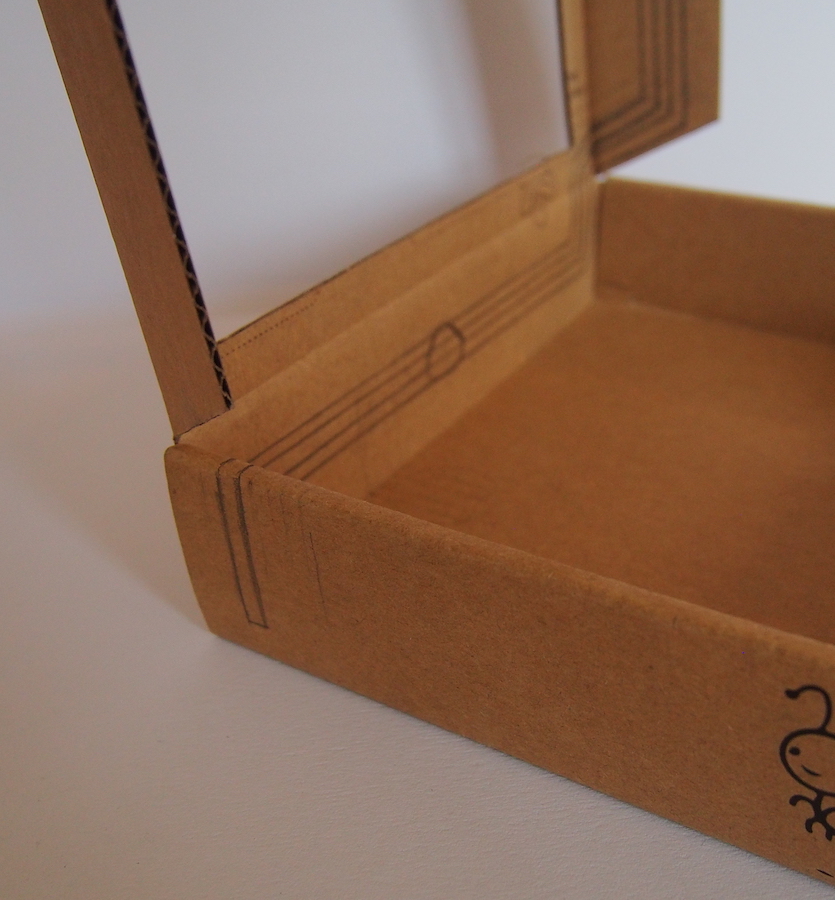
You only need to draw the top path going over the edge; leave the bottom path unfinished for now (this will make more sense when you add in the battery holder).
Step 4
Put the copper tape on, following the path you sketched out in the previous step.

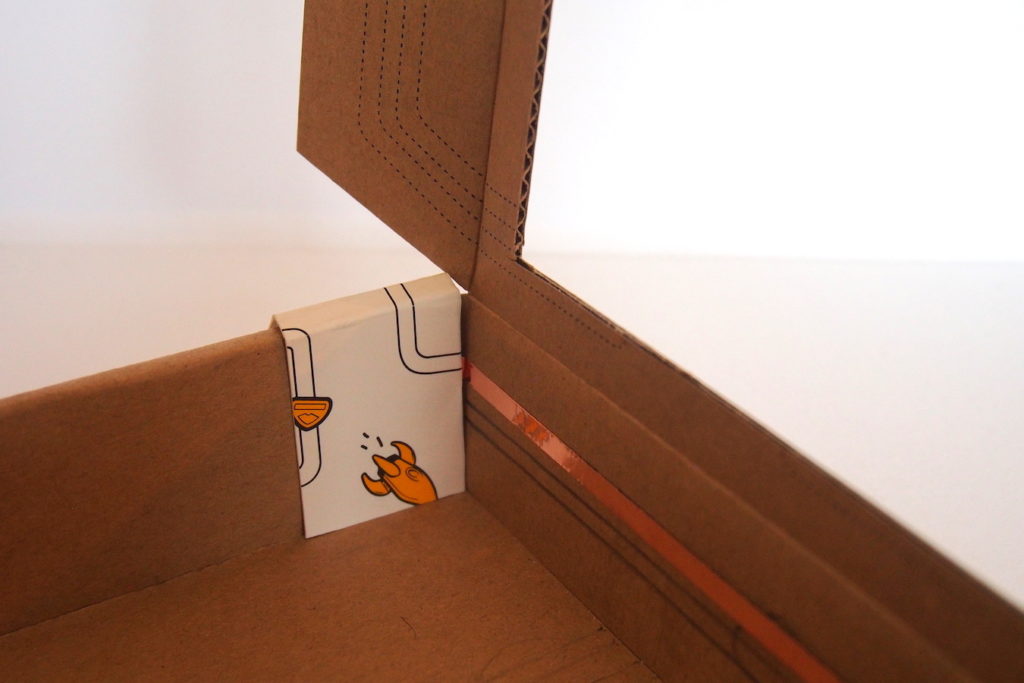
Step 5
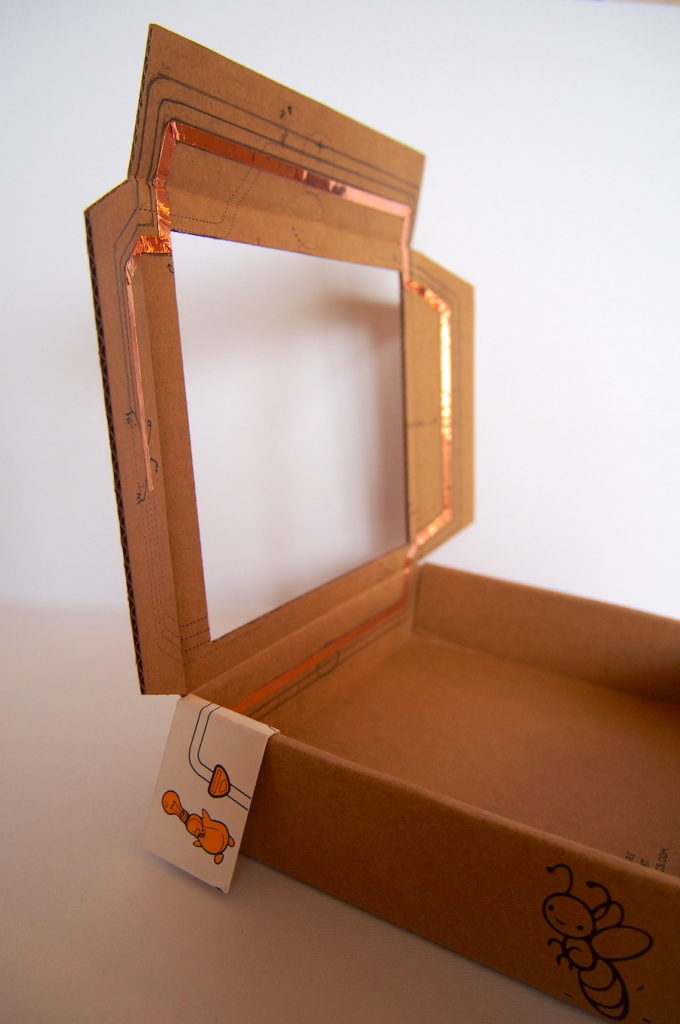
Cut a piece of paper (I used the outer packaging of the Starter Kit) that’s long enough to fit over the edge of the box and wide enough to hold the battery. This will be used as the battery holder.
Step 6
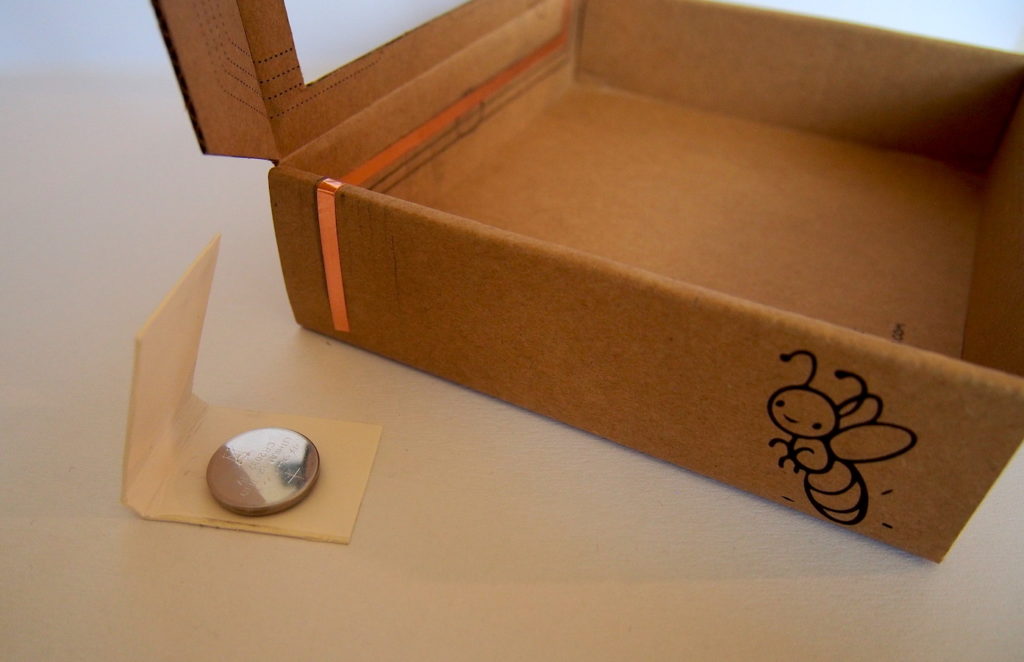
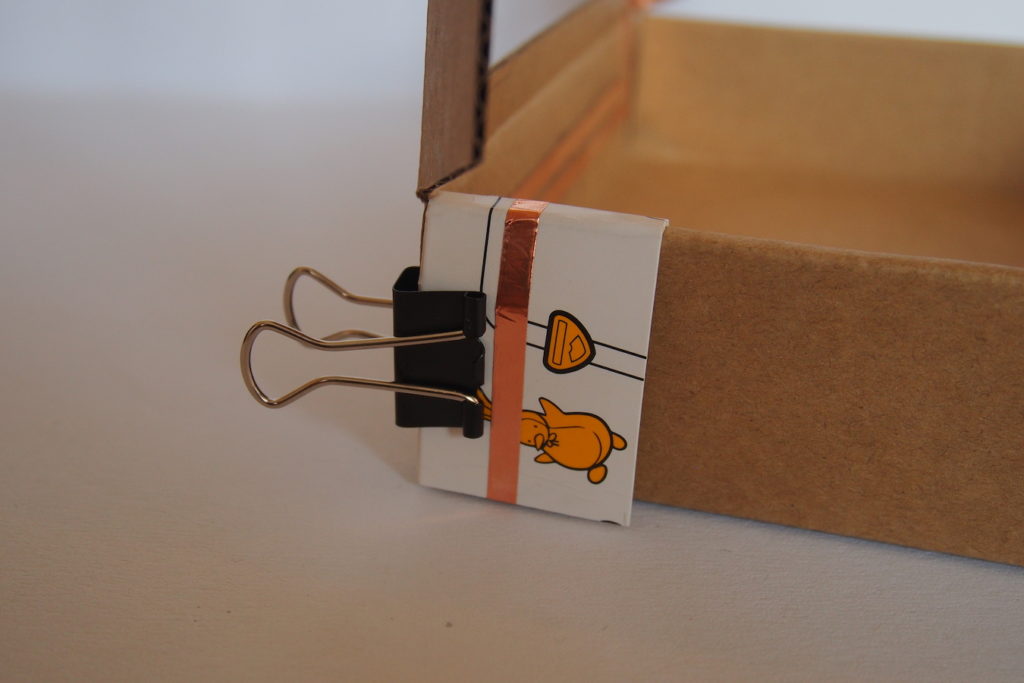
Glue the battery holder to the inside of the box, covering the copper tape path. Do NOT glue the side of the battery holder on the outside of the box. This should be left free to open and close so you can put in the battery later on.
Step 7
Add the second piece of copper tape. Note how it goes over and around the paper battery holder.
Also, be careful in the corners to make sure that the two paths don’t accidentally touch each other!
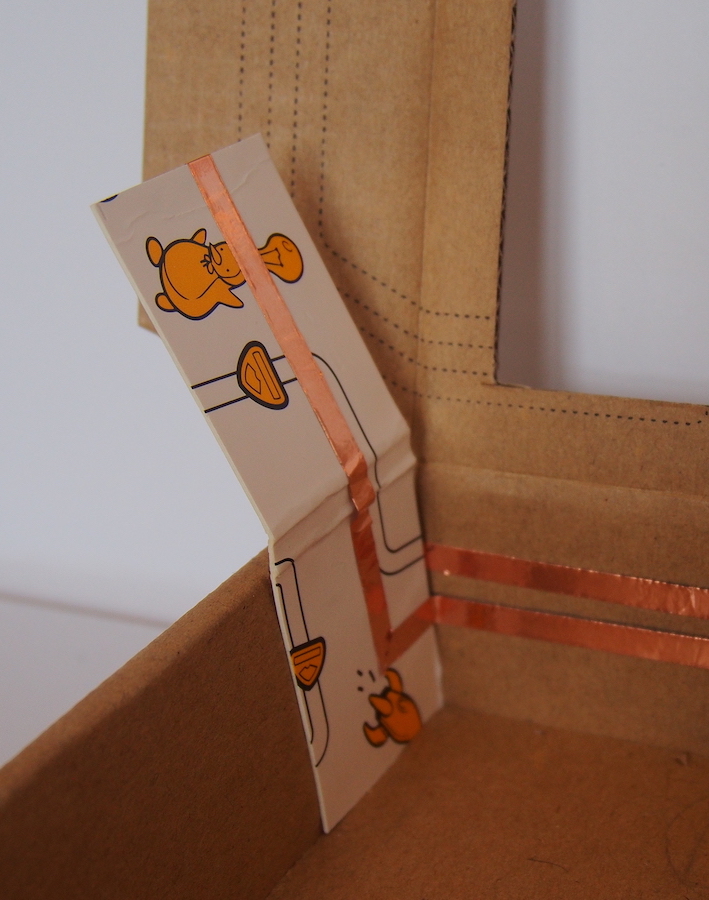
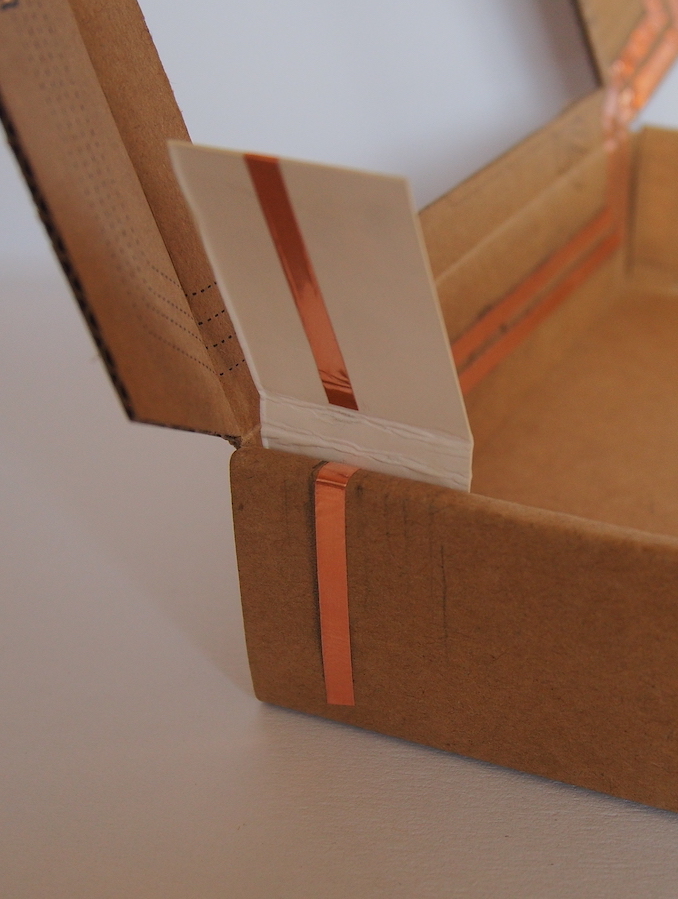
Make sure the two pieces of the copper tape don’t connect on the battery holder. The copper tape on the flap will be used to connect to the positive side of the battery, while the copper tape on the box will connect to the negative side.
Step 8
Add the LED stickers! I used four (one on each side), but you can always use more if you want the night light to be brighter. Make sure that you orient the LED stickers correctly so that the negative and positive sides connect to the appropriate copper path.
Step 9
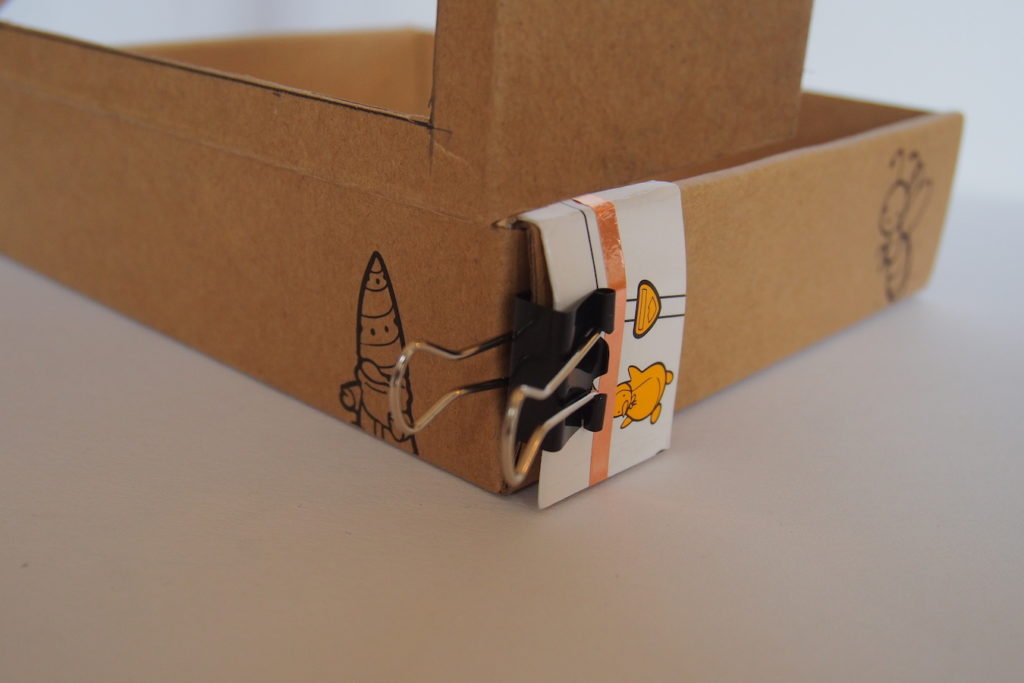
Test your circuit to make sure everything works! Use the binder clip to sandwich the battery in place in the battery holder. The positive side of the battery should be facing outwards (on the side that the battery holder flap folds over onto).
Step 10
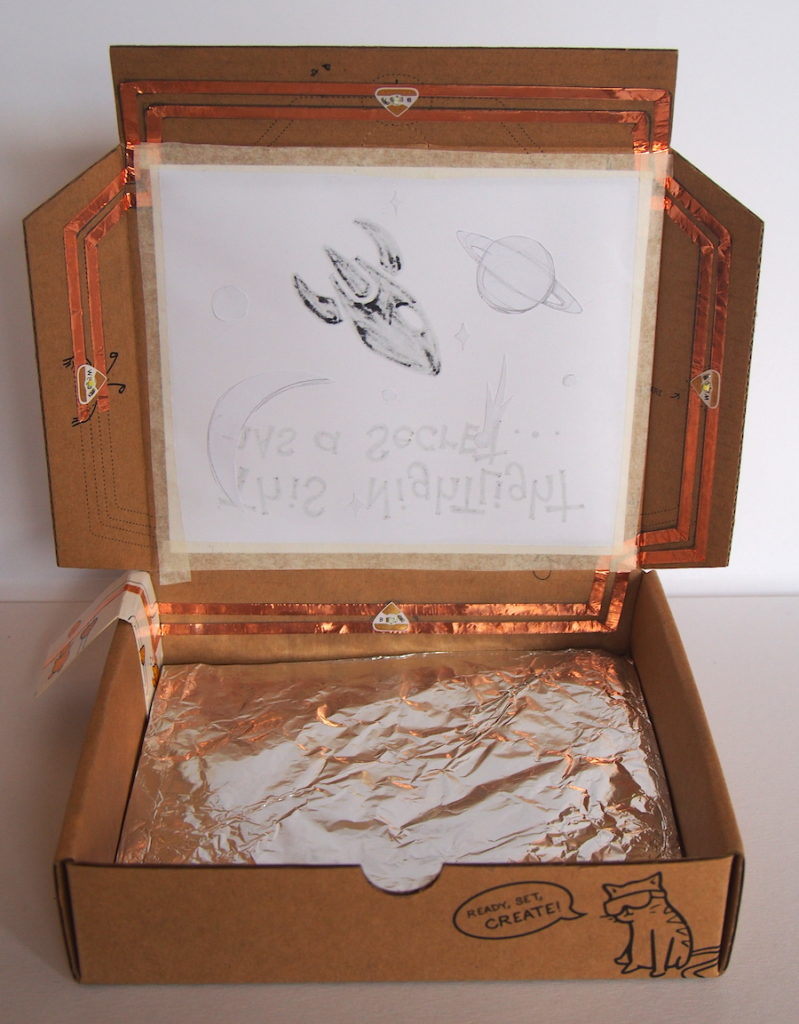
(Optional) Add some aluminum foil on the bottom of the box. This will help disperse the light a little more evenly.
Step 11
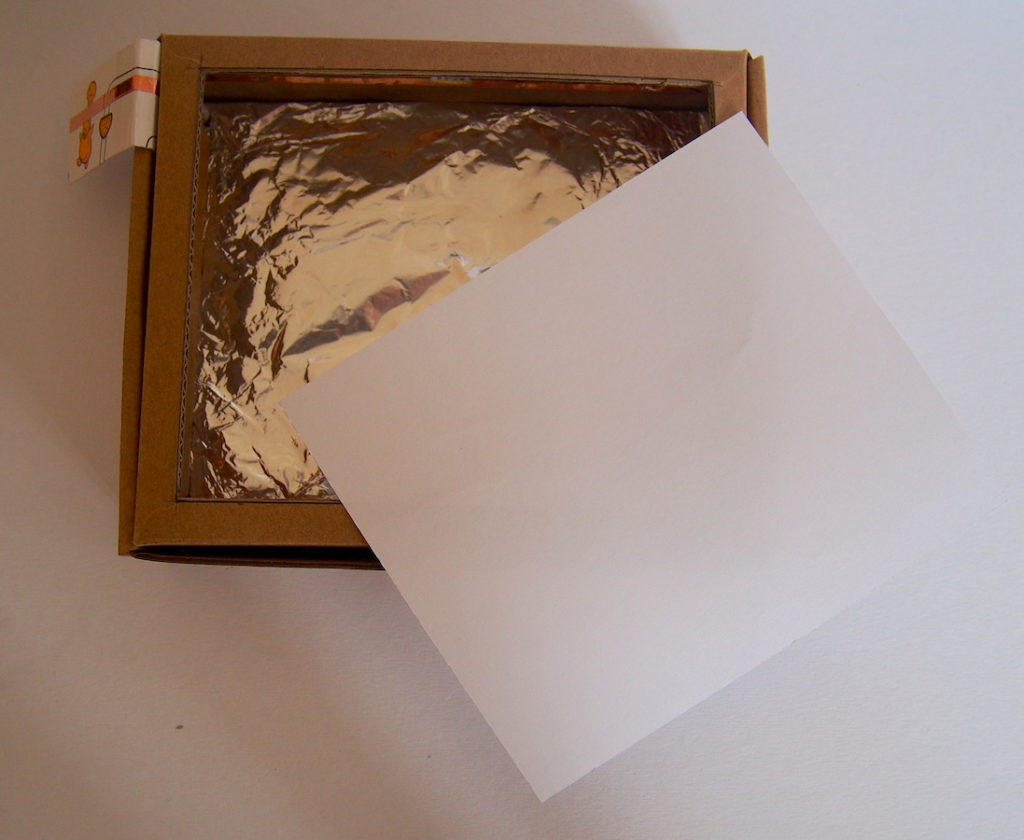
Cut a sheet of white printer paper so that it’s a little bigger than the hole in the box.
Step 12
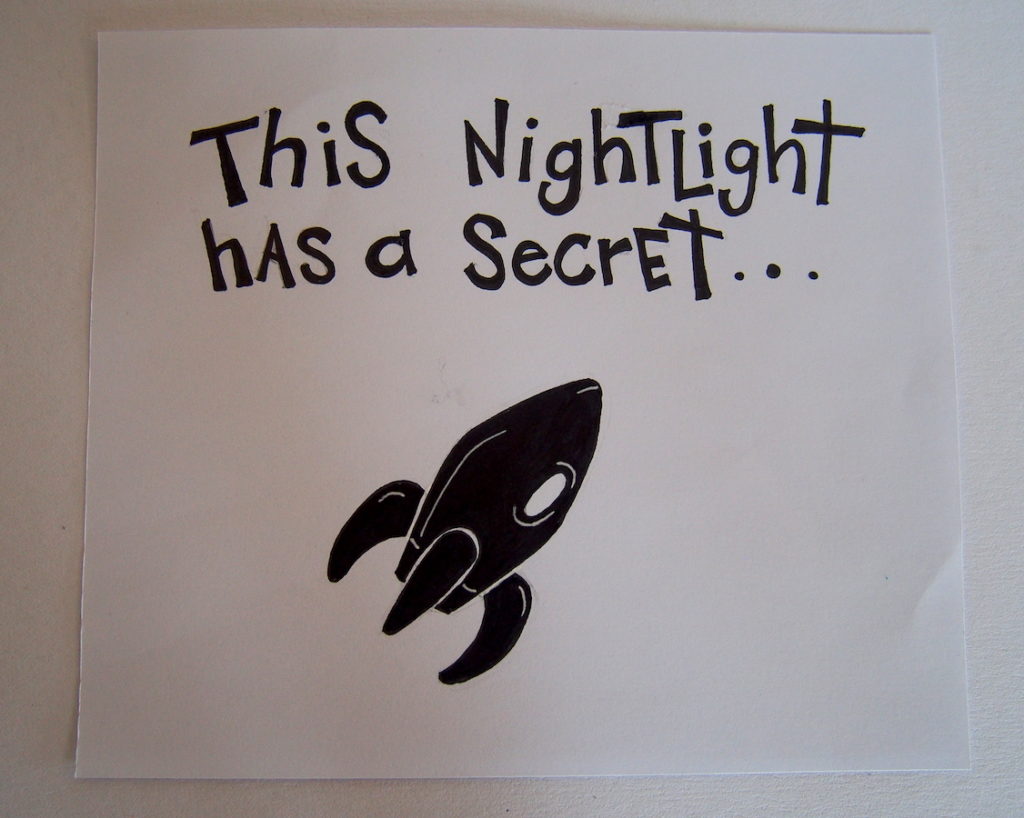
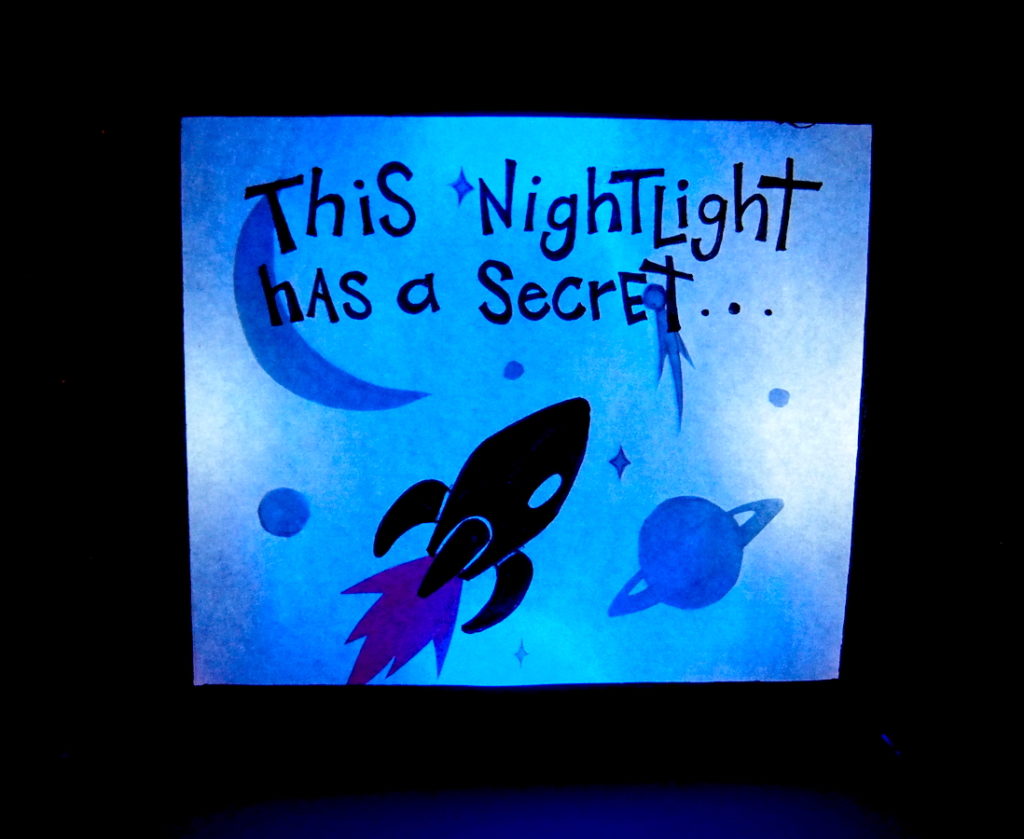
Draw or write the not-secret part of your design on the paper. This part will be visible when the night light is both on and off.
Step 13
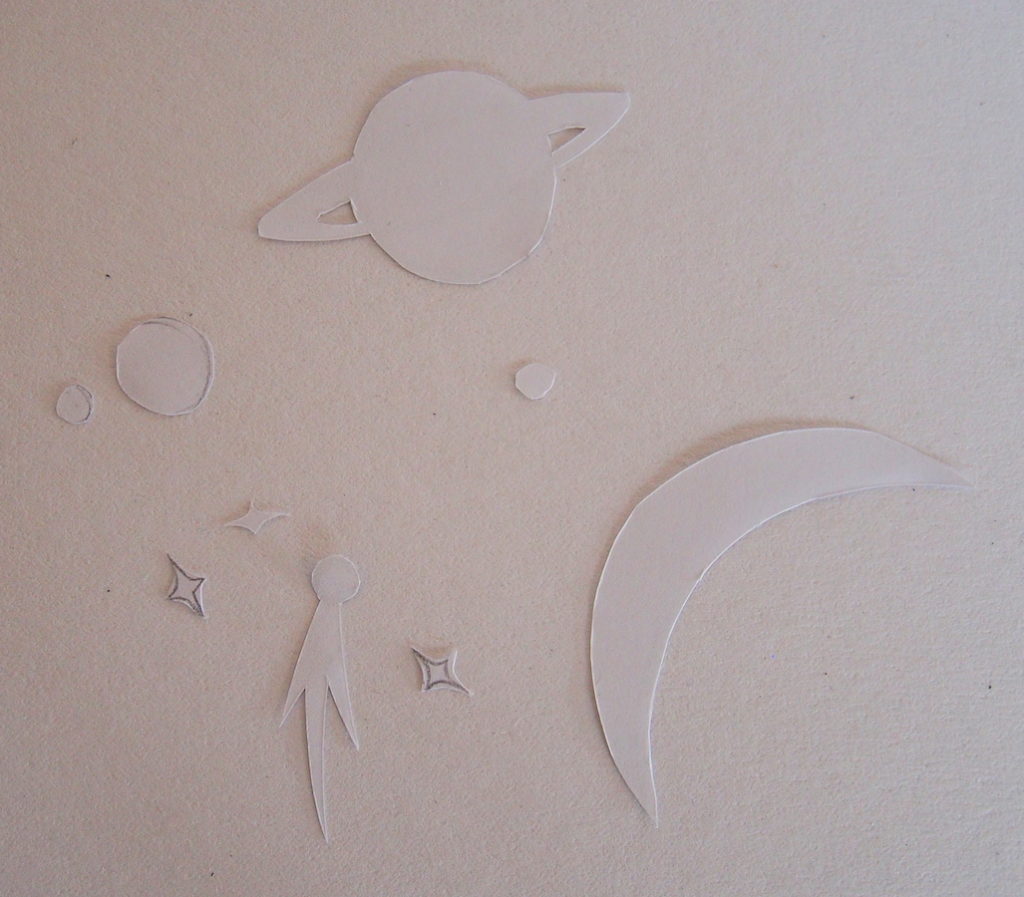
Use another piece of paper to cut out the shapes that will form the night light’s secret image. These will be hidden when the night light is off.
Step 14
Glue the secret images to the back of the paper. When the night light is on, the cutouts will cast a shadow that makes them visible.
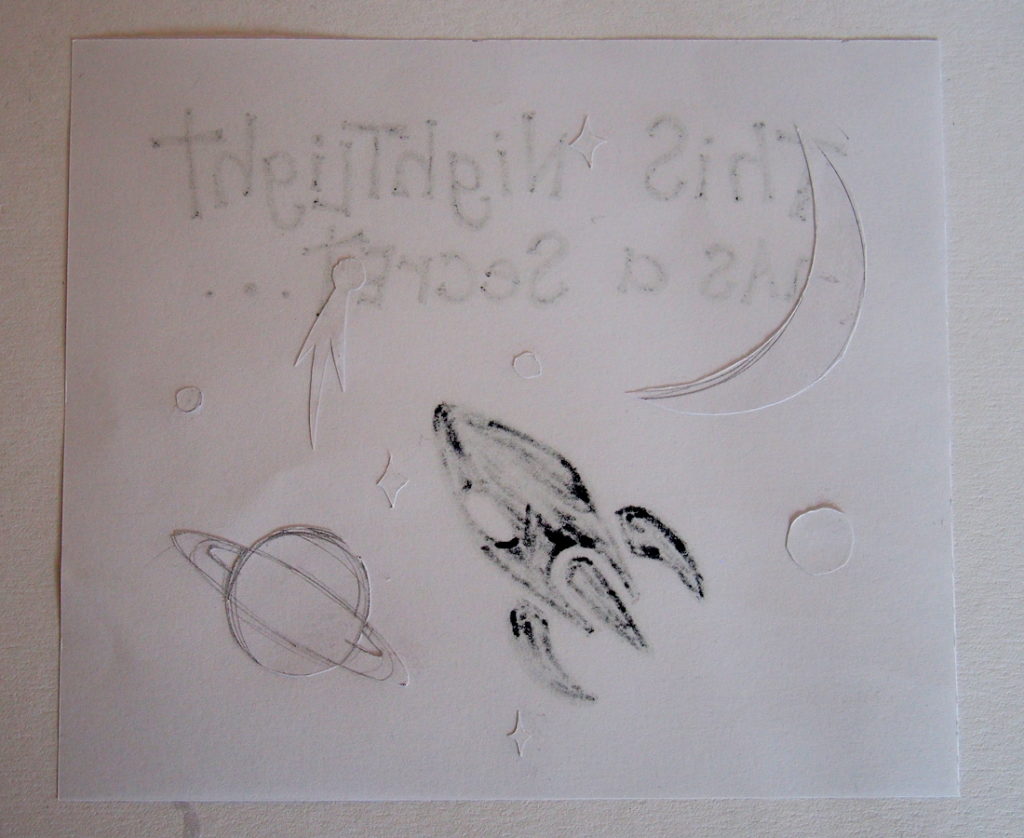
Step 15
Glue the paper to the inside of the box, making sure that the secret part is facing inwards.
Step 16
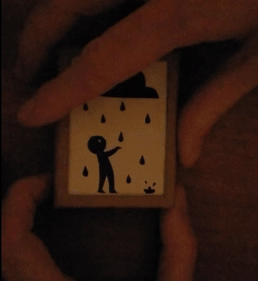
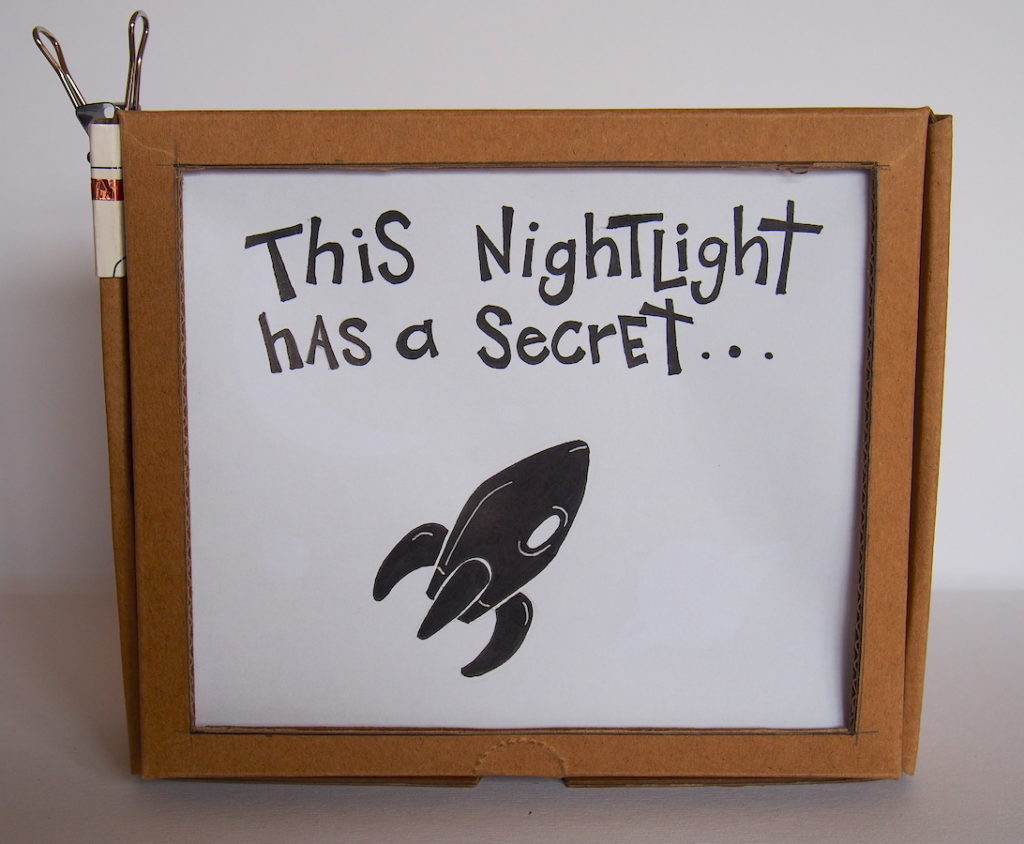
Close the box…
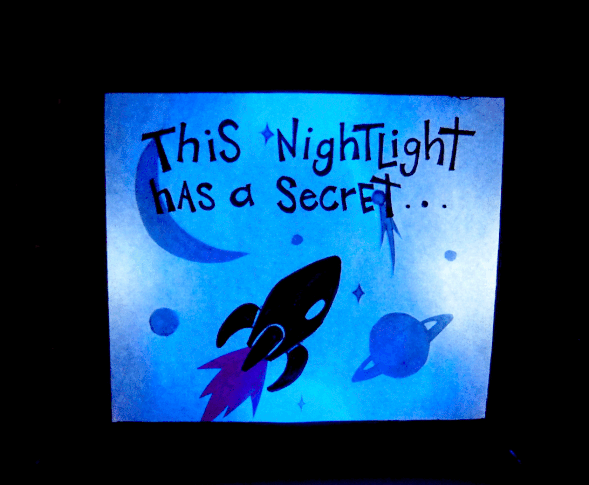
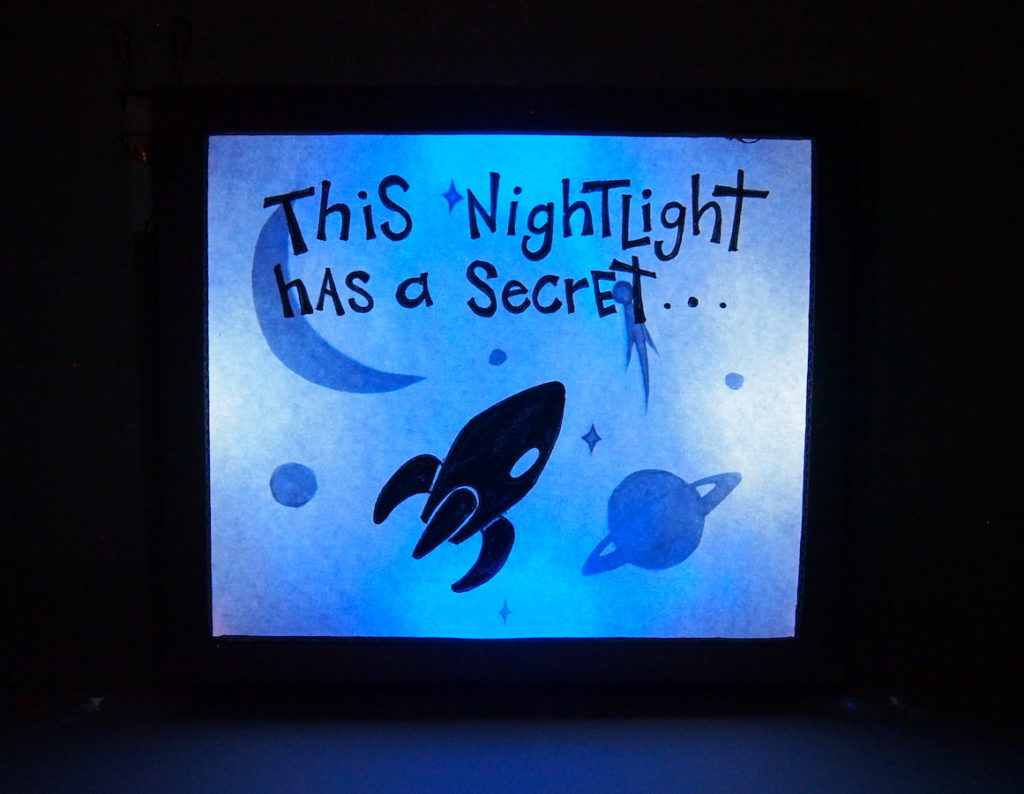
Step 17
…and take it into a dark room to test it. The hidden images will appear when the night light is on!
Bonus
You can use cellophane to add a bit of color to the secret image. Since the cellophane is transparent, its shadow will let light through creating a colorful silhouette.
Tips, Tricks & Call-outs
- You don’t have to use the Starter Kit box! Try other materials around the house, like a jewelry box or cookie container.
- You can get creative with how the box turns on and off. For instance, in the example below, the circuit is only completed when the box lid is flipped upside down.
- What other kinds of secrets can your night light hide? Can you reveal a secret message? Tell a short story in two images?