Materials Used:
Chibitronics:
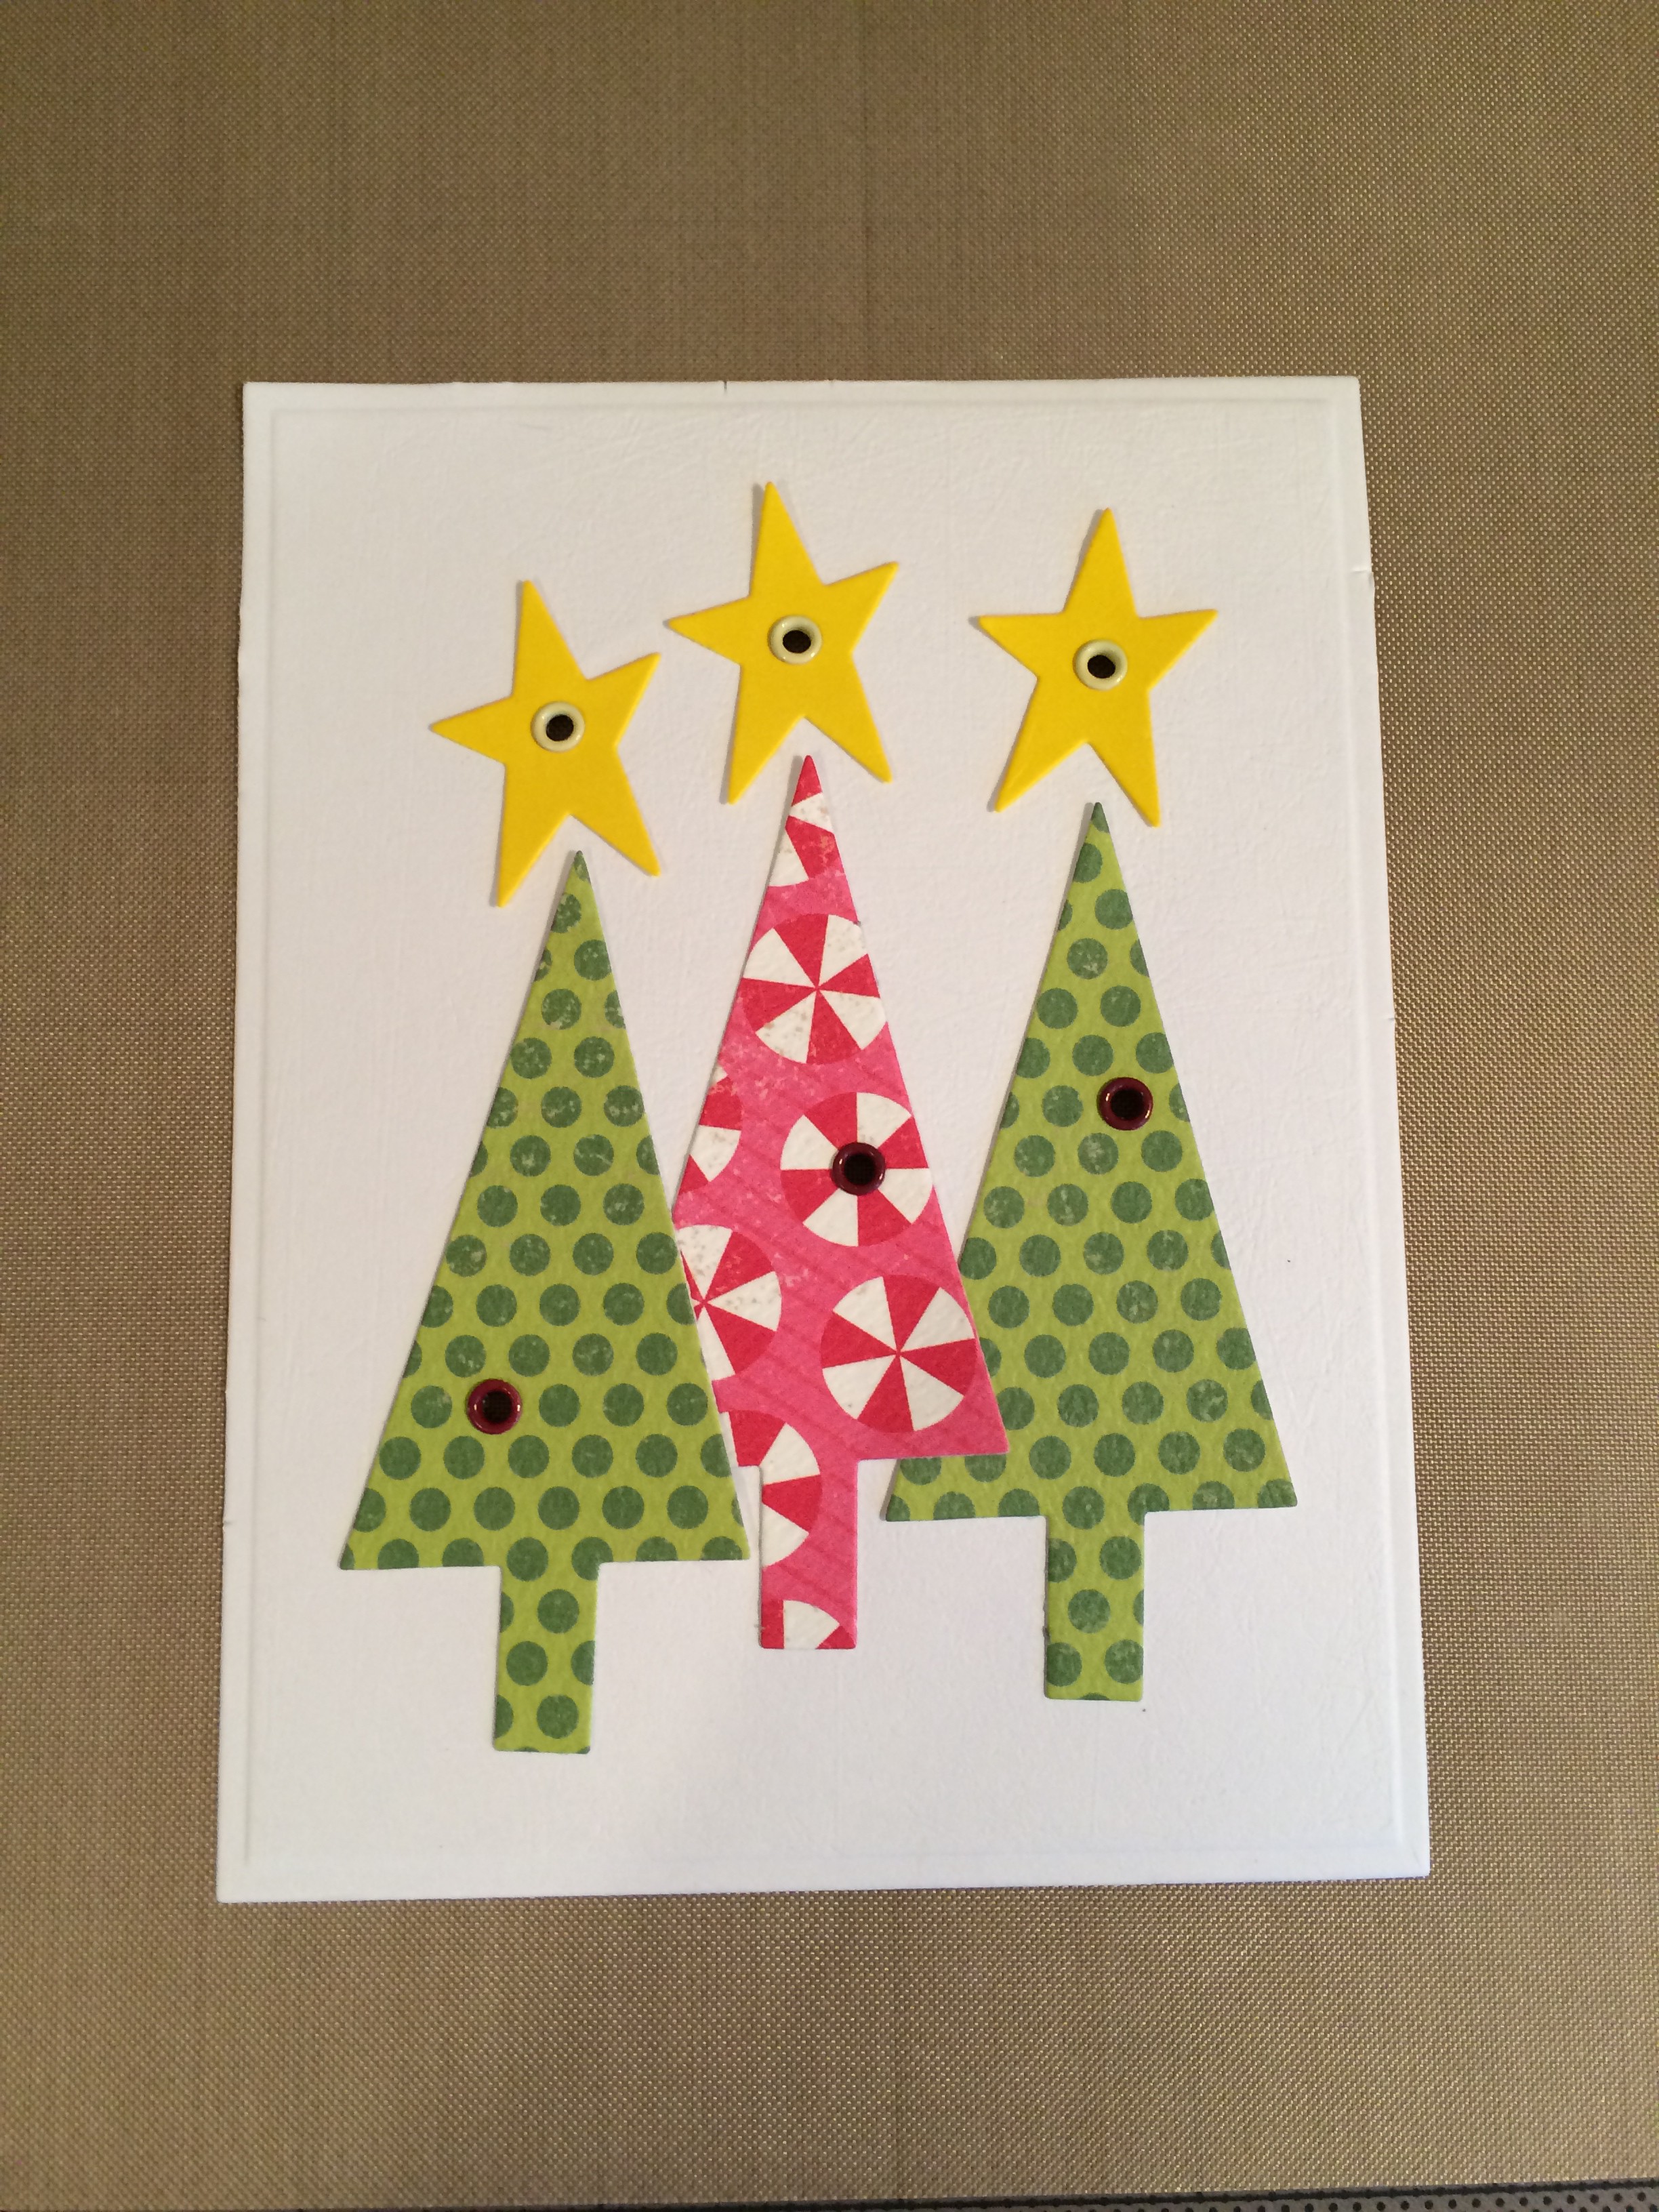
o 3 Yellow LED circuit stickers
o 3 Red LED circuit stickers
o 2 strands of 12” Copper Tape
o Battery
Paper:
o Card base: 4.25”W x 11”H red cardstock scored at 5.5” mark
o White cover and inside page: Spellbinders A2 Matting Basics Die Large Rectangle (approximately 4”W x 5.25”H)
o Patterned Paper for the Trees
o Yellow Cardstock for the Stars
Embellishments:
o Baker’s Twine (The Twinery)
o Eyelets: 3 red, 3 cream/yellow (Quicklets)
o Christmas Tree and Star die cuts (Stamps of Life – Christmas Trees)
o A2 Matting Basics Die (Spellbinders, largest die)
o “Twinkle, Twinkle” sentiment (Stamps of Life – lights4christmas)
Adhesive:
o Foam Dots
o Tape Runner
Directions:
1. Layout the Chibitronics LED stickers and tape
a. Planning the layout and the placement of the circuit stickers is key for this card.
b. First, die cut three Christmas Trees and Stars
c. Punch holes in the stars and trees where you want the Chibitronics LED to shine through.
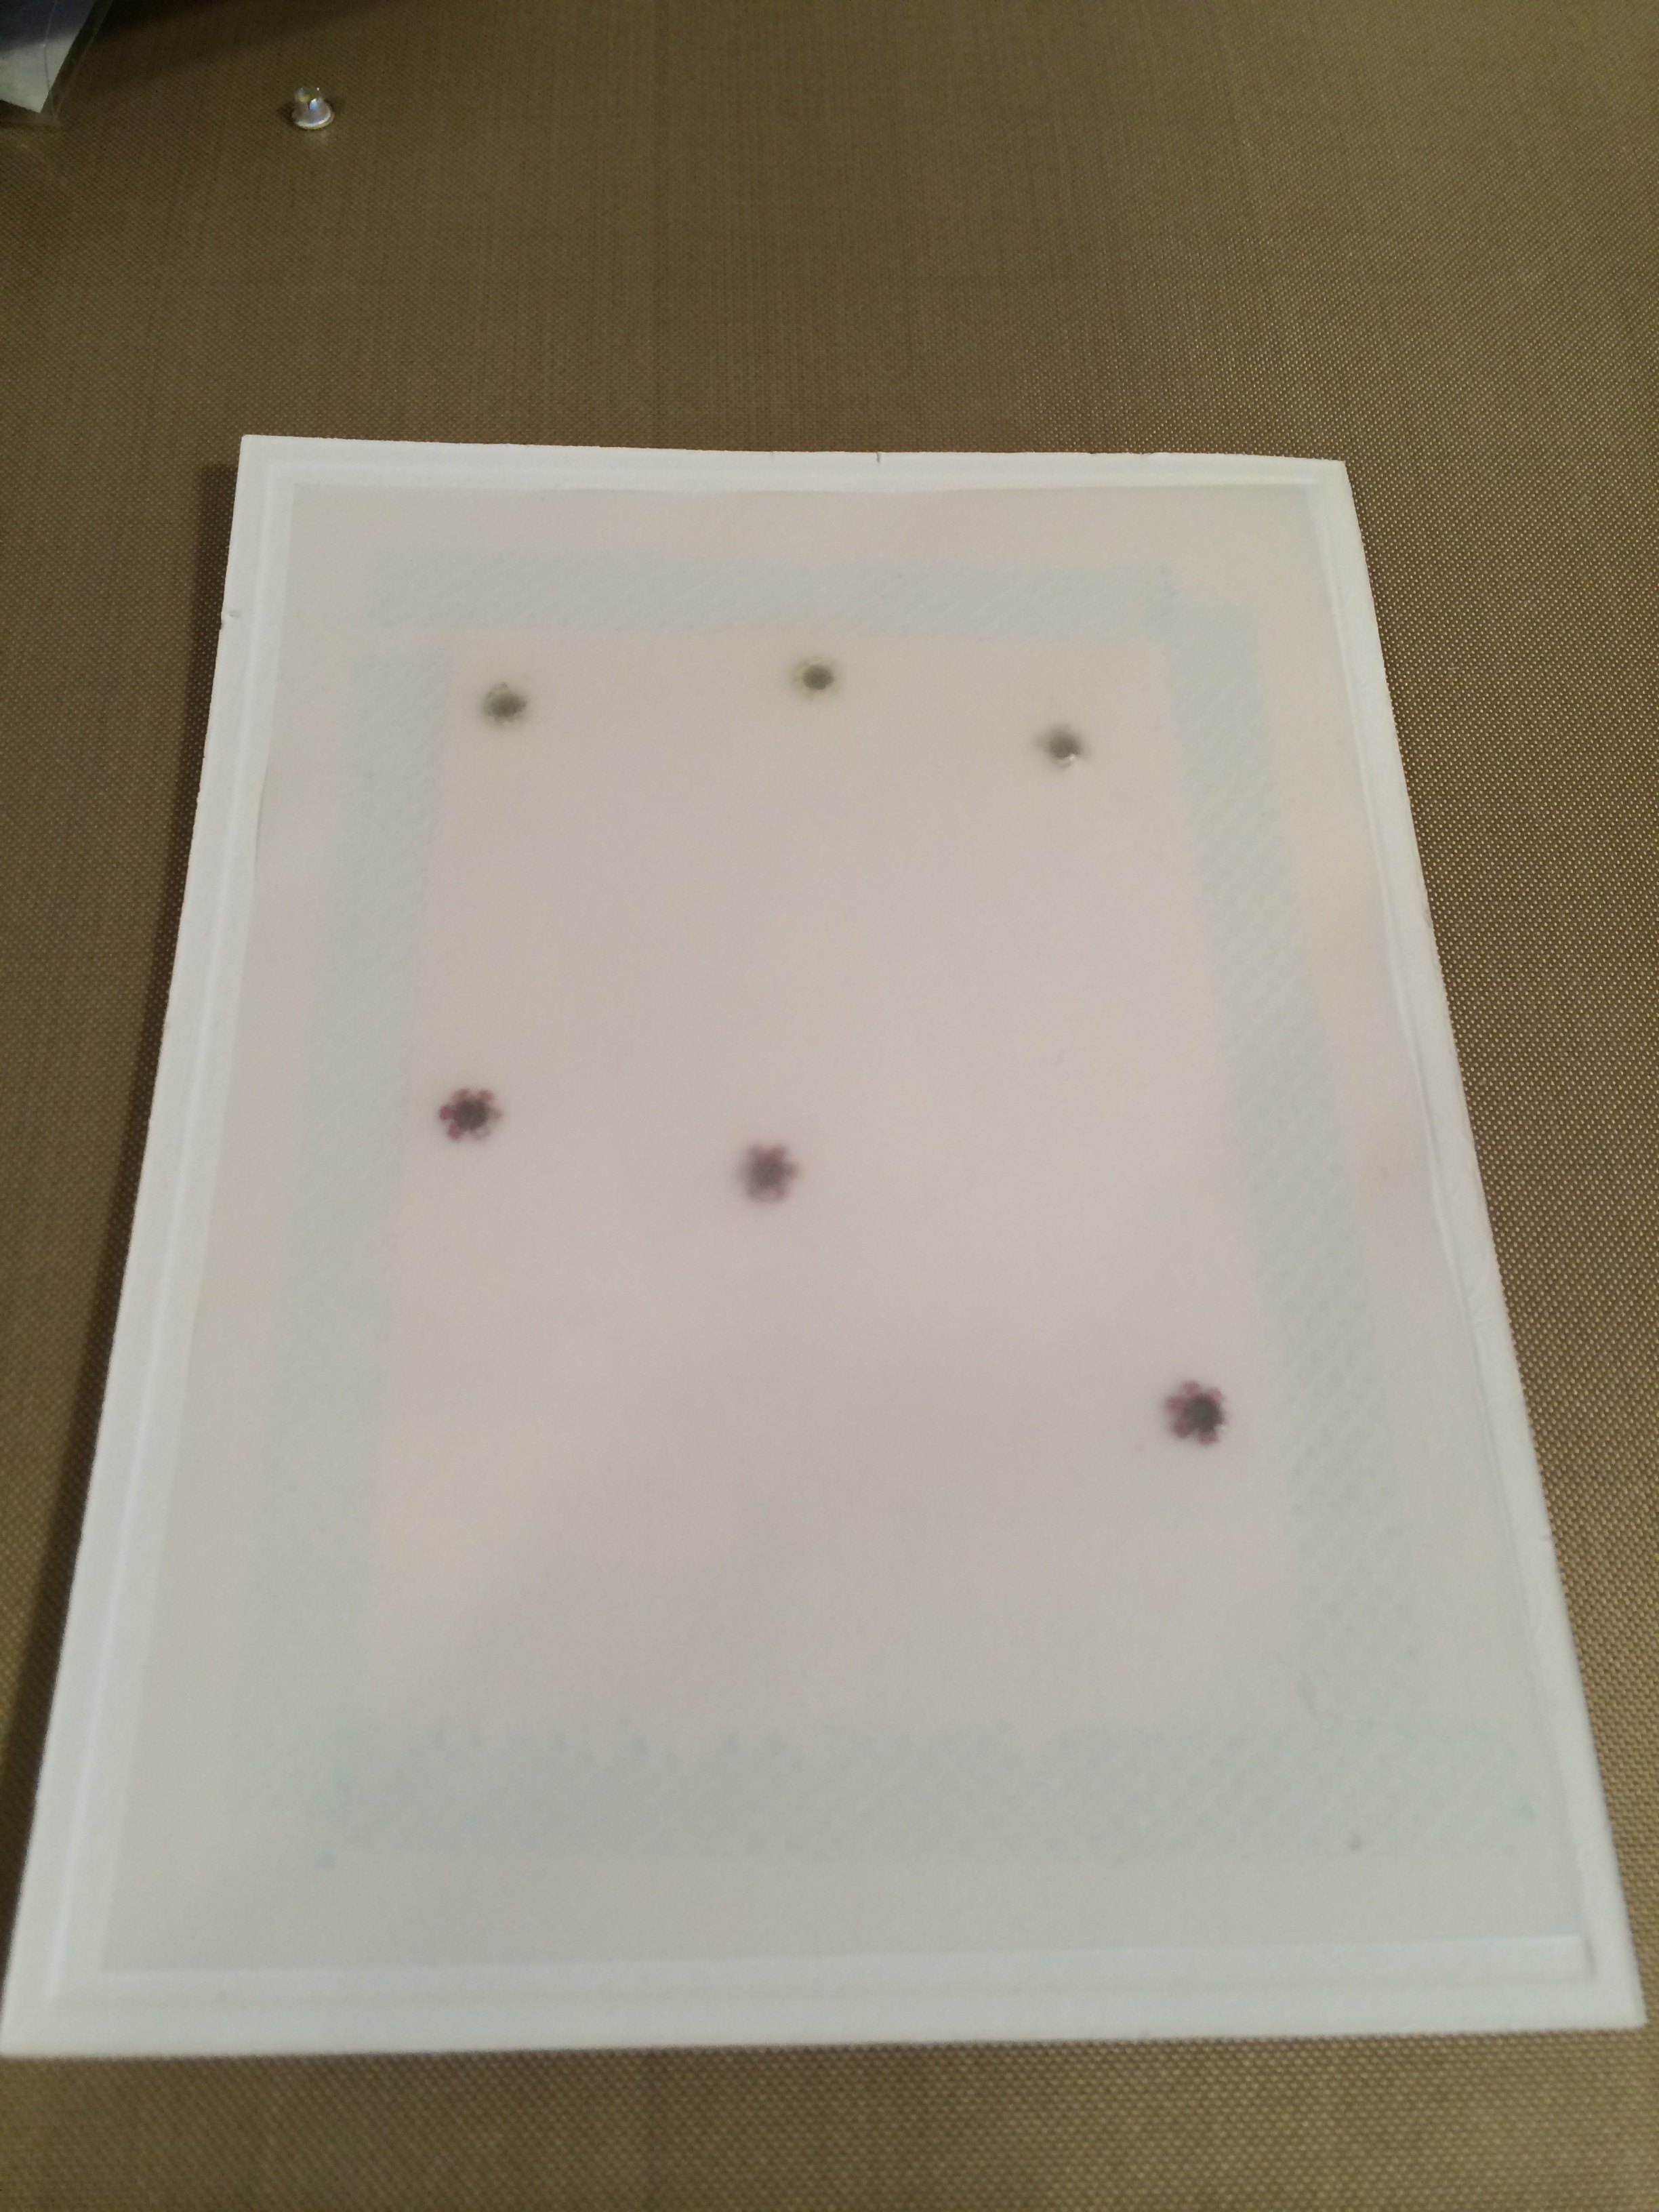
d. Temporarily place the trees and stars on the white cardstock; mark off the LED placement on the white cardstock and red card base; punch holes on the white cardstock only.
e. Place the Chibitronics LED and copper tape on the red cardstock. Add a battery holder using scrap paper. Add battery.


f. Use foam dots to hold the battery in place.
g. Test the wiring to make sure it lights up.
h. Once the LED works, add some vellum to the back of the holes on the white paper. This helps soften the light as it shines through the card.
2. Assemble the Card
a. Glue the trees and stars to the white cardstock; make sure the LED holes line up.
b. Adhere the white cardstock to the red cardbase using foam dots; make sure LED lights shine through.
c. Tie baker’s twine around the top folding edge
d. Adhere white cardstock to inside of the card
e. Stamp “Twinkle Twinkle” sentiment
3. Enjoy! Happy Holidays.
