Hello crafty friends,
today I´m back with another light up project. I have a friend of mine that loves unicorns. As I was buying some adventxcalendars to go, I have found one with unicorns. In this moment I thought of her and bought one. Directly I had the winter unicorn from Lawn Fawn in my mind and the idea was born. I had to create a light up unicorn advent calendar for her. Now that the idea was born I wanted to do it no matter what it costs.
As always I have a tutorial over at my YouTube channel for you. I prefer watching instead of reading. But here is a little instruction for you:
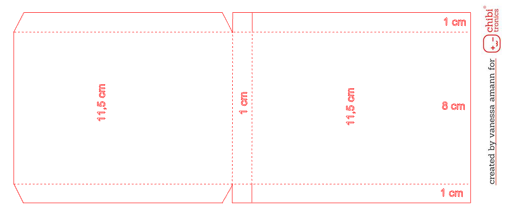
- Create a Advent calendar base: 10cm x 24cm. Srore the short side at 1cm and 9cm, the long side at 11.5cm and 12.5cm. Fold all the score lines and cut the lines at 11.5cm and 12.5cm until reaching the score lone (I hope it makes sense).

- I used a layer of glitter paper to matt (11cm x 7.5cm) and a white panel from Neenah solar white (10.5cm x 7cm). The glitter panel is optional. I just used it, because I like to hide the thickness from my projects.
- I die cut the MFT stitched snowdrifts two times from Neenah solar white and used my Distress inks Broken China and Chipped Saphire to create my background. I glued my snowdrifts on top of my panel.
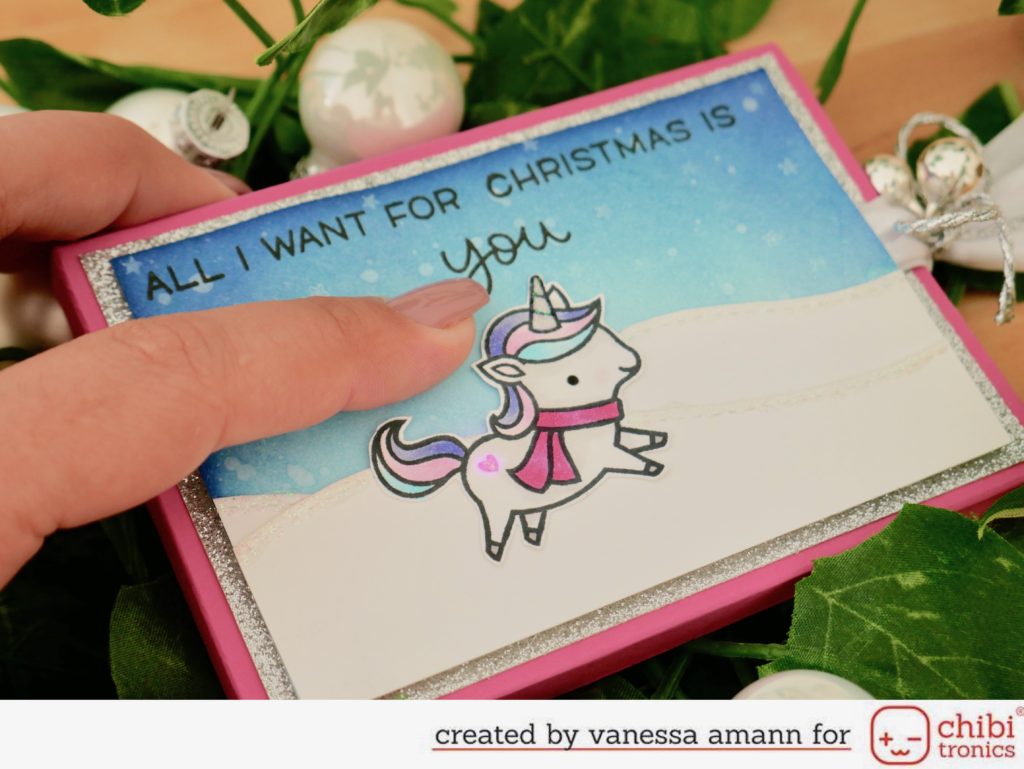
- I also stamped my winter unicorn from Lawn Fawn with Memento Tuxedo Black Ink on white Neenah paper and colored the unicorn using Copic markers. the I fuzzy cut the unicorn. I stamped the tiny little heart from the set on the butt of the unicorn, I wanted it to look a little bit like the “My Little Ponys”, they had flowers or other symbols on their butts. Later I wanted the heart to be my shining element.
- Now I start creating my circuit. I start figuring out where I want my LED to be, there I make a whole in my ink blended background. Then I will find a place for my battery and cut there in my glitter paper and also in my box base a square. Behind my box base I use Foamtape and taped a strip of cardstock. And I covered the whole inside of the box base`front with foam tape (later I will also cover it whit a white panel (11.2 cm x 7.8 cm). This sound complicated, but it isn’t. This square that were cut out created the place for the battery. From the outside the box doesn’t appear that thick, because the other half of the thickness is hidden inside.
- The circuit can be started now. I start adhiring my copper tape in the square for the battery. Adhiring the copper tape on glitter paper can be tricky. You have to make sure to press it really good to the paper. The rest of the circuit is created like a simple circuit. So nothing fancy 😉 This time I used a pink LED from the tropical set, as I stamped the little heart in pink also.
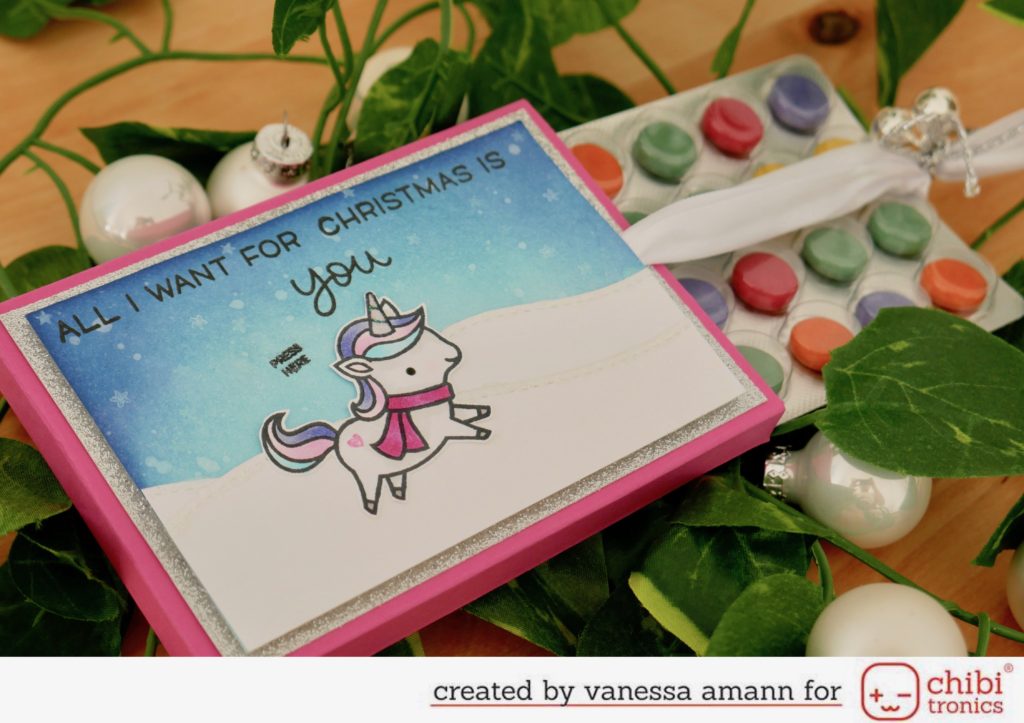
- I used foam tape to cover the rest of the glitter panel. Before assembling all together I punched whole trough all layers in which I string a white ribbon through after assembling the box together. This creates my closing mechanism. To “close” and embellish my ribbon I use a silver thick thread and made a bow. I admired also some jingle bells. Now I can tape my last layer, the one with the ink blended background.
- And last but not least add the sentiment. BUT, I would suggest to add it before! In my case everything went right and I was able to add the sentiment and some starts later. But don’t trust this and make this before. I wanted the recipient to know what this advent calendar could do so I added the “press me” stamp from Heffy Doodle Stamps on top of the battery. I used my Nuvo white Blizzard to make a glittery heart and horn and glittery snow.
So, this was all for today. I hope you enjoyed my project. I know the recipient was over the moon receiving this card and then I knew I did a great job. You have still some days to create you own lightning advent calendar. Until the next time, I hope you have a wonderful Sunday.
| Chibitronics | Tropical Lights |
| Batterie | Batterie |
| Chibitronics | Cuppertape |
| Copic Marker | Copic Marker |
| Folia | Acrylblöcke |
| Folia | Bonefolder |
| Memento | Tuxedo Black |
| Ranger | Perfect Pearls |
| Scotch 3M | Tape Glider |
| Simon Says Stamp | White Pigment Ink |
| Tim Holtz | Broken China |
| Tim Holtz | Chipped Saphire |
| Tim Holtz | Ink Blending Tool |
| Versafine | Onyx Black |
| Nuvo Drops | All Sorts |
| Adventskalender | Schokolinsen |
| Faltkarten | Pink Cardstock |
| Lawn Fawn | Winter Unicorn |
| Folia | Schellen/Jingle Bells |
| Heffy Doodle | Interactively yours |


Darling Unicorn
and great idea.
Carla from Utah
This is such a cute and beautiful card! xxx
Wow !! That’s such a fantastic card !! So creative !