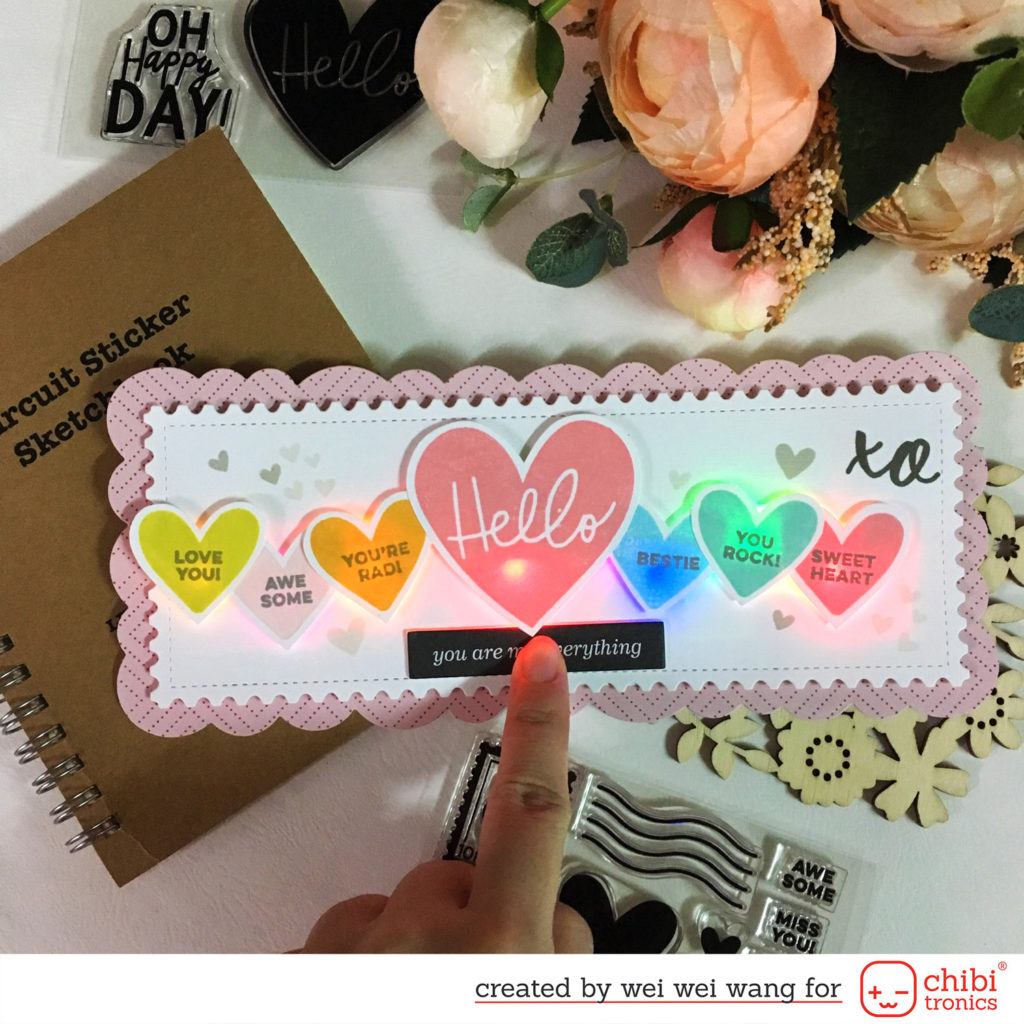
Hi friends, it’s Wei Wei here with this blinking slide switch Valentine’s day card using Chibitronics products, The Stamp Market stamp and Elle’s Studio stamp.

Here’s my circuit template:
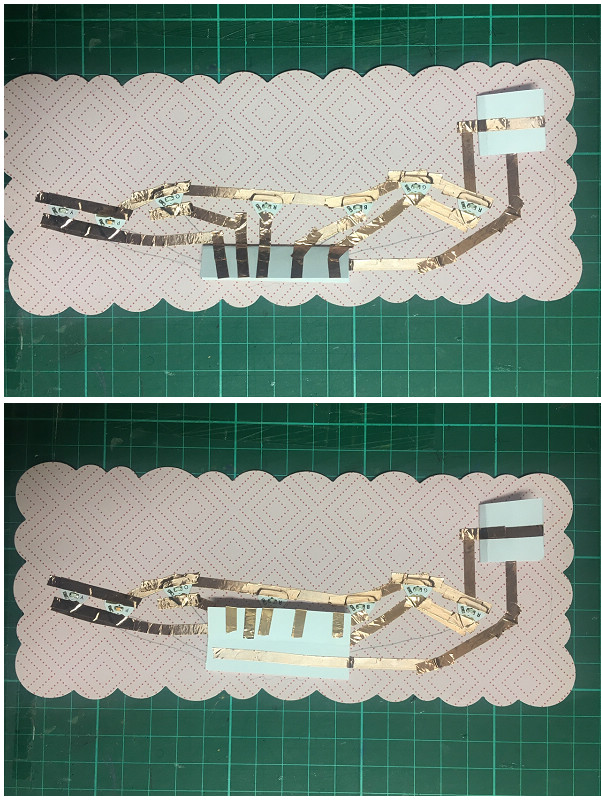
I used a chipboard piece as the switch base. In the blinking slide switch, there is a long gap and multiple places you can press to close the circuit. To make a gap, the chipboard piece must be thinner than the 3D adhesive tape. I folded a paper piece in half and adhered it to the top of chipboard. Then, I applied the foil tape over the chipboard and connected to the battery holder. I also used foil tape to connect LED branches to the switch base. Don’t forget to leave a gap. When you press your finger along the path, the LEDs will turn on in order.


I also made a process video to show how to create my LED circuit and blinking slider switch mechanism:
That is all from my side today. I hope you were inspired and give Chibitronics products a try!Have a great day.
Thank you.