Hi, crafty friends!
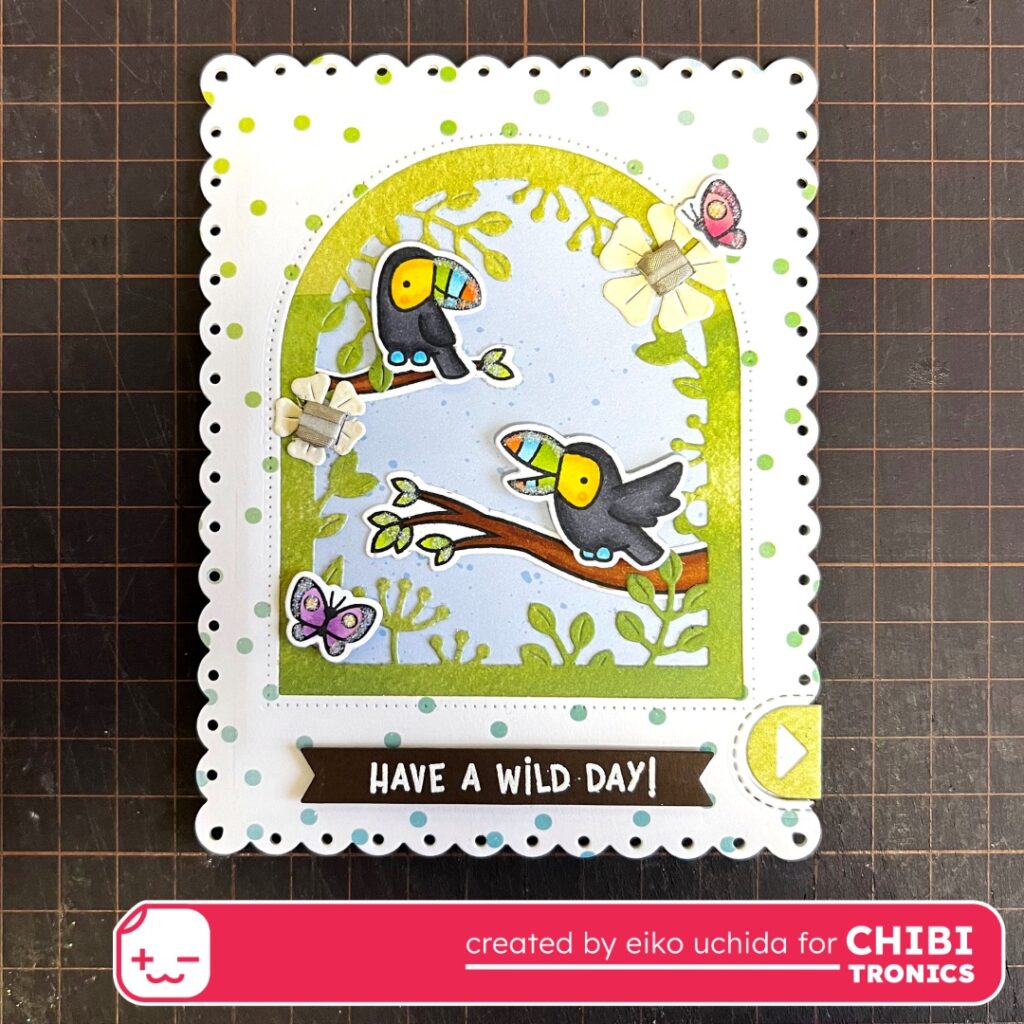
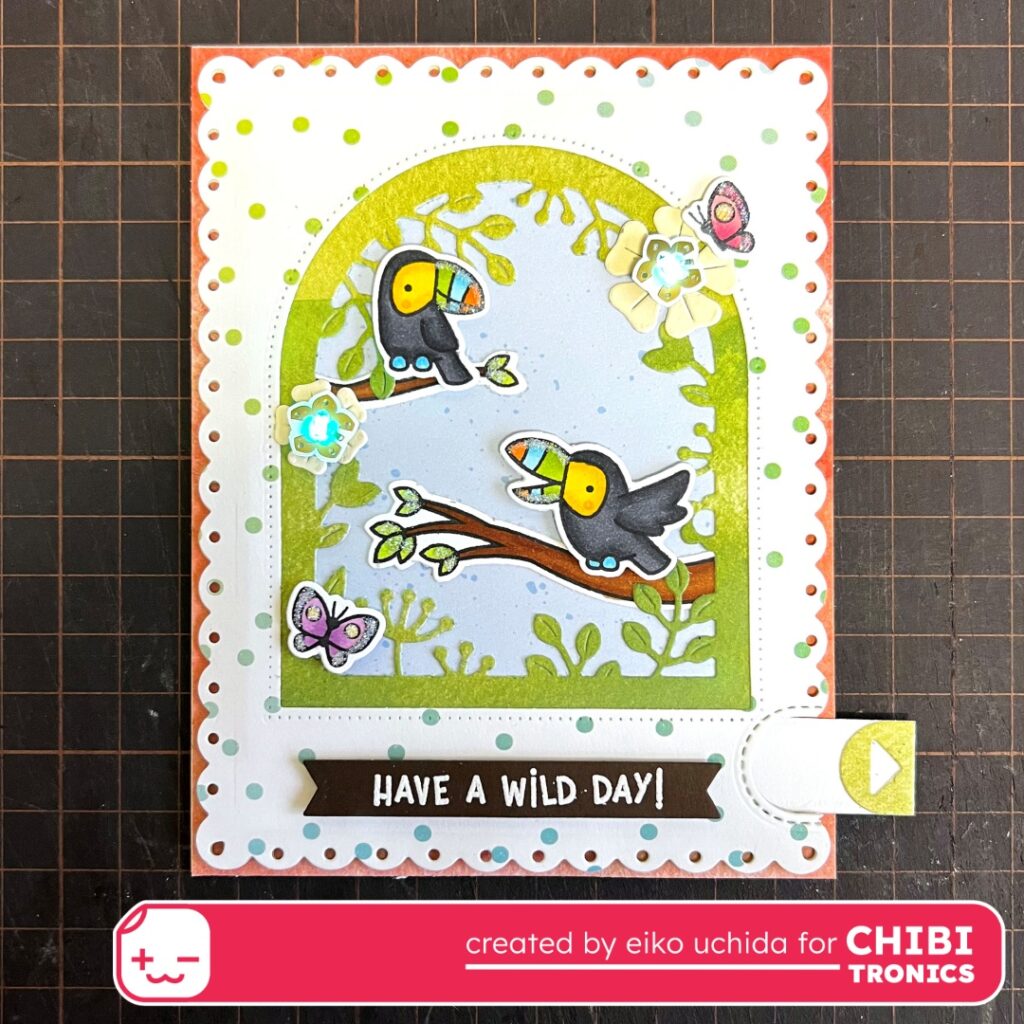
This is Eiko. Around the summer of 2023, Chibitronics will release three new animating LEDs. Gem-shaped blink type, Heart-shaped fade type, and Flower-shaped rainbow fade type. So today I make light up toucan card using Chibitronics new animating LED and Lawn Fawn stamps and dies.
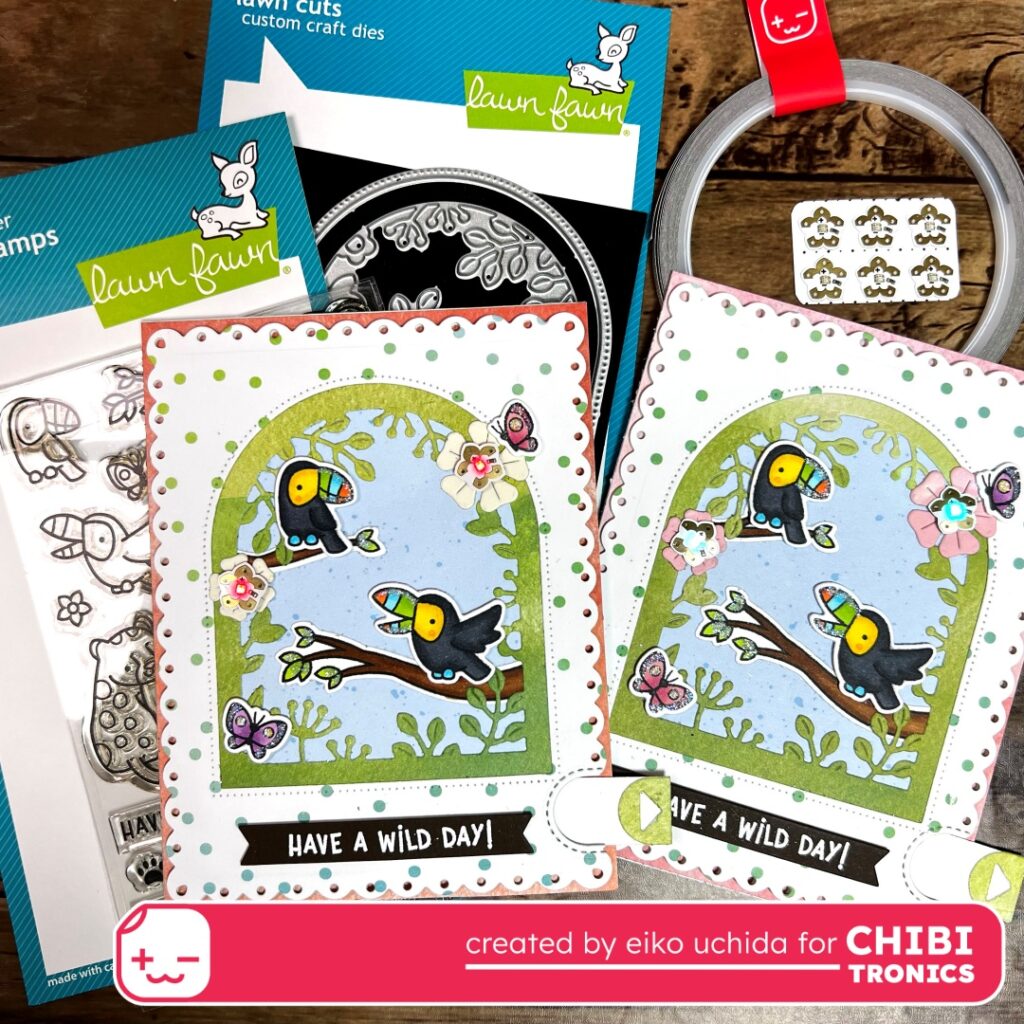
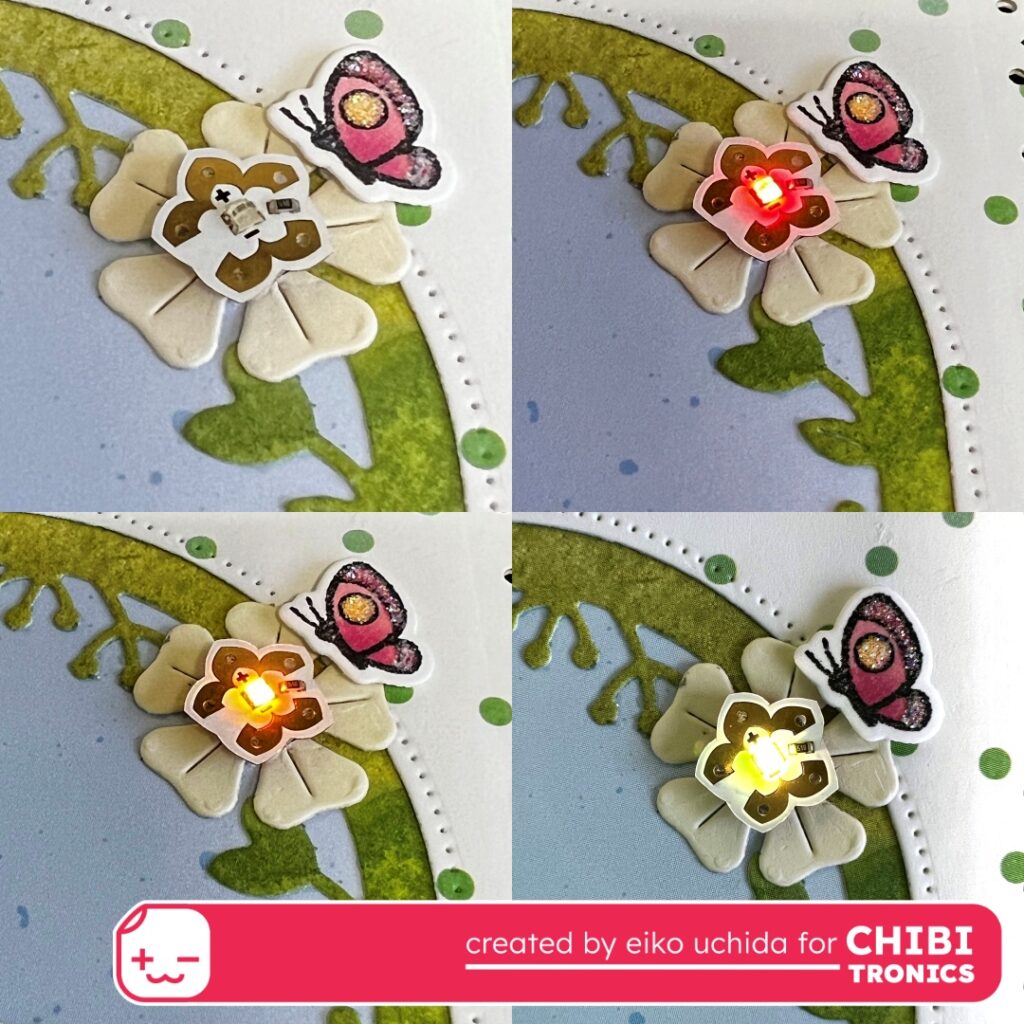
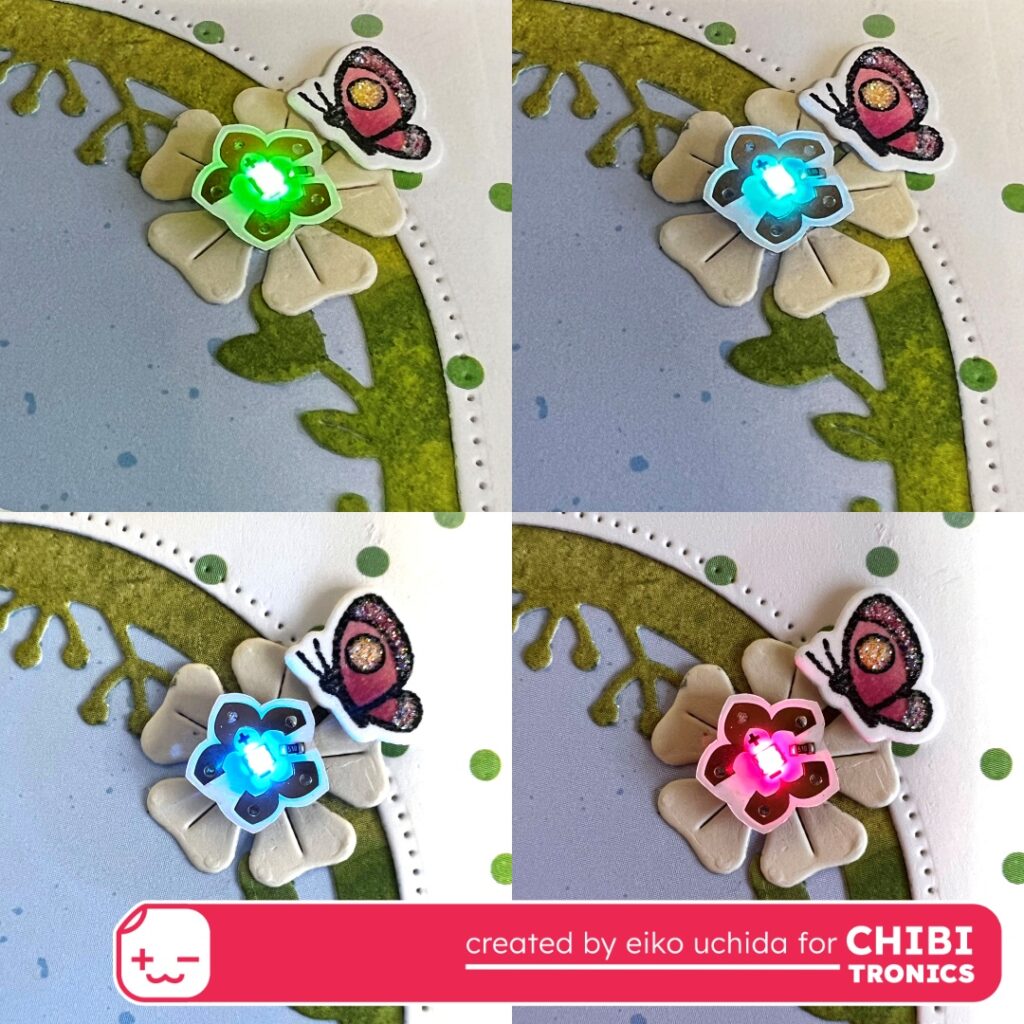
When you pull the tab, the flowers fade to rainbow colors.
I will make the parts referring to the picture below.
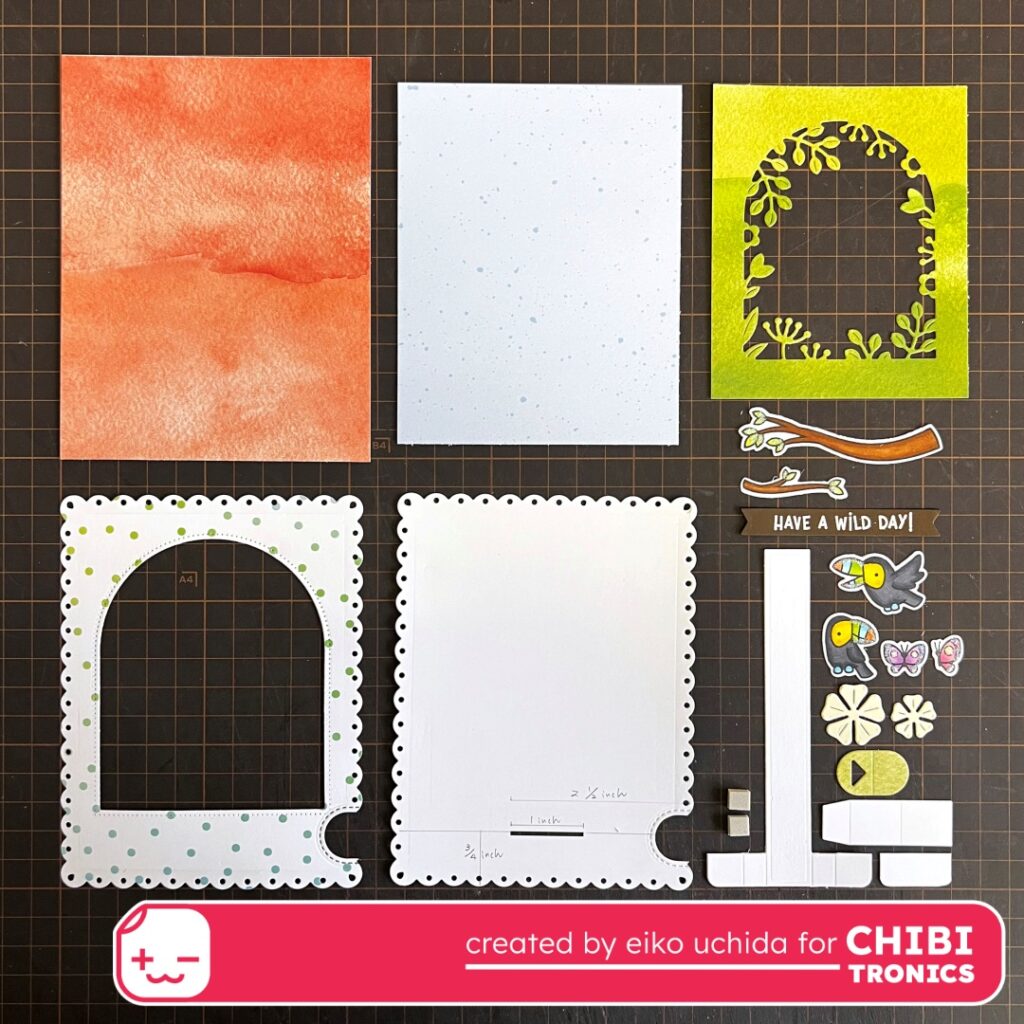
- Cut orange pattern paper to 4 1/4 x 5 1/2 inches.
- Cut light blue pattern paper to 3 x 4 1/4 inches.
- Die cut green pattern paper with secret garden window die.
- Die cut dot pattern paper with scalloped rectangle die and window frame die.
- Die cut white cardstock with scalloped rectangle die.
- Stamp branches, toucans, and butterflies on white cardstock and color with Copic markers. Then die cut with the coordinating dies.
- Stamp the sentiment on the brown cardstock and heat emboss with white embossing powder. And die cut the sentiment banner die.
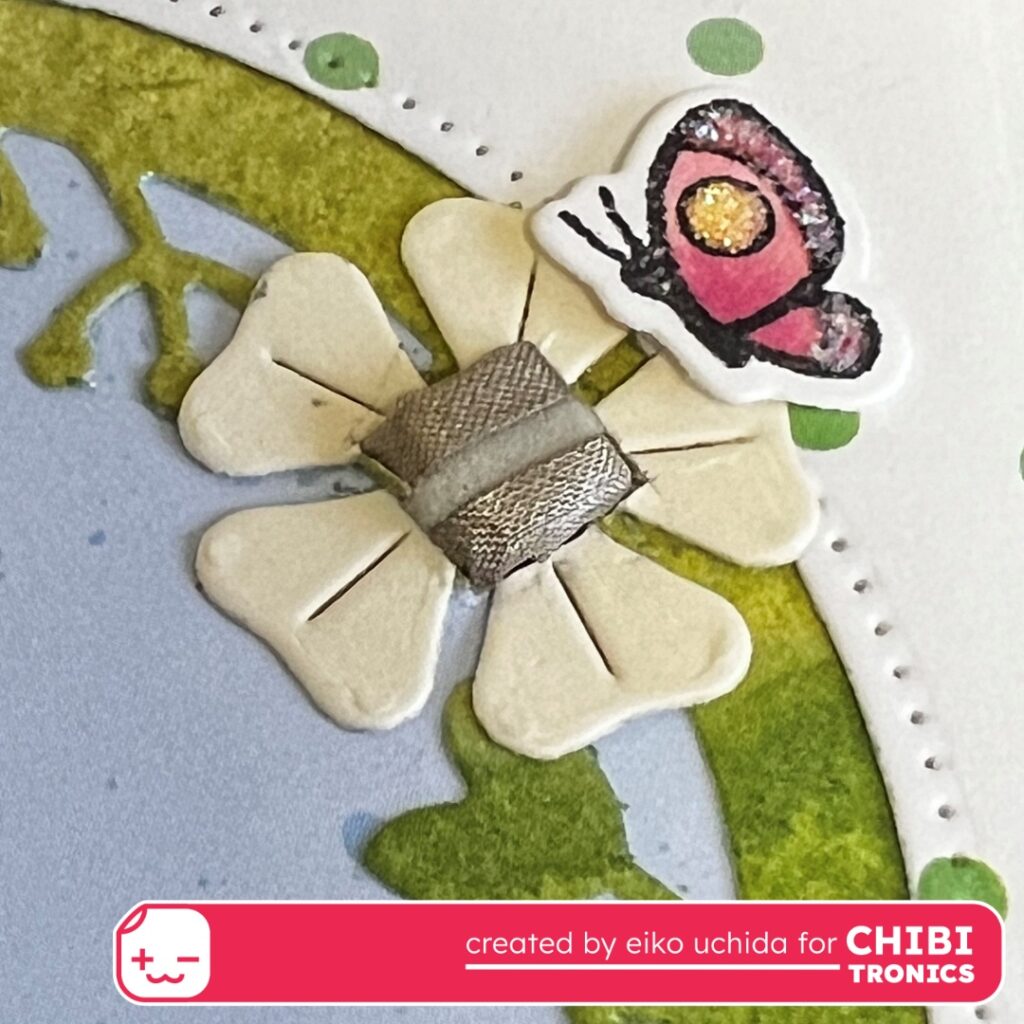
- Die cut cream cardstock with flower dies.
- Die cut green pattern paper with tab topper die.
- Die cut white cardstock with pull tab and sleeve dies.
- Two small pieces of foam sheet 3mm thick.
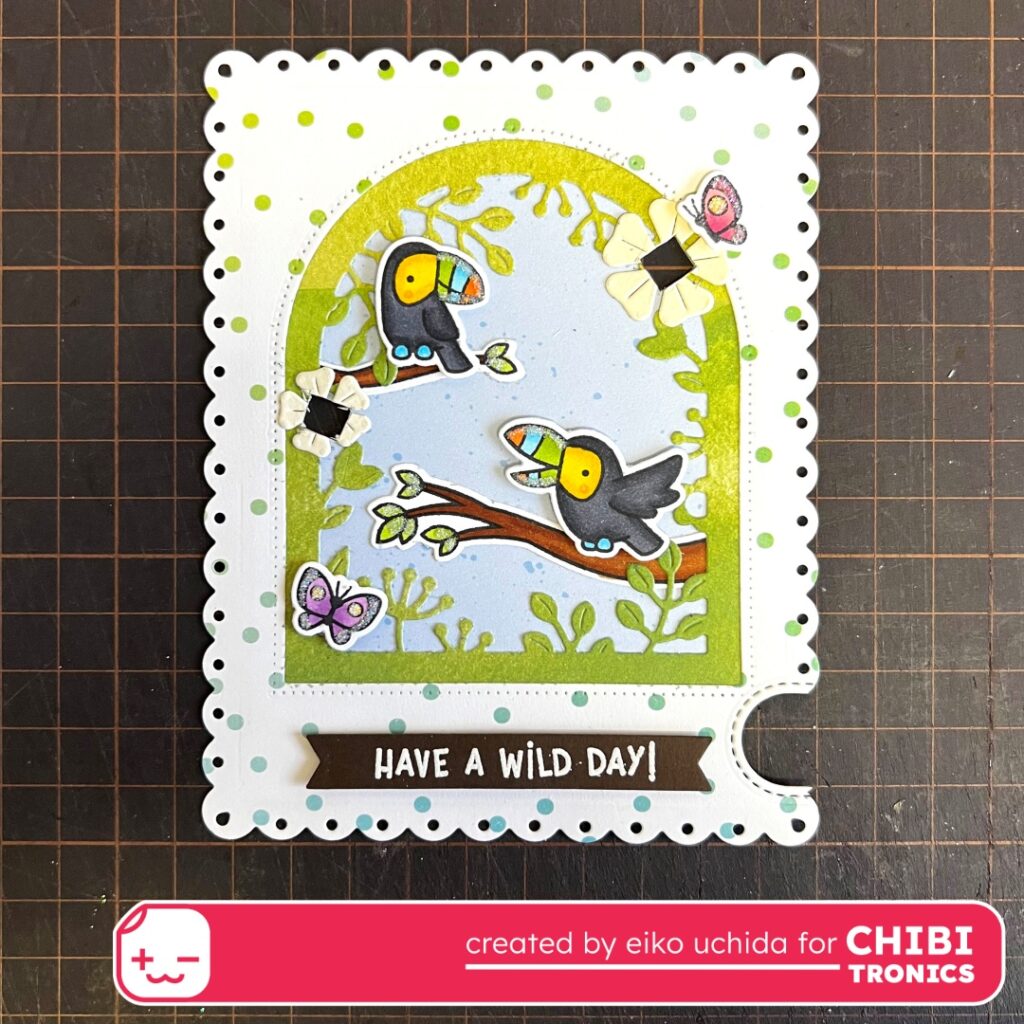
- Assemble the cover panel.
- Put the die cut parts on the dot pattern paper and make a square hole in the center of the flowers.
Make a slit by referring to the picture.
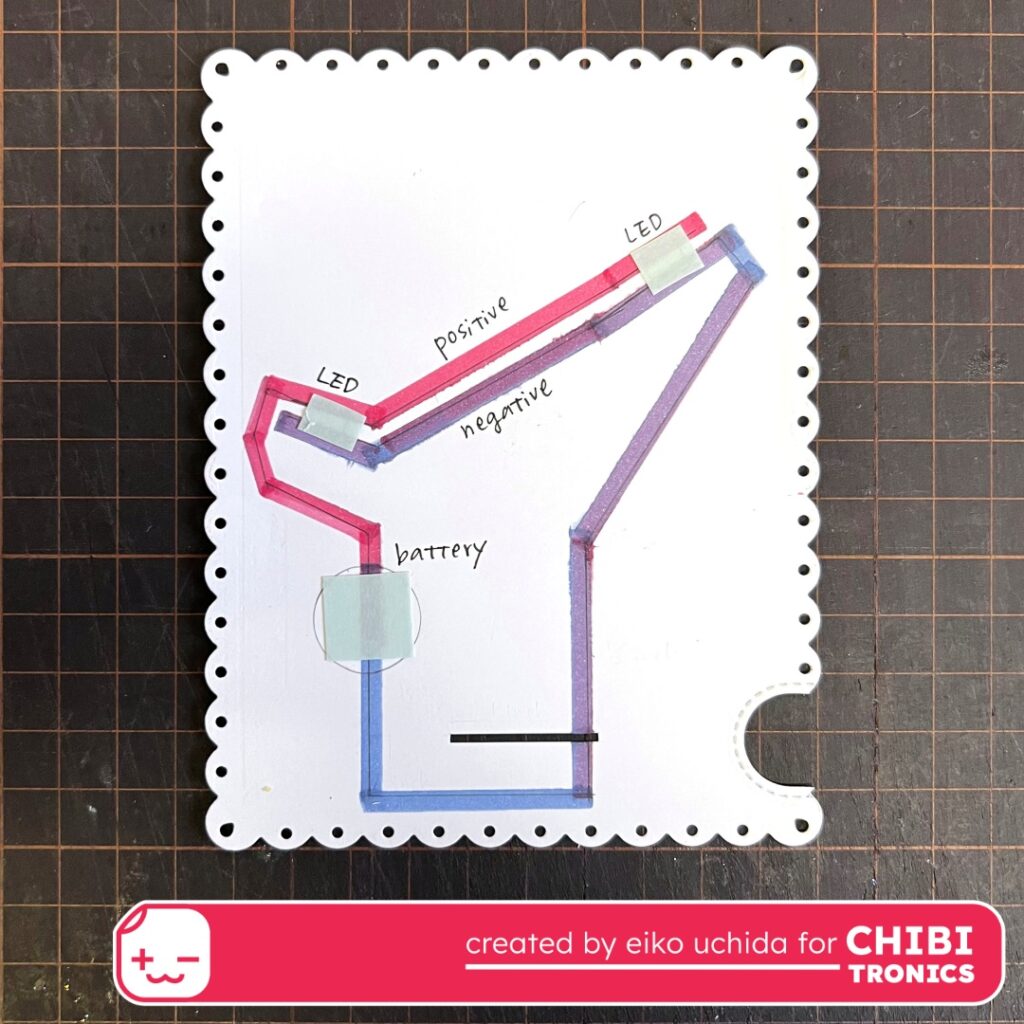
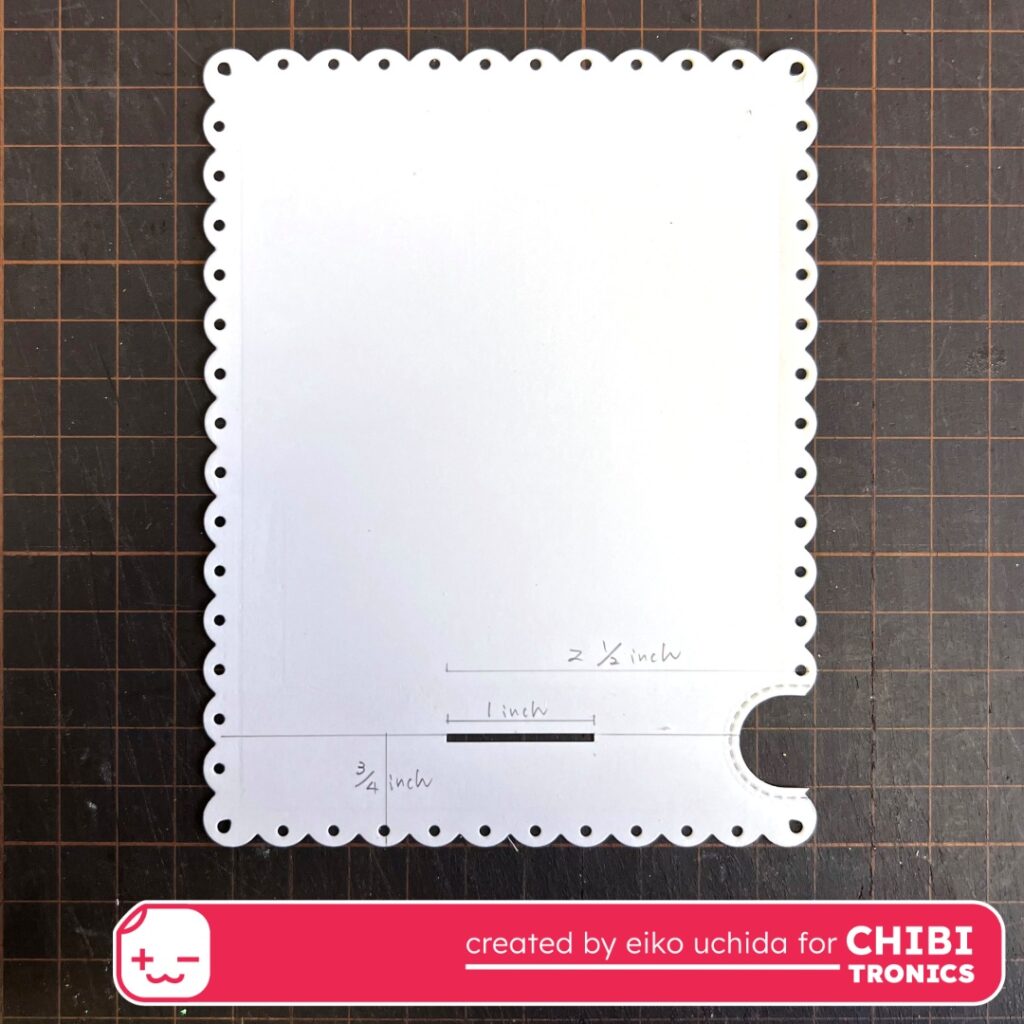
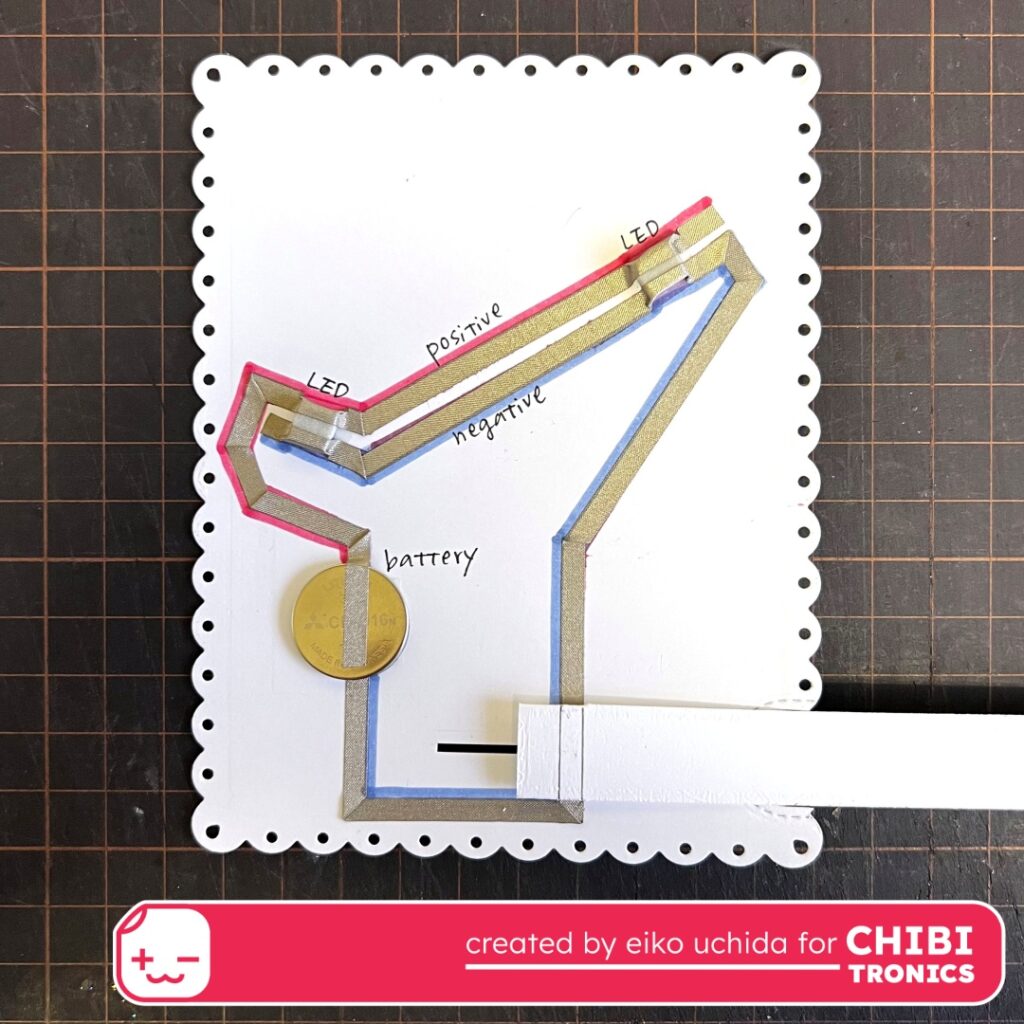
- Put the cover panel on white cardstock and mark the square holes with a pencil.
- Mark the position of the battery.
- Draw the circuit with a pencil.
- I colored the positive side red and the negative side blue.
- Apply the double-sided tape on the battery place and square holes.
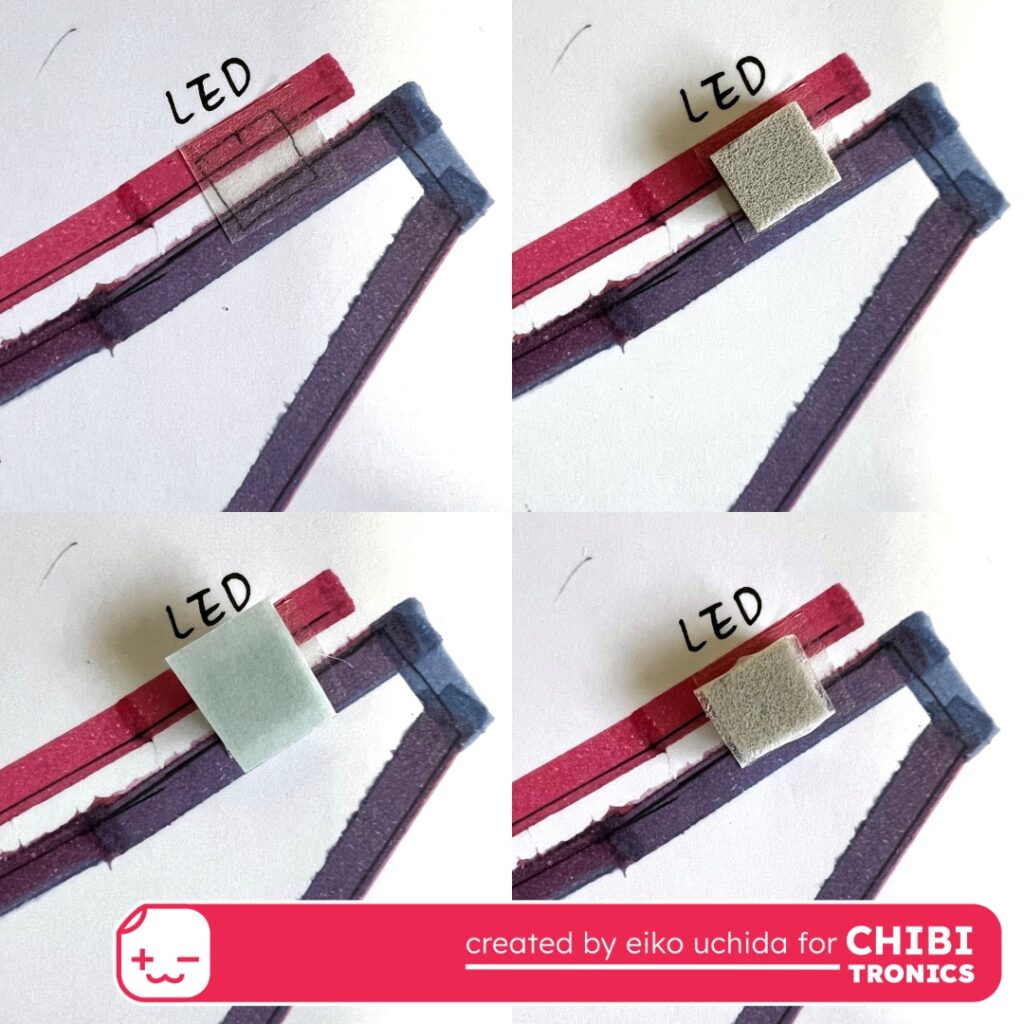
- Apply a small piece of foam sheet to the square hole area.
- Peel off the release paper, stick the foam piece on the double-sided tape.
- Put the one more double-sided tape on the foam piece.
- Peel off the release paper on the foam piece.
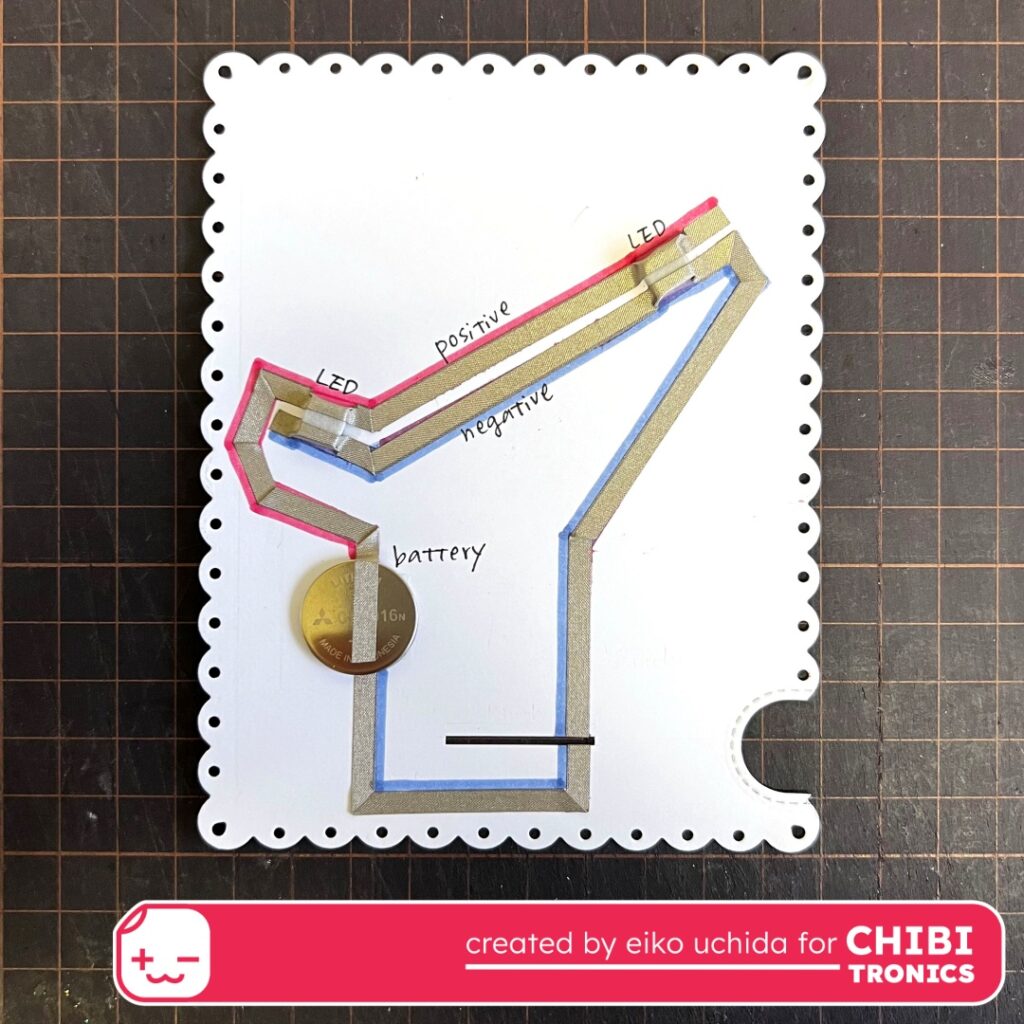
- Stick the conductive fabric tape on the pre-drawn path.
- At the battery place, peel off the release paper, stick the negative side fabric tape, fold it back and cut it.
- Stick the positive side fabric tape.
- At the position of the battery leave the positive side fabric tape about 1 inch and cut it.
- Place the battery on the fabric tape with positive side facing up and stick the positive side fabric tape on the battery.
- For the foam piece, apply fabric tape on the foam piece.
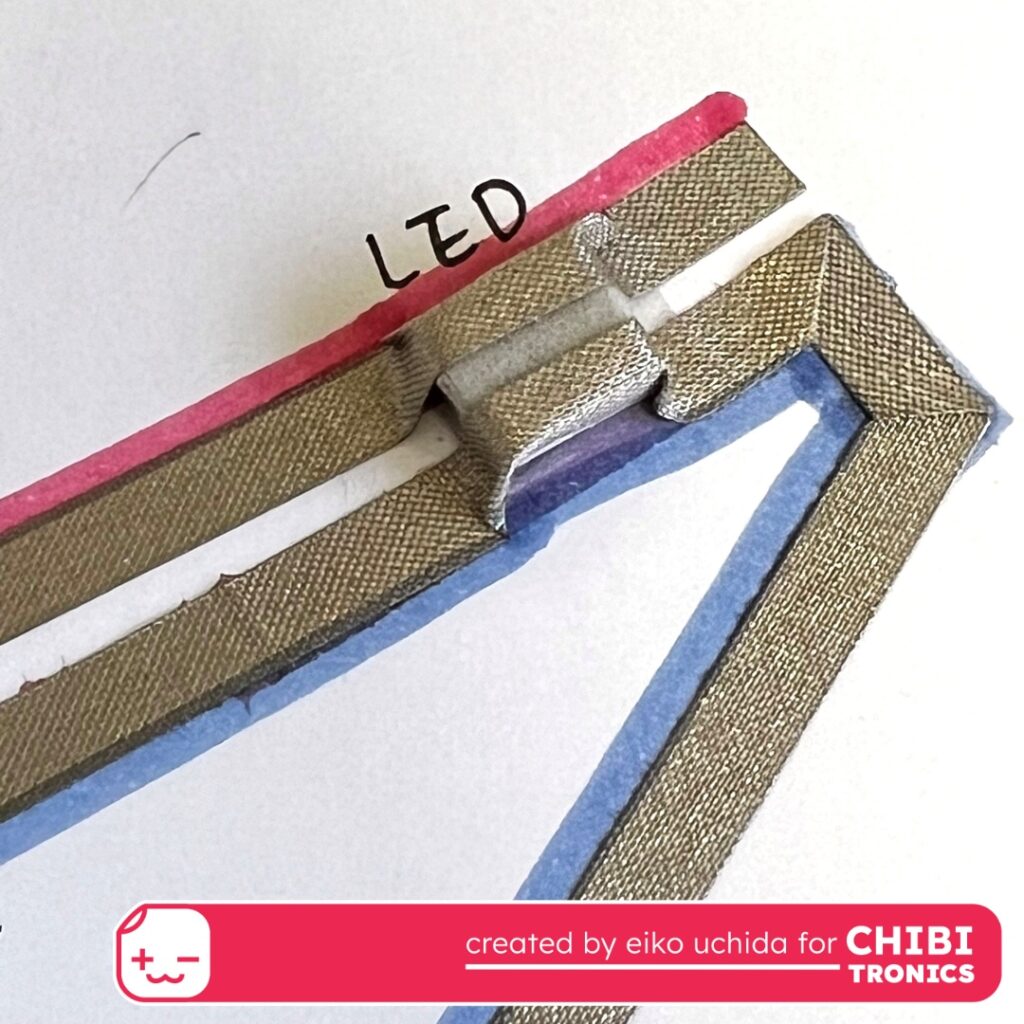
Here’s an enlarged view of the foam piece.
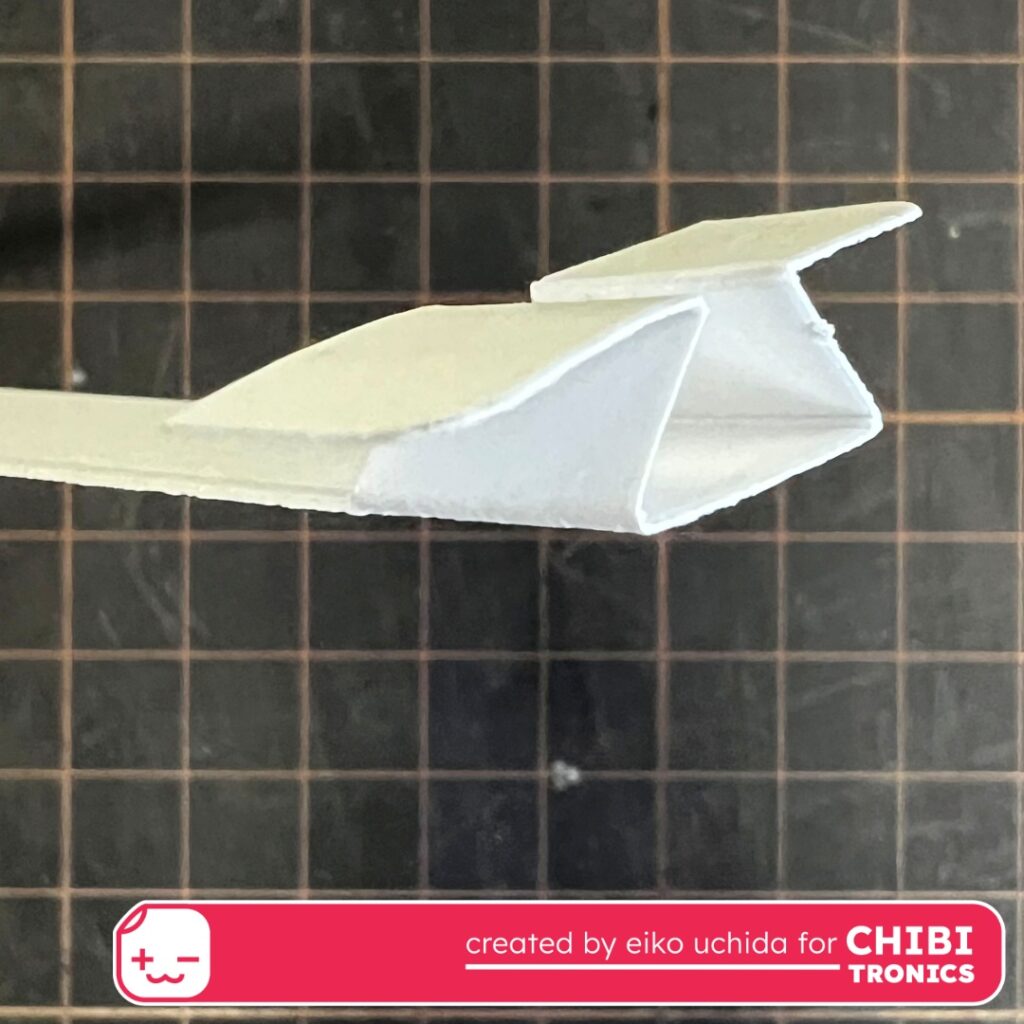
Make the pull tab. Fold the pull tab along the crease.
- Insert the flap into the slit and place the switch at the right end of the slit.
- Mark the position of the fabric tape.

- Remove the switch part from the slit and stick the fabric tape on the mark.
- Fold the flap along the crease.
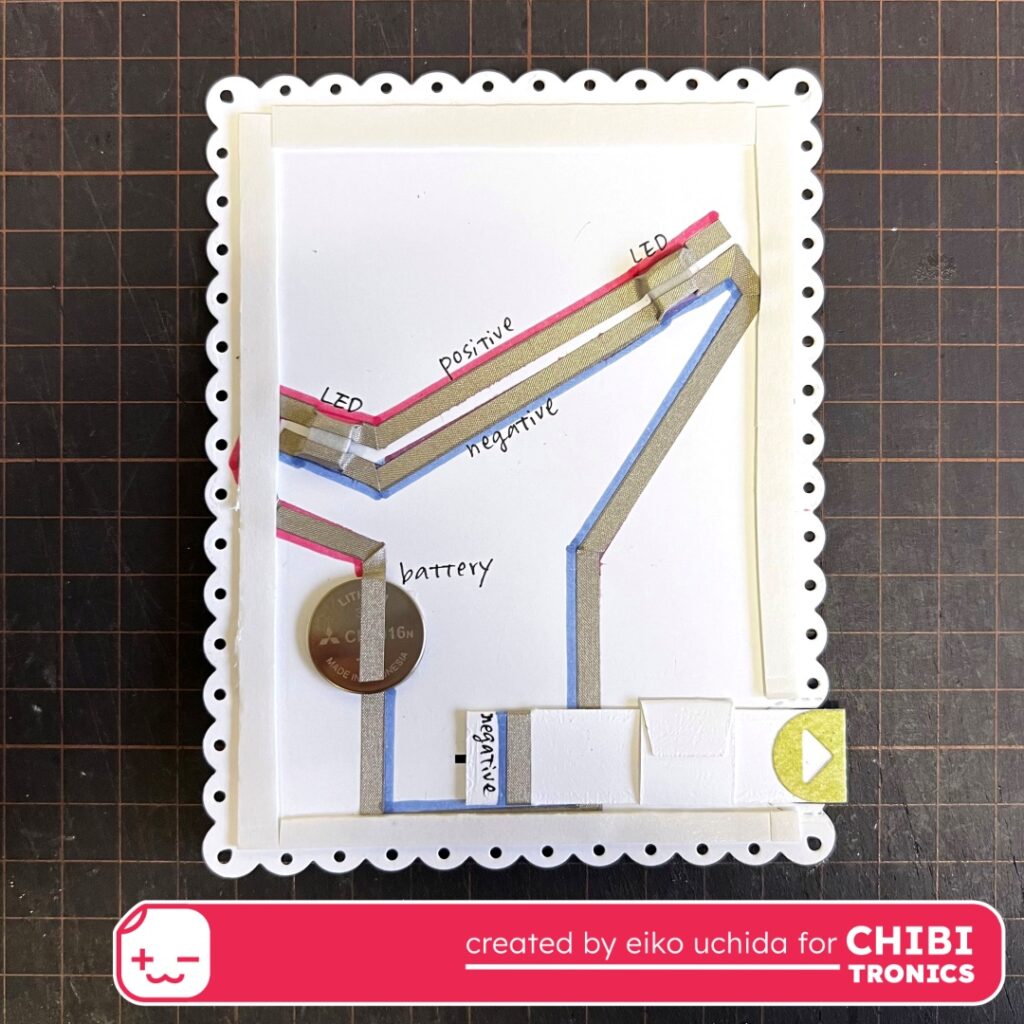
- Put the wrap part on the pull tab part.
- Put the foam tape around the entire edge of the circuit card base.
Stick the cover panel on the circuit card base.
Here’s an enlarged view of the foam piece.
- Stick the finished parts on the orange pattern paper.
- Stick the animating LED on the foam piece.
I finished it!
When you pull the tab, the flowers fade to rainbow colors.
Be sure to check out the whole video tutorial for more details.
Thank you for stopping by!
Eiko Uchida
~Supplies List~
- Chibitronics animating LED
- 3V coin cell battery (CR2016)
- Conductive fabric tape
- Lawn Fawn happy hibiscus
- Lawn Fawn toucan do it
- Lawn Fawn toucan do it lawn cuts
- Lawn Fawn secret garden window
- Lawn Fawn fancy scalloped rectangle stackables
- Lawn Fawn extra sentiment banners
- Lawn Fawn Let’s toast pull tab add-on
- Lawn Fawn ground coffee cardstock
- Lawn Fawn vanilla malt cardstock
- Lawn Fawn robin’s egg pattern paper
- Lawn Fawn carnelian pattern paper
- Lawn Fawn emerald pattern paper
- Lawn Fawn white embossing powder
- Lawn Fawn prisma glitter
- Neenah 80lb smooth solar white paper
- Copic markers
- 3mm thick foam sheet