Light Takes Flight
This project takes inspiration from a bird model featured in Duncan Birmingham’s book, Pop-Up Design and Paper Mechanics: How to Make Folding Paper Sculpture, which is a fabulous resource!
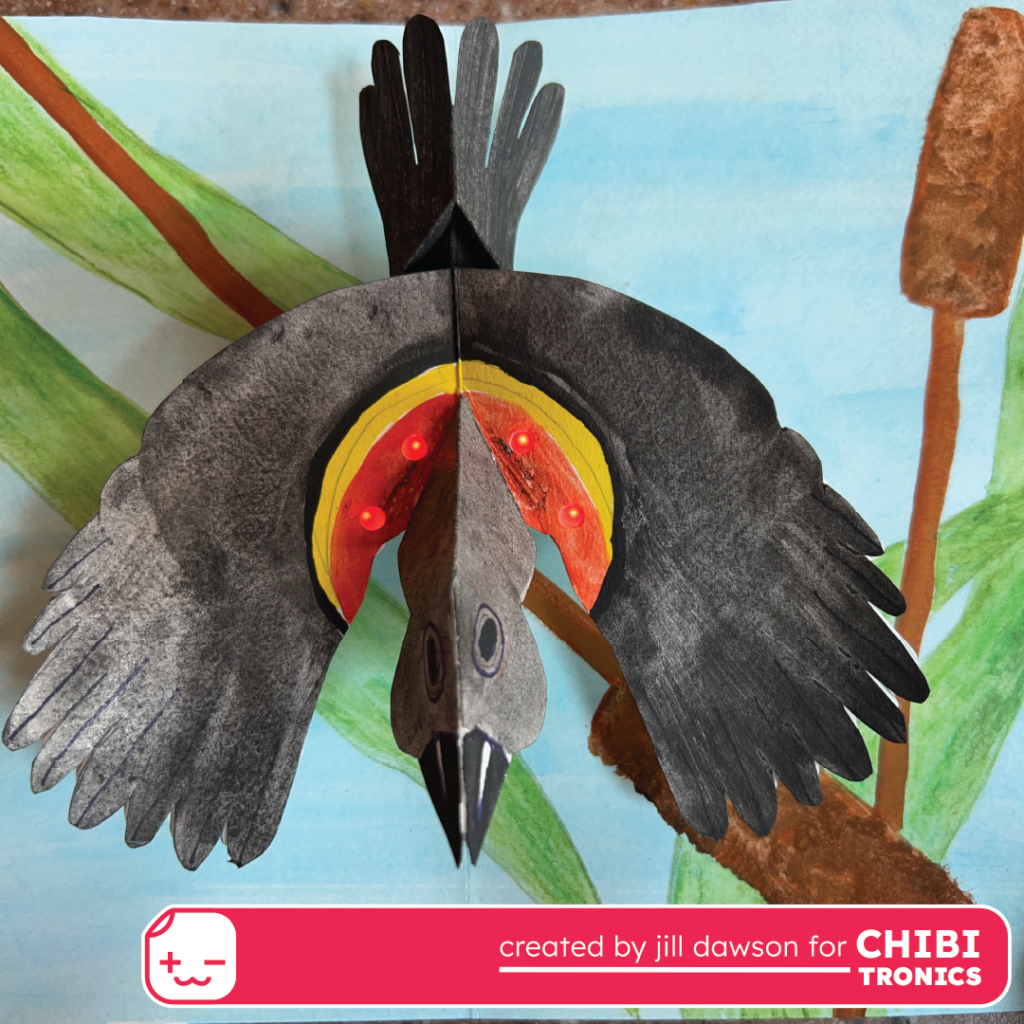
In this tutorial, I’ll show you a way to light up the wings of a pop-up bird using Chibitronics sticker LEDs. My bird of choice is a Red-winged Blackbird, which is common in the wetlands near my house.
The mechanism I’ll be using to lift the bird’s head and wings is called a floating plane. To learn more about the floating plane, and ways that it might be applied, check out Pop-Up Tutorial 12: The Floating Plane on Duncan Birmingham’s Pop-Up Channel.
Because the only thing better than a paper circuit is a paper circuit that pops up, I will be focusing upon the process that I use to add a circuit to this type of mechanism.
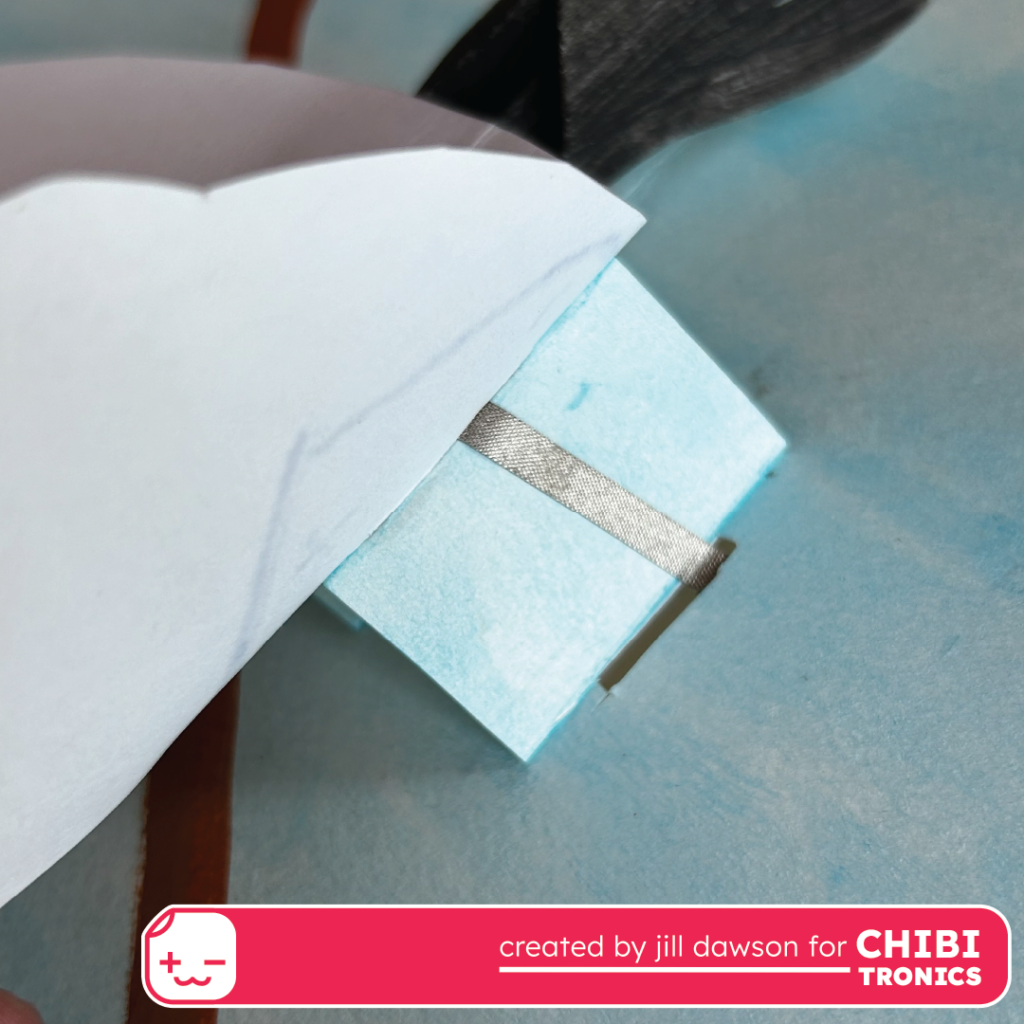
In this example, I’ll show you how I use concealed slots to thread conductive fabric tape traces from one layer to another, to create a fun, flapping pop-up that glows!
Helpful Tools & Supplies
- Circuit Sticker LEDs of your choice (I’m using four red classic LED stickers)
- Conductive Fabric Tape
- 3V coin cell battery (keep out of reach of children)
- (Optional) Chibitronics Craft Stencil or Chibi Stencil (coming out soon)
- Cardstock or watercolor paper
- Double-sided Tape
- Craft Glue
- Bone Folder or Embossing Tool
- Basic arts supplies (I’m using watercolor paint and a black Sharpie marker)
Overview (See Video for Details)
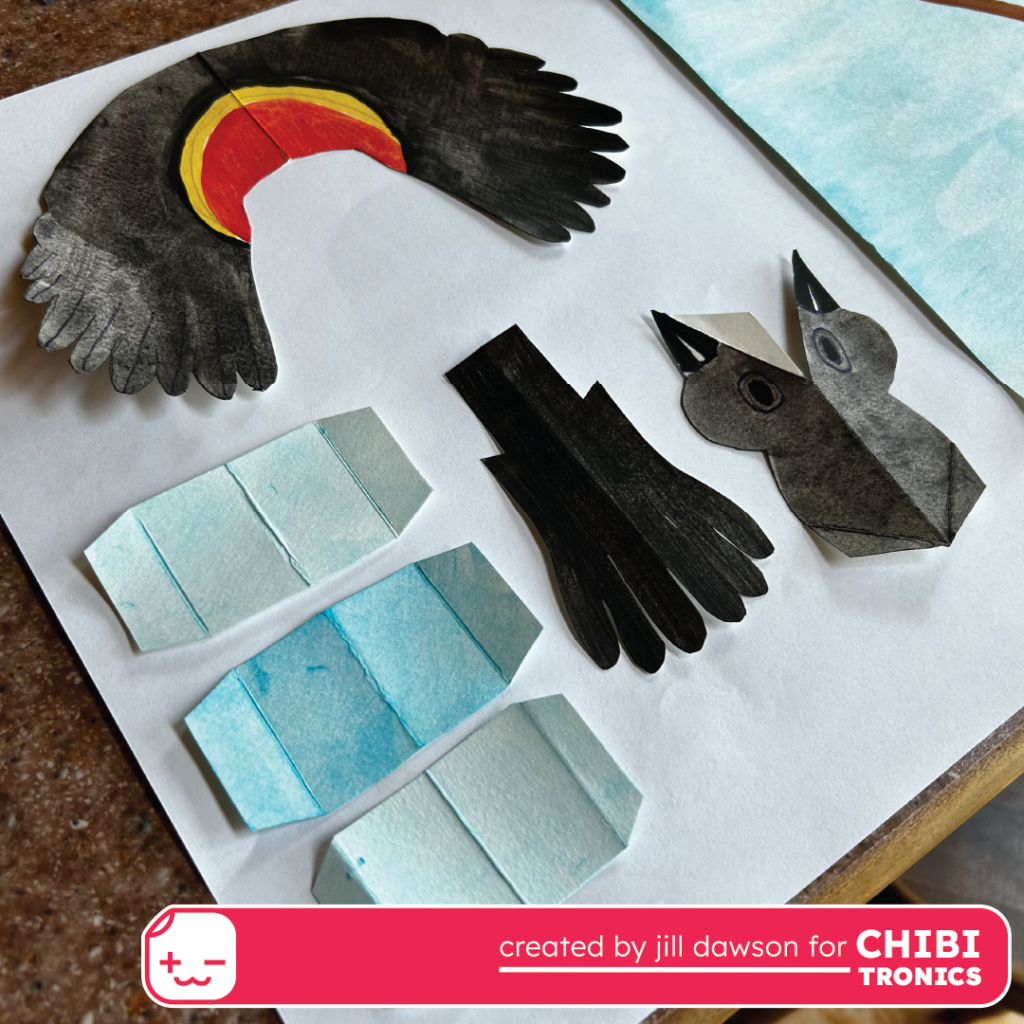
After building a dummy model to test out my idea, I sketched out and painted a background and parts for my bird on pieces of sturdy watercolor paper.
Next, I folded and glued the tail into the rear hollow of the floating plane mechanism and made sure that it opened and closed properly.
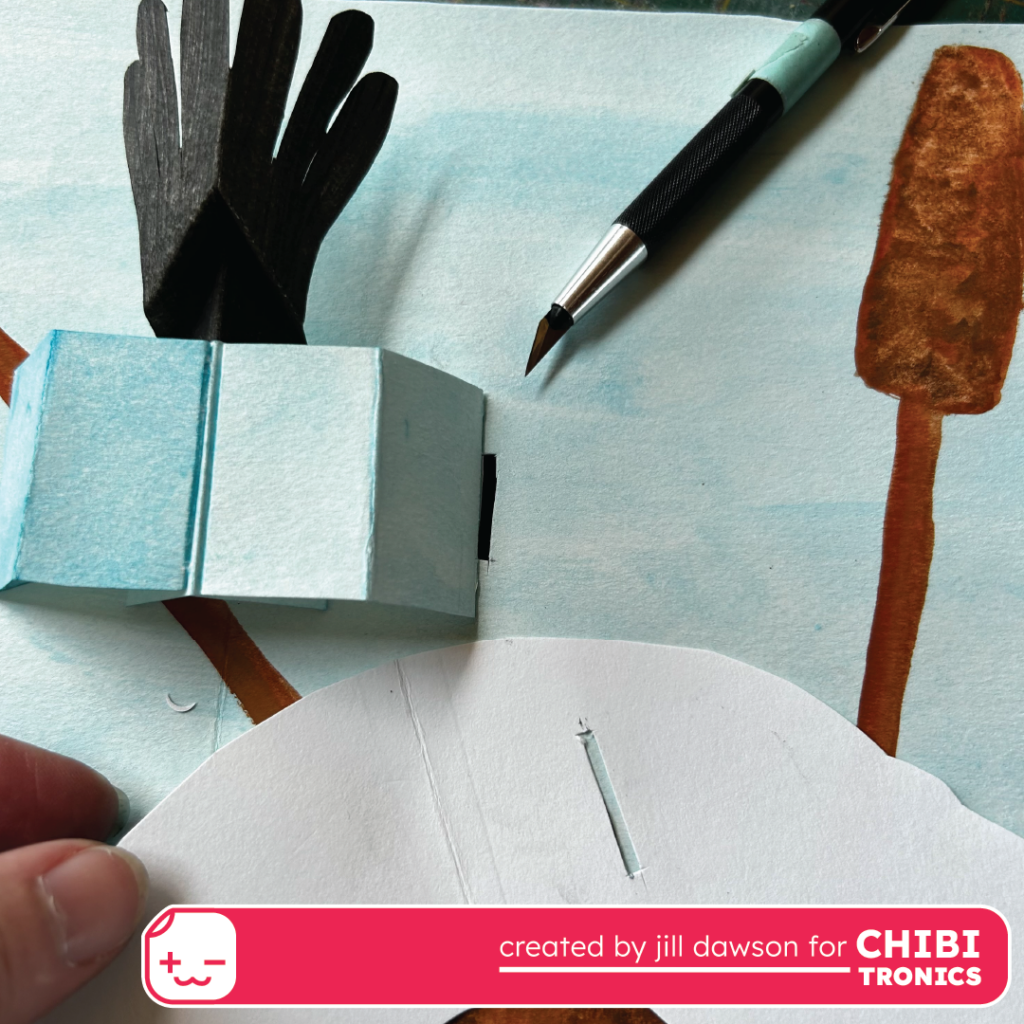
Then, to make it possible to build and conceal my circuit, I used a pen-knife to cut a slot through the base card, parallel to the right edge of the floating plane.
I made a matching slot (about an inch from the crease) in the center of a plain white wing piece. This white piece, which I will refer to as the circuit layer, will later be covered up with a painted layer.
After cutting slots in the card base and the circuit layer, I glued the white wings on top of the floating plane.
Next, I nested the folded base layer into a second folded piece of paper of the same size (the backing layer).
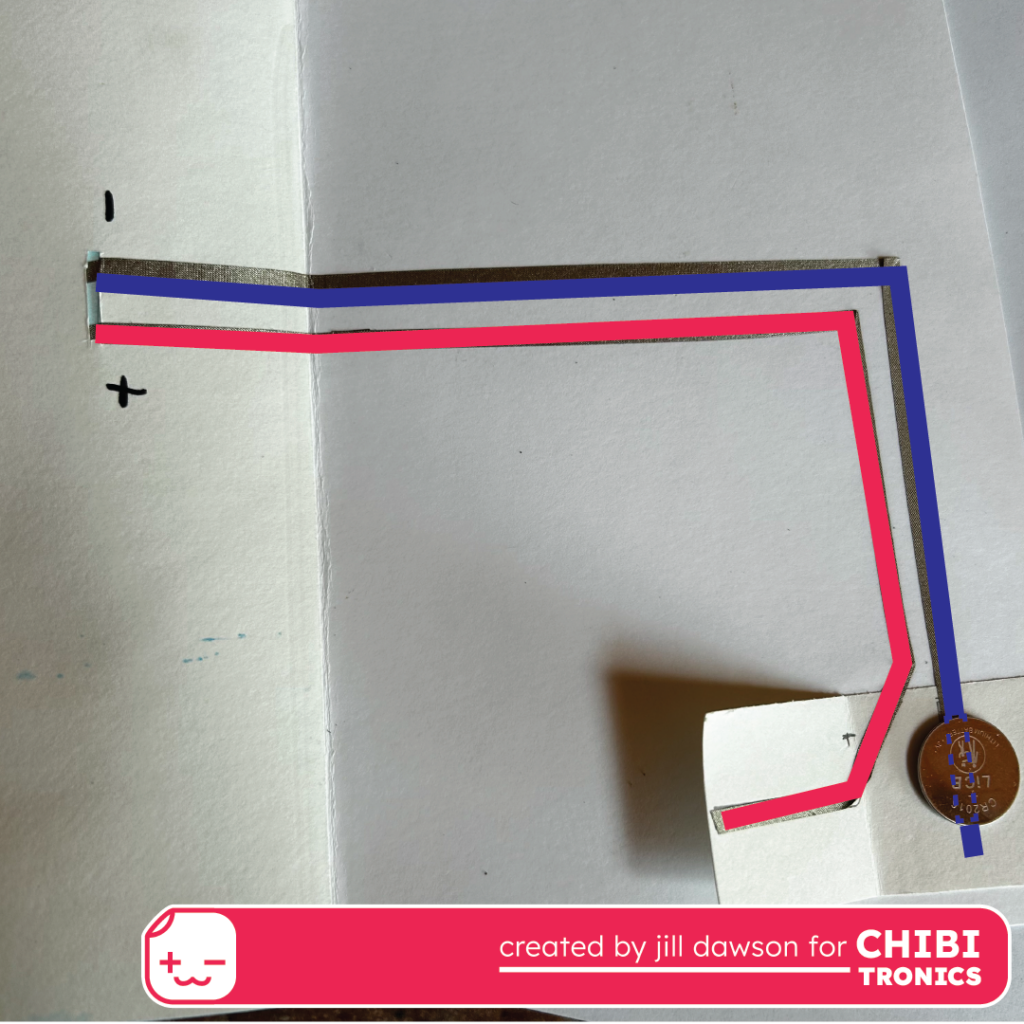
To create a battery holder, I folded and glued a scrap of paper to the bottom right corner of the backing sheet. Then, I sketched out the positive and negative traces from the battery to the slot in the base layer. To keep the two pieces of paper from shifting, I attached them with a piece of double-sided tape.

After testing the circuit, to make sure that it was working properly, I poked holes in my painted wings, and backed them with scraps of vellum (to diffuse the light).
Lastly, I adhered the painted wings on top of the circuit.