Hi crafty friends!
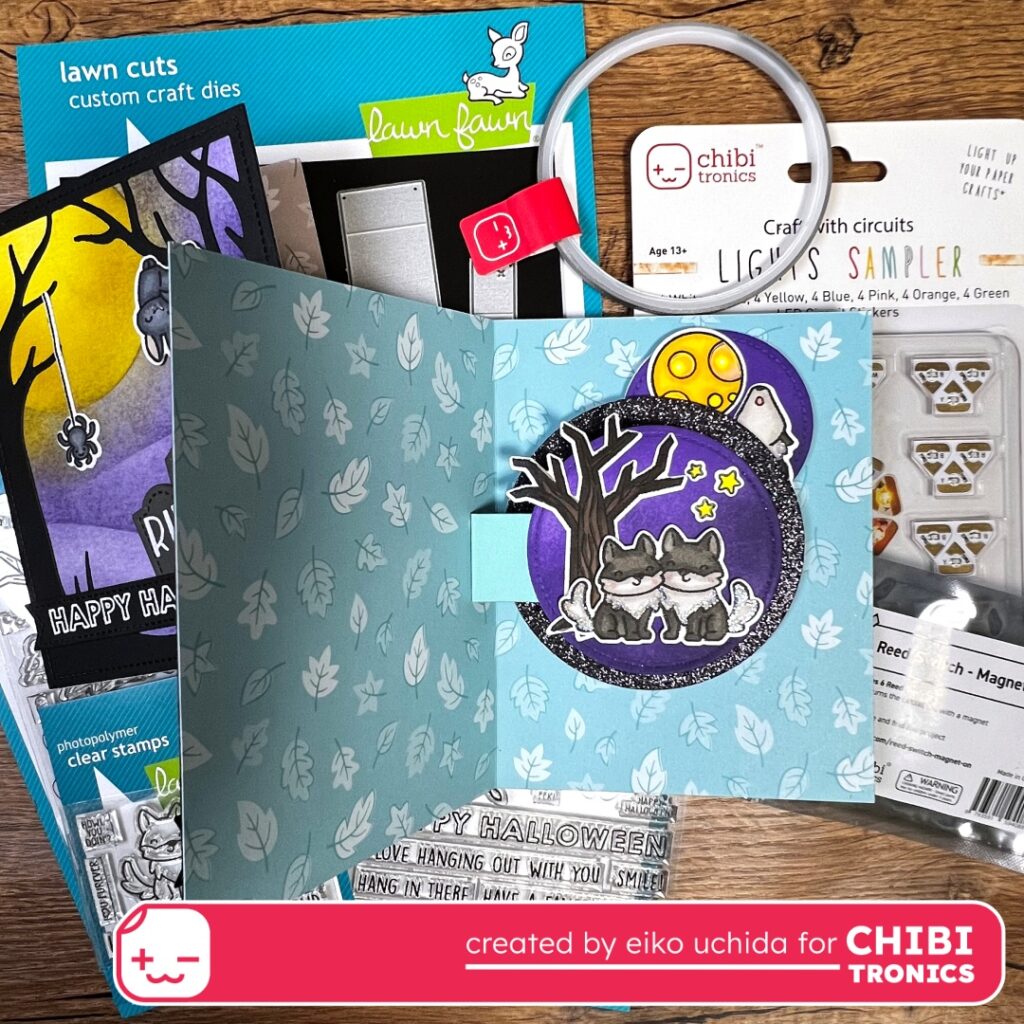
This is Eiko. I made two types of light up cards using Chibitronics and Lawn Fawn swivel surprise dies and stamps. First, I’ll show you how to make a Halloween card.
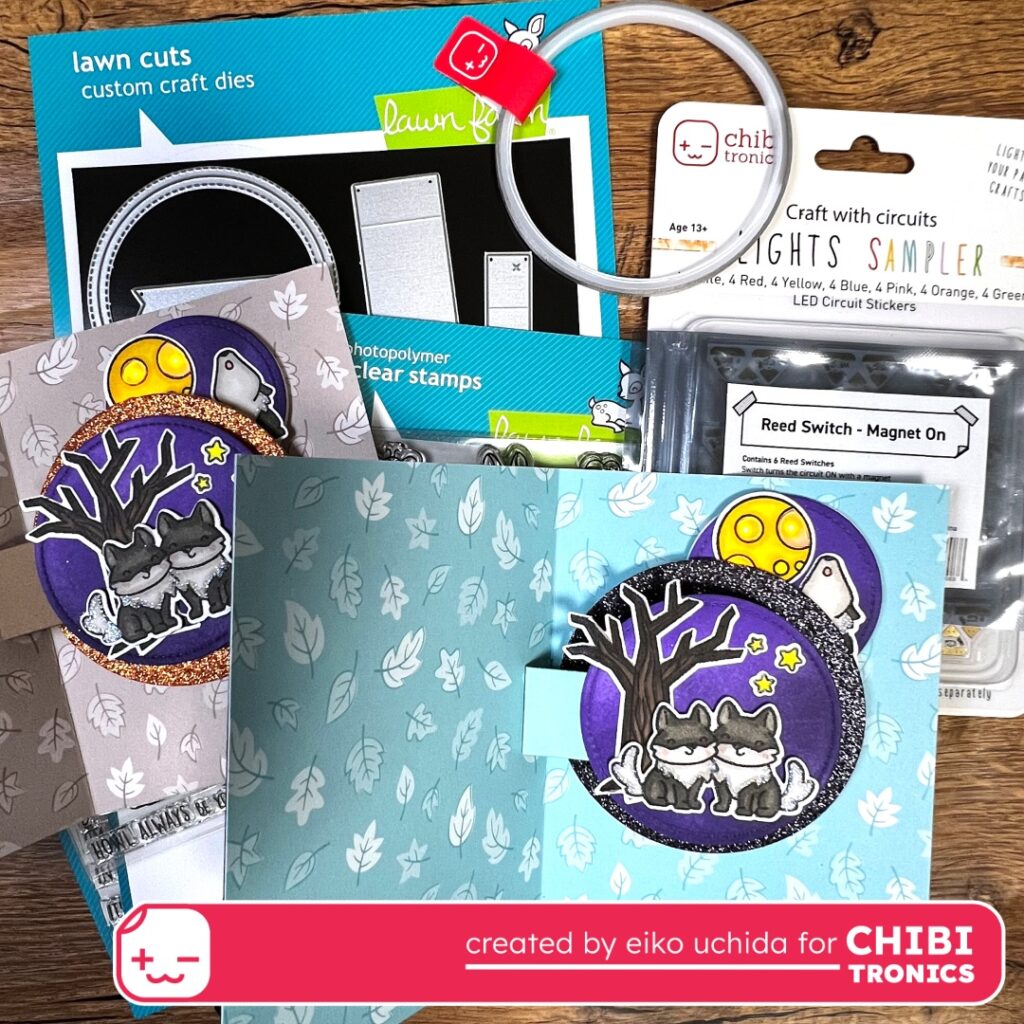
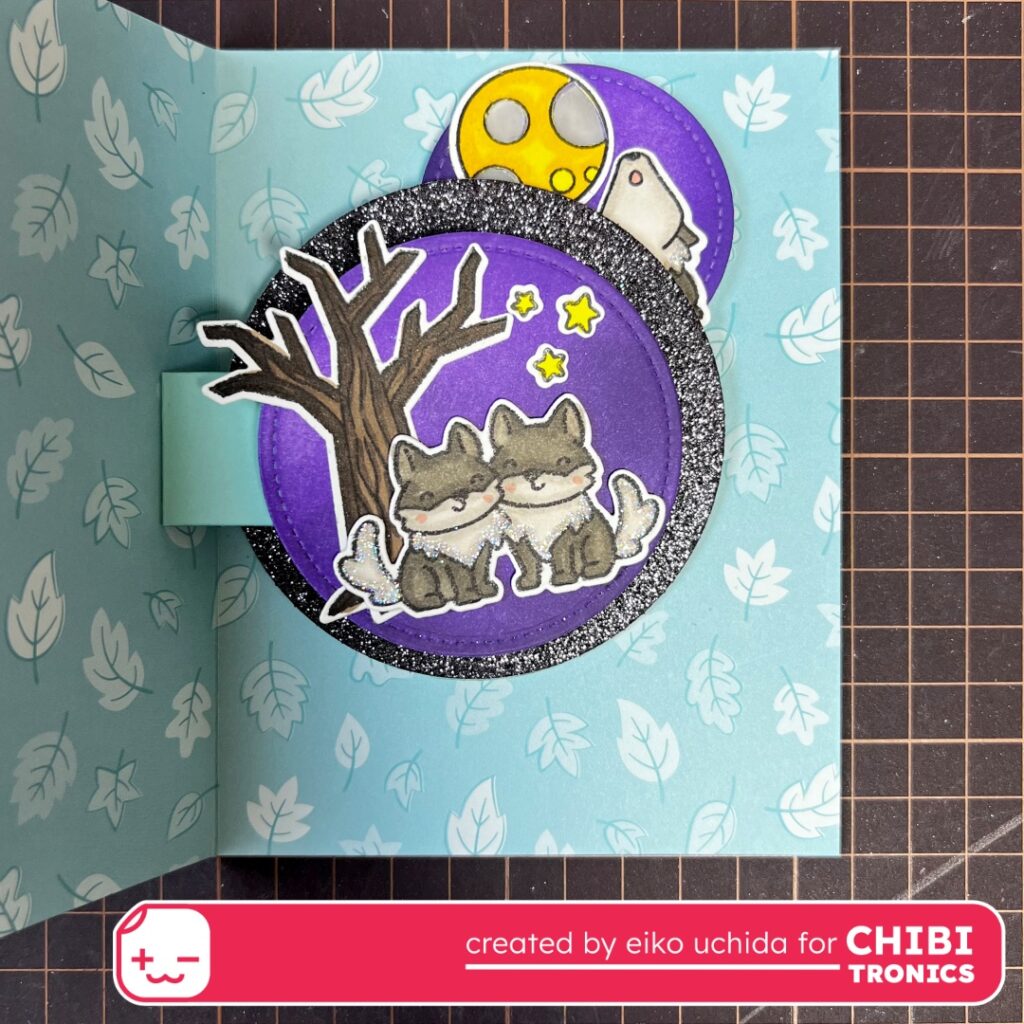
I used the reed switch on this card. When you open the card, the small circular part moves and a reed switch inside the circuit approaches the magnet attached to the back of the card, turning on the switch and the moon motif shines.
I will make the parts referring to the picture below.
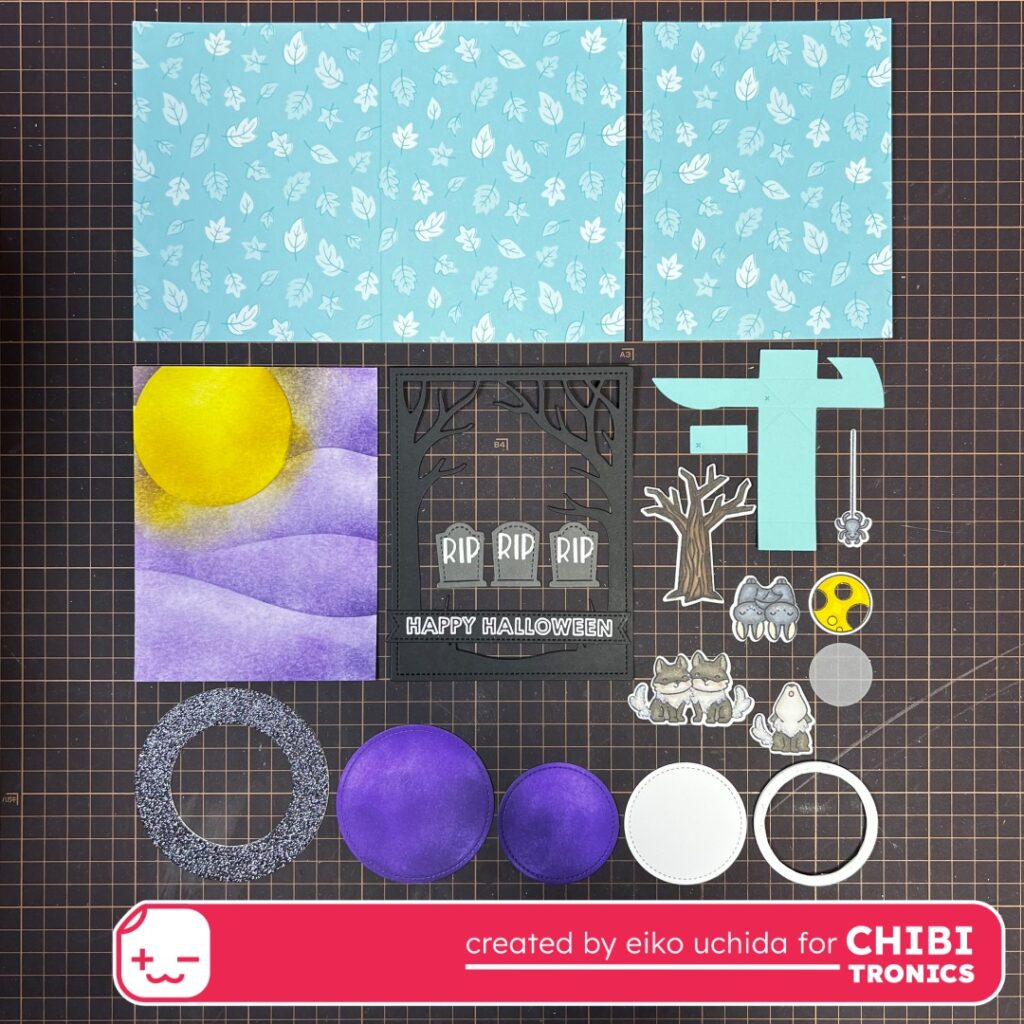
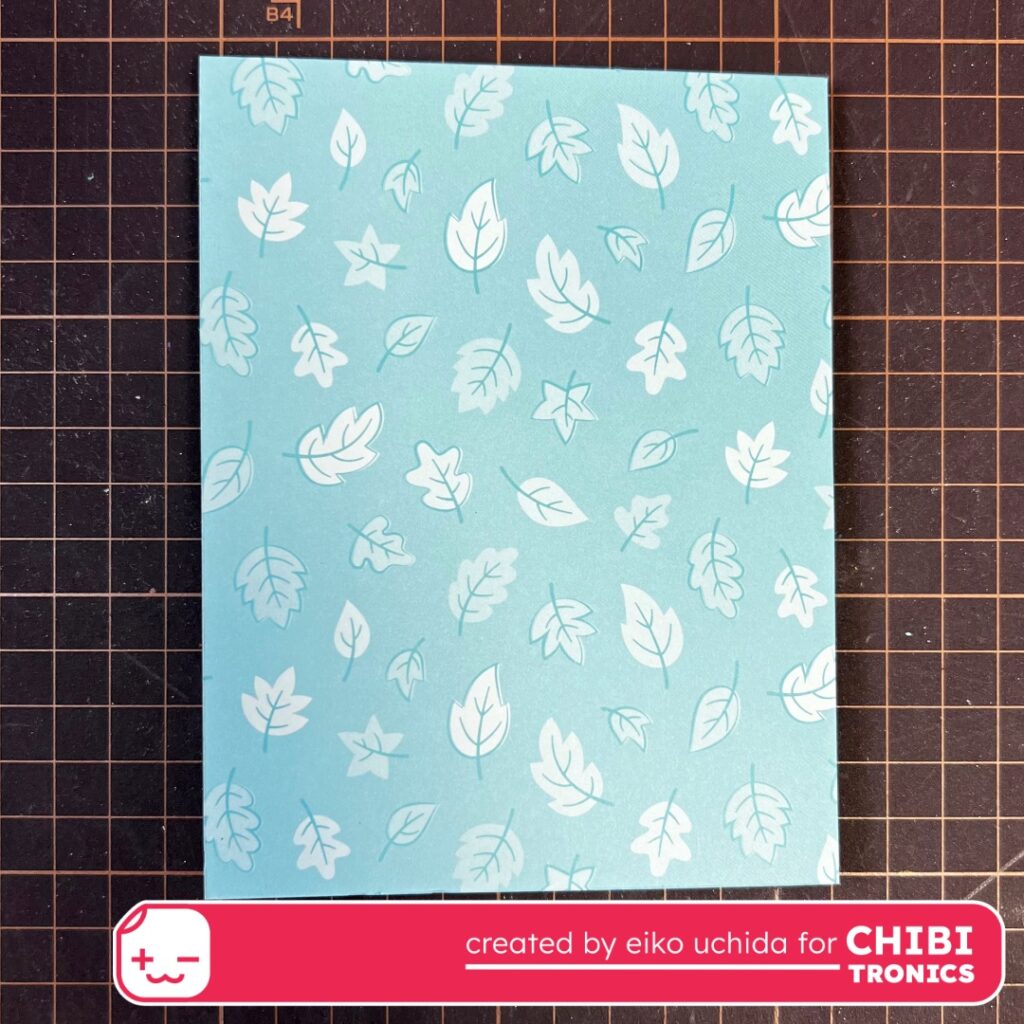
- Pattern paper (size 5.5X8.5 inches) Fold it in the middle.
- Pattern paper (size 5.5X4.25 inches)
- Distress watercolor cardstock (size 5.5×4.25 inches) Coloring with stencils and distress inks.
- Die cut black licorice cardstock using spooky forest backdrop die.
- Die cut black licorice cardstock using stitched sentiment banners die. Stamp the sentiment and heat emboss with white embossing powder.
- Die cut storm cloud cardstock using gravestones die. Stamp the sentiment and heat emboss with white embossing powder.
- Stamp wolf, bat, tree, moon and spider motifs onto white cardstock, color with Copic markers and die cut.
- Die cut vellum using moon die.
- Die cut mermaid cardstock using mechanism piece and connector dies.
- Die cut black sparkle cardstock using large circle ring die.
- Die cut white cardstock using small and large stitched circle dies. Coloring with distress inks.
- Die cut 2mm thick foam sheet with a small stitched circle die, then cut the inside to form a ring.
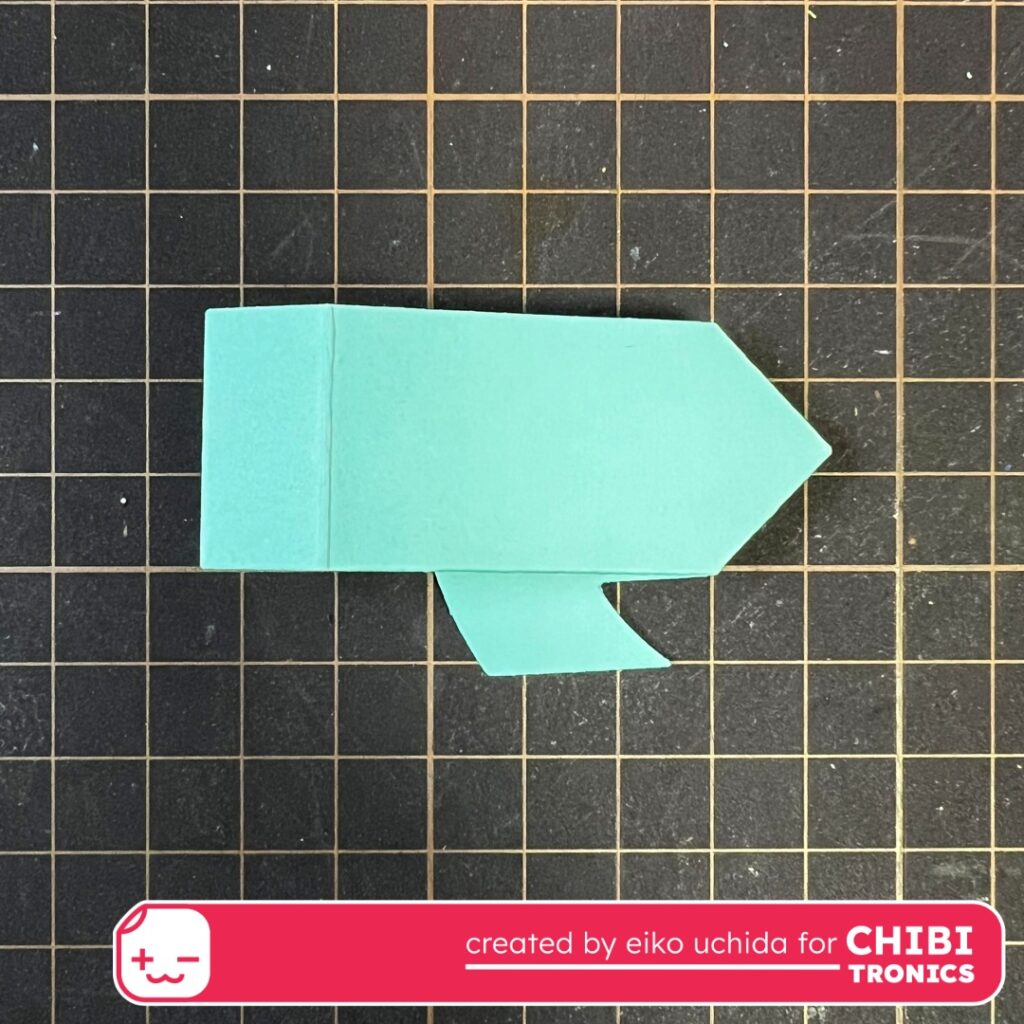
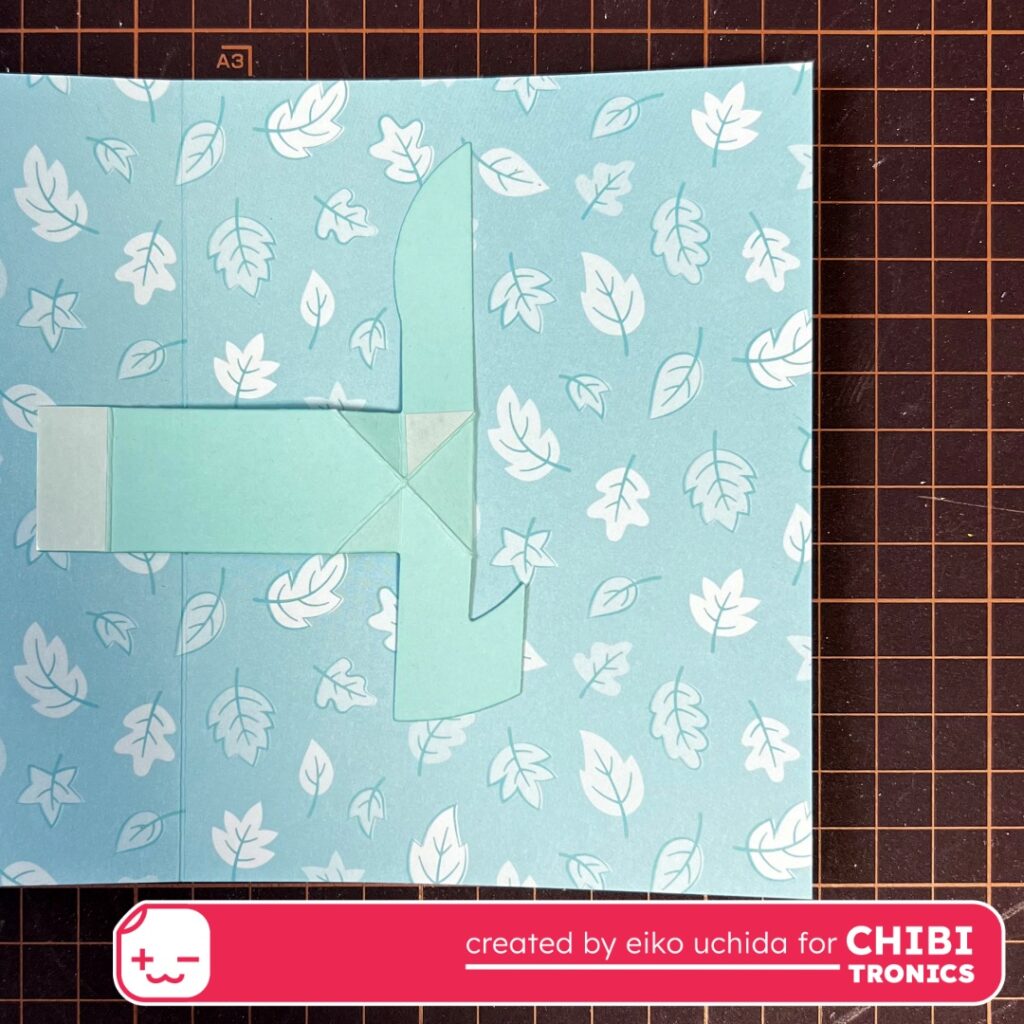
Fold the mechanism piece along the score lines.
Adhere the folded mechanism piece to the folded pattern paper, 2.25 inches from the top, along the center line.
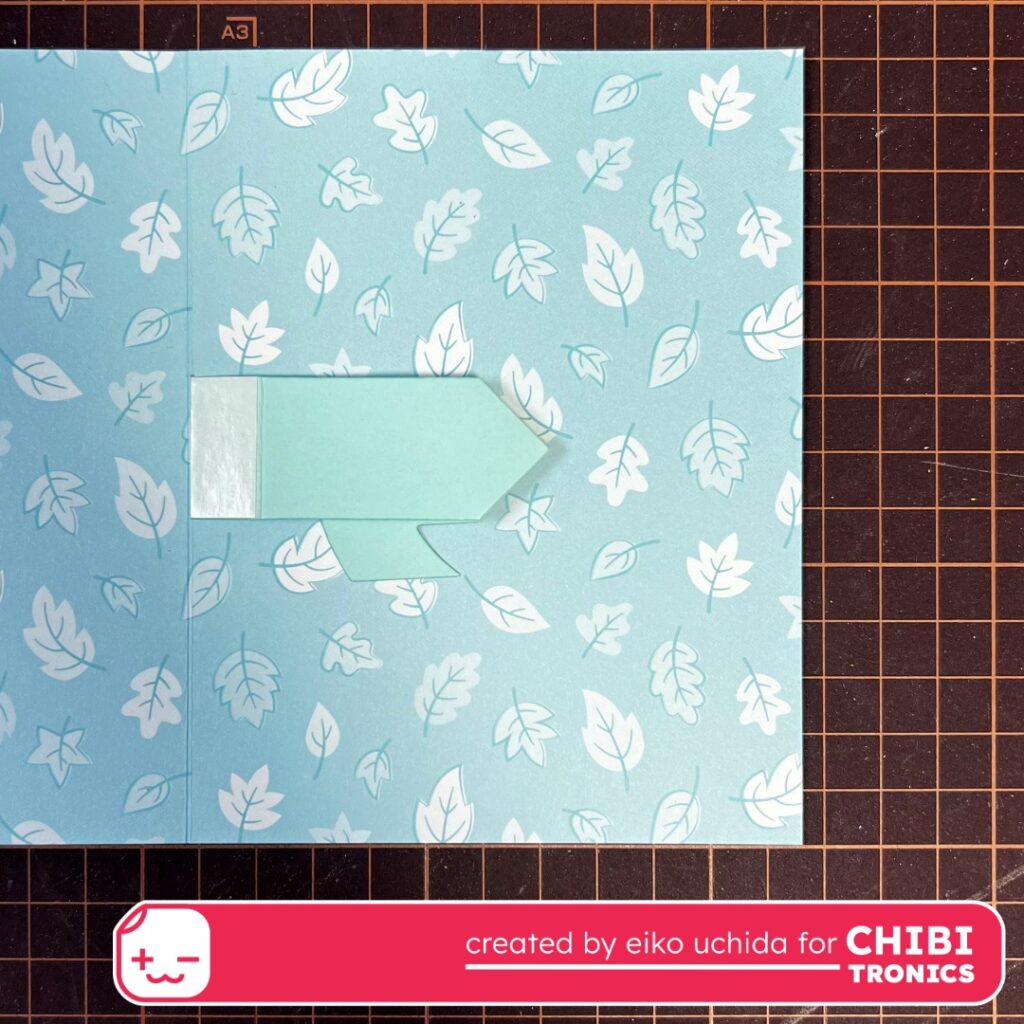
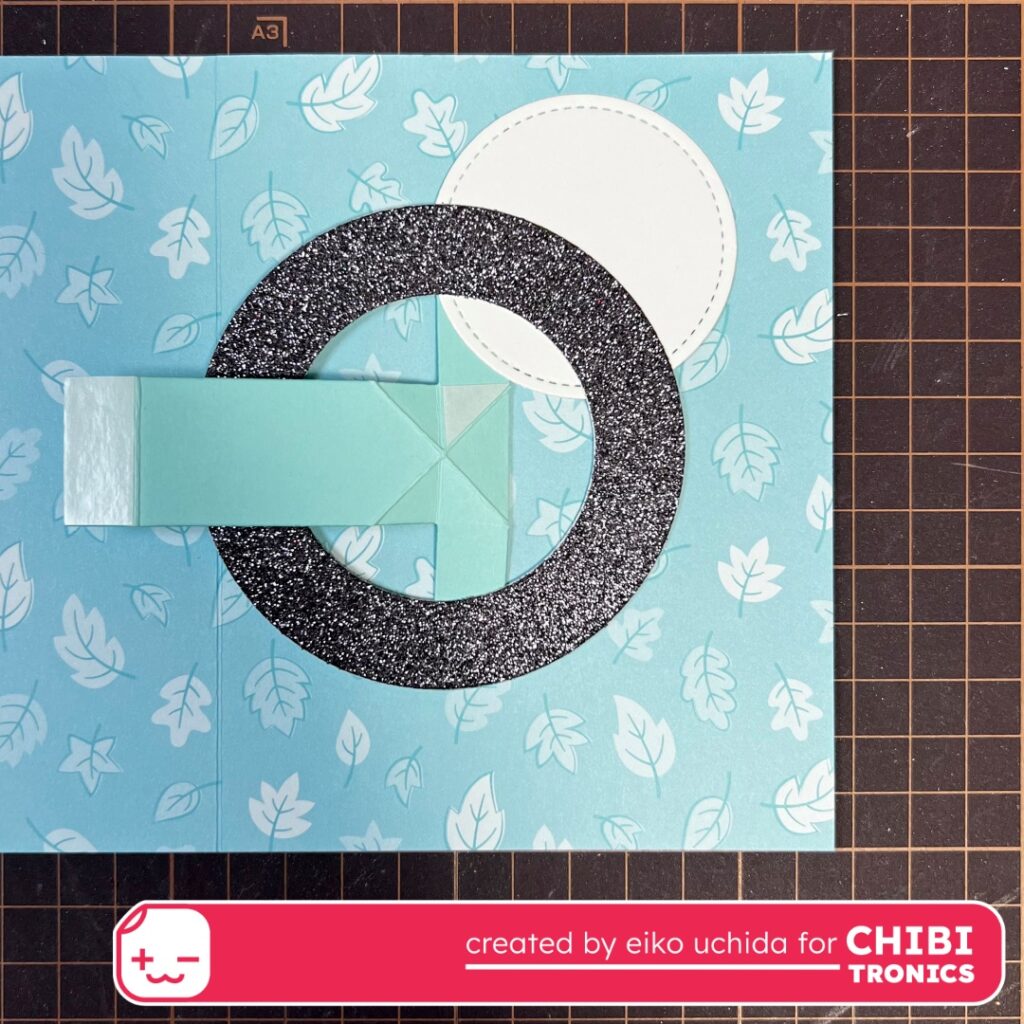
Pull the tab to open the mechanism piece.
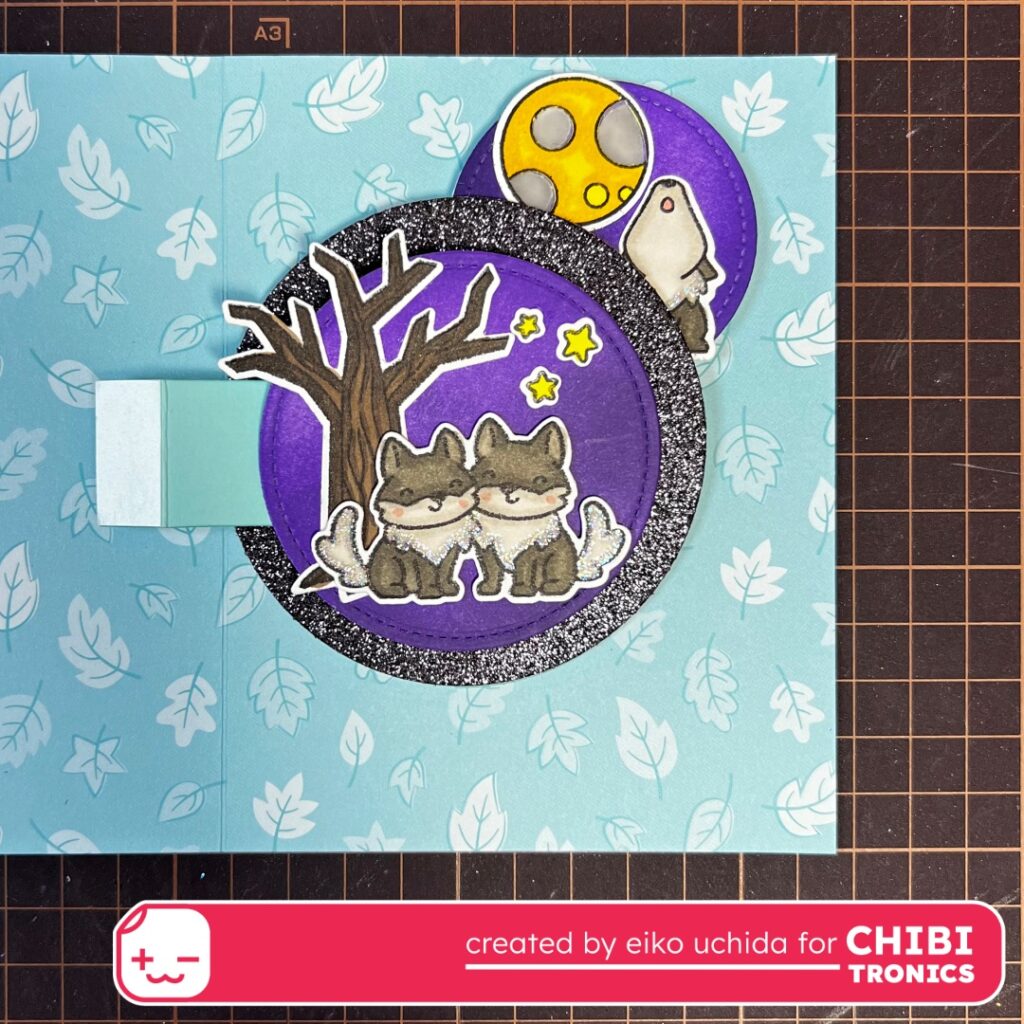
Place the large ring part and the small circular part on the mechanism piece.
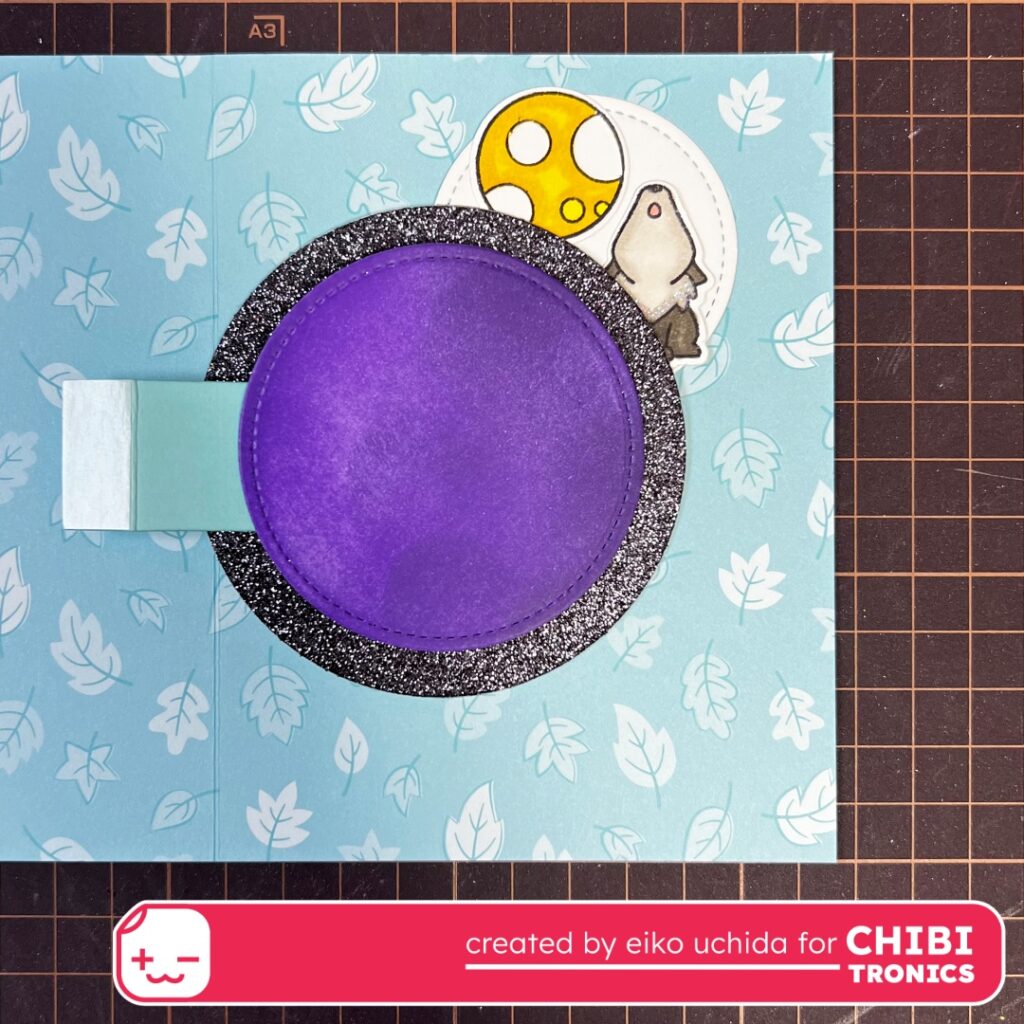
Place the large circular part and moon, wolf motifs.
Make the circuit.
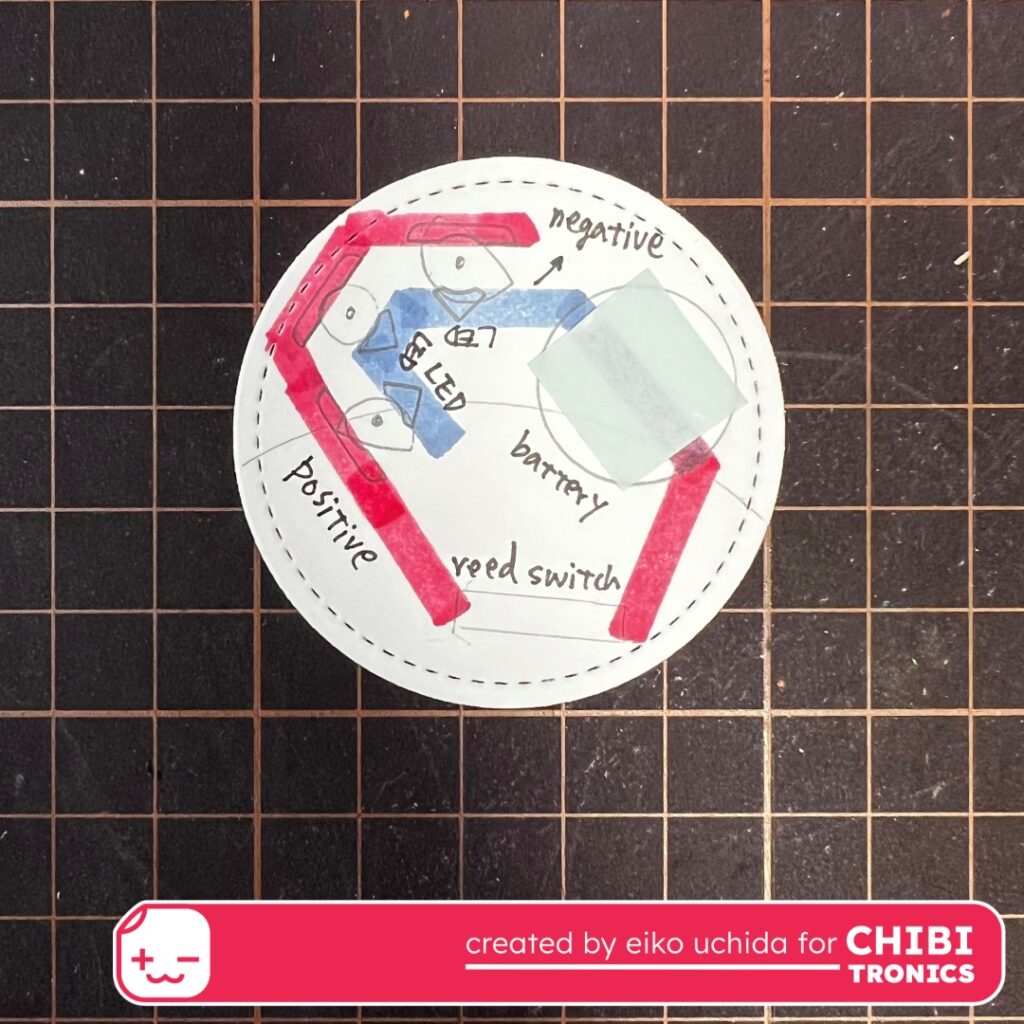
- Put the moon and wolf motifs on white circular part and mark the hole with a pencil.
- Draw the circuit with a pencil.
- I colored the positive side red and the negative side blue.
- Put the double-sided tape on the battery place.
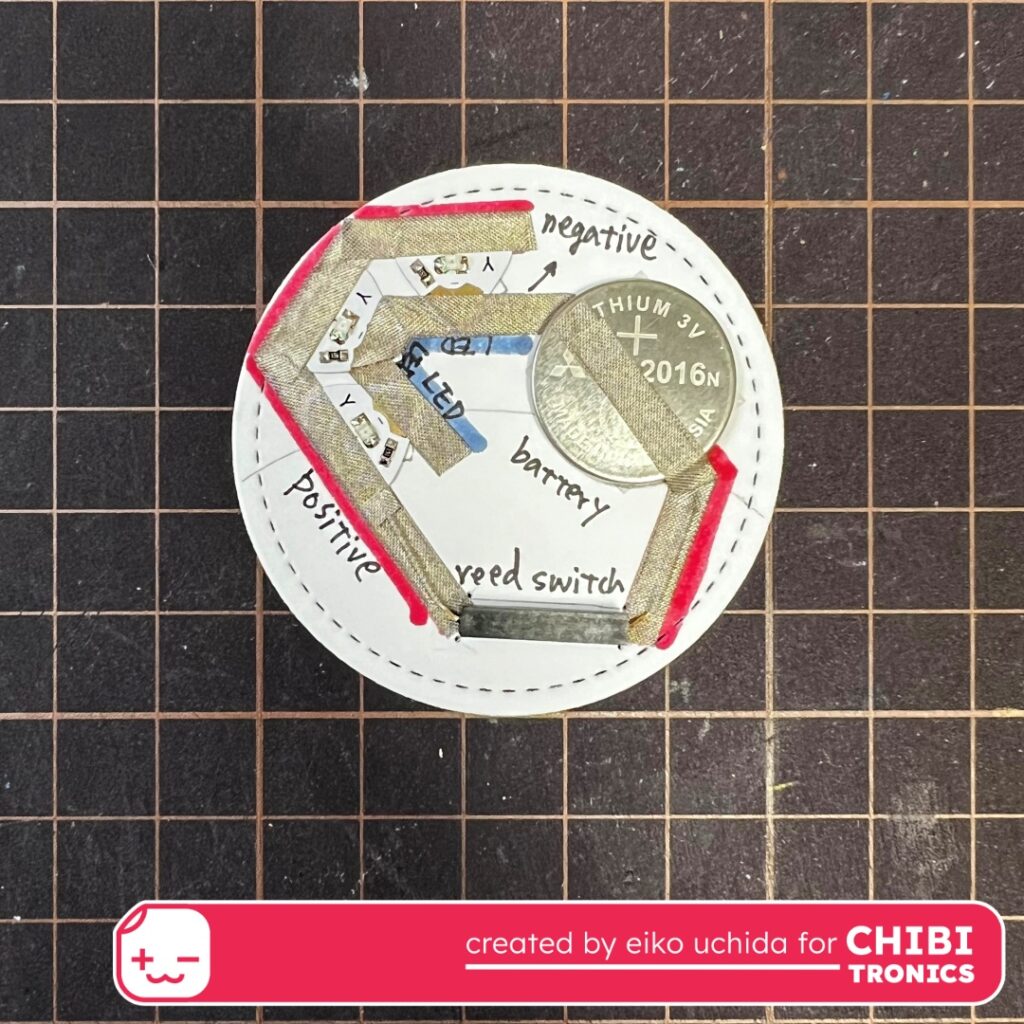
- Stick the conductive fabric tape on the pre-drawn path.
- At the battery place, peel off the release paper, stick the negative side fabric tape, fold it back and cut it.
- Stick the positive side fabric tape.
- At the position of the battery leave the positive side fabric tape about 1 inch and cut it.
- Place the battery on the fabric tape with positive side facing up and stick the positive side fabric tape on the battery.
- Stick the reed switch on the conductive fabric tape using the short fabric tape.
- Stick the yellow LED stickers on the mark.
- Stick the short fabric tape on the LED sticker to reinforce.
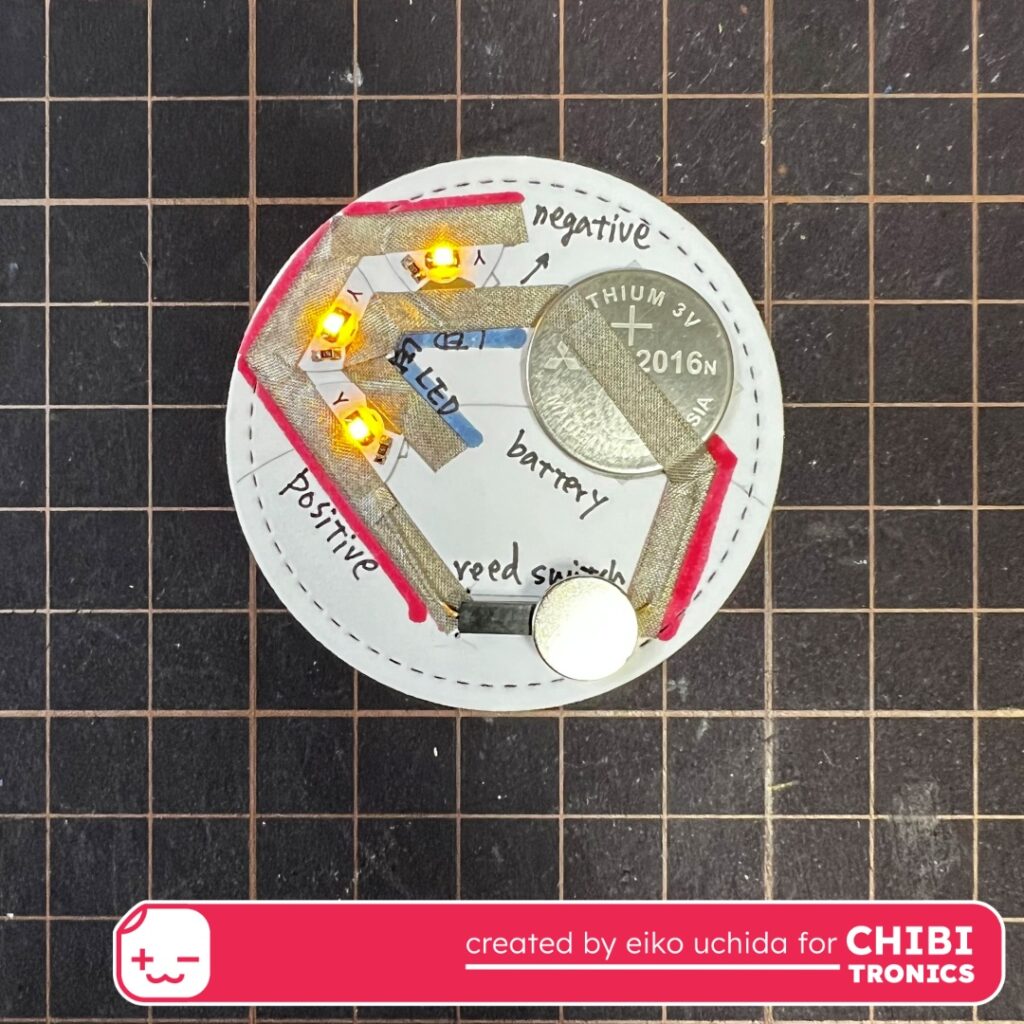
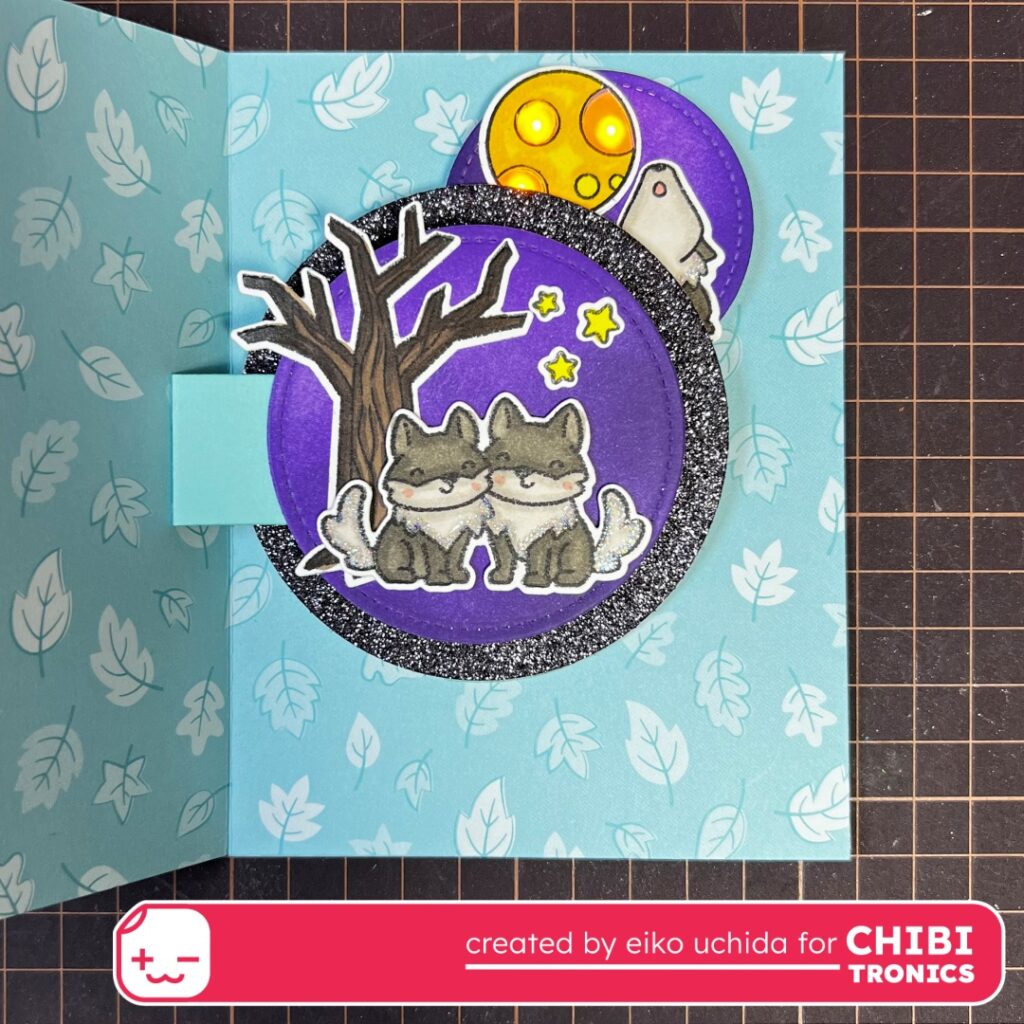
When you move the magnet closer to the reed switch, the switch turns on and the LED shine.
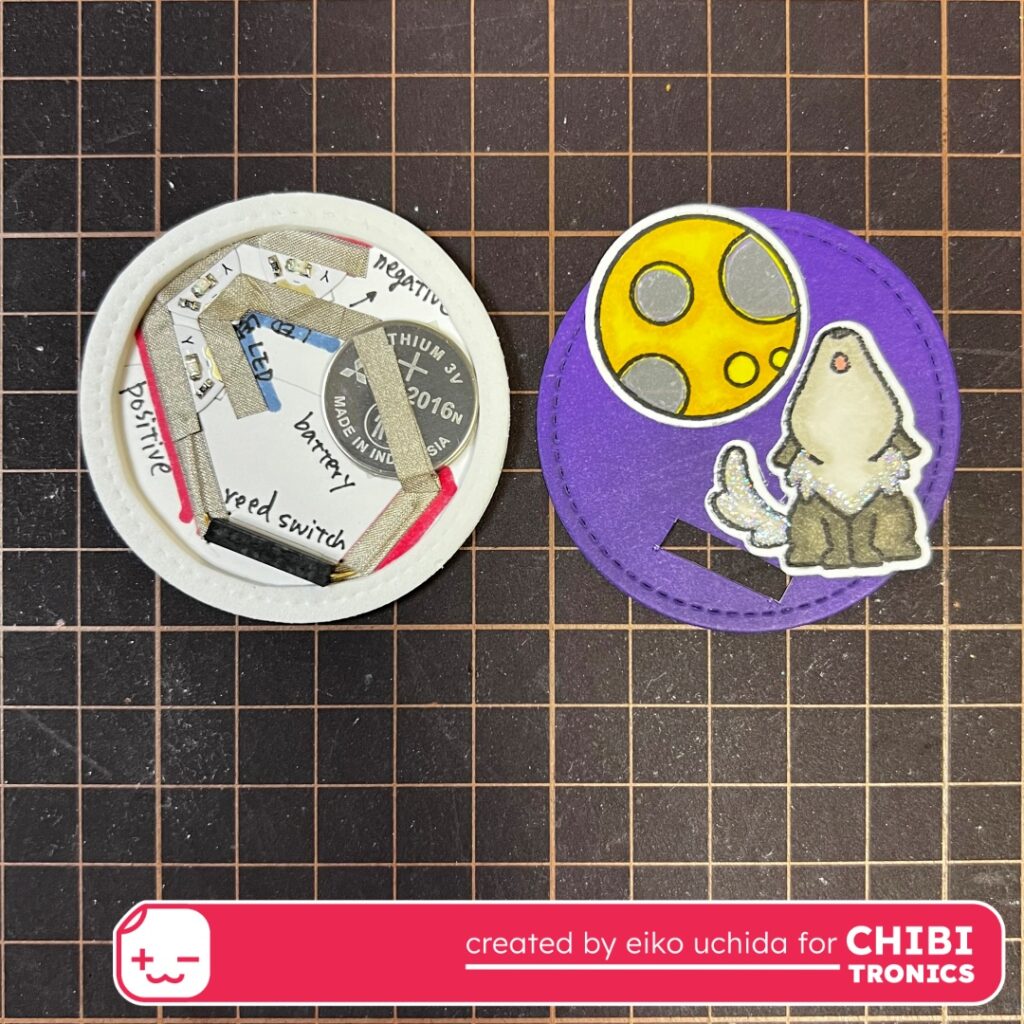
- Put the ring foam sheet on the circuit tag base.
- Put a small piece of vellum behind the moon motif.
- Adhere the moon and wolf motifs on the small colored circular part.
- Cut the reed switch place.
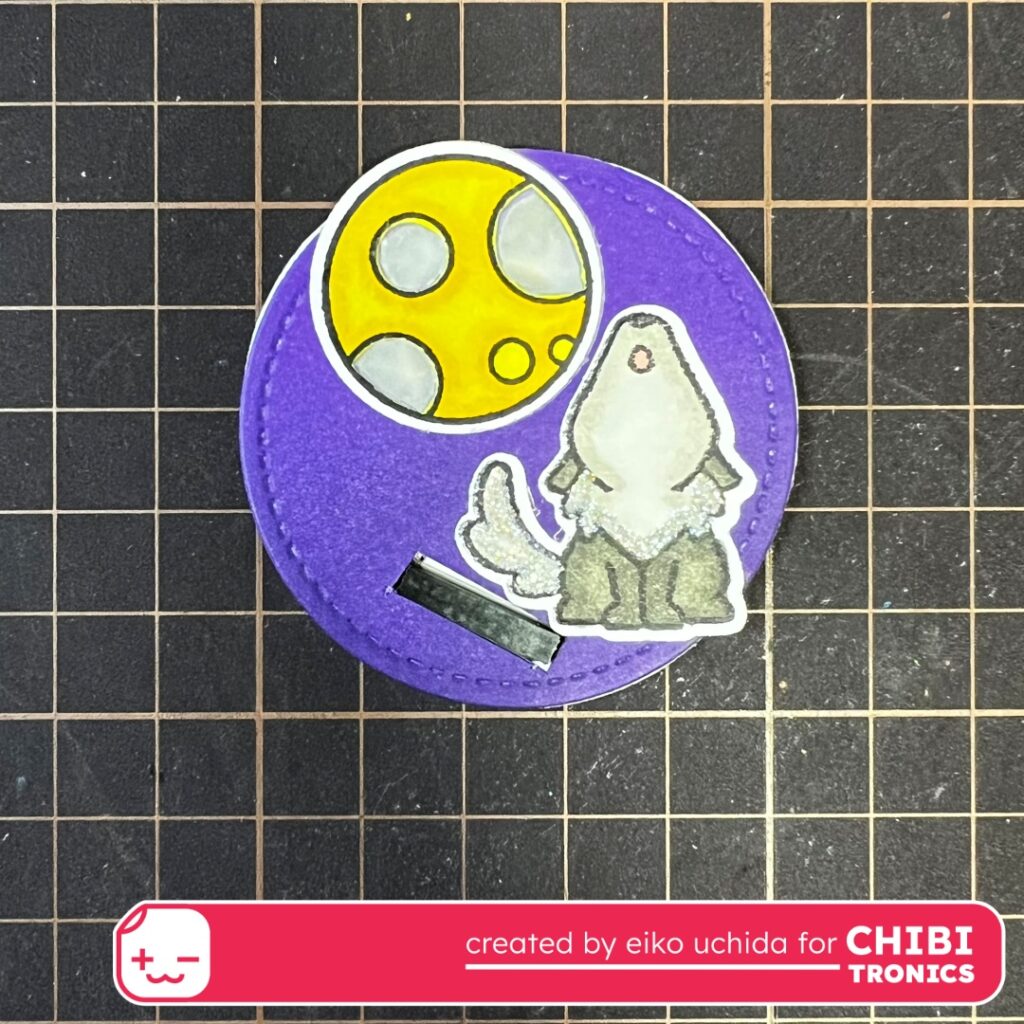
Put the cover part on the foam sheet.
Assemble the card.
Adhere the large ring part, small circular part and connector piece on the mechanism piece.

Adhere the large circular part on the connector piece. Adhere the wolf, star and tree motifs on the large circular part.
Peel off the release paper from the double-sided tape on the tab of the mechanism piece and fold the pattern paper in half. Then, adhere the mechanism piece to the other side of the pattern paper.
Adhere a neodymium magnet to the back of the pattern paper where the reed switch will react.
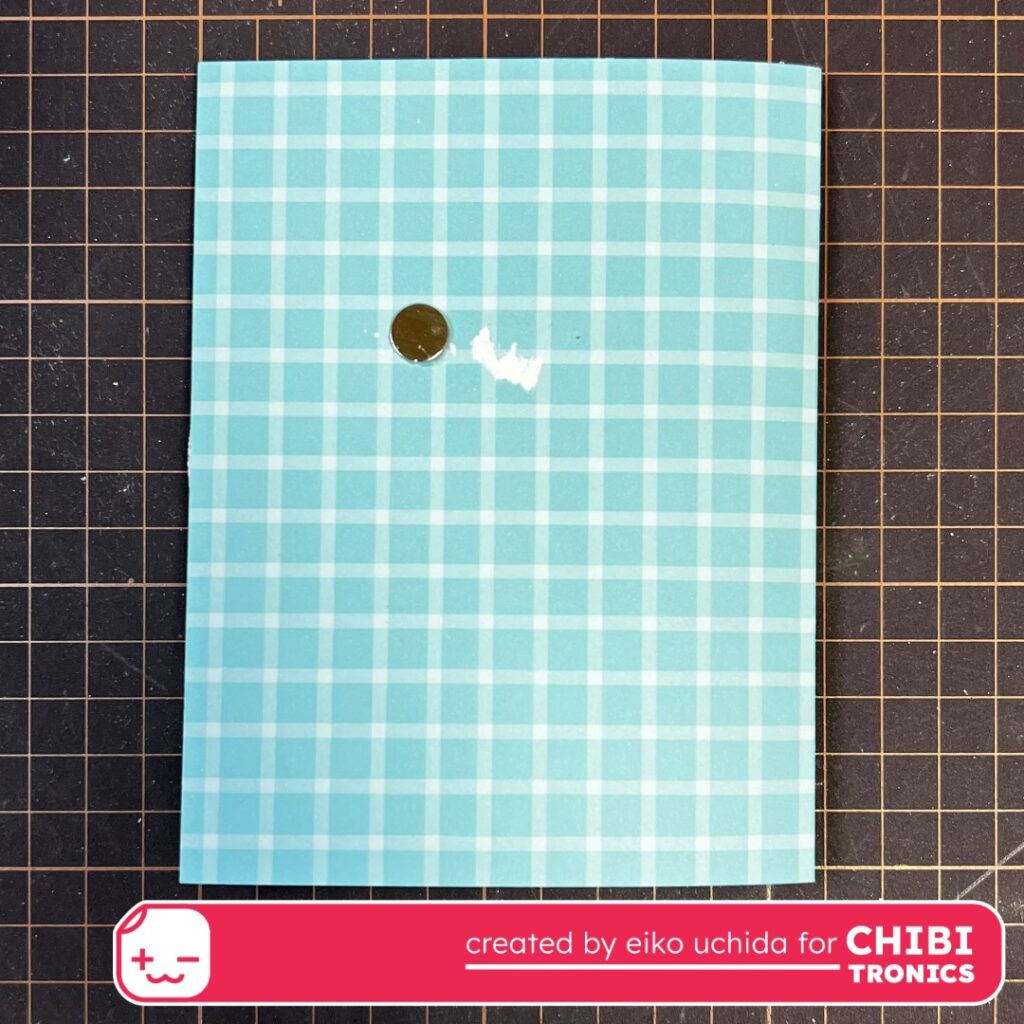
Adhere the pattern paper on the back.
Assemble the cover panel. Using the picture below as a guide, adhere the spooky forest backdrop and other motifs on the colored watercolor cardstock.

Adhere the cover panel on the front of the pattern paper. When you open the card, the small circular part moves and a reed switch inside the circuit approaches the magnet attached to the back of the card, turning on the switch and the moon motif shines.
I finished it! Be sure to check out the whole video tutorial for more details.
Thank you for stopping by!
Eiko Uchida
~Supplies List~
- Chibitronics lights sampler megapack
- 3V coin cell battery (CR2016)
- Conductive fabric tape
- Reed Switch Magnet On
- 10mm diameter neodymium magnet
- Lawn Fawn Swivel Surprise
- Lawn Fawn Wild Wolves stamps
- Lawn Fawn Wild Wolves Lawn cuts
- Lawn Fawn Wolf Before’n Afters stamps
- Lawn Fawn Wolf Before’n Afters Lawn cuts
- Lawn Fawn Fangtastic Friends stamps
- Lawn Fawn Fangtastic Friends Lawn cuts
- Lawn Fawn Henry Jr.’s ABCs
- Lawn Fawn Stitched Sentiment Banners
- Lawn Fawn Spooky Forest Backdrop
- Lawn Fawn Nighttime Sky Stencil
- Lawn Fawn Hillside Stencils
- Lawn Fawn prisma glitter
- Lawn Fawn white embossing powder
- Lawn Fawn linden patterned paper
- Lawn Fawn mermaid cardstock
- Lawn Fawn storm cloud cardstock
- Lawn Fawn black licorice cardstock
- Lawn Fawn sparkle cardstock black
- Lawn Fawn vellum
- Neenah classic crest 80lb smooth solar white paper
- Distress watercolor cardstock
- Tim Holtz distress ink mustard seed
- Tim Holtz distress ink squeezed lemonade
- Tim Holtz distress ink wilted violet
- Tim Holtz distress ink villainous potion
- Tsukineko memento tuxedo black
- Tsukineko VersaMark
- Copic markers (C00, C1, C4, C6, W00, W1, W4, W6, R05, R08, R35, R37, Y26, Y28, Y38, G05, G07, E23, E25, E29)
- 2mm thick white foam sheet