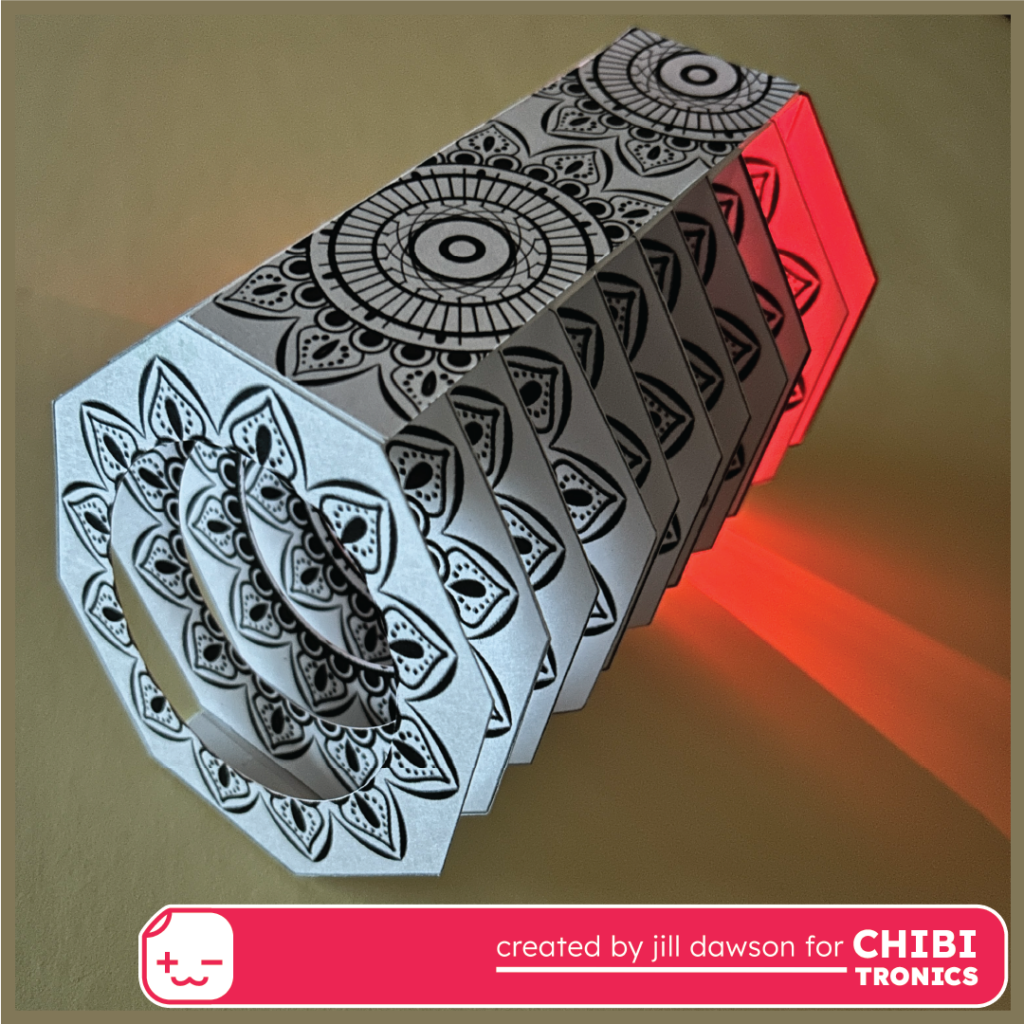
Make a Glowing Book That Fits in an Envelope
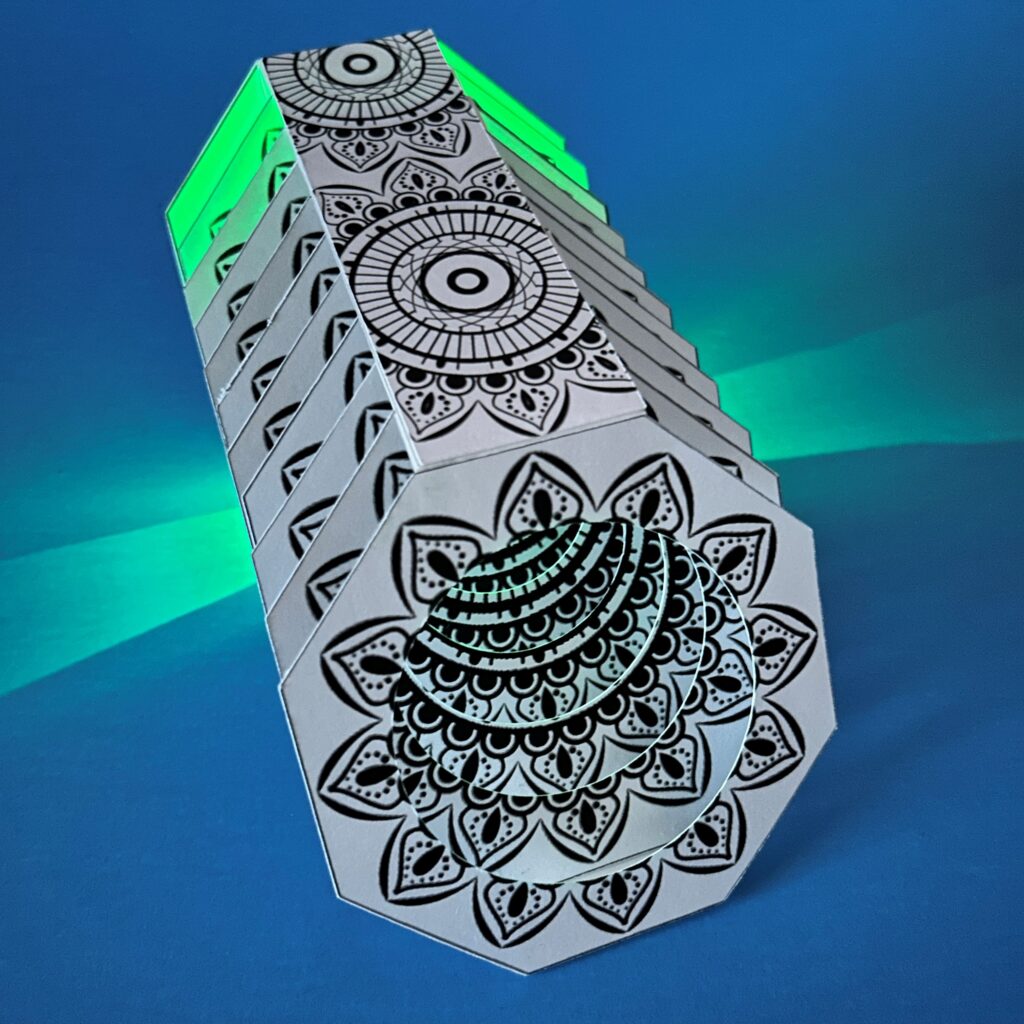
In this tutorial, I’ll show you how to create an octagon-shaped illuminated tunnel book that collapses flat. Tunnel books are three-dimensional works of art that feature cut paper images. When viewed through the front cover, the layers appear to unite as part of a cohesive scene. Designed to create a sense of depth, perspective, and wonder, tunnel books are often engineered by layering decoratively cut paper panels between folded paper hinges. When combined with paper circuitry, a tunnel book can become a highly engaging STEAM project, as well as a useful tool of self-expression.
Watch the Video Tutorial
Tools & Supplies
Electronics Supplies:
- 1 x Rainbow Fade Animating LED (or a Circuit Sticker LED in a color of your choice)
- 4-5 x Conductive Fabric Tape Strips (or a roll of Conductive Fabric Tape)
- 1 x CR2016 Battery (flatter than a CR2032, which is better for mailing)
- 1 x small flat magnet (for making an easy battery holder) such as this one
- (Optional) Conductive Fabric Tape Patches
Other Useful Tools & Supplies:
- Sturdy paper (cardstock works well)
- 1 x sheet of translucent paper (such as vellum or tracing paper)
- 4 x adhesive Velcro-dots
- Double-sided tape, Craft Glue, or UHU glue stick
- Pencil
- Scissors
- Bone Folder
- Ruler
- Art supplies of your choice (such as circular dies and rubber stamps)
- Cricut Machine (if using the cut file)
- Printer (if printing the circuit diagram/ templates)
Overview:
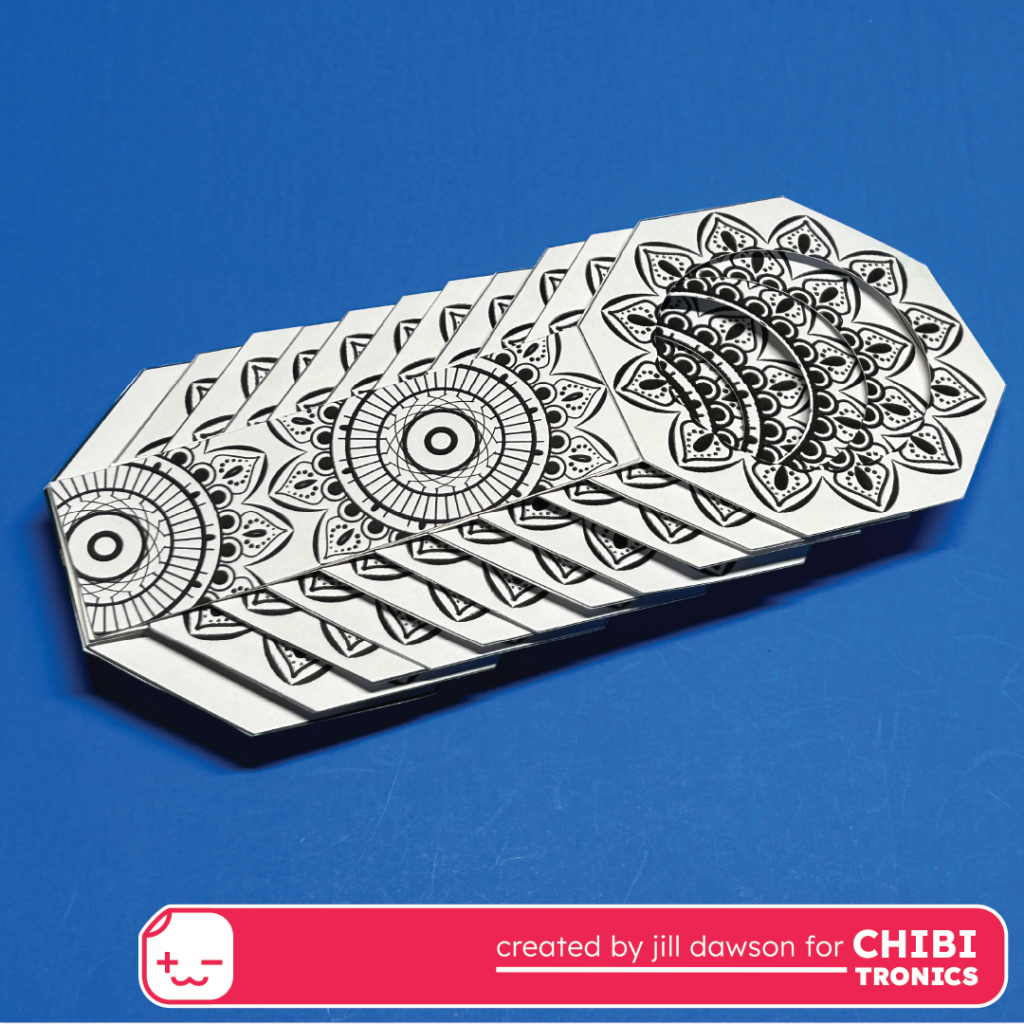
When folded, this project will measure 4” W X 9.25” L, allowing it to fit in a letter-sized envelope.
A removable circuit will be built right onto the book’s rear panel. The battery will be held in place with help from an optional magnet.
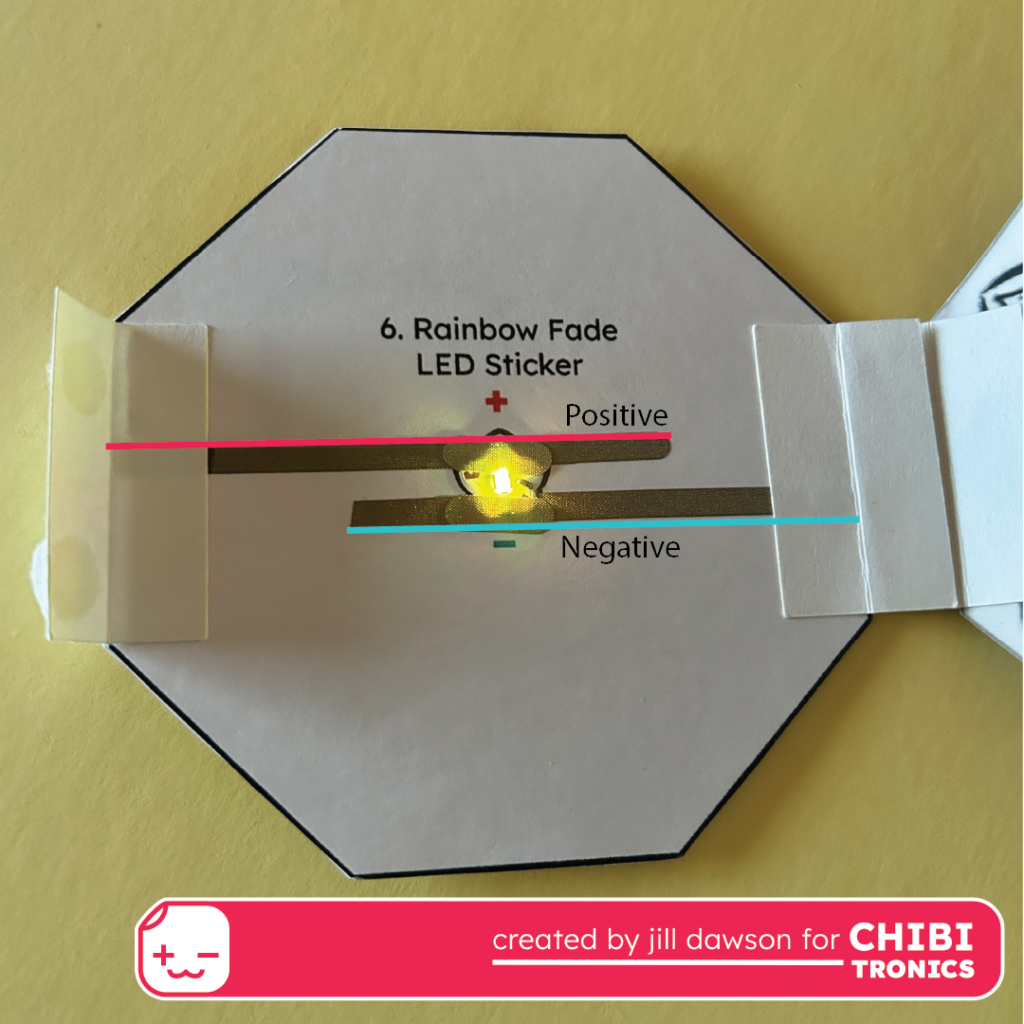
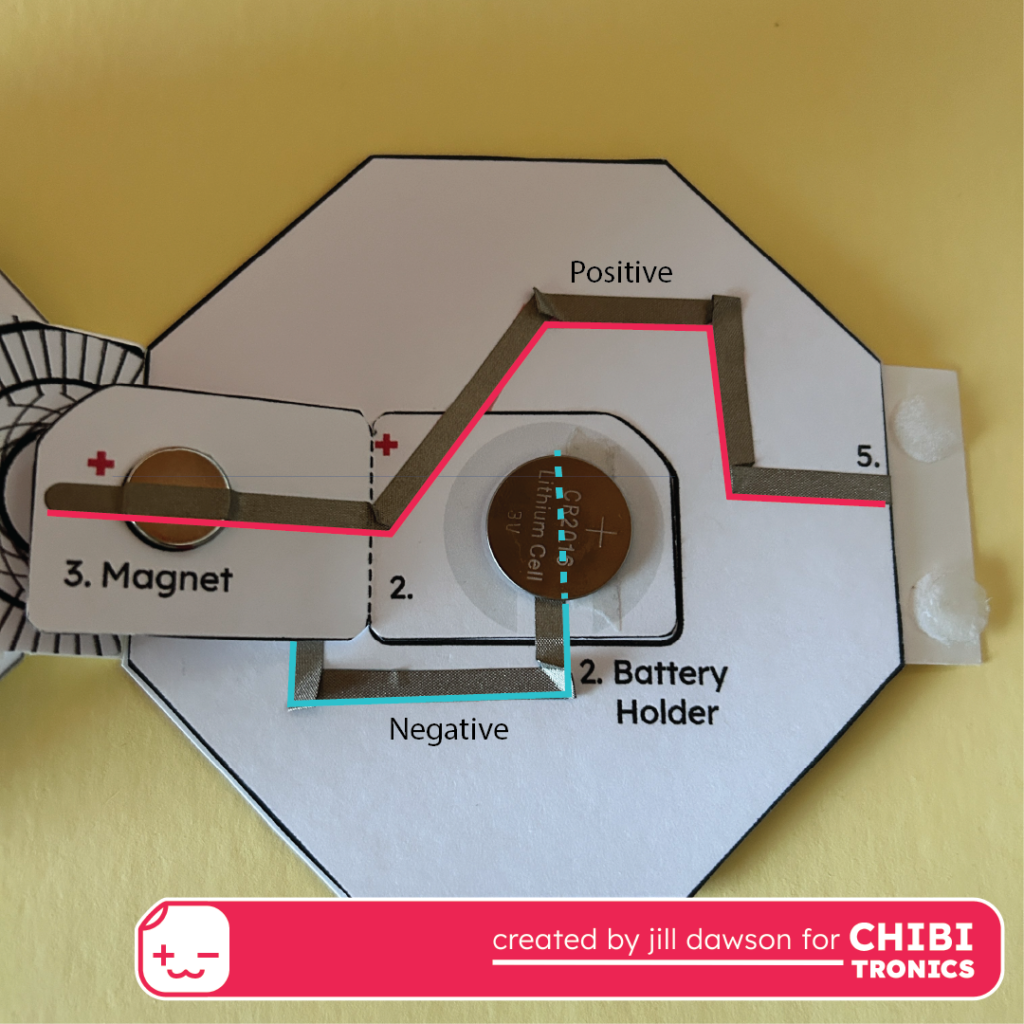
Note: If you do not wish to use a magnet, you can ignore that step. While including the magnet can make it easier to turn the book on and off, I’ll share a work-around.
Directions
Step 1: Brainstorm
Before diving in, it’s helpful to do a little brainstorming to help come up with an idea for your project. Is there a story, scene, or symbol that speaks to you? Will you be decorating each layer by hand (with a rubber stamp) or digitally?
I created a radial design with holes that decrease in the center of each page. Along the way, I experimented with different colors and weights of paper. While I experimented with carving my own rubber stamps to make the art layers, the project I’m sharing today features a floral mandala that I designed in Adobe Illustrator. Feel free to use my design or create your own.
Step 2: Prep Your Layers & Hinges
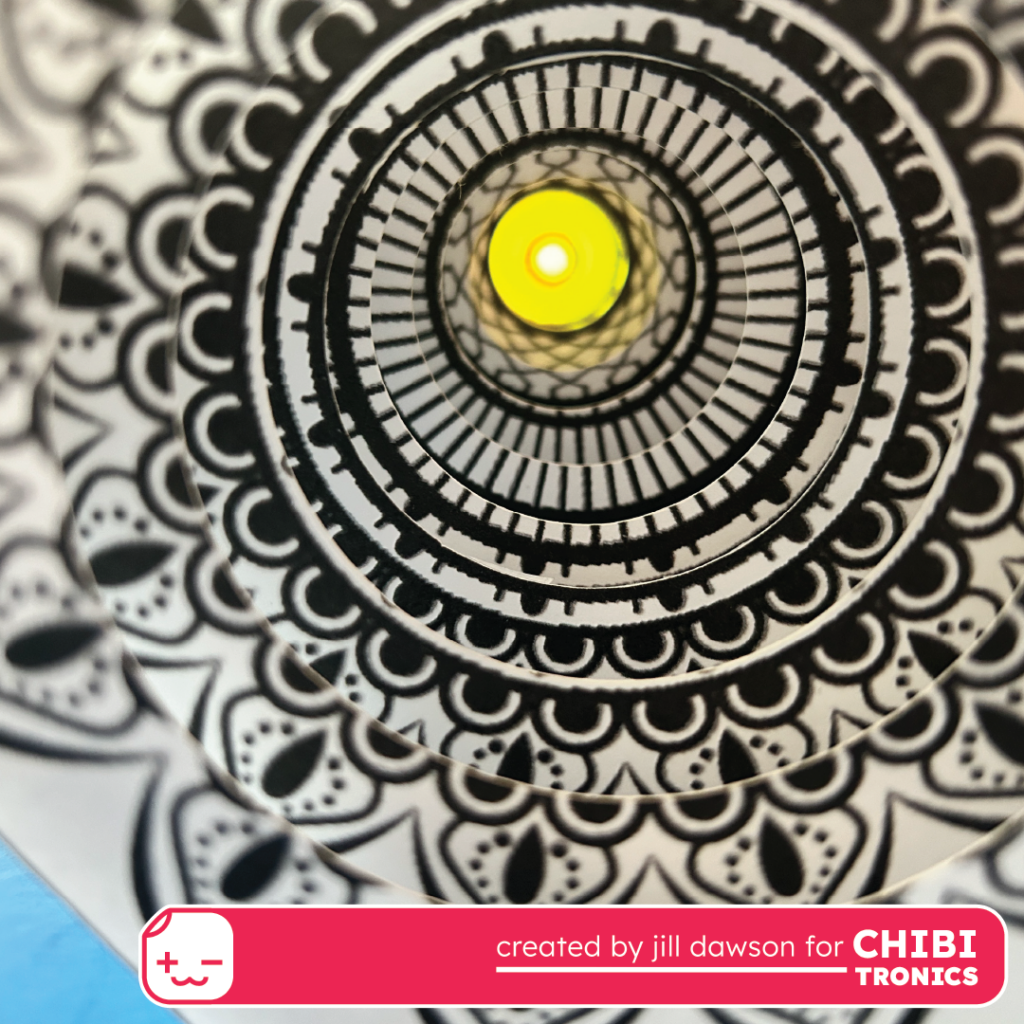
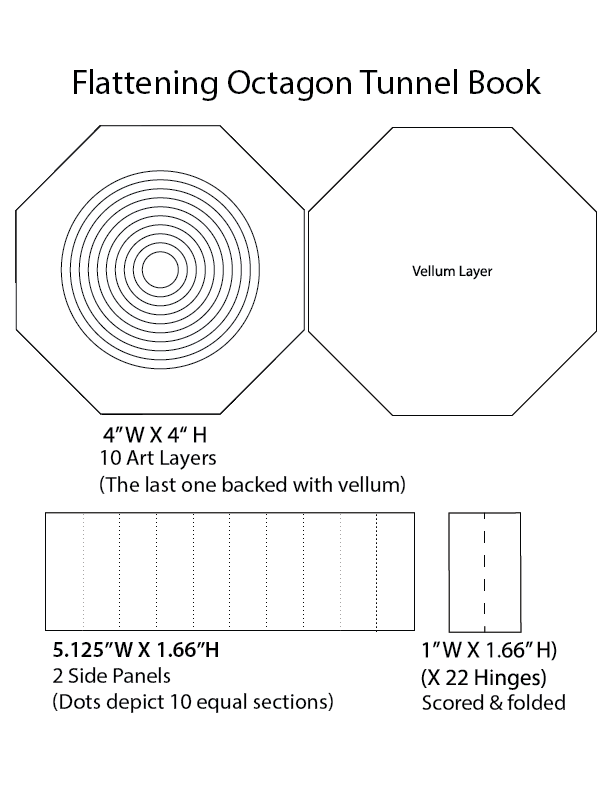
To make a book like mine, you’ll need to create 10 art layers and one Circuit Layer that are the same size and shape. Each art layer should have circles that decrease in size removed from their centers.
You can do this by creating your own artwork, or you may print my templates and use circular dies or a craft-knife to remove the centers.
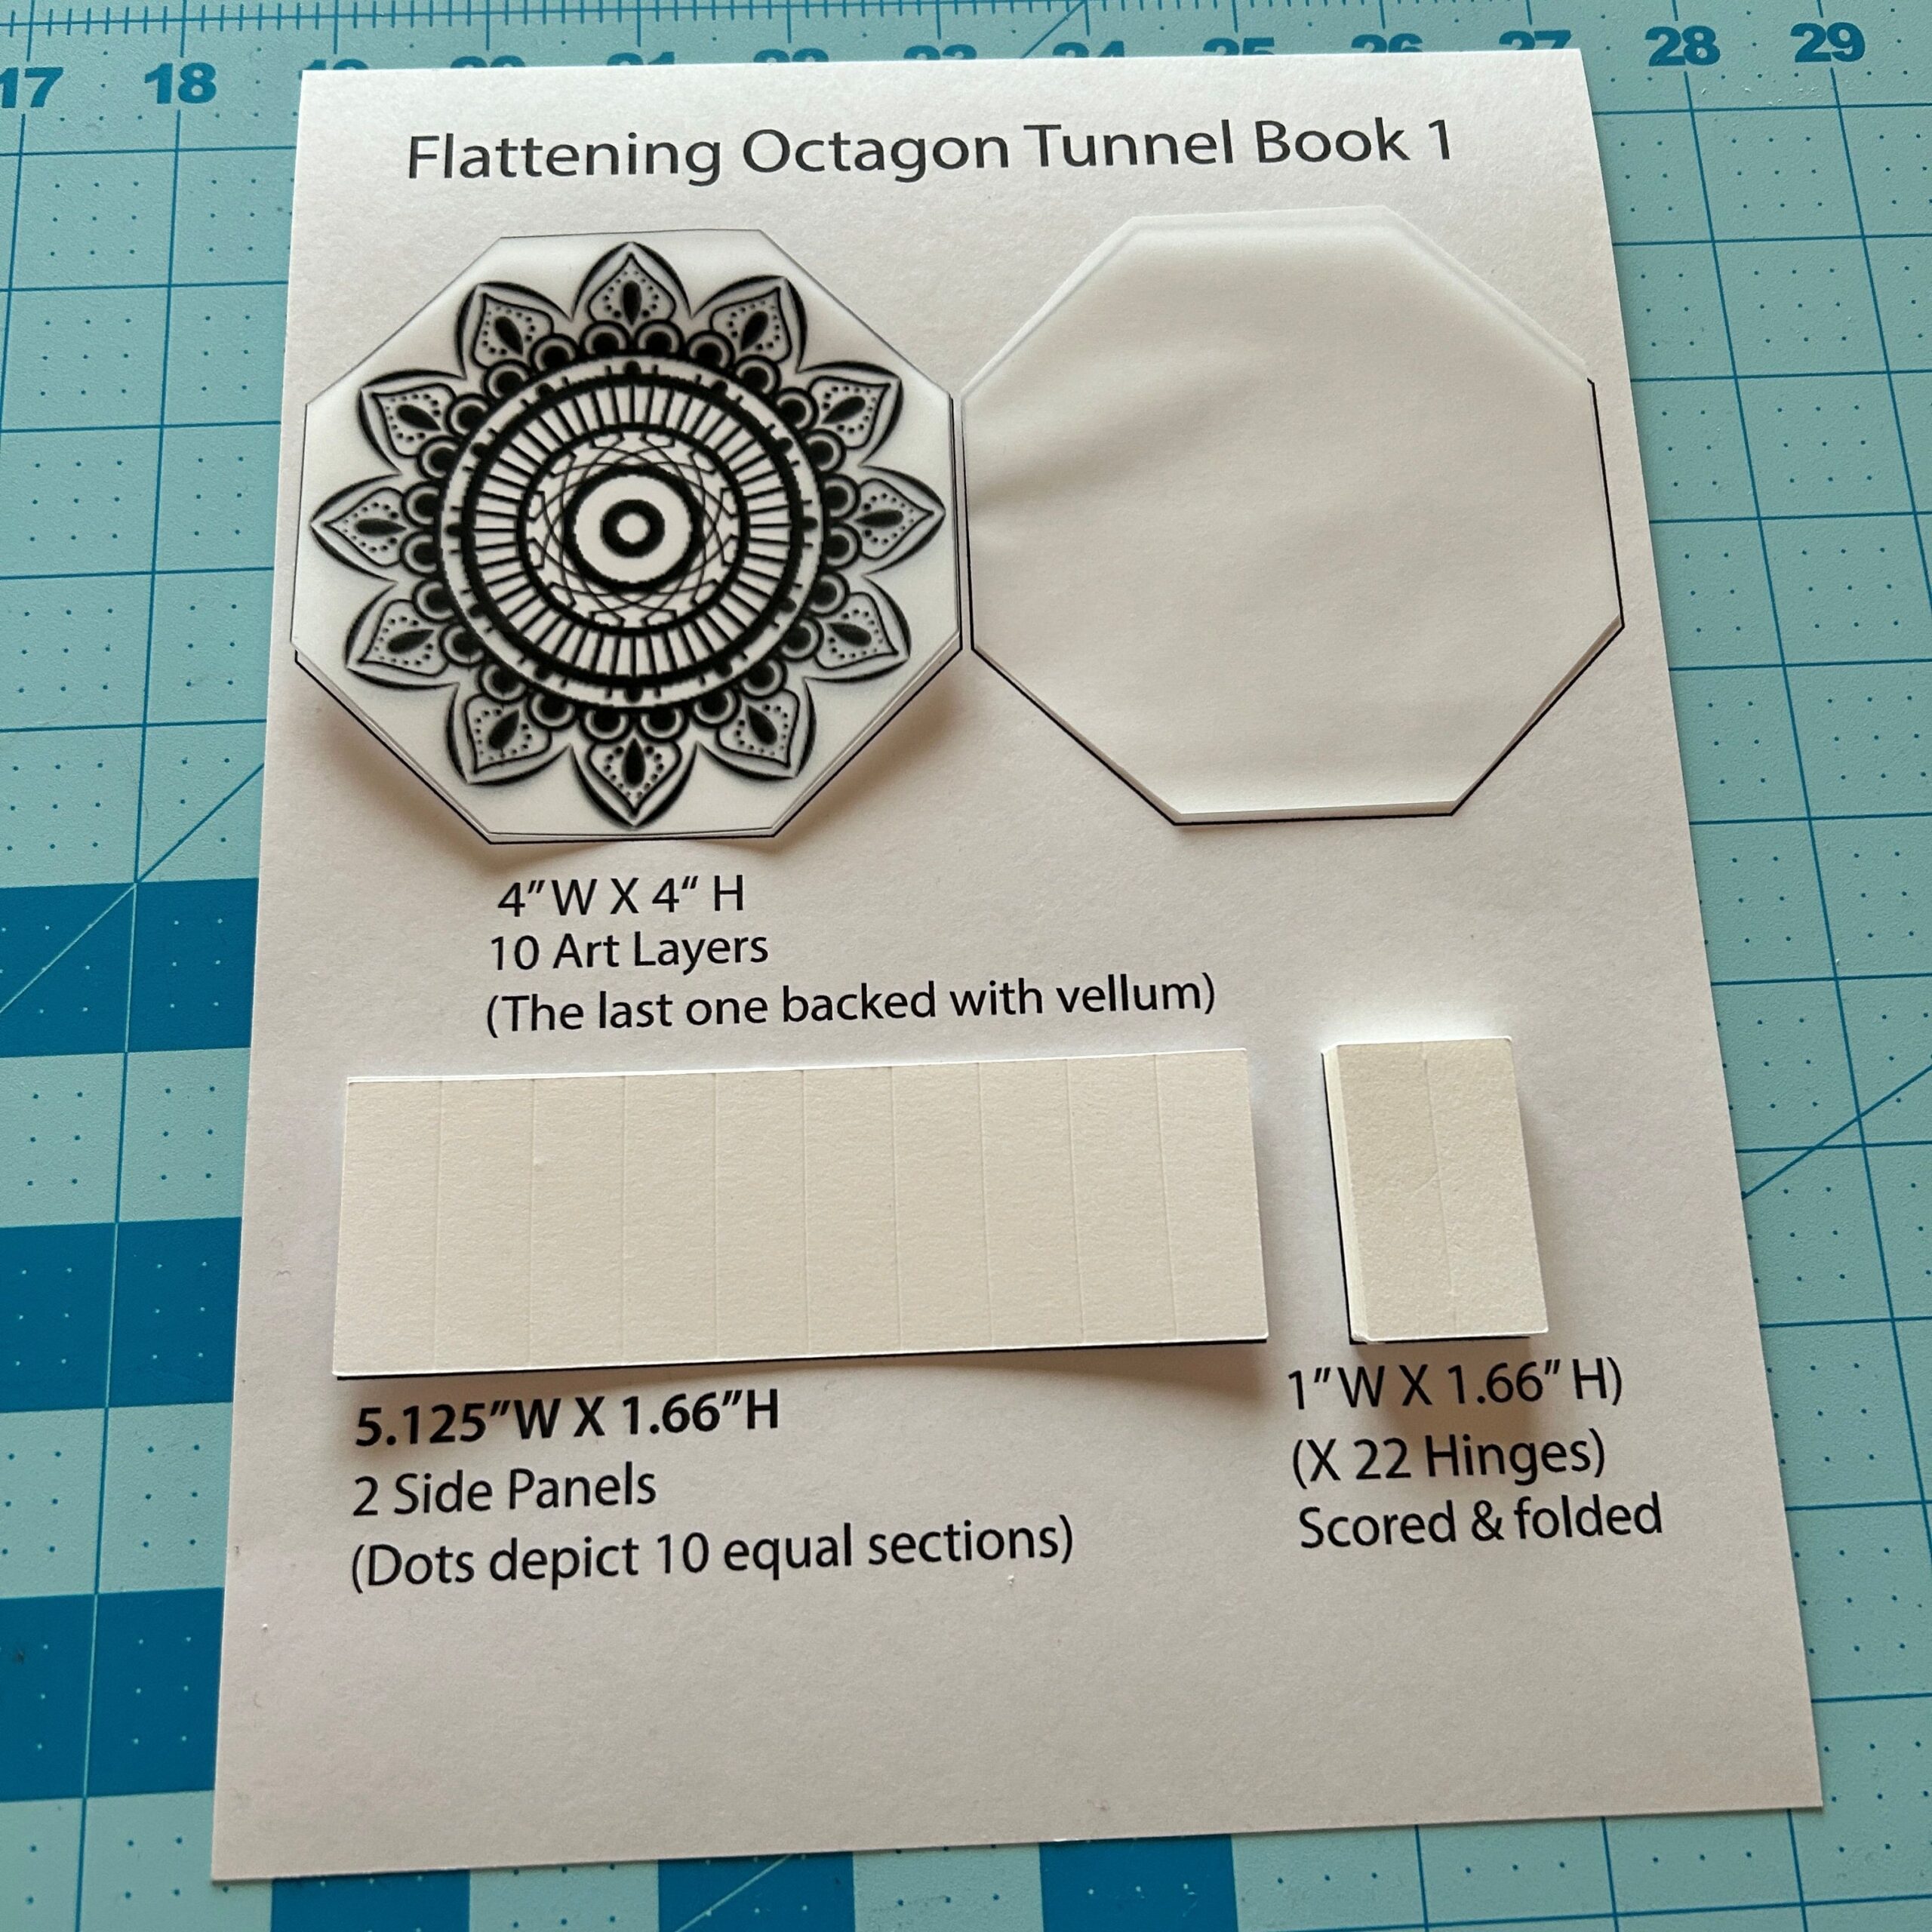
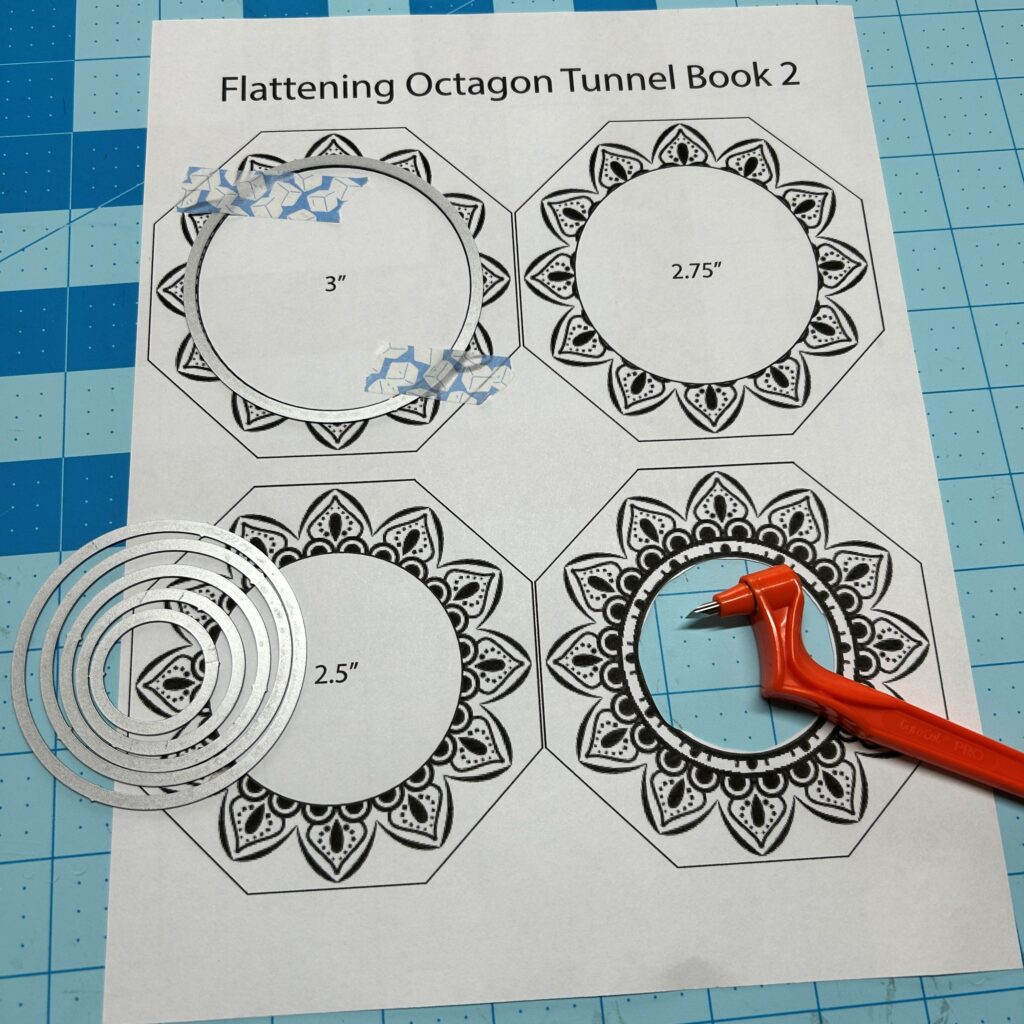
I’m using 10 octagons that are 4” W x 4” H. I’m also adhering a layer of vellum the same size directly behind the last art layer to diffuse the light. I printed my art image directly onto the vellum, but a plain piece works.
Each art layer will be separated by two paper hinges (4” H x 1” W) that are folded in half. Cut and fold 22 hinges and press them flat with a bone folder.
The hinges will also connect to two flat side panels that will add extra stability to the book. Cut two sides measuring (5.125” W x 1.66” L).
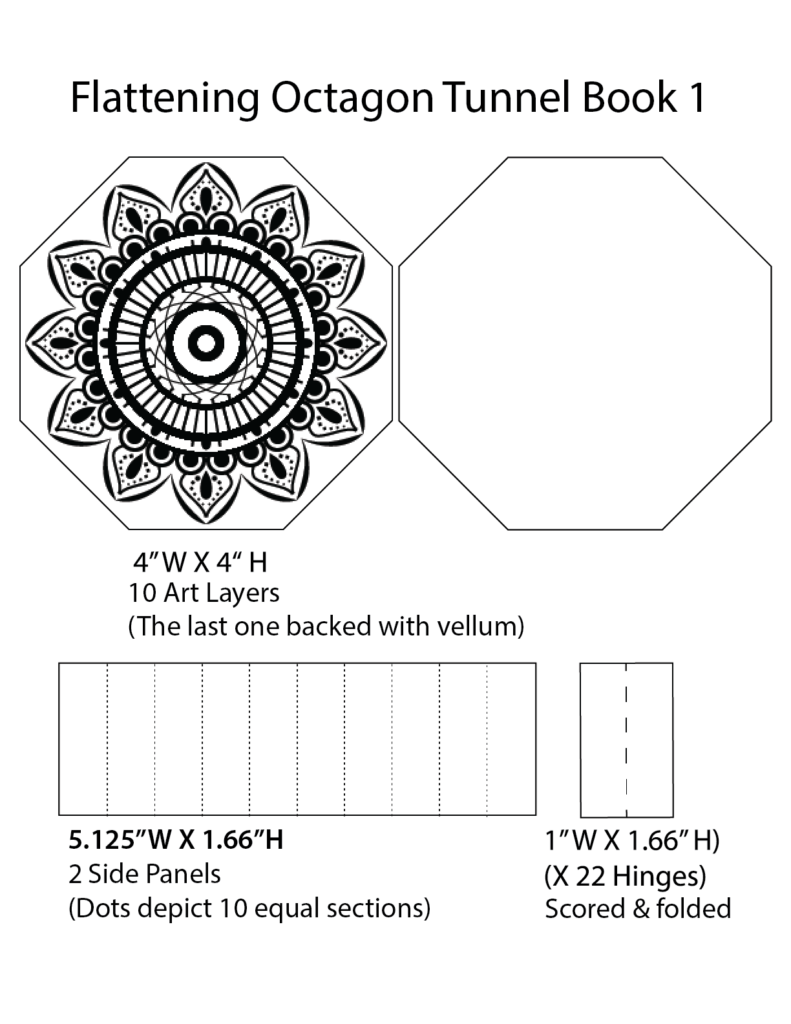
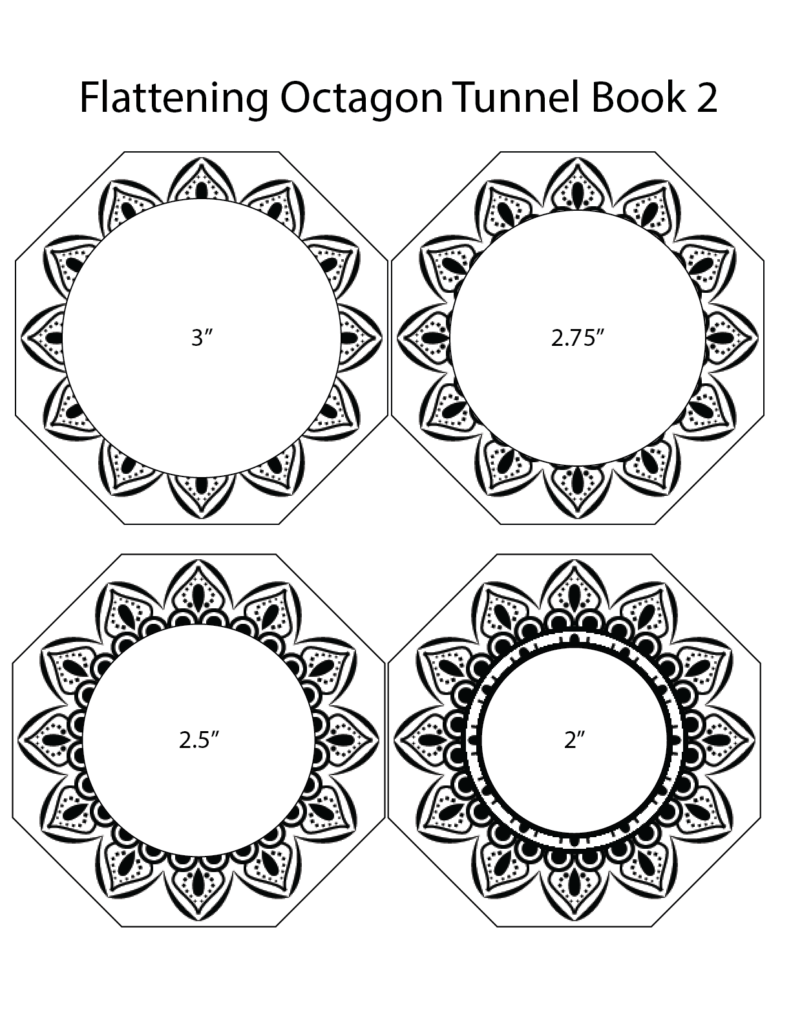
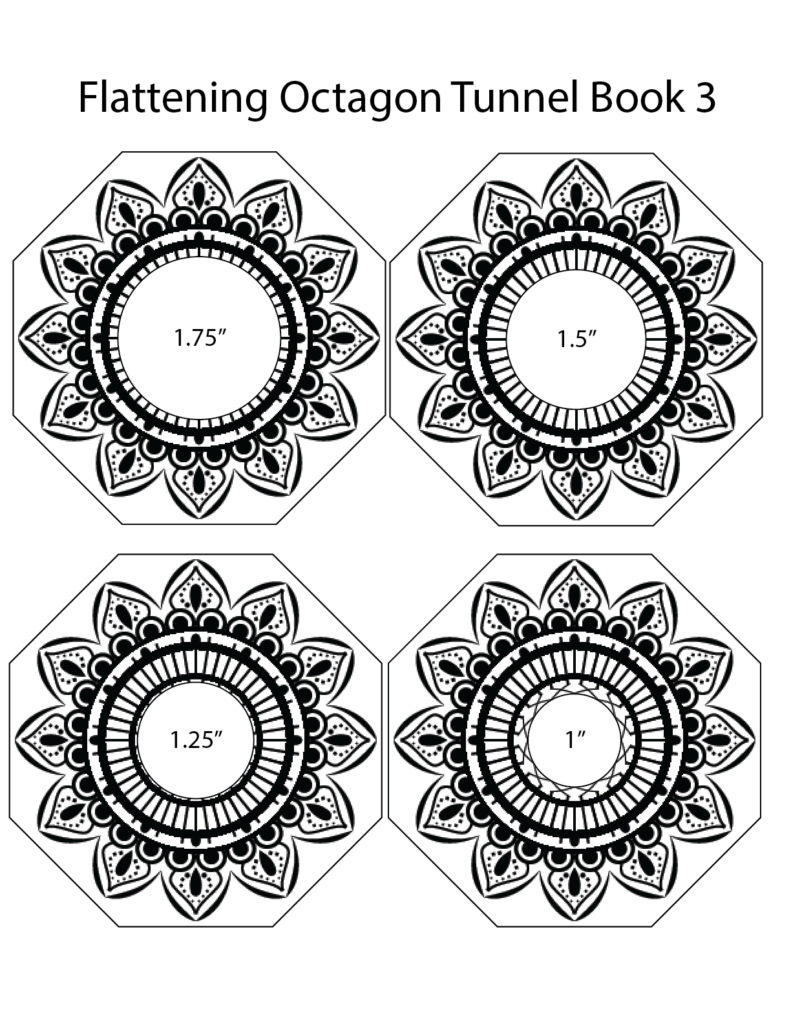
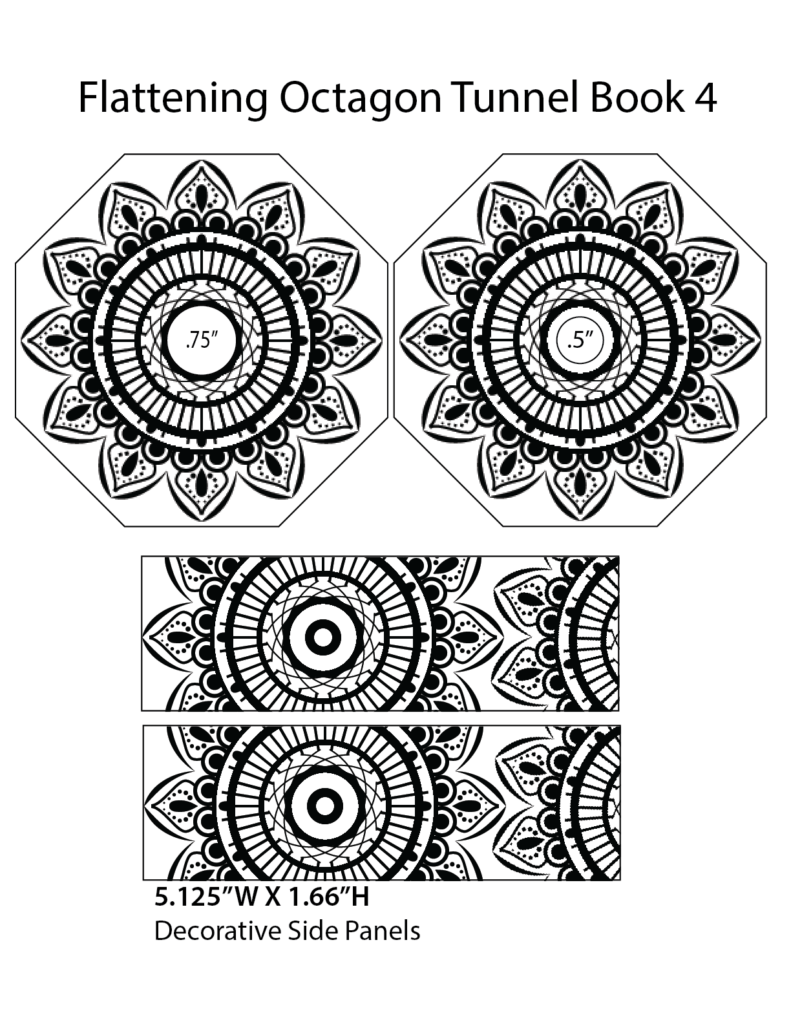
I’ve included a PDF of the cut file for the basic parts, in case you’d like to use or adapt the design with your own artwork. If you’d prefer a copy of the SVG, please send an email to info@chibitronics.com.
Step 3: Create & Add the Circuit
Print the Battery Holder and Circuit Template onto a piece of cardstock, or use it as a guide. If you don’t wish to use a magnet, skip that step.
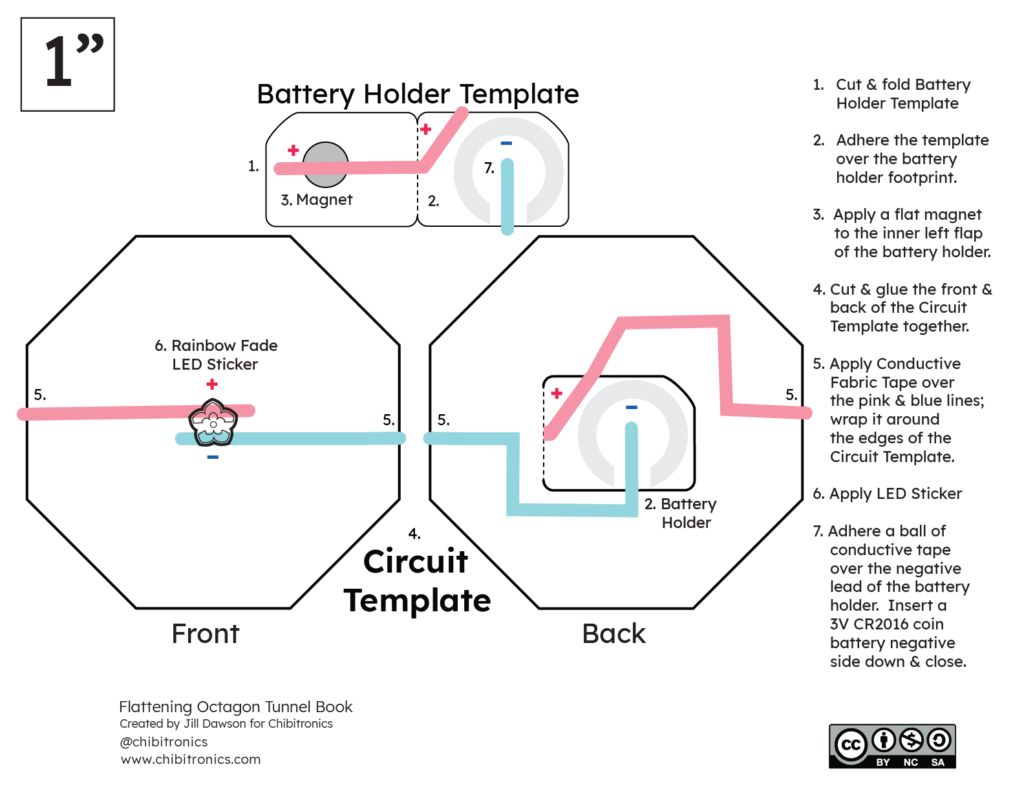
- First, cut and fold the battery holder template.
- Next, adhere the right flap of the battery holder template over the footprint that matches it on the Circuit Template.
- Third, adhere a small flat magnet over the circular footprint on the left flap of the battery holder.
- Fourth, cut out the front and back sides of the Circuit Template and glue them together to create one layer.
- Fifth, adhere Conductive Fabric Tape over the pink ( + ) and blue traces ( – ). The conductive tape should wrap around the edges of the circuit template and overlap the magnet.
- Sixth, adhere a Rainbow Fade Animating LED to the template and reinforce it with patches (or pieces) of conductive tape.
- Seventh, adhere a ball of conductive tape over the negative lead of the battery holder, and adhere the battery to it with the negative side down. If you did not opt to include a magnet under the positive trace, adhere a second ball of conductive tape on top of the positive lead of the battery holder when you want your LED to be turned on.
- Lastly, test the circuit by closing the battery holder flap.
Tips, Tricks, and Tradeoffs
Placing a piece of double-sided tape under your battery (but not over the conductive traces) is an additional way to help keep the battery in place. Adhering the ball of Conductive Fabric Tape directly on top of the negative trace will increase the physical and electrical connection between the battery and the rest of your circuit. If you did not include a magnet, adhering a ball of Conductive Fabric Tape directly on top of the positive trace will help hold the battery in place, while increasing the physical and electrical connection.
Step 4: Assemble the Layers
Watch the video for a demonstration.
Once your layers are designed, cut, and decorated, the next step is to place them in the correct order and number them on the back side with a pencil.
After numbering them, glue or tape one set of hinges to the BACK side of each art layer. Be sure to adhere the vellum to the last art layer before adding the hinges.
Save the last set of hinges for the Circuit Layer, but don’t attach them yet.
Then, starting with the front art layer, align and adhere one of the side panels.
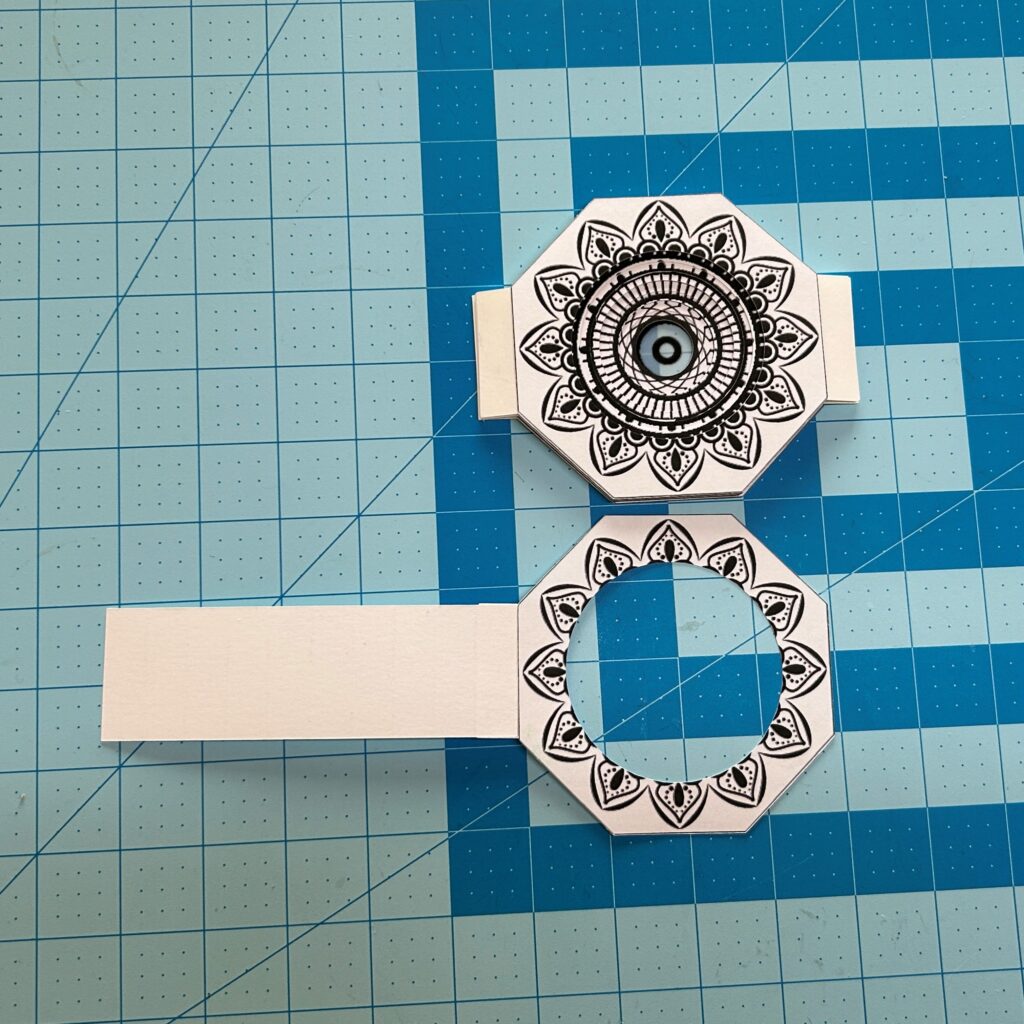
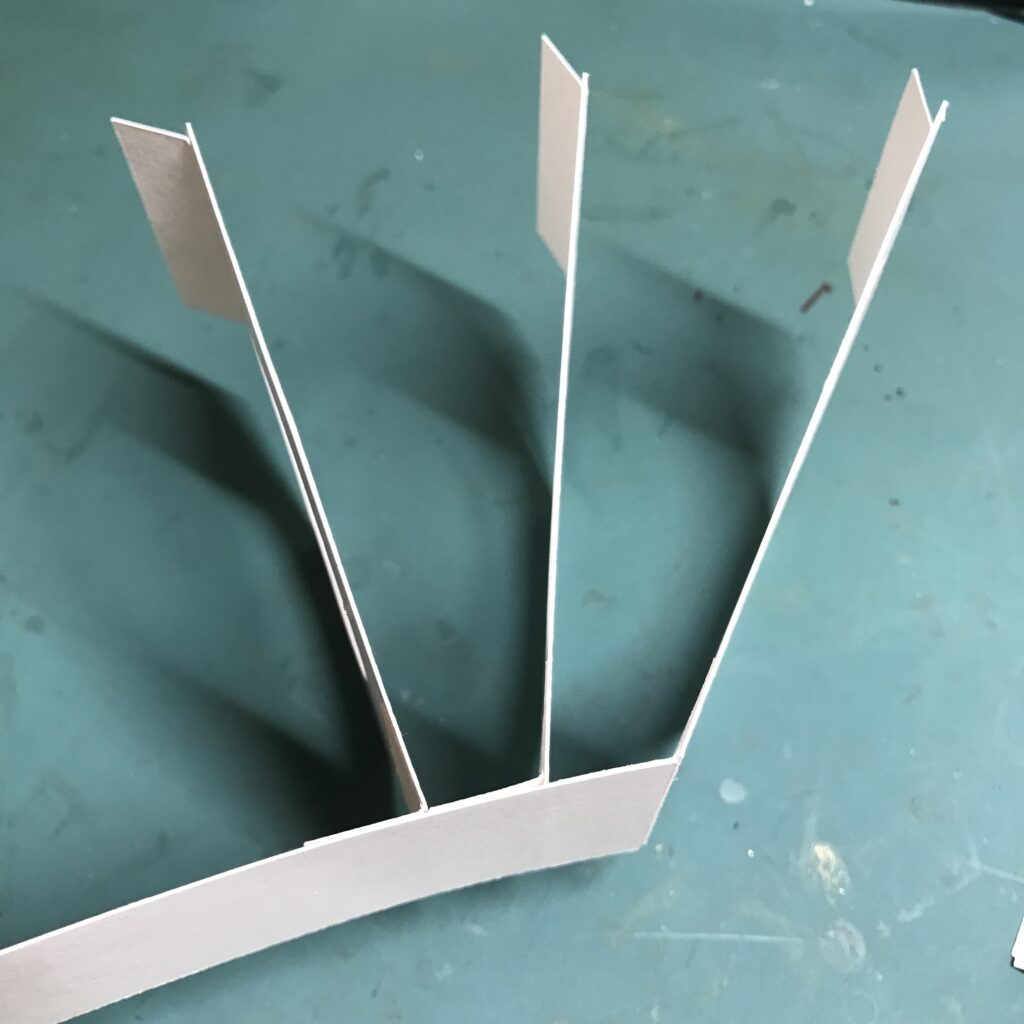
Next, begin gluing the hinges for each art layer to the side panel in roughly half-inch increments. Ensure that they are aligned with the side panel and maintain an even amount of space between them.
After all of the hinges have been adhered to the first side panel, leave the book collapsed on its side with the loose hinges facing up. Then glue the second side panel to the free hinge of the front cover.
After attaching the second side panel to the front layer, add glue to the exposed hinges of the collapsed book, ensuring that they are aligned. Then, carefully fold the second side panel over the tops of the glued hinges.
Press the side down well and allow it to dry.
Step 5: Add the Circuit to the Book
Once the tunnel book is assembled, it’s time to add the remaining set of hinges to the Circuit Layer.
Unlike the art layers, which have the hinges glued to the back side, the hinges on the Circuit Layer need to be glued to the FRONT side.
Tape or glue two hinges to the front side of the Circuit Layer. Then, to make the circuit easy to remove, add two Velcro dots to the back sides of the hinges.
Open up the tunnel book and attach one Velcroed hinge of the Circuit Layer to the inside of one side panel and press it down to attach the two pieces. Be careful to keep the Circuit Layer aligned with the rest of the book.
Repeat to secure the free hinge with the remaining side panel.
