
Hello, Kelly from Notable Nest here. I’m really excited to show you how neat the Chibitronics lights look with vellum when you have an element of ice on your card! Let’s take a look!
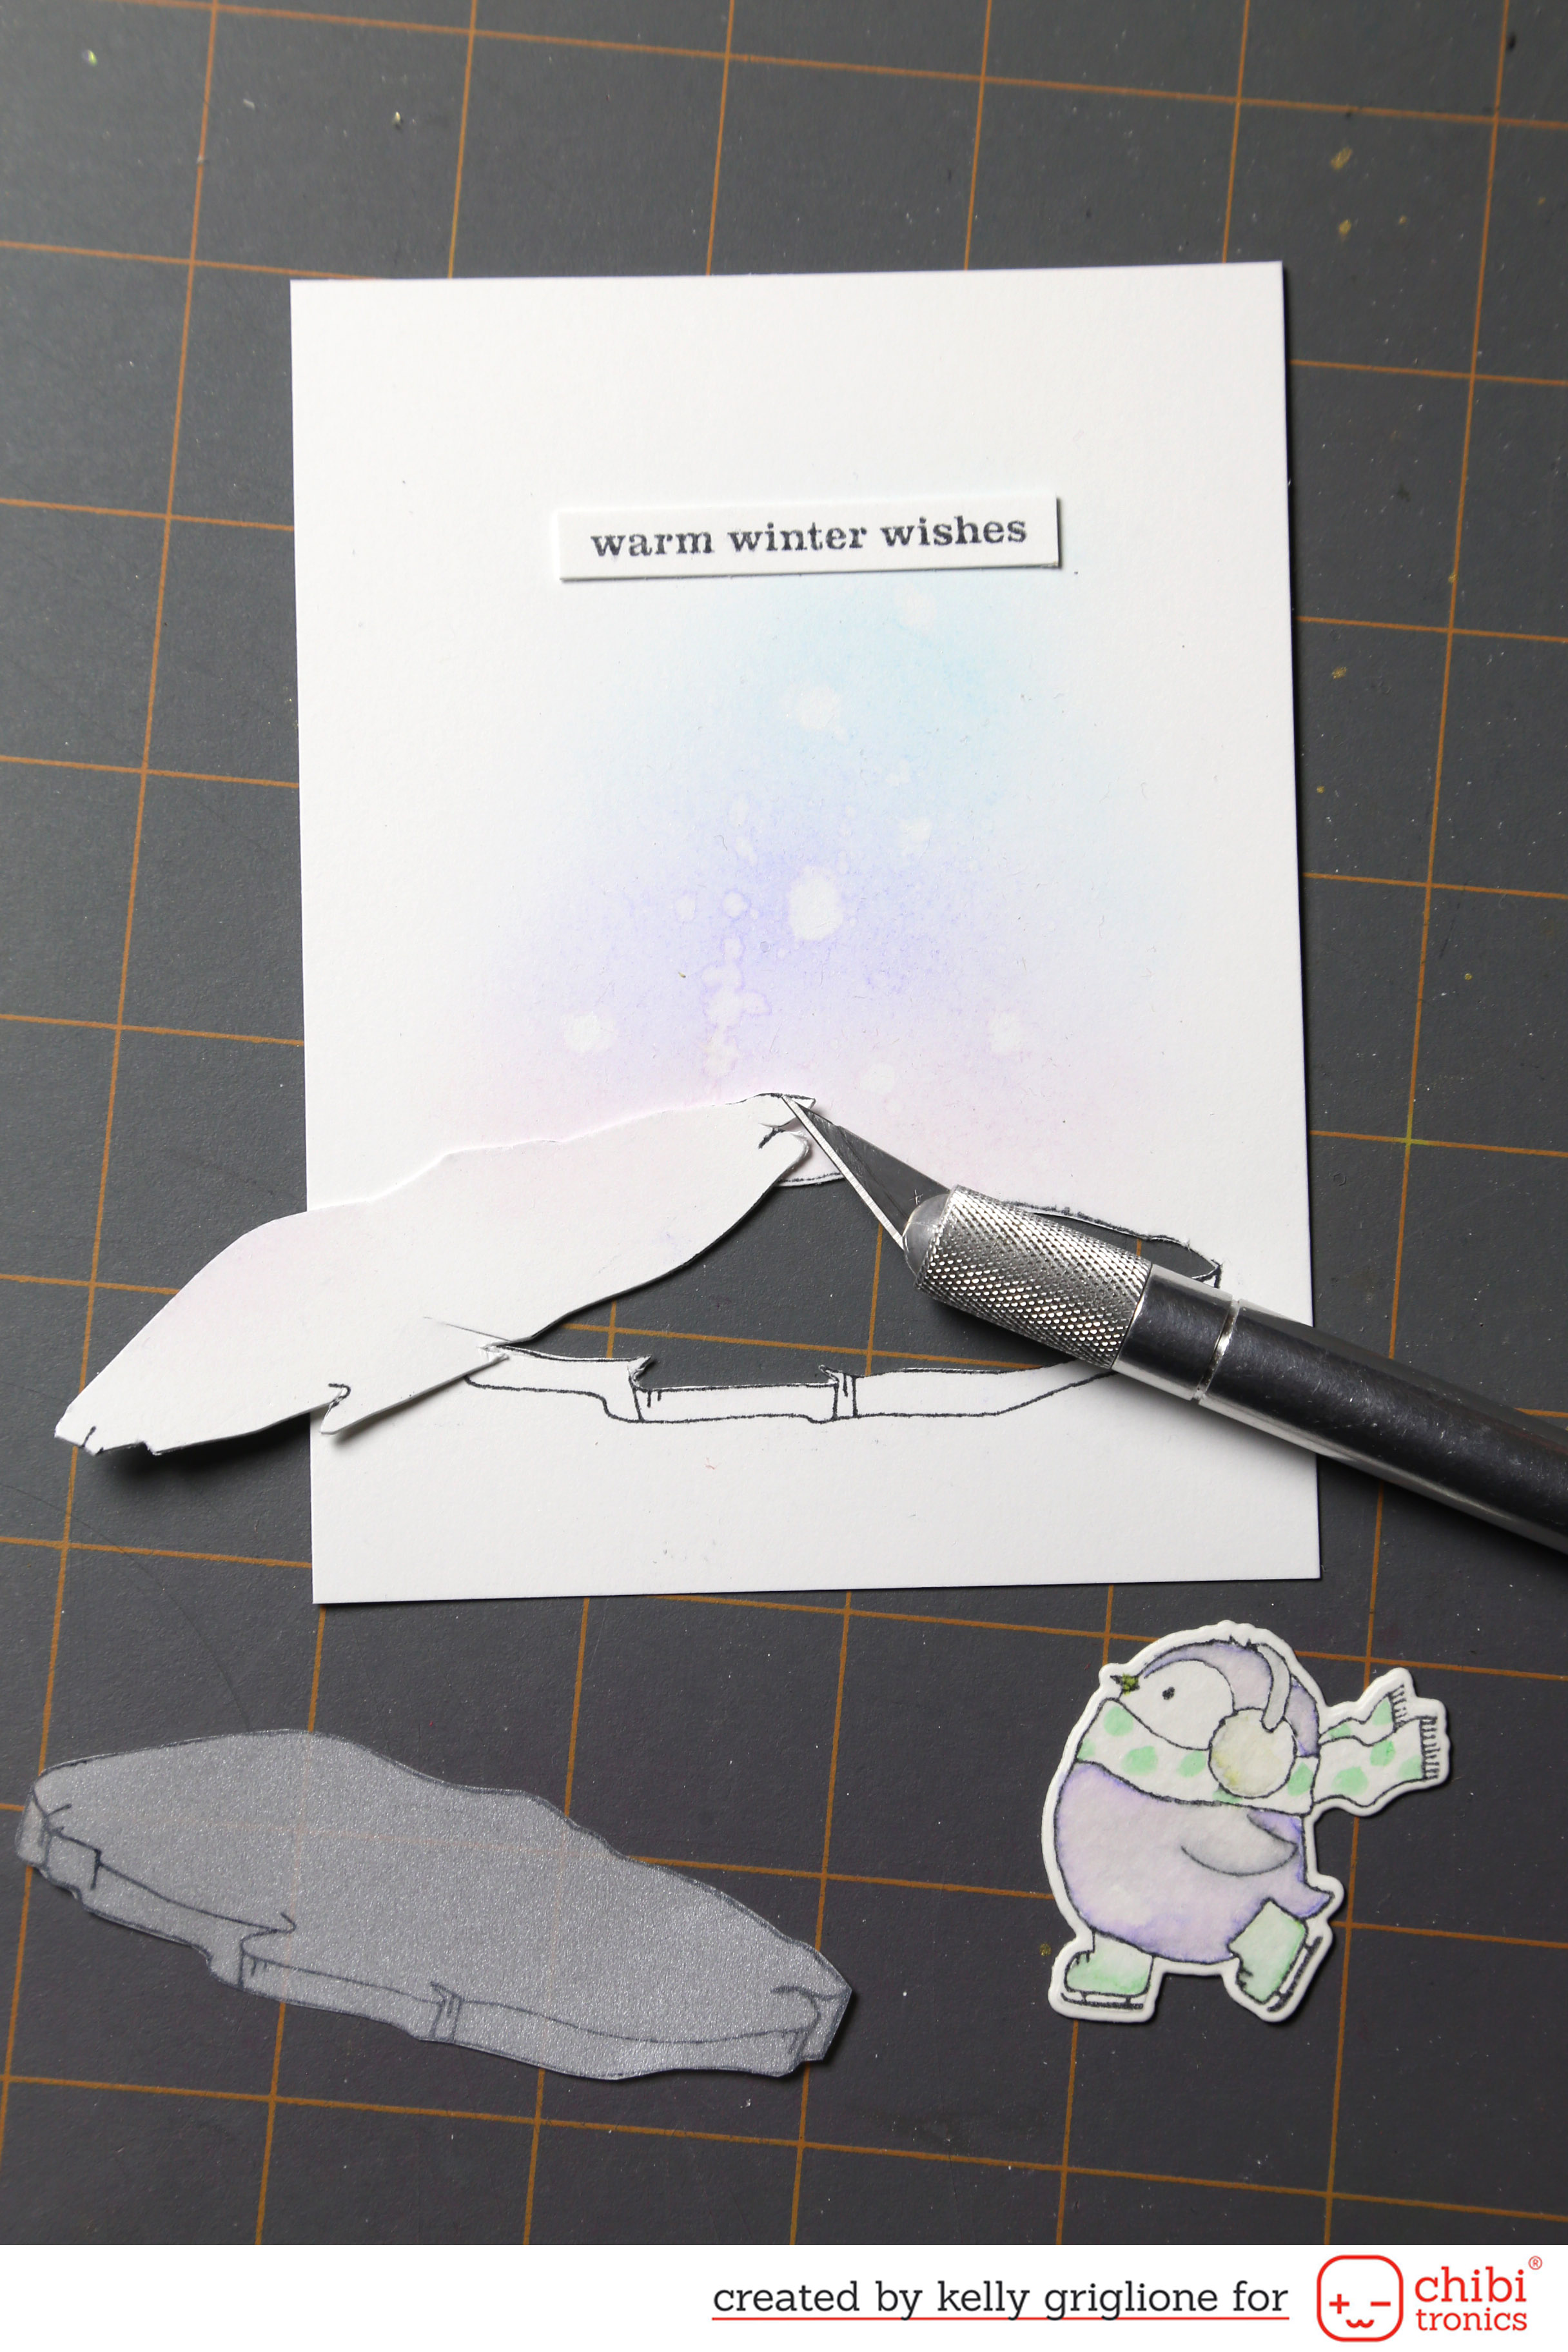
Because I need the light to be diffused across the ice, vellum is used for the lighted area. I stamp the ice on vellum, cut it out, and set it aside. Then I stamp the ice again on my card base where I want it to be so I can precisely cut it out with my exacto knife. You’ll see I left the edge of the ice on the cardstock, as this is where my adhesive is going to secure the vellum ice to the card. Also, you want to cut slightly inside the outline of your image to make sure the vellum will be large enough to cover your hole.
Once I know where my hole is going to be, I trace the opening onto the card base and use that to determine where to put the White LEDs. You may notice the lights are actually slightly outside of the ice opening. This helps prevent getting intense dots of light when the light stickers are directly underneath the vellum. Since the lights are slightly underneath the cardstock, the light will be more diffused across the vellum.
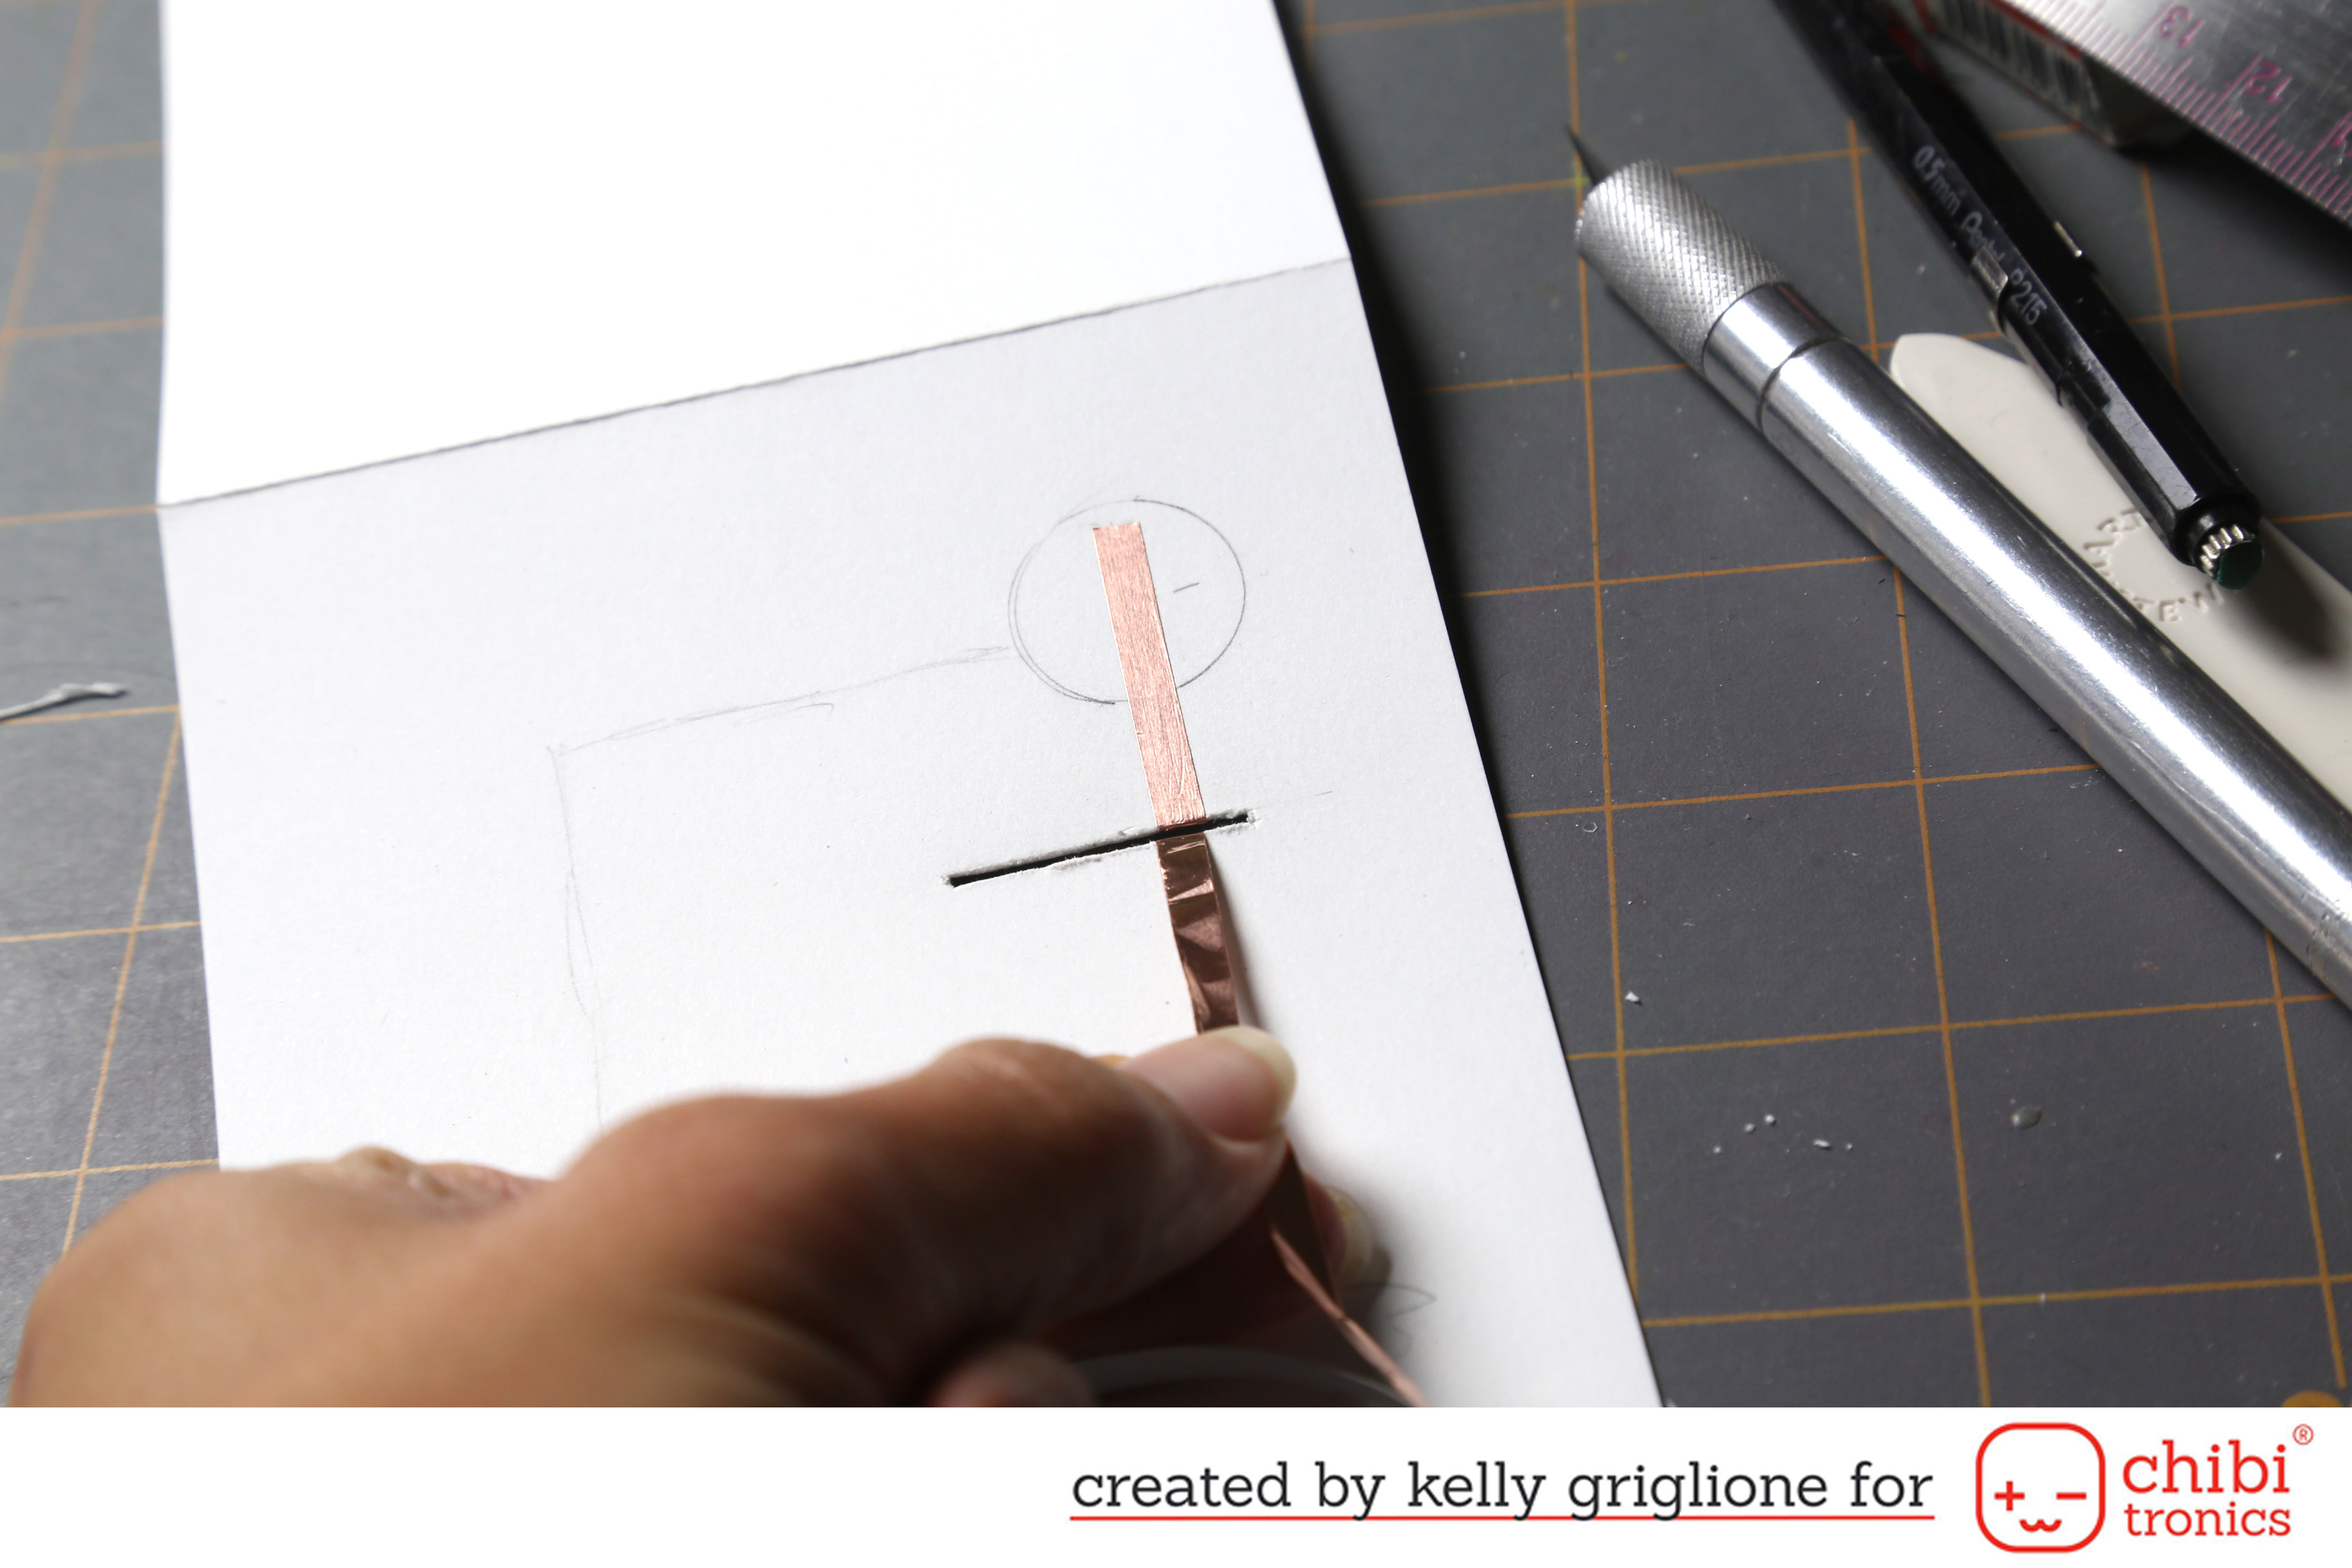
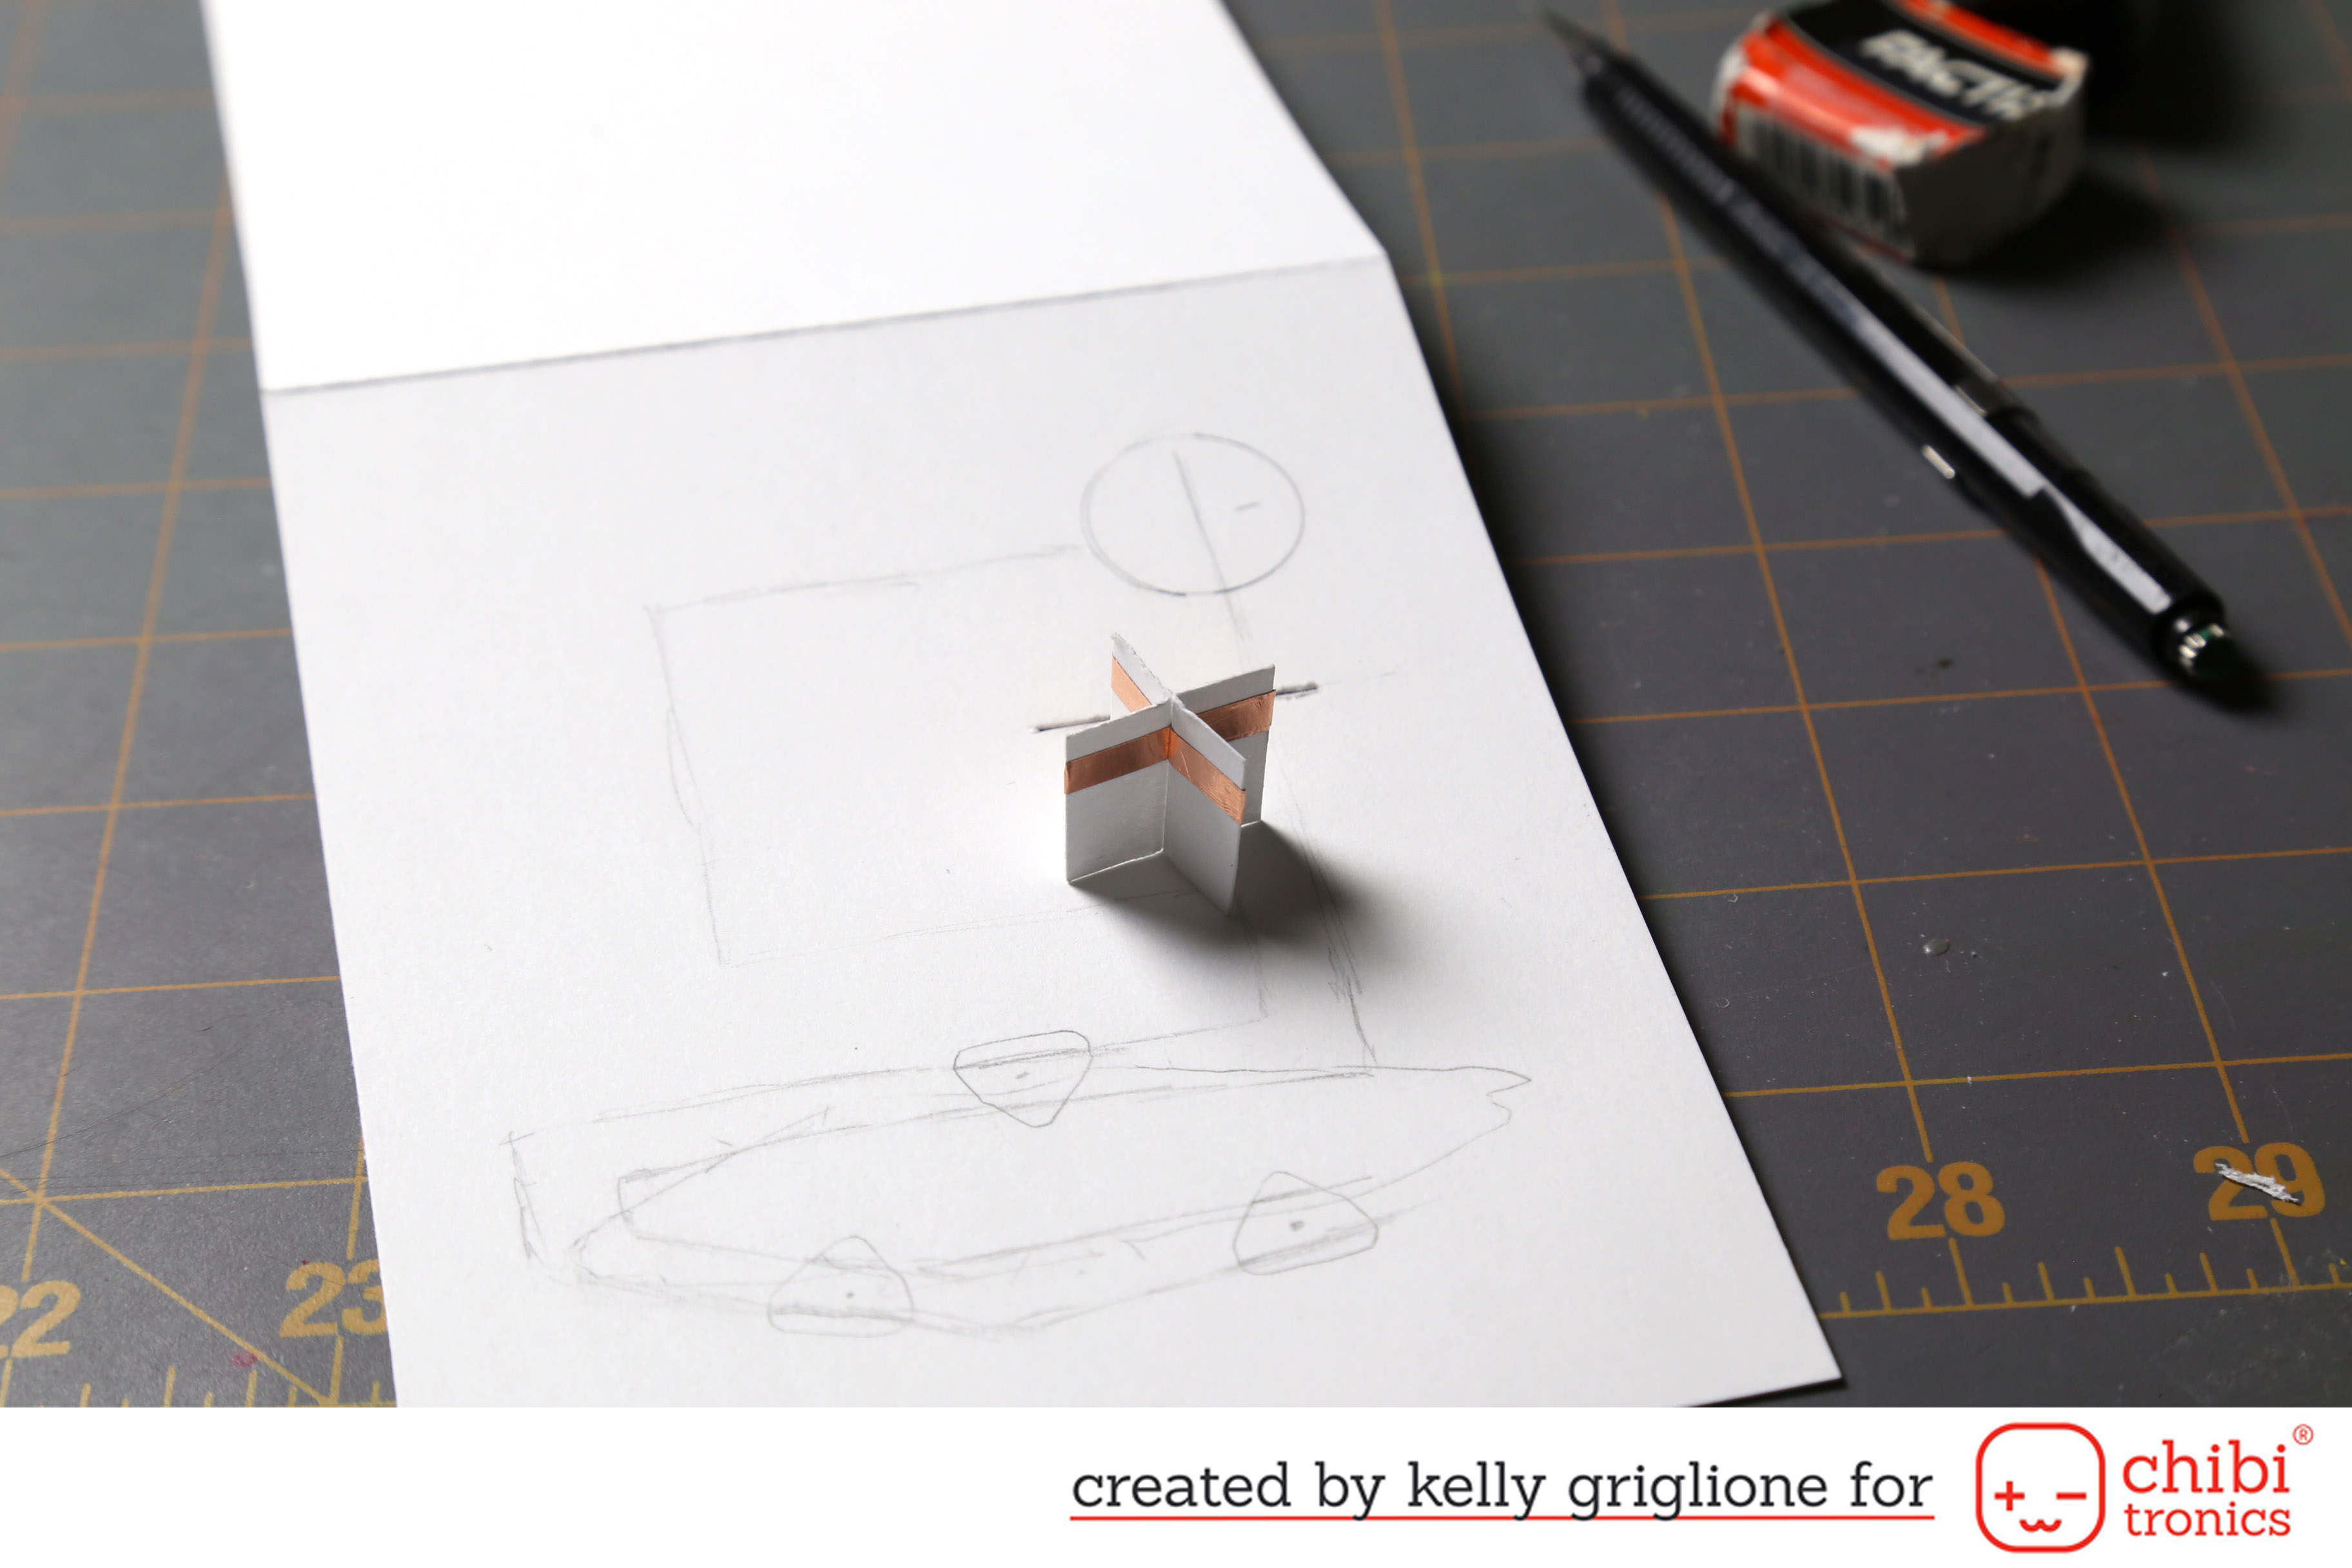
Now it’s time to start adhering the Copper Tape along the pencil lines. The tape goes through the slot and onto the back of the card. This gives more contact points for the switch that will later complete the circuit and turn the lights on.
Here is the switch that Eiko Uchida thought of, wrapped in copper tape, that gets inserted into the slot to complete the circuit.

The negative charge will run though the tape that spans the slot, and the positive charge is diverted to the left to make room for the horizontal pull tab that will operate the switch.
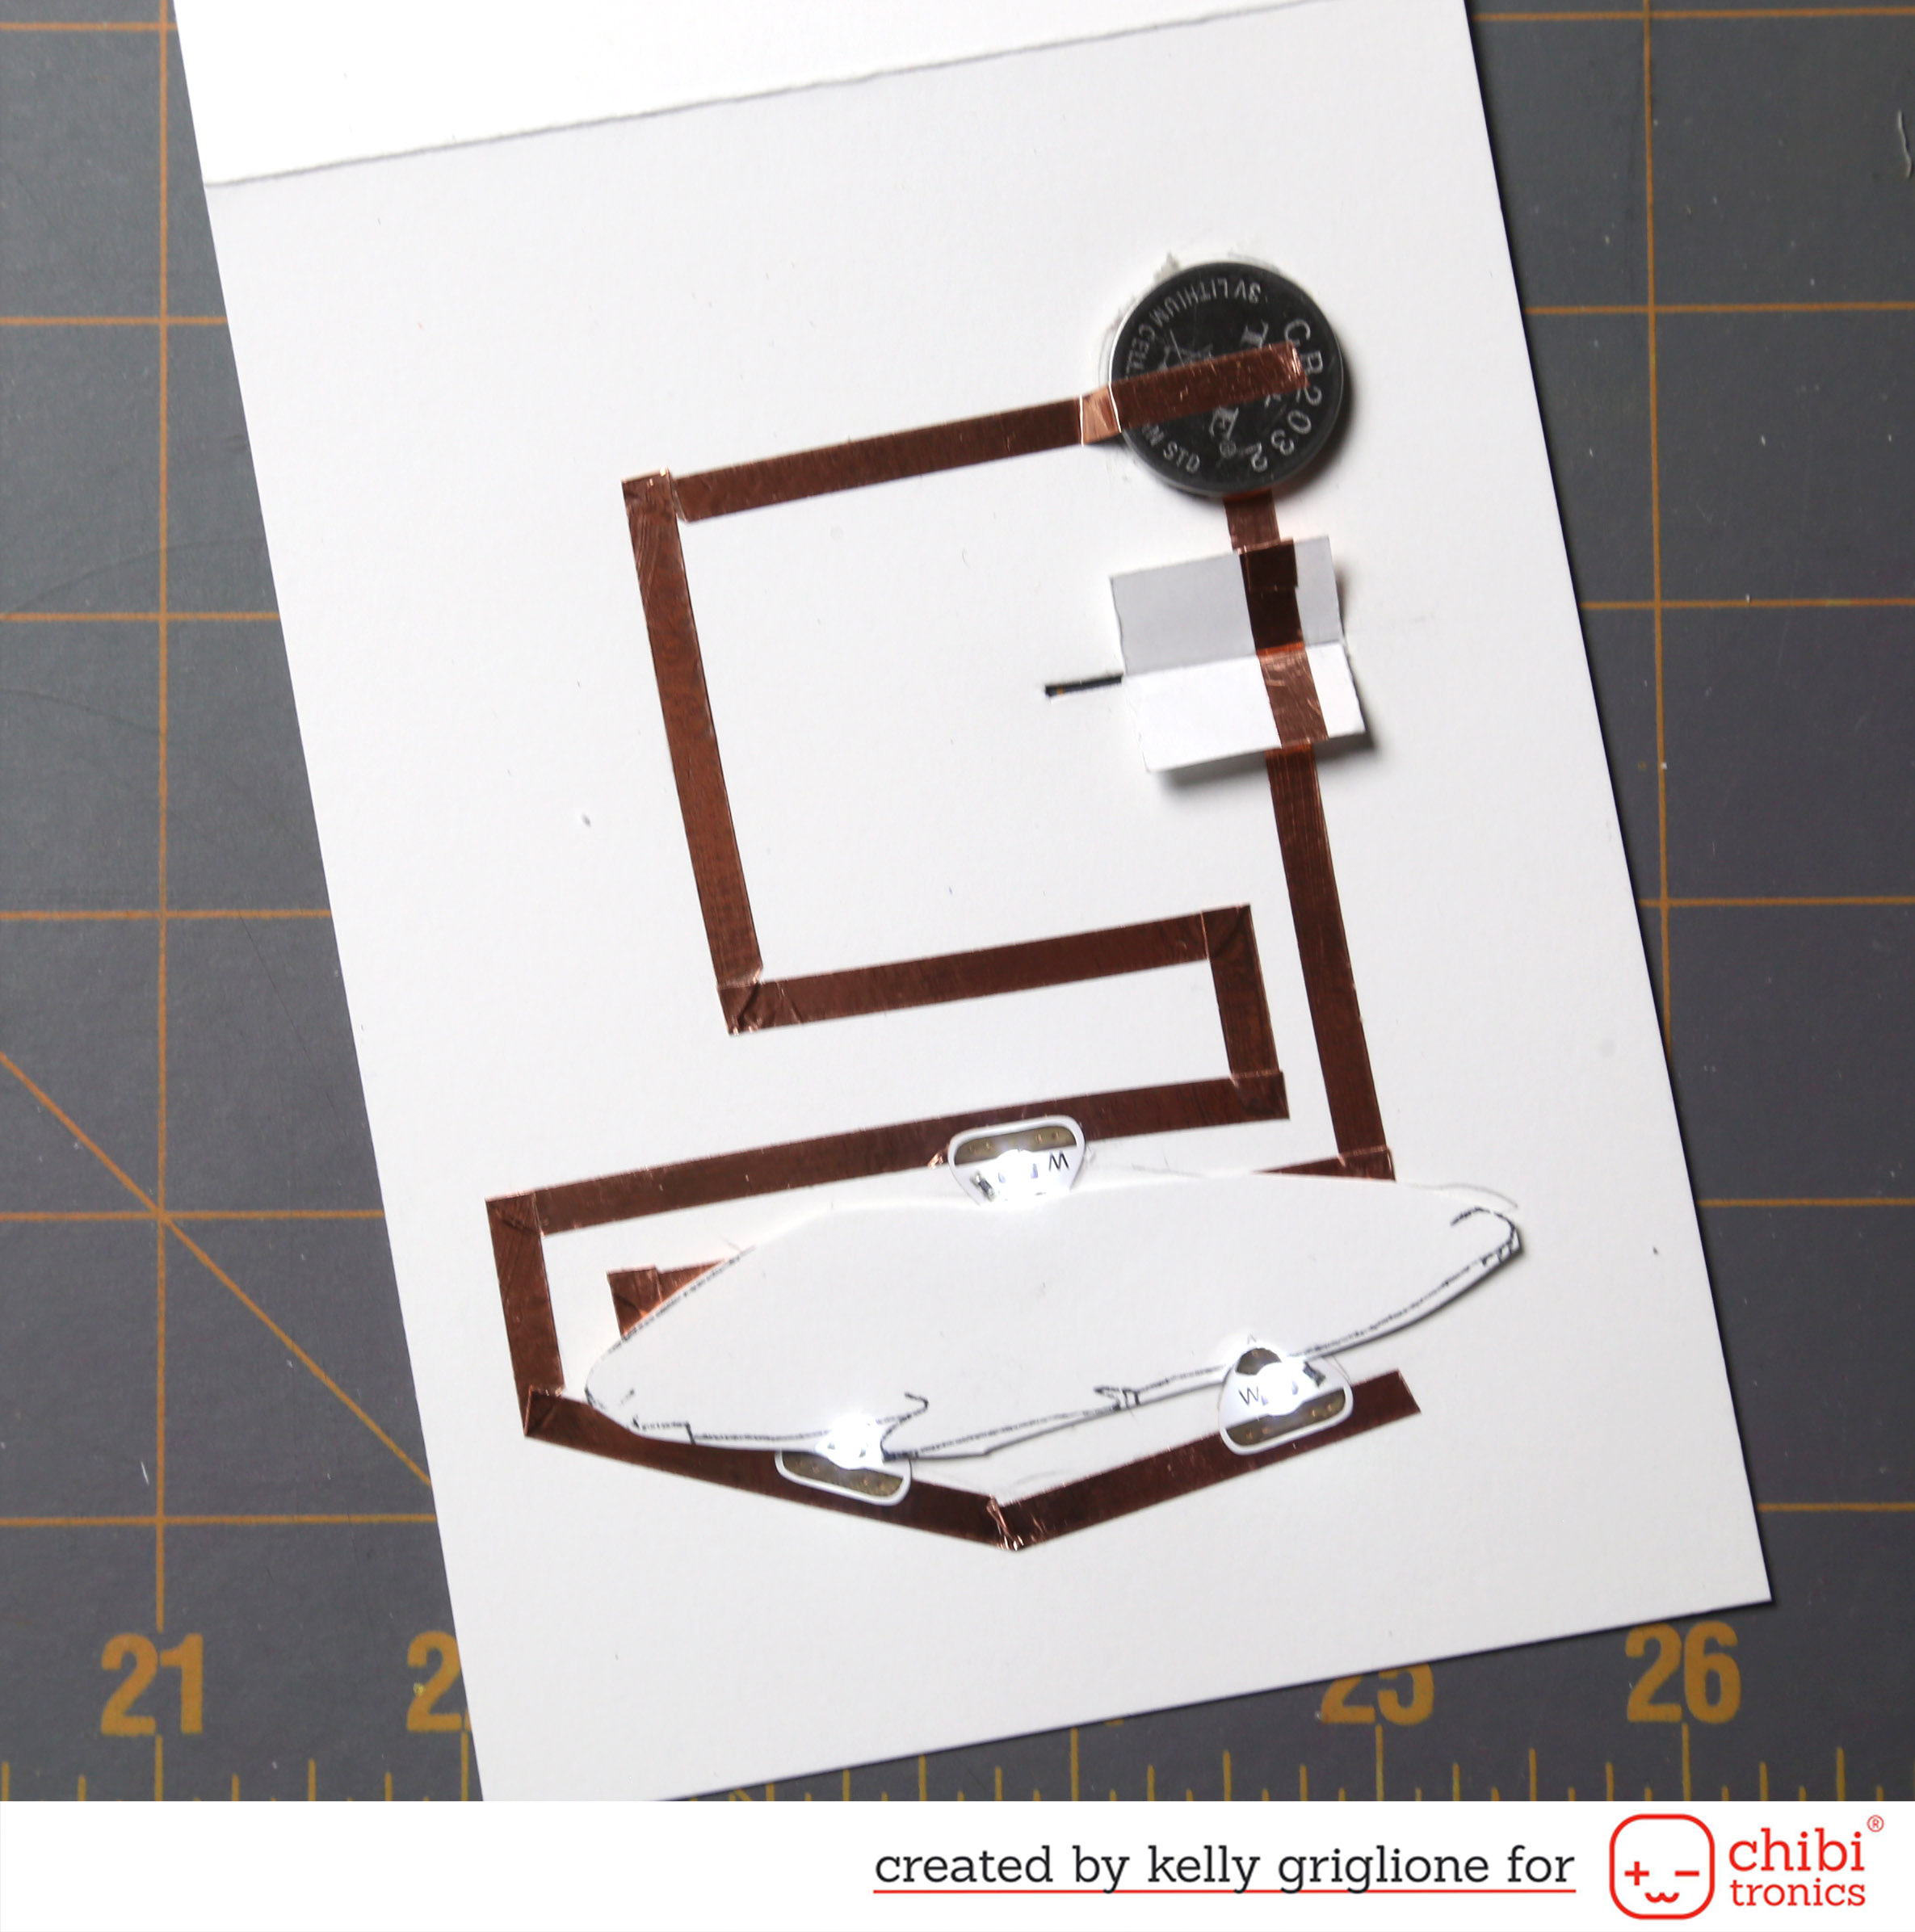 Now you see the switch is inserted into the slot. Since the copper tape on the switch is bridging the gap, the circuit is complete and the lights are on. This always makes me happy! Since I’m using clear vellum I want to avoid having the copper tape show through, so I’ve cut a small piece of ice from cardstock to cover up the tape (with some notches for the actual lights).
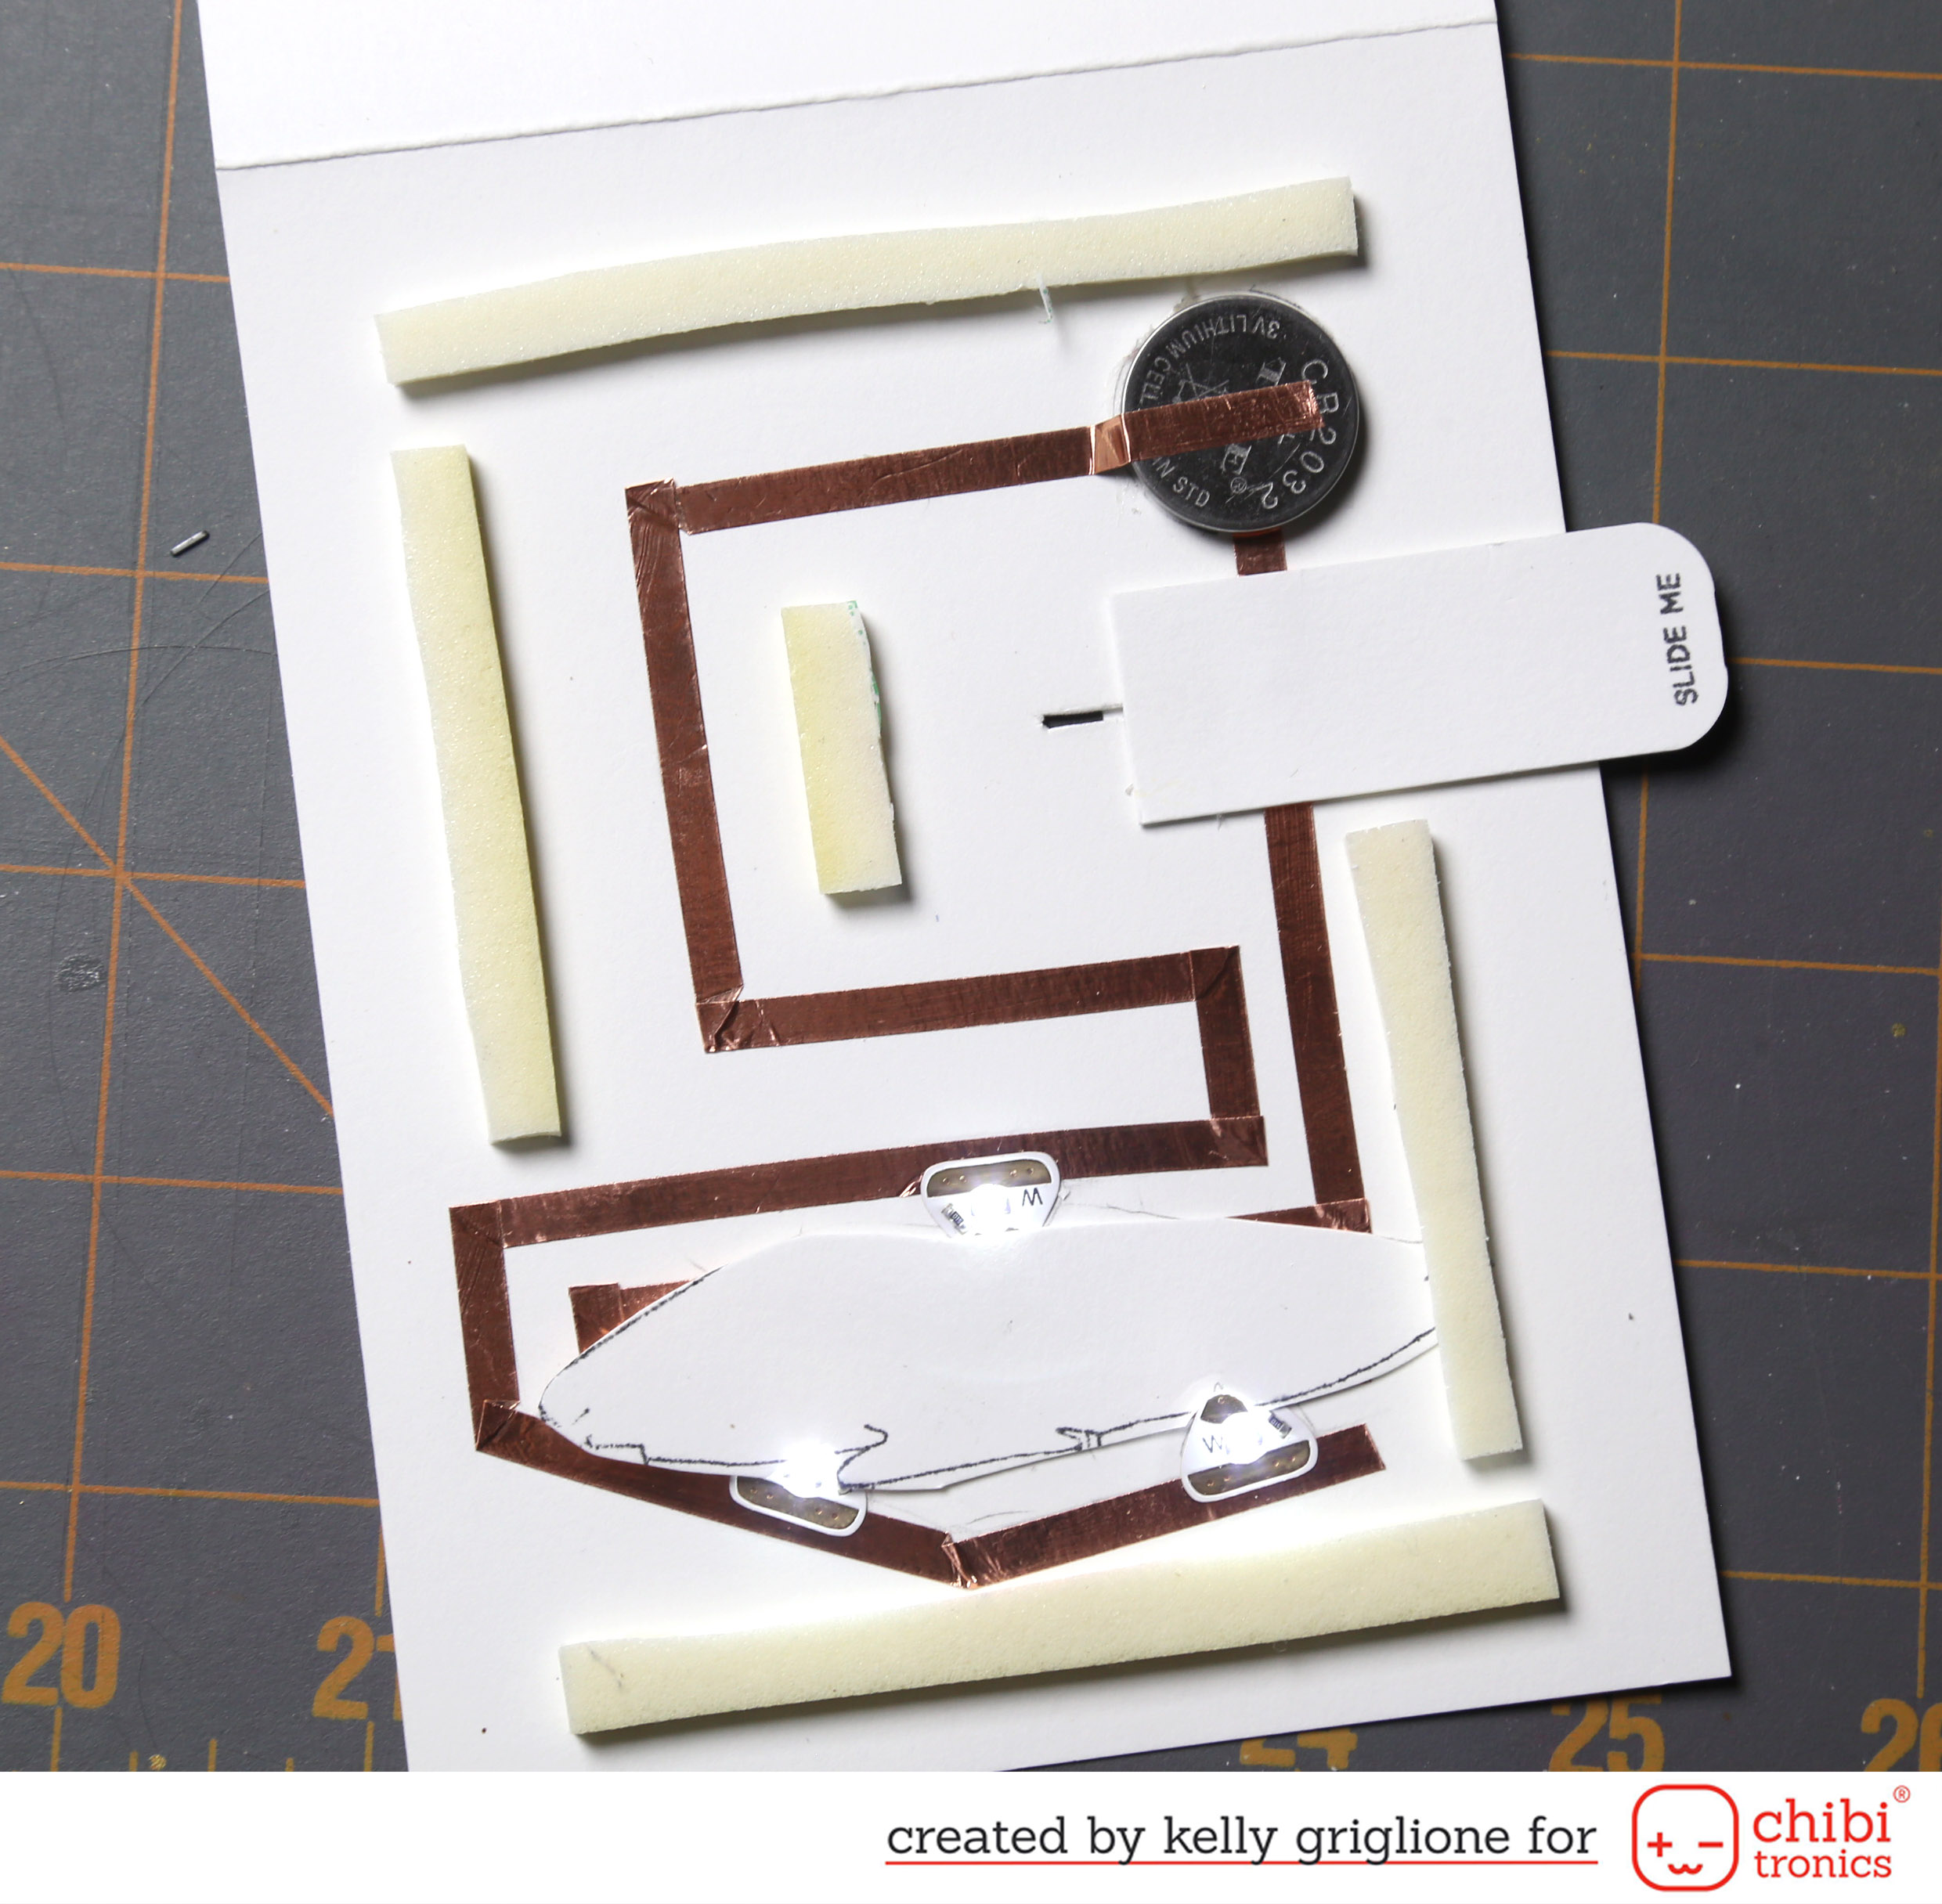 Here I’ve added the pull tab to the switch, with the “slide me” instructions from the must-have set for any interactive card – Interactively Yours by Heffy Doodle. Finally, the foam tape is on to give height for the battery.
Now that the mechanics are taken care of, we can put the panel on top to finish off the card!

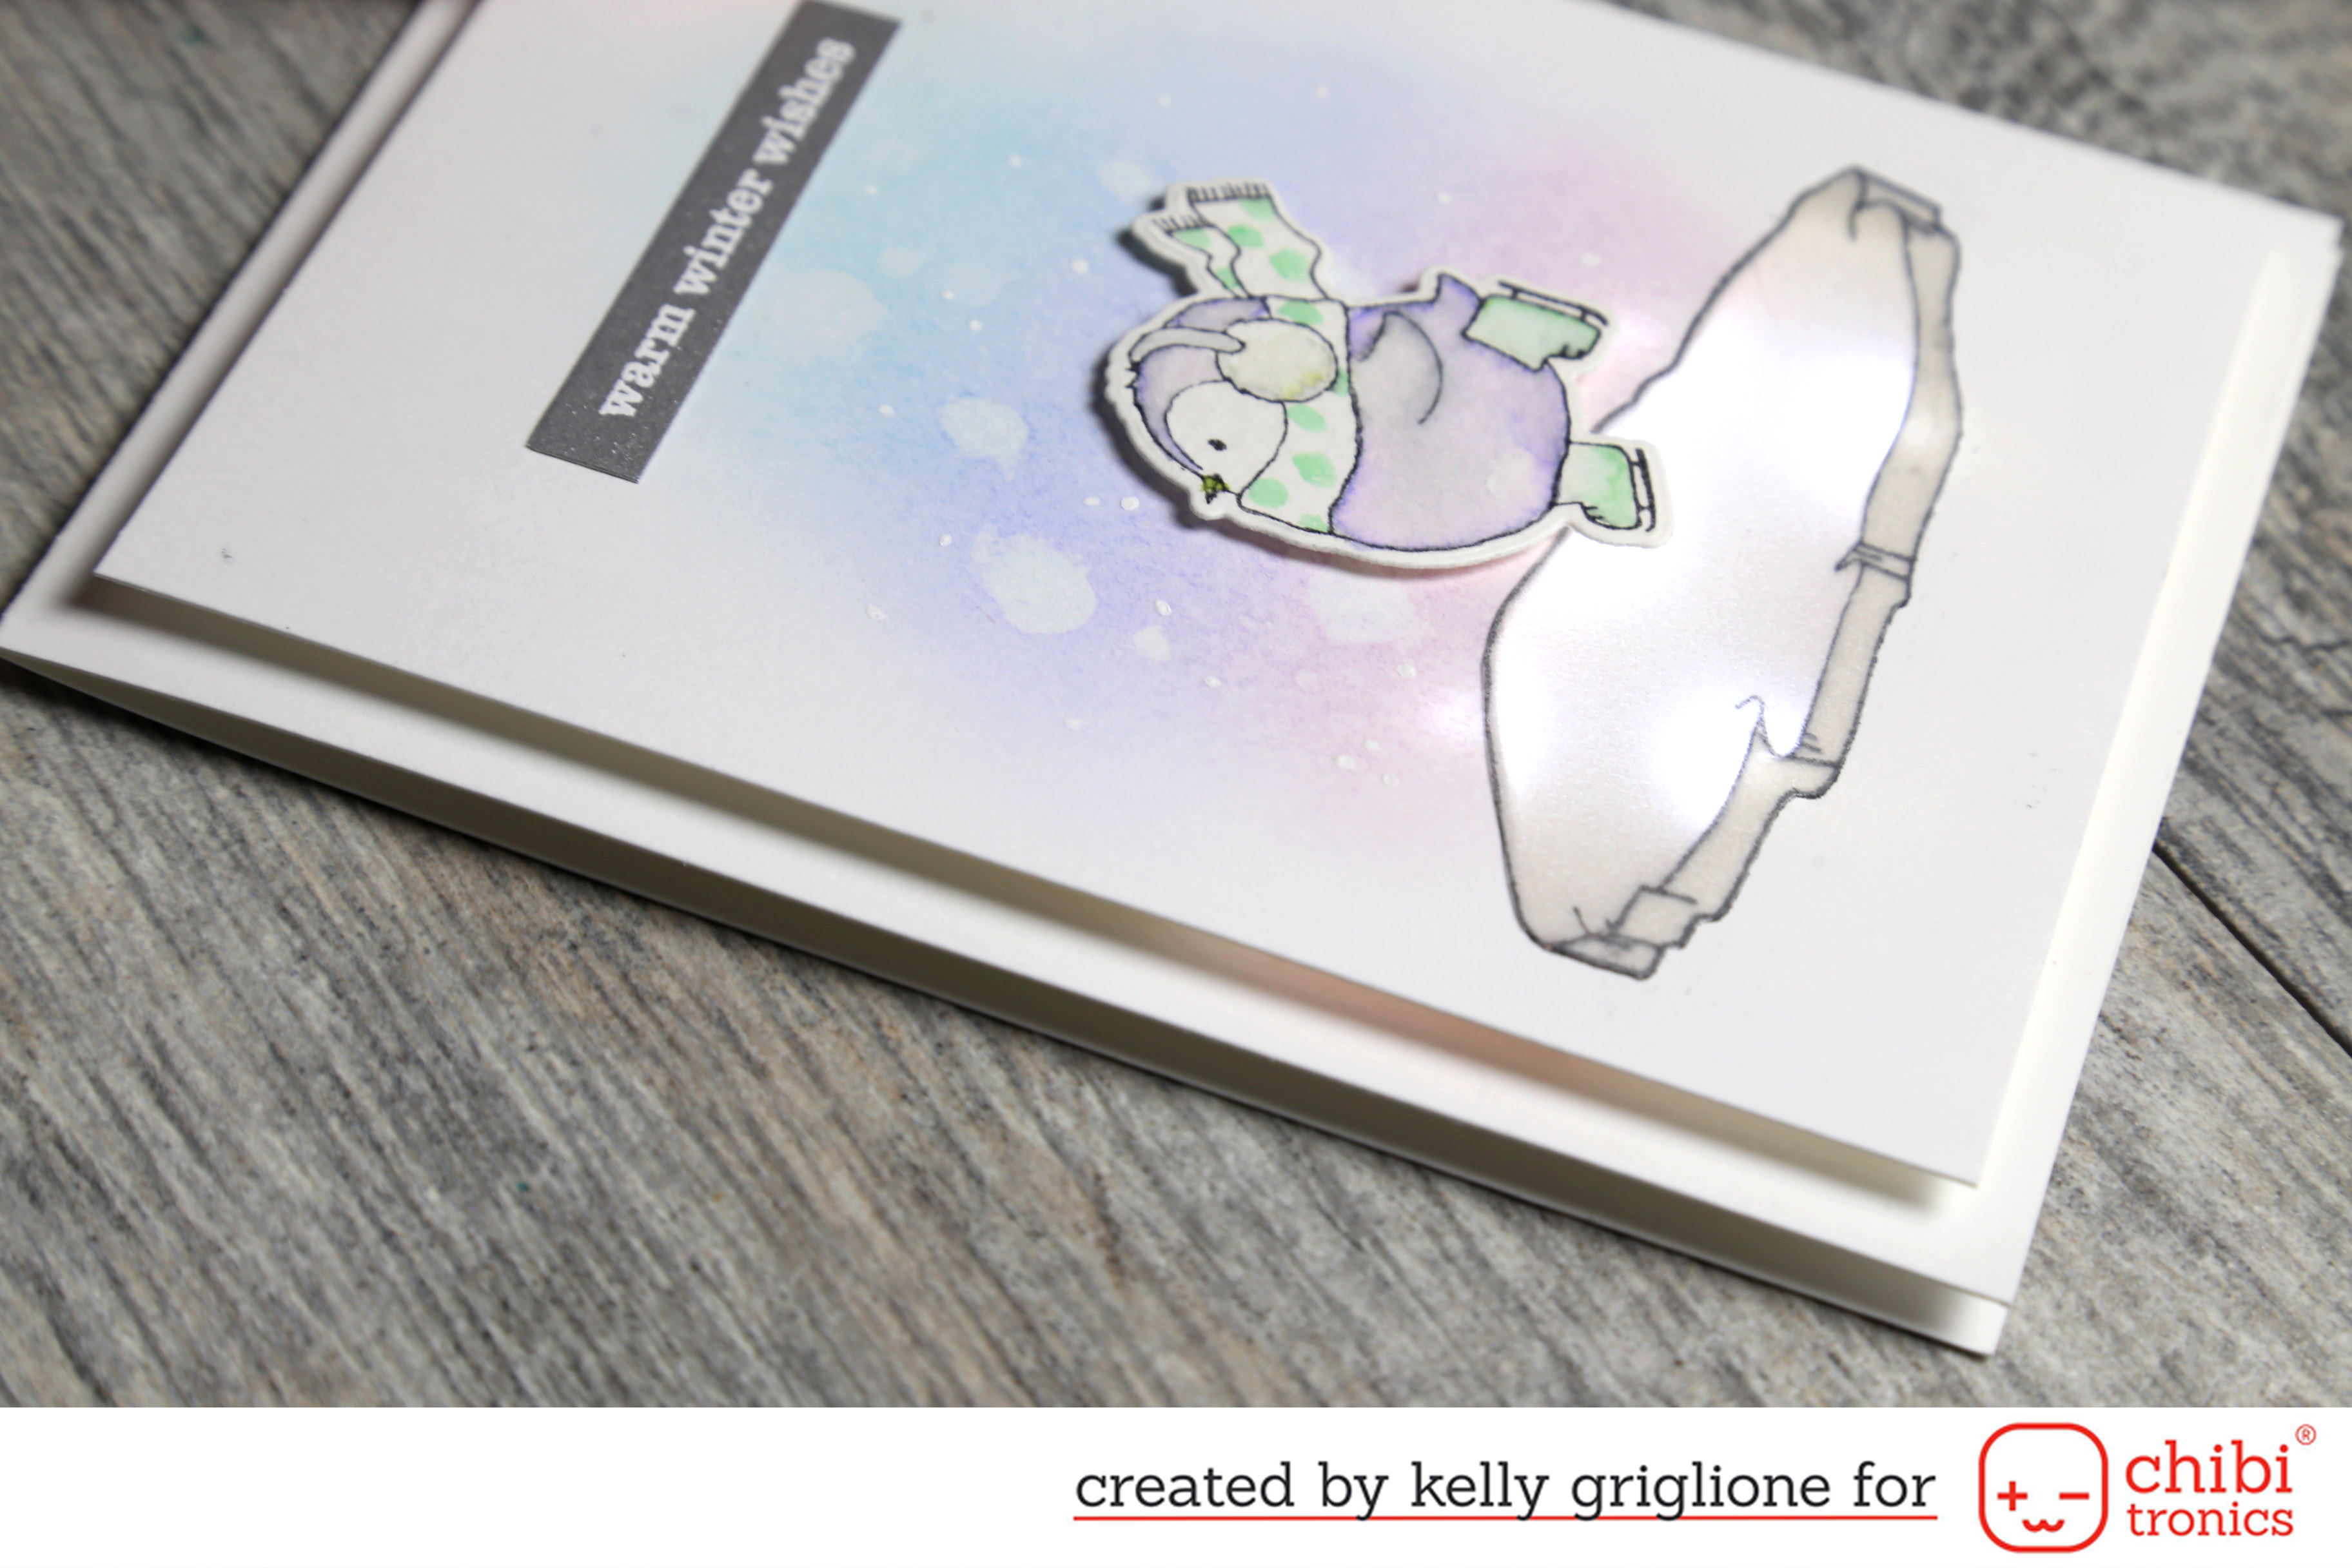
Here it is with the switch in the “off” position, without the lights. The sentiment, skating bird, and ice are all from the newly released Winter Wishes set from Winnie & Walter. The background is sponged distress ink that has been splattered with water. I’ve also added some white dots with a gel pen for additional snowy effects.
Then when you turn the lights on …
The ice lights up! How fun would this be to skate on?!
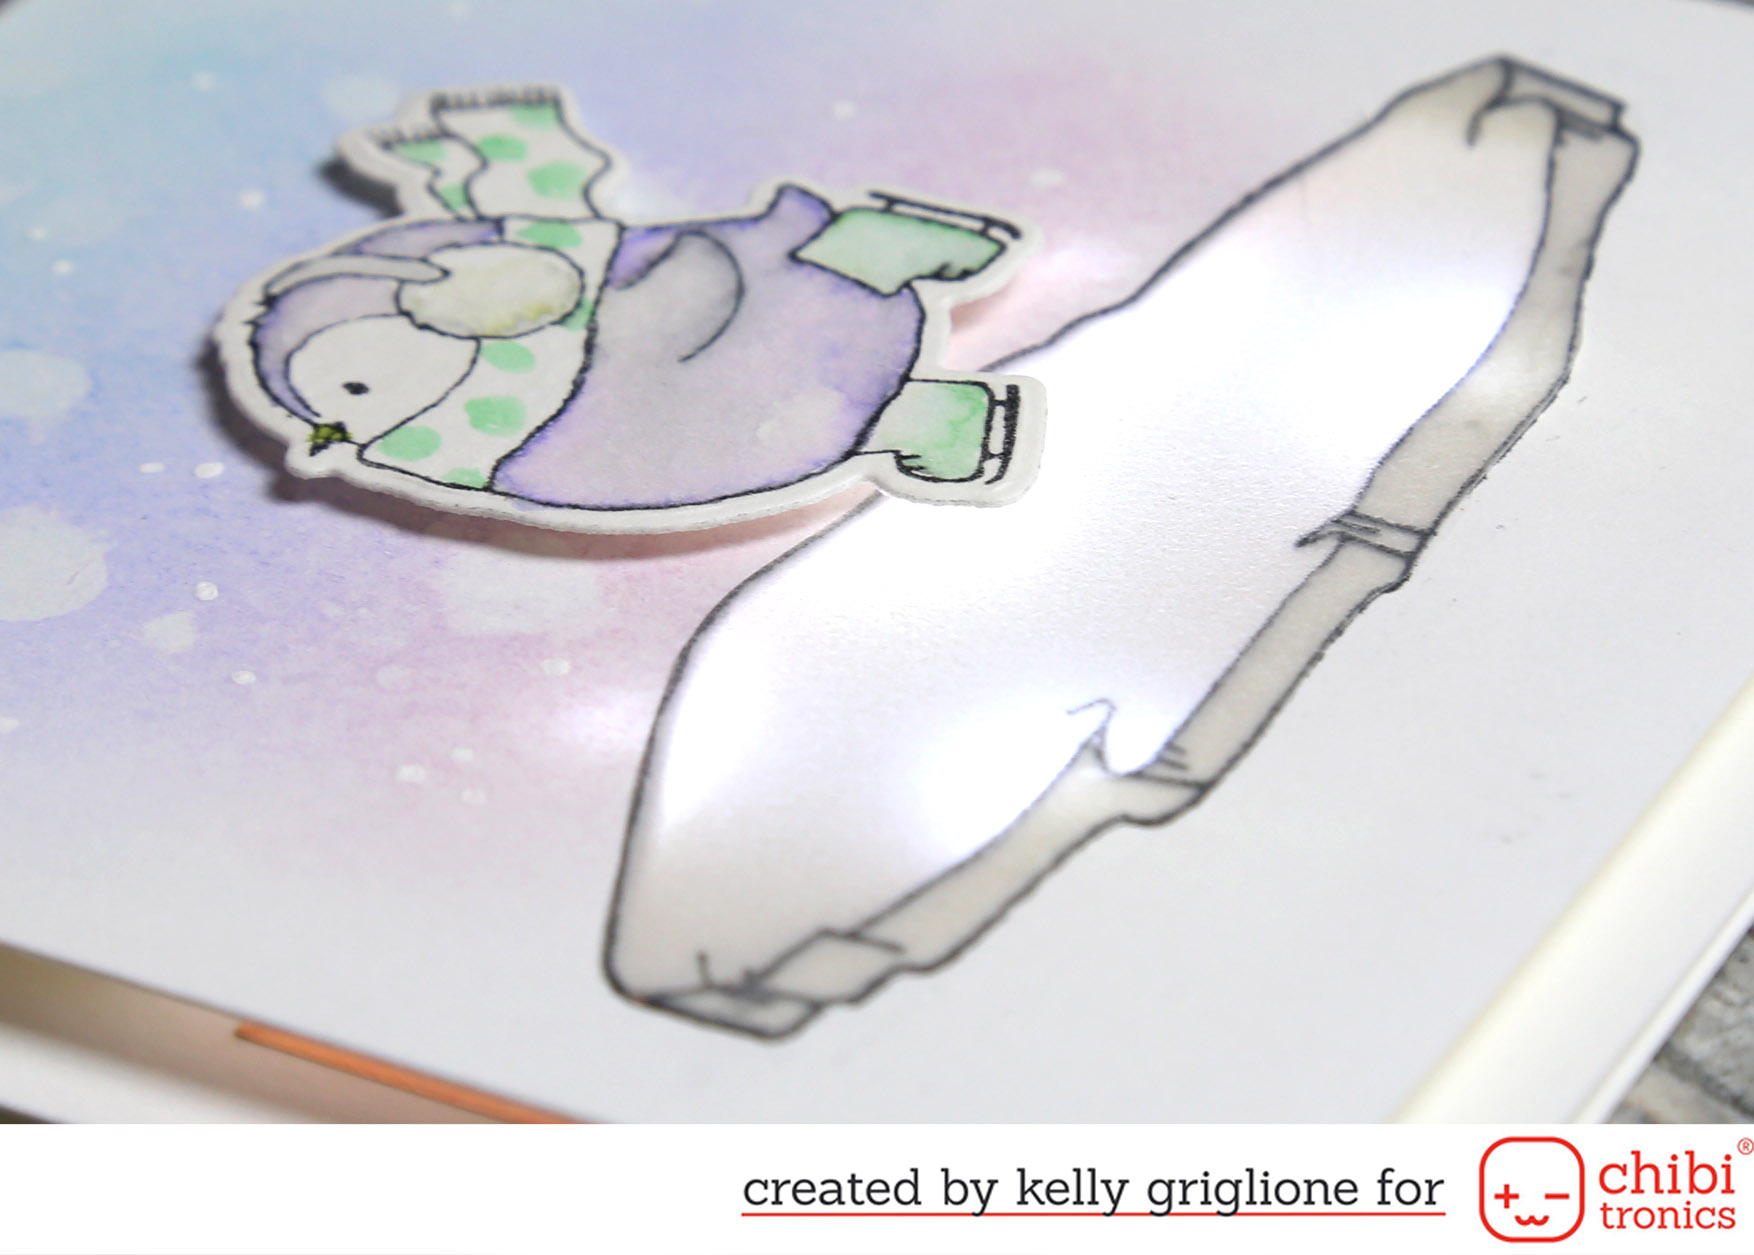
Here’s a closer look at that ice. The light spreads nicely across the whole image. I ended up adding two more lights, for a total of five, to make it shine even more. The edge of the ice, in addition to being where the vellum is adhered, is darker because it’s backed by cardstock, so it gives some dimension.
I really enjoyed making this card, and can’t wait to show my family my newest Chibitronics creation!!
Thanks so much for stopping by!
-Kelly
Supplies used:
Winter Wishes with Evelin T Designs (Winnie & Walter)
Winter Wishes with Evelin T Designs Cutaways (Winnie & Walter)
Interactively Yours (Heffy Doodle)
Tim Holtz Distress Ink
Oh my!!! I’m speechless!!! This vision effect is incredible!!! Awesome card!!!
This is absolutely awesome! xxx
Beautiful card, wow! so in love with the creations i have seen with chibitronics, I cant wait to play with them myself ❤️
What a Super clever and creative idea!!!!!
Super cute! Love the vellum ice effect 😁👌🏻
Using vellum , such a great idea !!