Cards with Heart
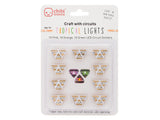
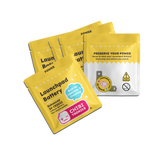
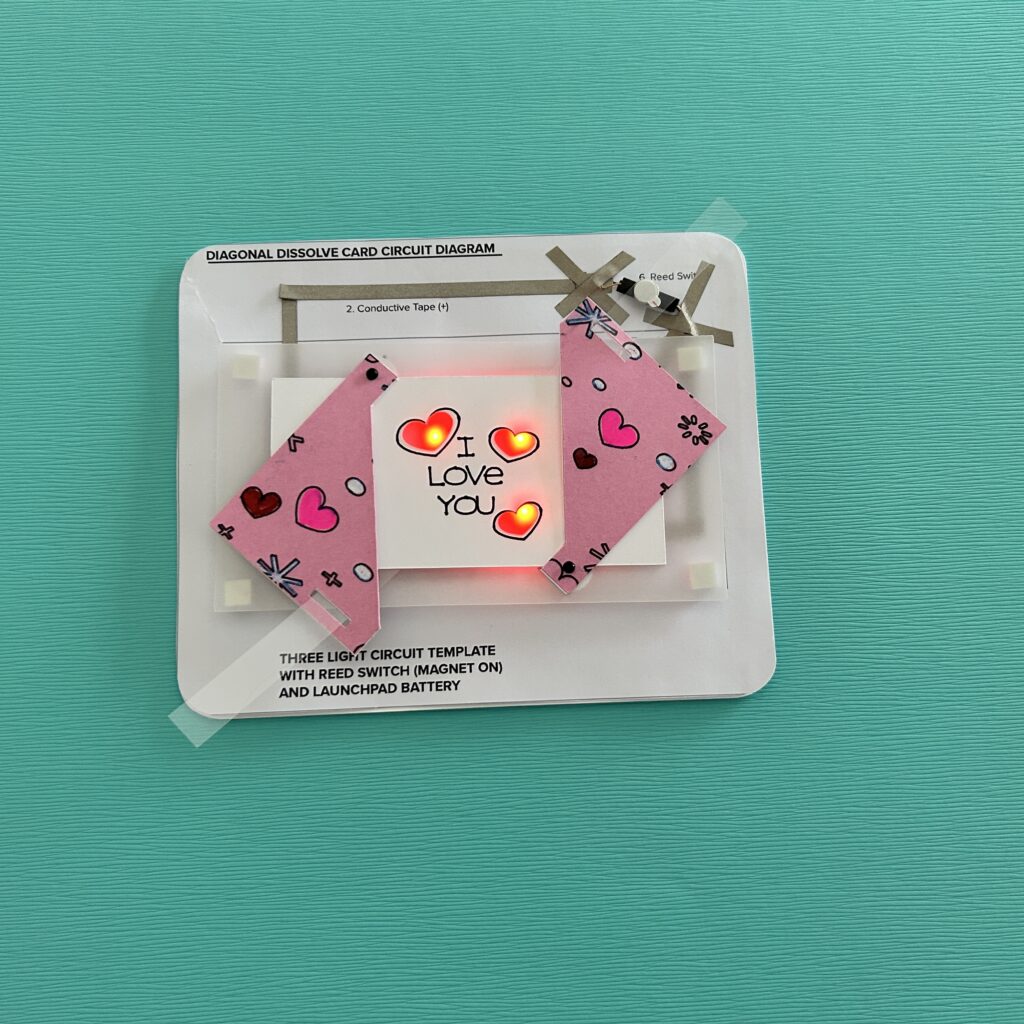
In this tutorial, featuring our Red Fade Animating LED stickers, Launchpad Battery, and a Reed Switch (Magnet On), I’ll show you how to make a mechanical card that reveals a concealed image whenever you move a lever.
Light up a Mechanical Valentine
Watch Video
Related
- Getting Started with Animating LEDs
- Spooky Spider Diagonal Dissolve Card
- Magical Magnetism: Introduction to Reed Switches (Magnet On)
Categories
Animating LED, Paper Craft
Materials & Tools
Electronic Supplies
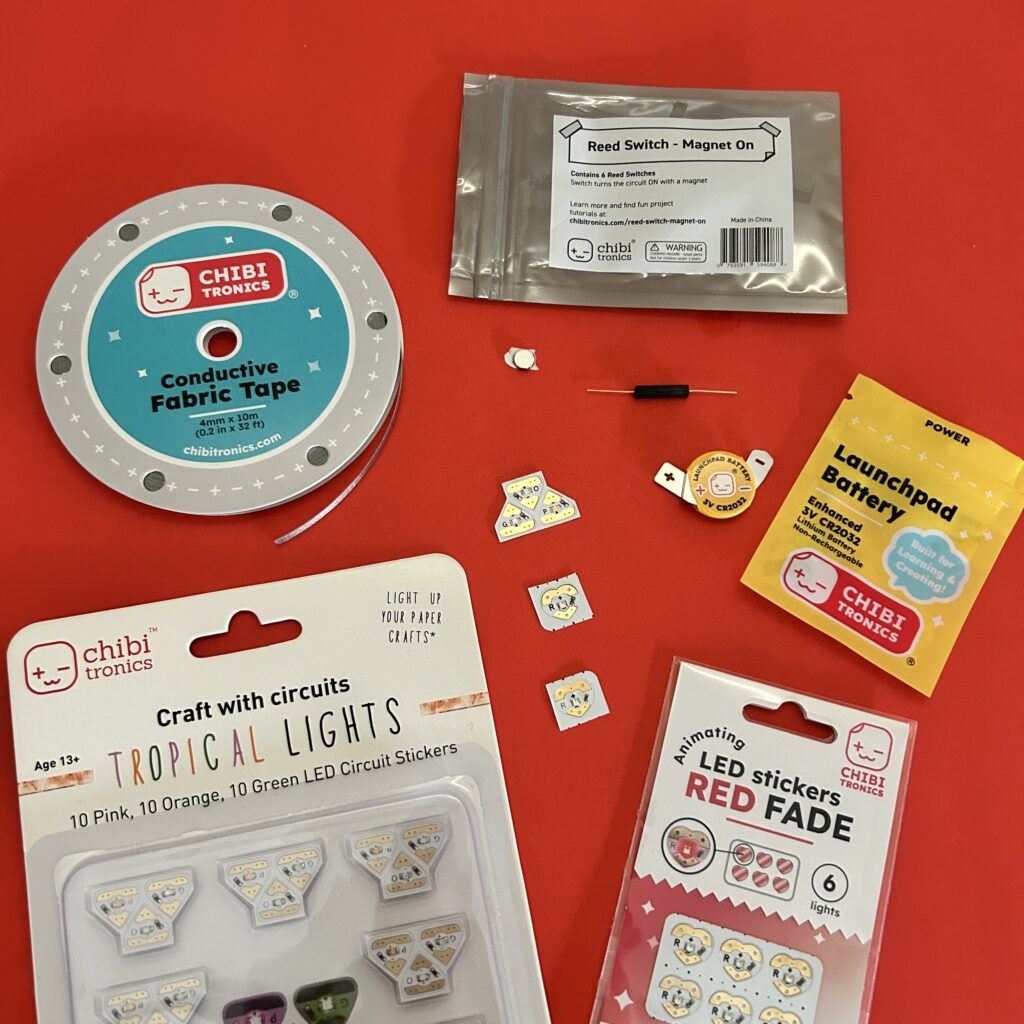
- 1-3 Chibitronics LED Stickers of your choice
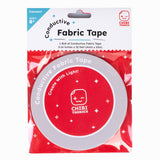
- Conductive Fabric Tape Spool
- 1 x Launchpad Battery
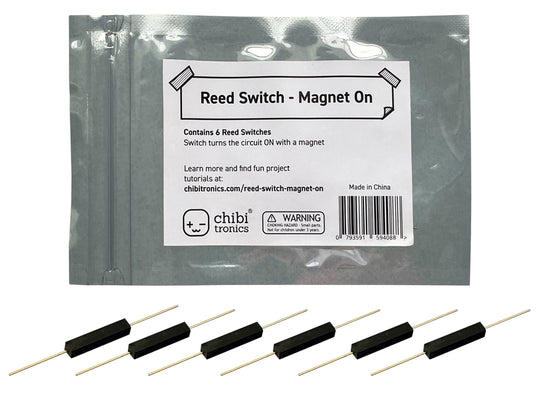
- 1 x Reed Switch (magnet on)
- 1 x Neodymium disk magnet (preferably one with an adhesive backing)
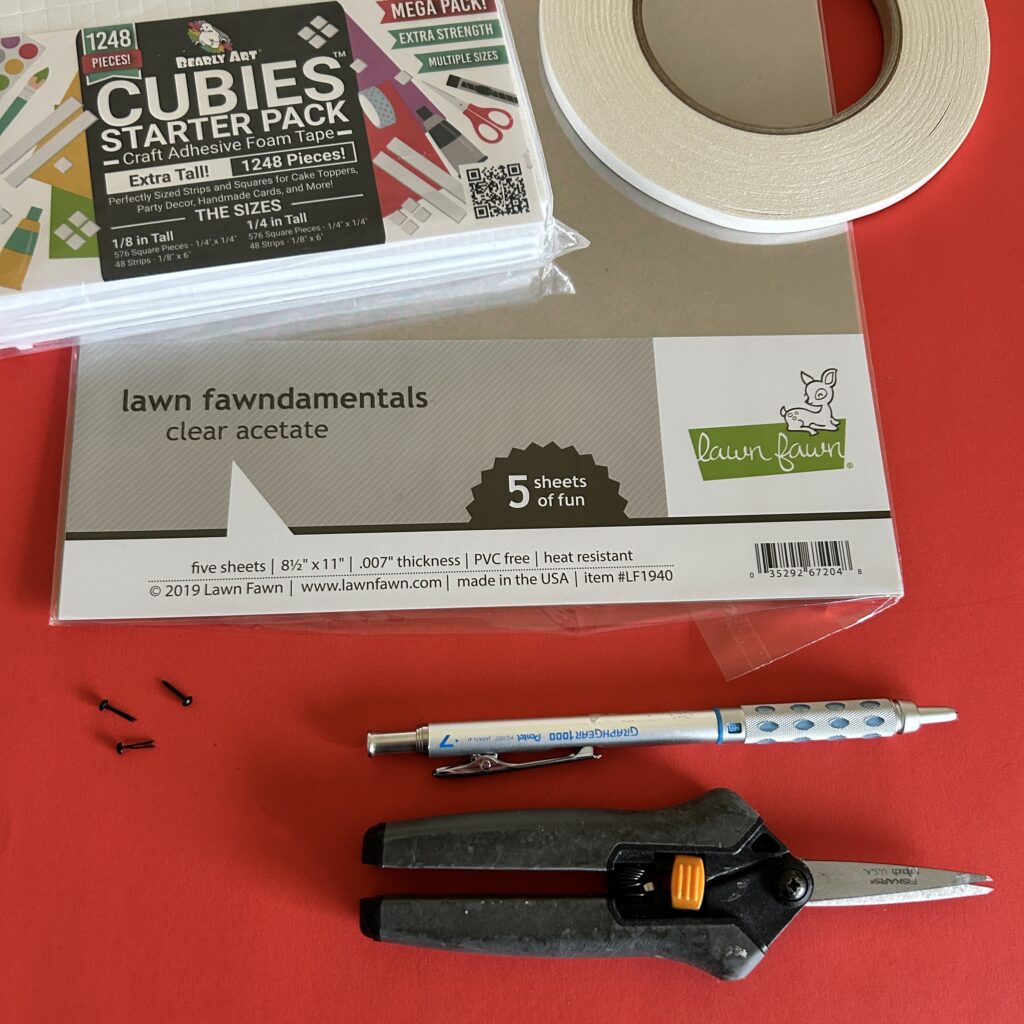
Other Tools & Supplies
- Cricut (smart cutting machine)
- Cardstock
- Vellum
- Bearly Art Cubies (or other foam squares/strips that are roughly the height of your battery)
- 1 piece of firm acetate (such as this) large enough to cut into a ⅜” W X 8” H strip
- 3 x small metal brads
- Double-sided tape
- Scissors
- Pencil
Optional
- Printer (if printing the circuit diagram)
- Hole punch or Japanese screw punch & self-healing mat (if making your card parts manually)
- Art supplies of your choice (ex. gouache paint or colored pencils)
- Scotch or Postal tape
Overview
To follow along, a Cricut smart cutting machine will allow you to quickly replicate the parts used in this project. I used Cricut’s drawing feature to sketch the artwork and text, its scoring capabilities to outline the location of each card part, and a fine point blade for the cuts, slots, and holes.
If you don’t have a Cricut, or if you’d prefer to create this project in another way, I’ve included downloadable PDFs.
Step 1: Prep Your Pieces
Cut Out and Decorate Your Card Parts
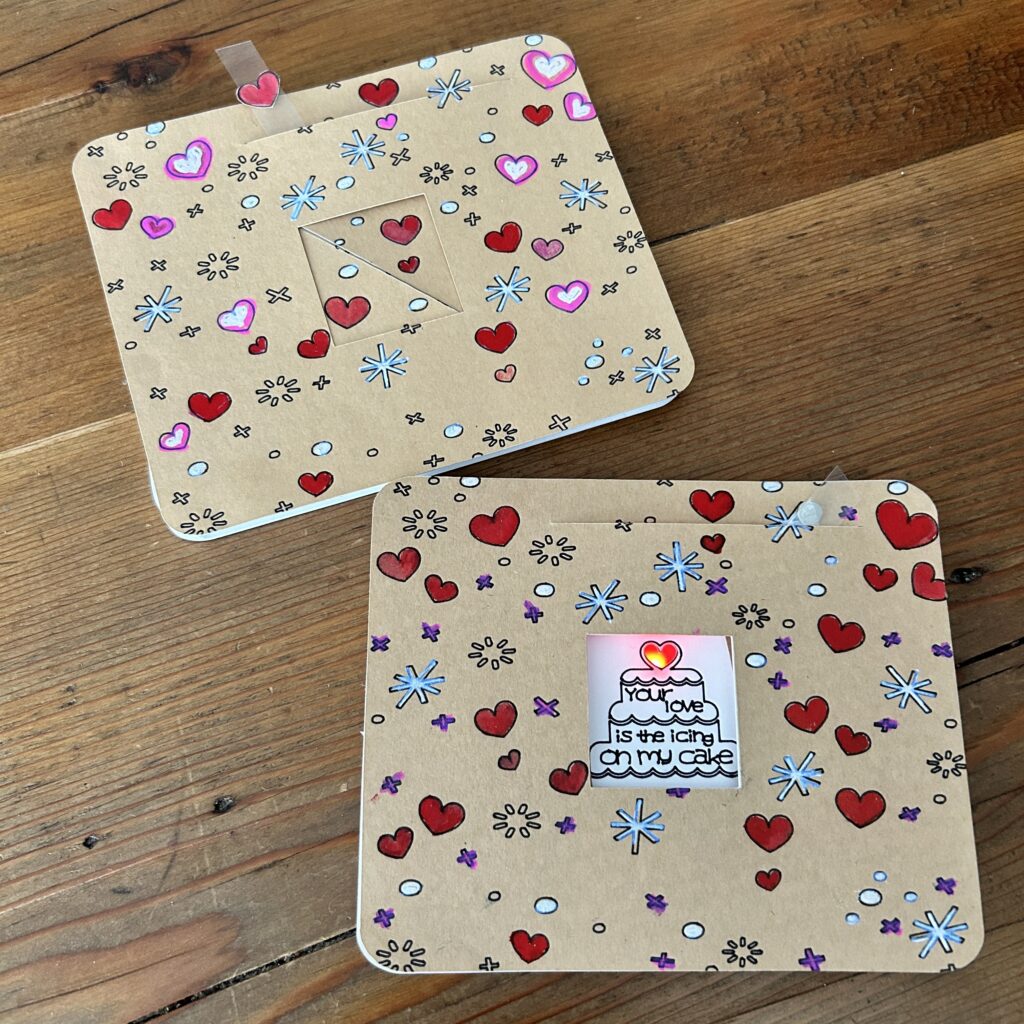
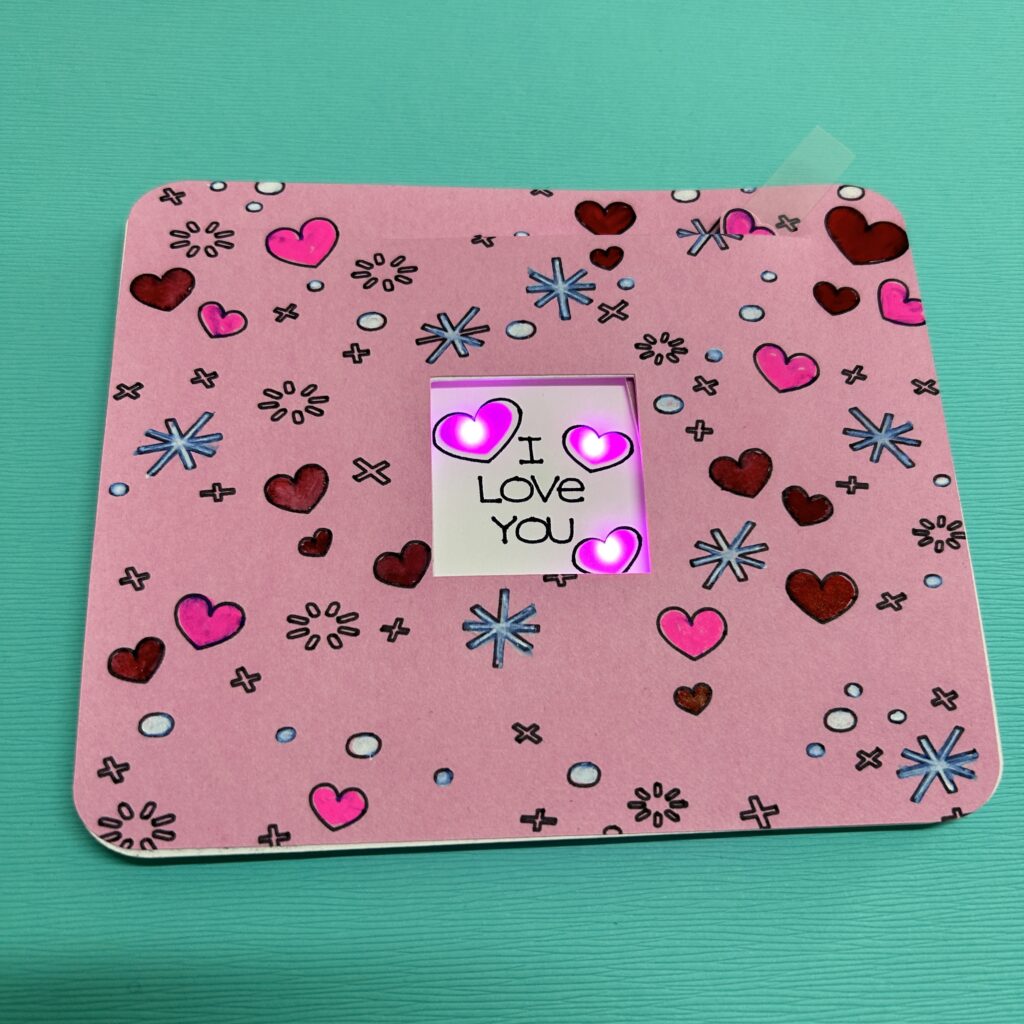
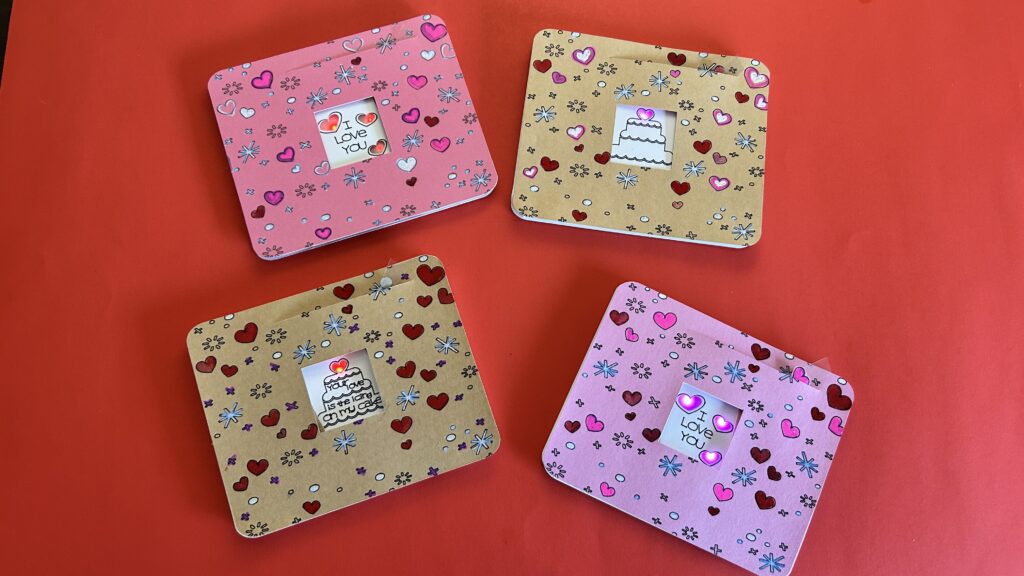
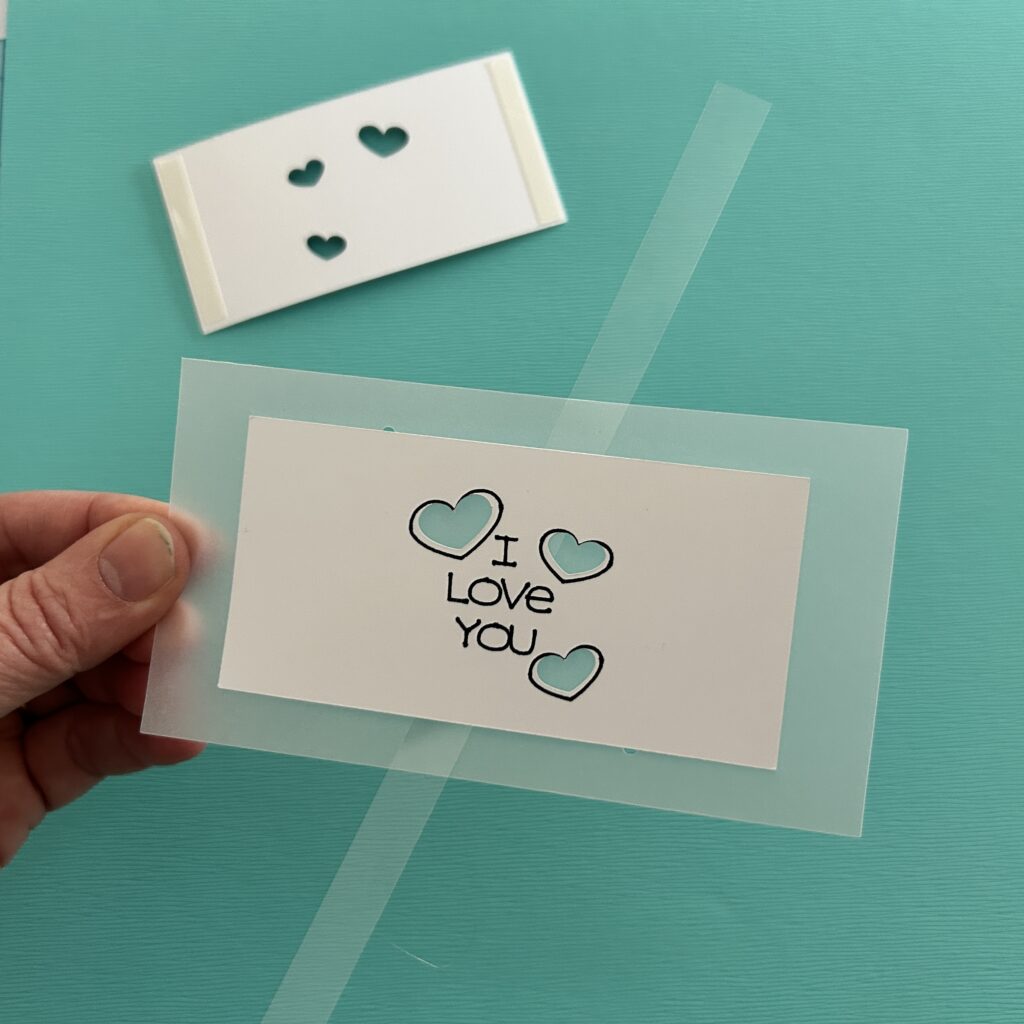
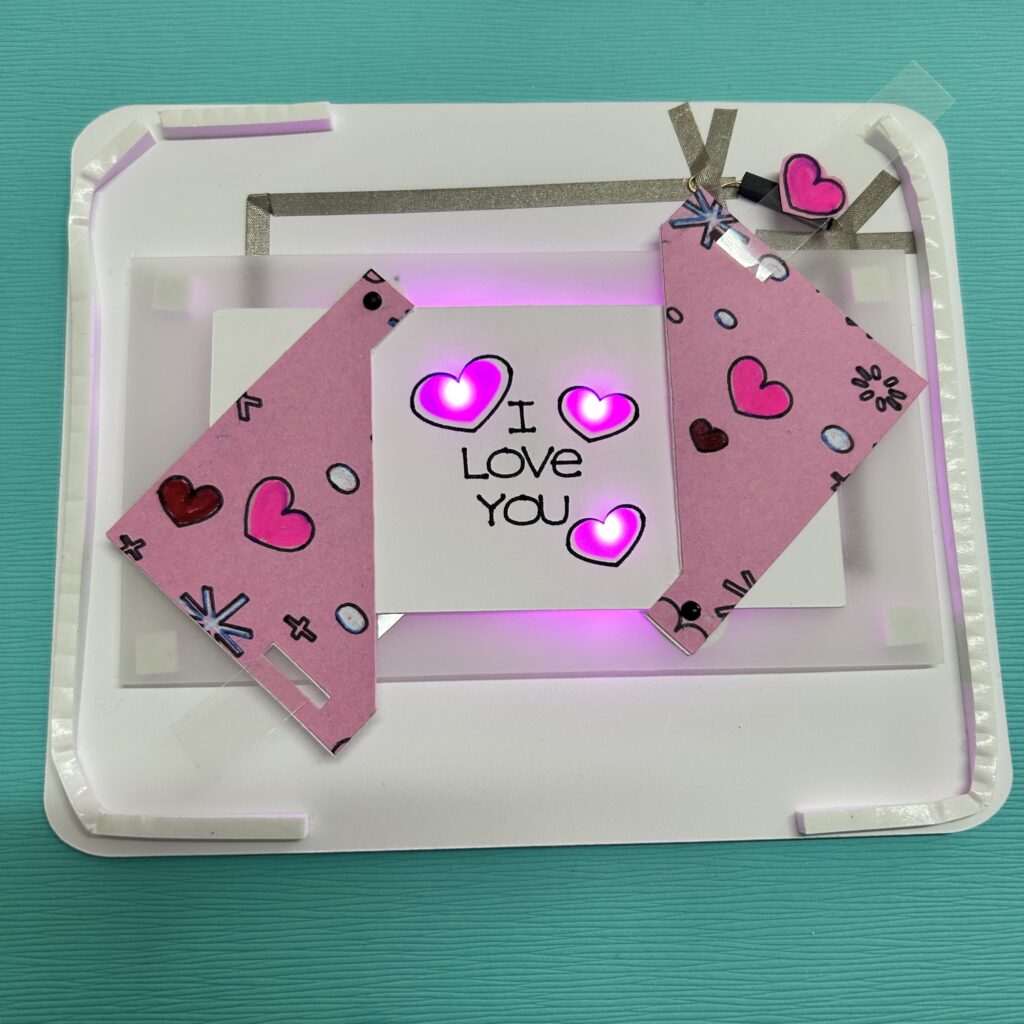
The first step in making your own mechanical card is to cut out the parts by visiting my free project on Cricut Design Space,. There you’ll find a couple of different options for the central artwork: a cake with a single cut-out heart (depicted below) or a love note with three cut-out hearts (depicted at the top of this page).
You can also cut out and decorate the parts on the PDFs below.
You will need the following parts:
- Card Front (with a slot for the lever and a square cut-out in the center)
- Note: The one depicted below has motifs drawn with Cricut’s drawing feature that I painted.
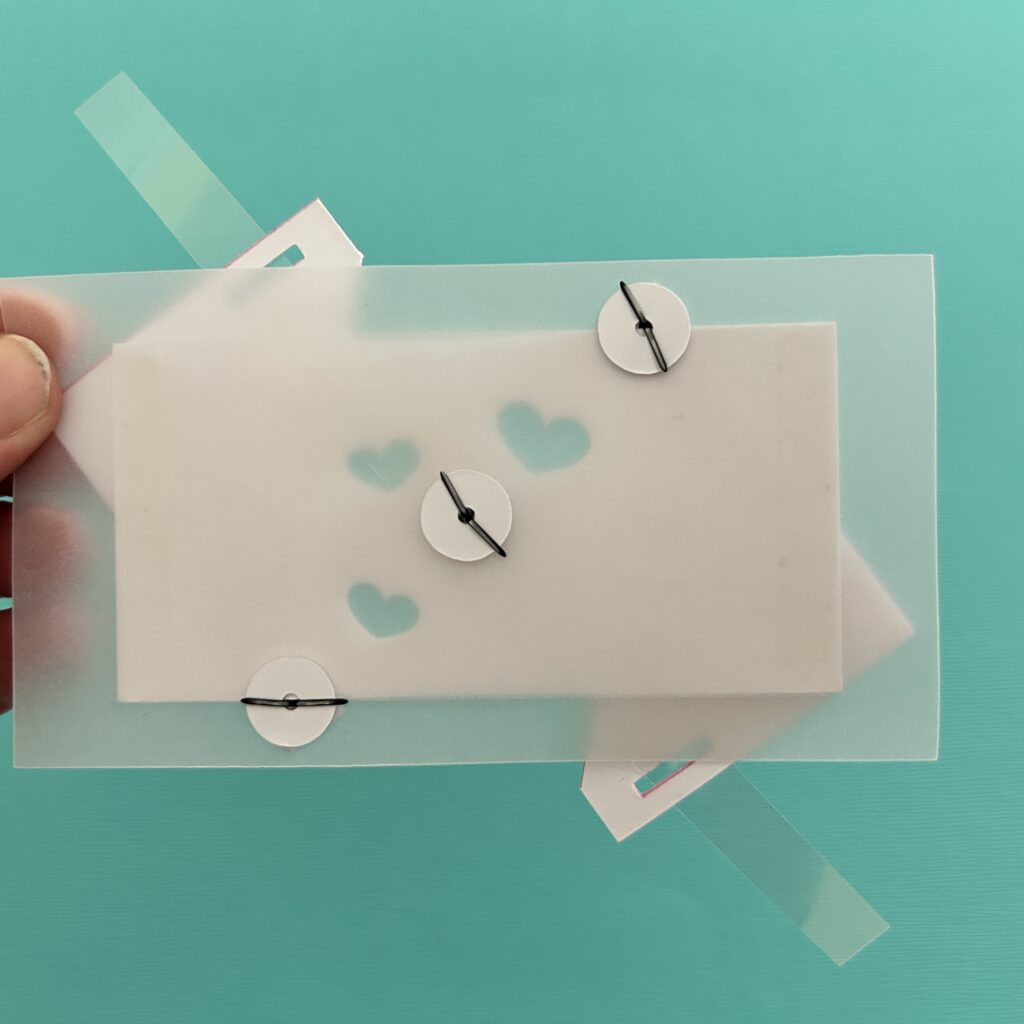
- 3 paper washers
- Card Back/ Circuit Layer
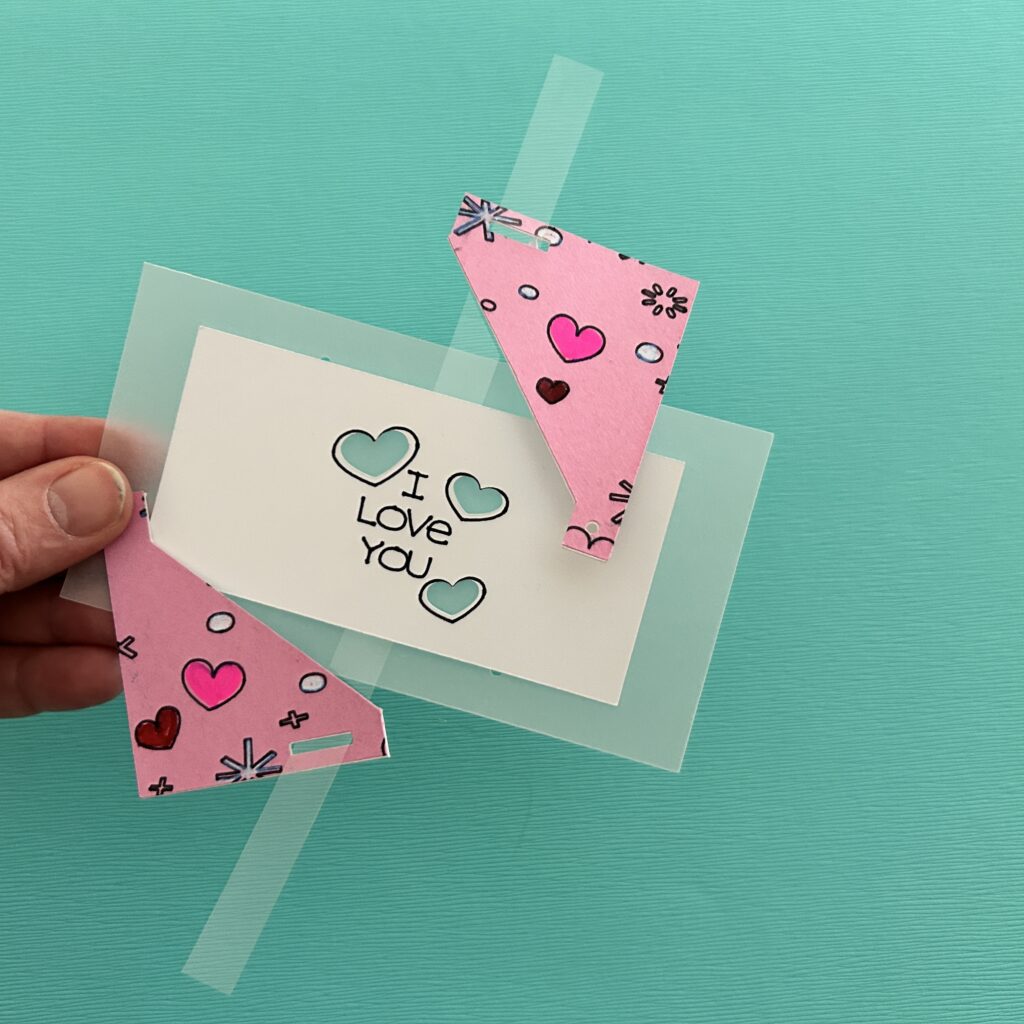
- Set of Pivoting Doors (with two holes and slots)
- Note: The ones depicted match the Card Front.
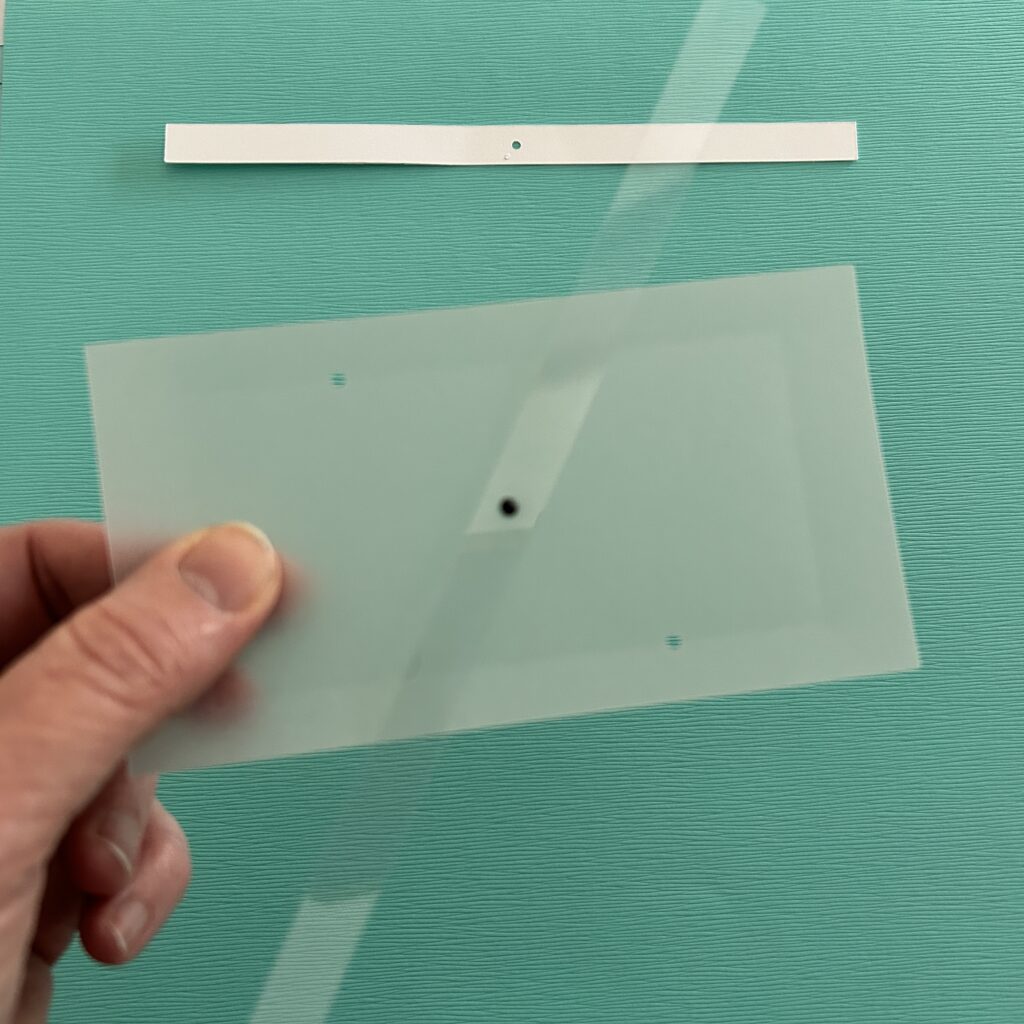
- Lever (made of acetate with a hole in the center)
- Art Layer with cut-outs for the LEDs
- Vellum Diffusion Layer (scored, with three diagonal holes)
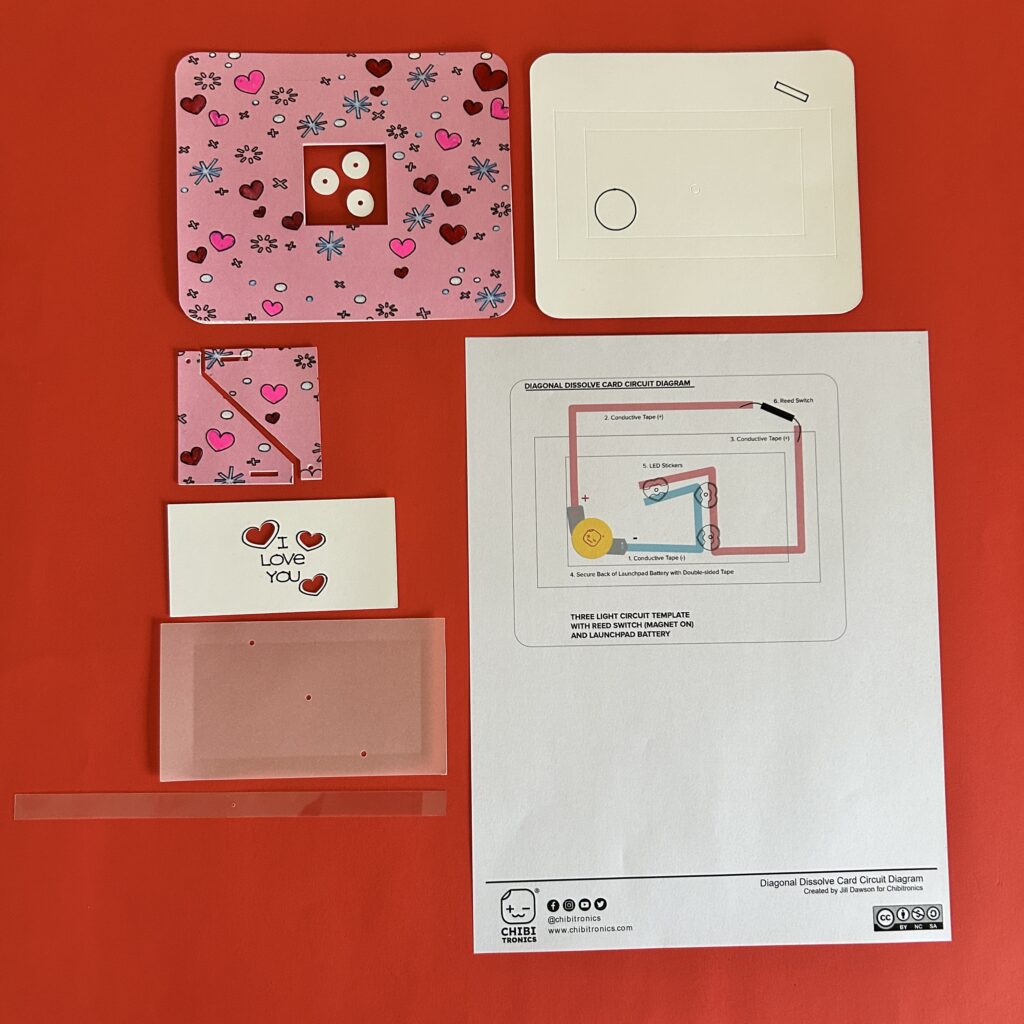
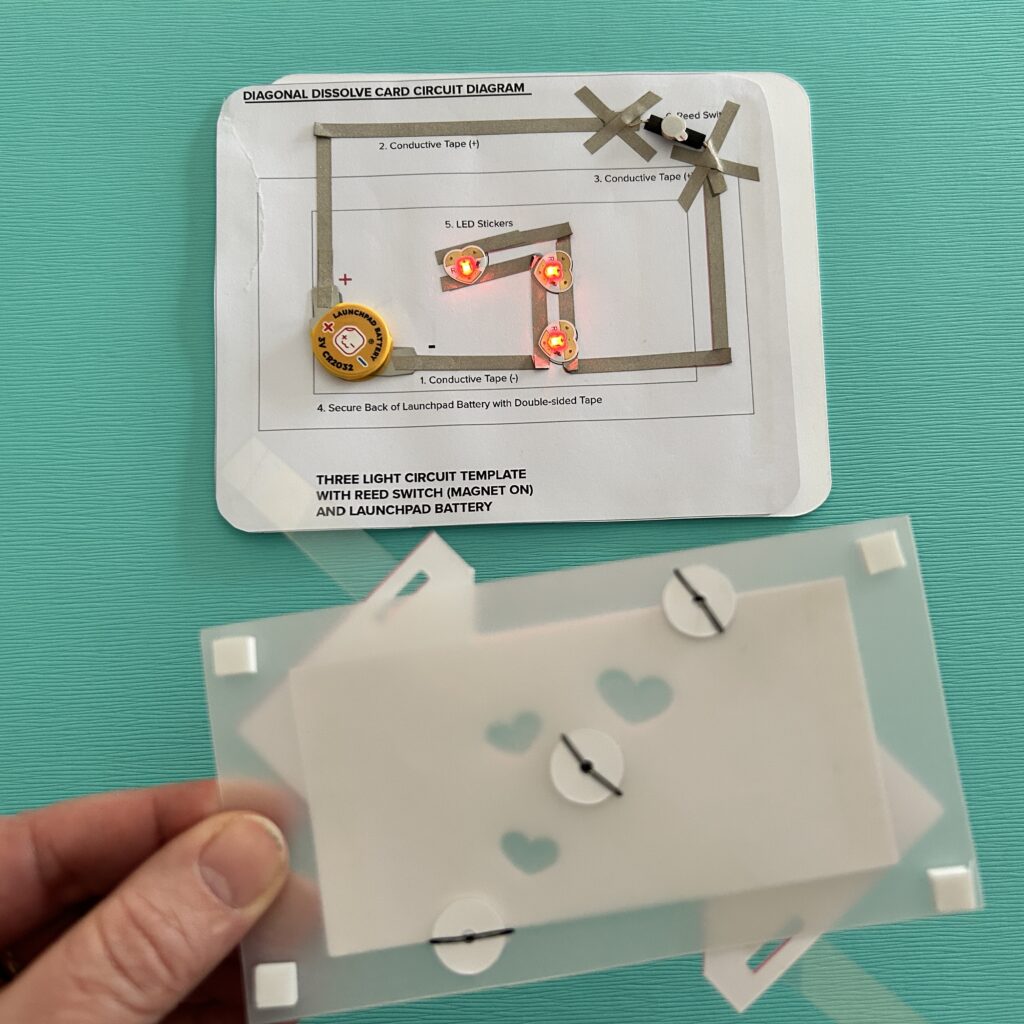
Prepare Circuit Diagram
After cutting and decorating the card parts, I planned my circuit.
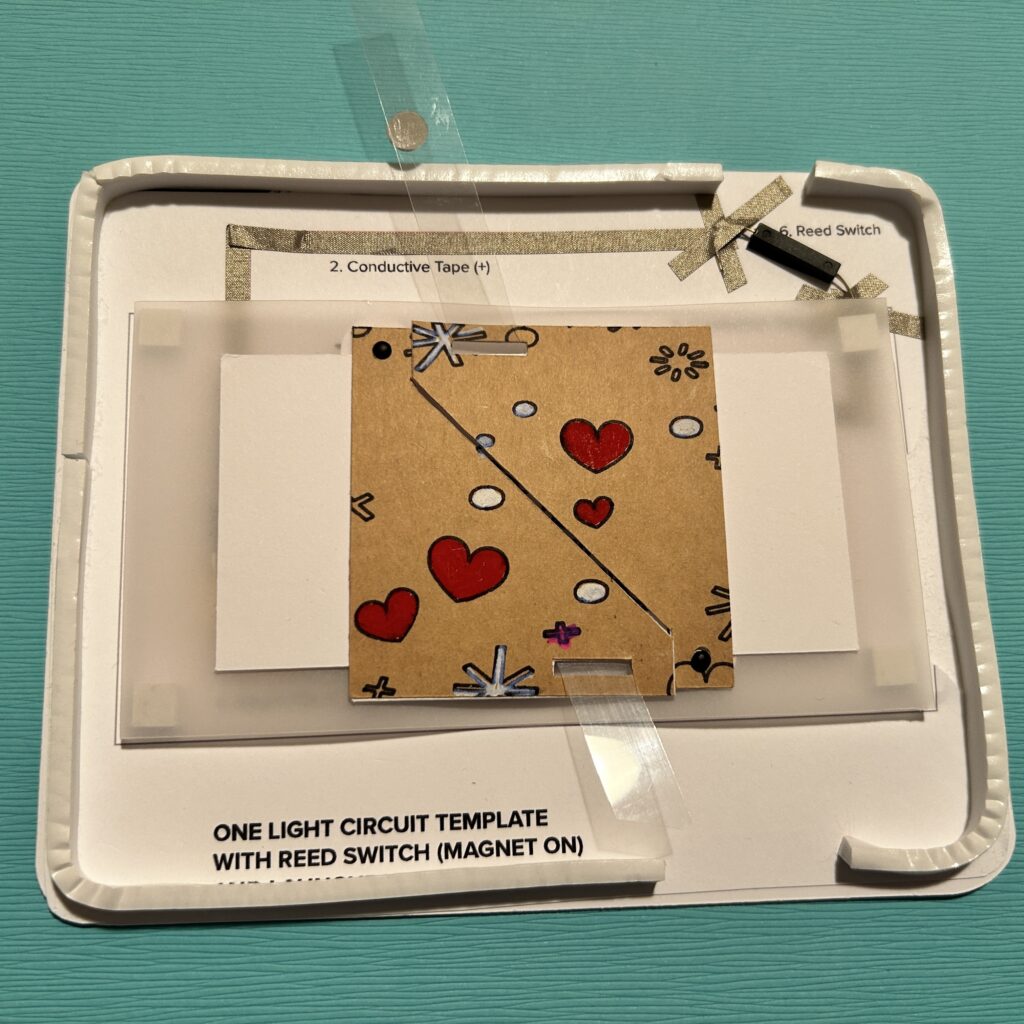
To make this project easier to replicate, you can build your circuit directly on top of the Circuit Diagrams provided, or use one as a guide to apply the components directly onto your Card Back.
If you build your circuit onto the template, you’ll need to cut it out and use double-sided tape to adhere it on top of the Card Back.
If you chose to design your own circuit, use a pencil to mark the locations for your LEDs and avoid placing LEDs in the center of the Card Back (denoted with an embossed circle). LEDs placed in the center will interfere with the metal brads you’ll be placing in another step.

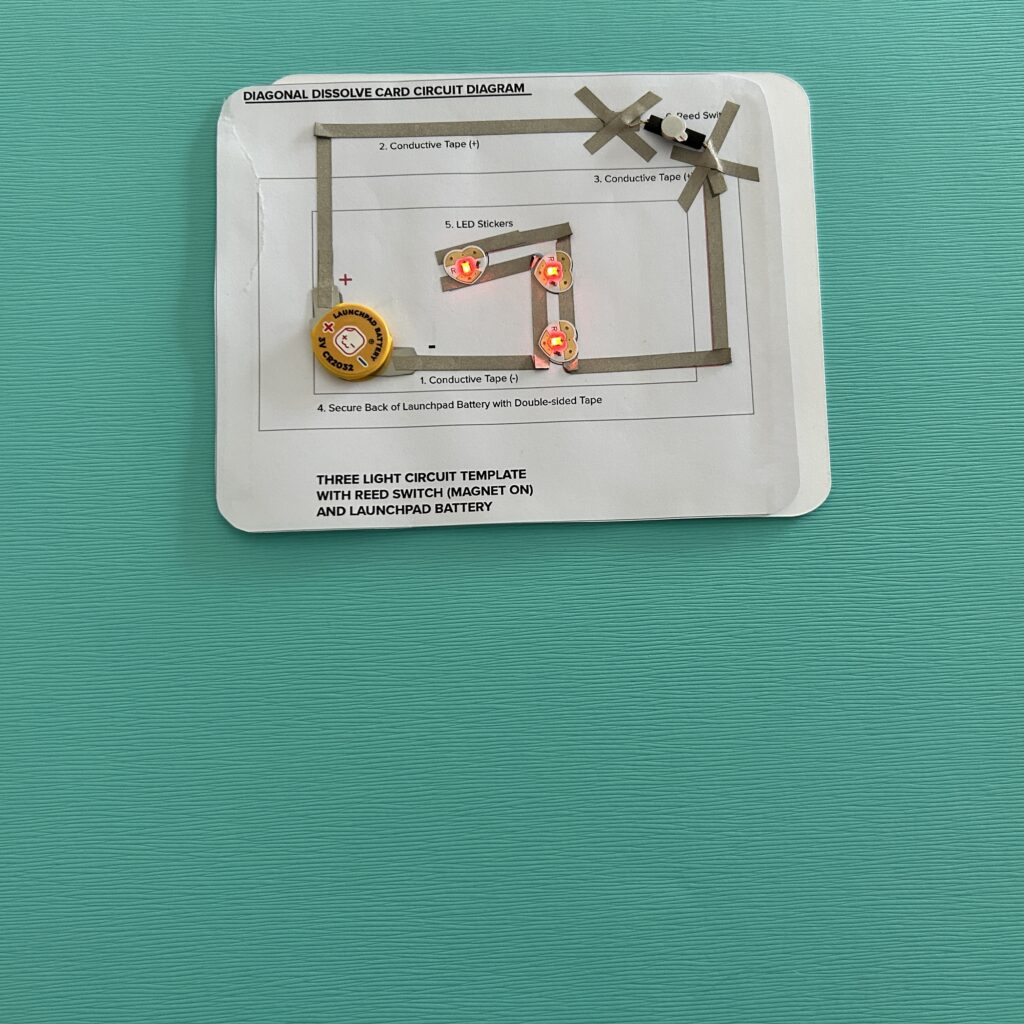
Step 2: Build the Circuit
When building your circuit, following the numbered steps on the circuit diagrams is helpful. If you’d like to see exactly how I did this, please watch the video (04:09:00- 07:03:00)
Adding the Reed Switch
The last part of building the circuit is adding a Reed Switch (magnet on)) in the top right corner of your template. You may need to fiddle with it to determine which of its four sides is most susceptible to the magnet. Usually, that side will come marked with two tiny recessed circles.
Once you’ve determined which side needs to face the magnet, use Conductive Fabric Tape to secure the legs. Then, place the magnet on top of the reed switch to test the circuit.
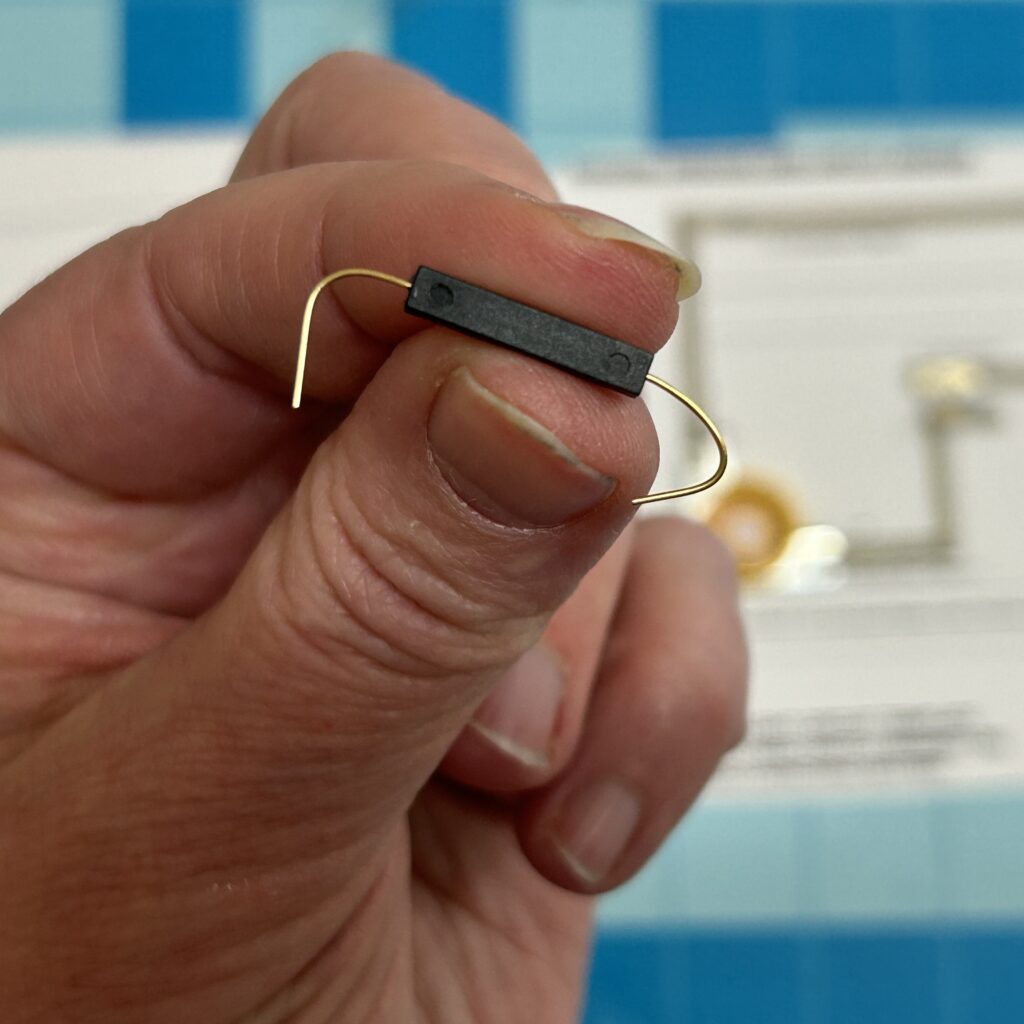
Tips, Tricks & Call-outs
I usually bend the legs of my reed switch to increase the metallic surface area that will come in contact with the conductive fabric traces. Also, since I don’t want my connections coming loose over time, I sometimes reinforce this area with clear tape to help keep those reed switch legs anchored.
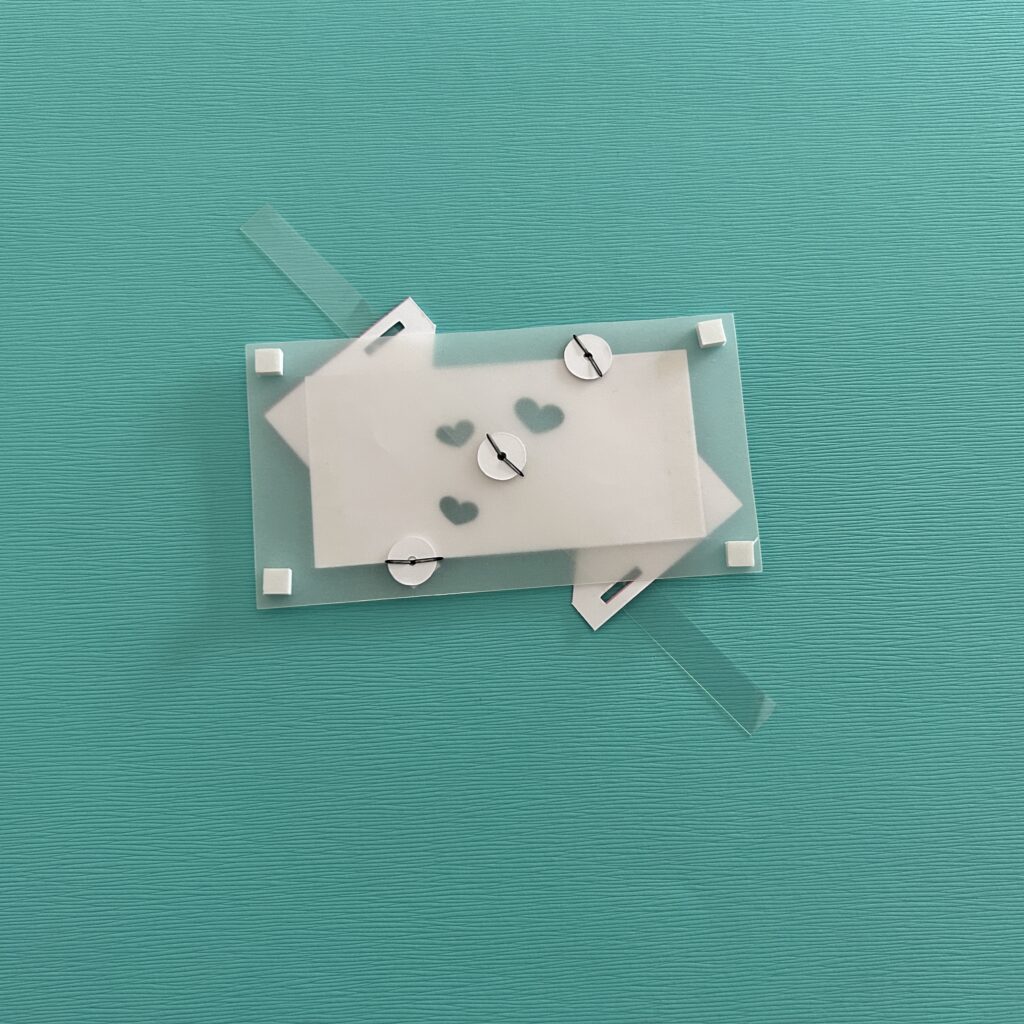
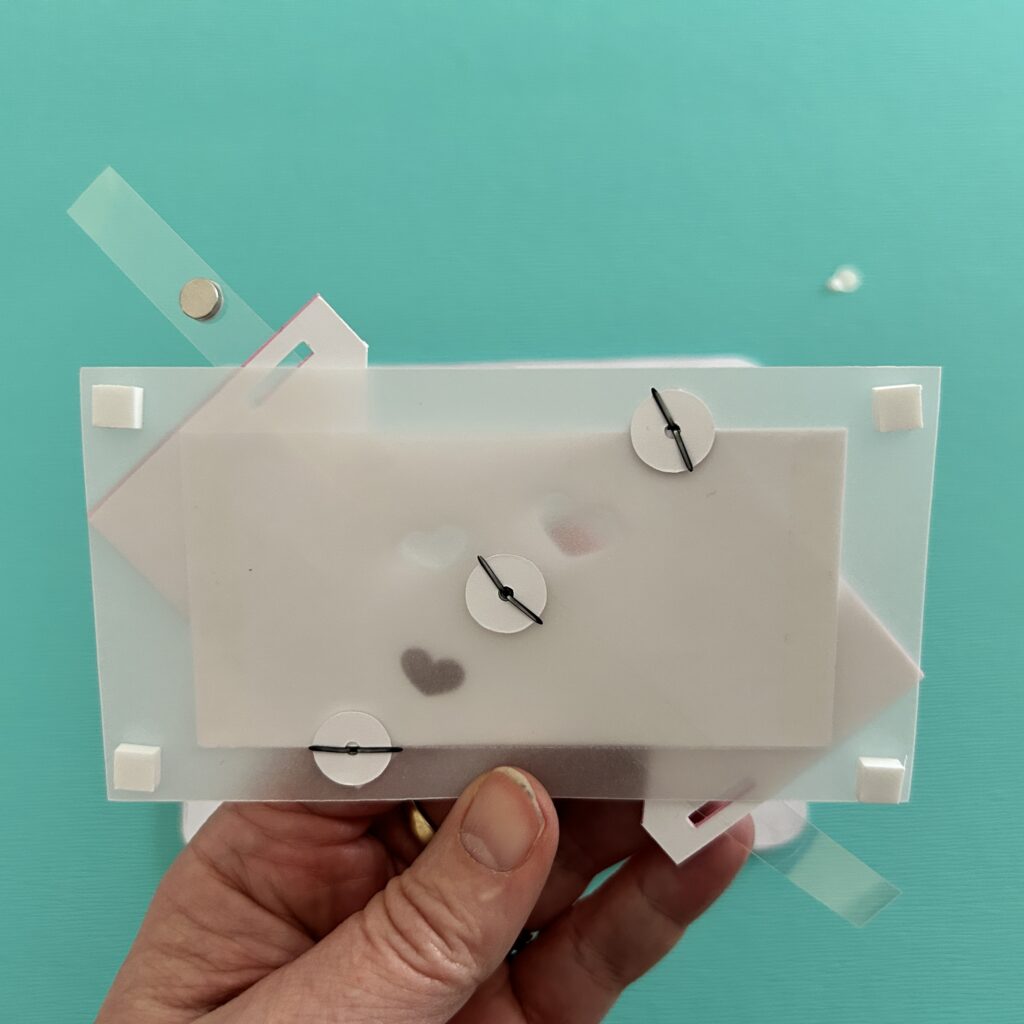
Step 3: Build Door Mechanism
You will be building the door mechanism on top of a piece of scored vellum.
Attach the acetate strip to the center of the vellum piece, by placing a metal brad through it. and securing it with a paper washer.

Next, apply double-sided tape to the back side of the spider piece and center it between the embossed outline on the vellum. The tape should not impede the movement of the lever.
Then, slide each of the diagonal doors onto the lever, keeping the artwork oriented upright, so that the pattern on the doors aligns with the art on the card top.
As you did when adding the lever, insert metal brads through the holes in the doors, securing them on the back side with paper washers.

To add a little height, and to better diffuse the light, I added four Bearly Art Cubies (adhesive-backed foam squares roughly the height of the battery) to the back side, leaving the protective backing on.
Step 4: Assemble the Card
To get the magnet adhered in the proper location on the back side of acetate lever, leave the protective backing on the back side of the door mechanism. If you are using a self-adhesive magnet, remove the protective backing from the magnet; if you are not, then apply the adhesive of our choice on top of the magnet.
To adhere the magnet to the lever, open the door mechanism, carefully position it on top of the sticky magnet, and press down.
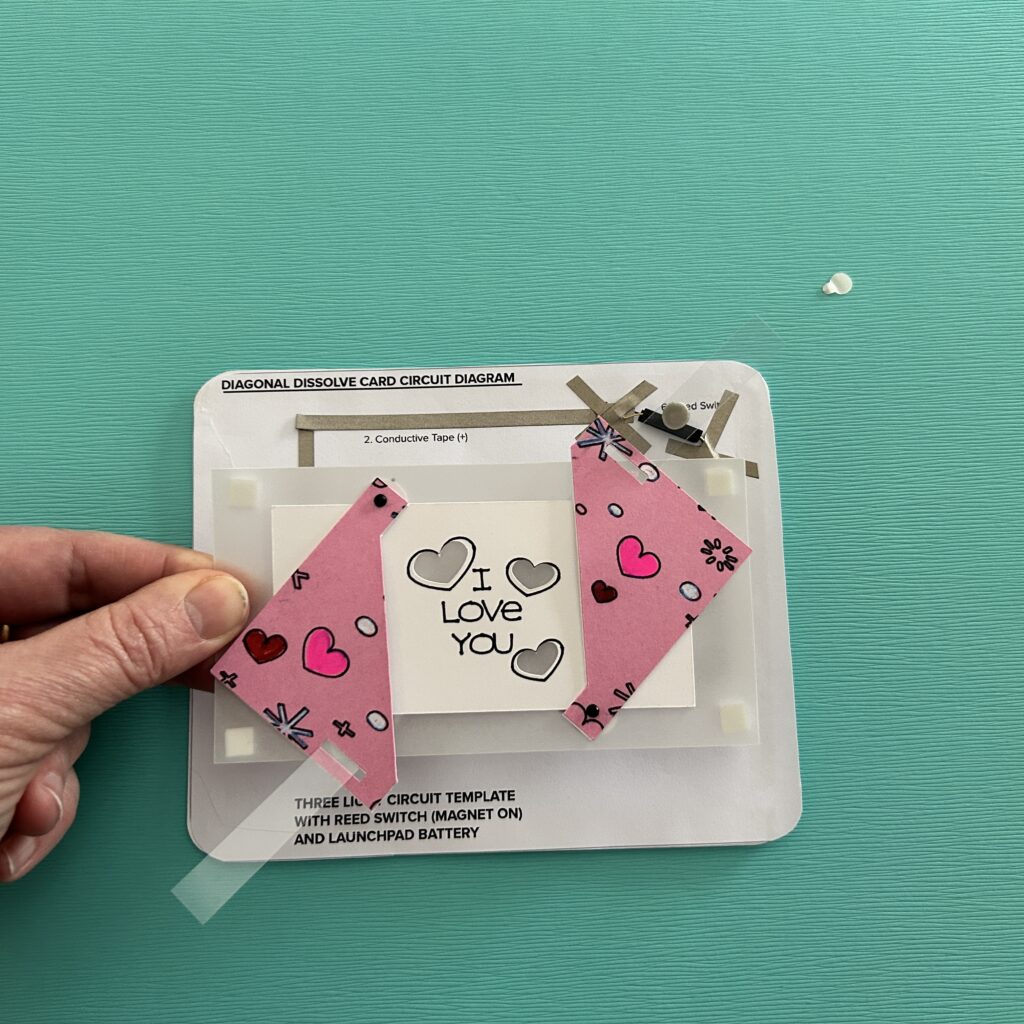
To ensure that the door works as expected, test it. Then, remove the protective backing from the foam squares on the back side. The holes in the art piece should match up with the LEDs on your circuit.
To attach the front of the card with the circuit layer, you’ll need to add foam tape around the edge of the card back, being careful not to impede the movement of the lever .
I’m using Bearly Art Cubies, because it comes in squares and strips in two different thicknesses. I’ve used both sizes while making different versions of this card. The taller foam works a little bit better, but it makes the card thicker.
Before you remove the protective backing from the foam tape, test the placement of the card front by slipping the magnetic lever through its slot. Make adjustments if needed, before adhering the door mechanism to the front of the card.
If you don’t like seeing the magnet through the clear lever, you can cover it up. You can also trim the overall length of your lever.
Tips, Tricks & Call-outs
It’s okay to trim the bottom of the lever so that it does not protrude from the bottom of your card; just be sure that it remains long enough to thread through the slot in the left diagonal door.
Just be aware that adding a decorative element to your lever might impede its movement. With a bit of trial and error, you will find something that works for you.