Hi, there! It’s Nicorin, Yukiko I.
How have you been? It is a very difficult time all over the world. I hope you are staying healthy and going well.
In this situation, the craft time is one of my stress relievers. It is better to enjoy it with someone, of course! But I feel the person whom I send the card when I make it.
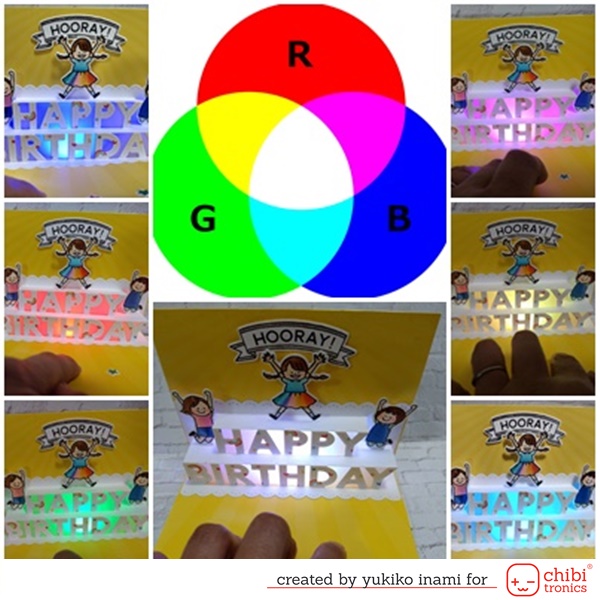
I am showing this month’s project. It is a birthday card. I use 3 color lights for it. But you can see 7 colors. Red, Blue, and Green are the primary colors of light. If you are interested in it, please check out my last year’s post.
It was……Oh, last May!
It seems like I want to play with colors in May.
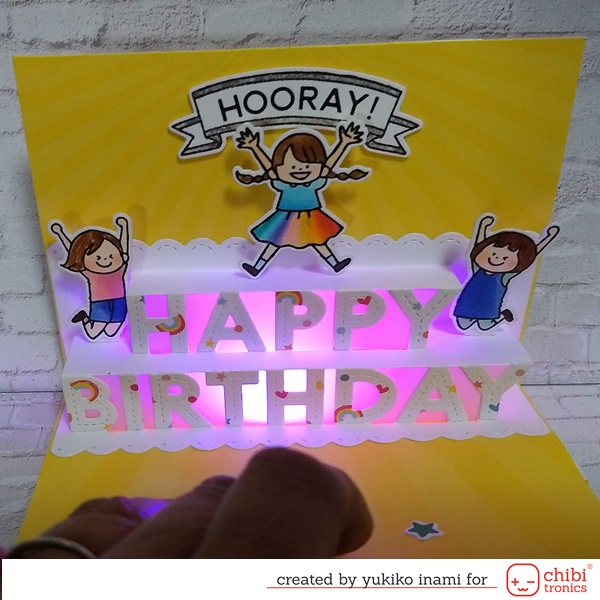
I add the popup and the replaceable 6V battery box system invented by Joo Yeon Lee originally to my project in at this time.
Hooray!
You can choose any color that you like. Chose and press the star. Mix and make a color. And you can replace the battery when it runs out.
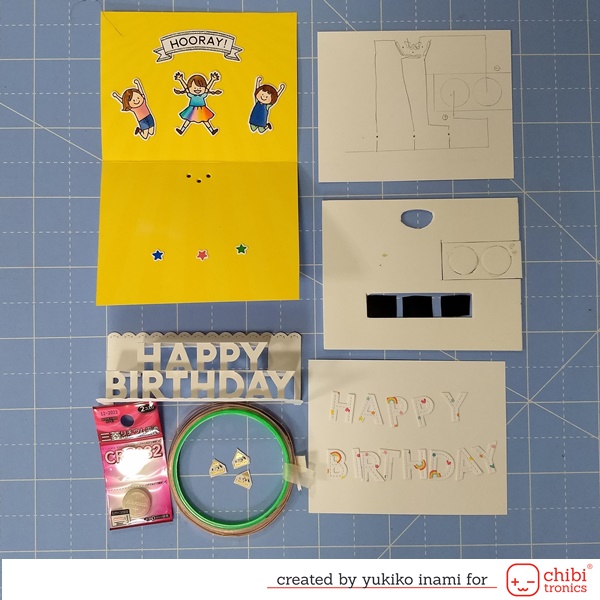
1. Supplies
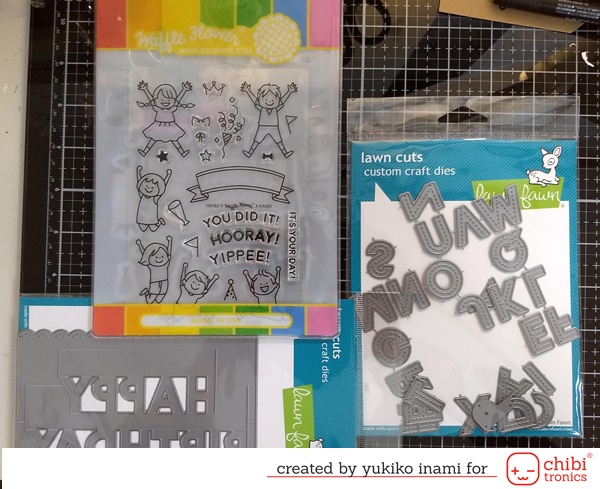
・pop-up happy birthday
・oliver’s stitched ABCs
・Yippee Combo
・Red, Yellow, Blue MegaPack (30 stickers), Pink,Orange, Green MegaPack(30 stickers)
・Conductive Fabric Tape Patches, I use the conductive fabric tape 2cm wide
・Copper tape
・2 Cell Batteries; CR2032
・Foam sheet 2mm thickness
I prepare these parts as shown below.
・Stamp the parts and color with Yippee Combo
・Die Cut the parts and alphabets with pop-up happy birthday, Oliver’s stitched ABCs
・Card base 4 1/4×5 1/2 inch
・white papers 4 1/4× 5 1/2 inch for the circuit paper
・1 foam sheet cut out 4 1/4× 5 1/2 inch; cut out the battery holder 1×2 inch, adhesive the paper layers on both sides, make two holes for the batteries.
I added some information here. The holes for lights changed the big hole. Because it is better for the mixing the light color.

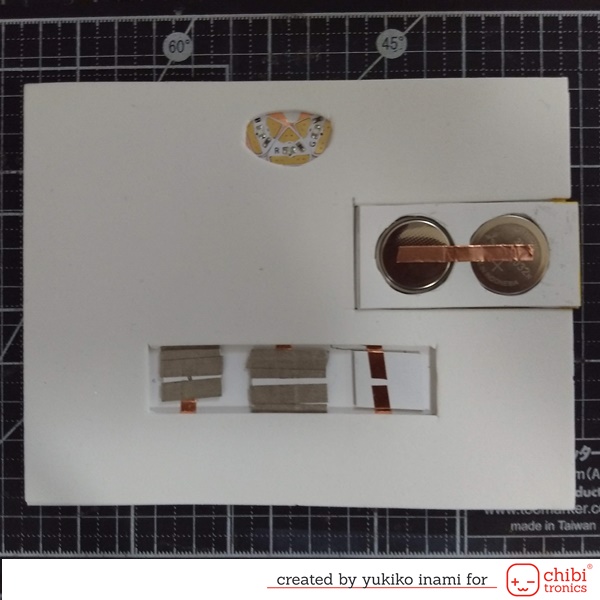
2. How to make the circuit
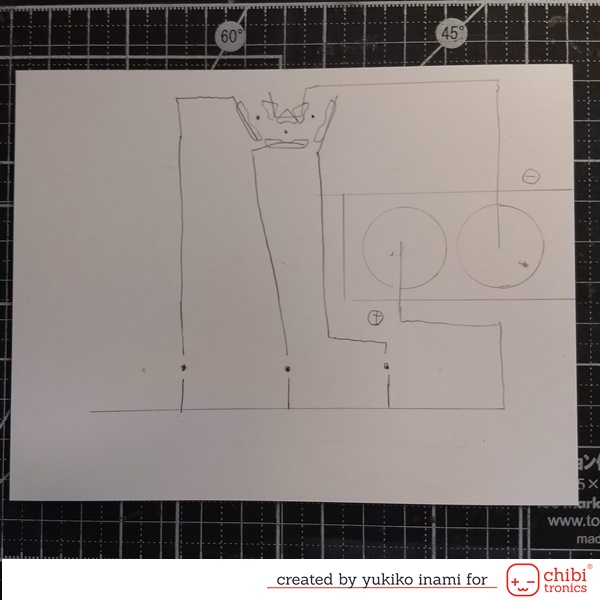
Make the circuit as shown in the above photo.
・Set the place of the battery holder. The size is 1×2.5 inches. I use 2 batteries in series connection for this card.
・Mark the light place; the inside of the pop up parts of HAPPY BIRTHDAY
・Mark the switch place; make three switches for each light.
・Draw the circuit; Start the negative pathway from the battery place and go through the negative side of the LED. The positive pathway is started from the positive side of the battery holder and goes to each positive side of the LED. Make an individual pathway having a switch to each light. Make a gap at the switch point. Stick the paper on the switch place for a raised bottom because it makes easy to switch.
Two 3V batteries in the series connection make 6 voltage. It helps equalize the brightness of the different color lights. The minimum voltage is different in each color light. So that when you use the 3V for Blue, Green, and Red LED sticker at the same time, Green is the brightest and Blue and Red lit dimly. 6V is enough to power for reducing the difference of the brightness.
Over the 6V can break these LED stickers, so don’t power over the 6V to the Chibitronics LED stickers.
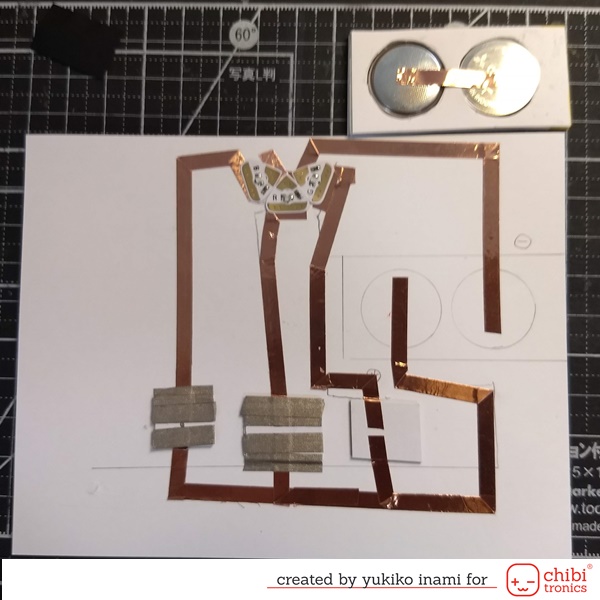
・Stick the copper tape on the pre-drown path.
・Stick the LED on the light place
・Make sure the turning on the light when you set the battery in the switch part then connect the switch gap with the piece of the copper tape.
・Stick the fabric tape on the backside of the card base for the switches and the connection of two batteries.
I checked the circuit worked well and how does the light make a diffusion on the popup surface.
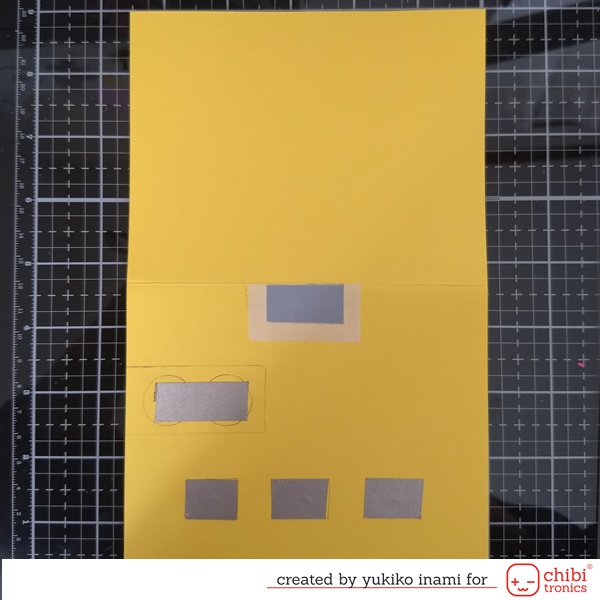
3. Assembly
Assemble the inside card base and the popup parts
・Fold and Stick the vellum on the backside of the popup parts.
・Stick the popup parts on the card base fitting the fold line of the parts to the center scoreline.
・Paste the form sheets on the circuit sheet
・Set the card base with the parts on the form sheet.
・Put the banner and kids on the popup parts
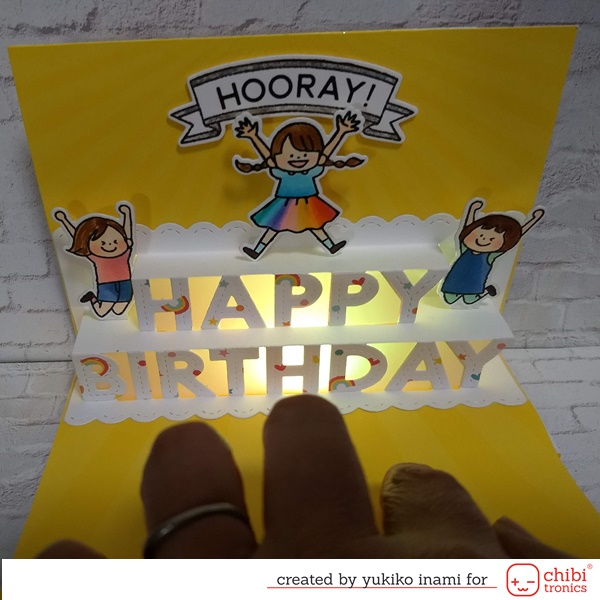
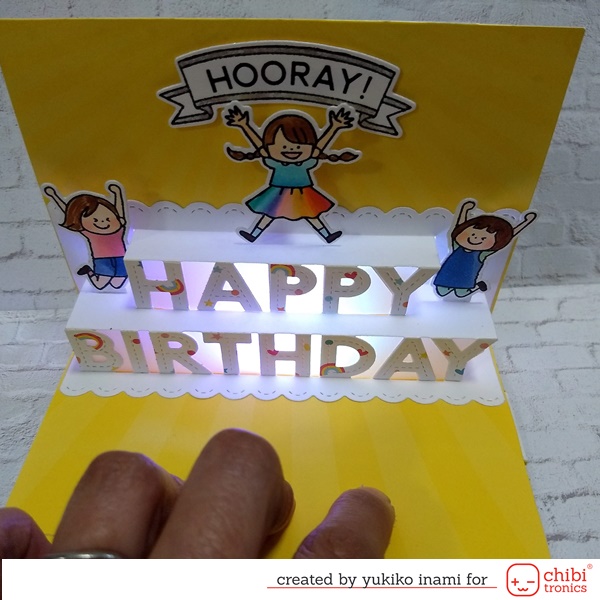
Completed!
When you press your favorite color stars you can change the color.
Make your favorite color!
Thank you for stopping by.
Have a good day!
Nicorin