Hello friends,
today I’m back with a new interactive tutorial for you. The LED mechanism is combined with a slider.

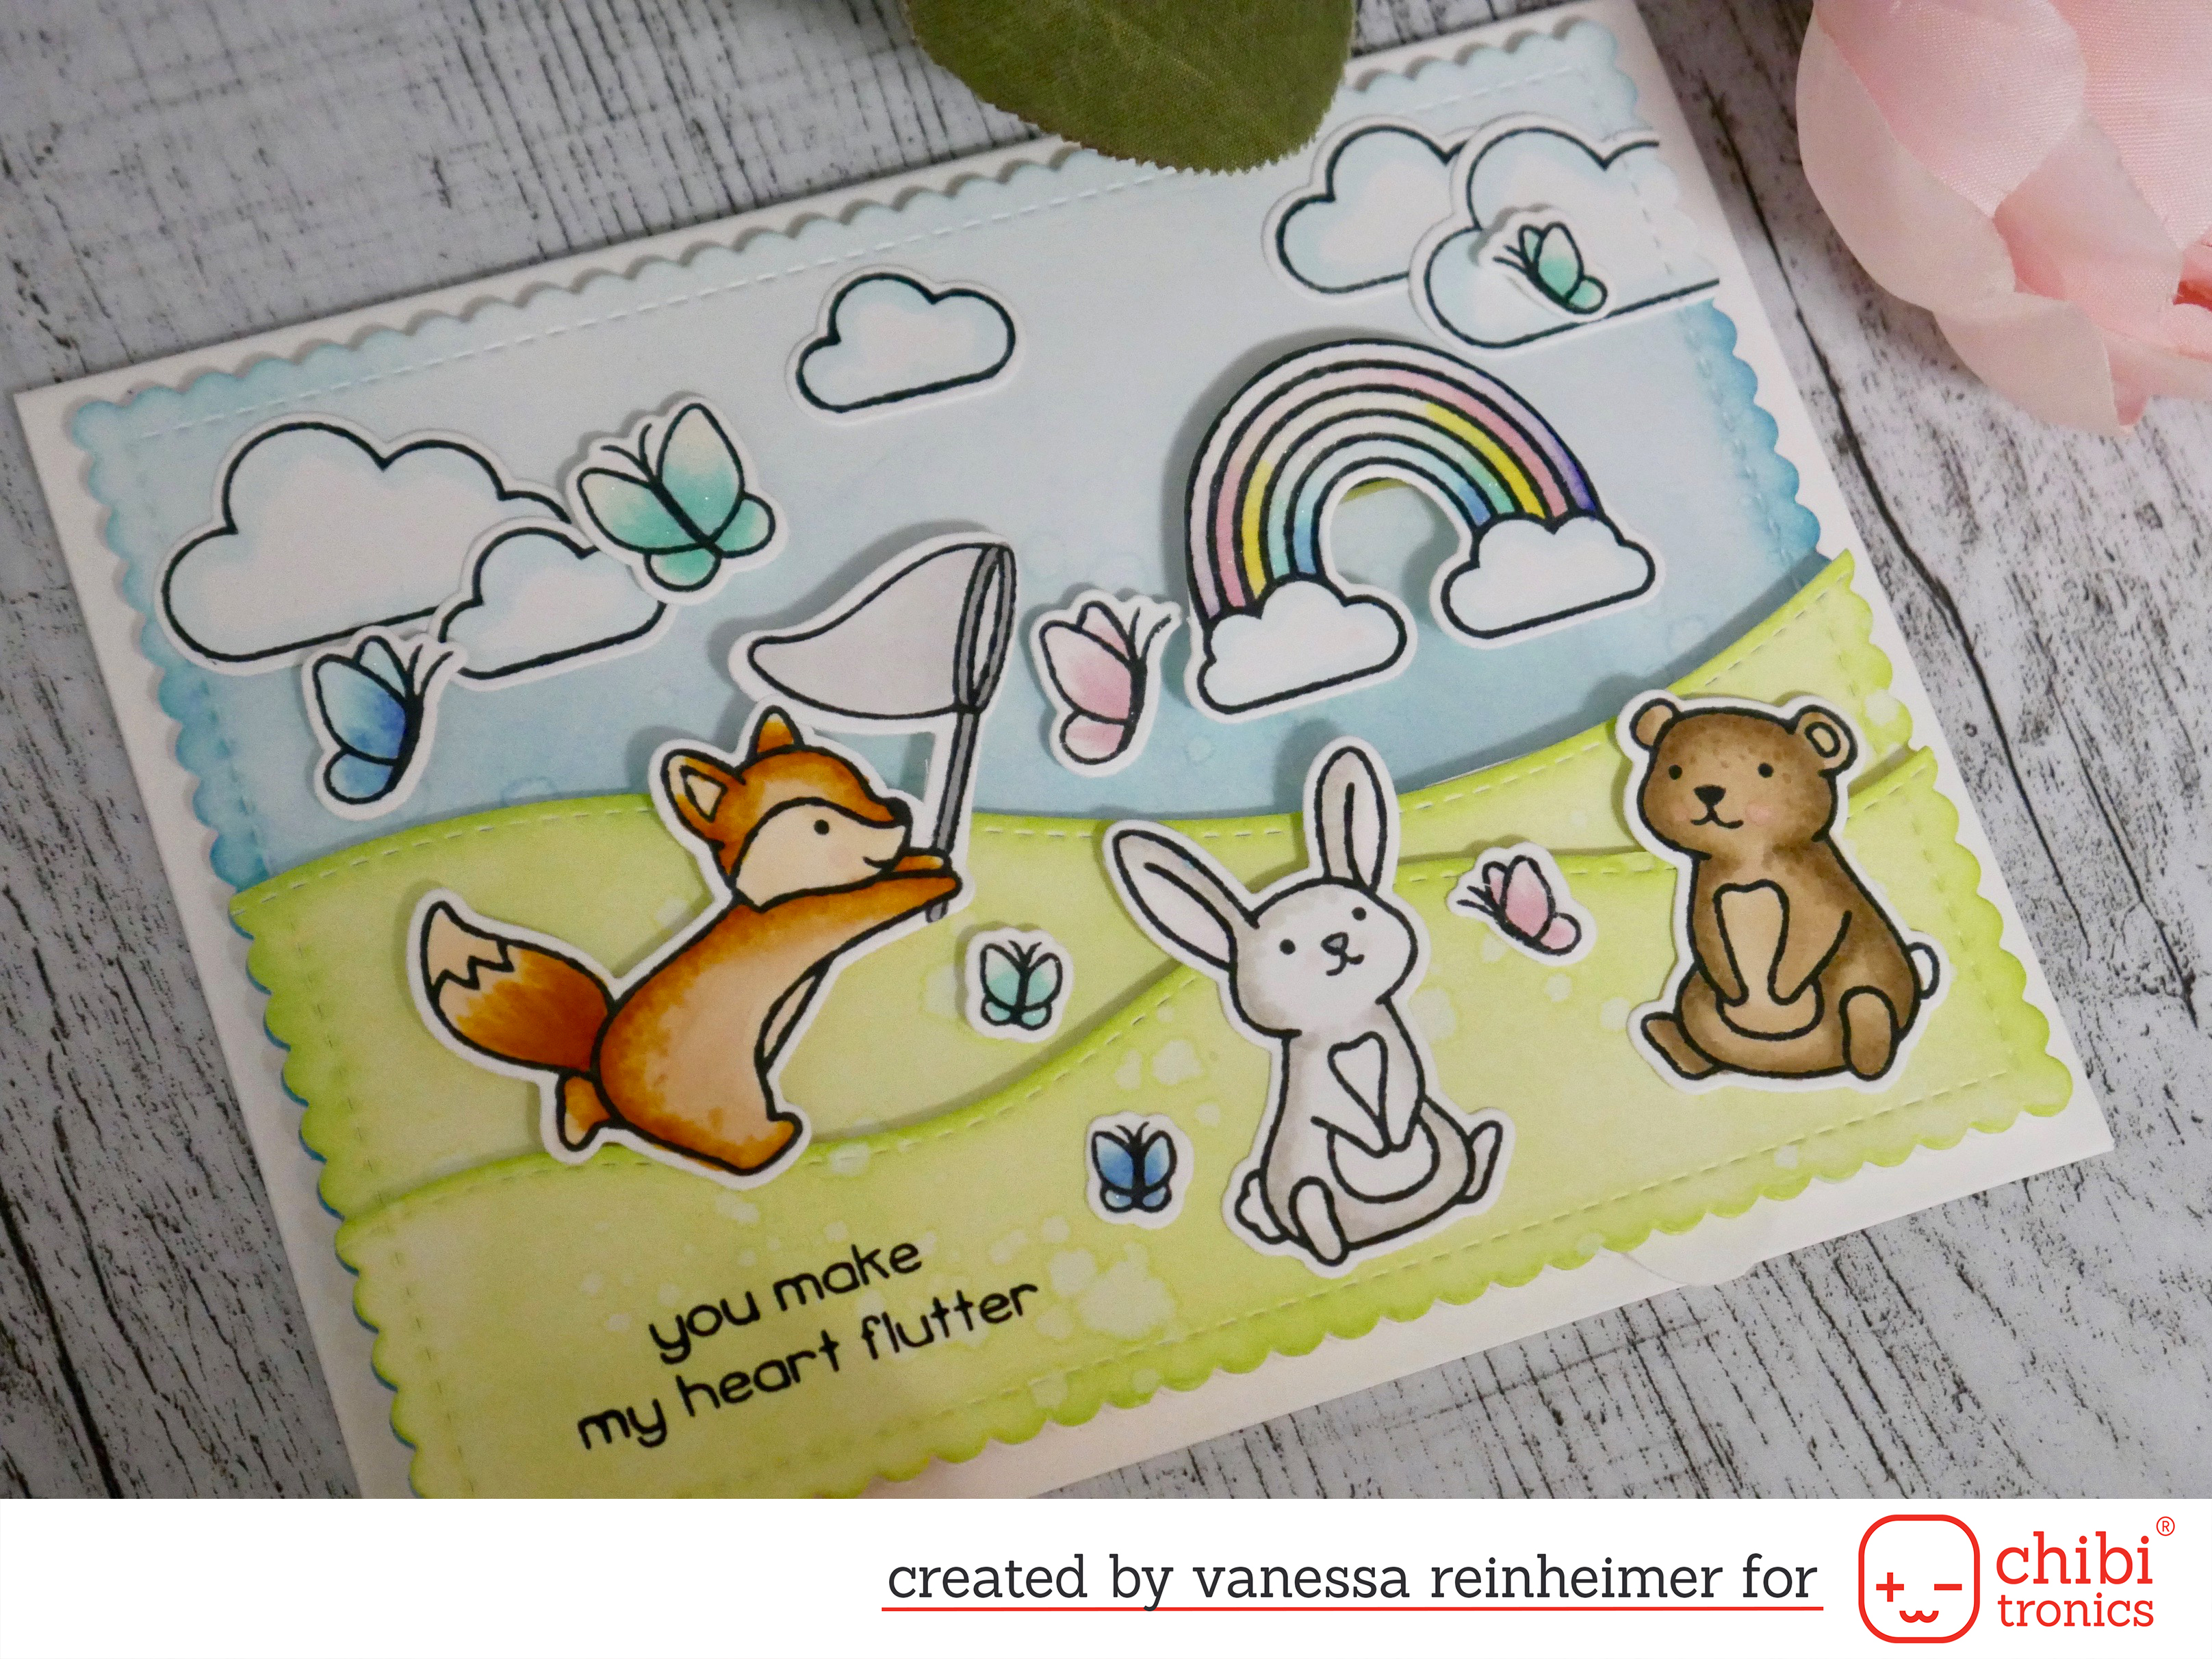
First, I just wanted to use the rain or shine before ‘n afters set, but then I also wanted to use the sweet butterfly kisses stamp set. And then the idea was born: I wanted the sun to shine after the rainbow slides away from her front.
As always I created a >>video tutorial<< for you. For me it is lot easier to describe it in a video, because explaining it in english always makes me struggle. But here I try to explain you just the mechanism, as the rest depend on what card YOU want to create 😉
- You create the regular circuit. But take care, that you have enough space in your circuit.
- Then you have to create the slider mechanism trough ONE string of the circuit. It doesn’t matte if it is the + or the – side
- Now the circuit won’t work, at it is disconnected because of the cut out slider part. To connect it again, you have to create a litte star shape
- The star shape is easy to make. Take a long strip of paper. The width depends on the space you have. In my case I didn’t have this large slider, so mine was as width as the copper tape. Tape a long strip of copper tape on top of the paper strip. I scored at 1cm 8 times. Then you fold in one direction and then to the other, until you get a zig zag shape. Then you can create the star shape. On the open part of the star shape I tape a piece of copper tape on top, so it is connected all together.
- Now you can enter the star into the slider part. And continue the card like each slider card you would create.

So, this was my card for today. I know this one is a more advanced one, but it is possible to create. The possibilities are endless. Try it, it is always learning by doing. This is how I do. I hope you enjoyed my tutorial. And I hope to see you back soon!
Vanessa
This is so adorable! I love the lighted sun!