Use conductive fabric patches to fix loose circuit connections and make branches in your copper tape! This tutorial will show you how to make your own conductive fabric tape and apply it in common fixes.
Materials:
- conductive fabric (Adafruit or Sparkfun)
- z-axis conductive tape (Crowdsupply or Adafruit)
Steps:
1. Cut a piece of conductive fabric that is slightly larger than your Z-axis tape.
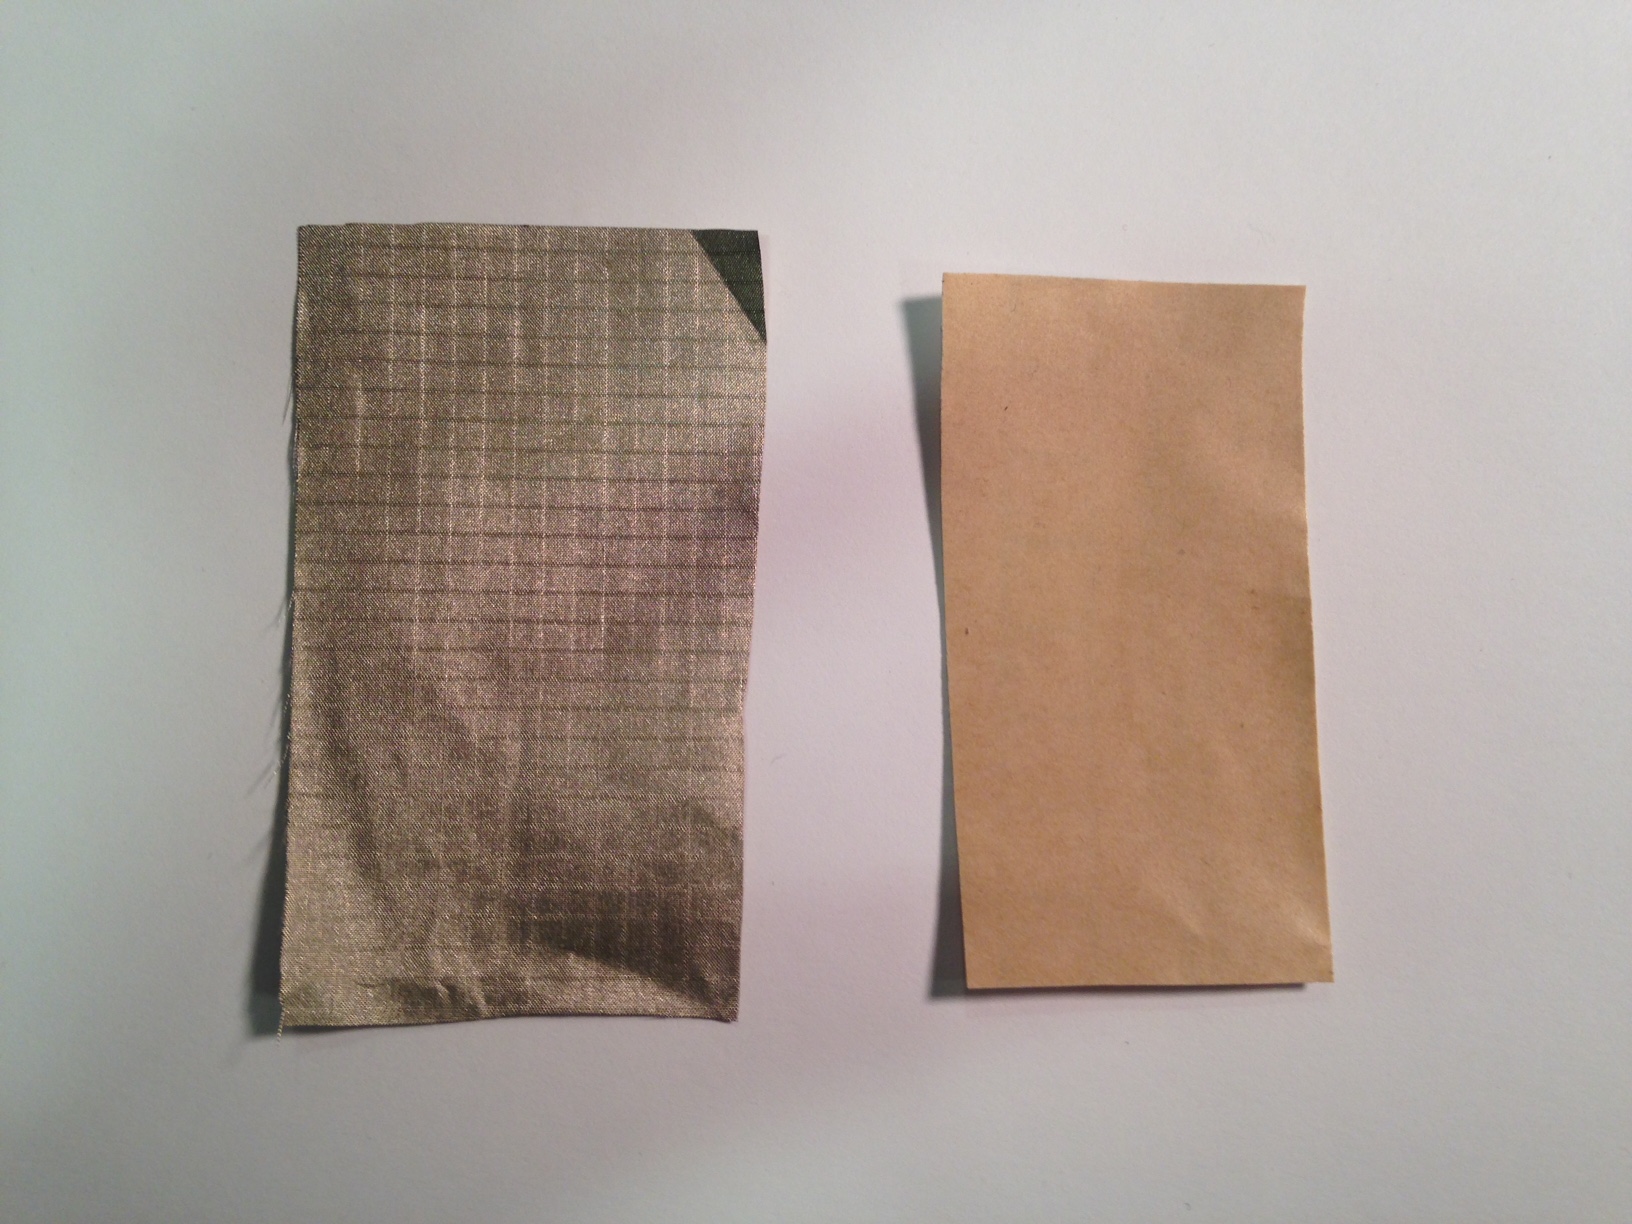
2. Peel off the paper backing from the Z-axis tape and stick it to the fabric. Press across the tape and fabric to make sure they are firmly stuck together.

3. You’re done making the conductive fabric tape! Now just cut a small strip of this to patch up your circuit.

Below are some common examples of fixes:
1. Copper tape has cracked due to repeated folds

Fix by taping over the cracks with fabric patches:

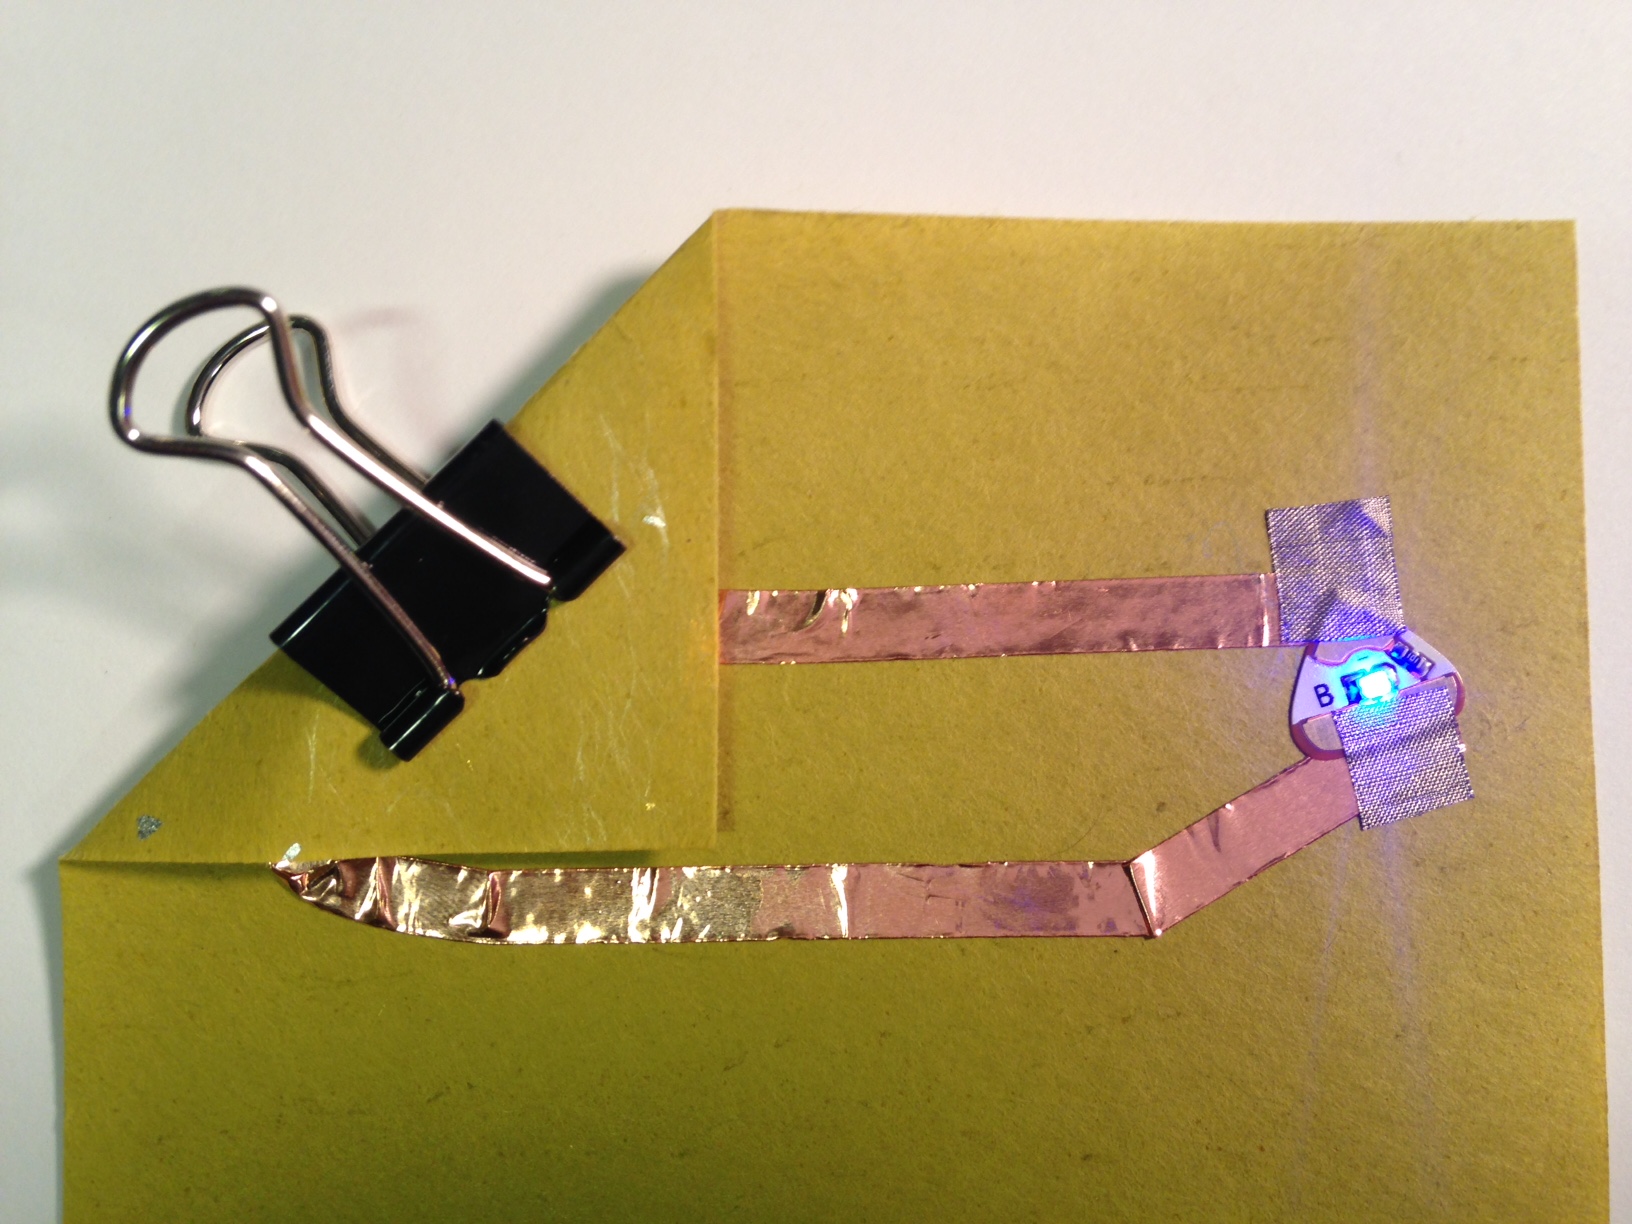
2. LED sticker no longer sticking well so LED is flickering or not turning on:
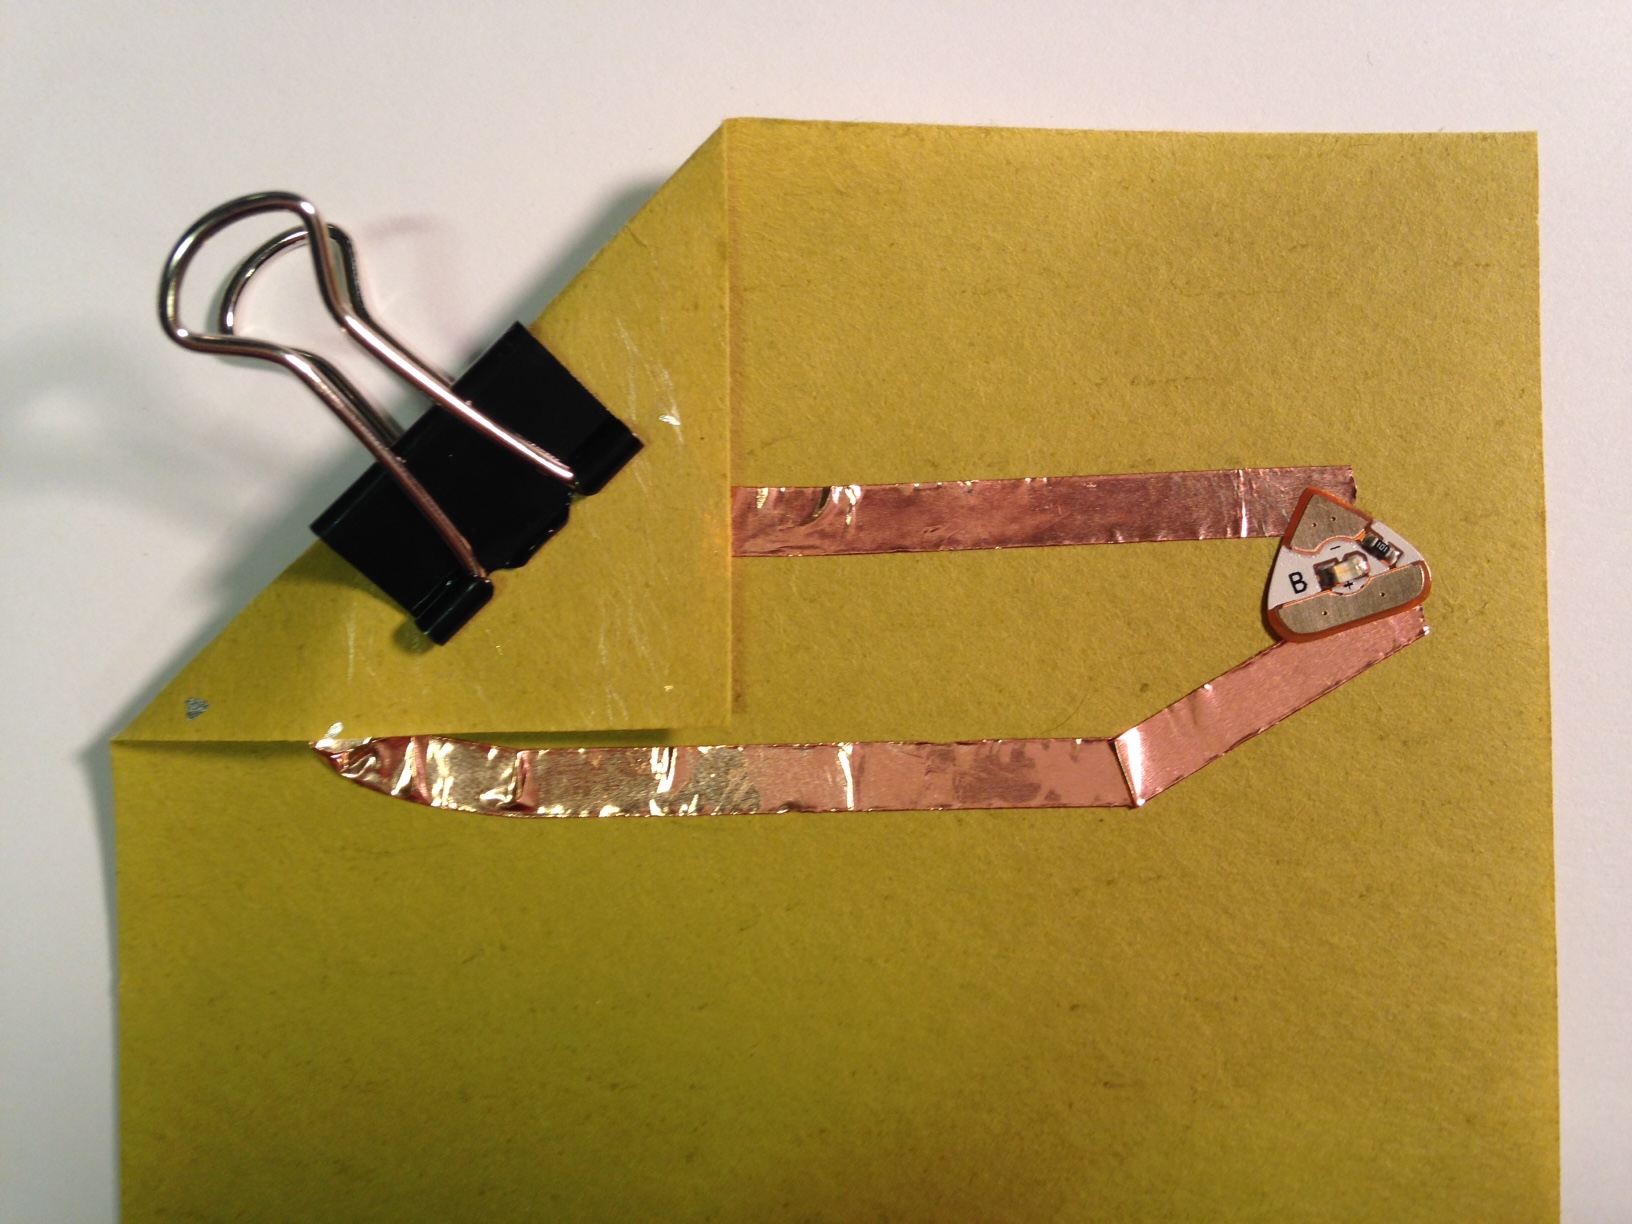
Fix by taping the fabric patch over the copper tape and sticker pad, bridging the broken connection. Do this for as many connections as you need
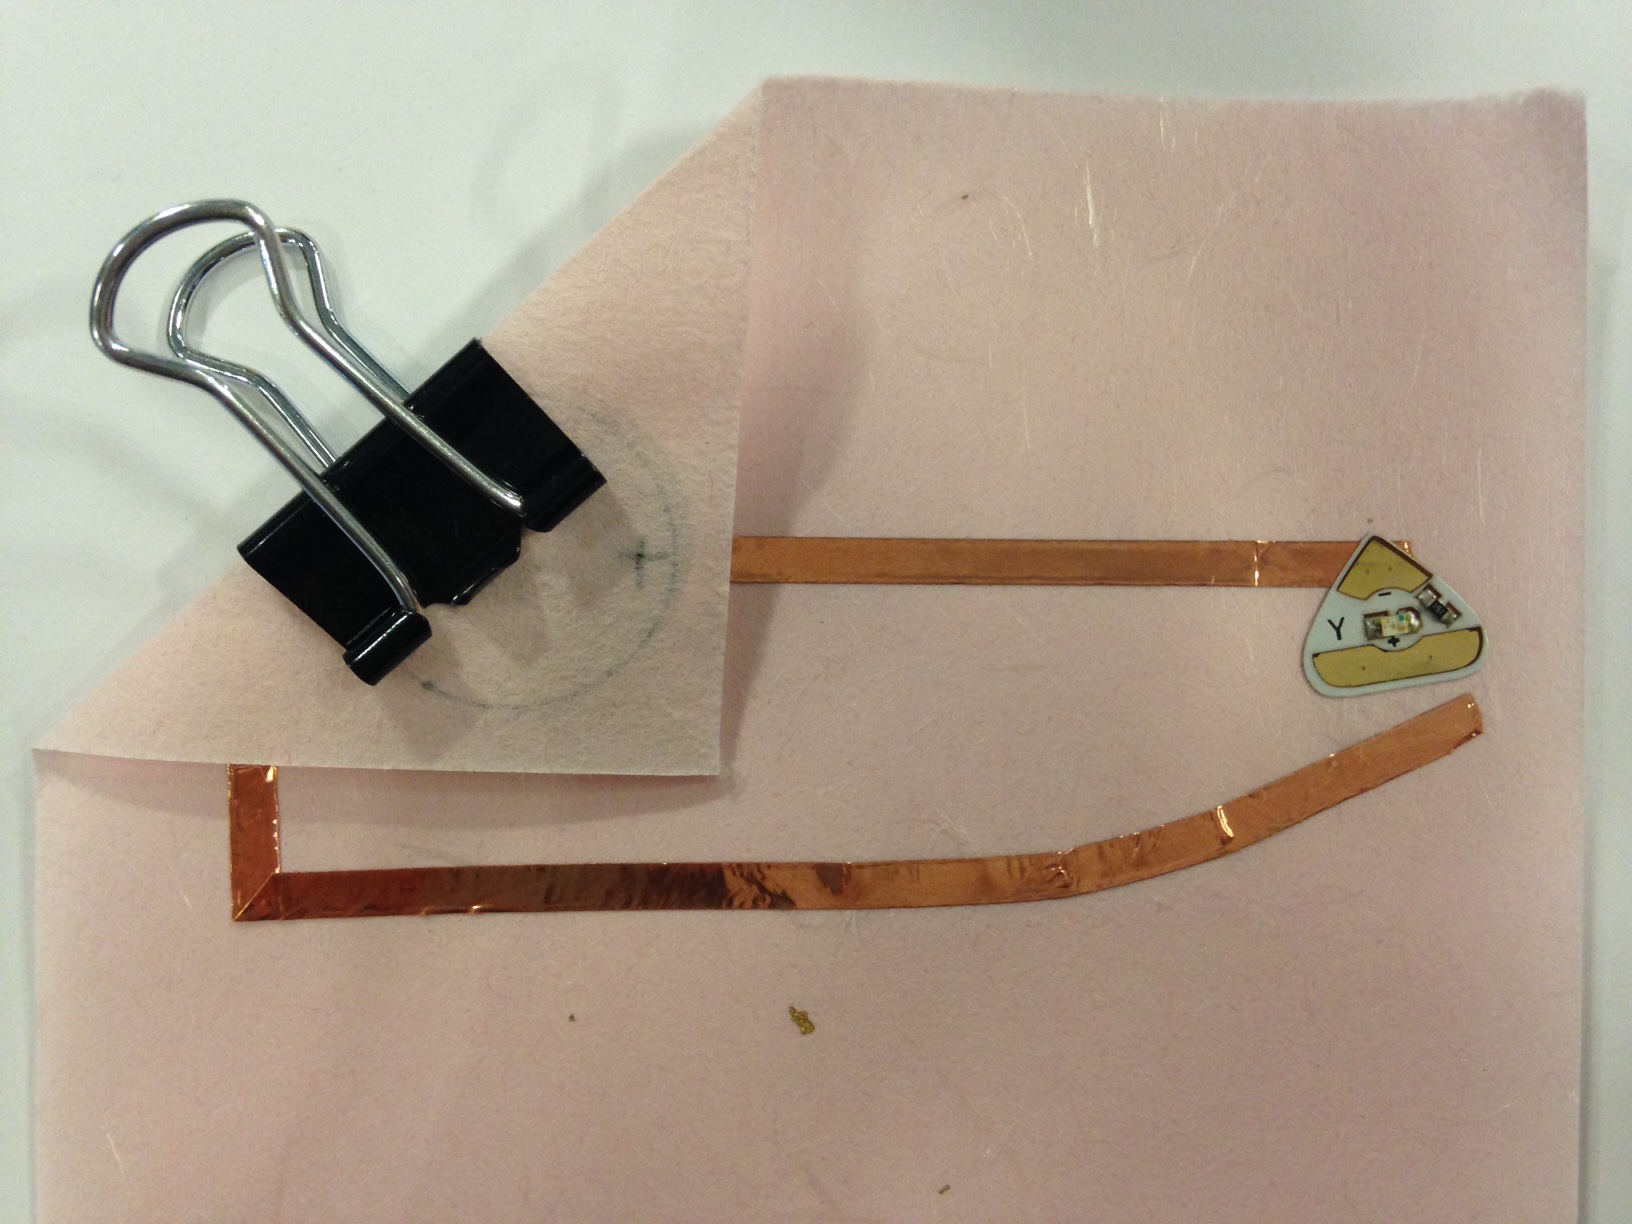
3. Need to branch or extend your copper tape? Just taping one copper tape over another is not a strong enough connection:
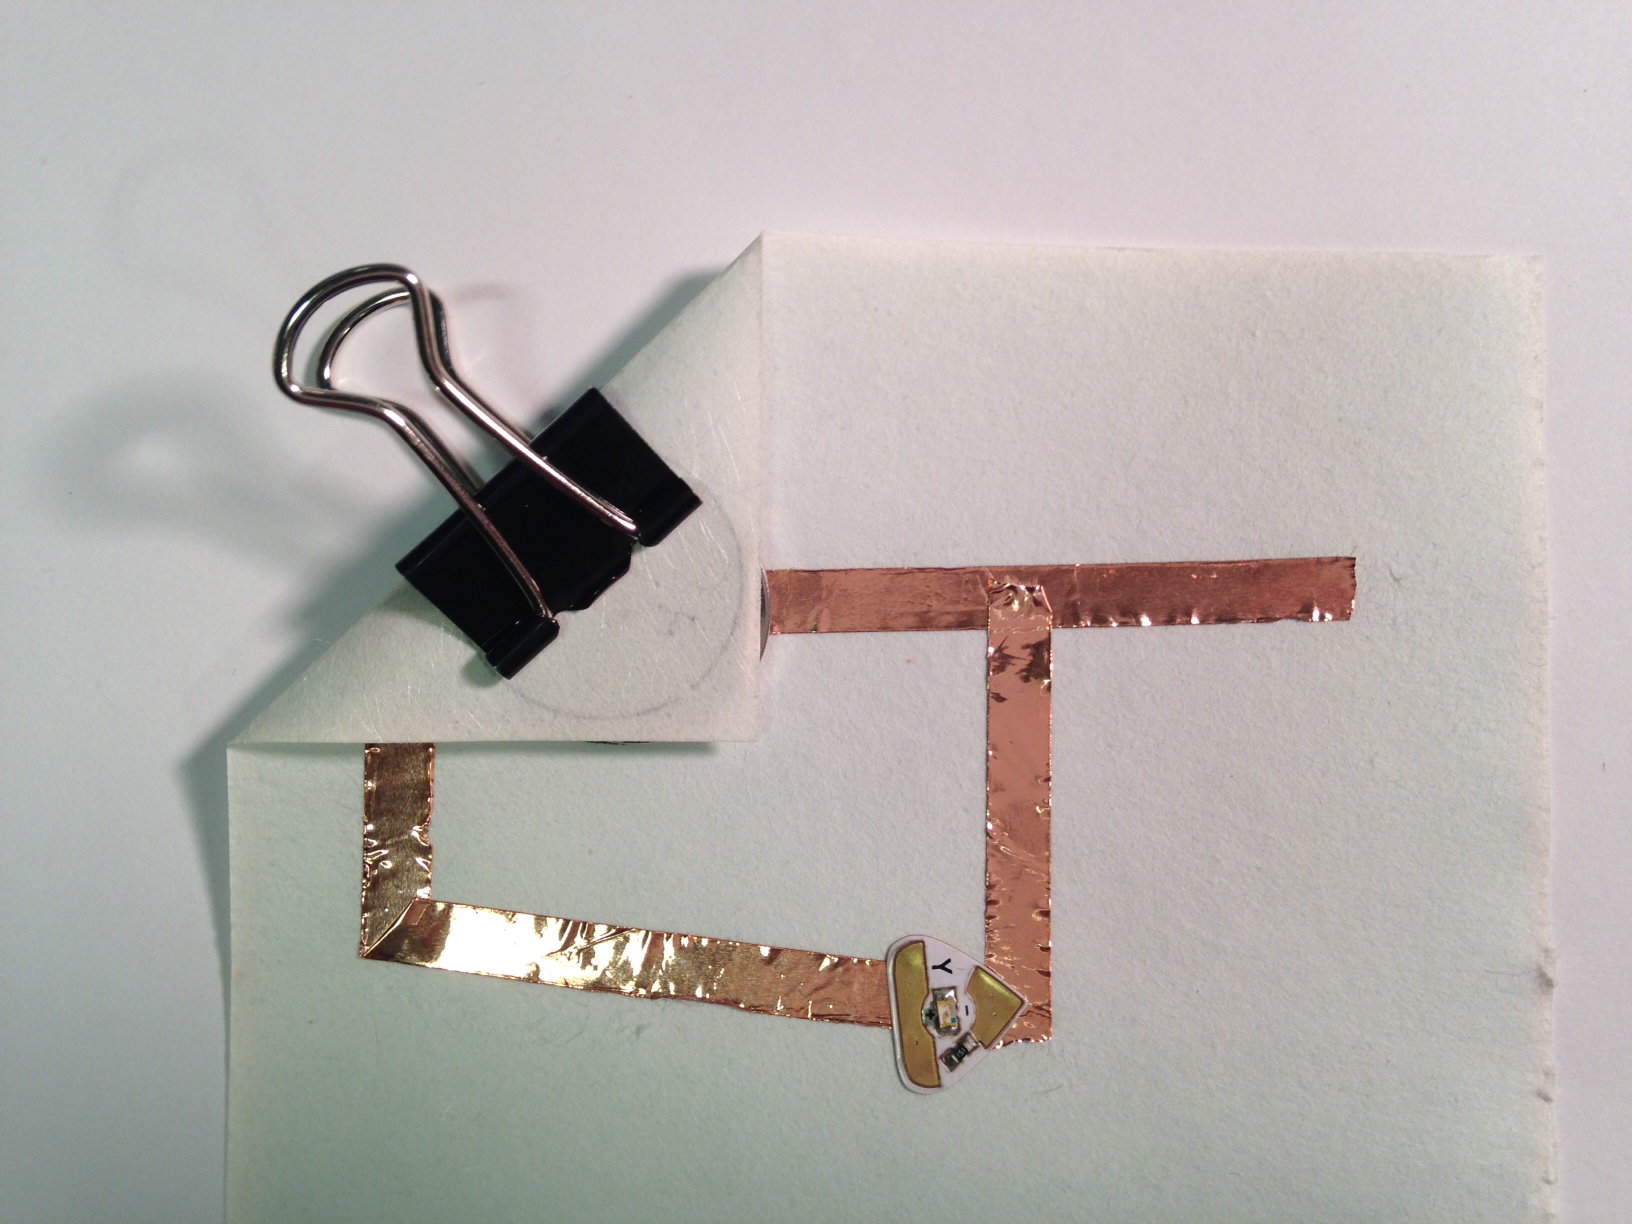
Stick the fabric patch over both pieces of copper tape to make a secure circuit connection. 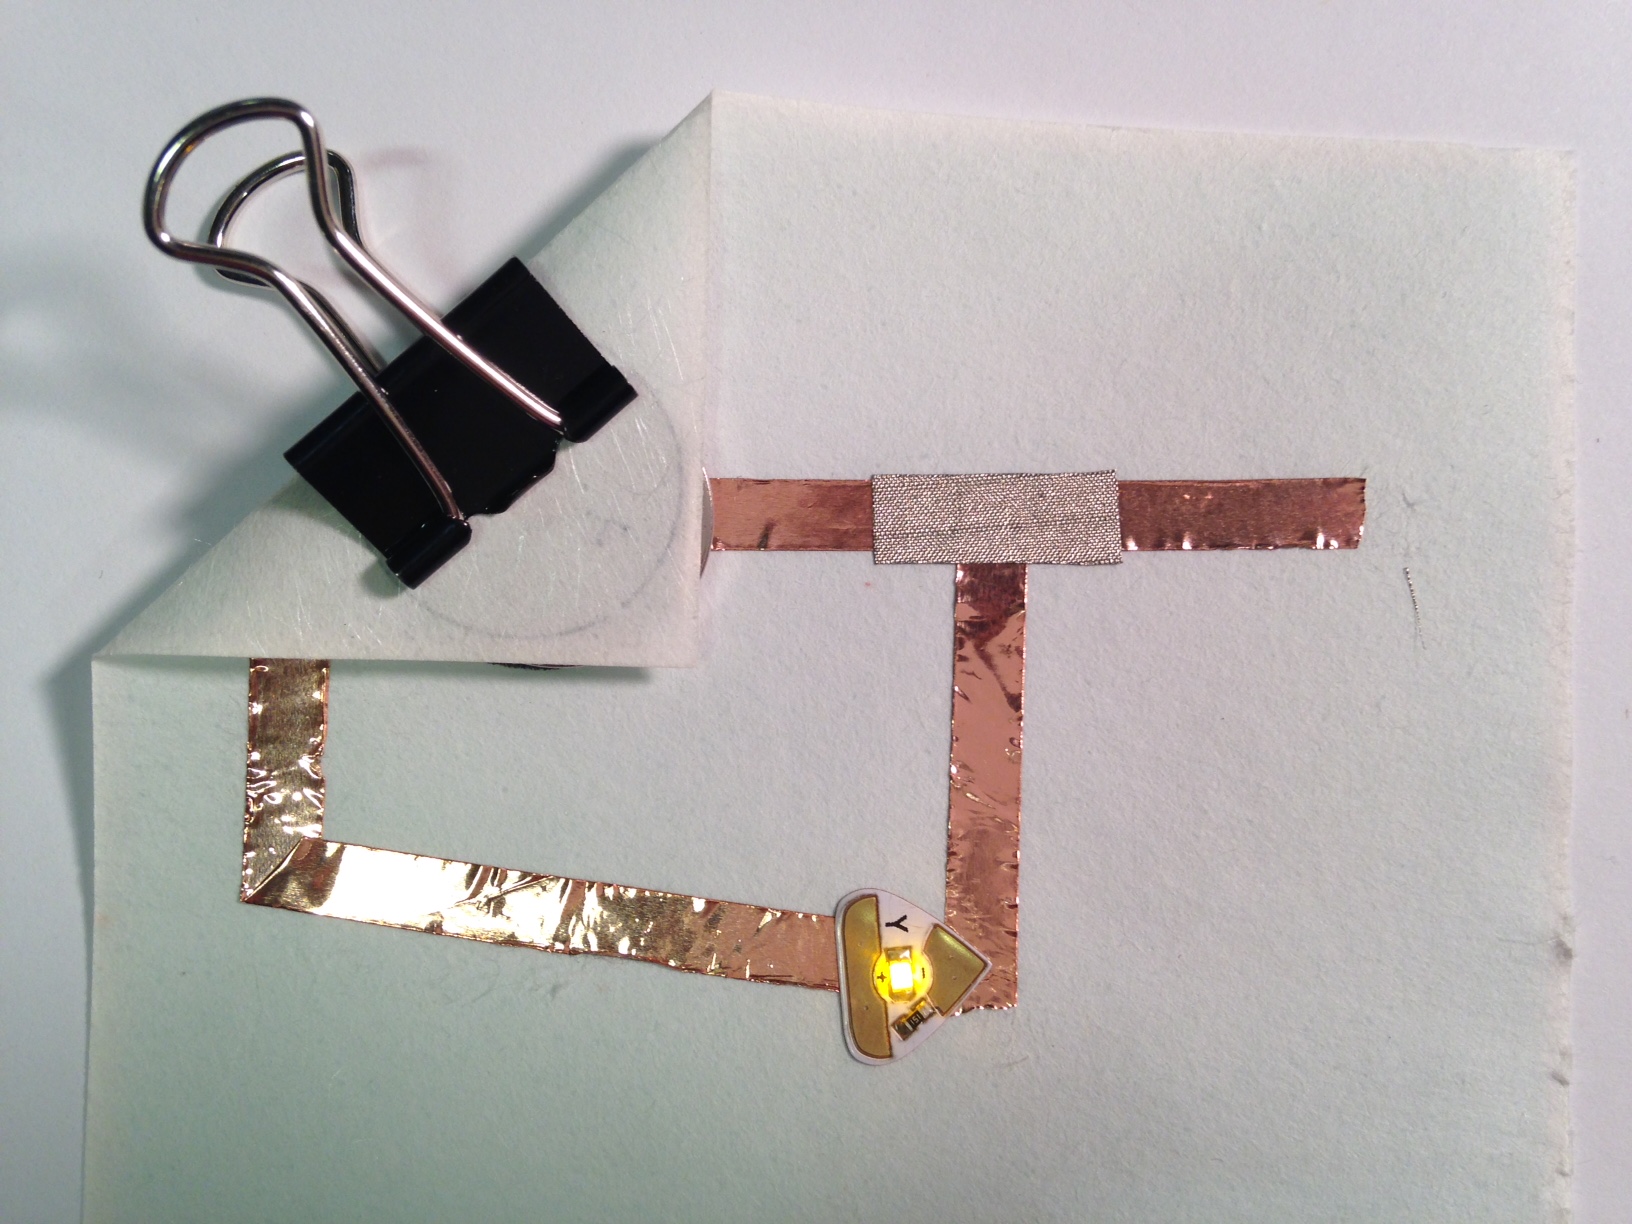
4. Made the gap too big between your sticker and the copper tape?
Stick the fabric patch across the copper tape and sticker pad to bridge the gap.

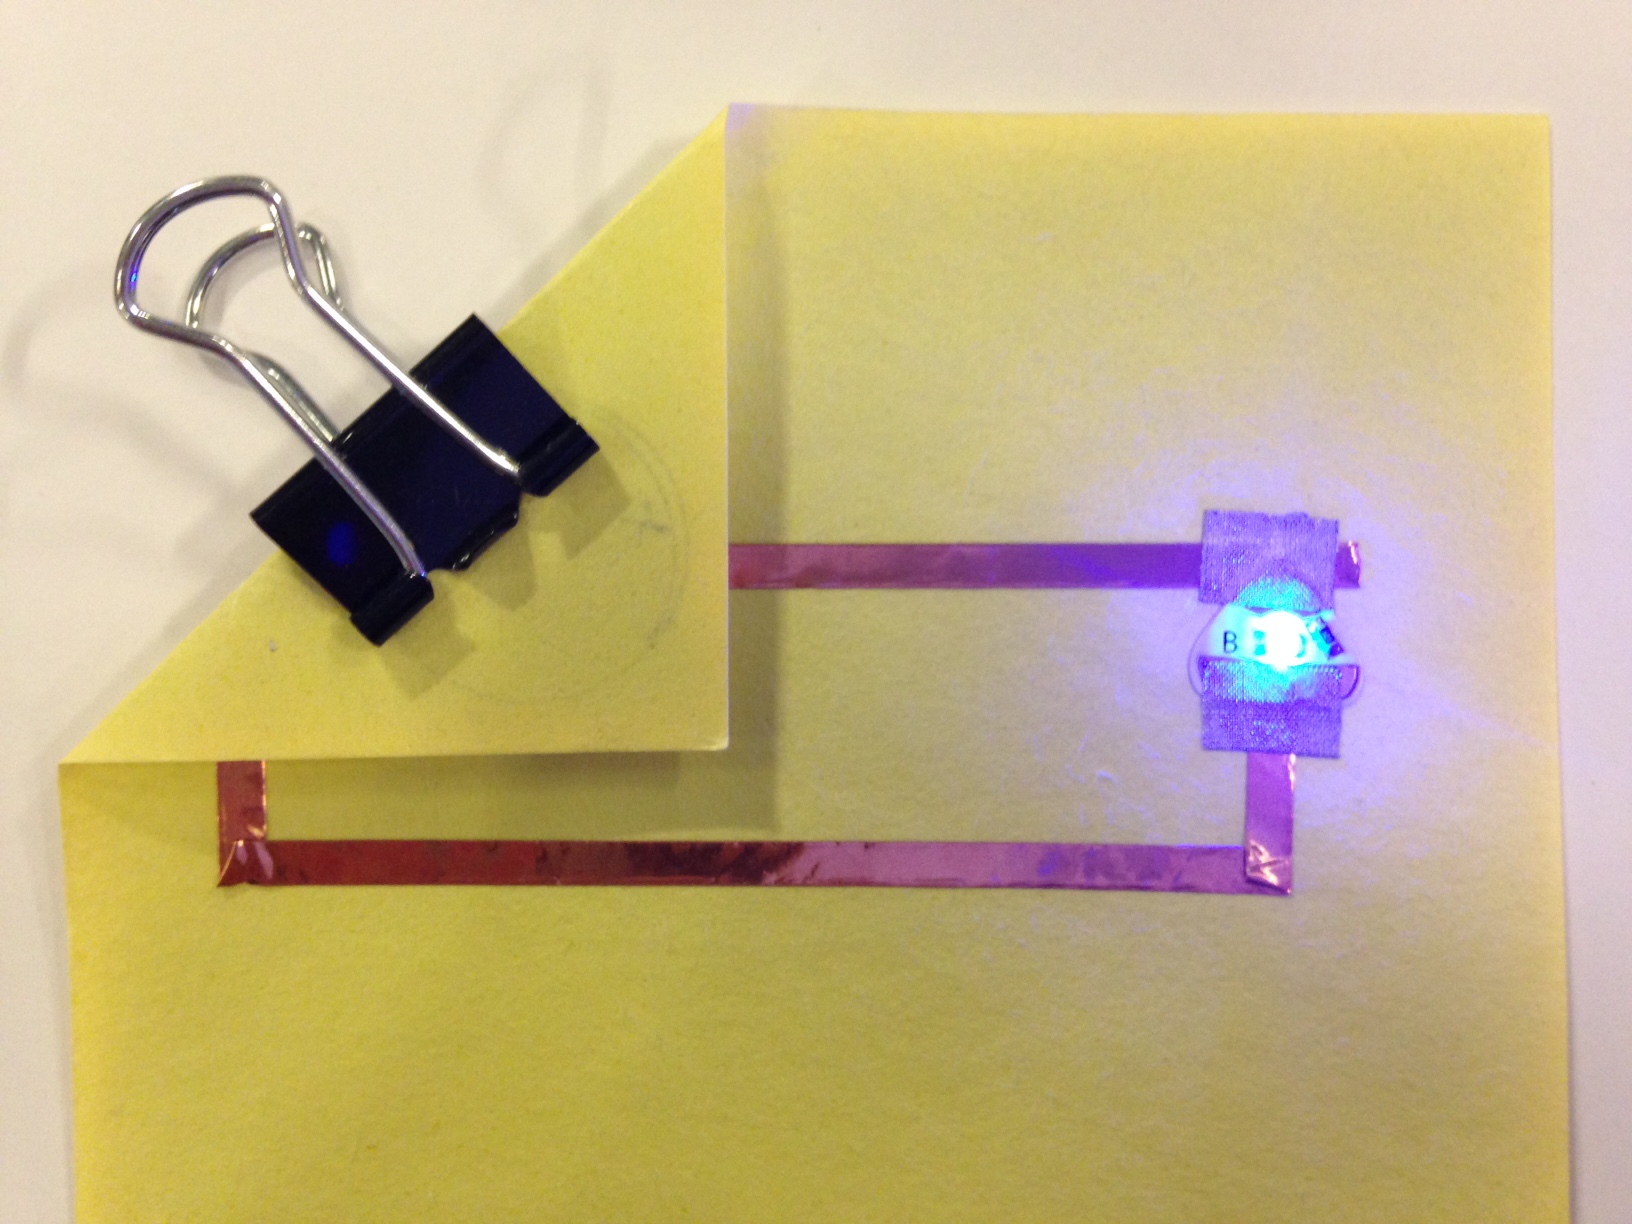
5. Taping over the sticker with copper tape and the connection isn’t working?
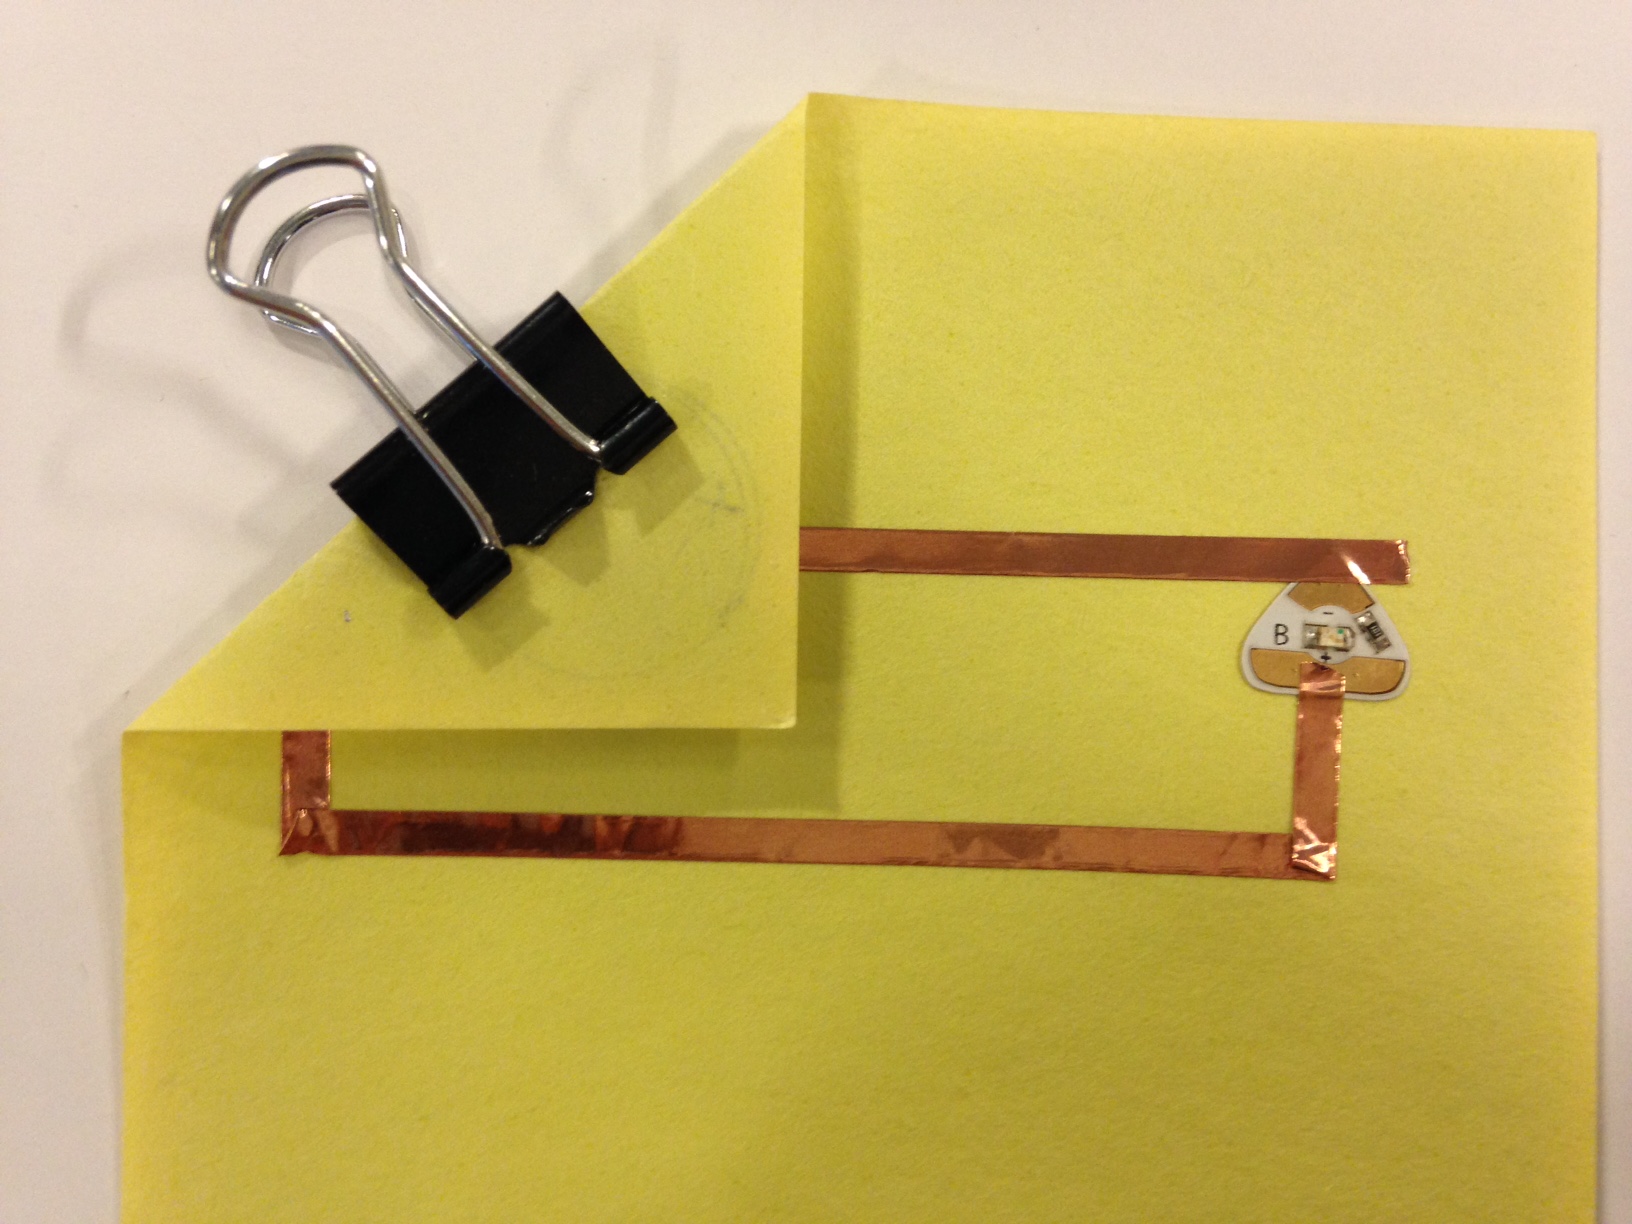
Tape over the pad and copper tape with a fabric patch to bridge the connection.
Now that you know how to use conductive fabric patches to fix your circuit, have fun with it! For example you can cut decorative shapes 🙂

Happy making!