This tutorial will explain how to solder to circuit stickers.
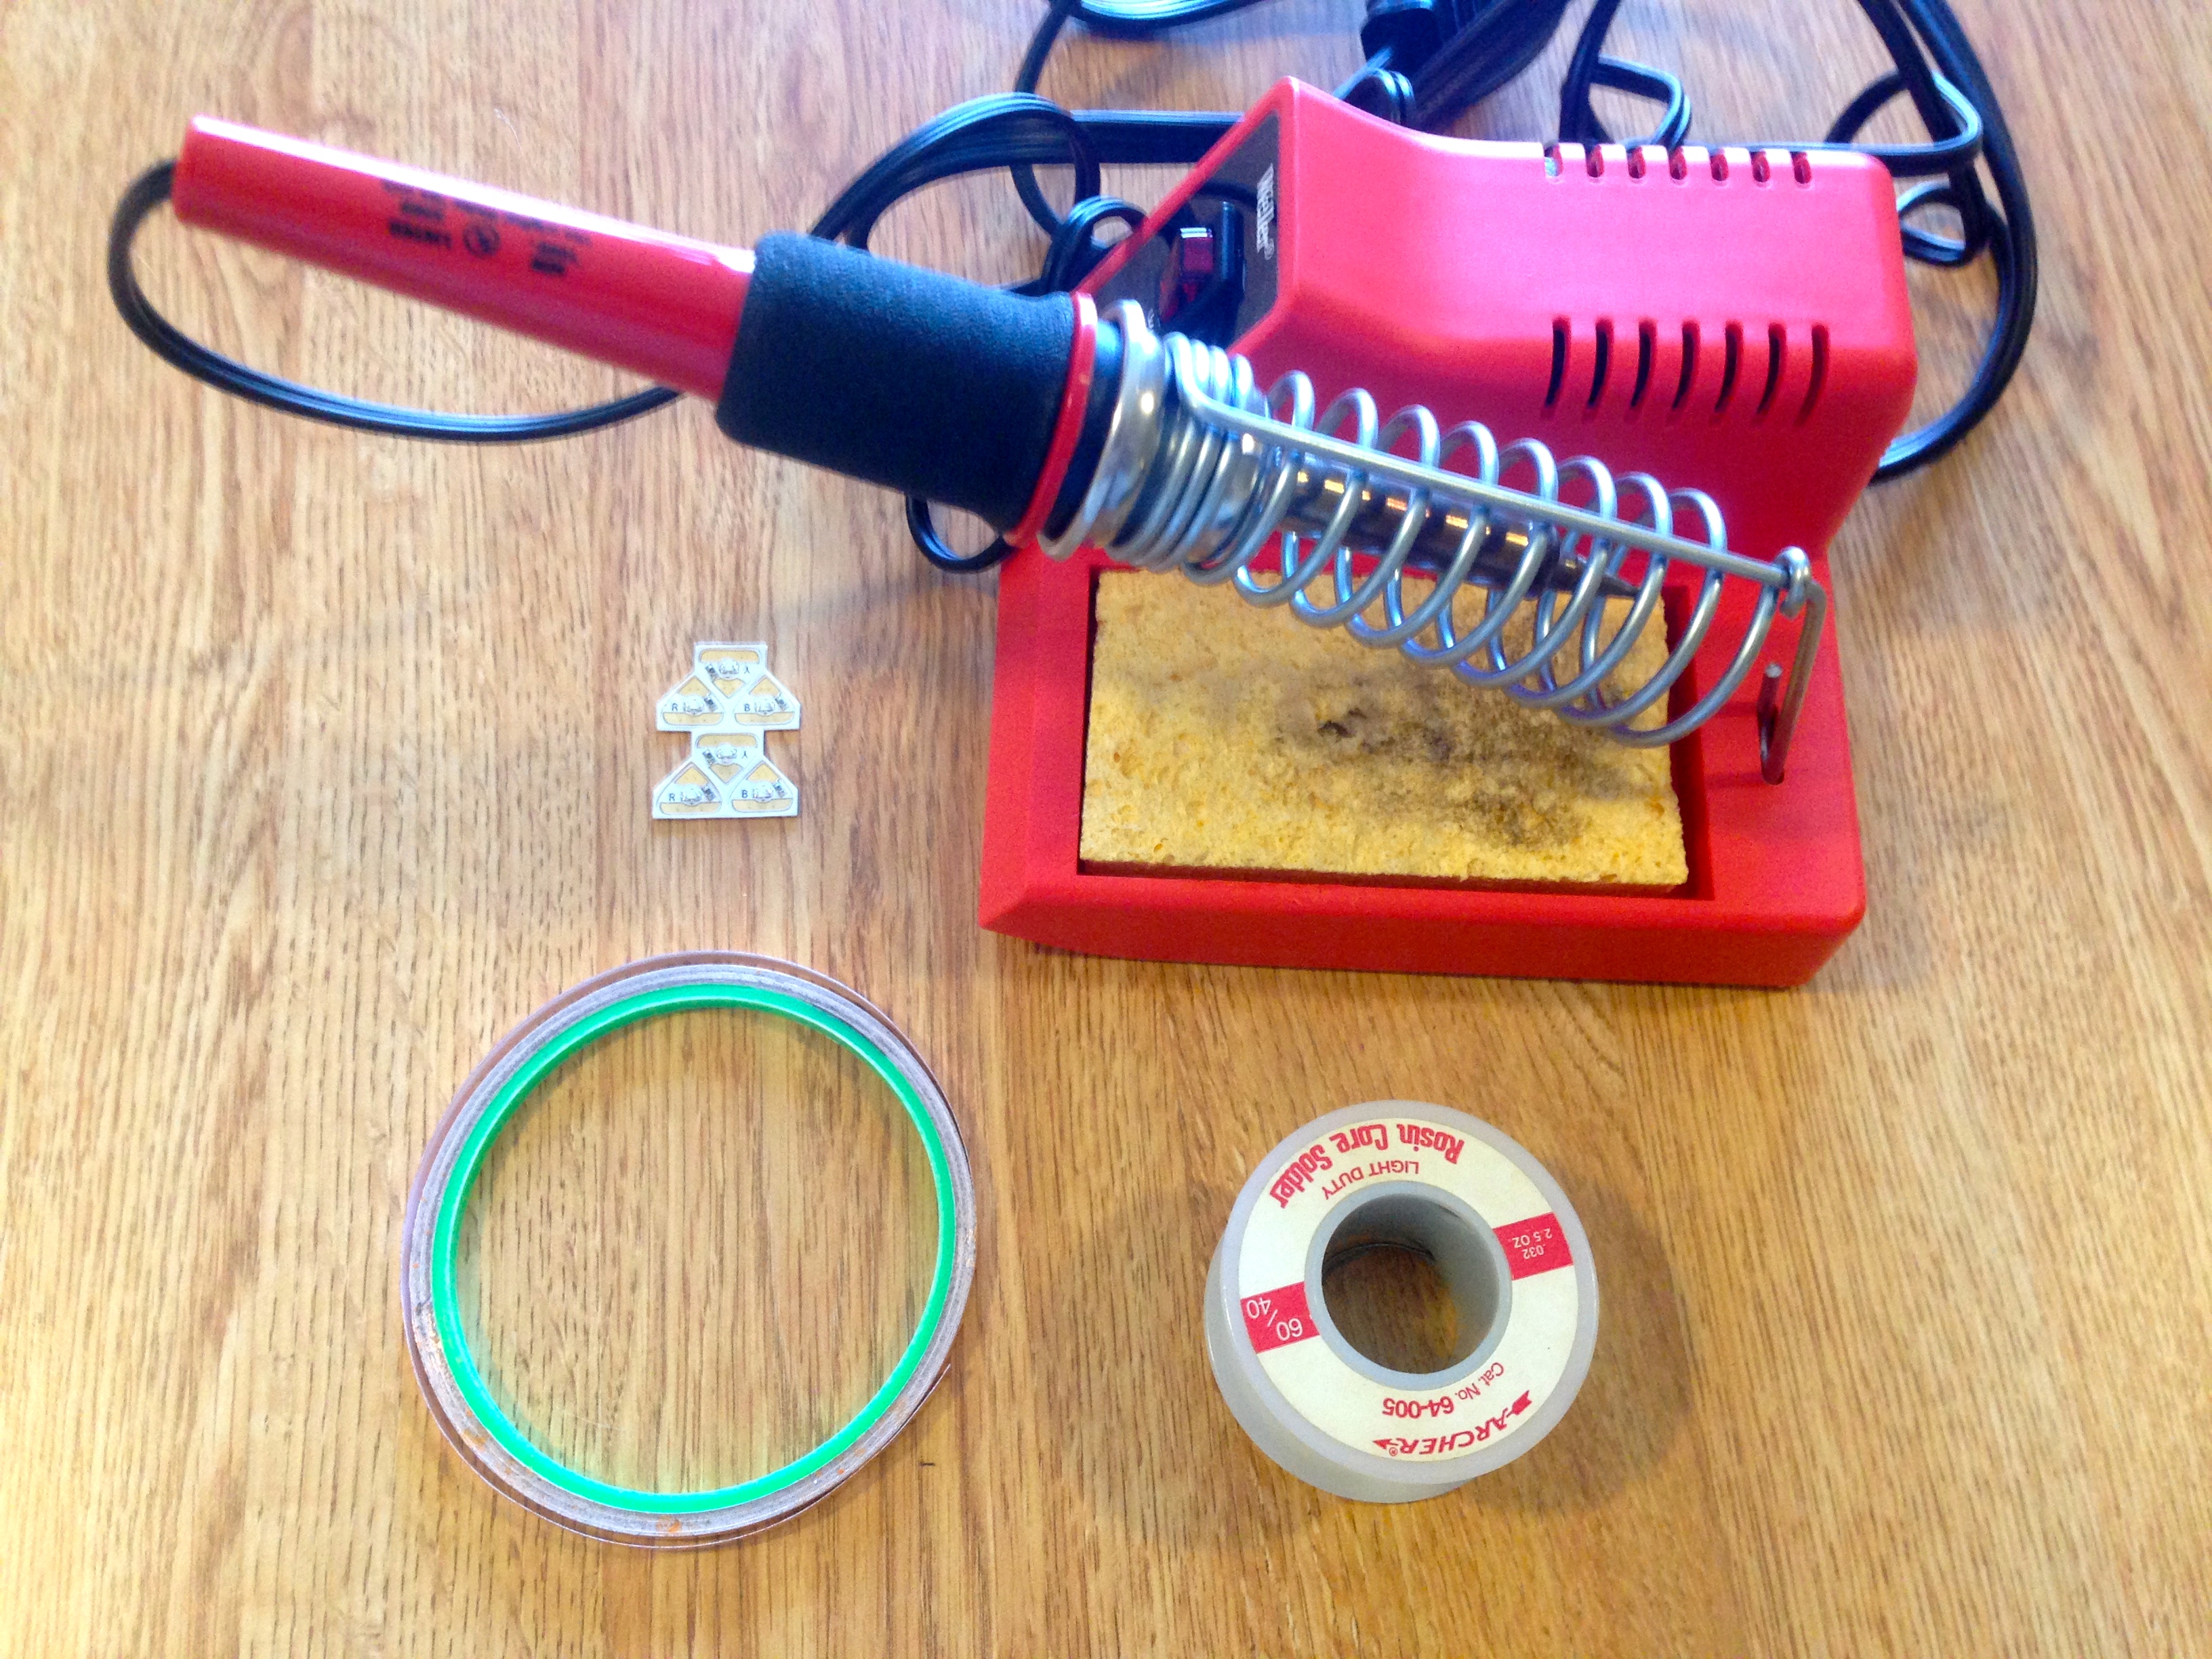
You will need:
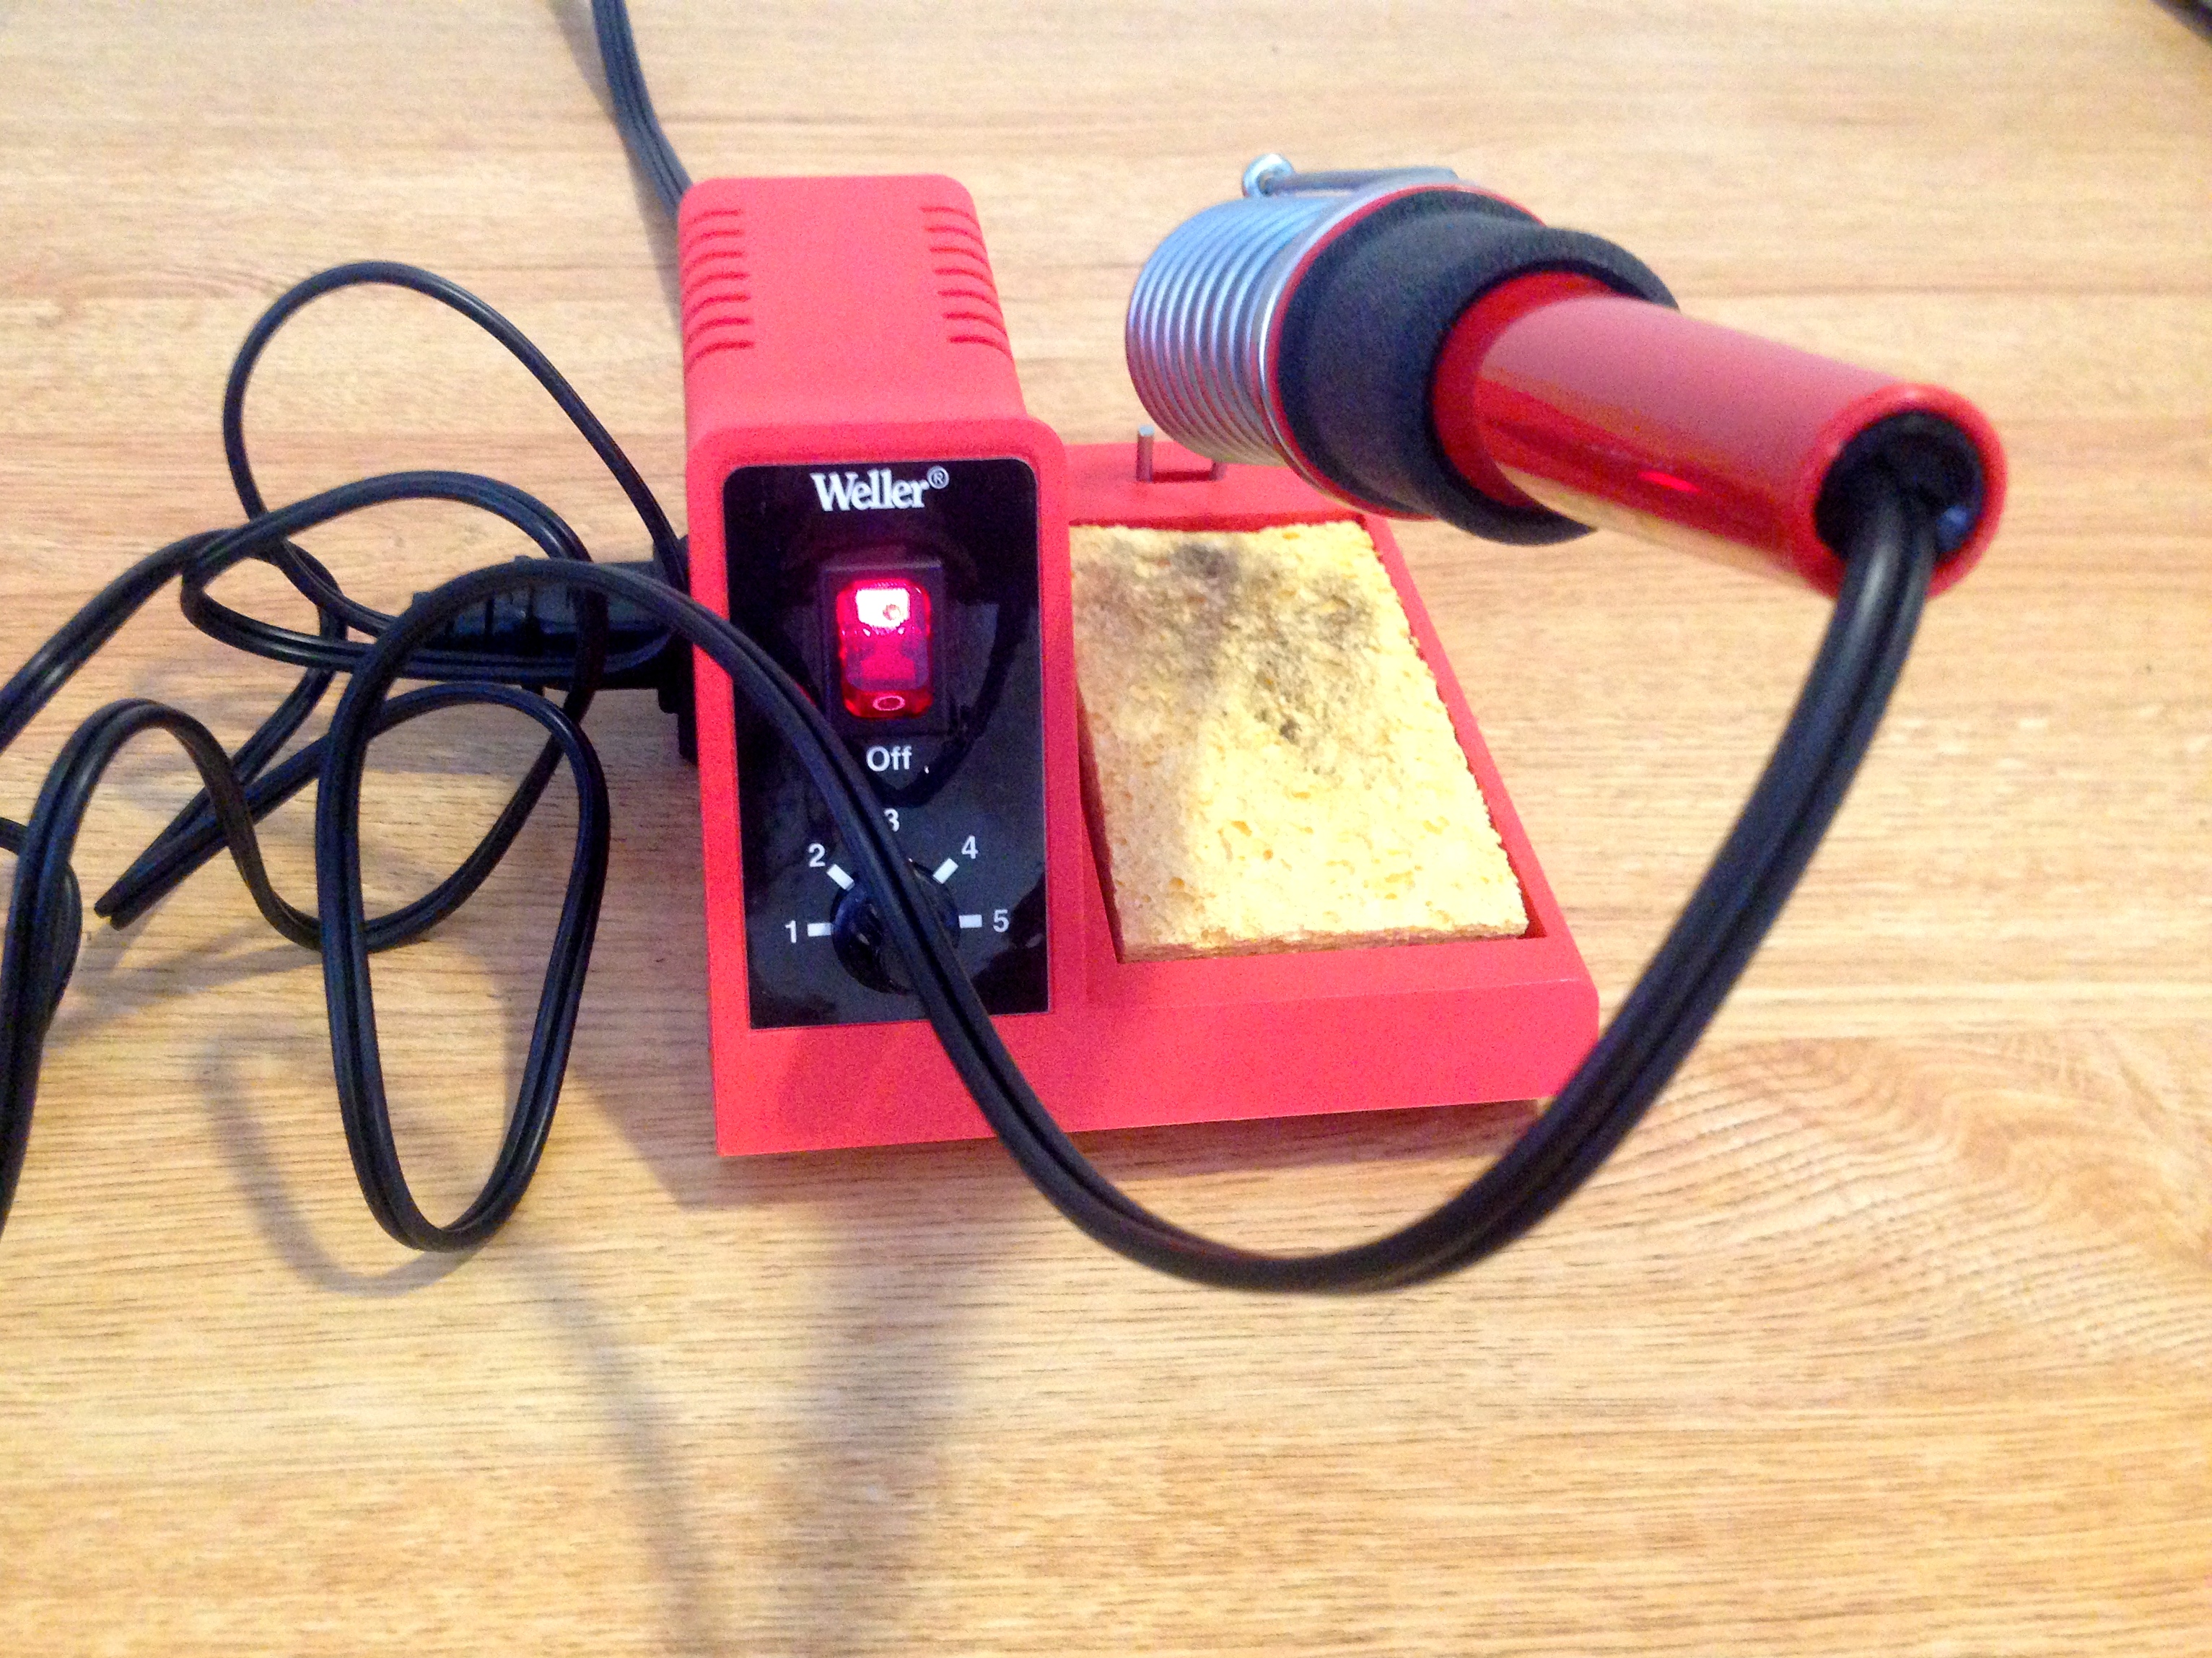
- Soldering Iron
- Solder
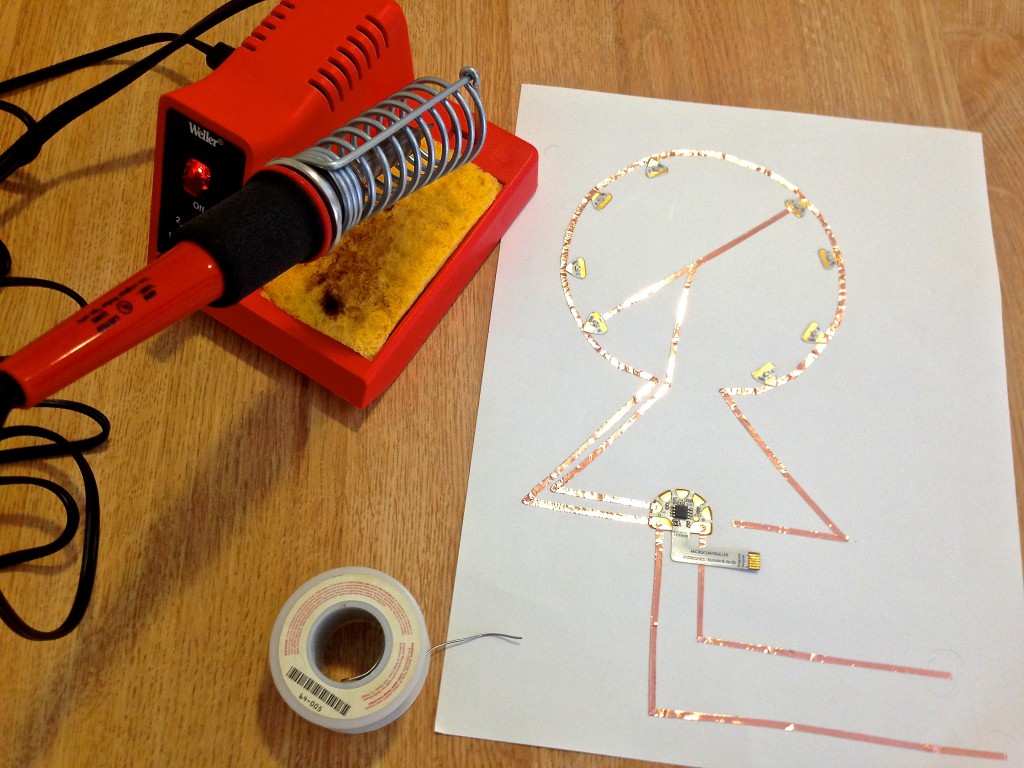
- Copper Tape
- LED sticker
Step 1. Place an LED. Lay down your copper tape so that the tape sits on top of the conductive pads of the LED.

Step 2. Heat up your soldering iron.
Step 3. Cut a piece of solder, about 6″ long.

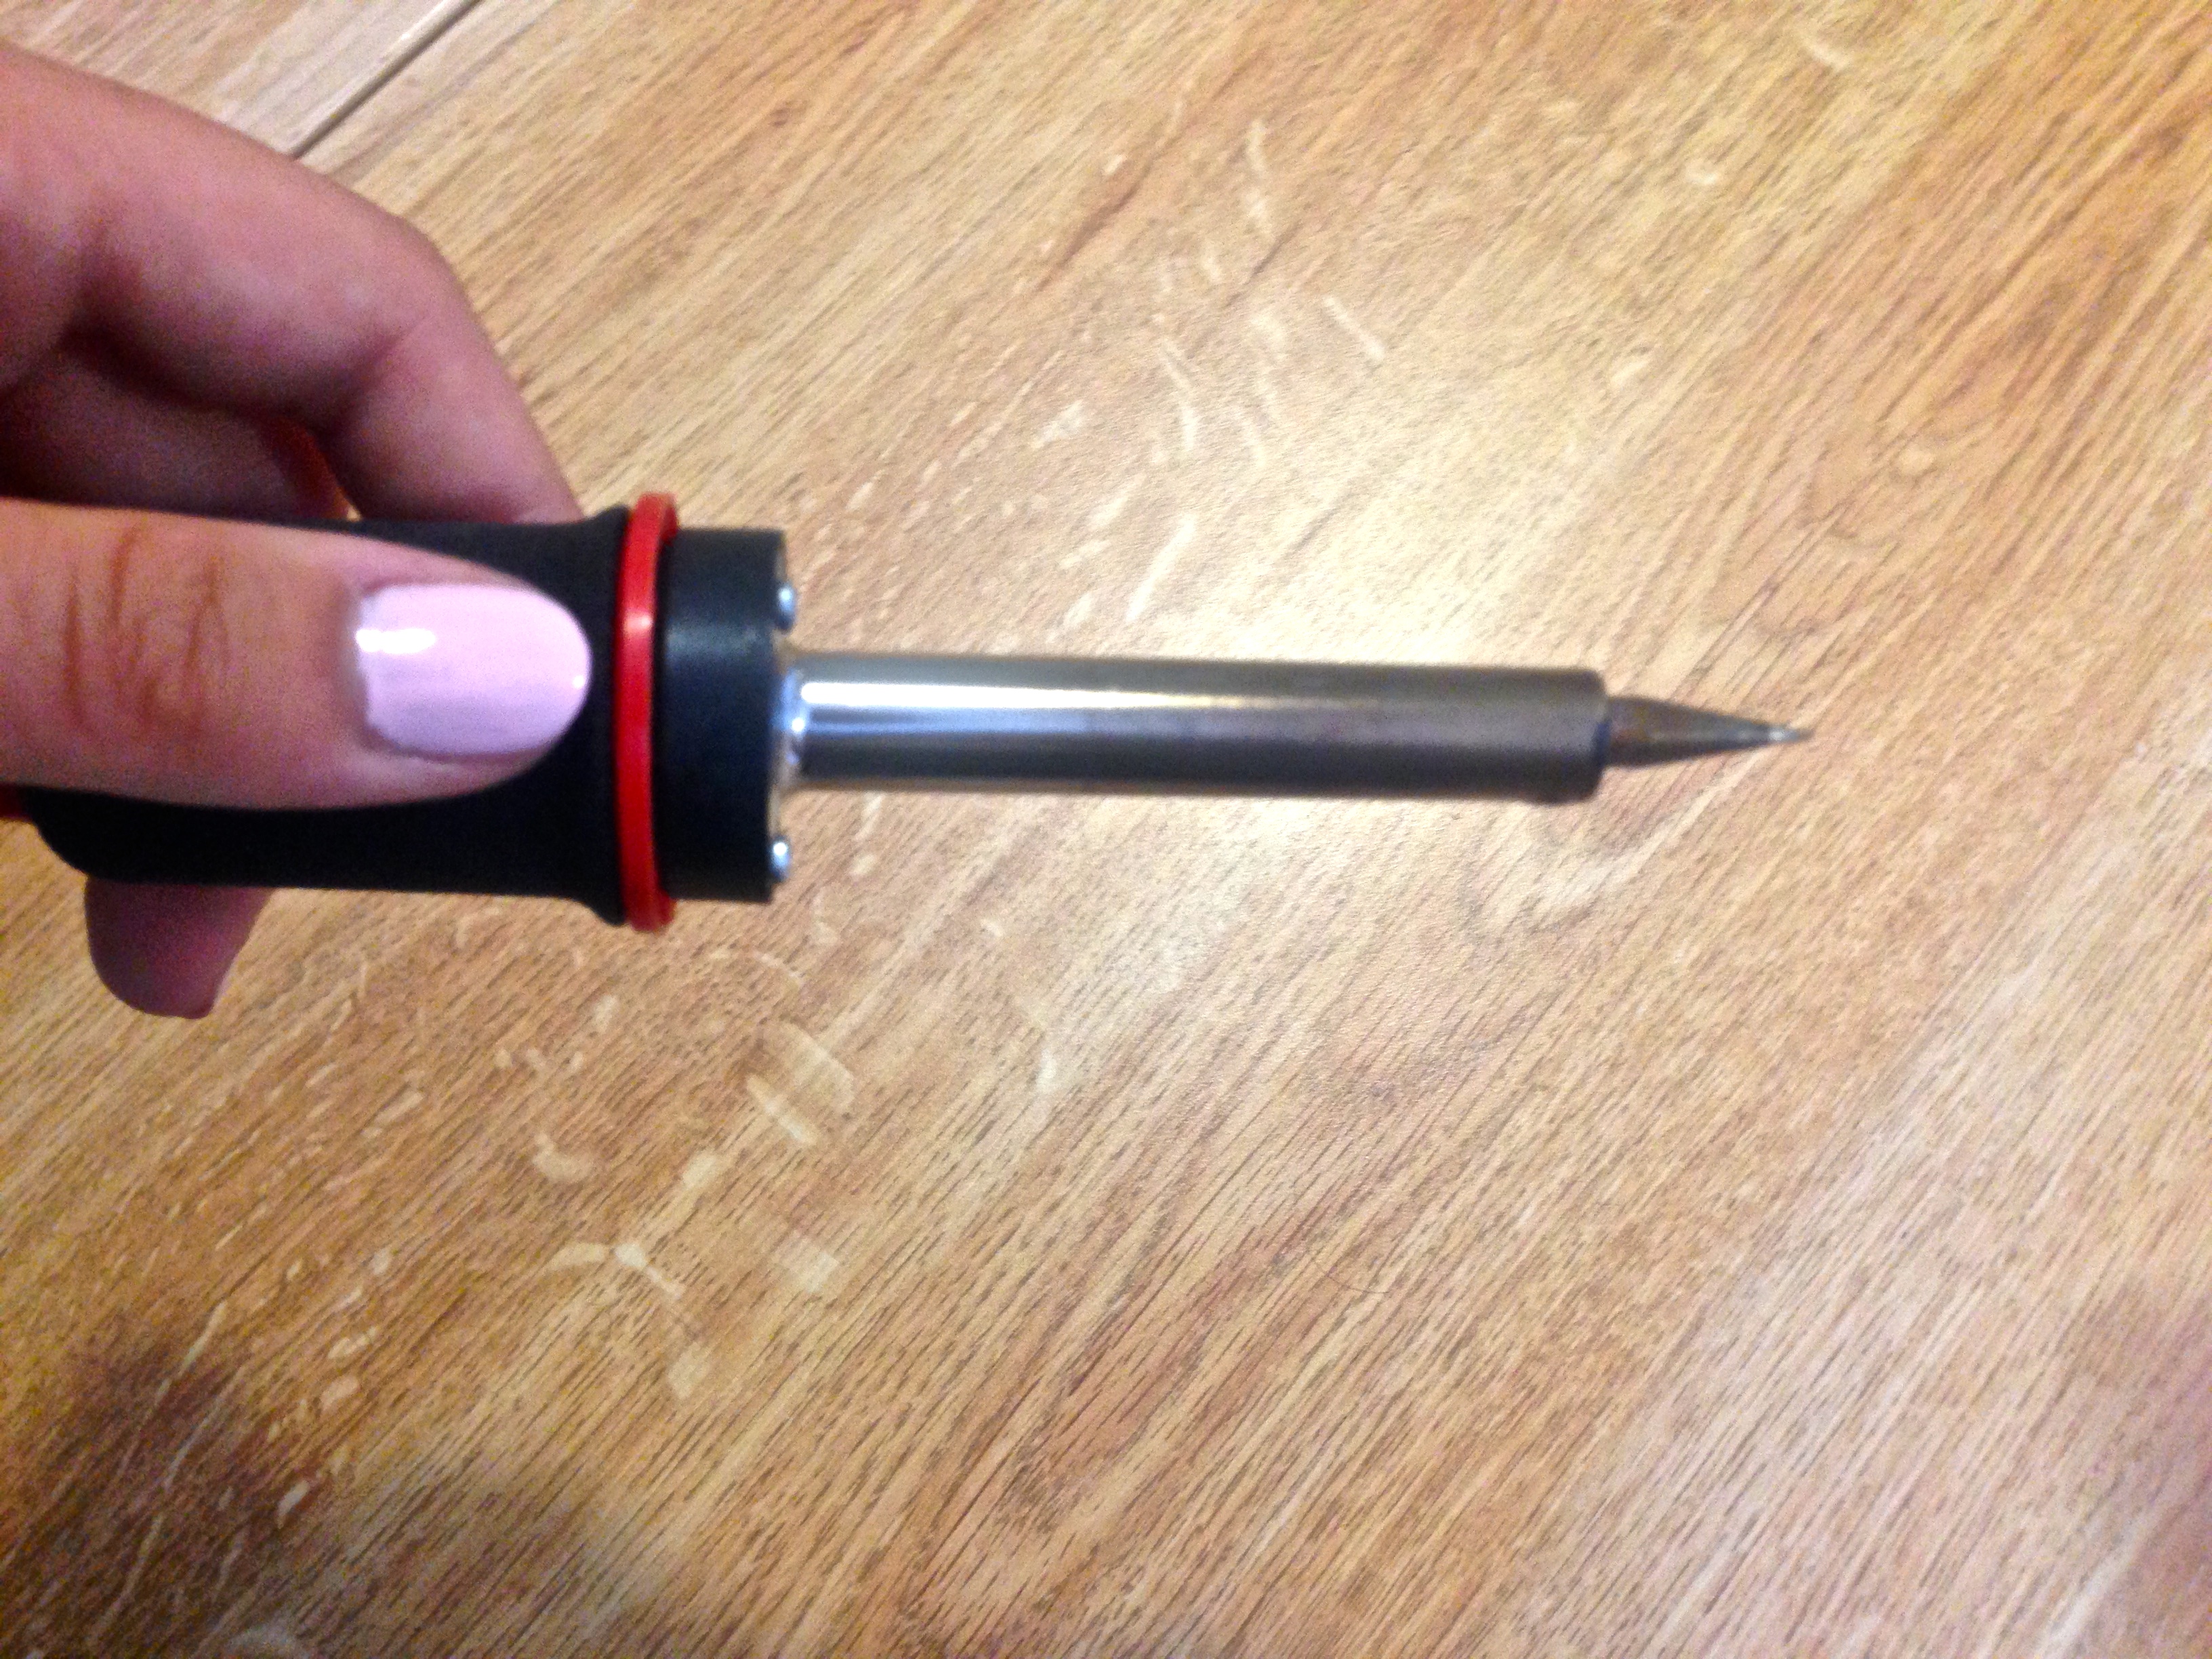
Step 4. Hold the plastic end of the soldering iron in one hand and the solder in the other hand. Grip the soldering iron like you would a pencil.
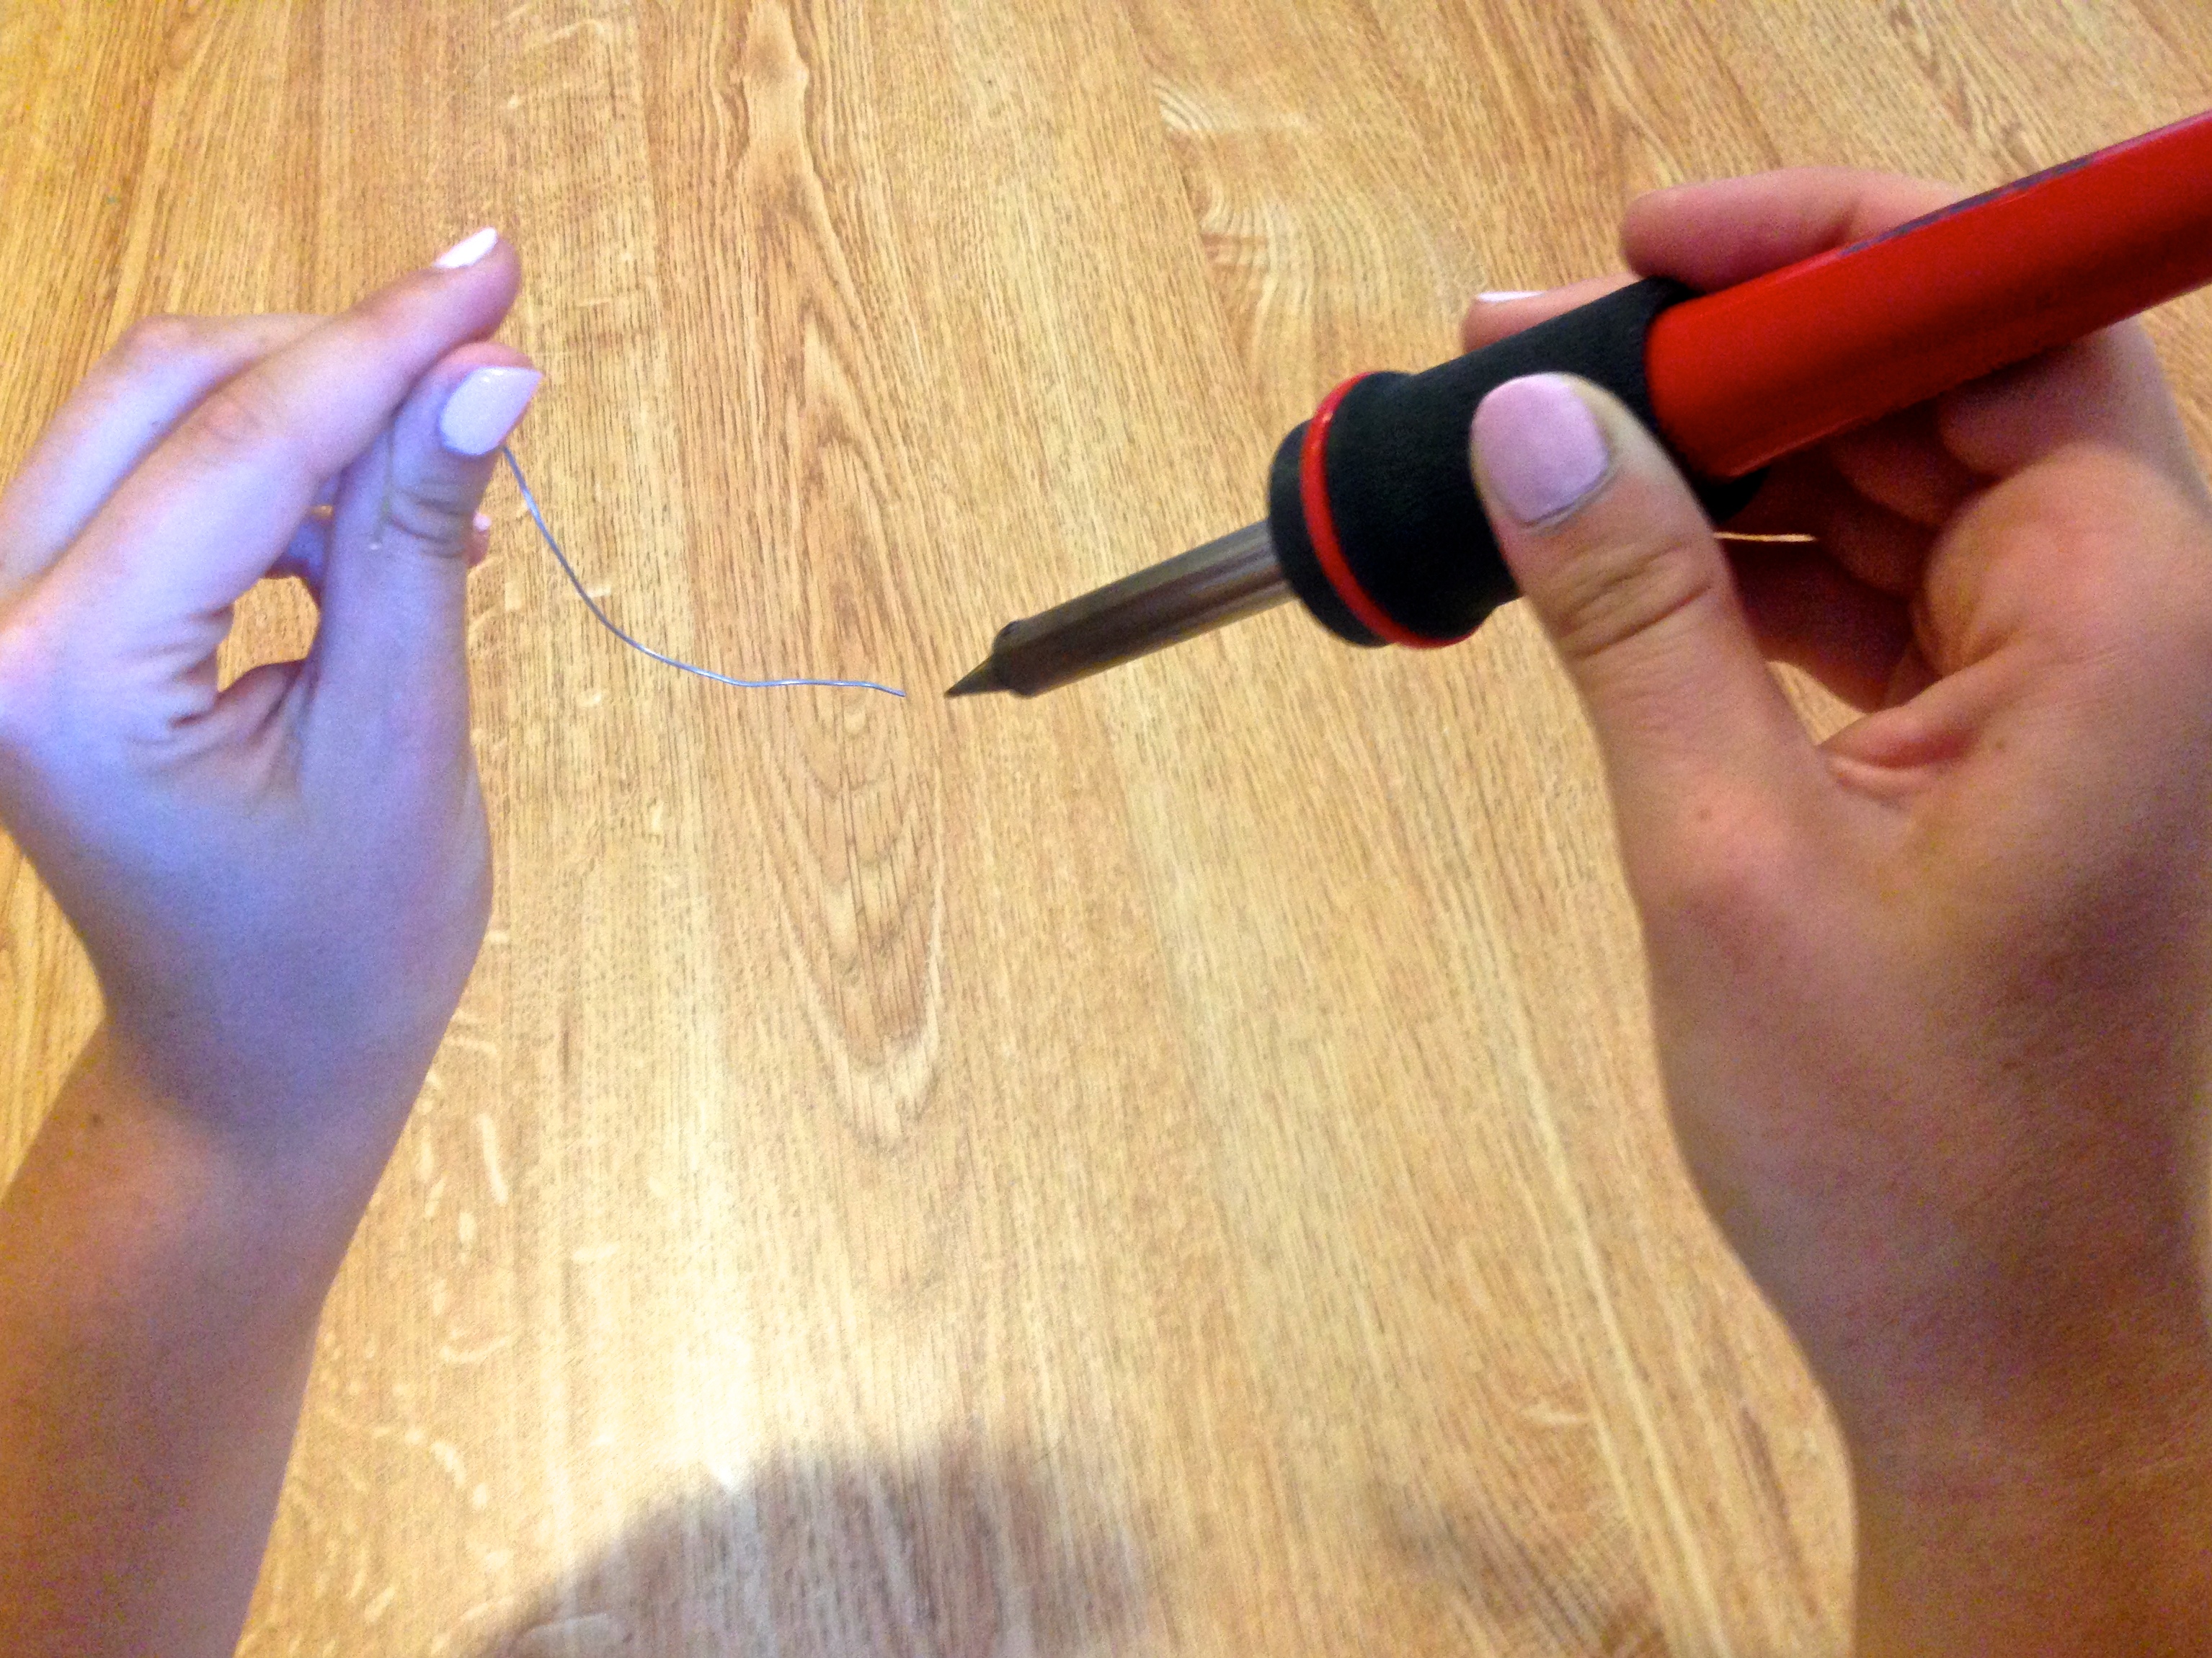
Step 4. Briefly touch the solder to the hot tip of the solder to the soldering iron to coat it. This is called “tinning” the iron.

Step 5. Hold the soldering iron in one hand and the piece of solder in the other. Place the tip of the soldering iron on the junction you want to connect.
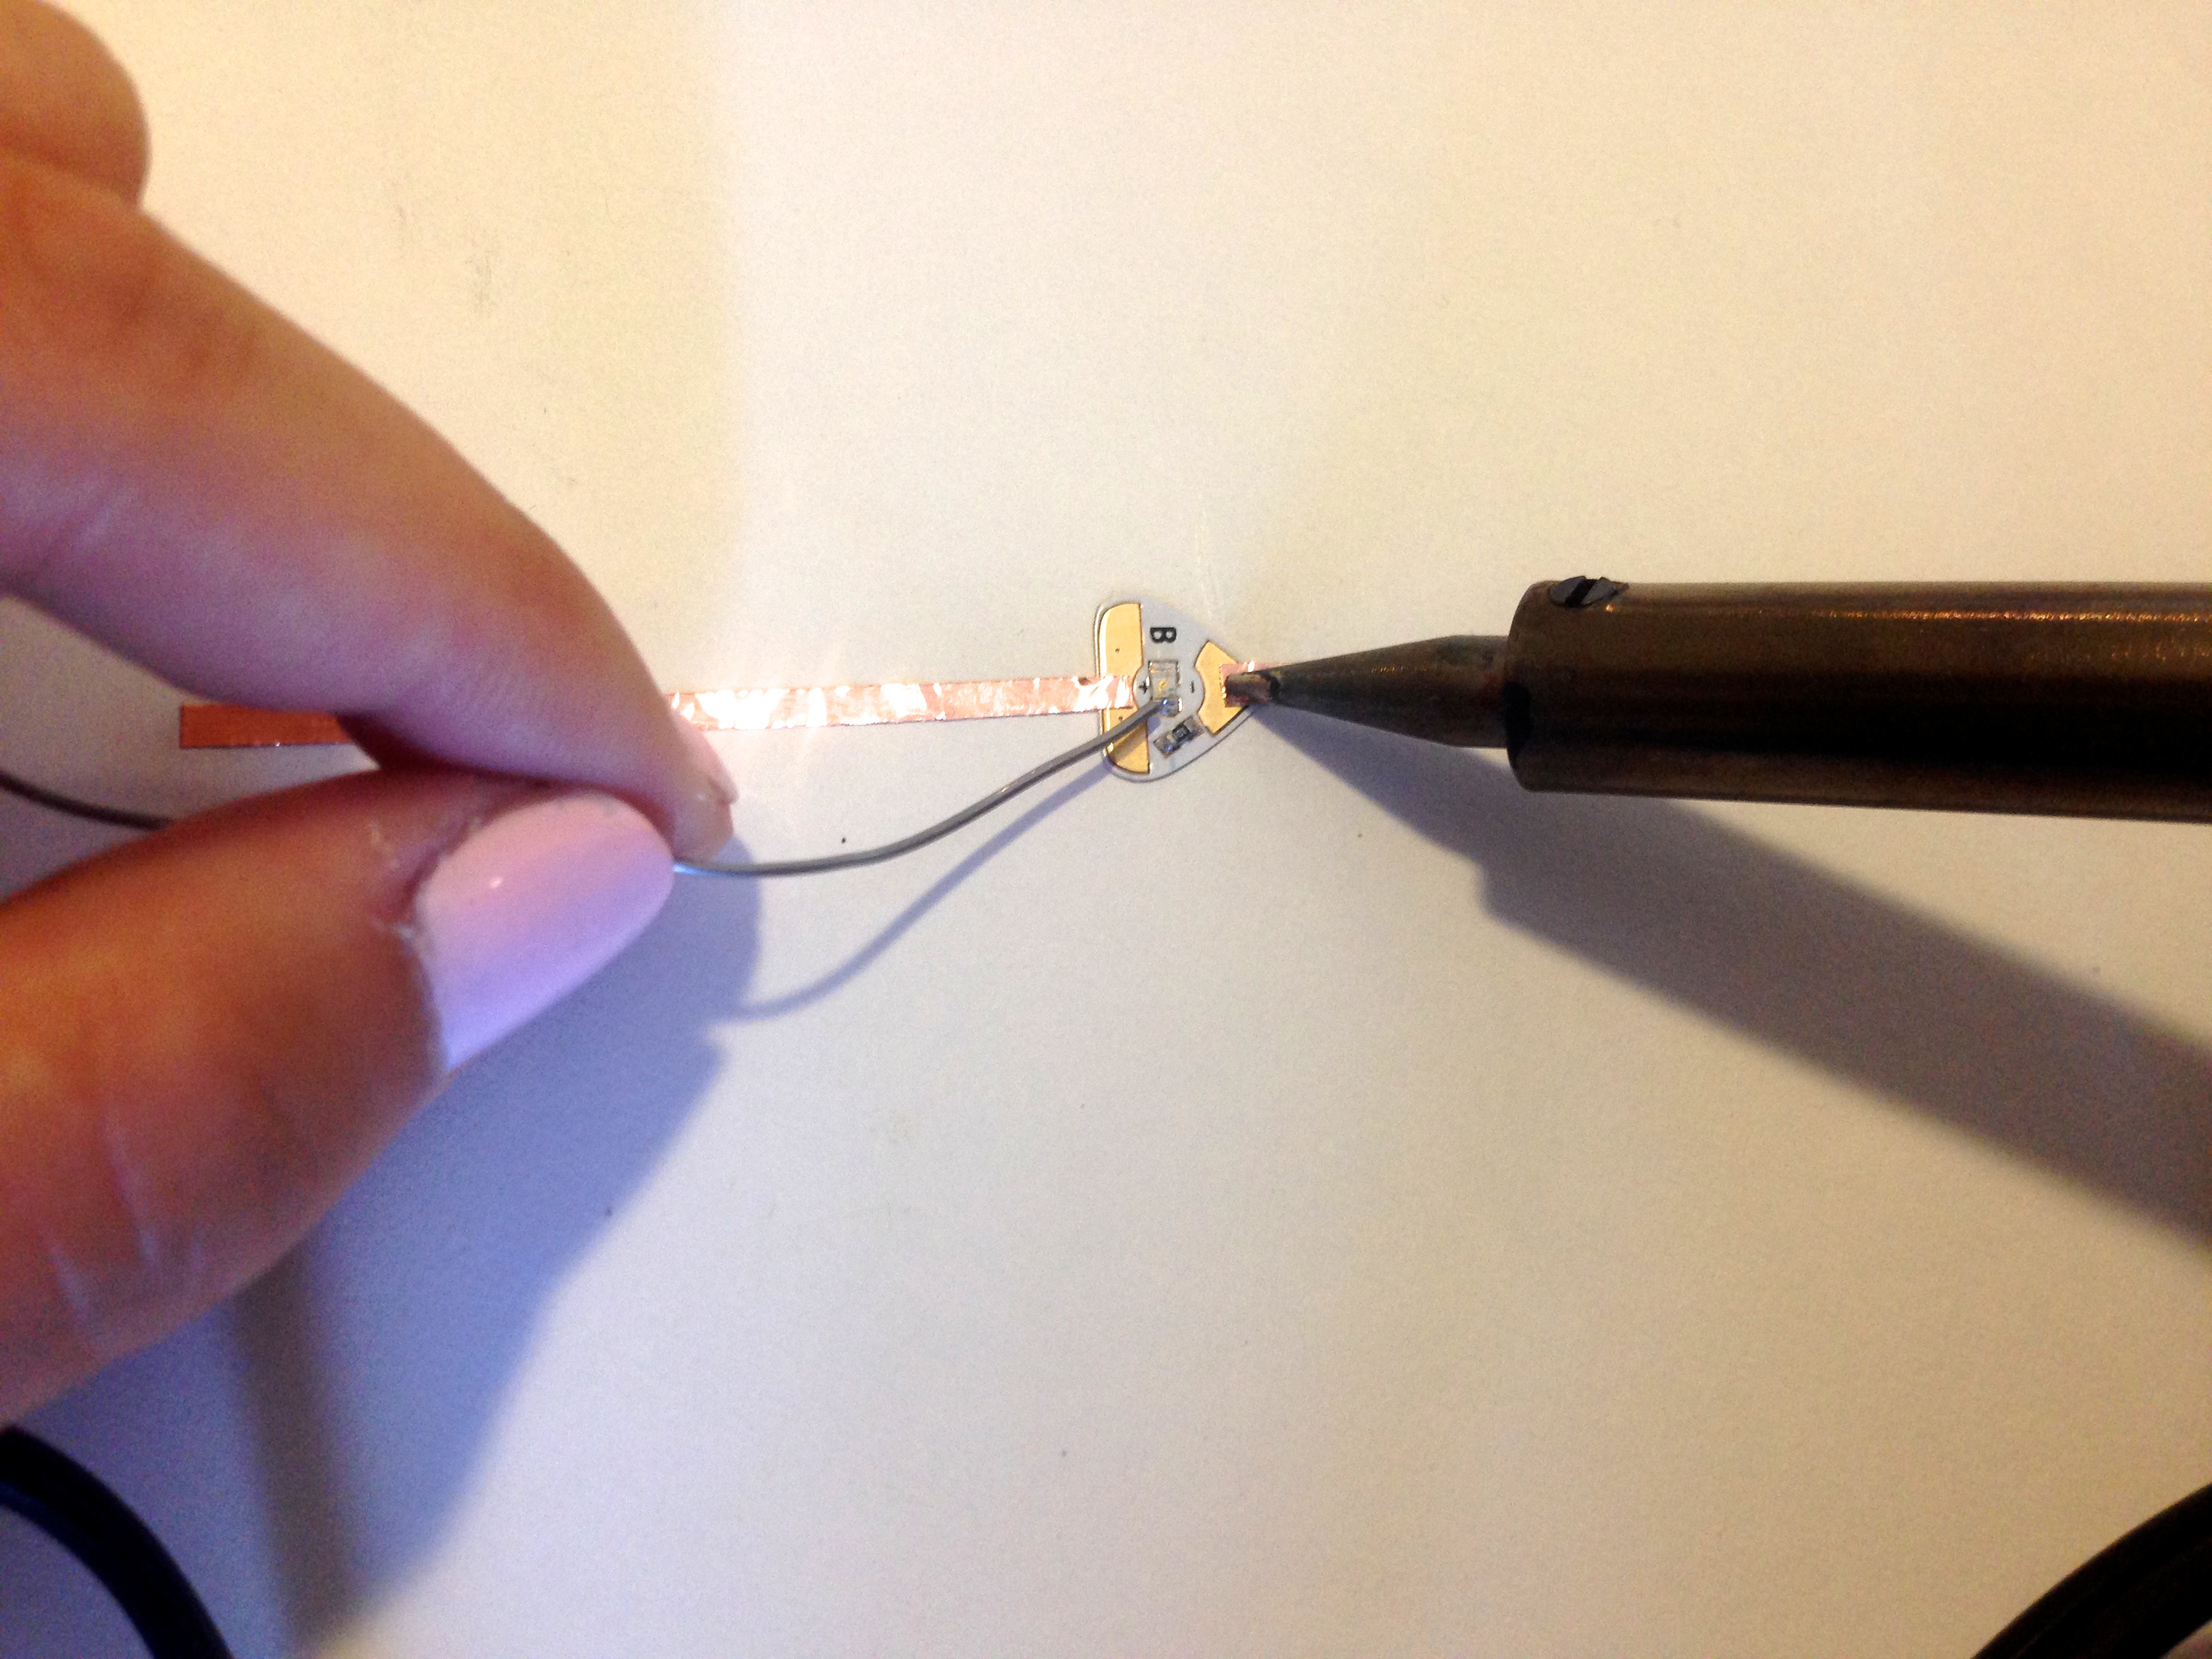
Step 6. Bring the end of the solder to the tip of your iron and allow it to melt onto the junction. It should look shiny and flow onto the joint.
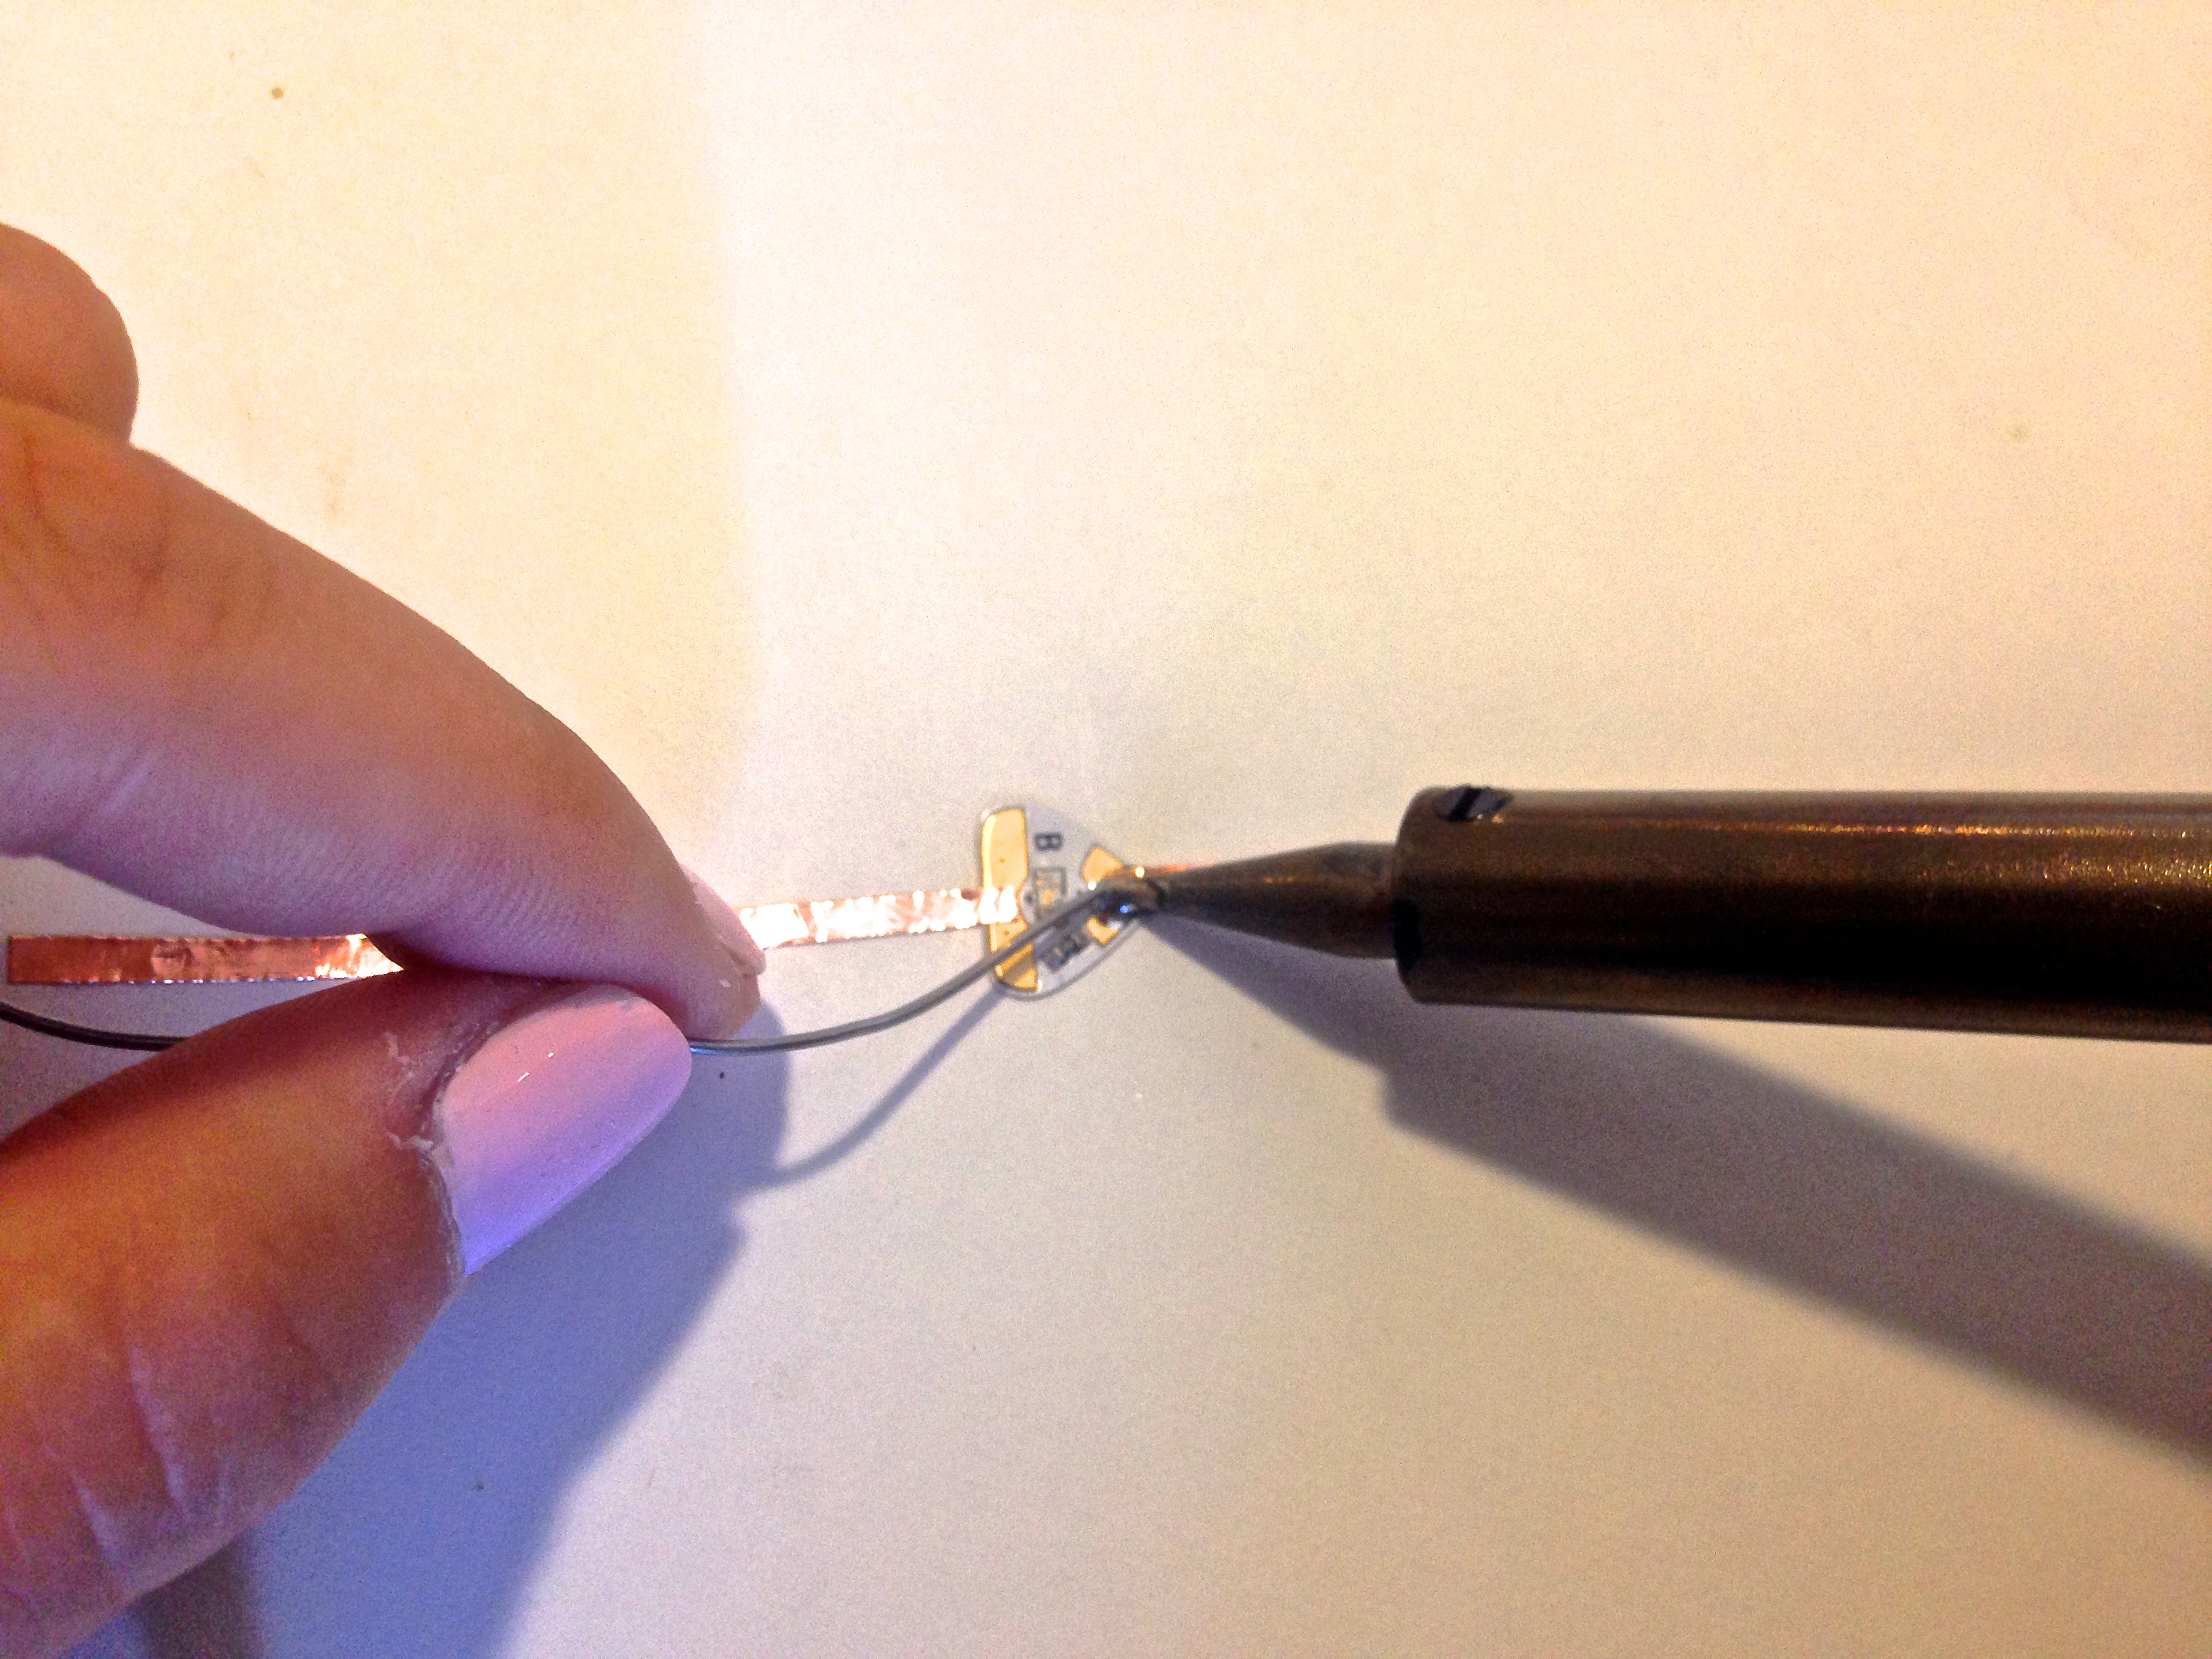
Step 7. Remove the piece of solder, then your soldering iron from the junction. Allow solder to cool and check to make sure the solder is touching both your copper tape and the conductive pad of the LED.
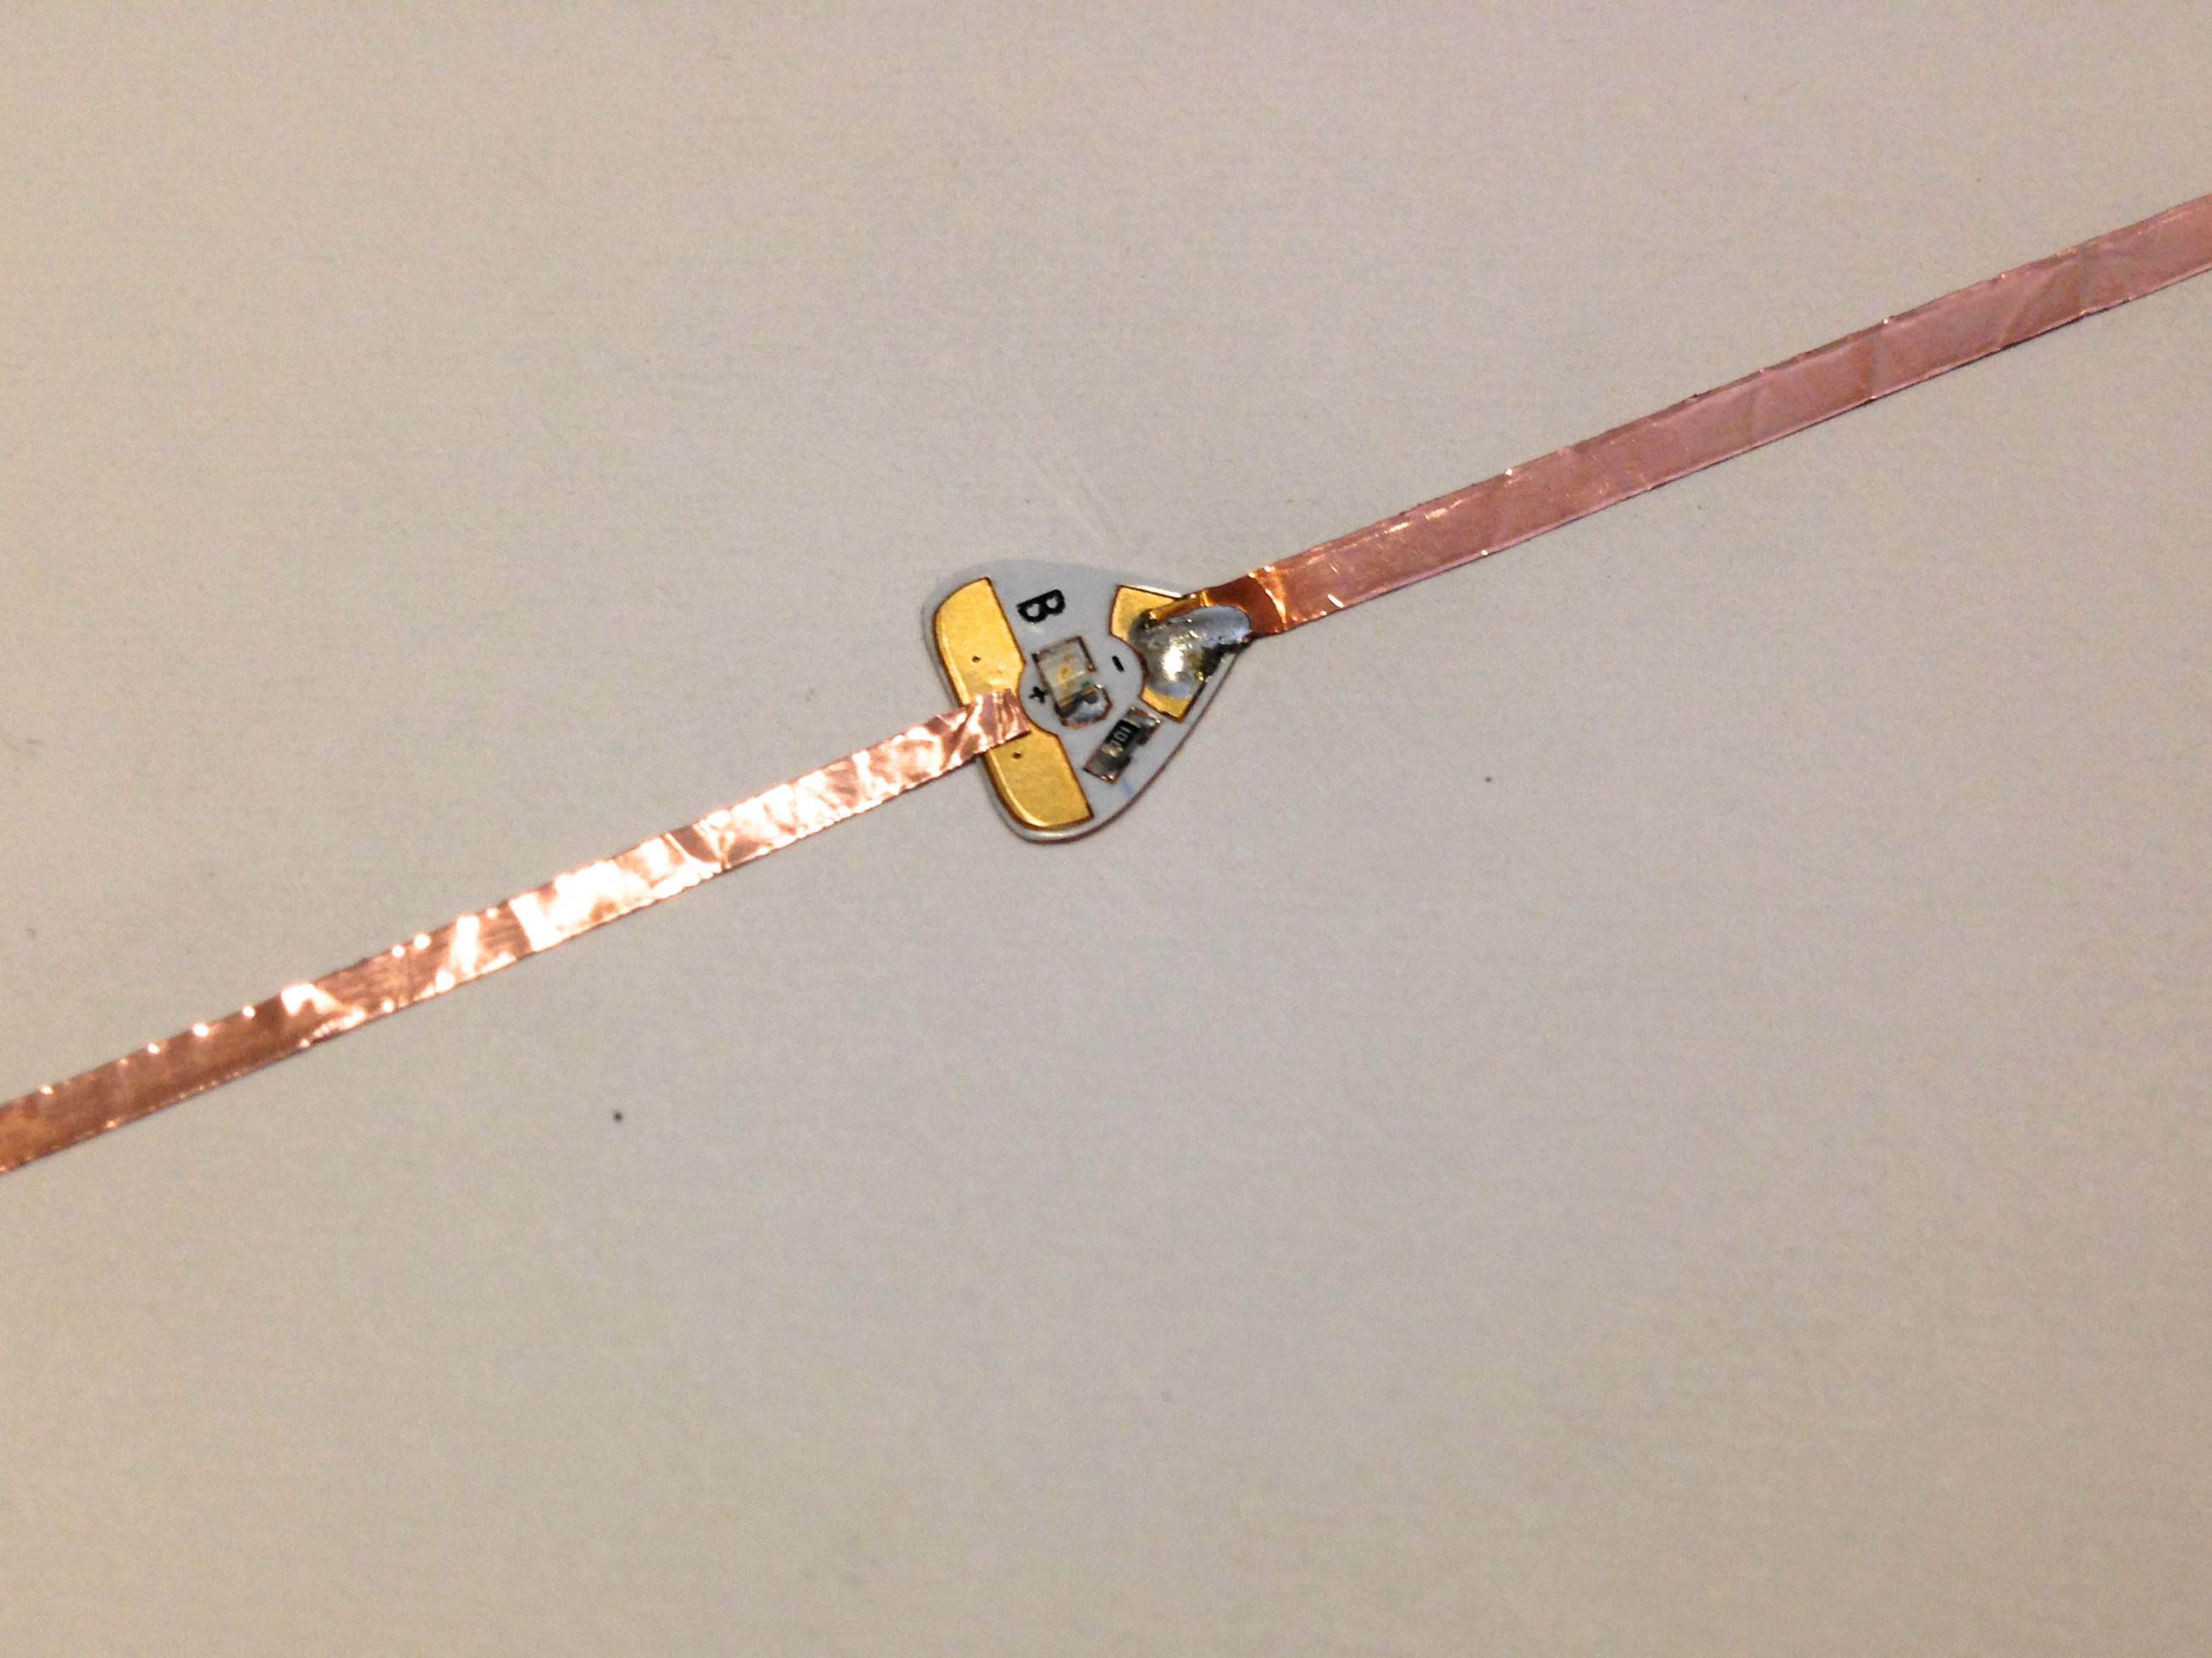
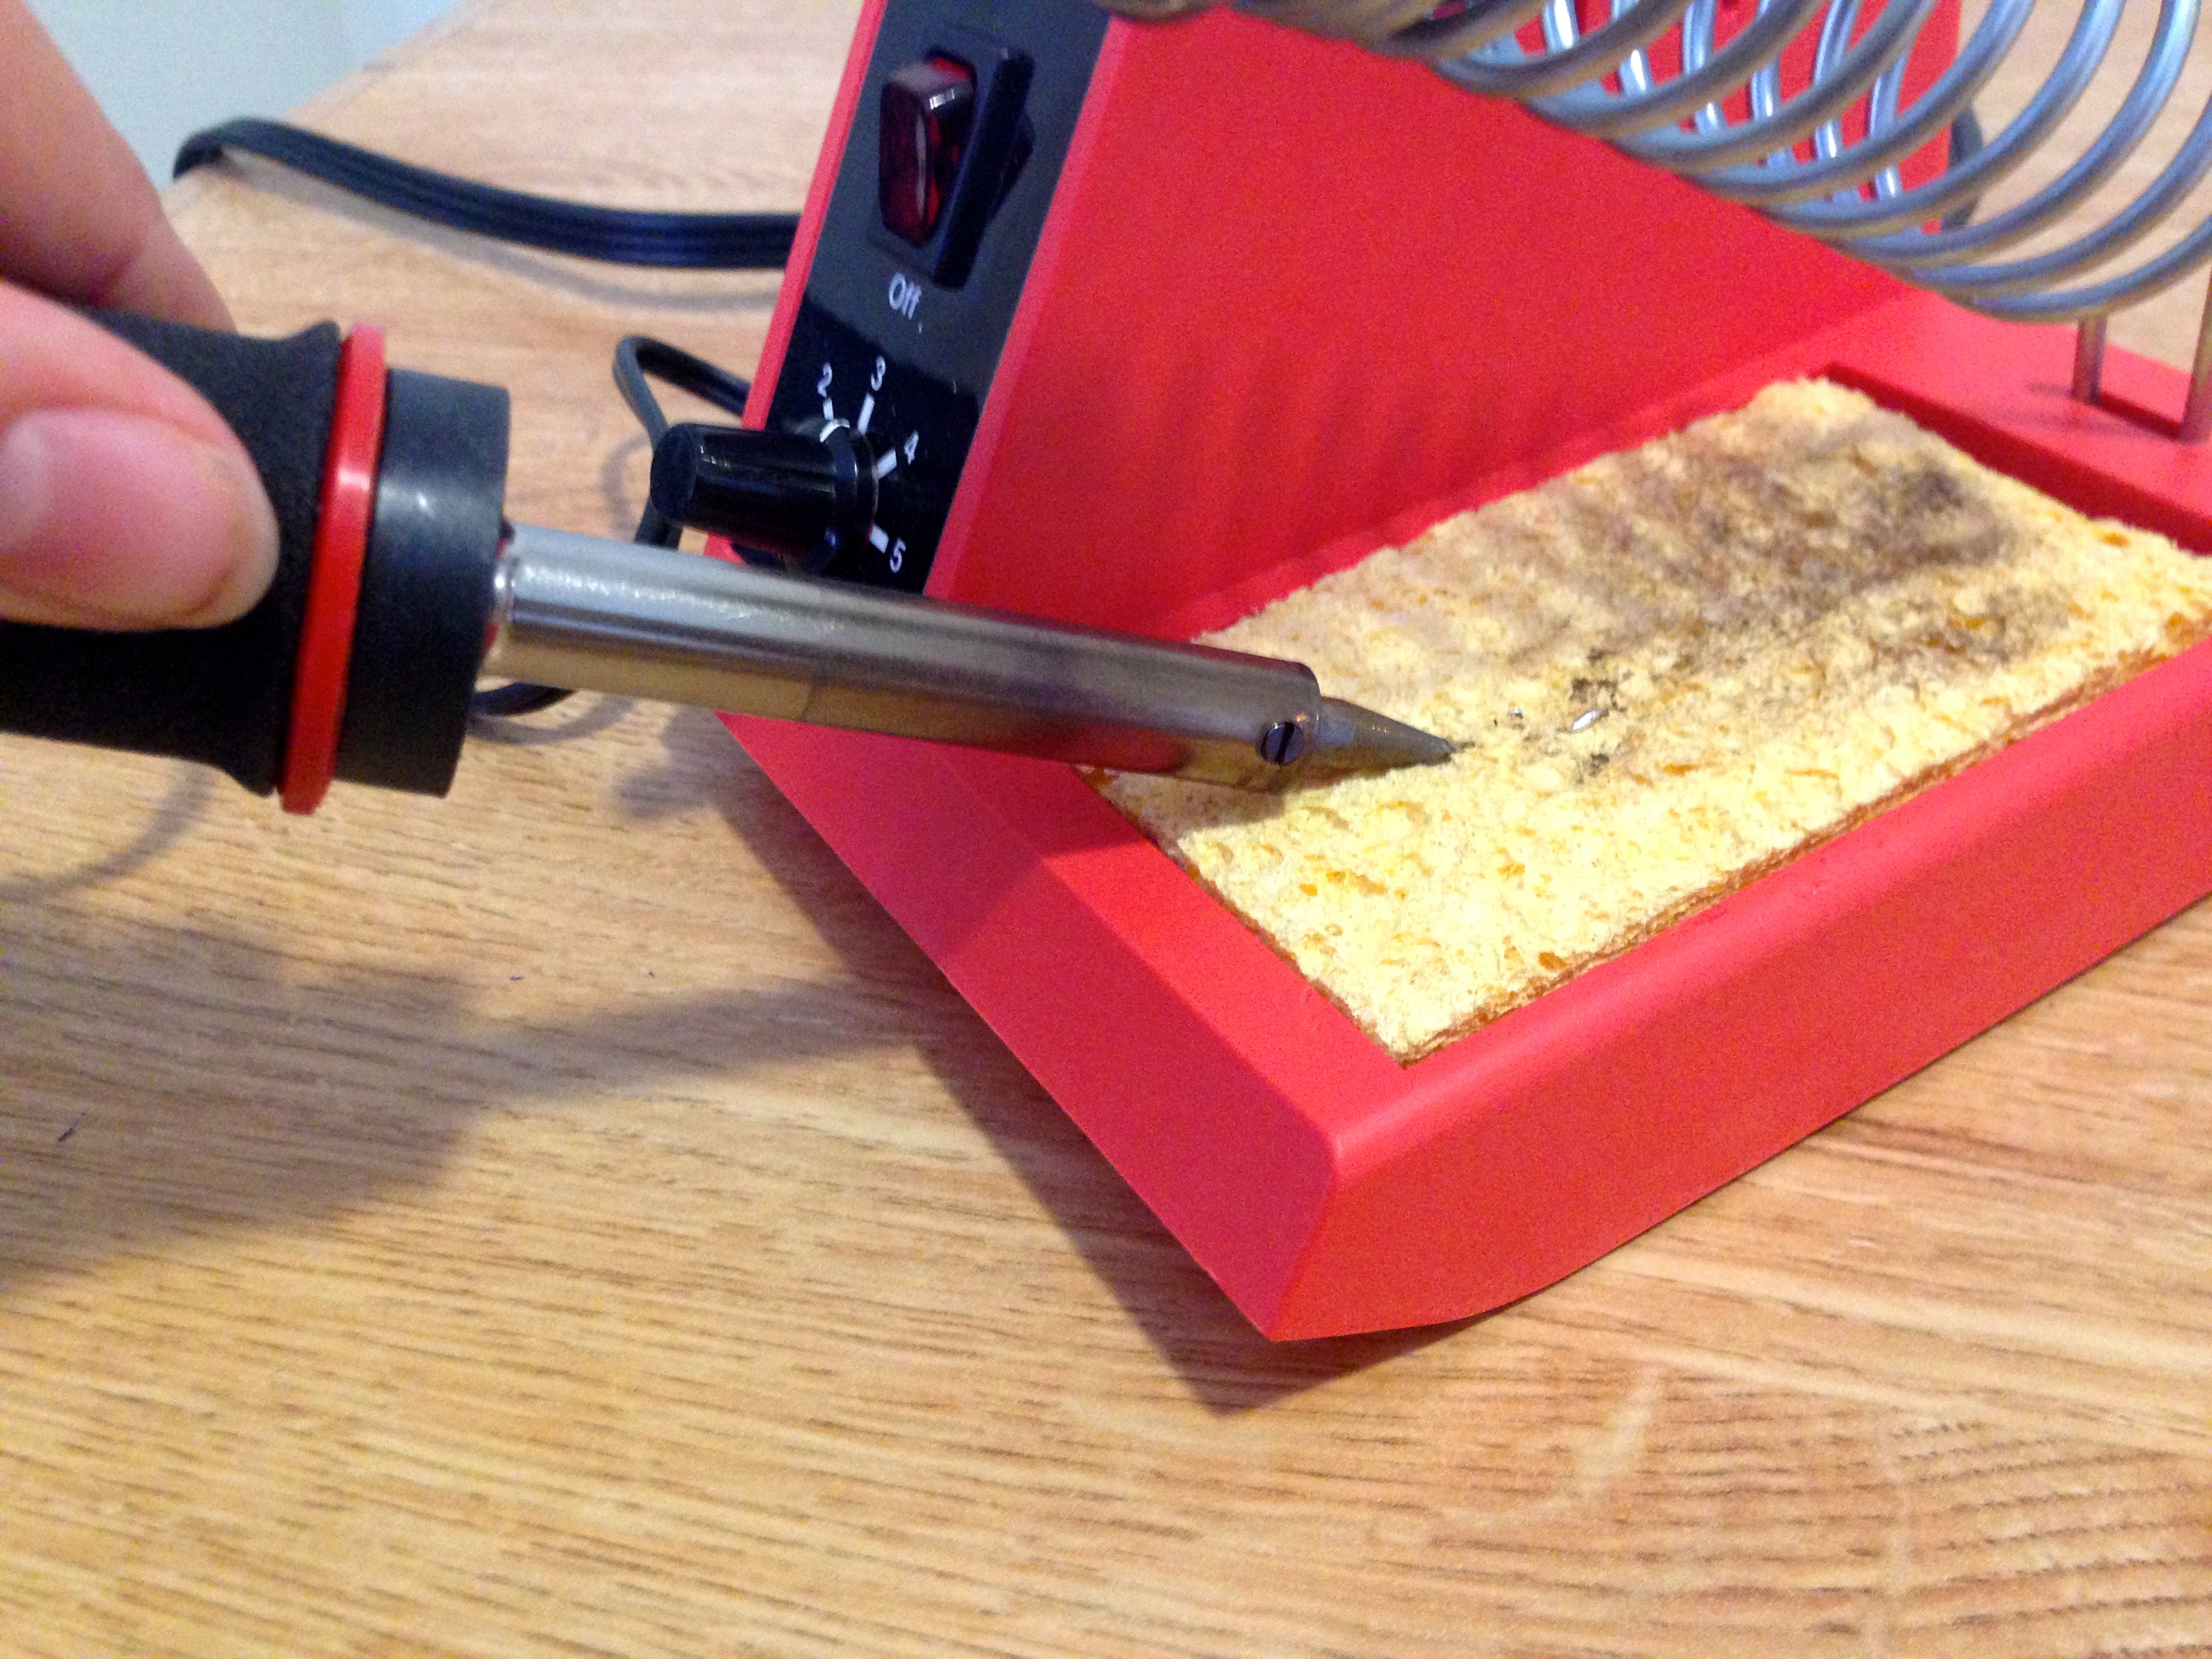
Step 8. Your junction is complete! Wipe the tip of your soldering iron on a dampened sponge to remove extra solder.