Lighting Your Town
Developed by: Kelli Mocny, Teacher, Foussat Elementary
Time required in minutes: 2-3, 50 min periods
Recommended Grade/Age Group: 3rd-5th grade
Subject(s): Science, Social Studies and Geography
Overview Students will design a model of their town, or landforms in their area (mountains, lakes, rivers) and engineer an electric circuit to display lights and power to the area.
Learning Objectives Students will demonstrate knowledge of city layout, landforms in the area and the obstacles they present to the population of an area. Students should also demonstrate knowledge of open and closed circuits.
Standards Supported
ISTE 1, 2, 3, 4, 6
NGSS:
Grade 3:
PS2.B Types of Interactions
Grade 4
ETS1.C Optimizing the Design Solution
PS3.A Definitions of Energy
CA Social Studies:
Grade 3:
Community and Change 3.1
Grade 4
CA: A changing State 4.1
Grade 5:
CA 5.8 (trace the colonization, immigration and settlement patterns and the effect on the physical features and geography of the land).
Materials
• Chibitronics Classrom Kit, white LED lights, Colored LED lights, extra sensors, copper tape and 3V Lithium batteries (10-15 lights per student group)
• Cardboard bases for models
• Recycled material (paper, cardboard, tubes, plastic etc to create the land formations)
Pre-lesson Activities/Preparation
• Gather materials (recycled stash, extra construction paper and cardboard bases)
• Students should have some primary working knowledge of the chibitronics circuit stickers.
• Background knowledge of their community and land around them (or the land they are studying).
• Introduction to landforms the following video can be used from FreeSchool: https://www.youtube.com/watch?v=BsqKTJtK_vw
Instructions
Day 1-2: Students will be given the task to research their city, region, state or country that they are studying and identify the major landforms. Students will design a three-dimensional model of the area and construct it using the recycled materials and the cardboard base. Students should label the land formations and landmarks in the area. Focus on land, not population at this point.
Day 2-3: Class discussion on population and how the people affect the land. Teacher will give the students the task of bringing roads and electricity and power to the land for which they have designed. Use resources such as this one to show how electricity gets to your home. http://kids.saveonenergy.ca/en/what-is-electricity/how-electricity-gets-to-your-home.html Discuss how the electricity may need to go around, through, over or under the landforms and how they may create obstacles for the populations. Students will add roads, buildings and homes through their model and use the chibitronics circuit kits to show how to get power and lights through their model.
End of Day 3: Students will reflect on the impact of population on the land, and the most efficient use of the energy that was dissipated through their model.
Questions to pose:
What obstacles did you run in to?
Did you have to modify or change any part of your “land” to make the electric circuit work?
What improvements did you make to your land?
What damage was done to your land?
Assessment
Students will present a quick description of their model and answer the questions stated above.
Extension Activities
Students can begin to investigate sustainable energy.
Investigate other types of energy through science projects: http://www.energyquest.ca.gov/projects/
Examples and Inspirations for Students
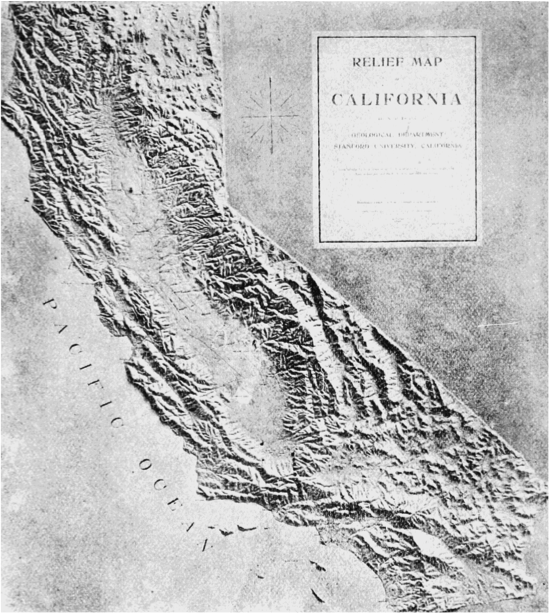
My students have made3D maps similar to the one on the left. For this project, they would focus on a smaller area (one region, or city area) and create their map with clay, dough, paper cardboard or other material. Then lay their electric circuits over, under or through their map.