Good morning! This week we’re excited to collaborate with Sweet Stamp Shop and both design teams will be sharing inspiration all week long! And what’s a collaboration without a giveaway? 😉 One lucky commenter on our blog will win a Chibitronics starter kit so make sure to leave a comment each day for the most chances to win!
Today Vanessa Amann and Wei Wei Wang are sharing projects using Sweet Stamp Shop and Chibitronics! And don’t forget to head to the Sweet Stamp Shop blog to see what their designers have created!
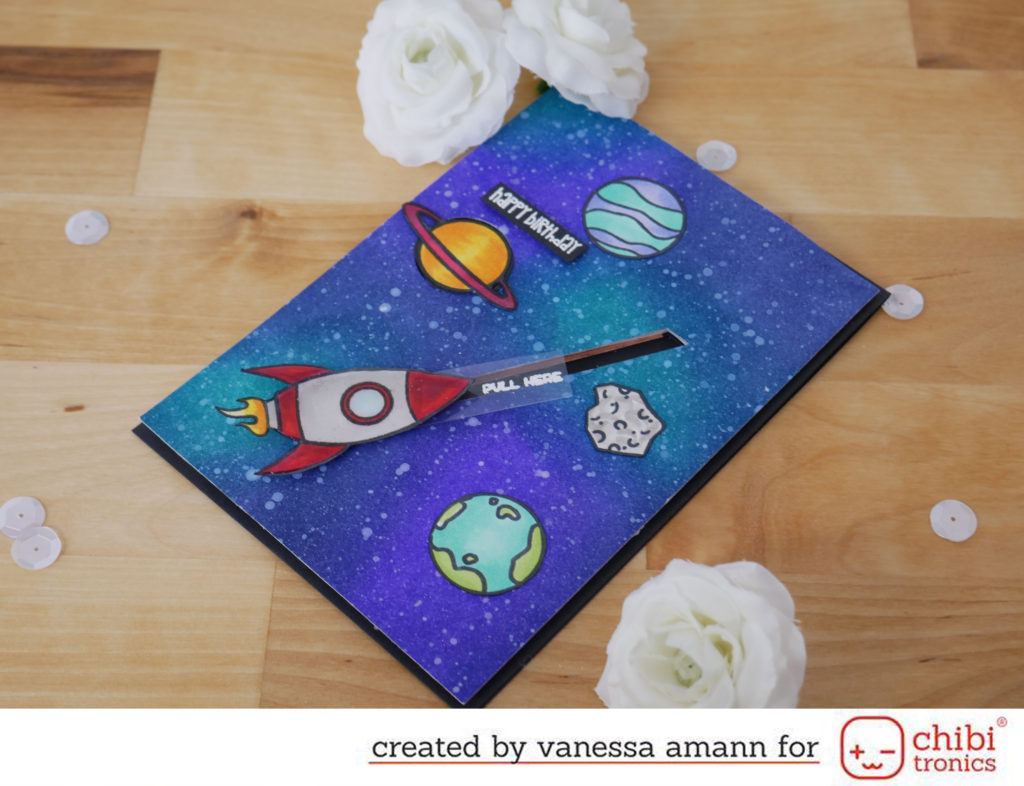
Hello, it´s Vanessa here on the blog to share with you a pulltab slider switch card. I love improving my Chibitronics skills and don’t want to bore myself and my followers with the same card type each time. This time I challenged myself in creating a pulltab slider switch mechanism. I have seen this Eiko, from our DT, creating and wanted to create it too.
I´m not really good in explaining something, this is why I like to make videos. As you always learn better watching than reading. But here is a little explanation, on how I created his card. (I have been instructed by amazing Eiko):
- Watch my instruction video
- Create the main idea of you card
- plan where you want to have the slider
- Stamp, color and fuzzy cut all your images you need
- create the background
- find out where you want to have your LEDs
- Now you can start building your circuit. You create it like you normally would
- but than your slider has to go through one side of the circuit and cross before all LEDs. This is important, so that the circuit is disconnected.
- than you have to create a plus-shaped piece of paper. You have to score a piece of paper and fold forward and backwards (in the video you can see it better) and than cover it with copper tape.
- This little plus-shaped paper is going to be the connection that has been cut down.
- Now the card has to put together and all is done
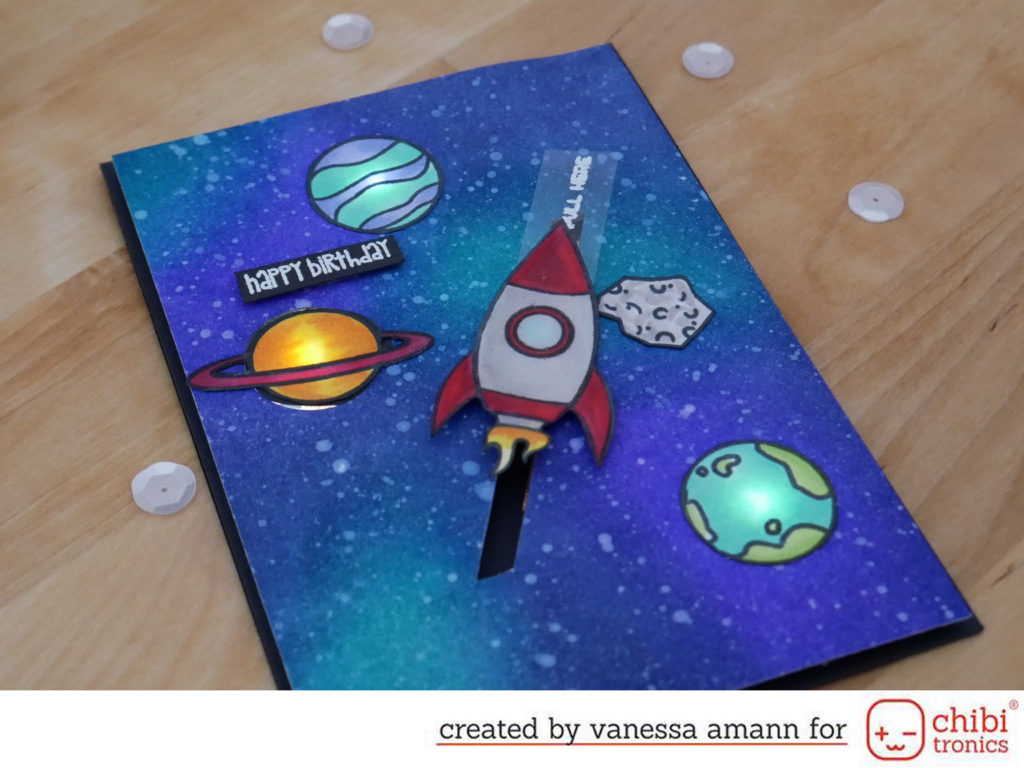
I hope I could help you improving your Led card skills. Please don’t forget to comeback tomorrow for more inspiration here on the blog.
Until the next time, I hope you have a wonderful day,
Supplies:
Sweet Stamp Shop- Spacin´out , Chibitronics Starter Kit, Lawn Fawn – Push Here, Distress Inks, Copic Marker, BigShot
Hello, It’s Wei Wei here today with my project for the collaboration.
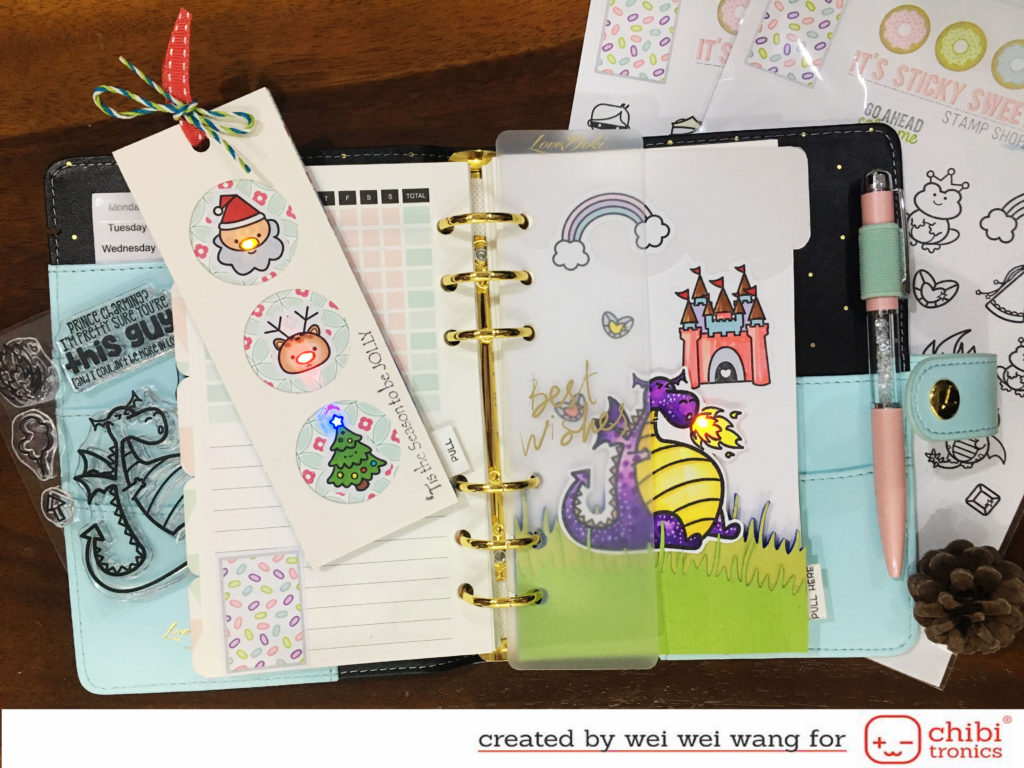
I spent much time to think how to promote the use of Chibitronics products to my daily life, as I don’t want to create light up cards all the time. I’m addicted to planner design recently, so I decided to made a light up planner divider and tag to decorate my planner.
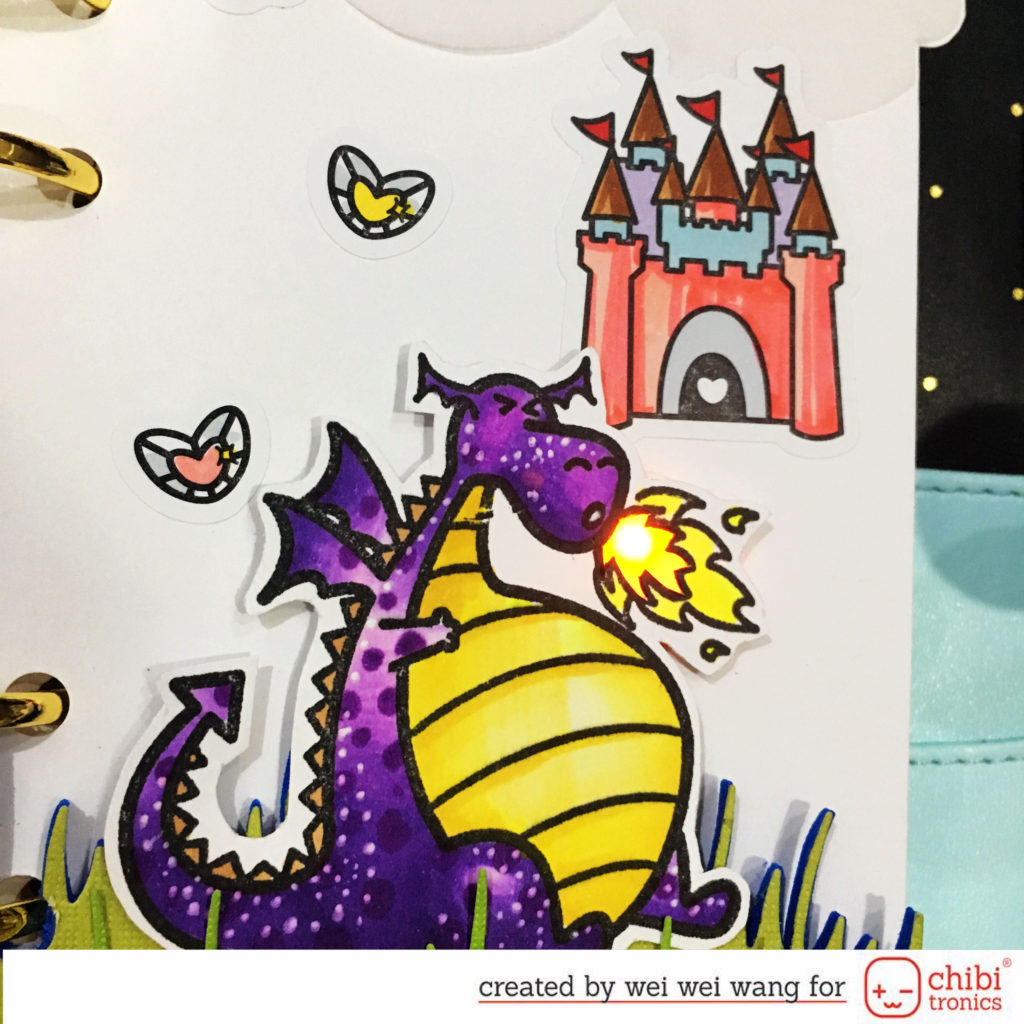
The stamp I used is Sweet Stamp Shops set “THIS GUY “ and The sticker is “DRAGON – STICKER” .
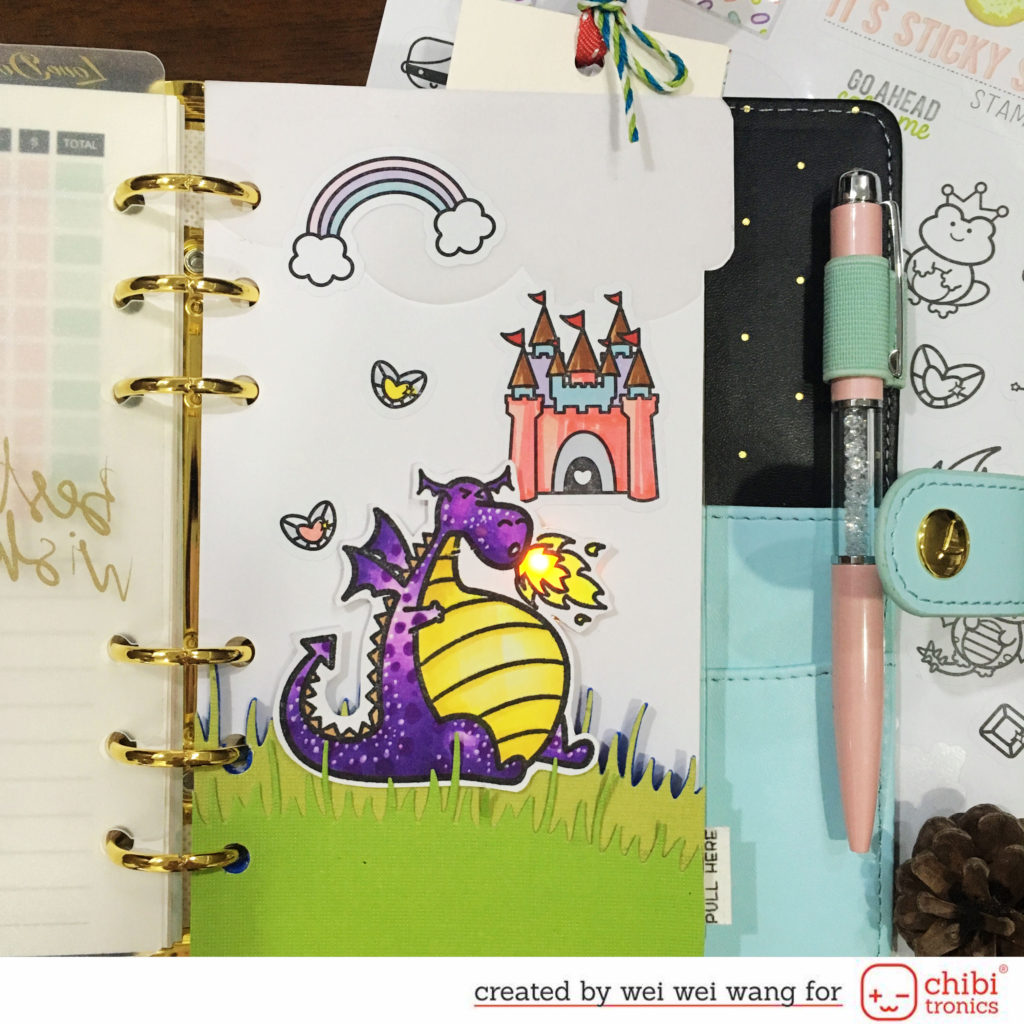
I started by stamping and coloring the dragon on a piece of card stock.
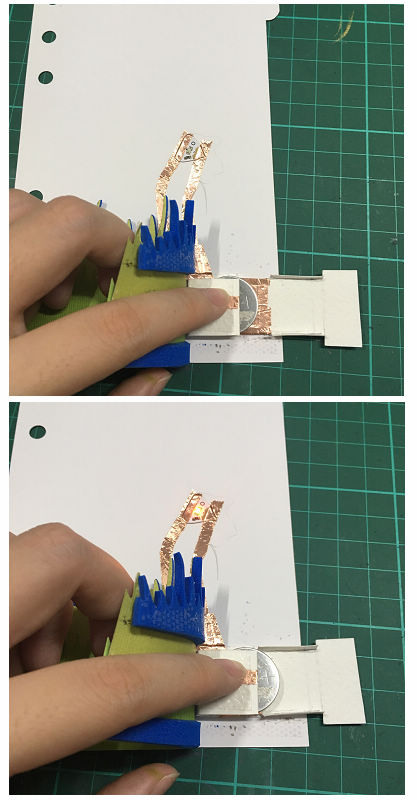
For the circuit template, I used simple circuit since I only wanted to light up the fire. After sticking the copper tape and orange LED, I made a switch. I cut a piece of paper and added copper tape on it so that when the switch is connected to the circuit, the LED turns on. When pulling the switch out, the LED turns off.
I then added grass shaped foam and green paper in order to hide the battery. To make the LED more brighter, I cut a hole on the fire and added a piece of vellum.
To finish off, I added a cloud shaped vellum and also stuck the rainbow, castle as well as heart stickers on it.
I have a process video for you too. Please check my YouTube channel.
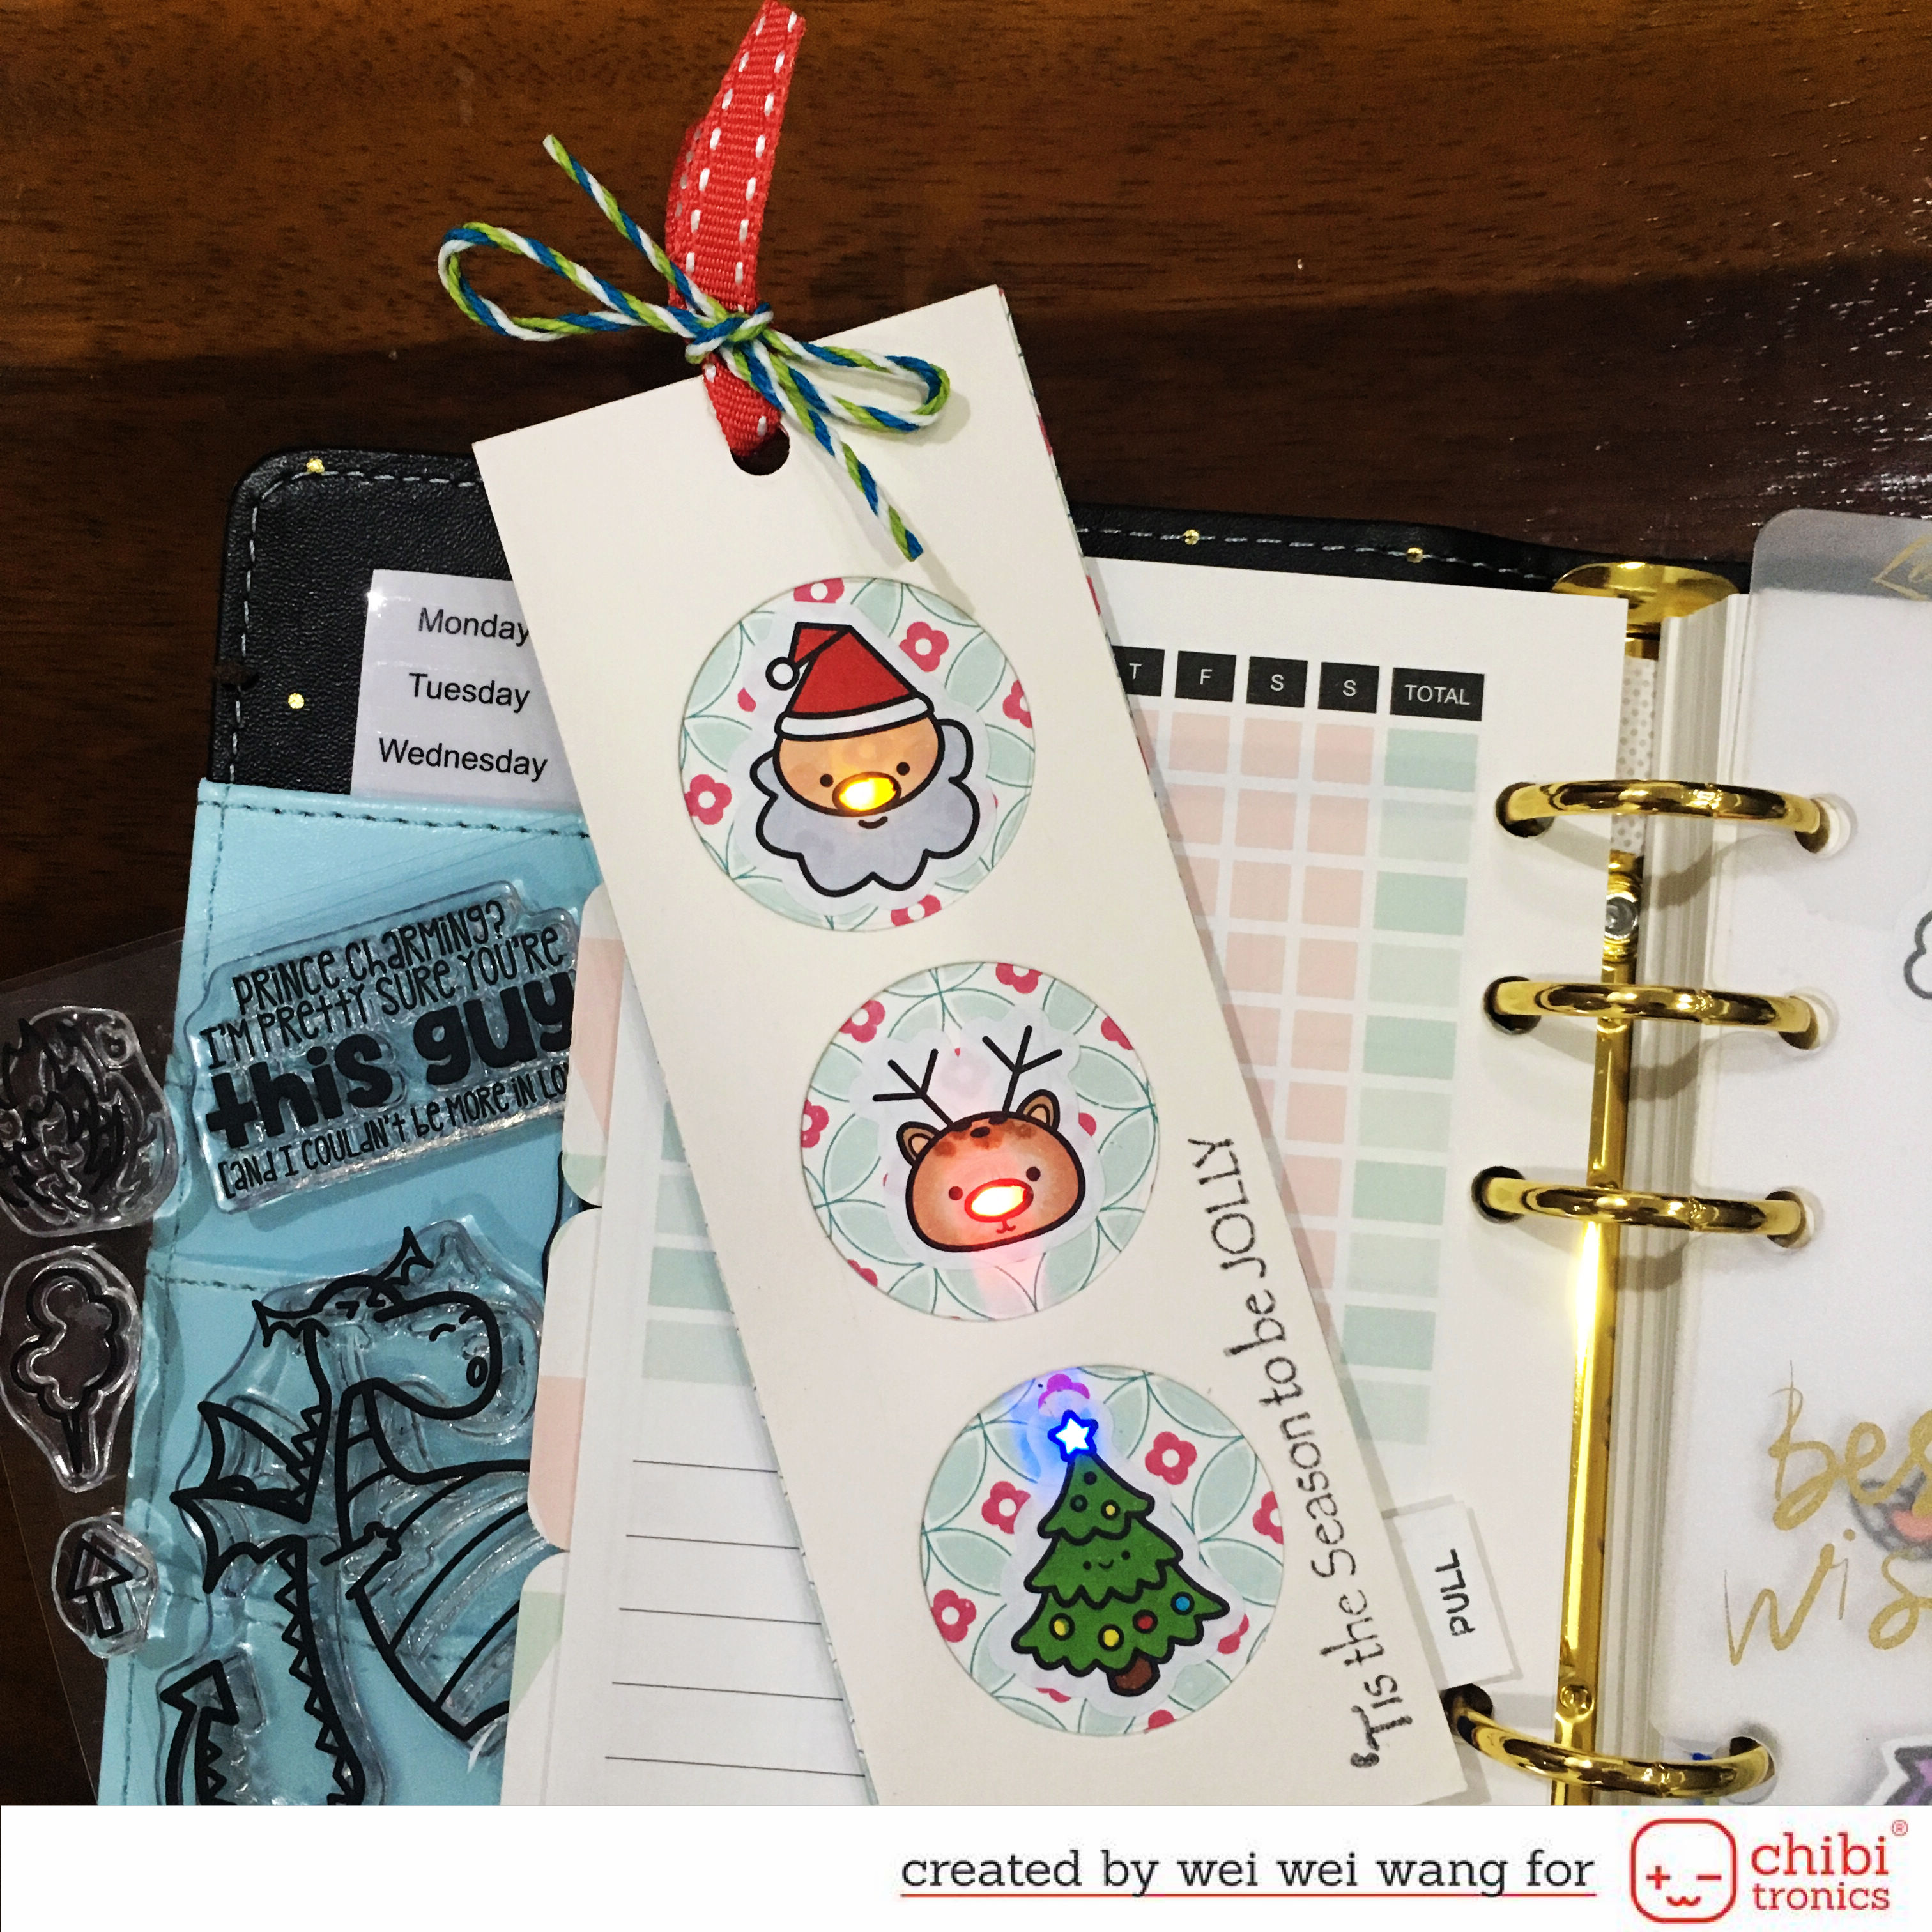
For the tag, I’m featuring LED lights from Chibitronics red, yellow, blue megapack and Sweet Stamp Shop “FALL INTO – STICKER“.
I first colored the Christmas images with markers and then stuck them onto the patterned paper.
Next, I cut holes on the noses and star then added vellum behind the holes.
For this tag, I used parallel circuit because I want to turn on three LEDs with one battery. I also made the same switch as the planner divider’s above.
To finish off, I added a white panel which has three circle on it.
You can watch the video tutorial on My YouTube Channel.
Thanks so much for visiting and be sure to come back tomorrow for inspiration!

How fun, I love the use in the planner!
What awesome ideas!
To use in the planner is
so fun.
Carla from Utah
These are so fun! I love the rocket – and what a great idea to use acetate as an incognito switch!
The bookmark is adorable too – my daughter wants to make one now – she loves her books! x
Awww!!! Super cute projects!!! Love them!!!
Super cute! I love the planner page idea!
Love the light up planner divider and tag and the space scene is so cool! Two awesome projects with the fab lights! xxx
OMG this spaceship card is fantastic … my grandsons would absolutely love one like this. So appreciate the shares by all these talented ladies.
Love Santa’s and Rudolph’s light up noses! How cute! I like how the vellum diffuses the LEDs in these projects.
Eow, beautiful cards! What a fun idea!!
So awedome, just disvovered chibitronics tonight and im speachless. This is really cool!
Oh my goodness !! All these creations are sooo awesome !
Two more great cards. The link for Vanessa’s Youtube didn’t work. I found it anyway.
So SO fun! I just love the dragon breathing the fire 🙂 So creative!
I LOVE that two in one interactive card from Vanessa! How clever to make it Chibi light up AND also move. <3
The tag and planner dashboard from Wei Wei?! SO innovative!!!
I want to do this sooooo bad for my cards. Keep the ideas coming