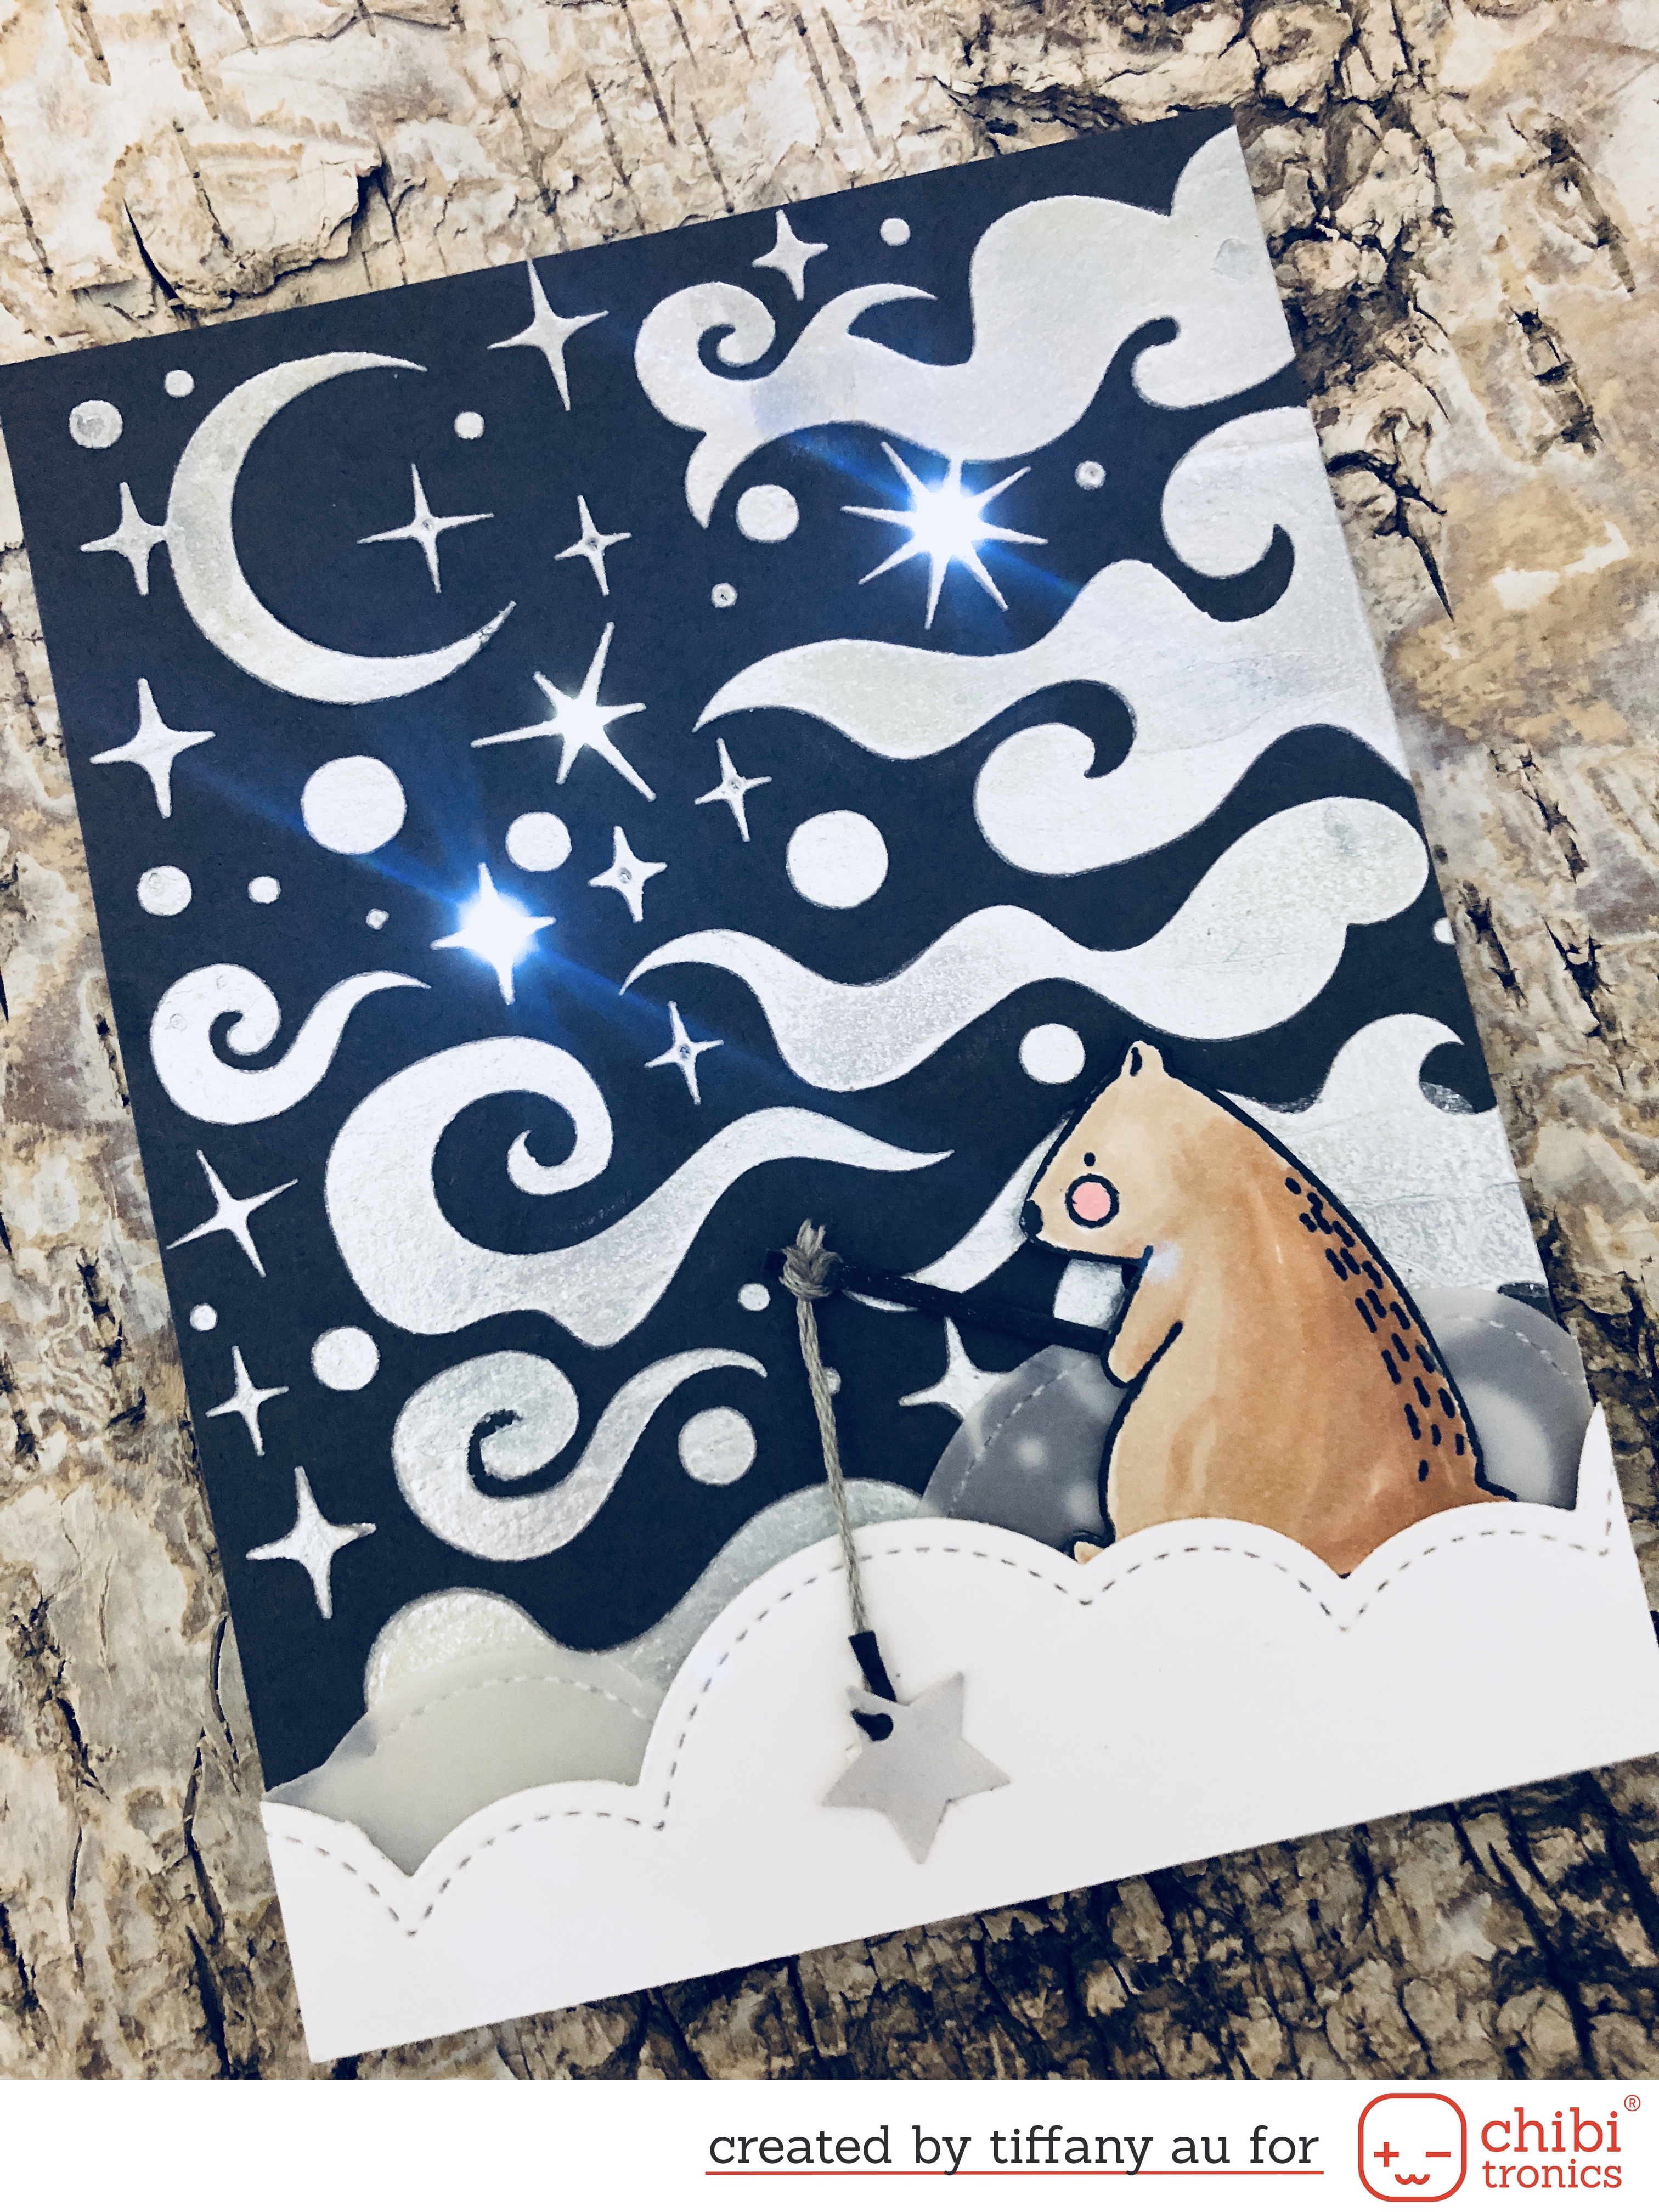
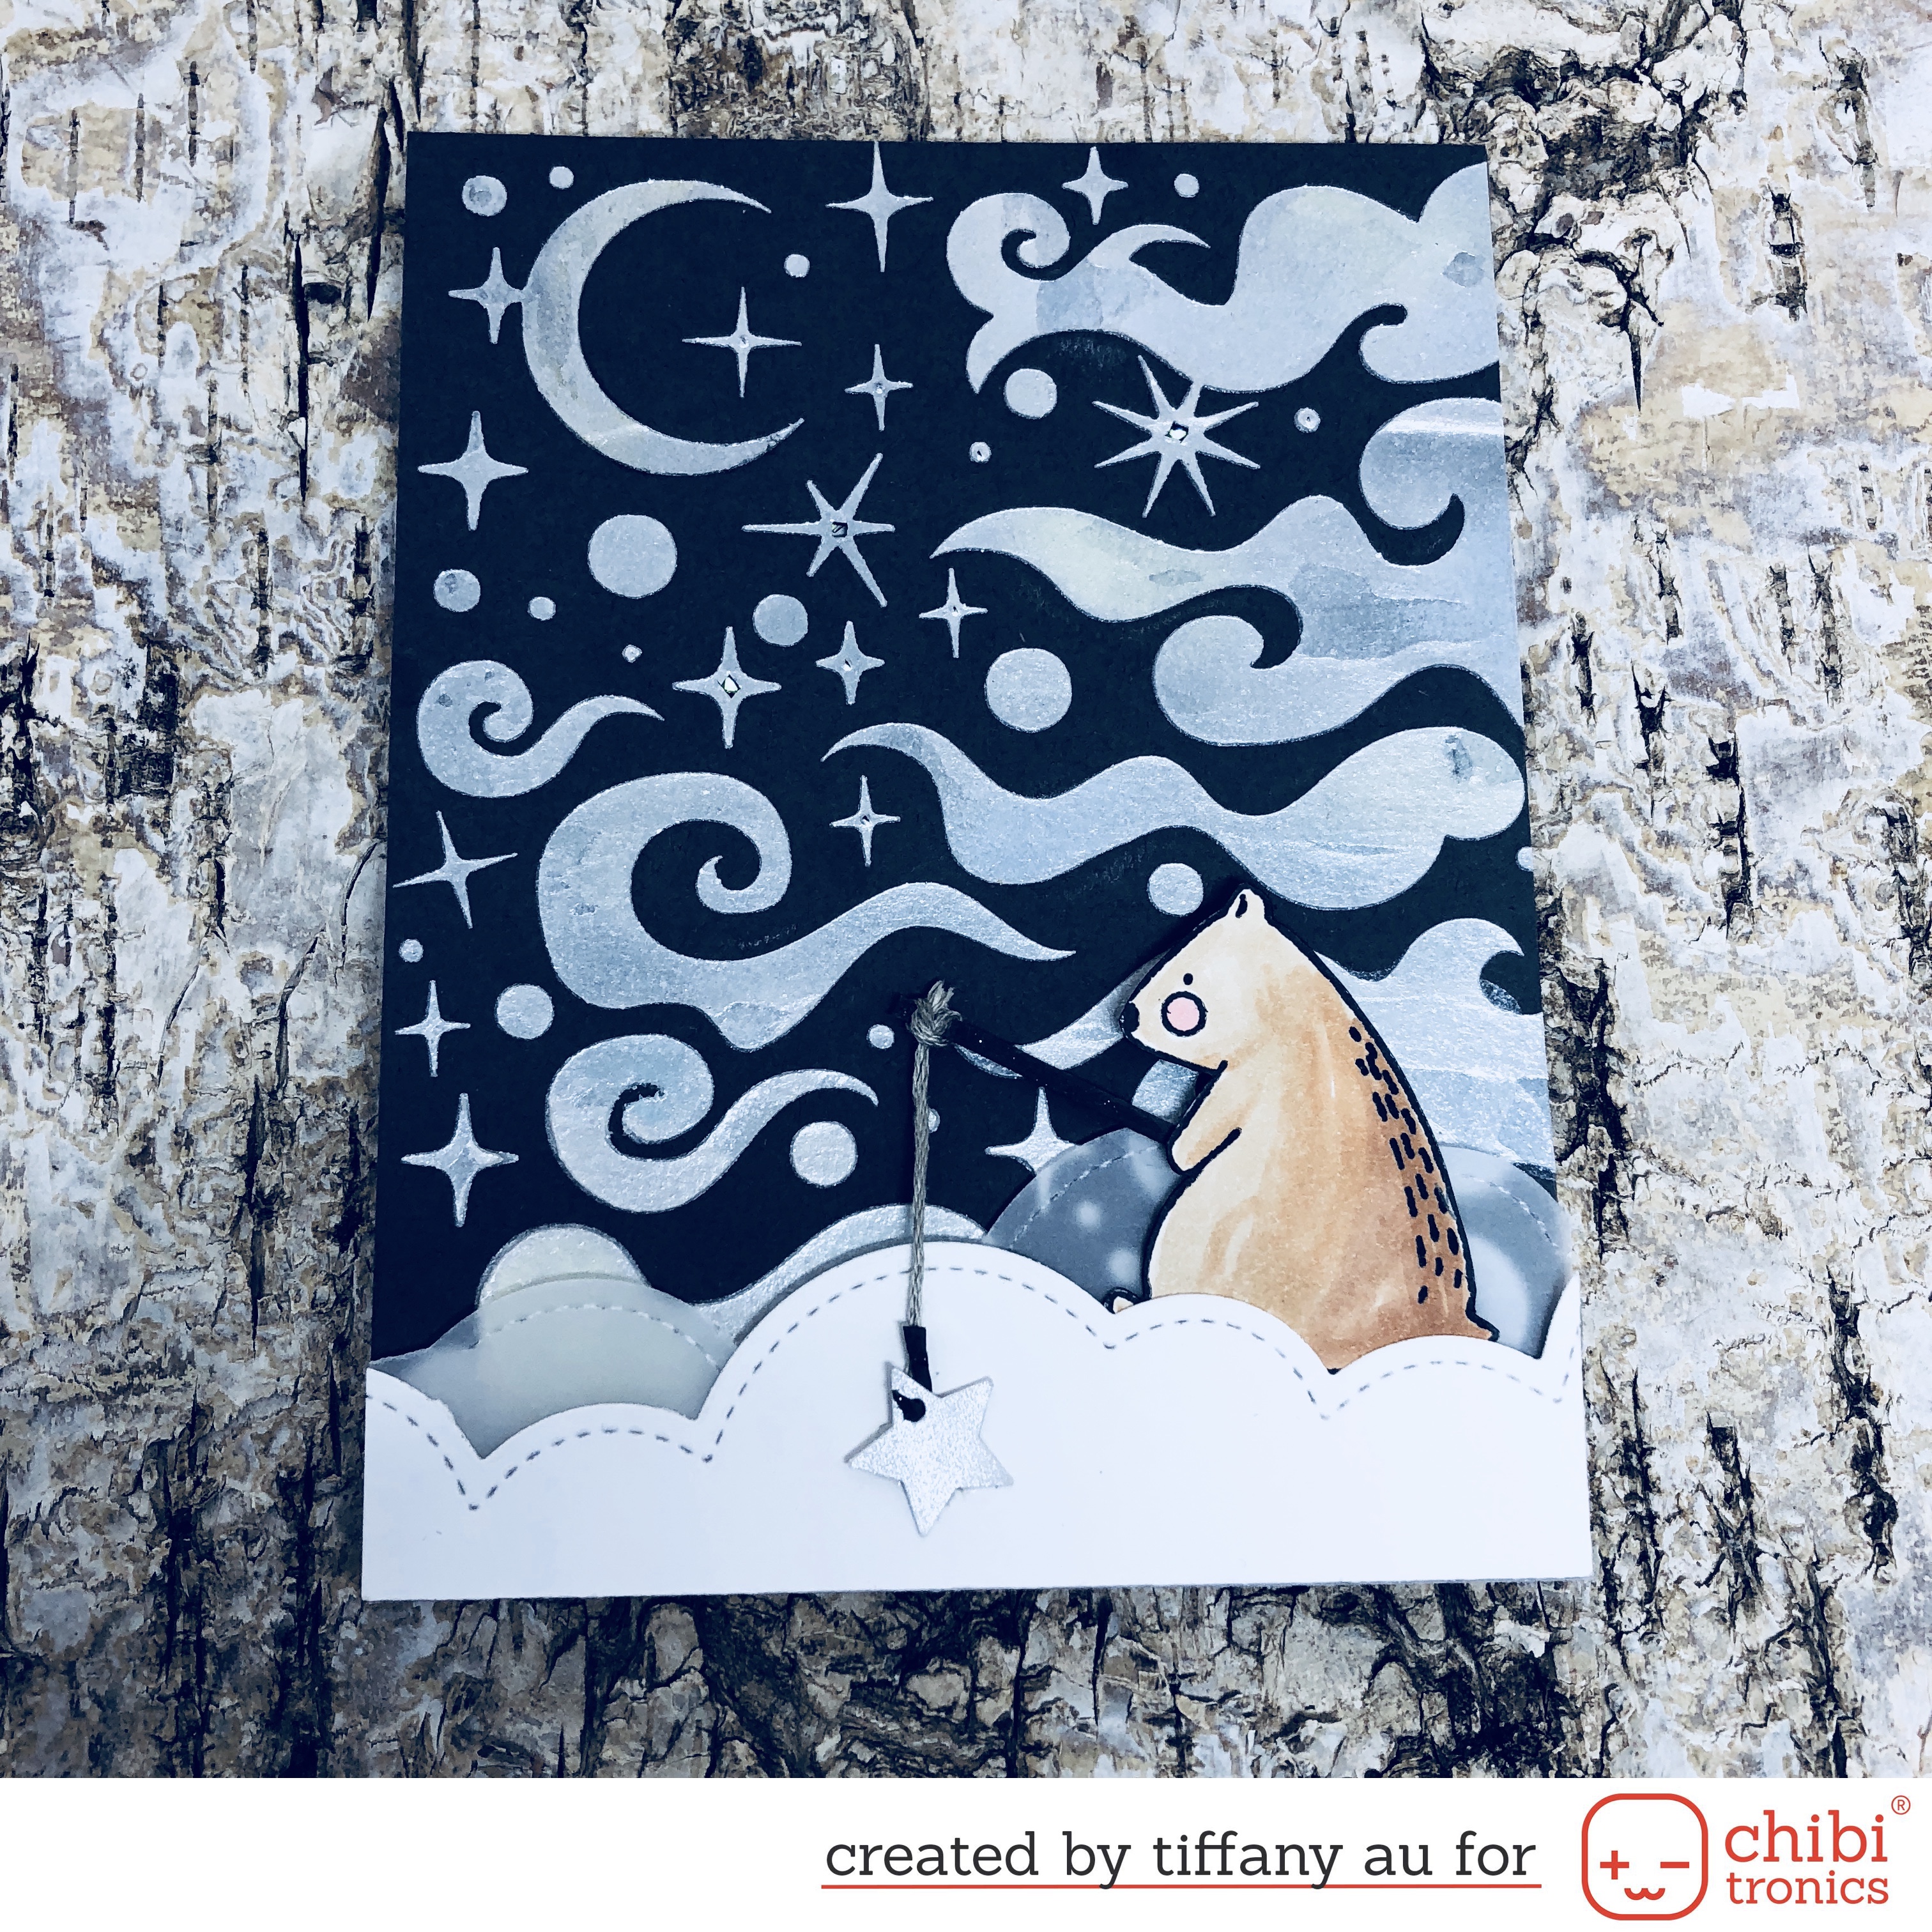
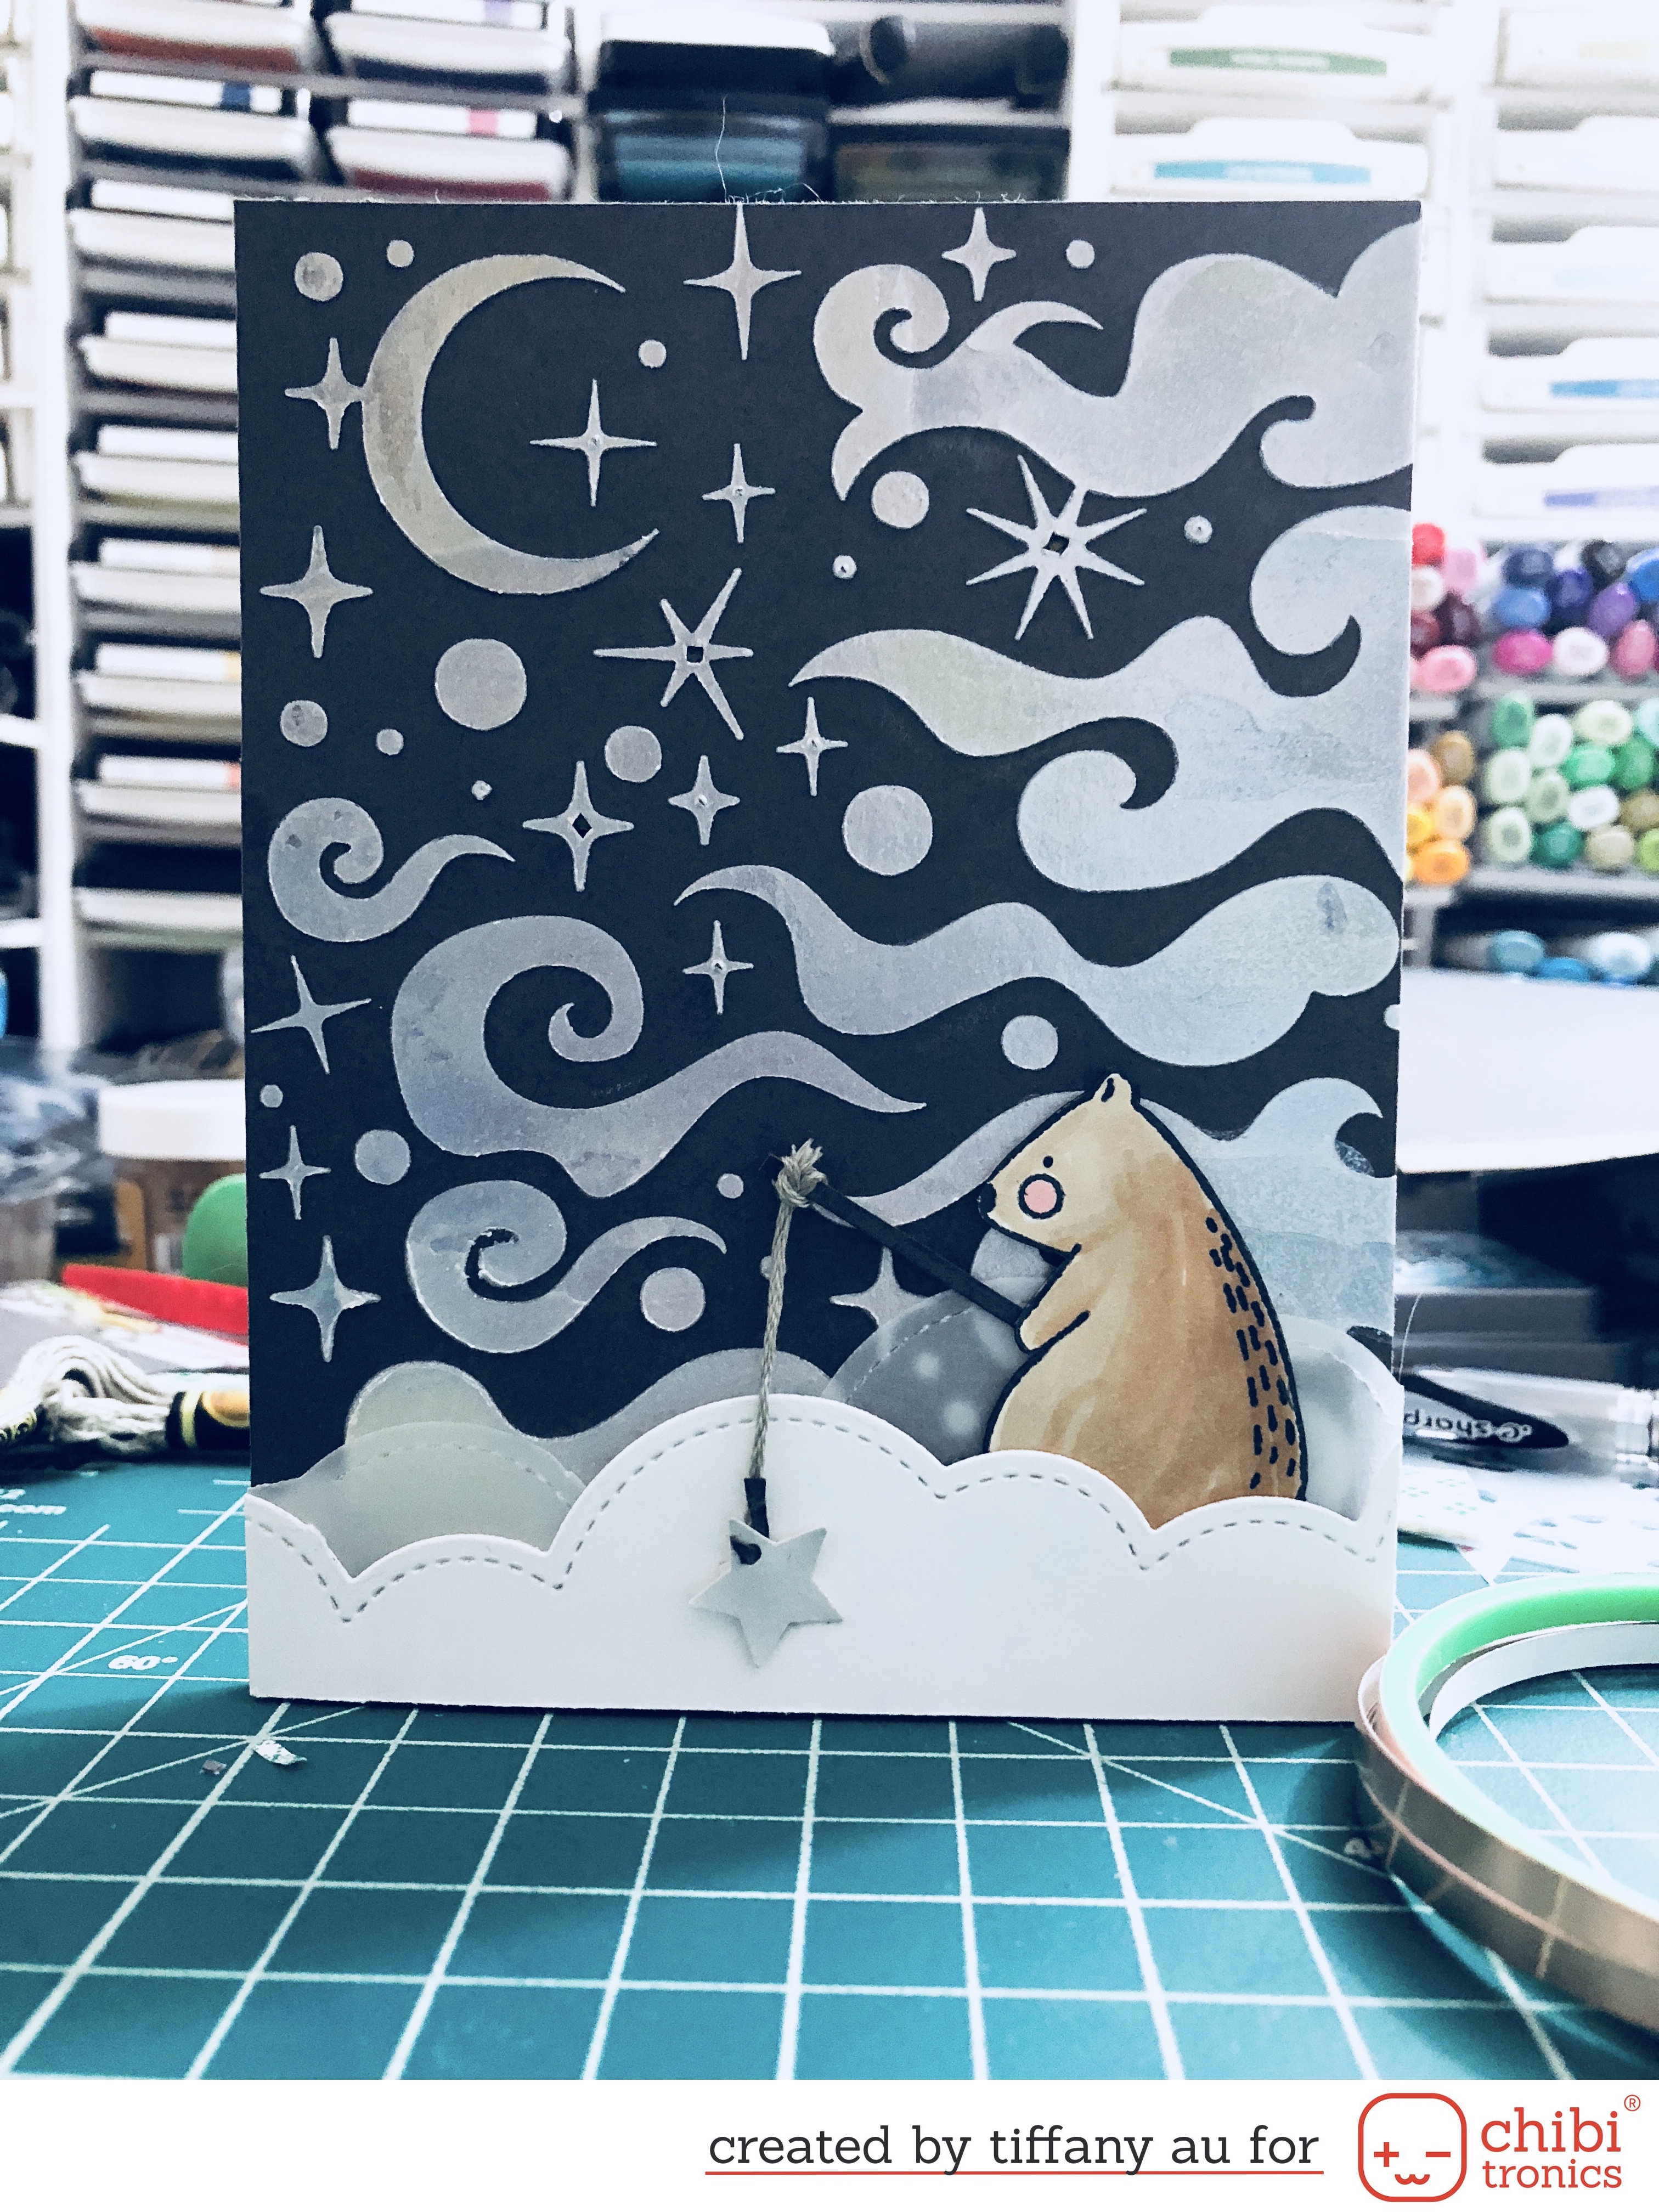
Hello to all my crafty friends. I am here on the Chibitronics blog today with a whimsical card featuring the Hero Arts Dreamy Night stencil which definitely deserve the Chibitronics treatment ;D.
Here are the steps for my card:
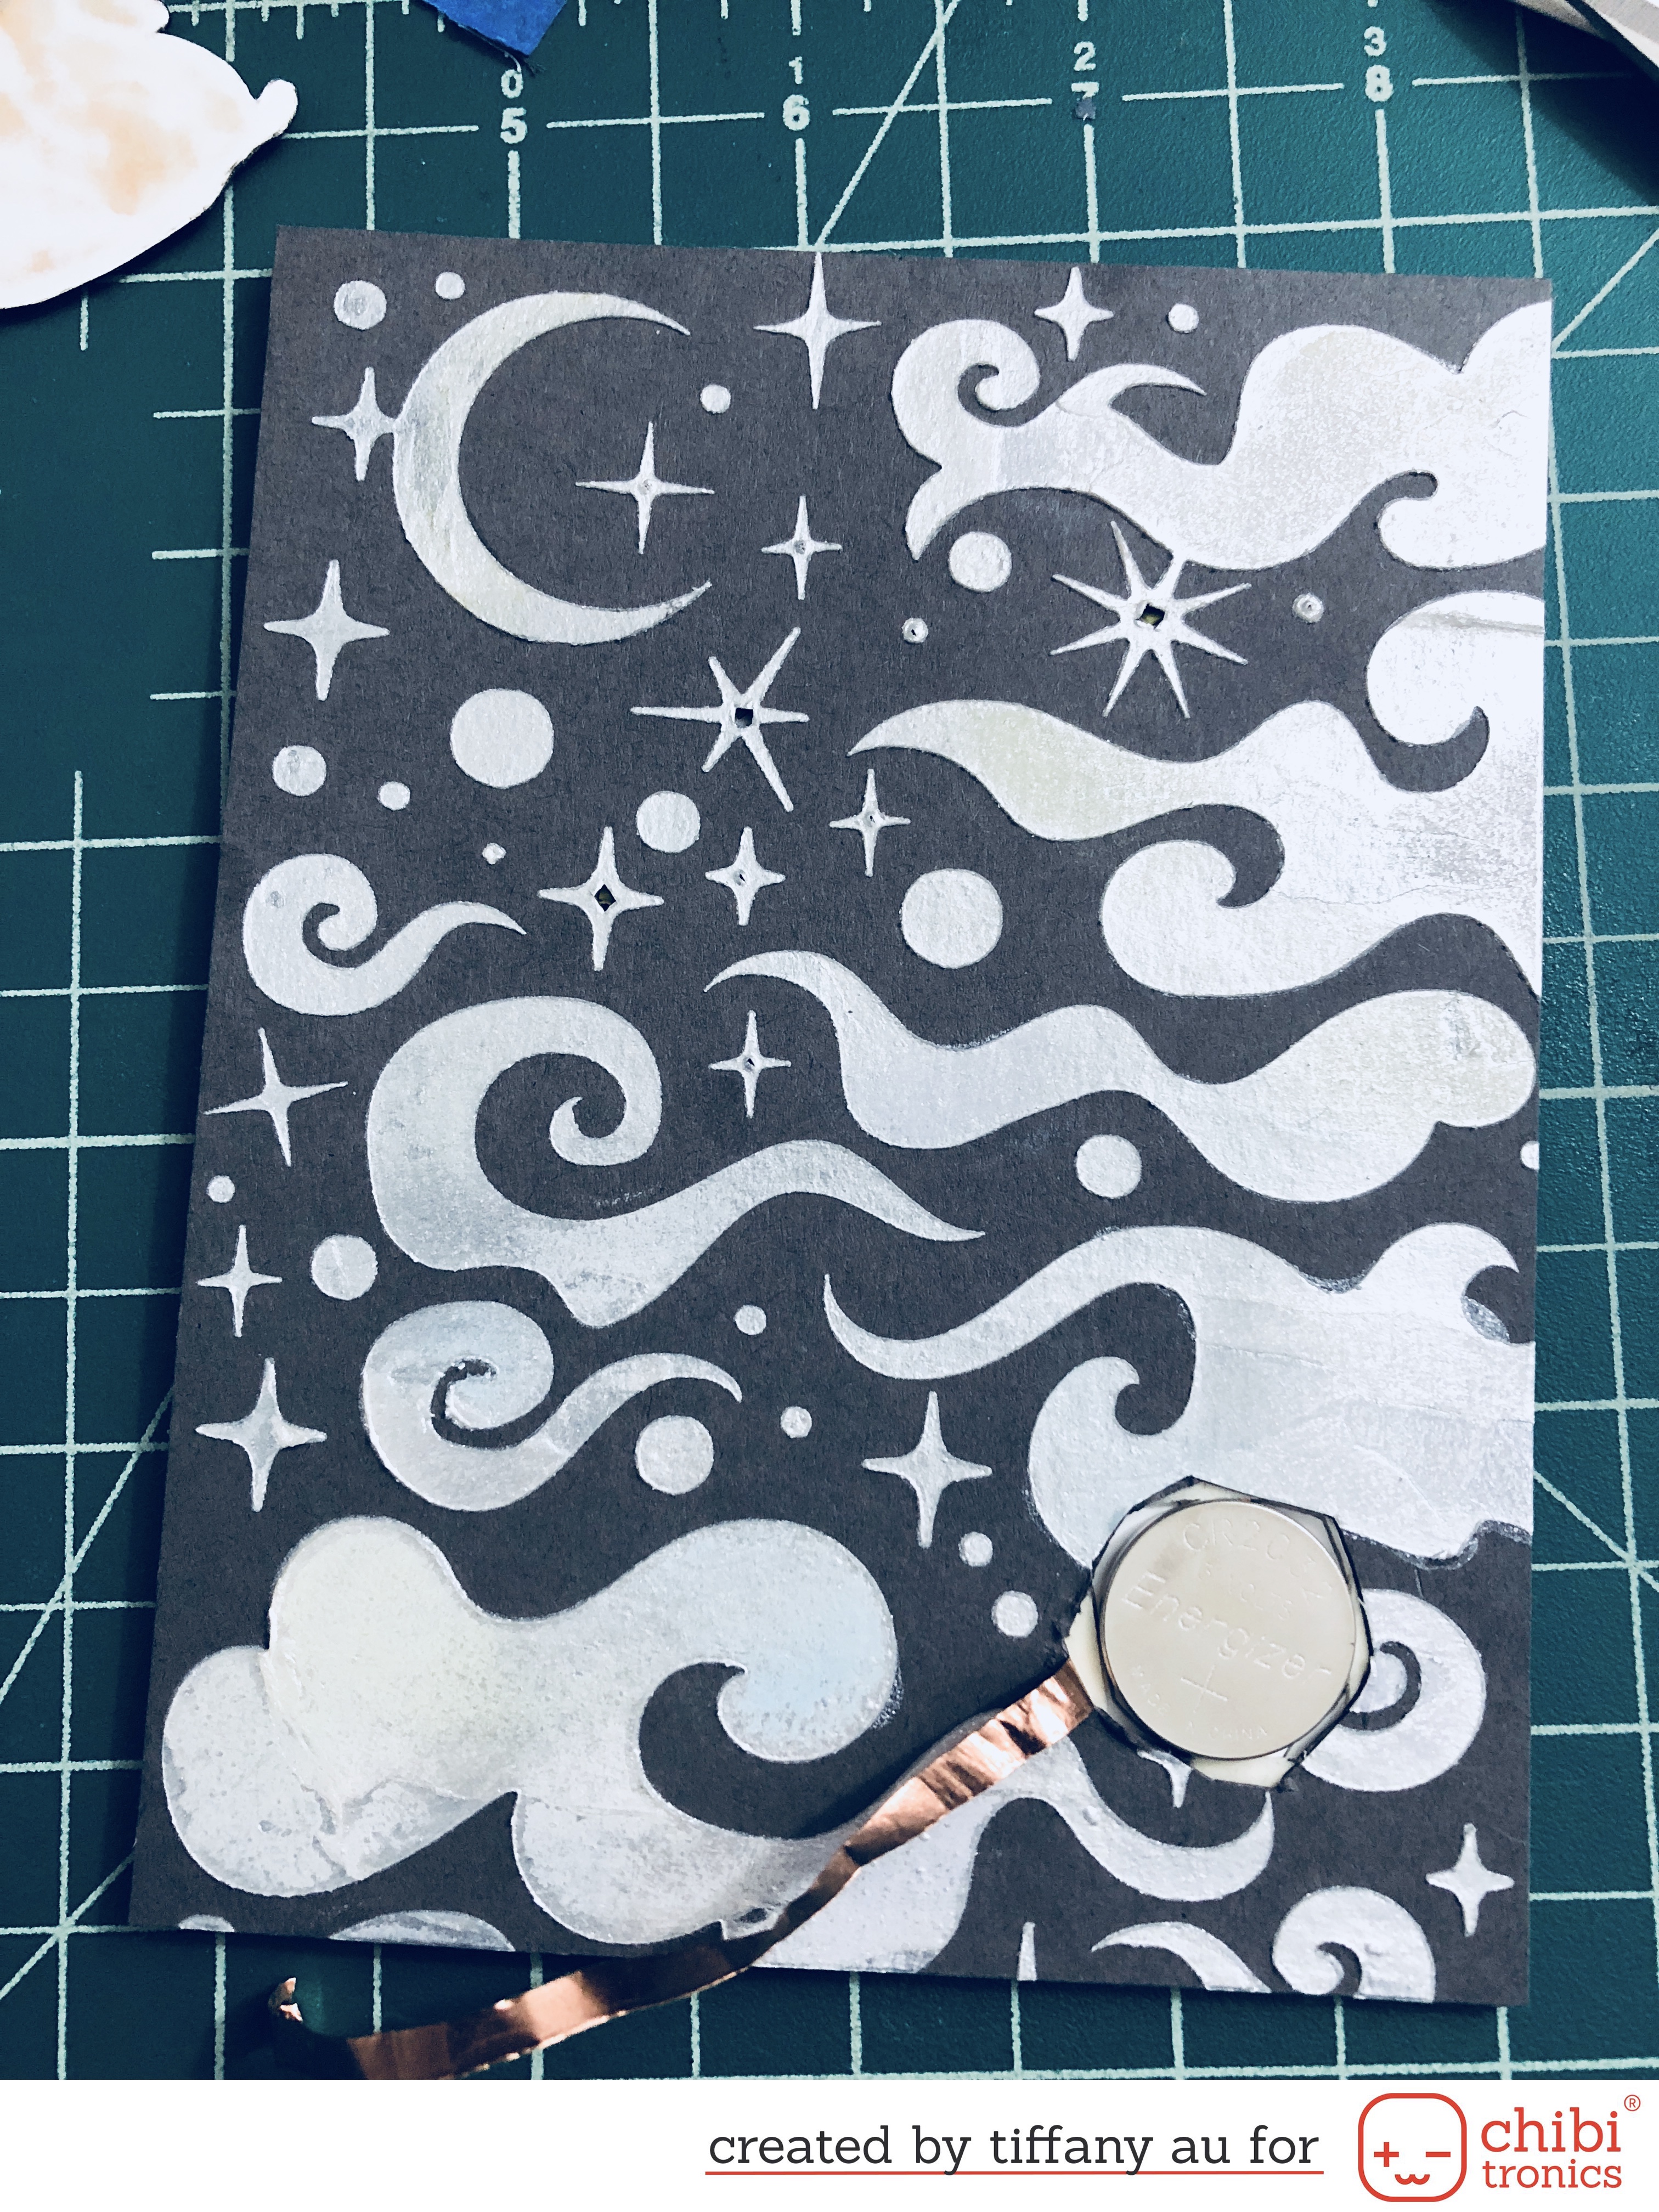
I first create my background piece by taping down my stencil over a dark grey cardstock and used my pallet knife to spread pearlescent embossing paste over it. Then put it aside to dry overnight. I also used my lawn fawn large cloud die to cut out 2 shapes from white cardstock and vellum paper. Stamp the bear from Waffle Flower’s Tea for Two stamp set, color it with copic markers and fussy cut it out.
Once my background is dried I cut down my piece to 5.5 x 4.25 inches to fit over my card base. Used my penknife to make tiny holes to go over my LED lights and then trace those holes over my card base. I also cut out a large hole big enough to go over my battery.
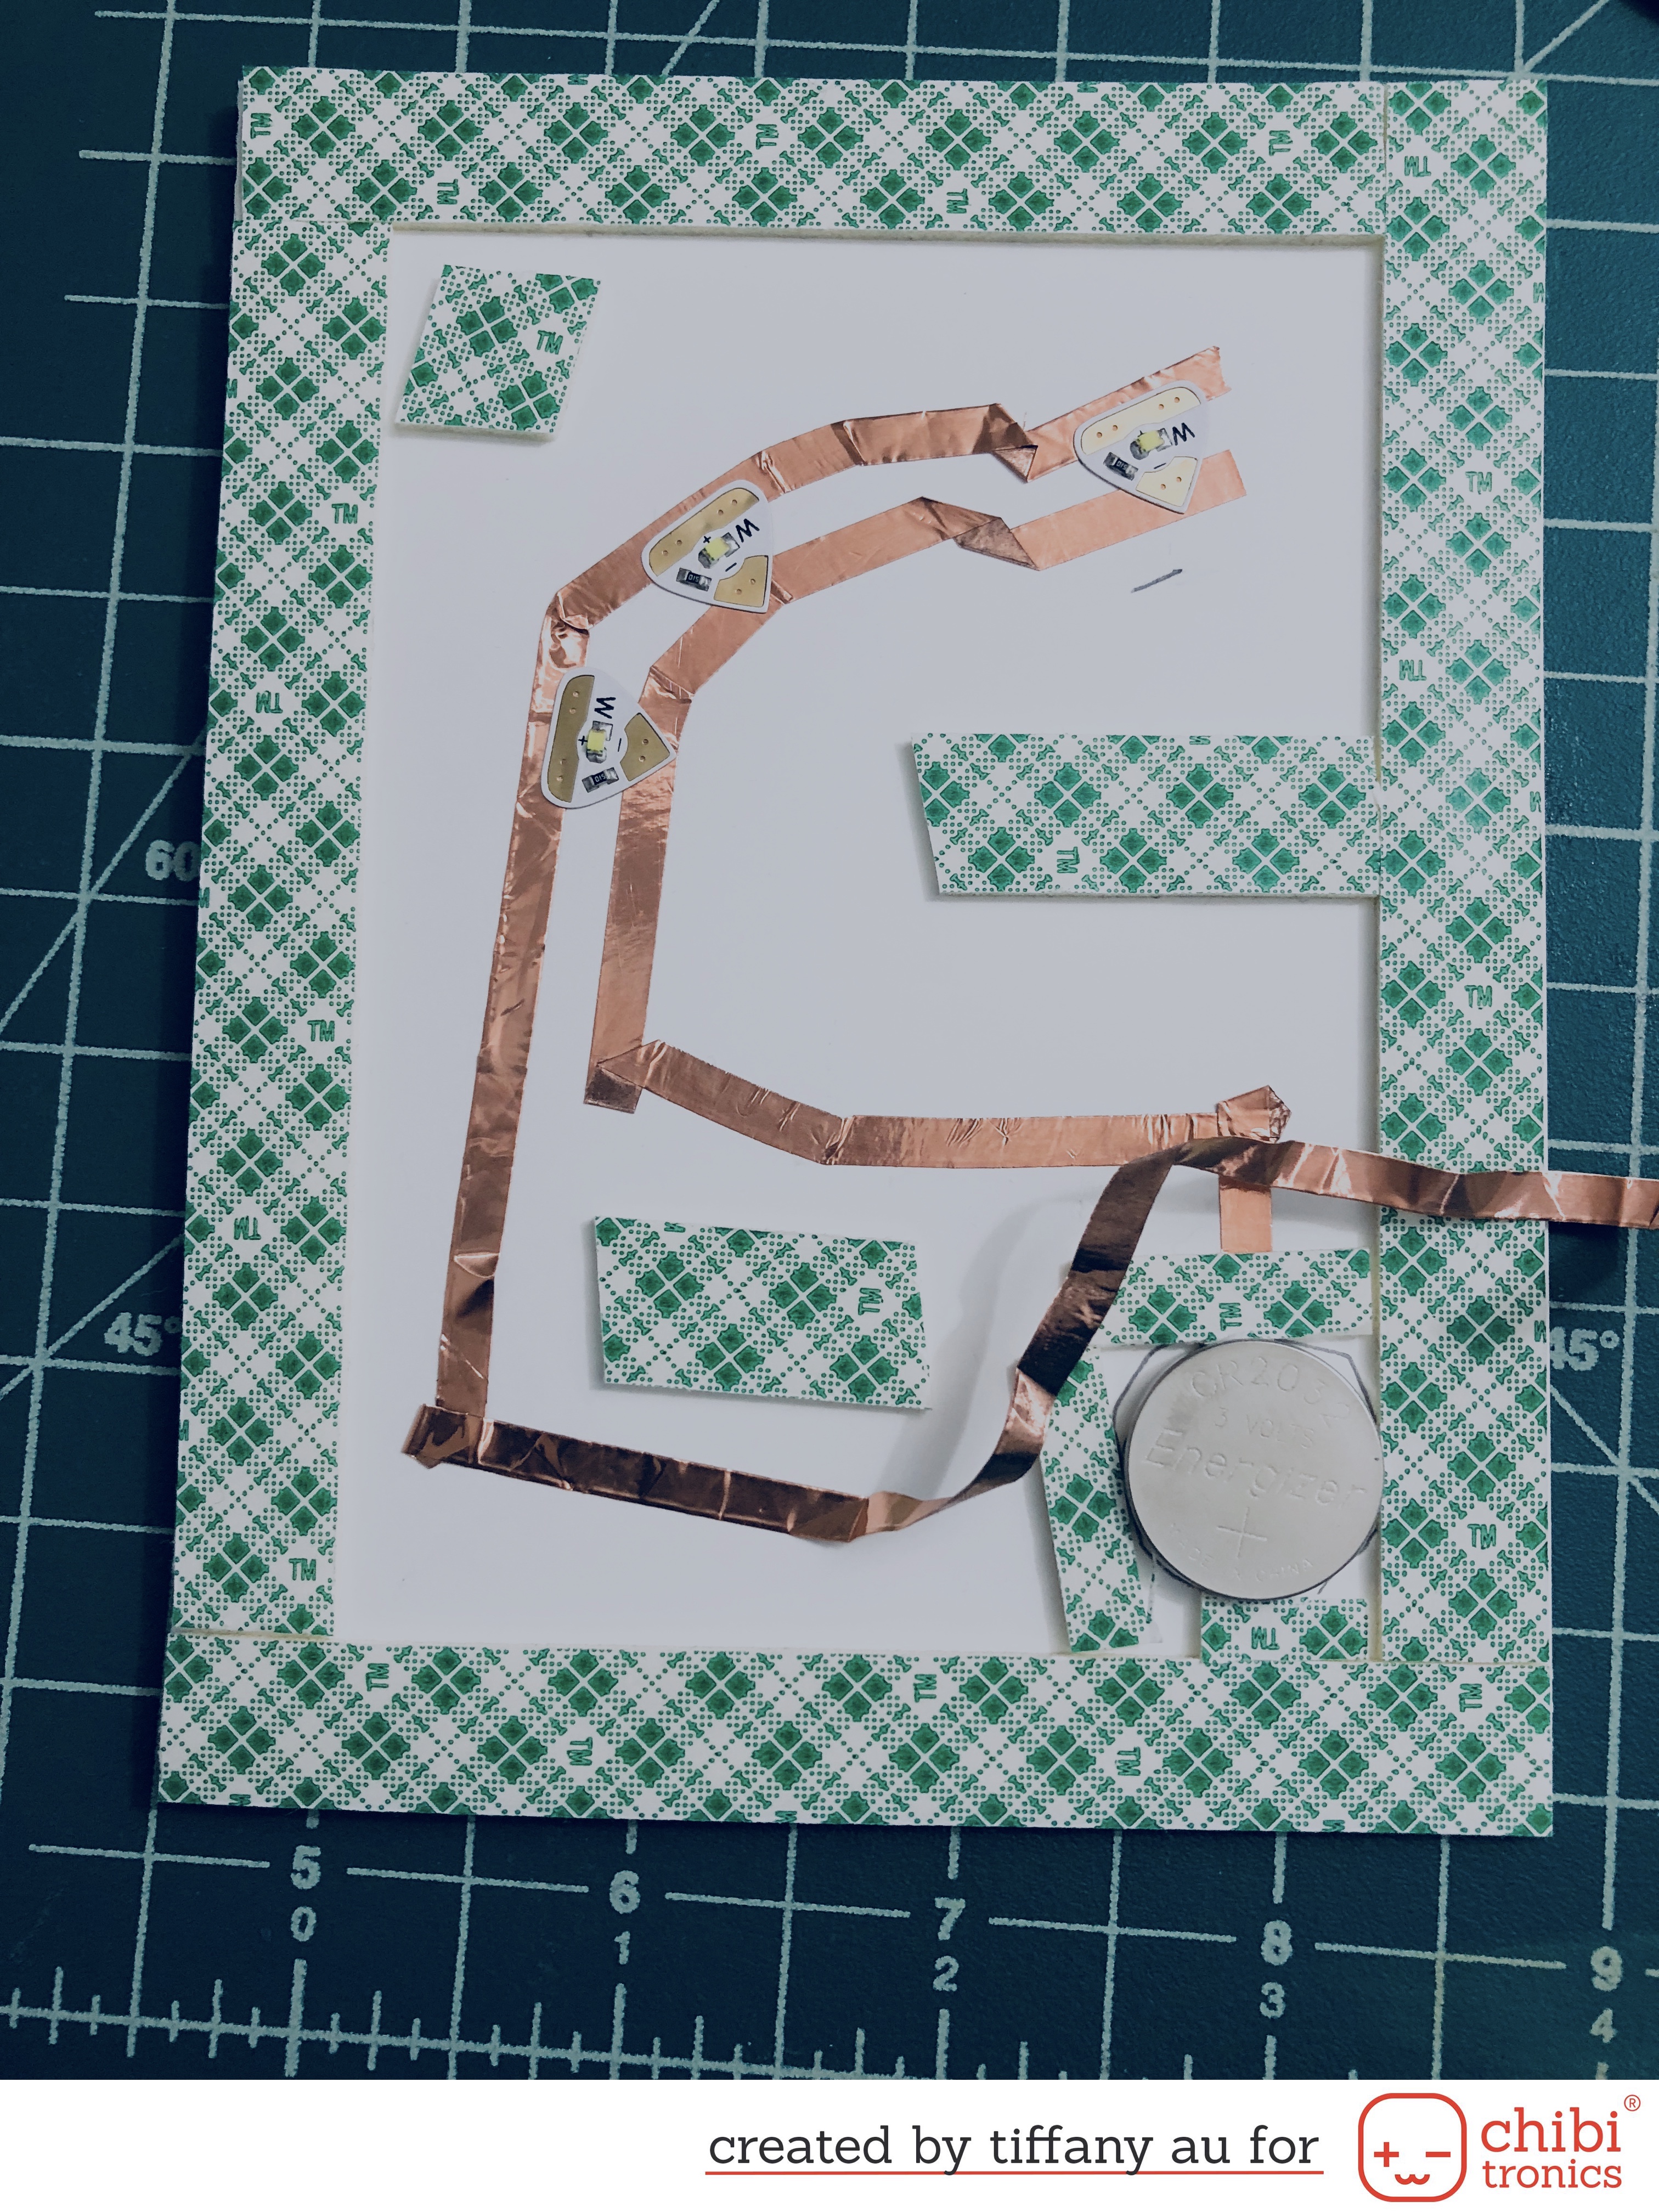
I created the path for my Chibitronics LED circuit and make sure my negative tape goes passed the bottom of my battery. For the positive tape, I left the part near the battery unsecured since it needs to go through my battery hole in my background. I then lay down 1 layer of foam tape around my card base.
 Remove the release paper from my foam tapes and thread the positive copper tape through the battery hole on my background piece and then tape it down.
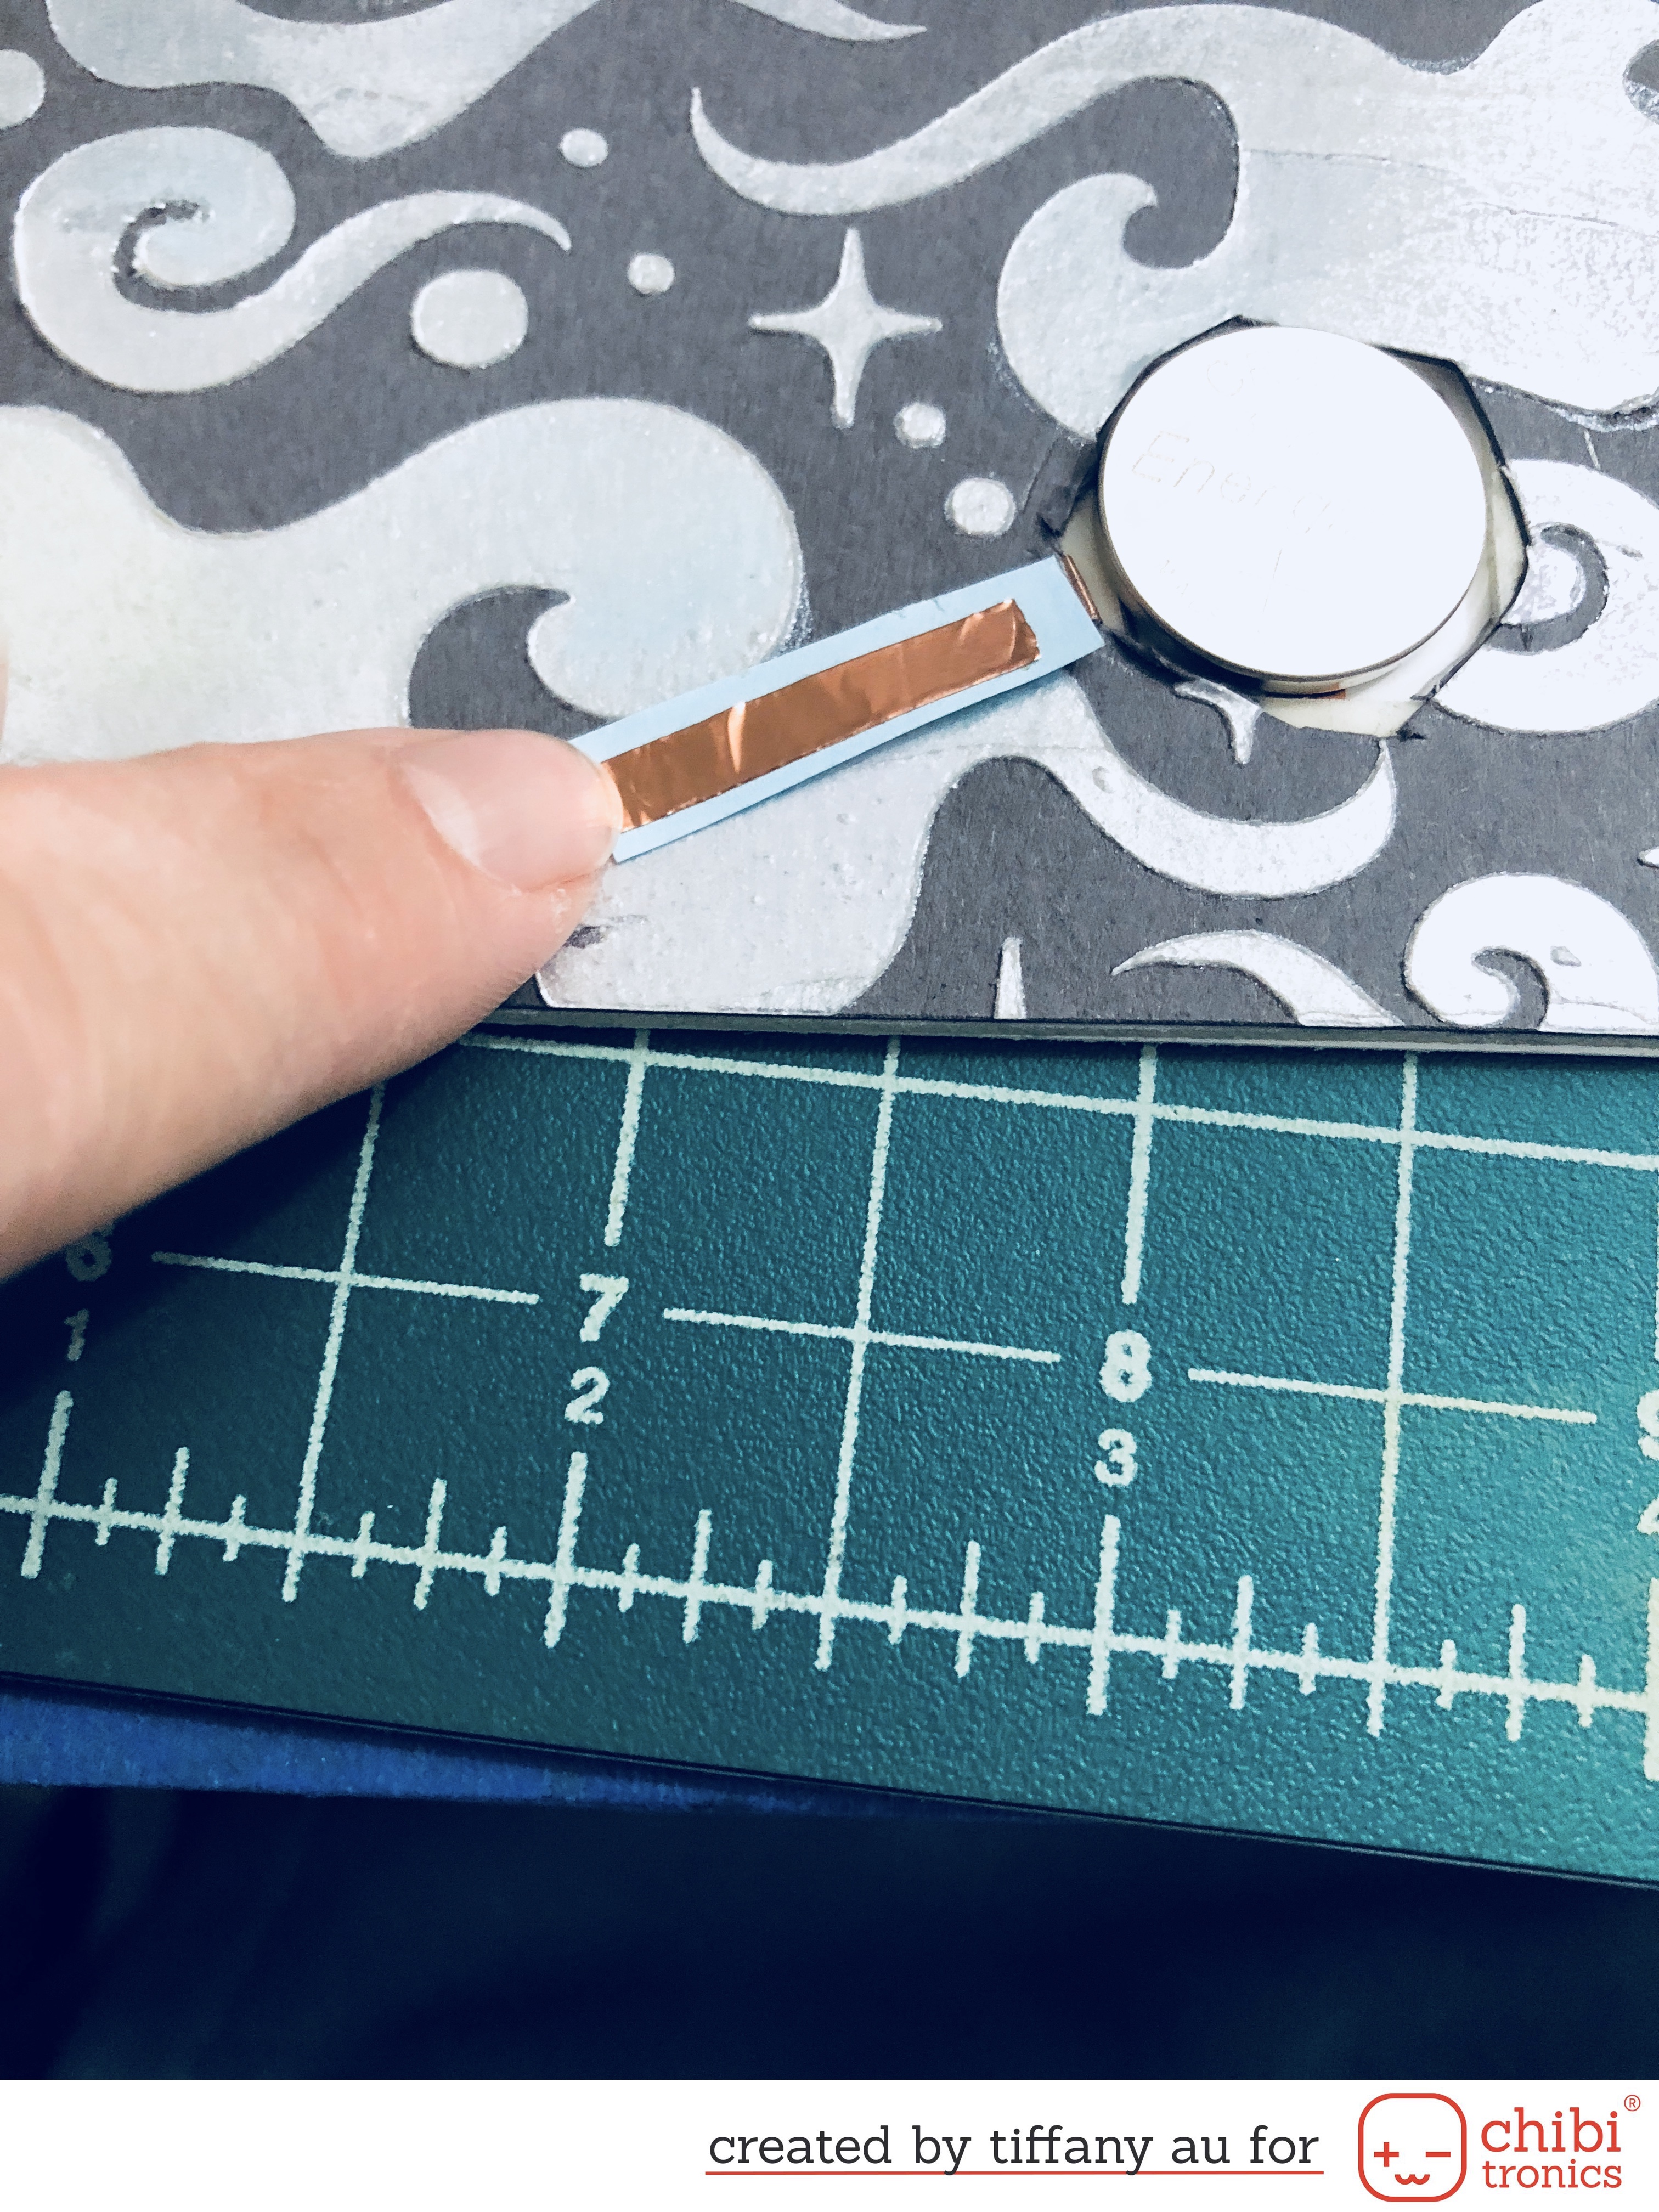
Cut a tiny strip of blue paper and wrap the positive copper tape around it and the tape is across the battery with a tiny piece of foam tape.

To assemble my card, I first tape the 2 cloud shapes together using scor-tape and then place a strip of foam tape on the bottom edge of the clouds and tape is down onto my background. Add my bear onto my card (making sure to cover the battery) and at the last minute create a fishing pole from card stock and string and add it to card.
I hope you enjoy this tutorial and links to all the supplies I used can be found below:
- Chibitronics White LED Lights
- Chibitronics Copper Tape
- White Cardstock
- Grey Cardstock
- Vellum Cardstock
- Hero Art’s Dreamy Night Stencil
- Waffle Flower’s Tea for Two stamp set
- Lawn Fawn’s Cloud Dies
- Dreamweaver Pearlescent Embossing Paste
- 3M Foam Tape