Hi there! It’s June already! Where our May has gone? It’s summer now before I knew it.
I hope you are doing well during this difficult time.
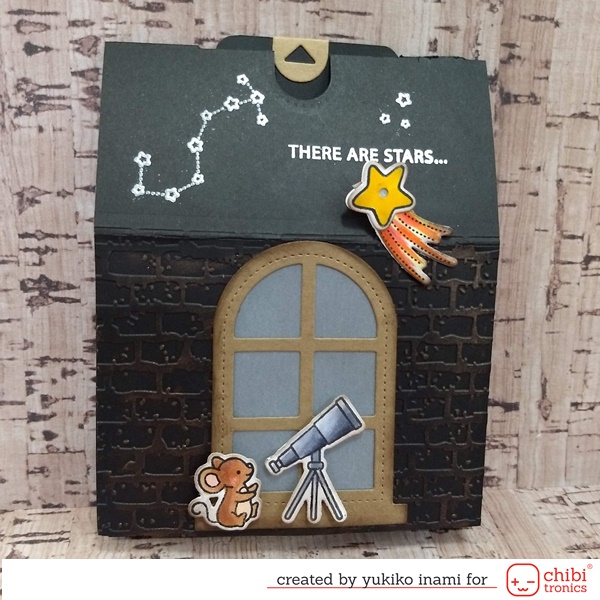
When I look at the night sky, the stars shining and I feel that they tell me many things. It is a calm time for me.
Then I chose this card for this month’s project.
I wish I could see you with this telescope. I love to send love and hugs to my friends who I can’t see them in person.
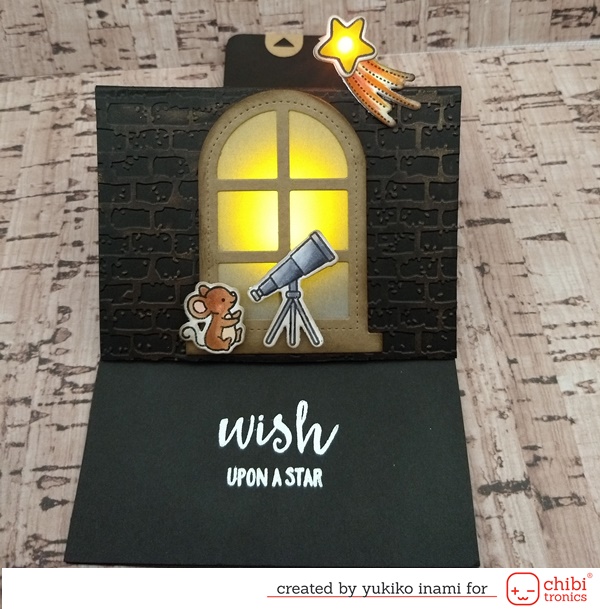
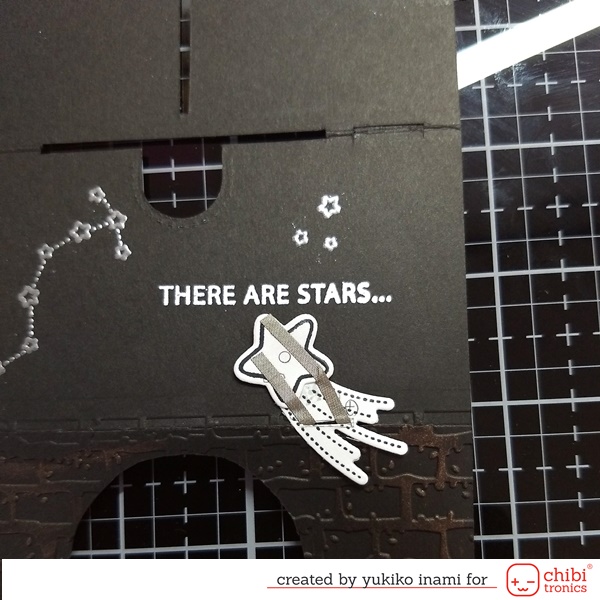
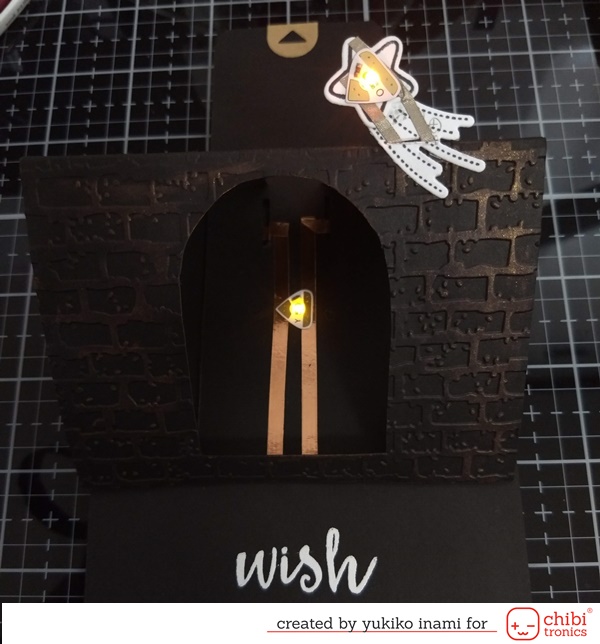
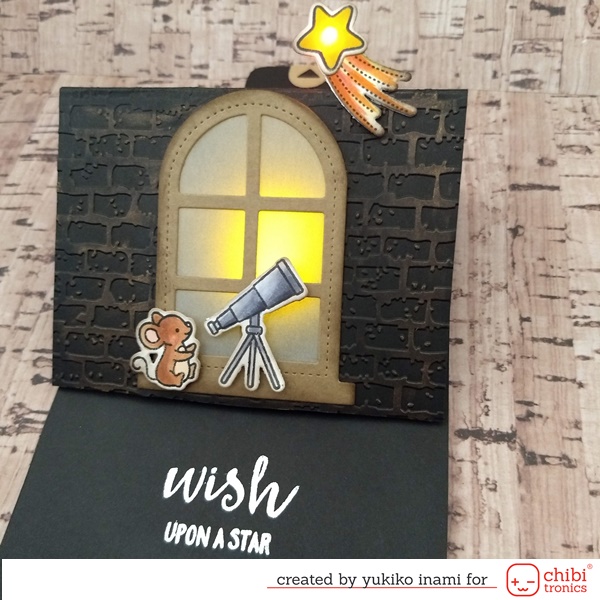
This is a slider pop up card. When you slide up the card, the star and the room light are shining and glowing.
1. Supplies
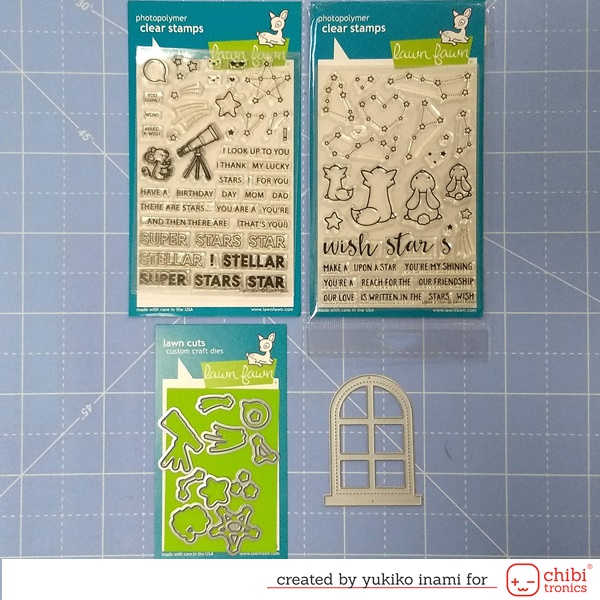
・super star; Lawn Fawn
・upon a star; Lawn Fawn
・window shaped shaker set; QUEEN& Co.
・Red, Yellow, Blue MegaPack (30 stickers)
・copper tape
・conductive fabric tape
・coin cell battery CR2016
・foam tape; 2mm thickness
・vellum sheets
・embossing holder; brick pattern
I prepare these parts as shown below.
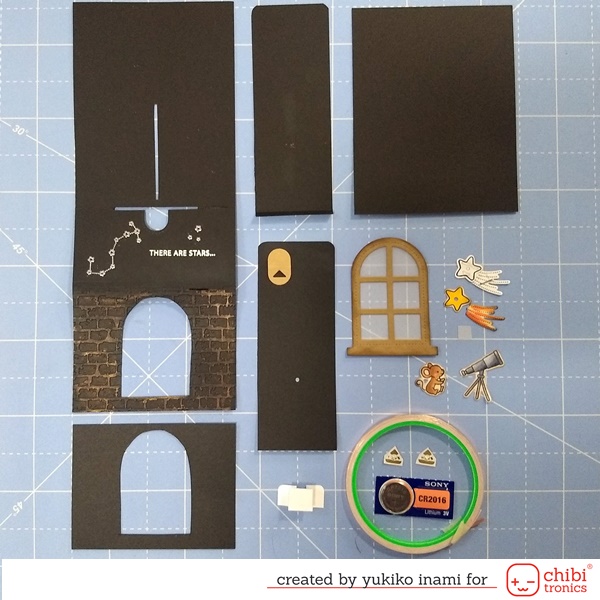
・Stamp the parts and color with super star
・Die Cut the parts, the mouse, the telescope, the broom star, and the window.
・Black Card base
1) the front cover and insert; 4 1/4 x 11 inch
Score 5.5, 7.5inch
Make a dry emboss with the brick embossing folder on
7.5-11 inch area
Cut out the window’s shape.
Make a slit for a switch (sagittal slit):
from the 1/4 inch distal point from the centerline;
length 2.5 inch width; 1mm
Make one more slit for the slider tab(horizontal)
on the center of the center scoreline;
length 2.5 inch, width; 1mm
Make a round notch to pick the slider tab.
Stamp and heat embossing the sentiment and the zodiac sign.
2) slider parts; 2 1/8 x 5 3/4inch, score at 1/4inch
3) cover parts; for the front panel; 3.5 x 4 1/4 inch,
make a hole of the window shape.
for the slider; 2 1/8 x 5.5inch,
make 2 holes on 1,1.5 inch from the short side edge
4) the back panel; 4 1/4×5 1/2 inch
・Switch part: 1/2 x2 inch, score and fold 1/2(mountain fold), 3/4(valley), 1 1/4(valley), 1 1/2(mountain)
Stick on the backside of the slider part, the place is 2 3/4 inch from the short and free end edge of the slider parts. And make the slits on outsides of the switch part
・Stick the slider parts on the backside lower edge of the front panel
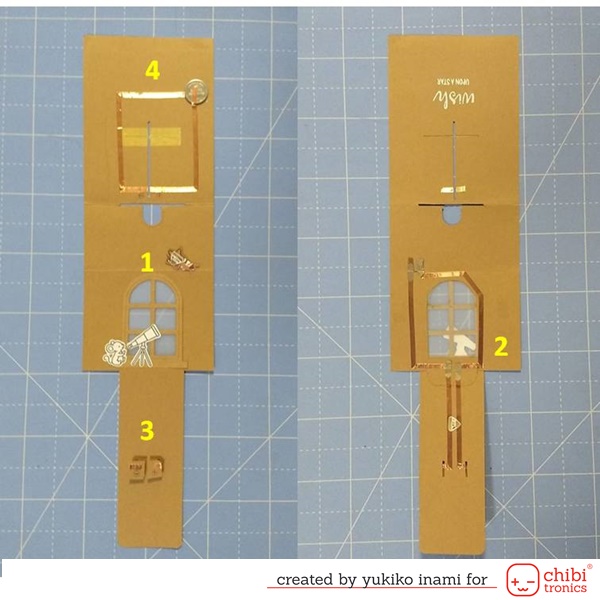
2. How to make the circuit
This circuit separate with 4 layers. I am telling you, step by step, each layer.
1. pop up star; 1 light
2. the backside of the front panel and surface of the slider tab; 2 lights(in the photo, 1 light is showing, sorry!)
3. switch parts
4. the battery site and the switching site.
I am showing the overview here. It’s front and back.
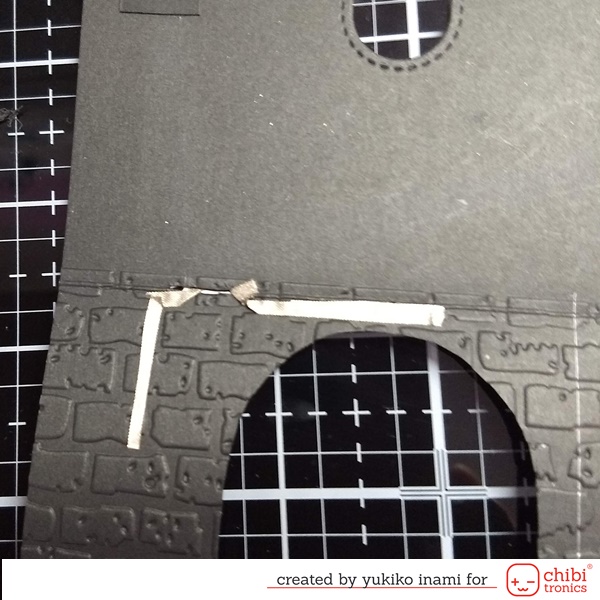
1. pop up star layer; There is a light on the blooming star. the circuit of this goes the next layer through the slit on the folding line. It is a tiny space so that I cut the fabric tape to half wide.
The circuit goes inside through the slit.
Then these thin ends of fabric tapes are connected to the next circuit layer.
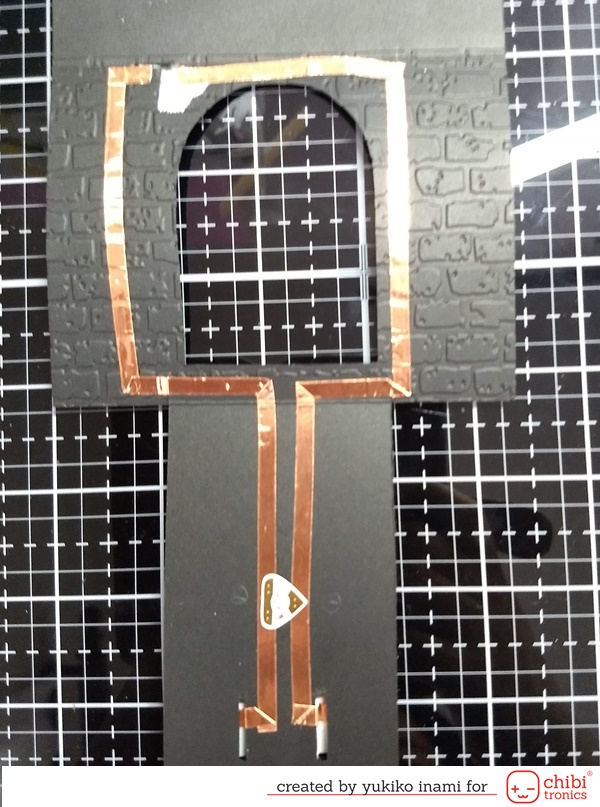
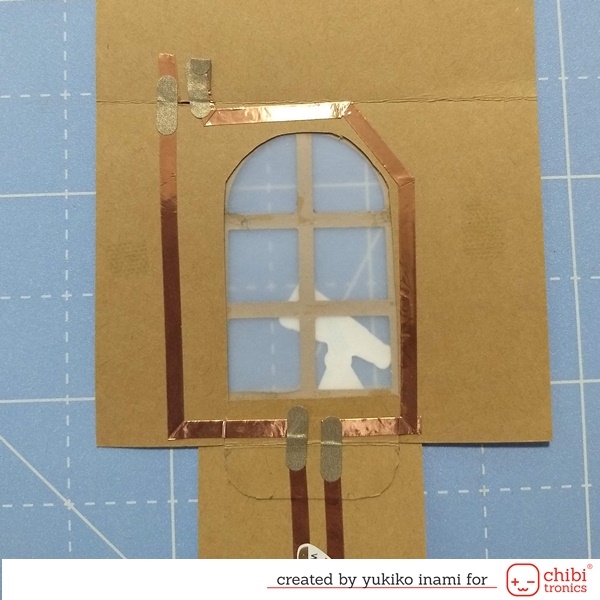
2. The backside of the front panel and the surface of the slider tab layer; It has 2 lights.
When I pop the card up, this pyramid has the lights inside. It is a parallel circuit.
3. Switch part layer ; backside of the slider
On the backside of the slider tab, there is a switch part. The second layer circuit goes through the slits on the outside of the switch part. Then go to the next layer.
This switch is to part left and right. the right side is a positive pathway and the left side is a negative pathway.
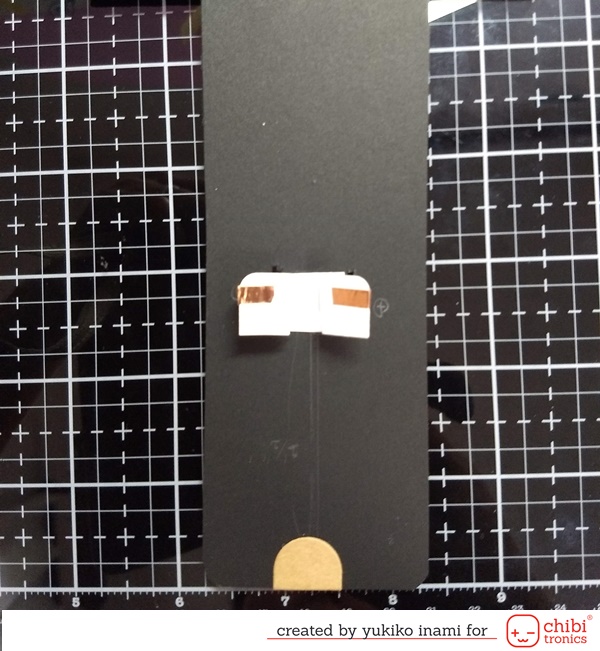
4. The battery and the slit for the switching layer.
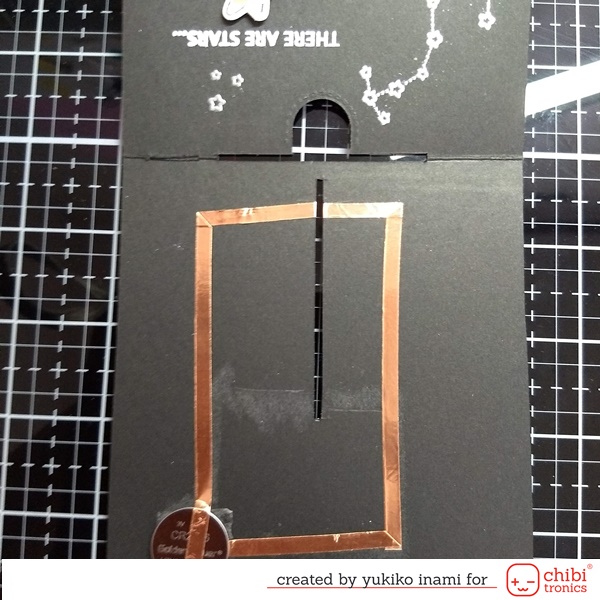
OK. Now, the layers 4 to 1 are connected all, when the switch is on the connection point, the circuit is completed. The lights turn on!
Stick the fabric patch on the folding point to reinforce. It can prevent to tear the copper tape and the circuit doesn’t work.
3. Assembly
Cover the surface of the slider tab and the backside of the front cover like this.
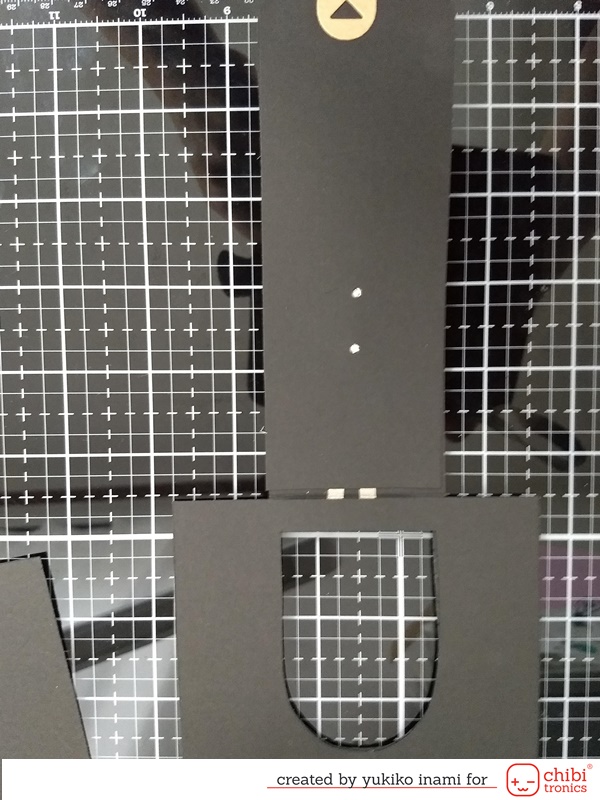
Put the slider through the upper slit. Insert the switch parts into the slit. Then try to pull the slider.
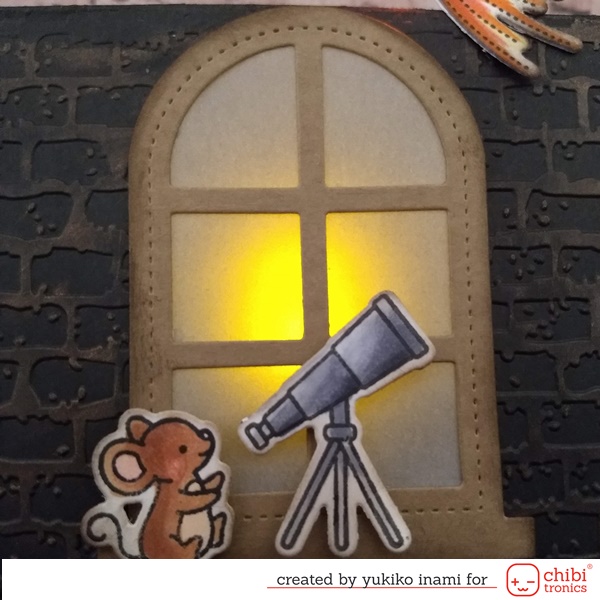
Star is shining and the light inside the window is glowing.
Thank you for stopping by!
Have a beautiful day!
Nicorin/ Yukiko I.