Hi, crafty friends! I’m so happy to share my project here.
I’d like to send you a happy spring fresh air with this card.
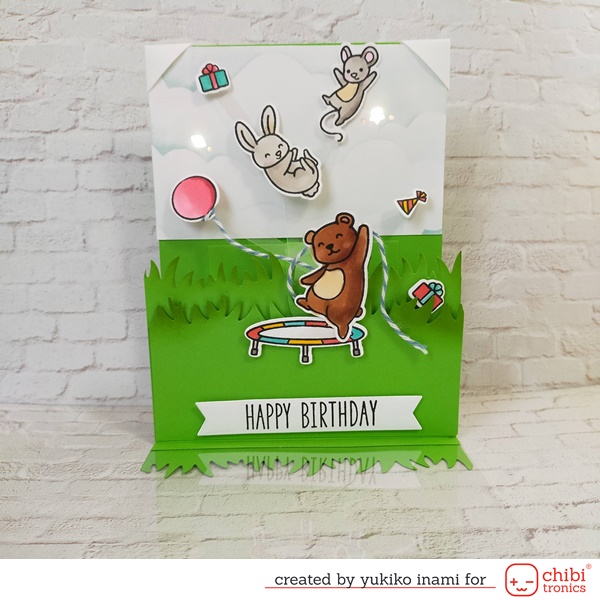
You open this card, the rabbit and mouse will jump up with the trampoline!
When you would like to celebrate someone’s birthday, this card makes her or him happy surely!
I am using an interactive die by Karen Burniston. It has a slider arm then I combine the switch on the arm.
It works well! You can use it for the combination of the interactive motion and light in your card.
I’d like to share the how-to movie here.
1. Supplies
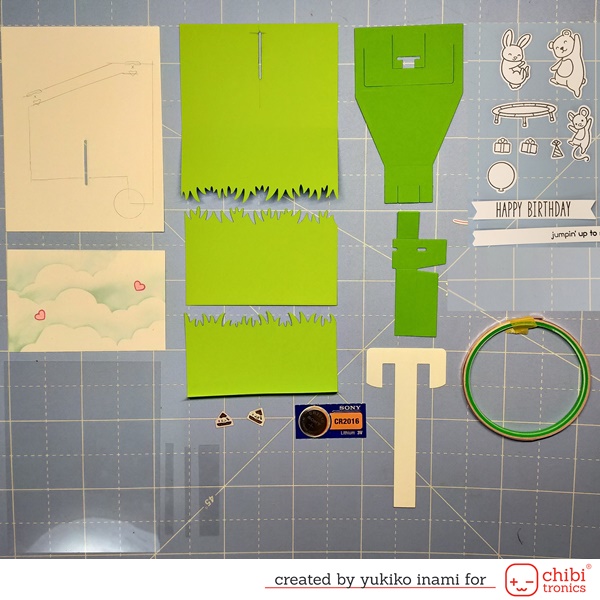
・Circuit panel; 4 1/4 x 5 1/2 inch I made a vertical slit at the center; length 1.5inch starting at the point 2 1/2 inch from the bottom edge.
・Scene panel; 4 1/4 x 3 inch I made cloud images on this panel with a stencil and decided the point for the lights.
・Grass panel; green paper I cut the top edge with grass shape die
1) 4 1/4 x 4 3/4 inch
I scored at 2 3/4 inch from the upper straight line edge.
Then I made a vertical slit its length 1.5inch at the center and starting the point was 2 1/2 inch from the folding line.
I used the straight slit die from the let’s toast pull tab add-on set.
I stack the circuit panel and the grass panel then cut their slits at once. (as shown below)
2) 4 1/4 x 2 1/2 inch I scored at 1/4″ from the long side edge
3) 4 1/4 x 2 3/4 inch
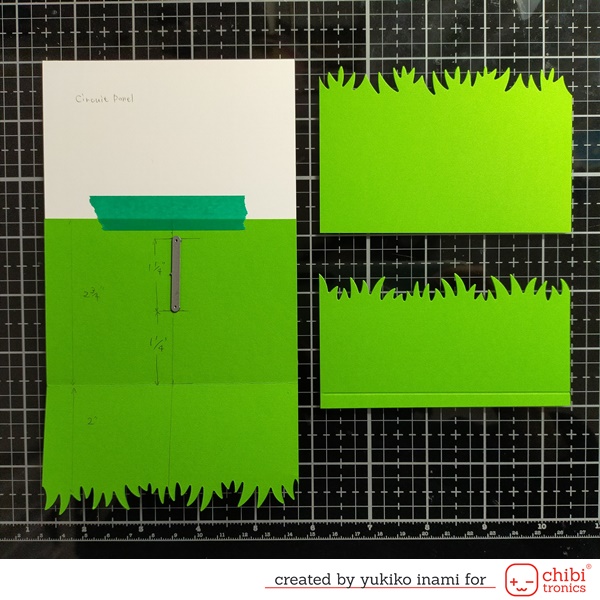
・Back panel; green paper (sorry to not be shown in the above Pic.) 4 1/4 x 5 1/2 inch
・Top panel; Acetate sheet; 4 1/4 x 5 1/2 inch and the arm 1/2 x 2 1/2 ” and some strips for pop up parts
・Pop up parts; I cut out green paper with the Parcel Pop-up die; sliding arm and basement
・Pull tub for the switch; I cut out with the pull tub die
・LED stickers; Chibitronics
・Copper tape; Chibitronics
・Cell battery; CR2016 ( This number means the diameter;20mm, thickness;1.6mm)
・Critter parts; I stamped and cut out from “really high five” stamp and die set. I colored them with Copic markers.
bear, rabbit, mouse, a small balloon, trampoline, party hat, gift boxes
・Banner of sentiment; I cut the strips and stamp the sentiments
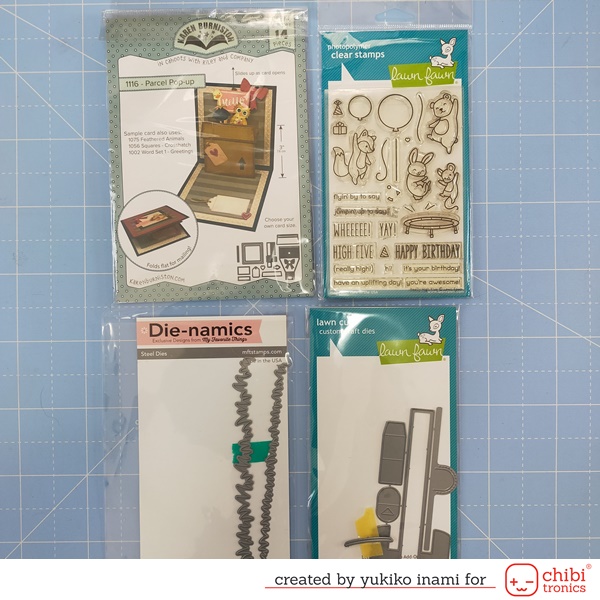
Parcel Pop-up; Karen Burniston
really high five; Lawn Fawn
let’s toast pull tab add-on; Lawn Fawn
Grassy Fields Die-namics; MFT stamps
2. The Mechanism of Pop-Up and Switch Parts
You can check the assembly movie on the Karen Burniston site. I recommend that you check it first.
I arranged the switch parts attaching the sliding arm of the pop-up. So you need to modify the order of the assembly a little.
So you can check that in my movie when you make it.
These are the parts. The red dotted lines are mountain folds and the blue dotted lines are valley folds.
I added an extra mountain fold on the switch tab.
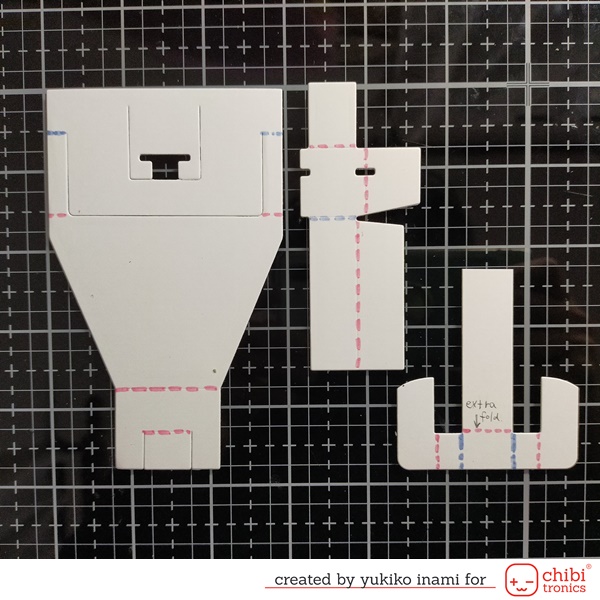
This is the pop up parts.
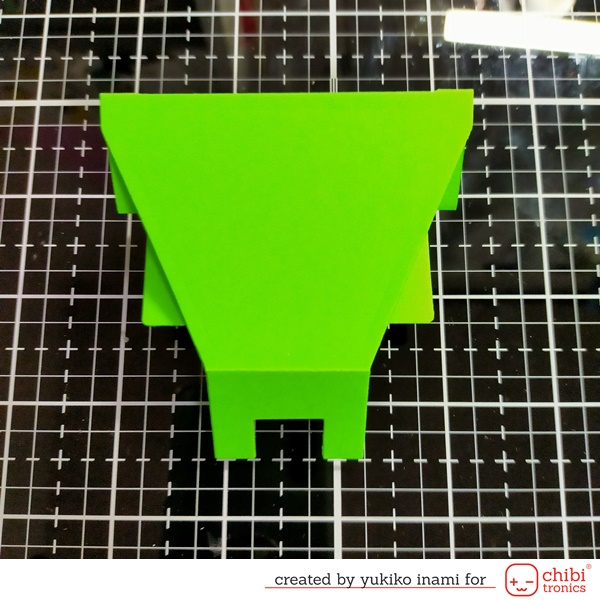
This is the backside of the pop up parts. I stuck the switch parts on the slider arm.
This red bold line is the place sticking the copper tape on.
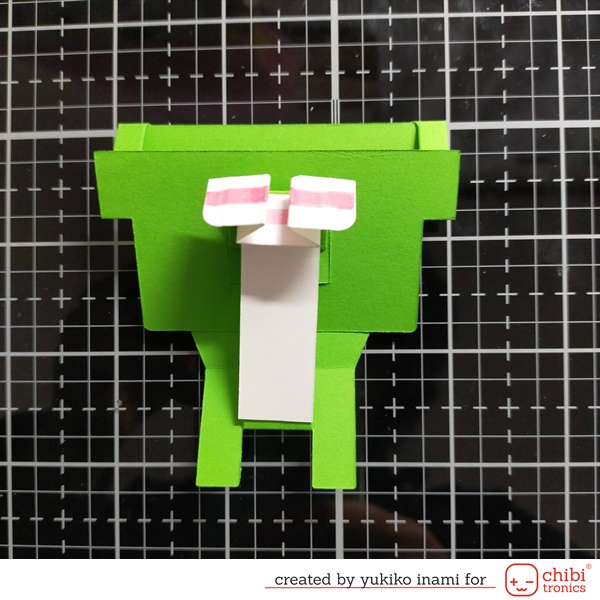
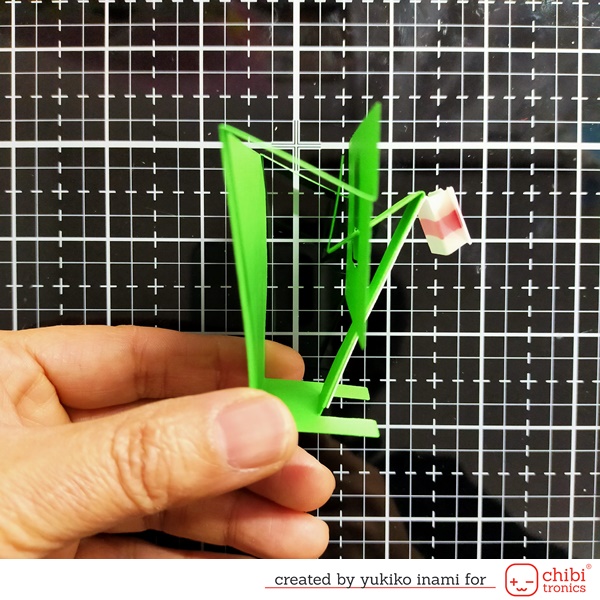
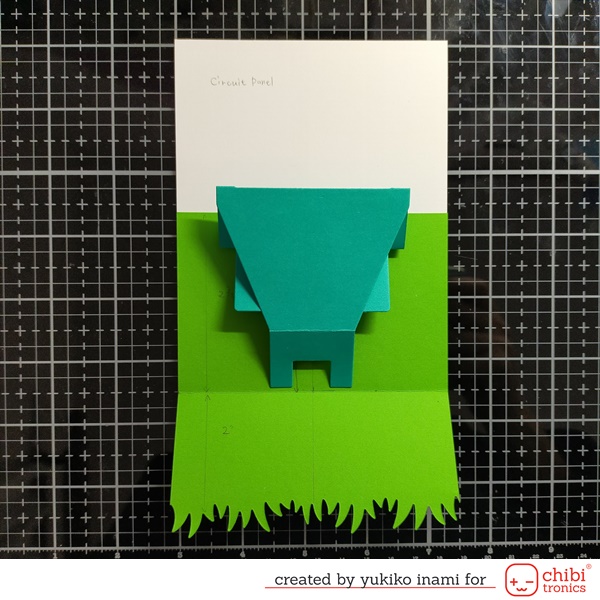
I am showing the switching below the photo.
The left photo is off when the card closes. And the right photo is on when the card opens and is in the pop-up state.

3. The Circuit
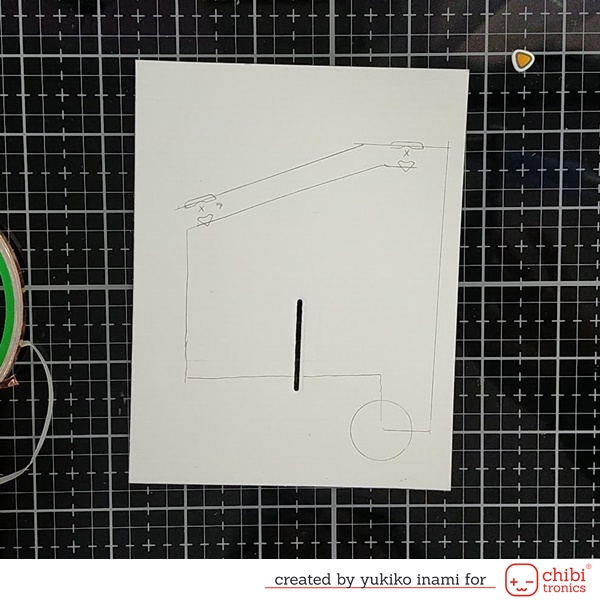
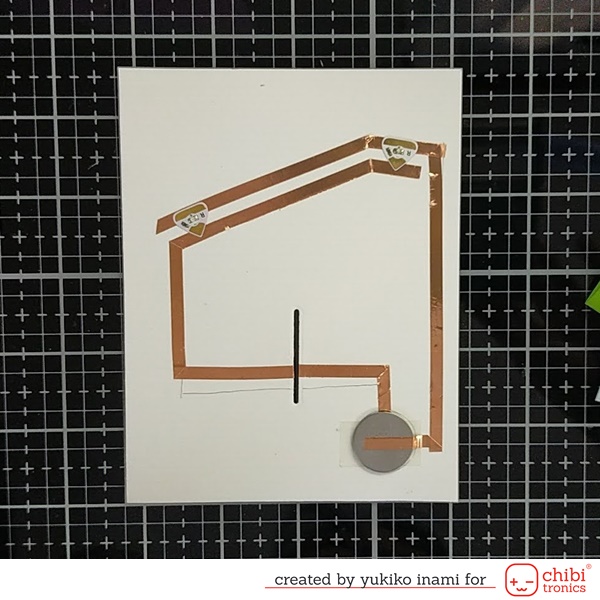
This is the circuit wiring. It isn’t a new one for you who follow our blog.
It has the pull tab switch.
4. Assembly Pop up mechanism and Circuit
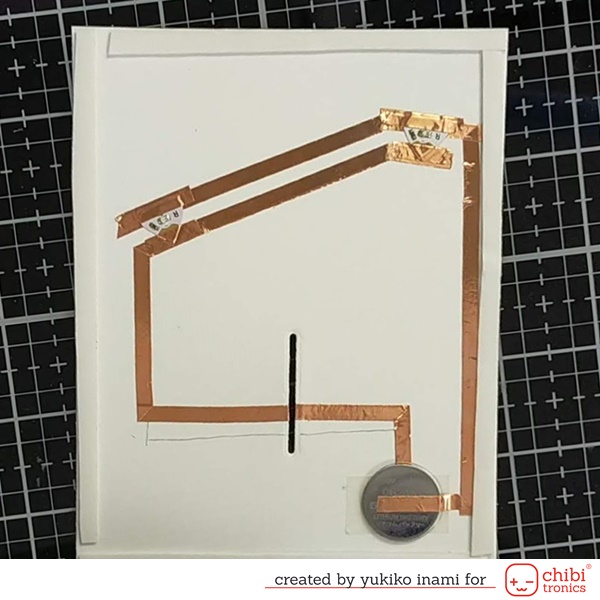
I put the foam strip around the circuit panel. Then I slid the switch panel in the slit of the circuit panel.
I peeled off the paper of the foam strip. I set the circuit panel under the pop-up card.
I set a panel on the backside of the circuit panel.
5. Making the Scene
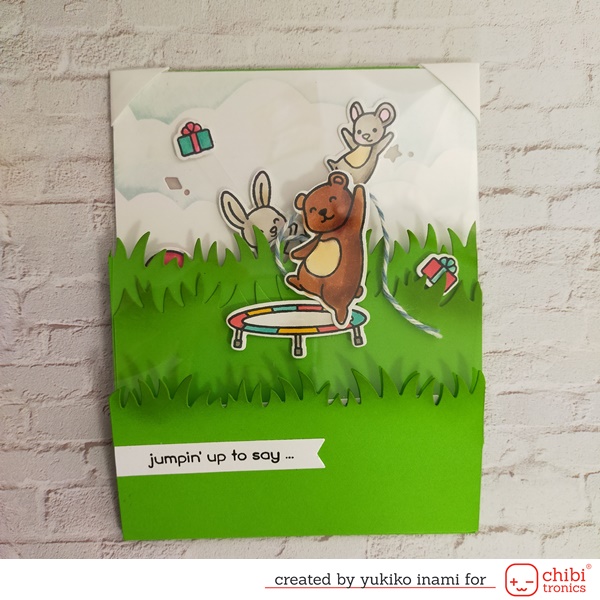
It’s a fun time!
I set the glass panels on the pop-up basement. They hide the mechanism and make the nice meadow 3-dimensional layers.
I put the acetate strip on the slider arms radiatively and it is so effective for making the motion jumping and bouncing.
I stuck the sentiment banners.
OK. It has completed. When you open, the slider arm coming up and the critters are jumping and the lights are turning on!
The birthday party is starting!

Thank you so much for stopping by today!
Have a wonderful day!
Yukiko I. (Nicorin)
