Hi, crafty friends!
This is Eiko. I make light up Christmas tag using Chibitronics and Tim Holtz stamps.
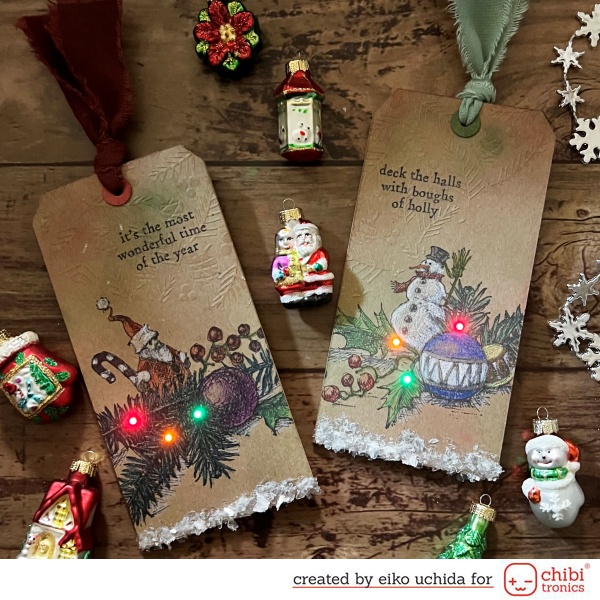
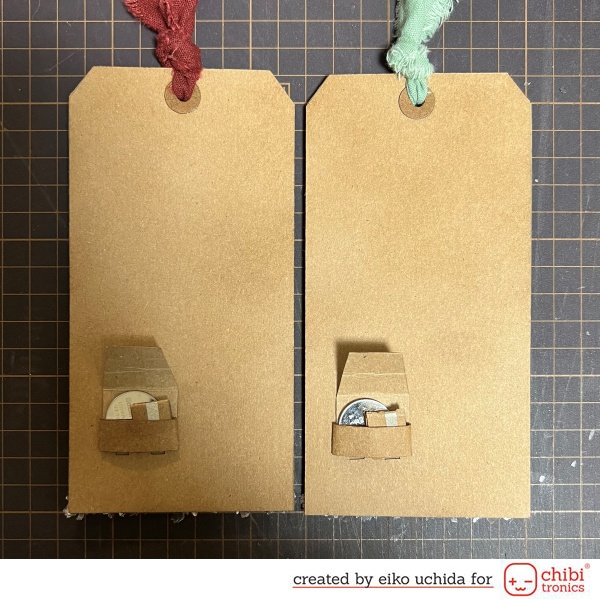
This tag has an envelope battery holder, so you can easily replace the battery. The light turns on when you switch it on.
I will make the parts referring to the picture below.
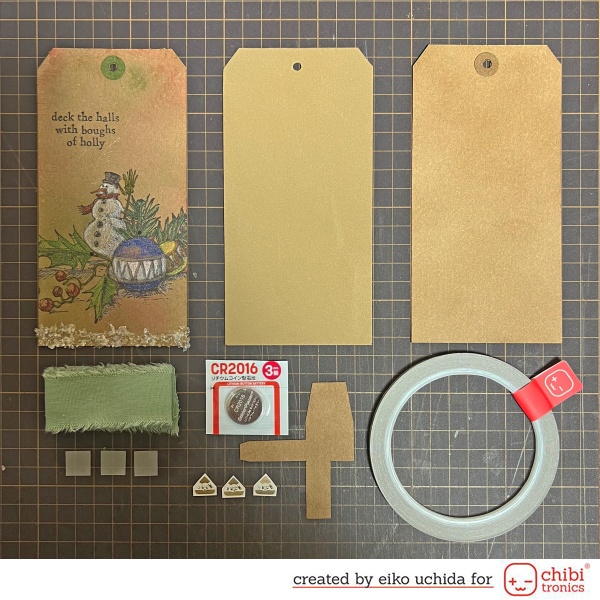
- Cut the distress kraft heavystock into the shape of a 3 1/8×6 1/4 inch tag for cover panel.
- Cut a 2mm thick foam sheet to the same size as the cover panel.
- Cut a distress kraft heavystock to the same size as the cover panel.
- Decorative ribbon
- Three small vellum pieces
- Cut the distress kraft heavystock into the shape of an envelope battery holder.
- Three LED stickers (Red, Orange, Green)
- 3V coin cell battery (CR2016)
- Conductive fabric tape
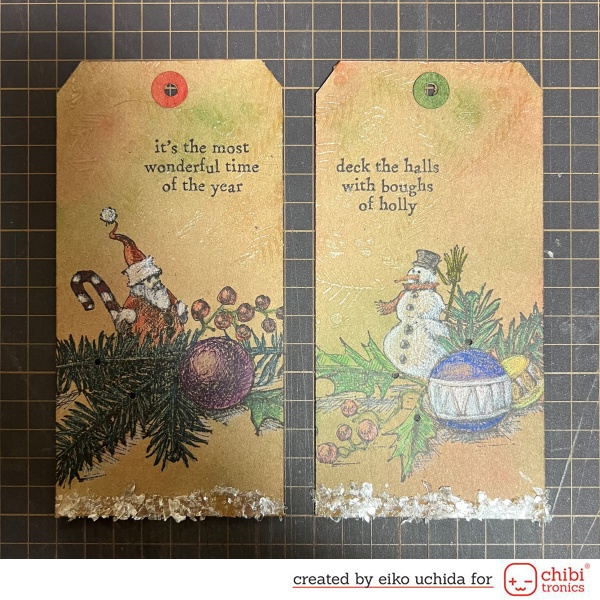
Make the cover panel
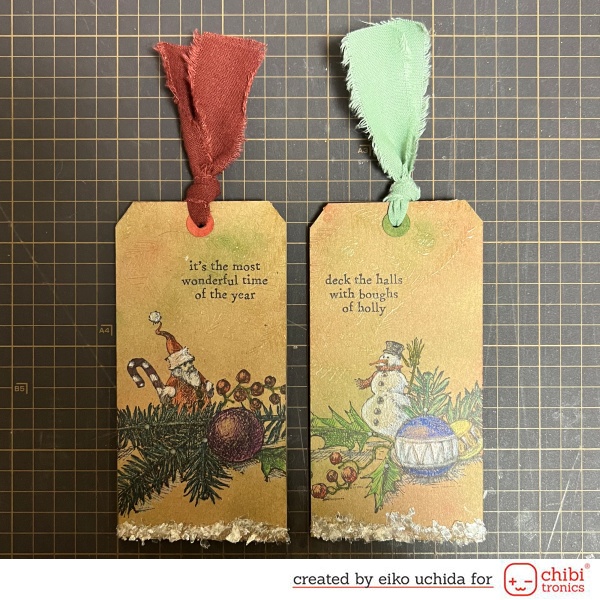
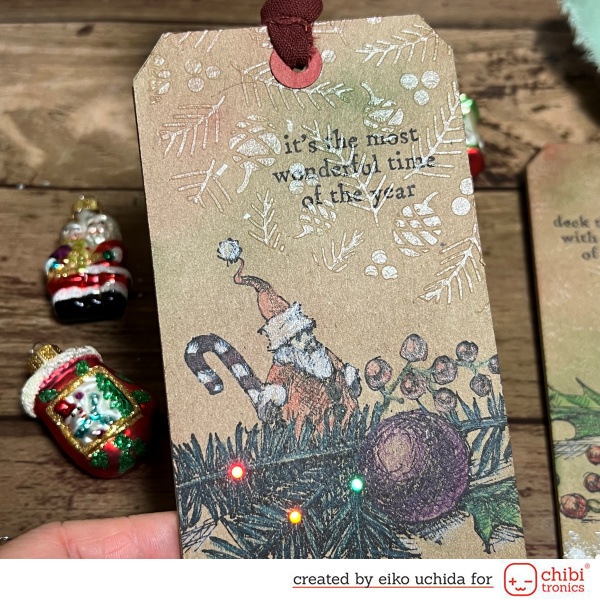
- Color the tag with four colors of distress ink. (walnut stain, old paper, festive berries, rustic wilderness)
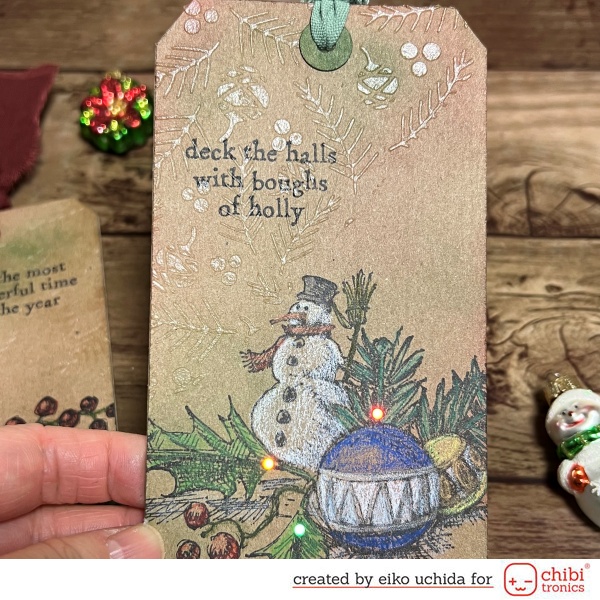
- Stamp the snowman and Santa and paint with colored pencils.
- Stamp the sentiment with jet black archival ink.
- Apply texture paste to tag use with gatherings stencil.
- Adhere distress mica flakes to the bottom edge of the tag.
- Make holes at the position of the light.
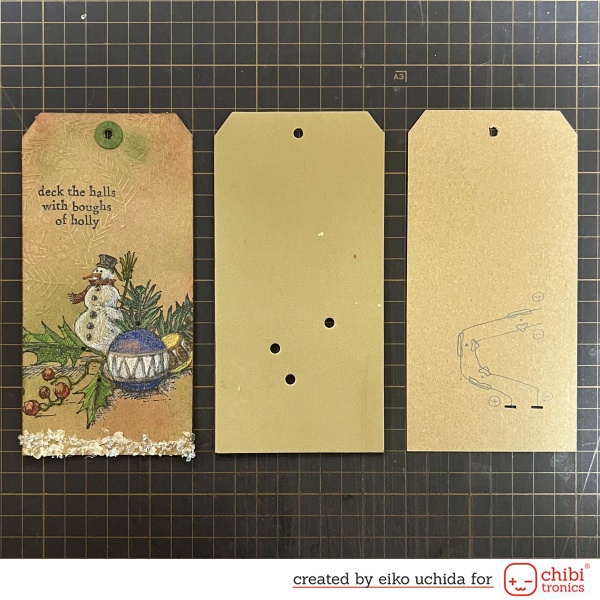
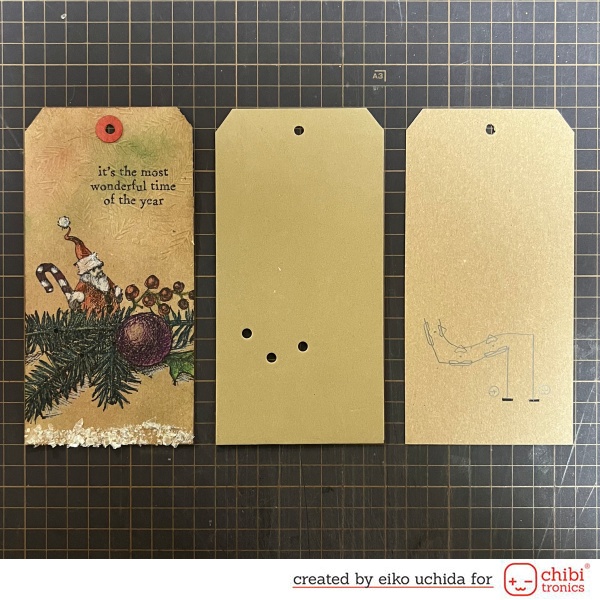
- Put the cover panel on card base and mark the lights with a pencil.
- Mark the position of the Chibitronics.
- Draw the circuit with a pencil.
- Make a small slit for the conductive fabric tape to pass through.
- Put the cover panel on foam sheet and make the hole at the position of the light.
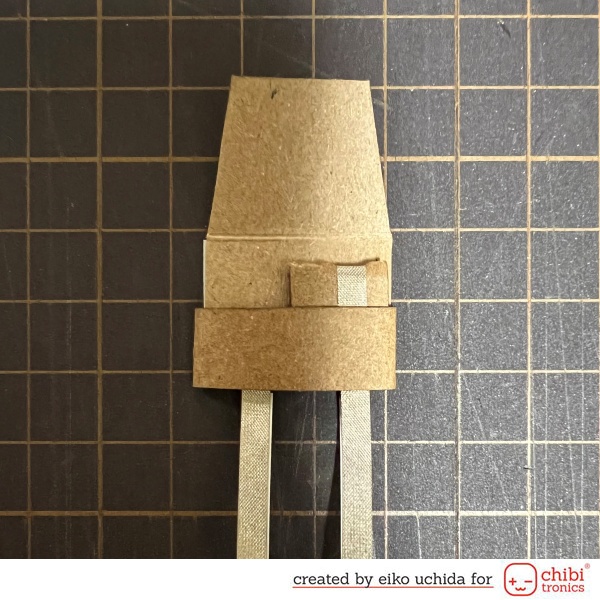
Make an envelope battery holder by referring to here.

Stick the battery holder on the back of the card base.
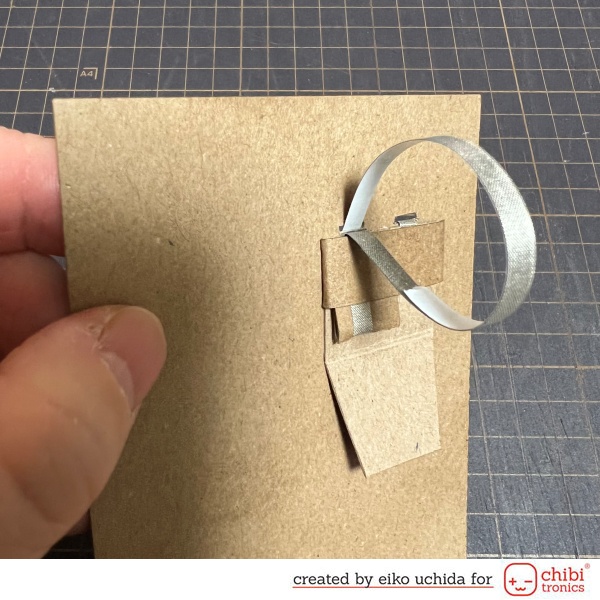
Pass the fabric tape through the slit.
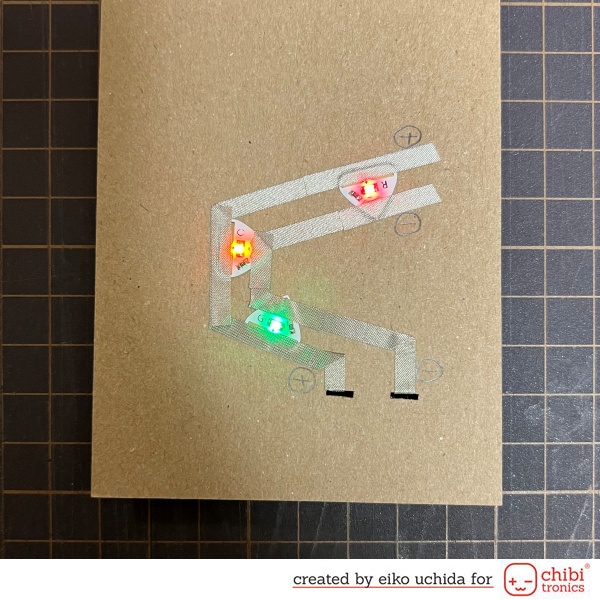
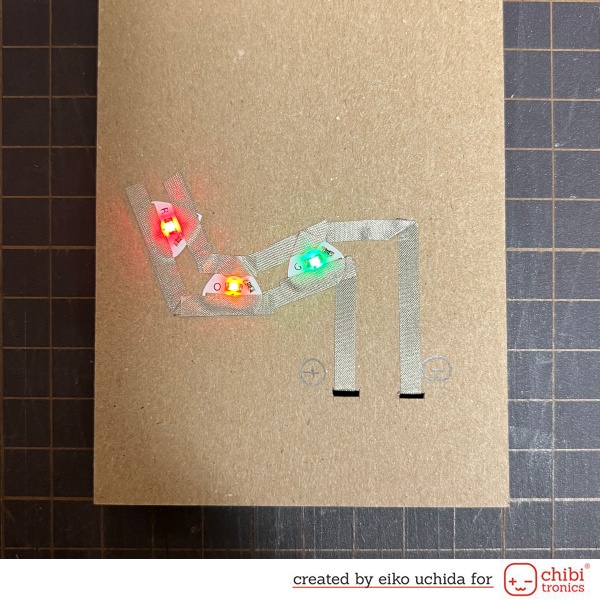
- Stick the conductive fabric tape on the pre-drawn path.
- Attach the red, orange and green LEDs to the conductive fabric tape, over the outline.
- Stick short conductive fabric tape on the edges of the LED to reinforce.
Assemble the tag.
- Put the foam sheet on the circuit card base.
- Put the cover panel on the foam sheet.
- Pass the ribbon through the upper hole.
I finished it!
Thank you for stopping by!
Have a wonderful Christmas and a great New Year!
Eiko Uchida
~Supplies list~
- Chibitronics Lights Sampler MegaPack
- Conductive fabric tape
- 3V coin cell battery (CR2016)
- Tim Holtz Cling Rubber Stamps Cozy Christmas
- Tim Holtz Layering Stencil Gatherings
- Ranger Distress kraft heavystock
- Distress ink walnut stain
- Distress ink old paper
- Distress ink festive berries
- Distress ink rustic wilderness
- Ranger archival ink jet black
- Distress mica flakes
- Ranger texture paste transparent matte
- Darice 2mm foam sheet light tan
- Prismacolor colored pencils
- Decorative ribbon
How to make light up Christmas tag.