Hi, crafty friends!
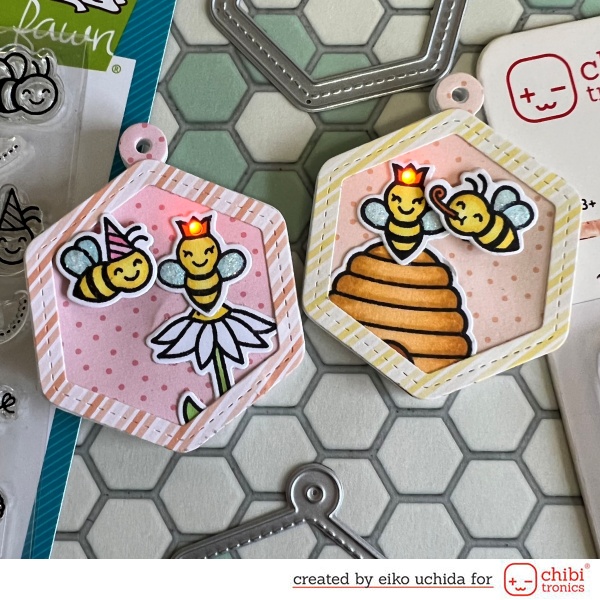
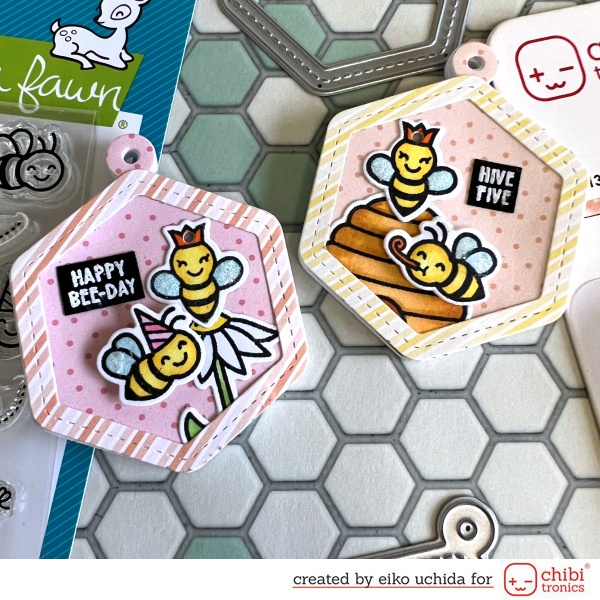
This is Eiko. I make light up hive five tag using Chibitronics and Lawn Fawn hive five kit.

I used two powerful neodymium magnets for the switch. When you place a bee motif with a magnet on the sentiment, it will attract the magnet attached to the back of the circuit and connect the circuit.
I will make the parts referring to the picture below.
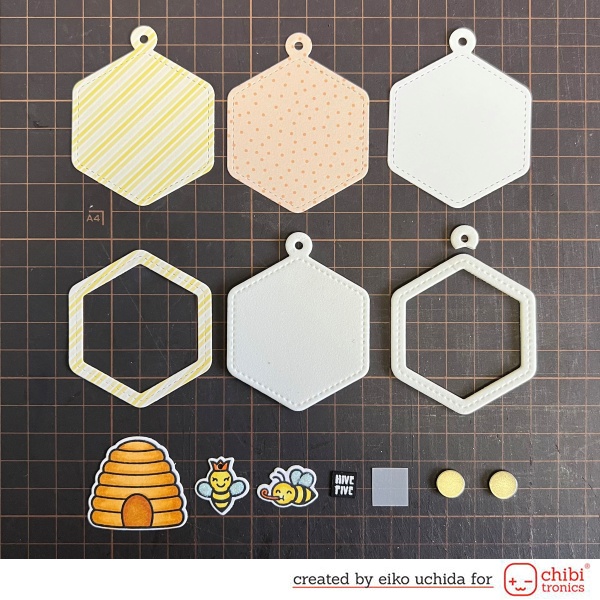
- Die cut stripes’n sprinkles paper, white cardstock and 2mm thick foam sheet with honeycomb die.
- Die cut stripes’n sprinkles paper and 2mm thick foam sheet with honeycomb frame die.
- Stamp the bees and beehive, onto white cardstock. Color the parts with Copic markers and die cut with coordinating die.
- Stamp the sentiment onto black cardstock and heat embossing with white embossing powder.
- One small vellum piece.
- Two neodymium magnets with a diameter of 1 cm.
Place the parts on the honeycomb part, make a hole at the center of the queen bee crown.
Make the circuit.
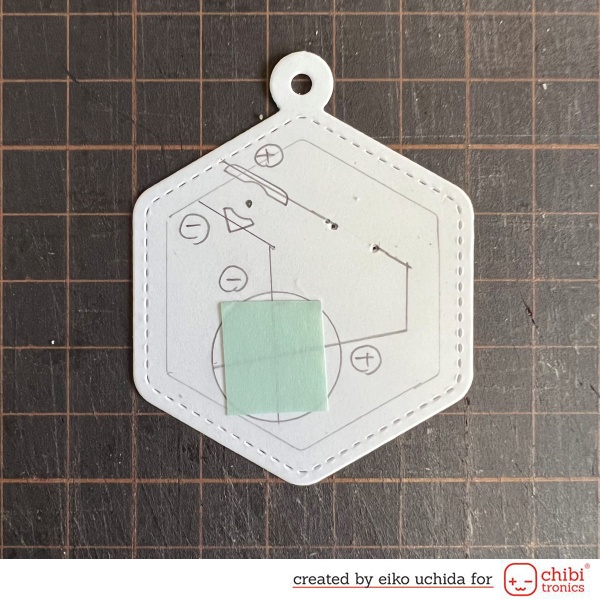
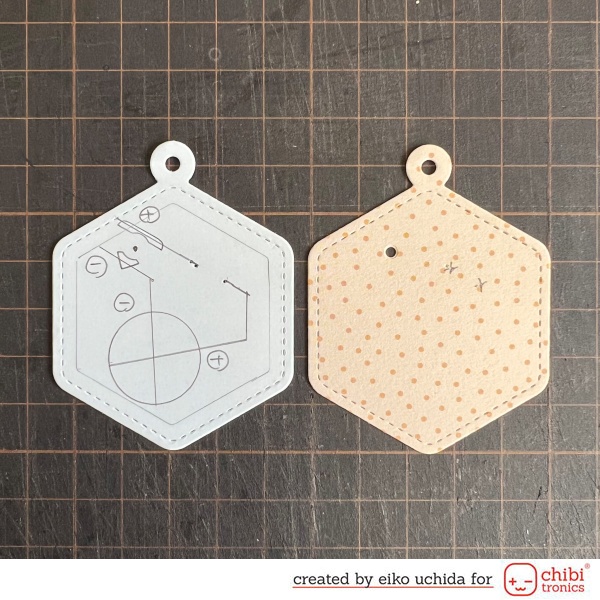
- Put the cover panel on white cardstock and mark the lights with a pencil.
- Mark the position of the Chibitronics and the battery.
- Draw the circuit with a pencil.
- Make a gap in a part of the circuit on the positive side.
- Apply the double-sided tape on the battery place.
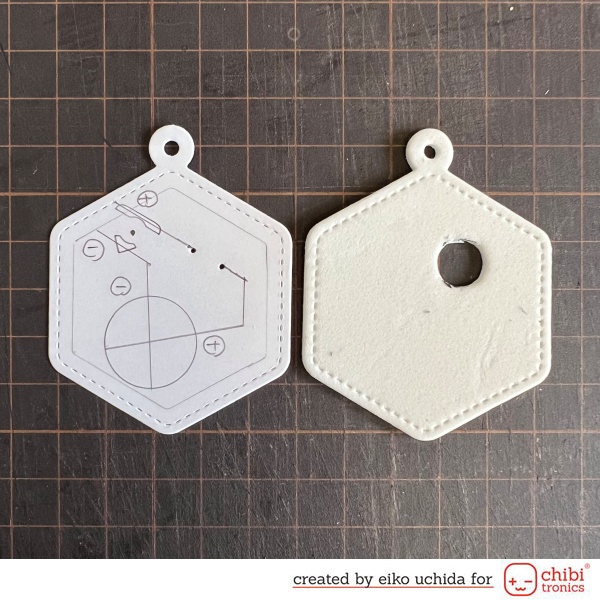
- Place the circuit card base on the foam sheet and mark the gaps in the circuit.
- Make a magnet-sized hole in the marked area.
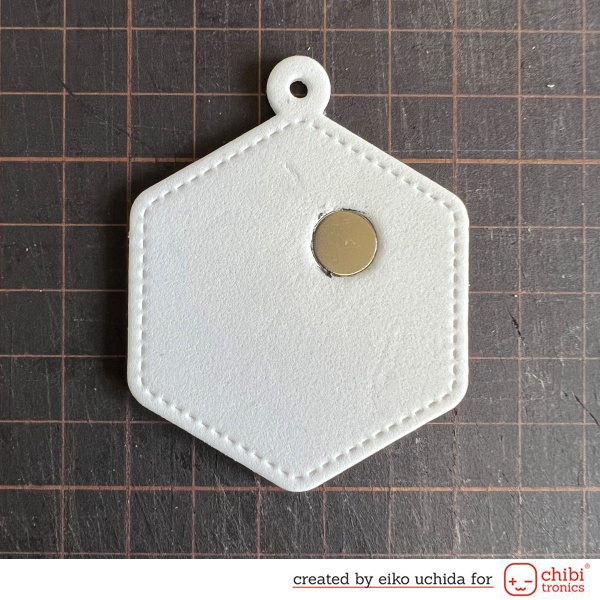
Stick the foam sheet on the honeycomb shaped pattern paper, and stick the magnet on the hole with double-sided tape.
Place the circuit card base on the cover panel and mark the gaps in the circuit.
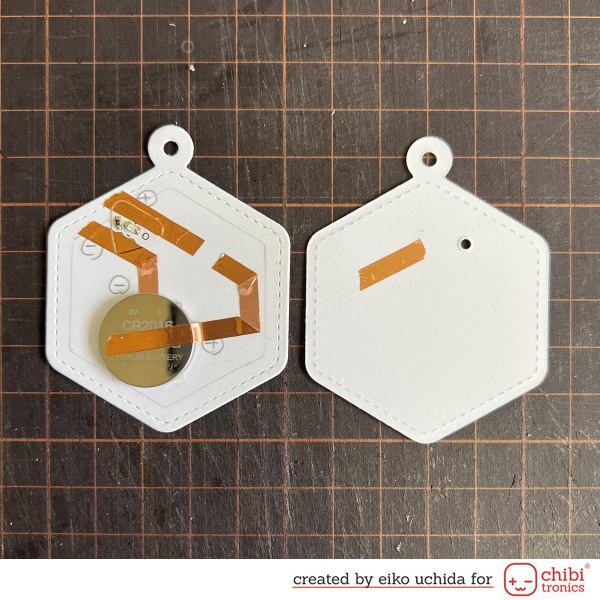
- Stick the copper tape on the pre-drawn path.
- At the battery place, peel off the release paper, stick the negative side copper tape, fold it back and cut it.
- Stick the positive side copper tape.
- At the position of the battery leave the positive side copper tape about 1 inch and cut it.
- Place the battery on the copper tape with positive side facing up and stick the positive side copper tape on the battery.
- Attach the orange LED to the copper tape, over the outline.
- Stick short copper tape on the edges of the LED to reinforce.
- Stick short copper tape to the marked area on the back of the cover panel.
- Stick the circuit card base on the foam sheet with a magnet attached.
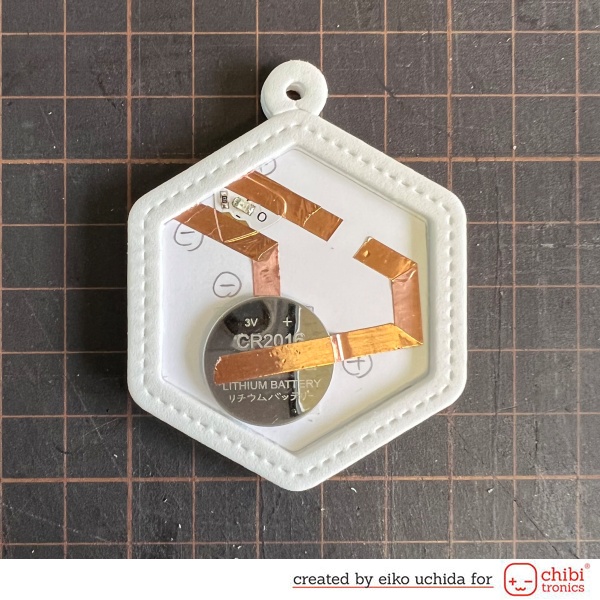
- Stick the honeycomb foam frame on the circuit card base.
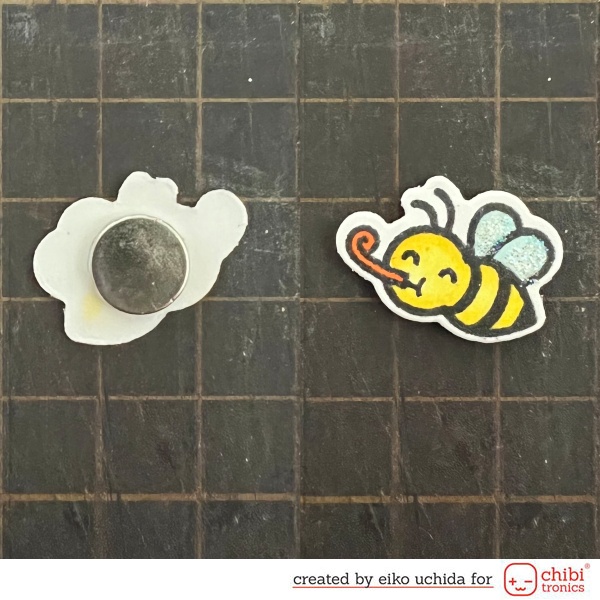
Stick another magnet on the back of the bee motif.
- Stick small vellum piece on the back of the cover panel.
- Stick the cover panel on the foam frame.
- Stick die cut parts on the cover panel.
- Stick the sentiment on the part of the gap in the circuit.
- Stick the honeycomb frame on the cover panel.
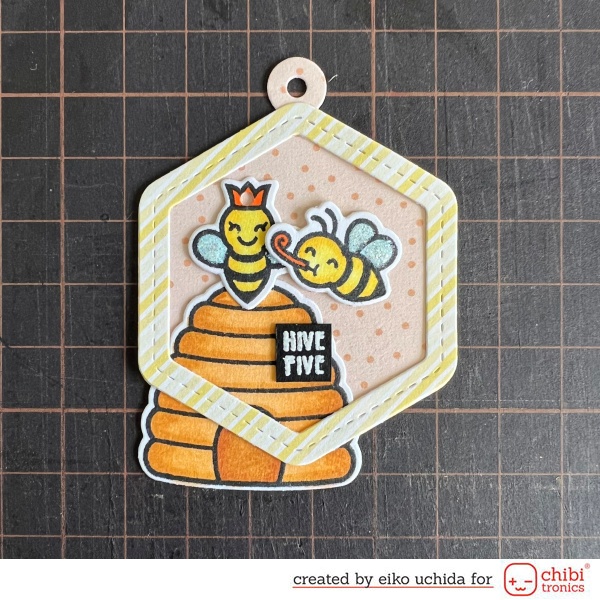
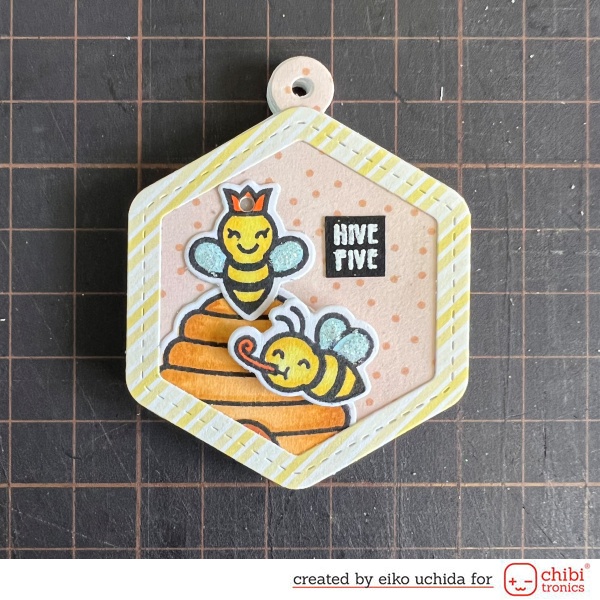
I finished it!
When you place a bee motif with a magnet on the sentiment, it will attract the magnet attached to the back of the circuit and connect the circuit.
When turning off the switch, place the bee motif on the battery.
Thank you for stopping by!
Eiko Uchida
~Supplies List~
- Chibitronics Pink, Orange, and Green LED Sticker Pack
- 3V coin cell battery (CR2016)
- 4mm wide Copper tape
- Two neodymium magnets with a diameter of 1 cm
- Lawn Fawn Hive Five Kit
- Lawn Fawn stripes’n sprinkles paper pack
- Lawn Fawn black licorice cardstock
- Lawn Fawn vellum
- White cardstock
- 2mm thick foam sheet
- Lawn Fawn white embossing powder
- Tsukineko Versamark emboss ink
- Tsukineko memento tuxedo black ink
- Copic markers Y06, Y08, Y13, Y15, YR04, YR07, YR21, YR24, YR27, YG23, YG25, B000, B00, C00, C0, RV11, RV13