Welcome! I’m Allison Cope and today we’re going to have a spook-tacular time and create a fun light-up Halloween card!
I begin by creating a circuit base for my card front panel and circuit. I create an actual card base to write to my recipient after my circuit is complete. I just make a base and slap it on the back of my circuit base. I always allow for the depth of my foam tape when creating this base.
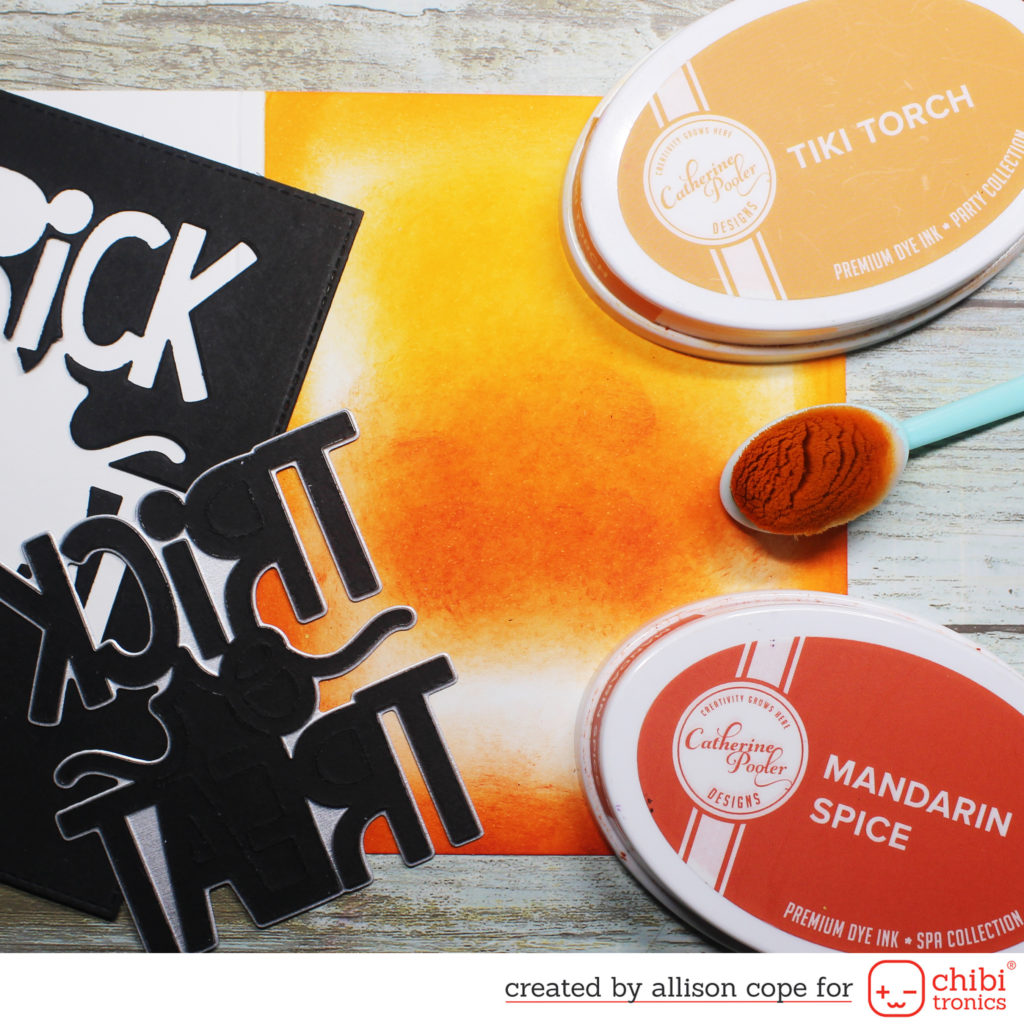
I used some Catherine Pooler inks on the front of my card to add a colorful mat and a patch of color to add to the back of my die cut. I die cut the cool word die from thick black cardstock – this will block any extra light from passing through the card other than in the die cut area.
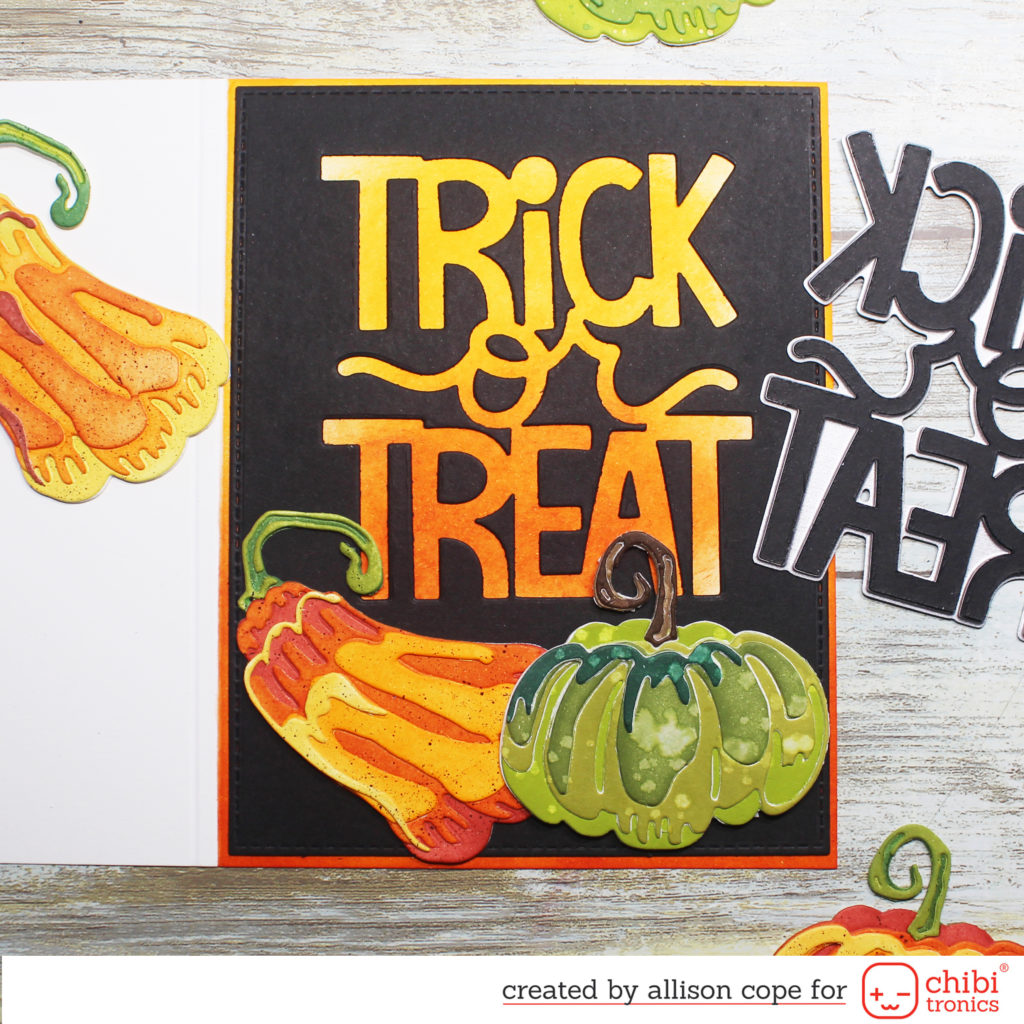
Next I added some pre-made 3 dimensional pumpkin die cuts made from the Sizzix “Pumpkin Duo Die” set and inky layers of cardstock.
Next I flipped my circuit base over and traced the die cut on the inside of my panel. This makes for easier placement of all the light stickers, circuit tape and batteries.
I used the stencil from the “Circuit Stickers and Effects Stencil” set and mapped where each of my LED Light Stickers were going to go. Today I used red, orange and yellow stickers.
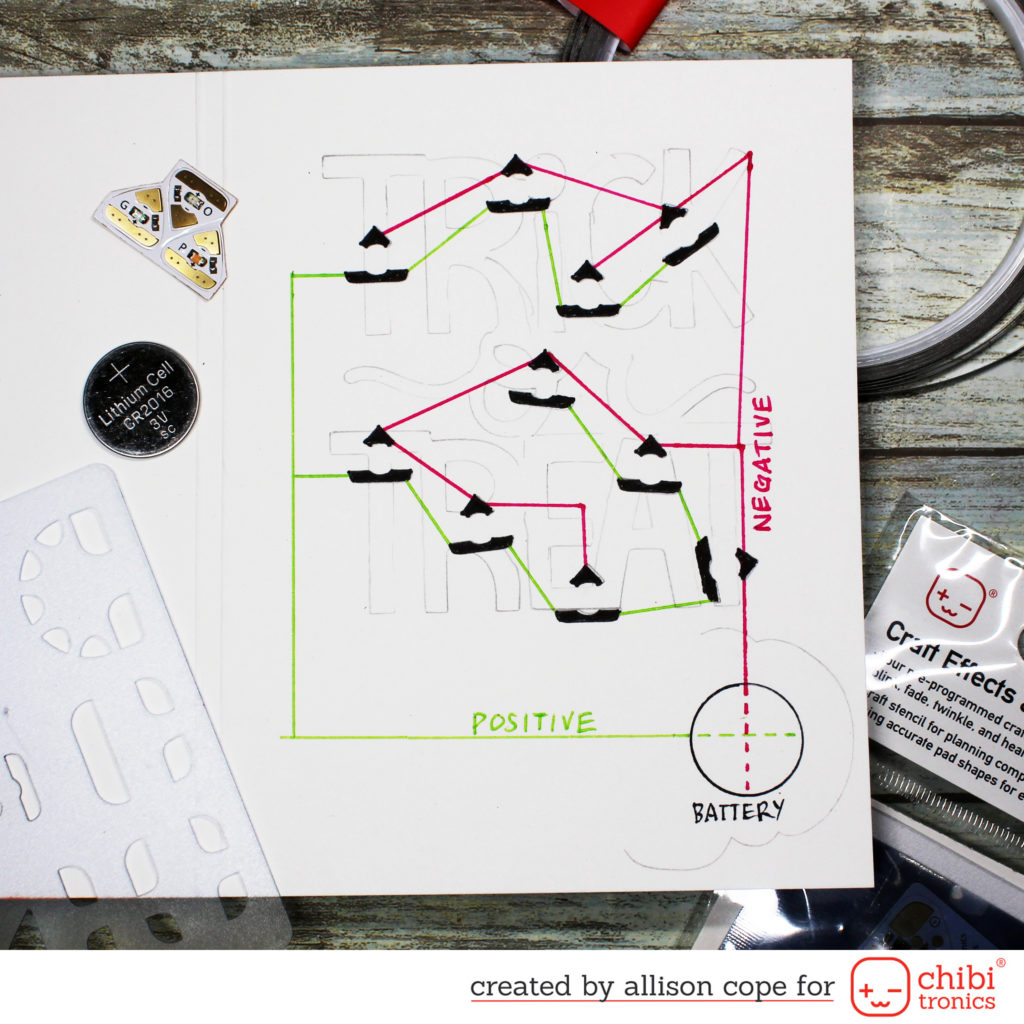
Next I attached all the stickers using the circuit lines. Green lines = positive side of the circuit and pink lines = the negative side of the circuit. Each line comes back to cross over the battery.
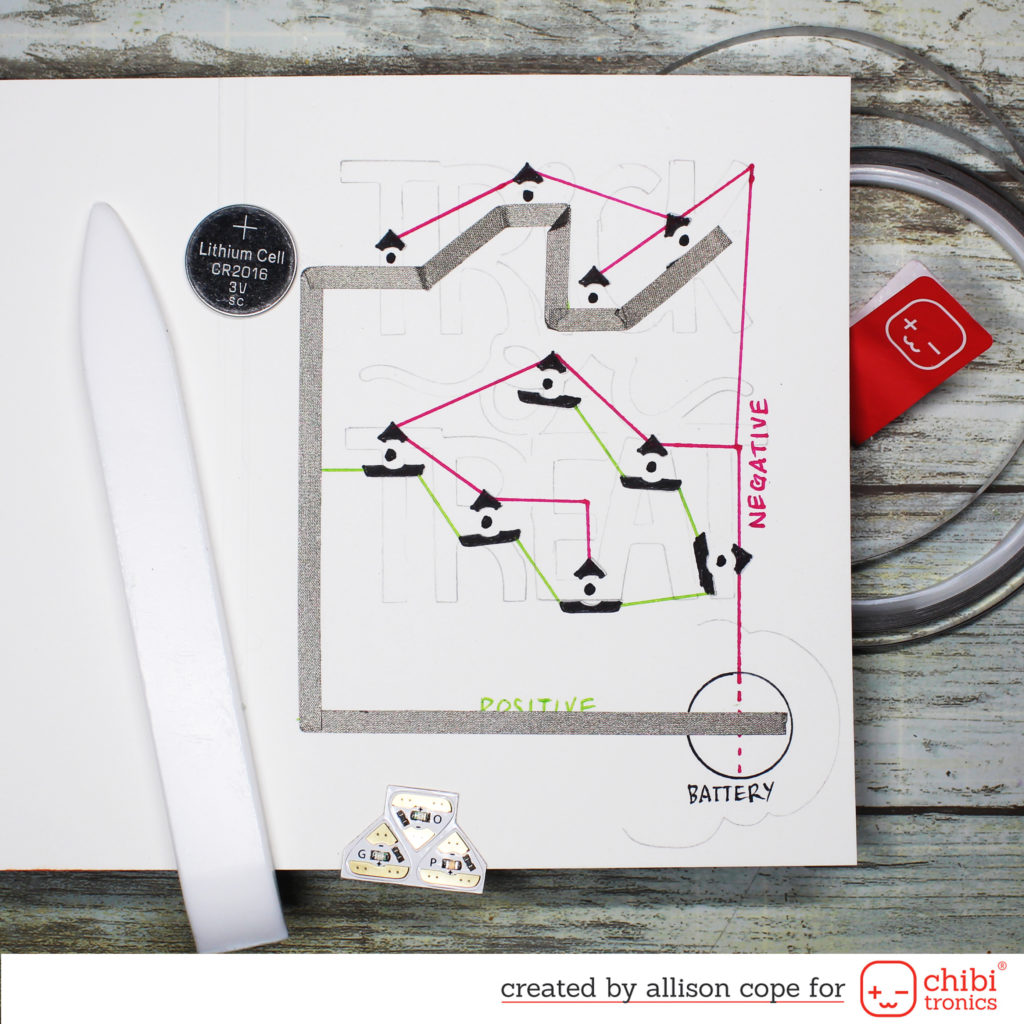
Typically I start with the negative side of my circuit but today I began with the positive side. I added the Conductive Fabric Tape to my circuit beginning where my battery will be located. Traditionally I start on the negative side because the TOP of the battery cell is the positive side. To solve this problem, I know I have to add the batteries in UPSIDE DOWN.
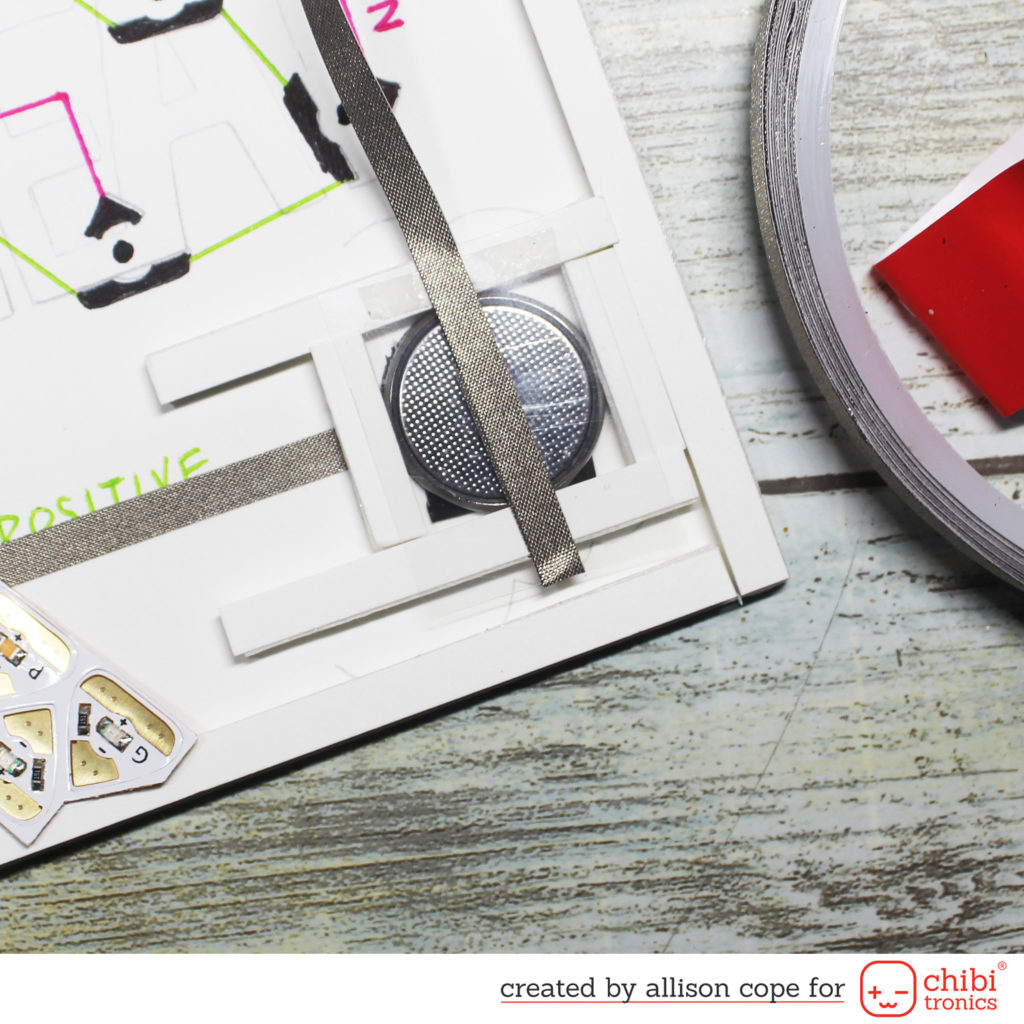
Next I created my battery housing. I used some pieces of 3D foam adhesive to create a 4 sided little compartment. Then I added a piece of acetate (you can use anything for the flap!) that runs across the top of the battery. The negative side of the circuit (in this case because I had to flip my battery) has to start on top of the battery, so I begin my Conductive Fabric Tape on the underside of the flap and wrap it around the flap and out to the remainder of the negative side of the circuit.
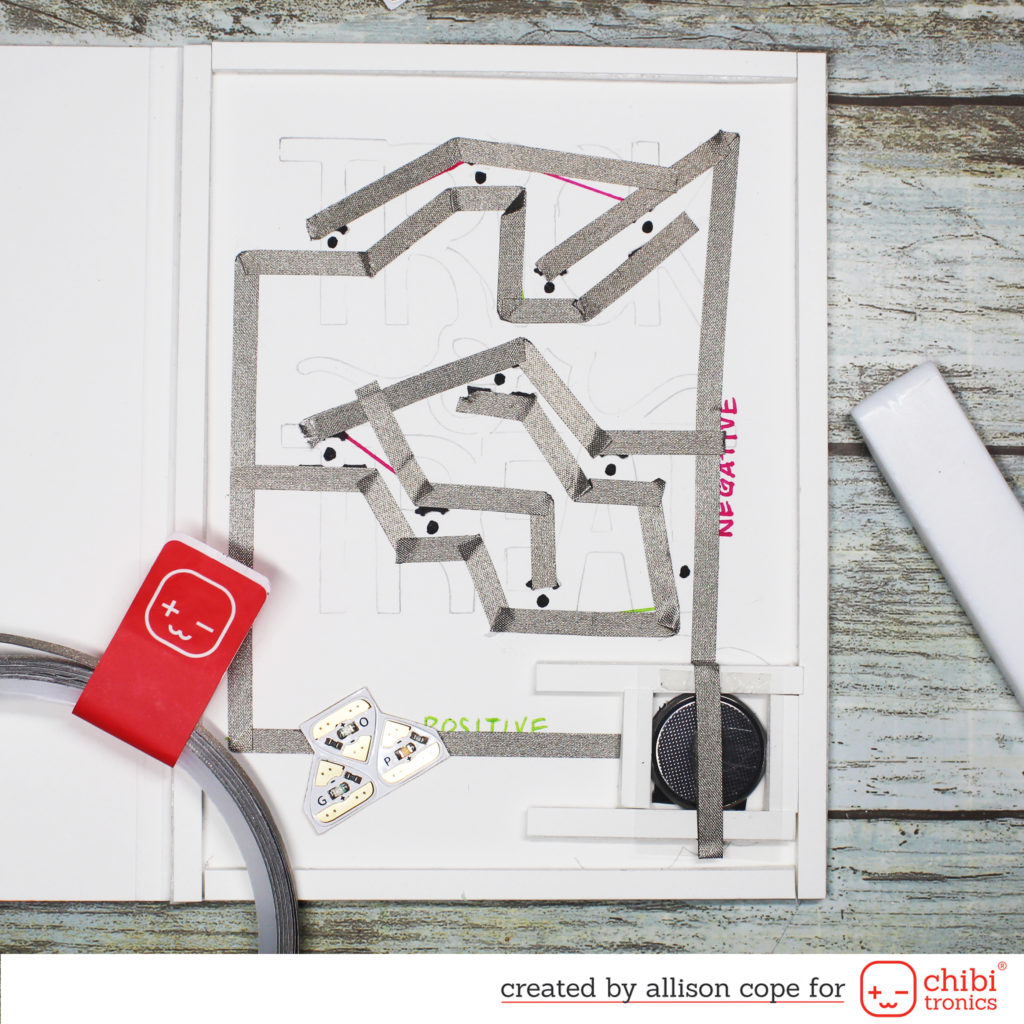
Here is my my almost completed circuit…
Next I need to stick down the LED Light Stickers. In this case, I used 3 orange light stickers from the Tropical LED Lights set, 4 red light stickers and 3 yellow light stickers from the Red/Yellow/Blue Lights set. You can also purchase a Lights Sample MegaPack of LED stickers with all 6 colored sticker colors in it.
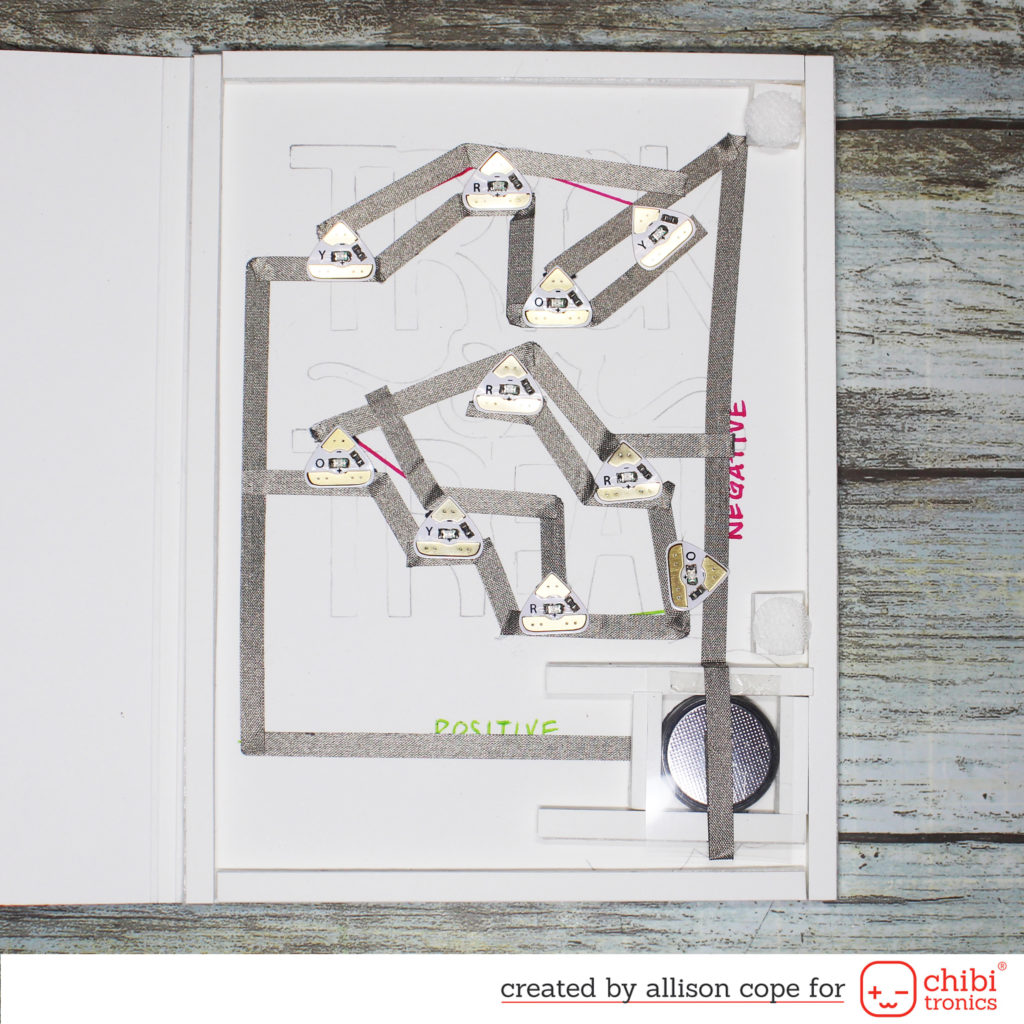
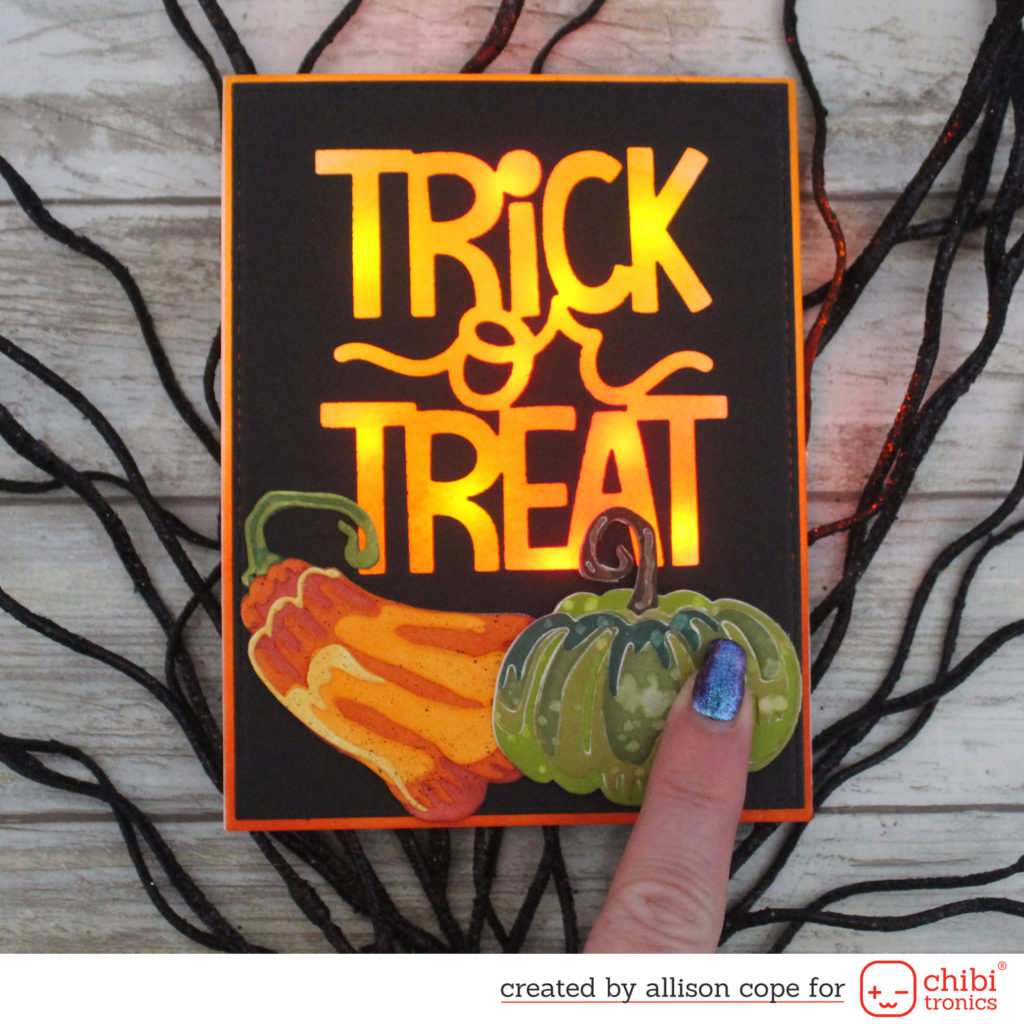
It’s always good to TEST your circuit to see if it works! Ta-da!!
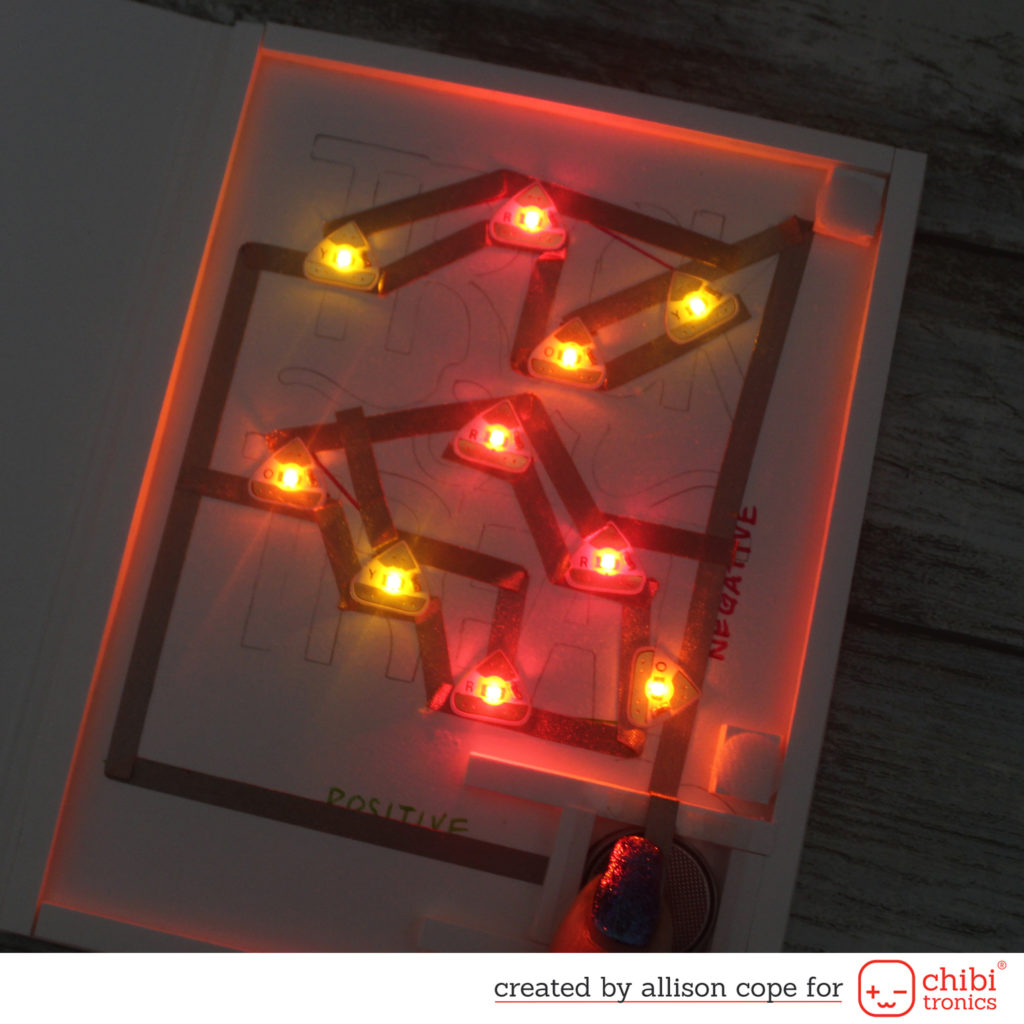
And here is the final card all lit up…
This circuit did not take long to map out and create!
I hope I’ve inspired you to create today! Grab one of our new Craft with Lights kits to give this light up project a try! Everything you need for your project’s circuit is included in these kits! All you have to do is pick “white lights” or “colored lights” ~ SO EASY!
Thanks for checking out the blog today! A full product list can be found on my blog.
Happy crafting!