Hi, crafty friends!
It’s Yukiko and I have some birthday pop-up frame cards to share with you today.
The pop up frame card was shared with us by Jennifer Mcguire last month.
She called this a “Must-Try-Pop-Up Frame Card” because it is easy to make and doesn’t need special dies.
It can make a nice dimension and add a special effect to the card.
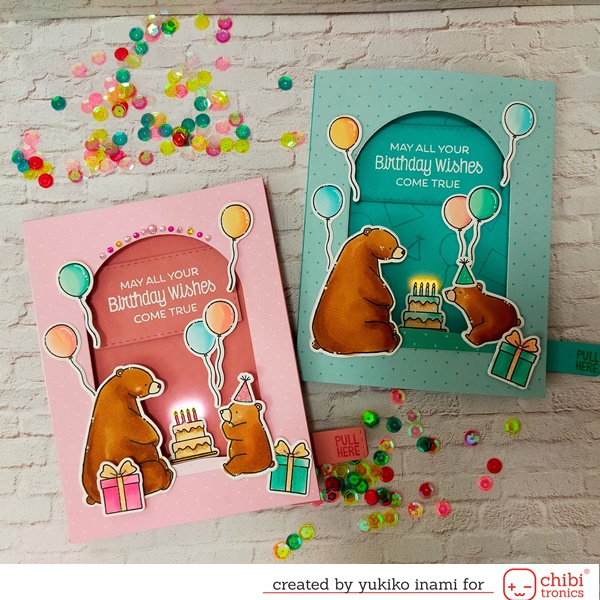
I loved adding the light to this pop-up frame card. Then I made these cards with Chibitronics lights.
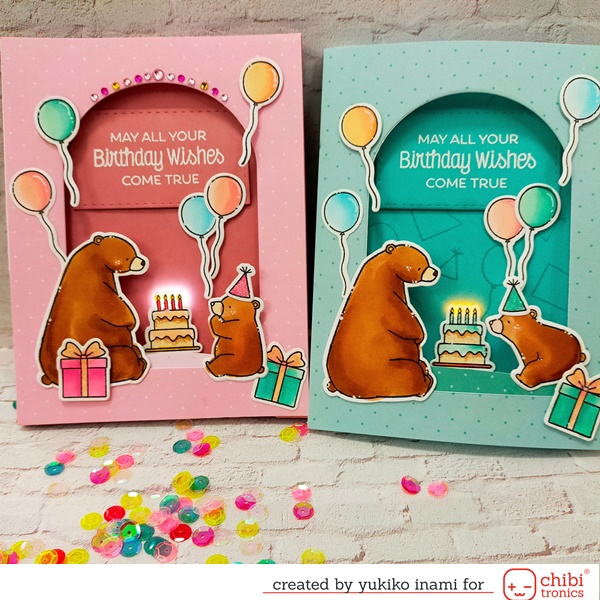
The mother bear and her sweet cub celebrate his birthday with the birthday cake.
They light the candles on the cake. The cub blows out the candles and make his wish.
May all the birthday wishes come true!
1. Supplies
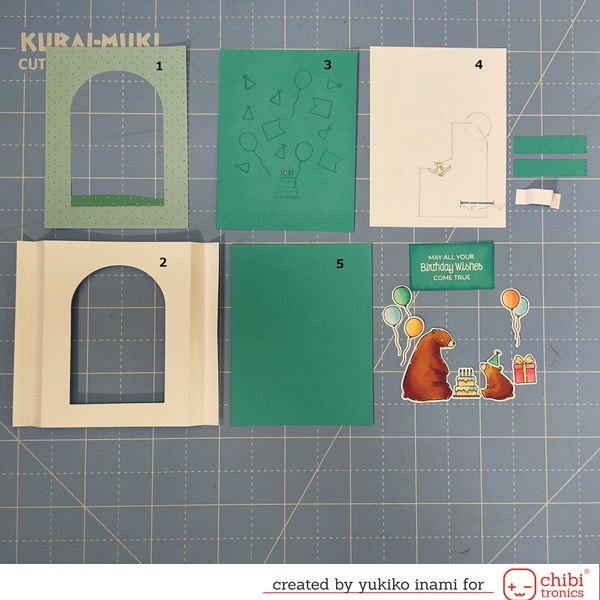
・Cover sheet(1); 4 1/4 x 5 1/2″ and cut out the window
・Pop-up parts(2); 6 1/4 x5 1/2″ and score at 1/2,1″ from both sides of the long edges
・Background sheet(3); 4 1/4 x 5 1/2″; make the holes for candle lights
・Circuit sheet(4); 4 1/4 x 5 1/2″
I cut a horizontal slit; the length 1″ starting at the point 1/4″ from the right edge and 1″ from the lower edge.
・Back panel(5); 4 1/4 x 5 1/2 “;
・Pull tub for the switch; 2 pieces 1/4 x 2 “
・Switch part; 1/4×1.5″; I stick the copper tape then folded on 1/4″montain,1/2″ valley,1 valley,1 1/4 “mountain
・LED stickers; Chibitronics
・Copper tape; Chibitronics
・Cell battery; CR2016 ( This number means the diameter;20mm, thickness;1.6mm)
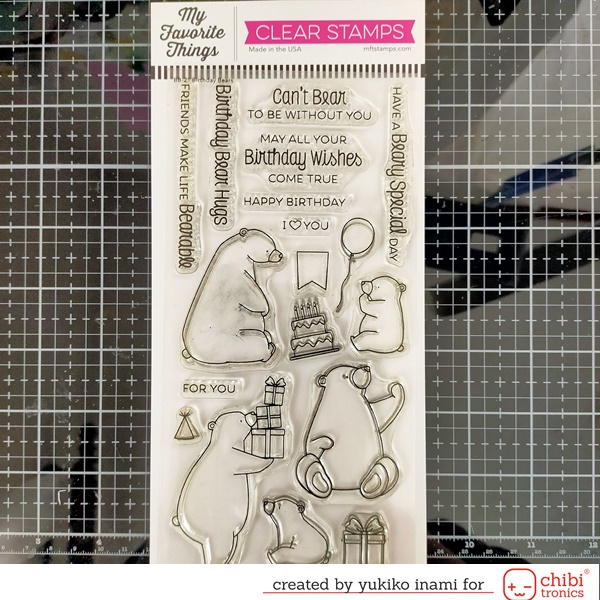
・Parts; I stamp and cut out from the “Birthday Bears” stamp and die set. I color them with Copic markers.
the mother bear, cub, balloons, cake, party hat, gift box
・Rectangle for sentiment; I cut the rectangle and stamp the sentiment heat embossing
・BB Birthday bears; MFT stamps
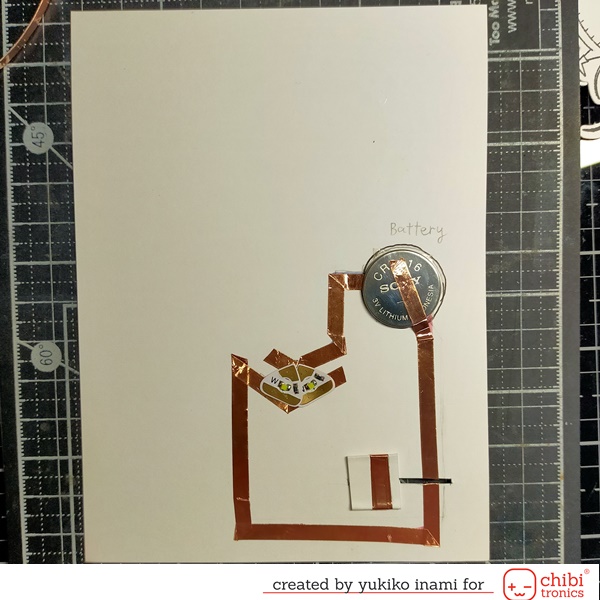
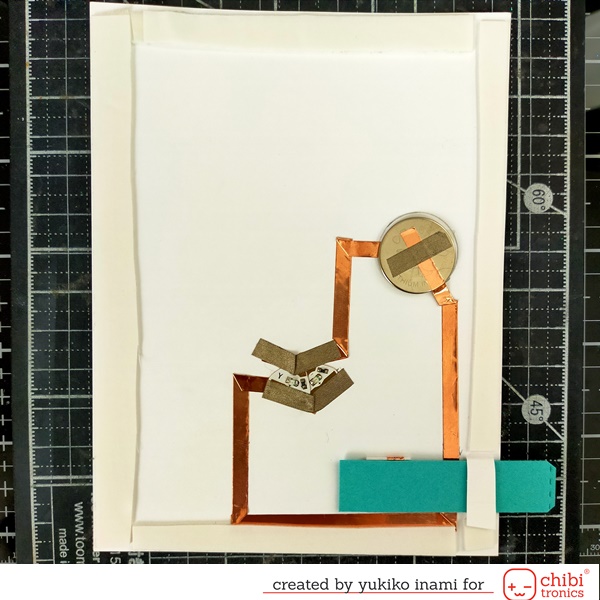
2. The Circuit
This is the circuit wiring. It isn’t a new one for you who follow our blog.
It has a slit on the circuit and the pull tab switch to slide in the slit.
If you are new to this, this movie can help you to know how to make it.
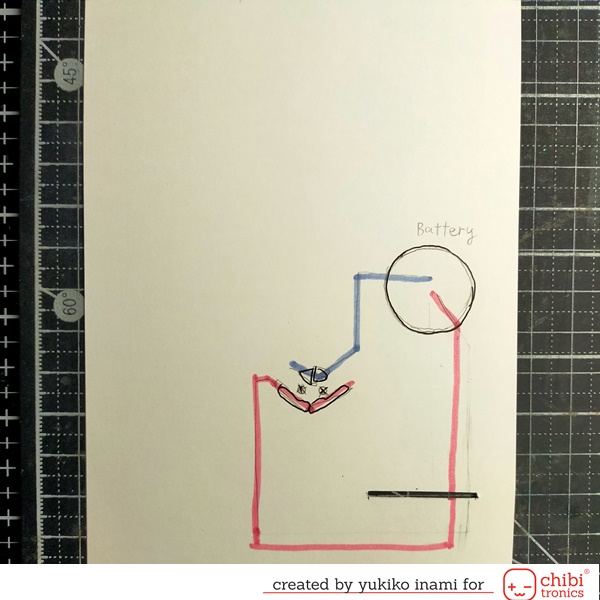
I stick the copper tape on the drawing path.
First, I start the negative side of the battery to the lights. Second, from the backside of the slit to the front side and the lights.
Third, starting from the backside of the slit another side to front side and the battery.
Then I slide the switch part into the slit of the circuit panel.
I slide the switch parts to the right edge and check the switch and circuit work well or not.
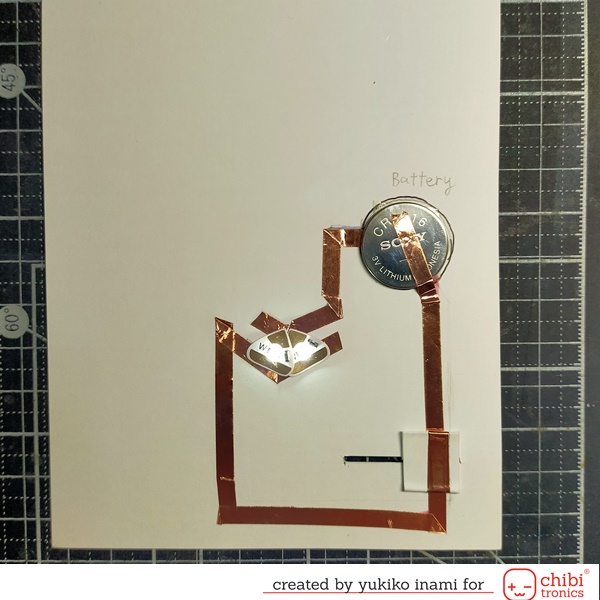
Yay! It works perfectly!!
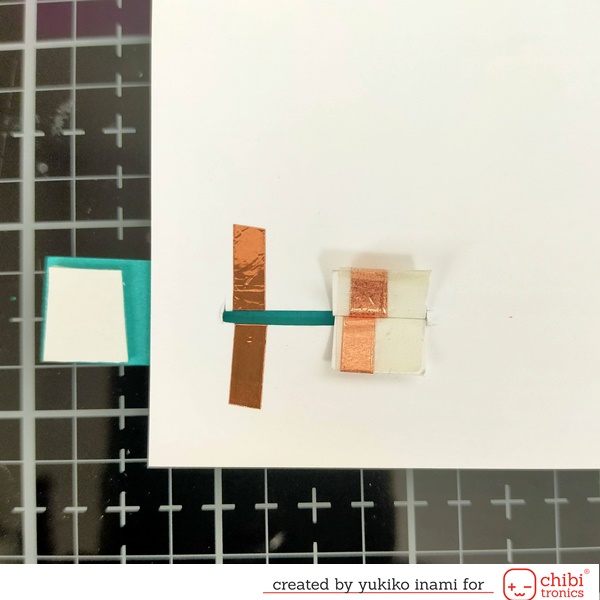
The switch part is made of a small piece of paper.
It is more stable to slide smoothly, sticking the center part with double side tape.
If your switch sliding is unstable, try this way.
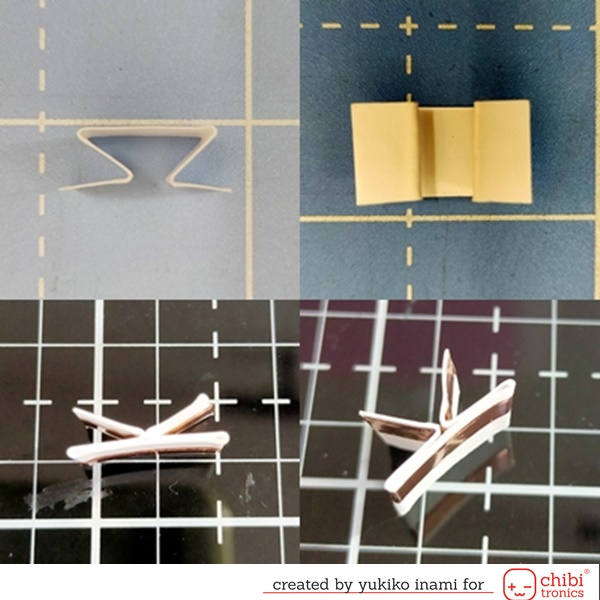
I stick the pull tab on the switch.
And I set the sleeve around the pull tab helping the smooth sliding.
I add the conductive fabric tape on the lights to make a secure contact.
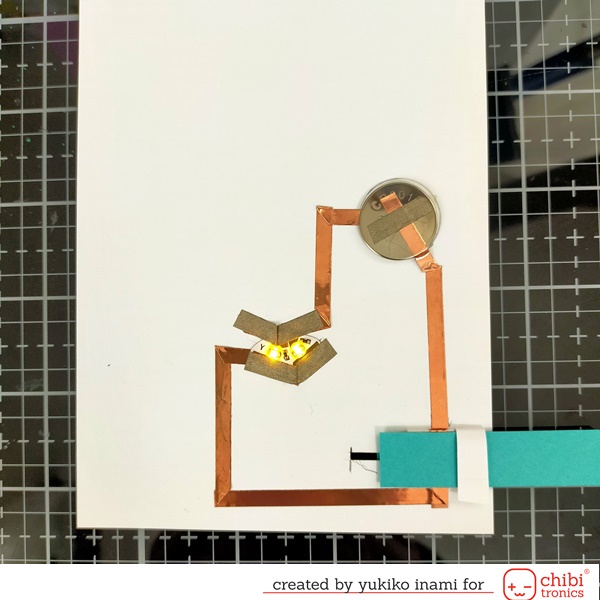
I put the foam tape on the all edge of the circuit sheet except the pull tab area.
I put another pull tab part on the backside of the switch.
(add another pull tab on the switch and tab shown upper photo)
3. Assembly Pop-up mechanism and Circuit

I glue the parts in order from the top to bottom, the cover sheet(shown as 1),the pop-up part(2), and the background sheet(3).
I peel off the paper of the foam strip on the circuit sheet(4). I set the circuit panel under the pop-up card.
I set a back sheet(5) on the backside of the circuit sheet.

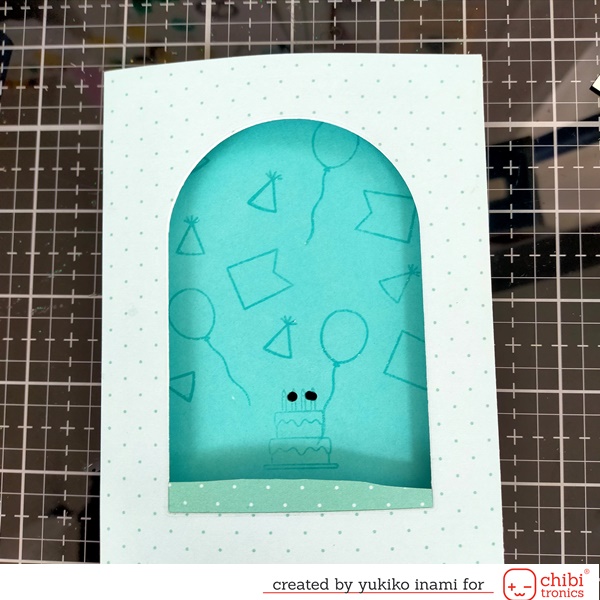
4. Making the Scene
I put the mama bear, cub, balloons, gift box, and birthday cake. Foam tape help to make the dimension.
I stuck the sentiment banners inside the window.
OK. It has been completed!
When you pull the tub, the candles on the cake are lit.
The adorable cub blows out. Make a wish!
The birthday party is starting!
Thank you so much for stopping by today!
Have a wonderful day!
Yukiko I.