Howdy all, Allison Cope here! Today I’m sharing a fun and EASY card tutorial where I make a sweet little Christmas star twinkle! I’m over on the Chibitronics YouTube channel sharing just how it was made!
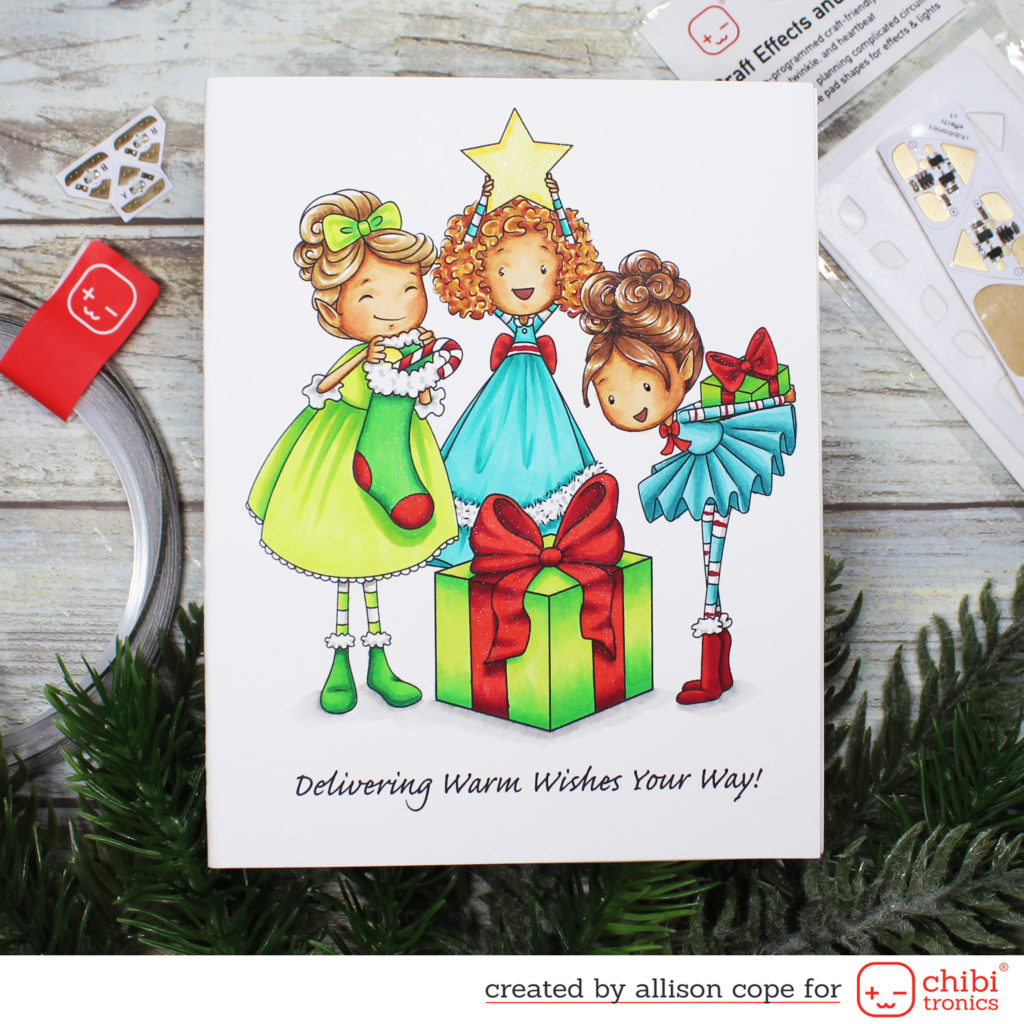
Today I began my holiday card by printing out and coloring in my sweet little digital Christmas pixie scene. I also printed a copy on simple white copy paper for preparing my circuit.
I took my light weight paper copy of the image and adhered it into place. Next I took my stencil from the “Craft Effect Sticker & Stencil” set and mapped out my entire circuit, including the Craft Effect Sticker. There are 4 effect stickers in this cool collection. Each sticker makes your light stickers do a different thing. There is a Twinkle, Fade, Blink and Heartbeat sticker included.
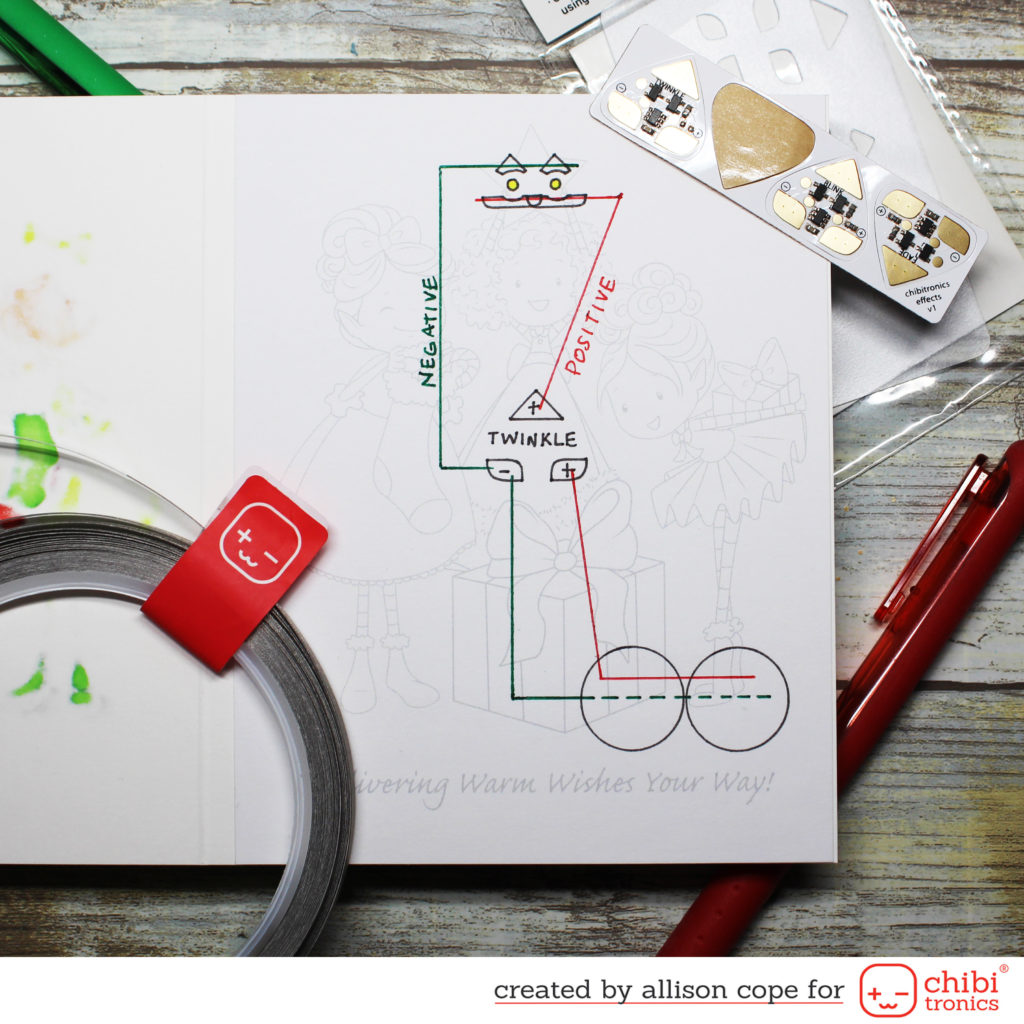
The red lines indicate the POSITIVE side of the circuit and the green lines indicate the NEGATIVE side of the circuit.
Next I laid down the “Conductive Fabric Tape” for the negative side of the circuit. I always start my tape under the battery area so my circuit begins with contact on the underside of my batteries. Then I lay down the tape for the positive side of the circuit. I always begin this side of the circuit by creating a flap that is wrapped with “Conductive Fabric Tape” on the underside of so it makes contact with my batteries first.
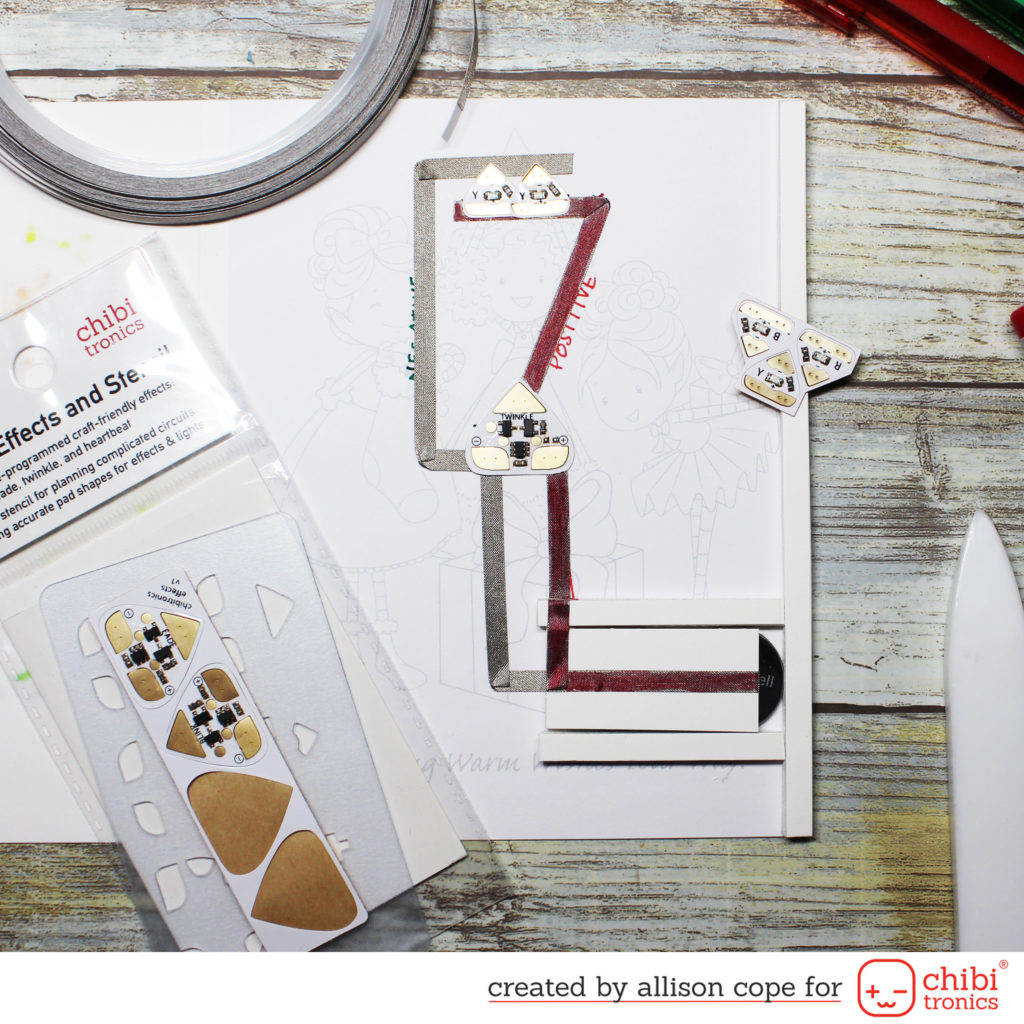
Next I apply my LED Light Stickers and my “Craft Effect Sticker” to my paper circuit. I used 2 yellow LED Light Stickers from the “Red/Yellow/Blue Mega” pack of stickers. Yellow light stickers can also be found in the “Light Sampler Megapack” where you can get all 6 of our colored lights.
And finally, you have to check out that circuit and see that star twinkle and shine! The Craft Effect sticker just makes this card extra special!
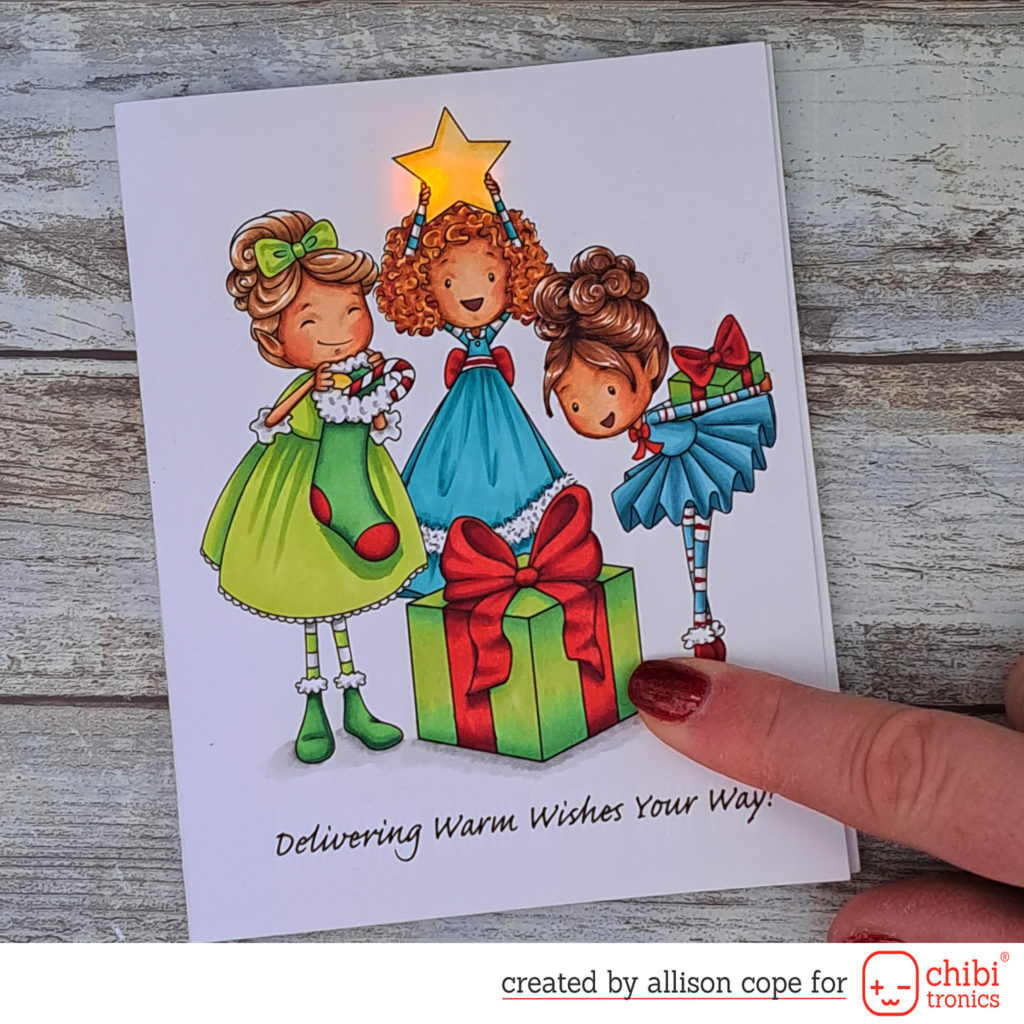
I hope my recipient will love it! I know I do!
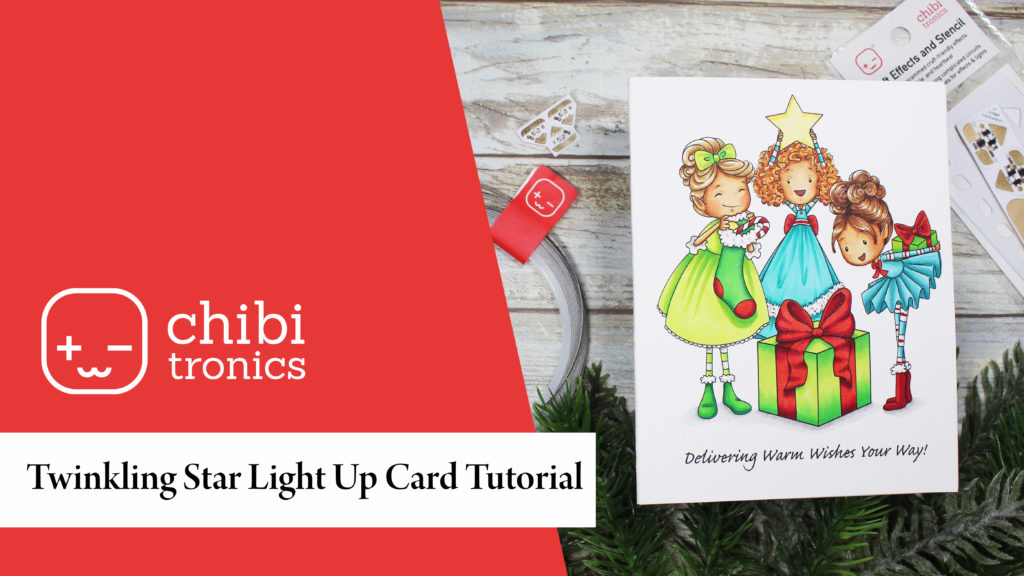
Join me over on the Chibitronics YouTube channel where I show you step-by-step just how EASY this circuit is to make! CLICK HERE to go straight to our video!
Happy lighting up the Season everyone!
