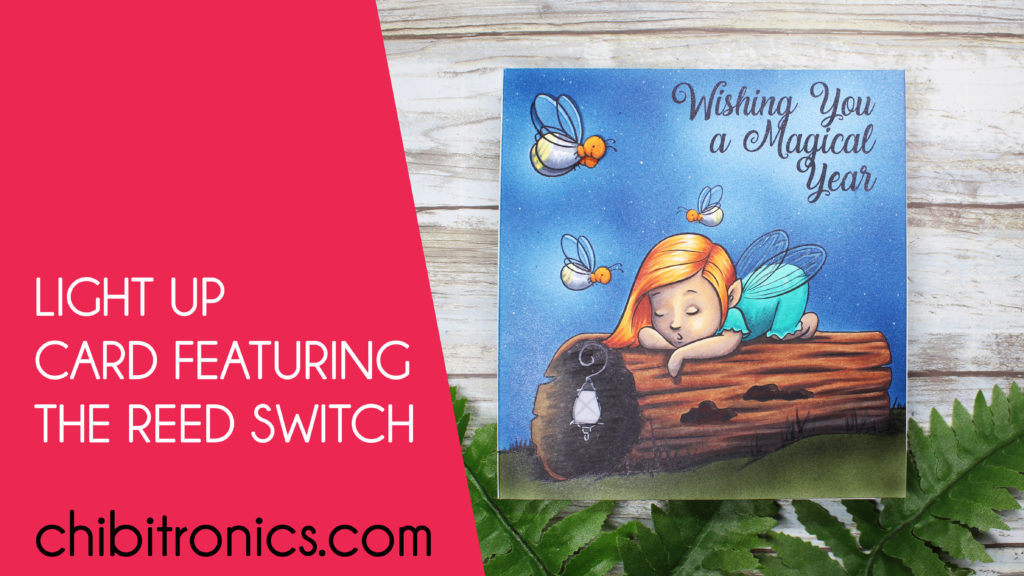
Hello! It’s Allison Cope here to share a fun light up card featuring the new Reed Switch – Magnetic On from Chibitronics.
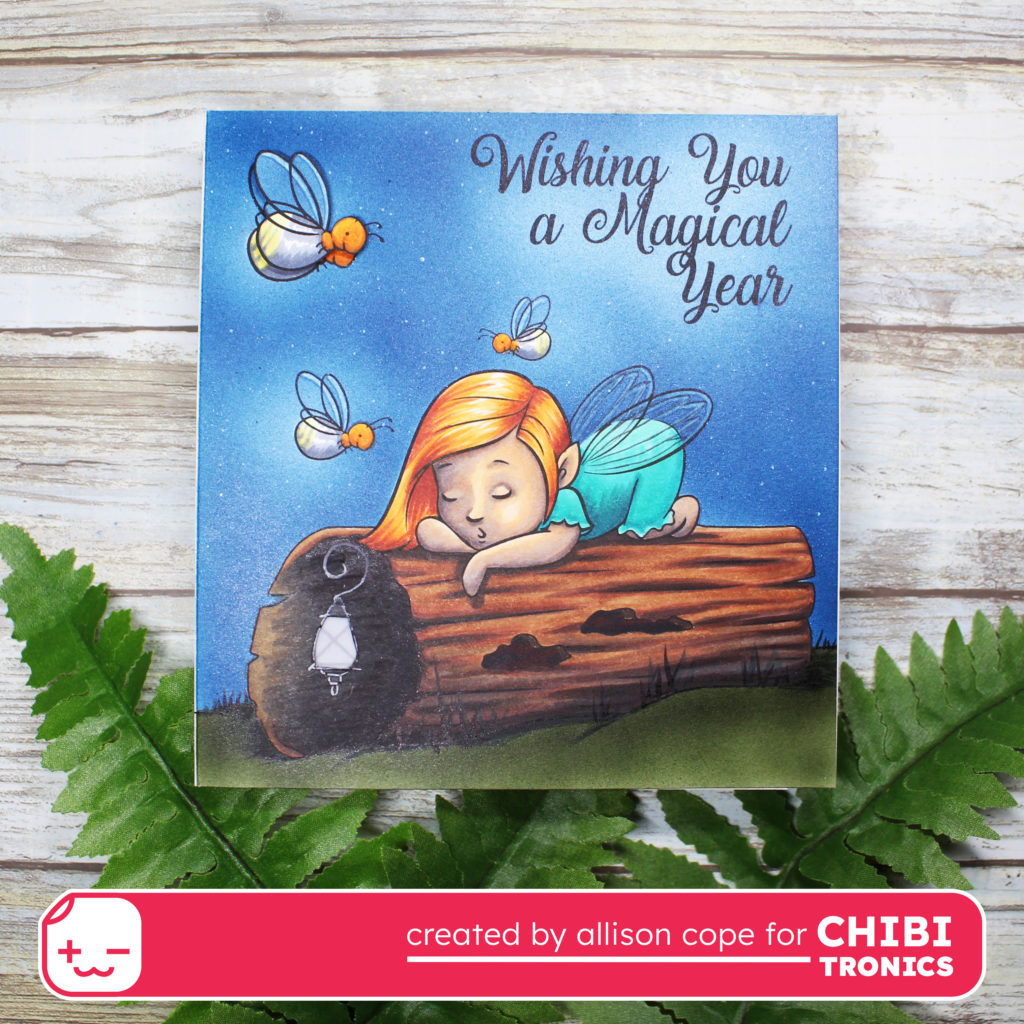
I began today’s card by printing out my little night fairy scene using digital stamps from Sweet November Stamps. I colored one for the front panel of my card and printed another lighter one to build my circuit on. This helps with positioning all our our LED Light Stickers and our circuit elements.
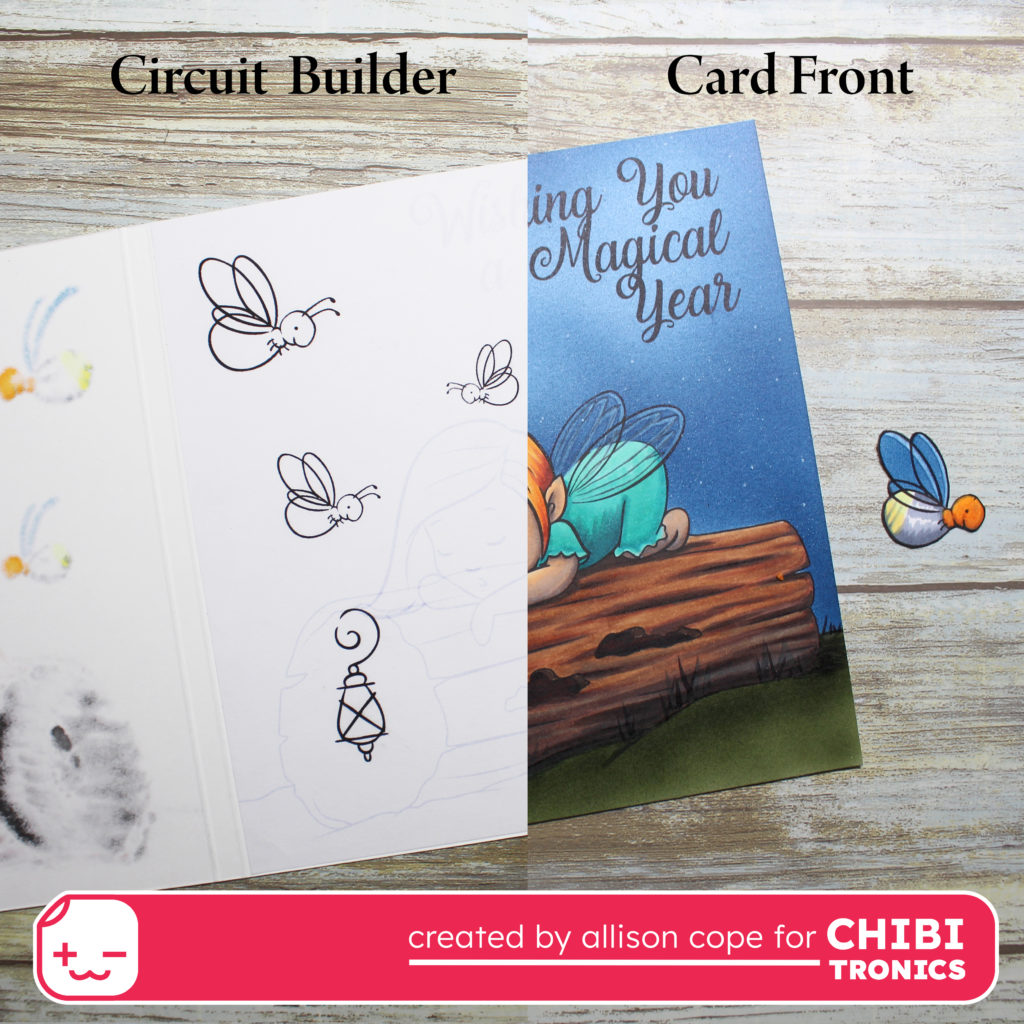
Next I used the Craft Stencil and mapped out my entire circuit including the placement of each LED sticker, the battery housing and the location of my Reed Switch.
Next I laid down the negative side of my circuit’s Conductive Fabric Tape. I created the housing for my 2 battery cells and then laid down the tape for the positive side of my circuit. I then added the Reed Switch to my circuit by adhered it to the circuit with Conductive Fabric Tape. I added all 4 Yellow LED Stickers from the Red/Yellow/Blue MegaPack collection over top of the firefly tooshies and the fairy lantern inside the hollow log.
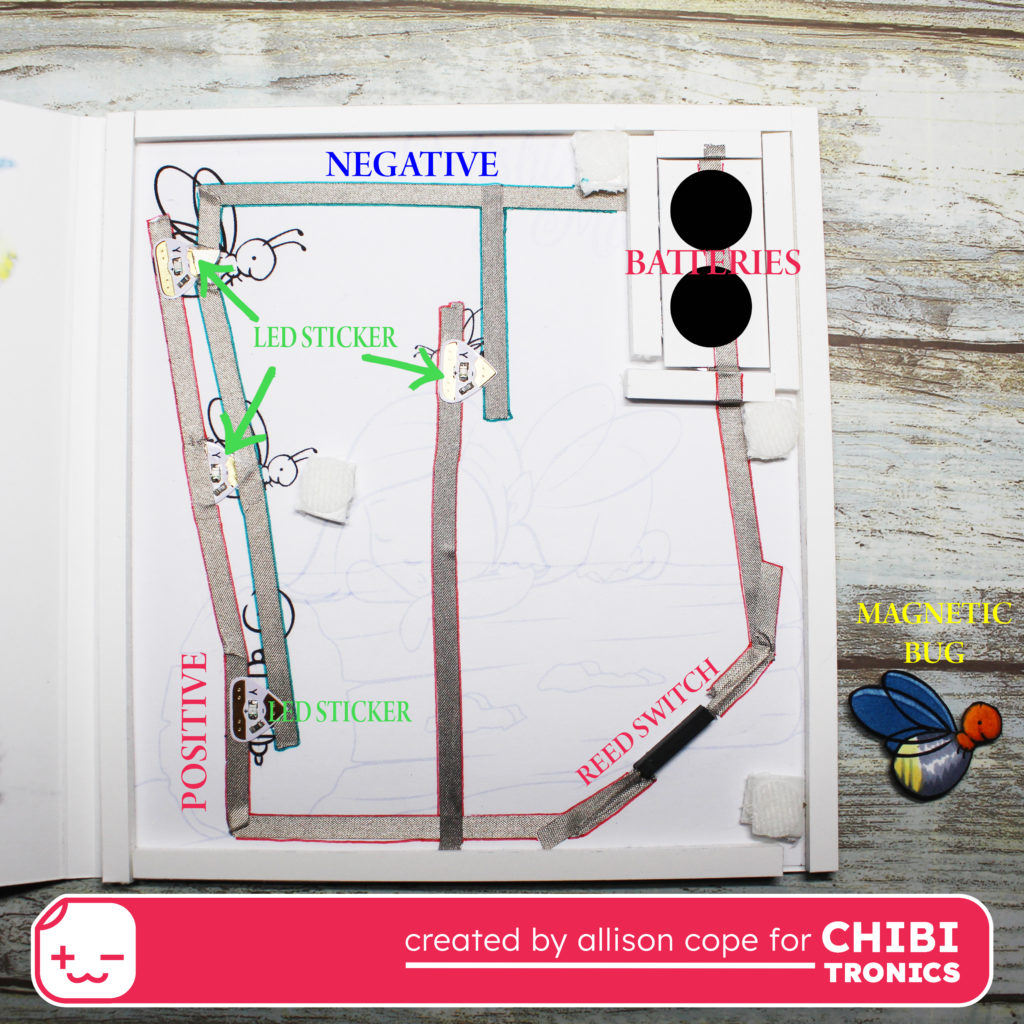
When a magnet-on reed switch is added to your circuit, electricity will not flow unless a magnet is placed nearby. This allows you to add another fun interactive element to your circuits! So I used a little firefly as the magnetic aspect to complete my circuit (seen above).
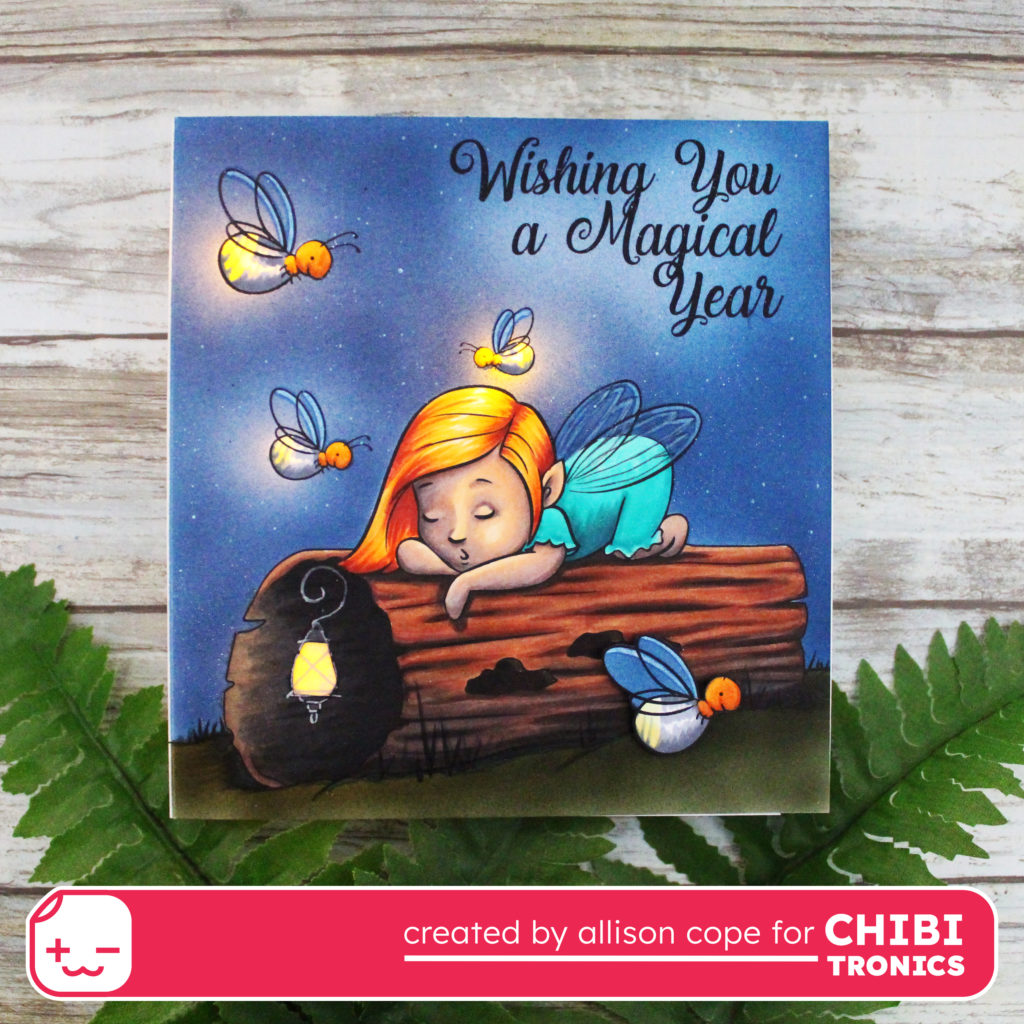
On my card, my little magnetic firefly is held onto the front with a tiny piece of magnet mounted underneath the firefly located at the top. When you locate the magnetic firefly to the lower right hand corner of the hollow log, the connection made through the card front with the Reed Switch completes the circuit and the LED Light Stickers turn on!
For more step-by-step instructions on how to use a Reed Switch in your next papercrafting project, why not check out my video tutorial HERE for all the details about today’s circuit.
Thanks so much for checking our my project today! Happy creating!
