Hi, crafty friends!
This is Eiko. Around the summer of 2023, Chibitronics will release three new animating LEDs. Gem-shaped blink type, Heart-shaped fade type, and Flower-shaped rainbow fade type. So today I make light up robot shaker card using Chibitronics new animating LED and Lawn Fawn stamps and dies.
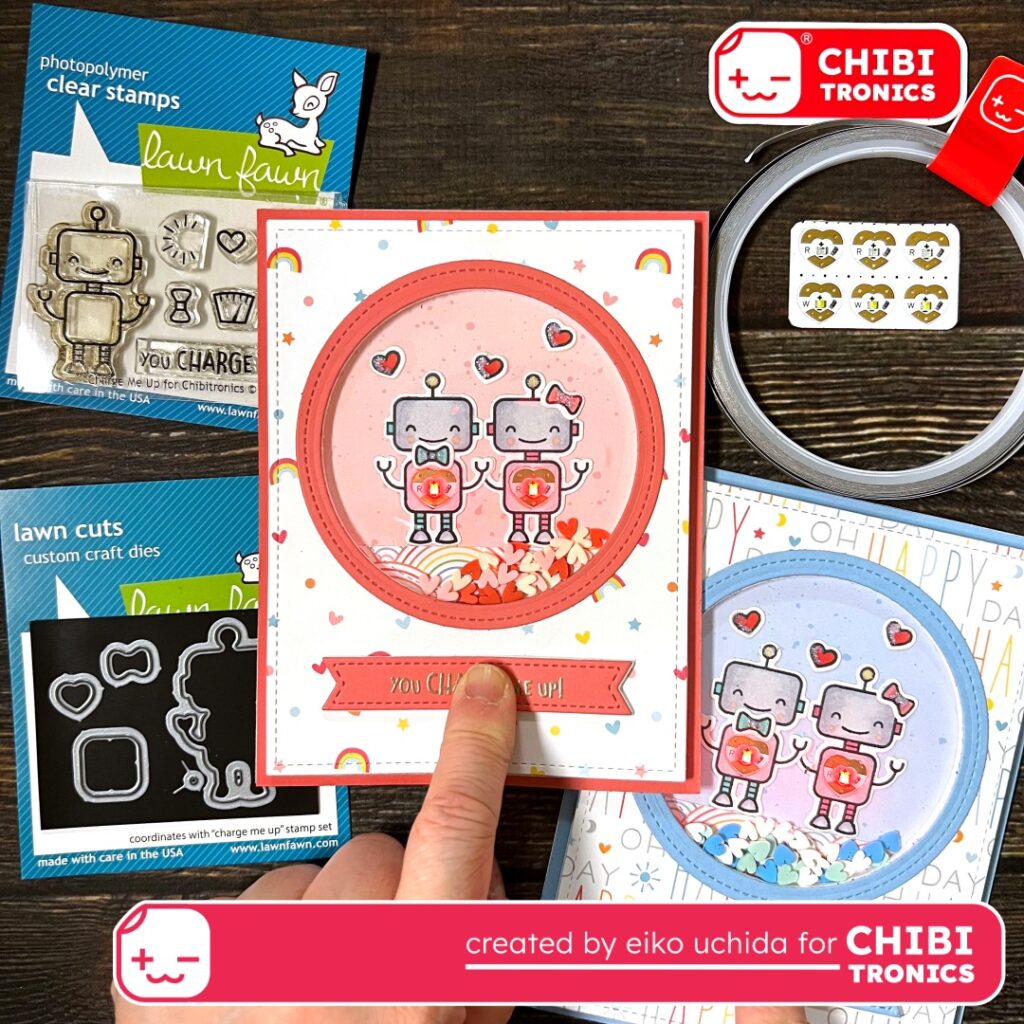
When you push the sentiment banner, the hearts fade.
I will make the parts referring to the picture below.
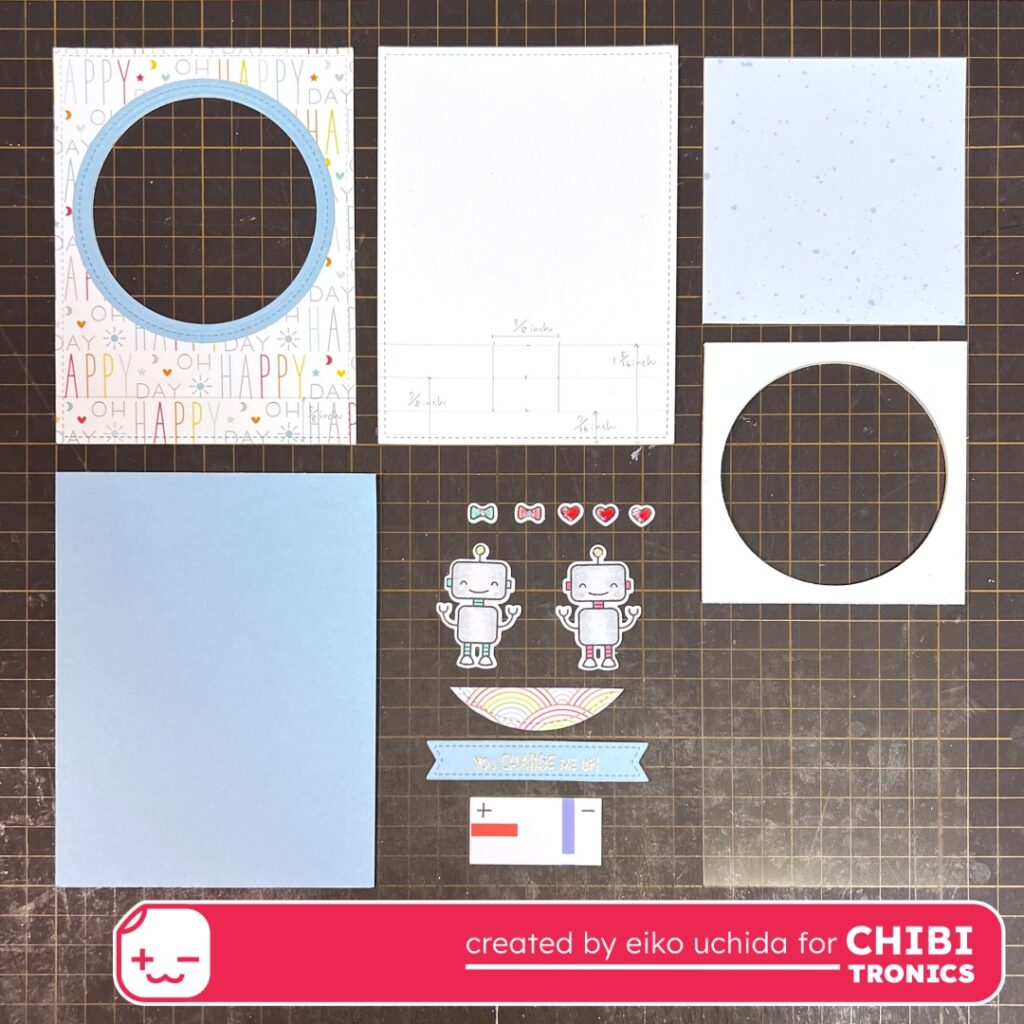
- Die cut pattern paper with 4 x 5 1/2 inches stitched rectangle die and 3 inches circle die.
- Die cut moonstone cardstock with 3 and 3 1/2 inches circle dies and put on the pattern paper.
- Die cut white cardstock with 4 x 5 1/2 inches stitched rectangle die.
- Cut the light blue pattern paper into 3 1/2 inches square.
- Cut the 3mm thick foam sheet into 3 1/2 inches square and die cut with 3 inches circle die.
- 4 1/4 x 5 1/2 inches moonstone cardstock.
- 4 1/4 x 11 inches folded white cardstock.
- Die cut white cardstock with robot, ribbon and heart dies and color with copic markers.
- Die cut rainbow pattern paper with 3 inches circle die and cut into 5/8 inch wide strips.
- Die cut moonstone cardstock and 2mm thick foam sheet with sentiment banner die.
- Stamp the sentiment with Versamark and heat embossing with platinum embossing powder.
- 7/8 x 1 3/4 inches switch part.
- Cut the acetate sheet into 3 1/2 inches square.
Put the motifs on the cover panel and cut the body of the robot into heart shapes.
Put the cover panel on the circuit card base, trace the heart shapes with a pencil.

- Mark the position of the switch part.
- Apply the switch part on the battery place.
- Draw the circuit with a pencil.
- I colored the positive side red and the negative side blue.
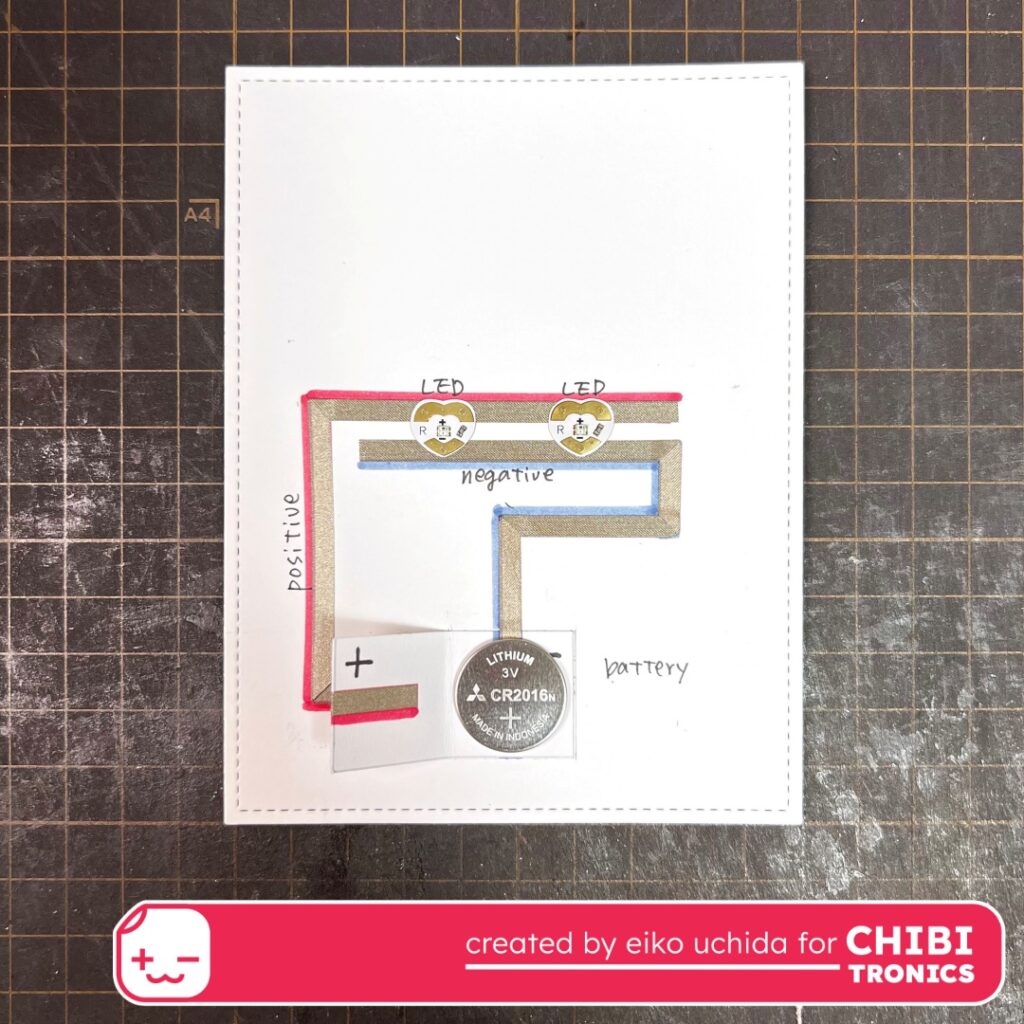
- Make the circuit.
- Stick the conductive fabric tape on the red and blue line.
- Smooth copper tape with bone folder.
- Place animating LED sticker on top of the fabric tape.
- Add battery into the battery holder with positive side up.
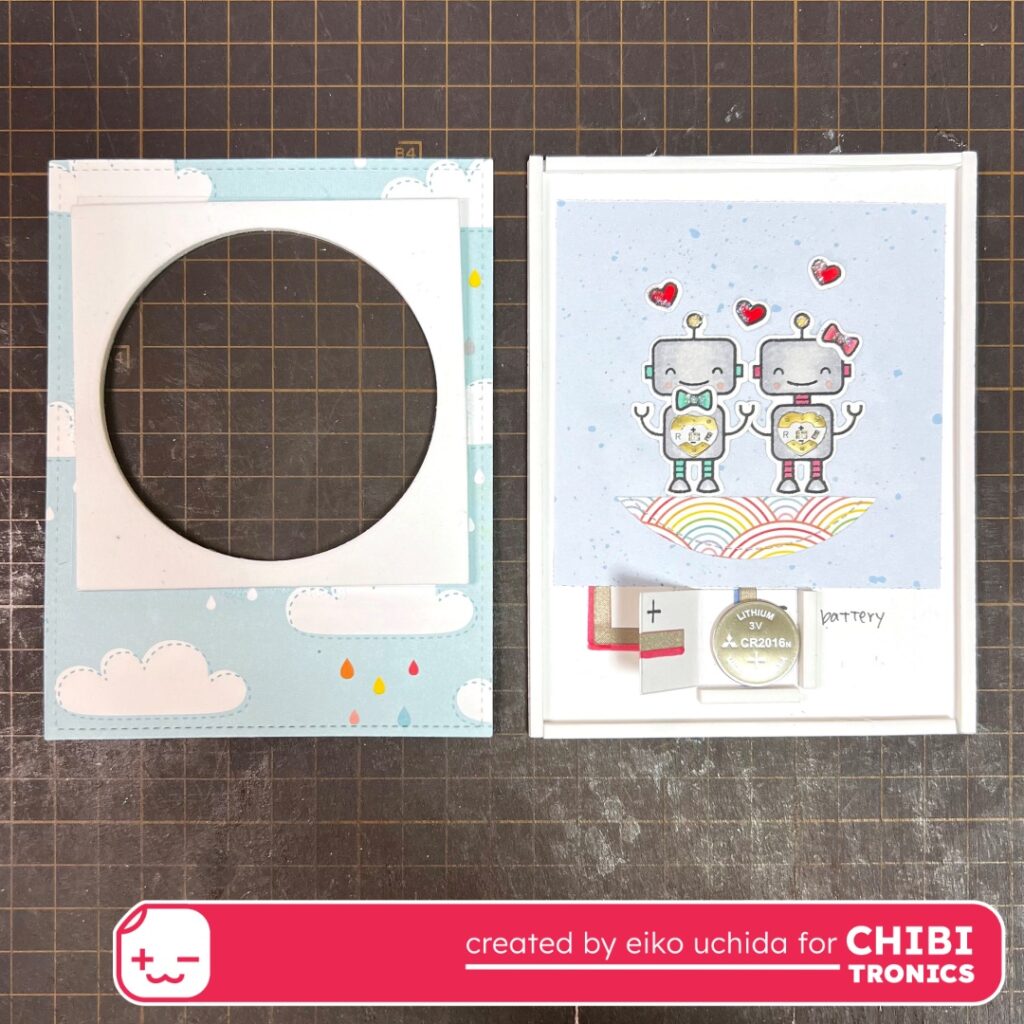
- Assemble the card.
- Put a light blue pattern paper on the circuit card base, and stick a robot, ribbon, and heart motif on it.
- Stick small pieces of foam tape around the battery to keep it in place. The foam pieces must be placed just outside the edge of the switch.
- And stick the foam tape around the entire edge of the card.
- Put the acetate sheet to the back of the cover panel.
- Put the circle die-cut foam sheet to the back of the cover panel.

- Put the heart embellishment in the circle window.
- Put the cover panel on the circuit card base.
- Put the finished cover panel on the moonstone cardstock.
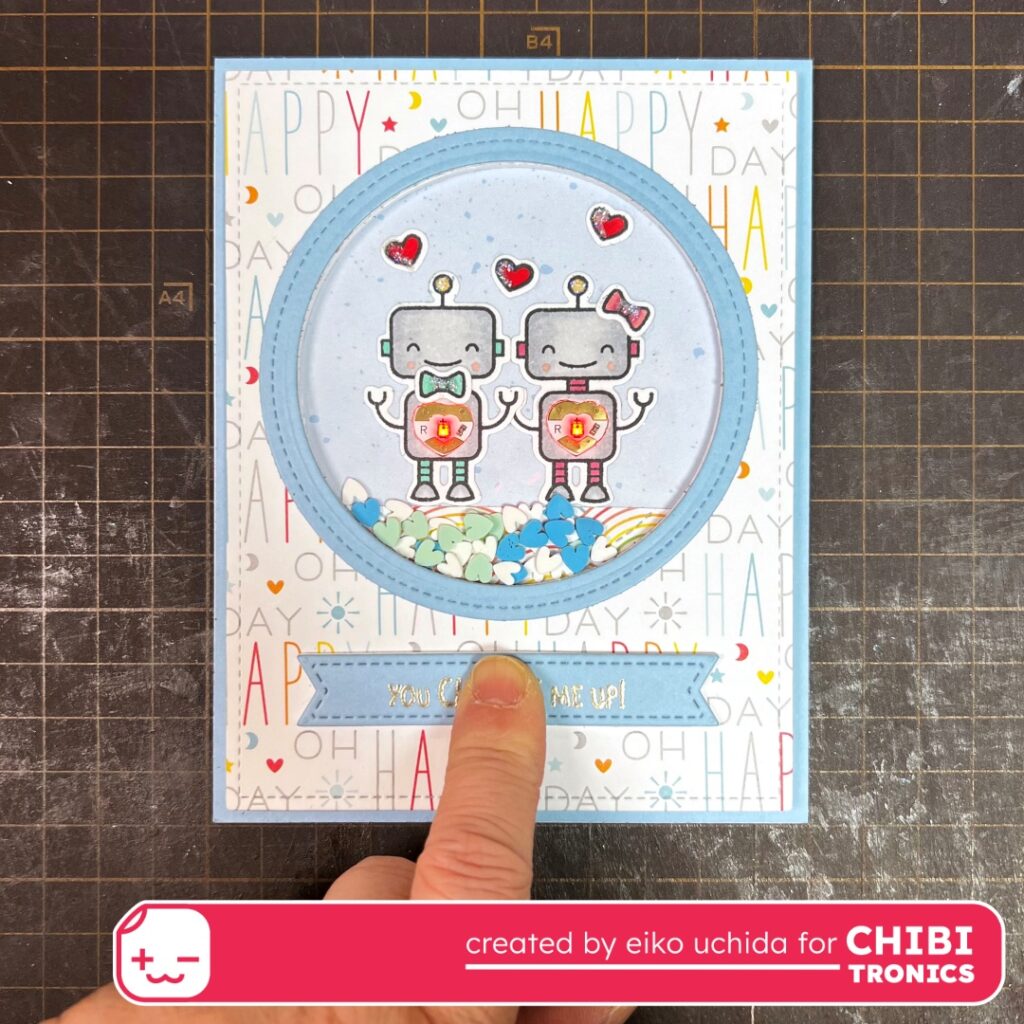
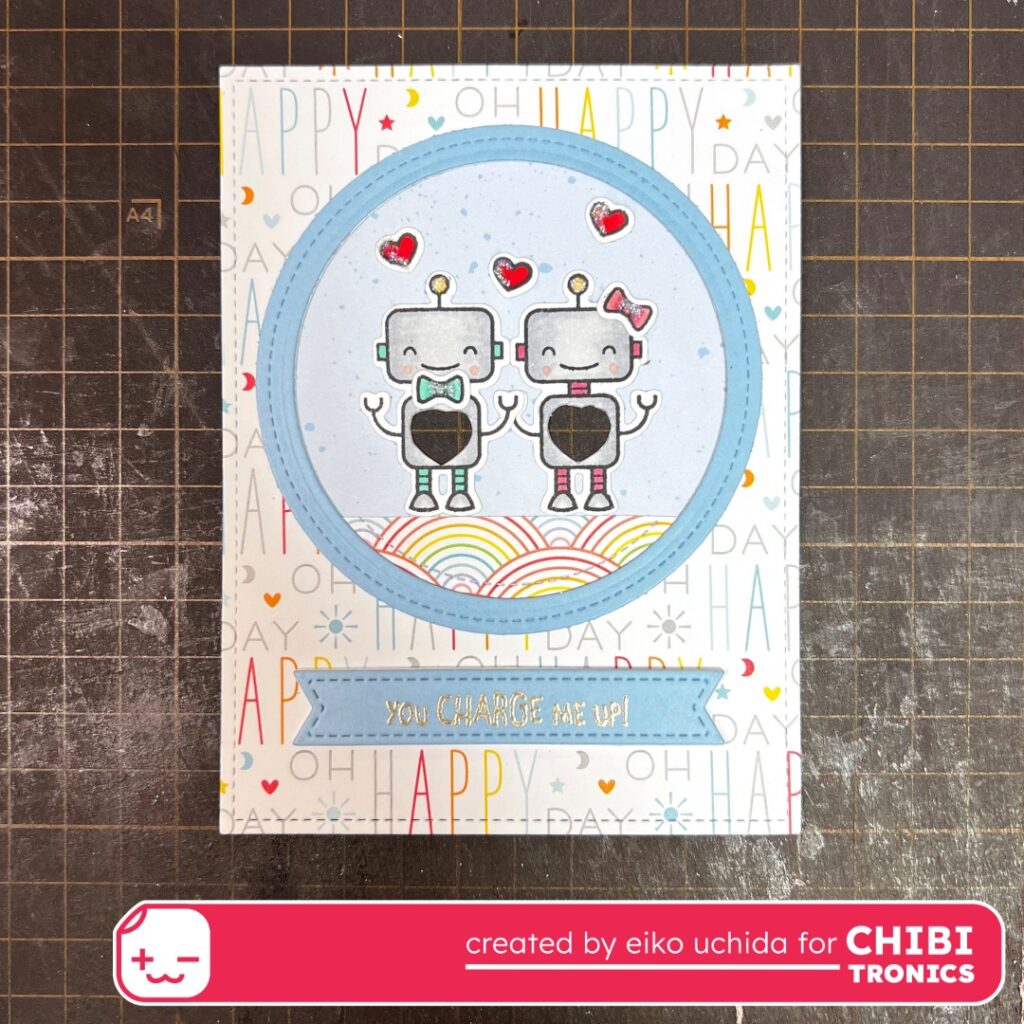
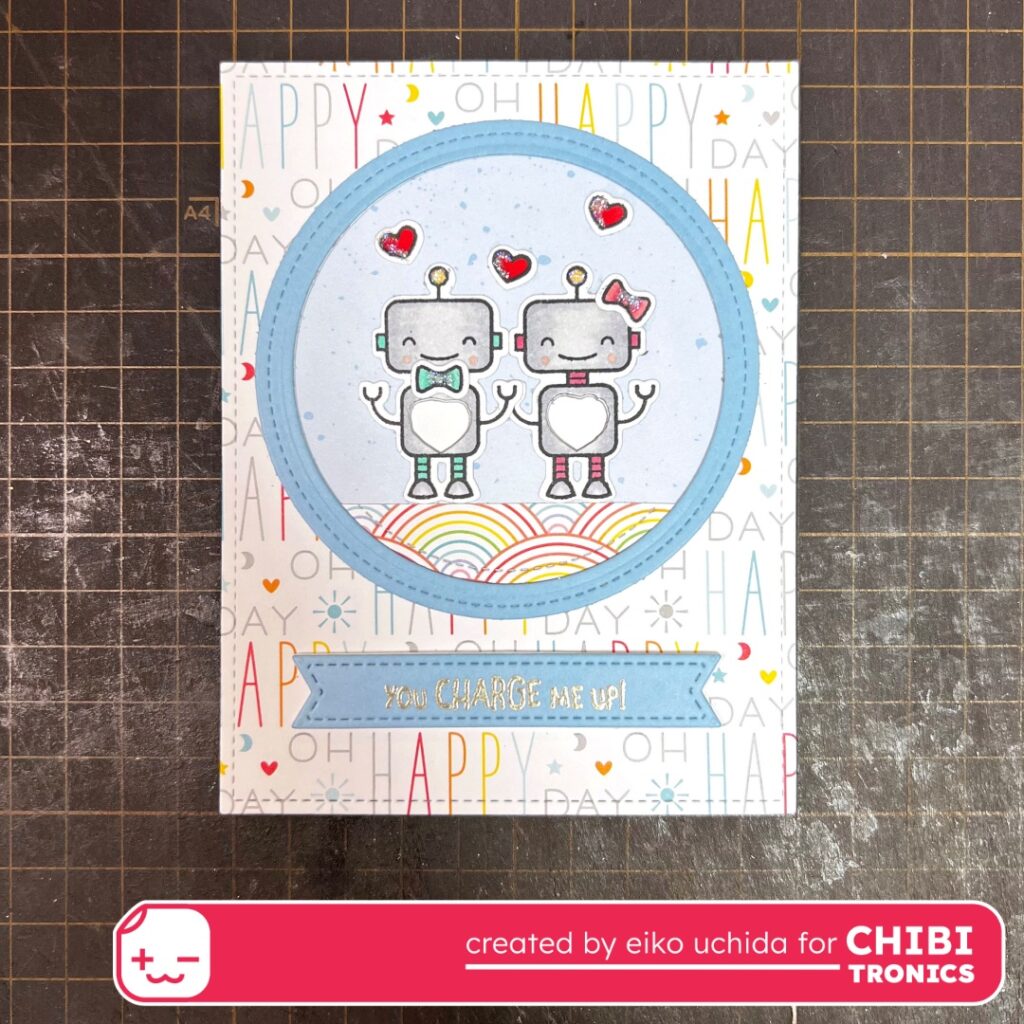
I finished it!
When you push the sentiment banner, the hearts fade.
Be sure to check out the whole video tutorial for more details.
Thank you for stopping by!
Eiko Uchida
~ Supplies List ~
- Chibitronics animating LED
- 3V coin cell battery (CR2016)
- Conductive fabric tape
- Lawn Fawn charge me up
- Lawn Fawn charge me up lawn cuts
- Lawn Fawn outside in stitched rectangle stackables
- Lawn Fawn large stitched circle stackables
- Lawn Fawn small stitched circle stackables
- Lawn Fawn heart garland backdrop portrait
- Lawn Fawn moonstone cardstock
- Lawn Fawn acetate
- Lawn Fawn robin’s egg pattern paper
- Lawn Fawn unicorn mane pattern paper
- Lawn Fawn skyler remix pattern paper
- Neenah 80lb smooth solar white paper
- Hero arts platinum embossing powder
- Tsukineko Versamark emboss ink pad
- 3mm thick foam sheet
- Heart embellishment