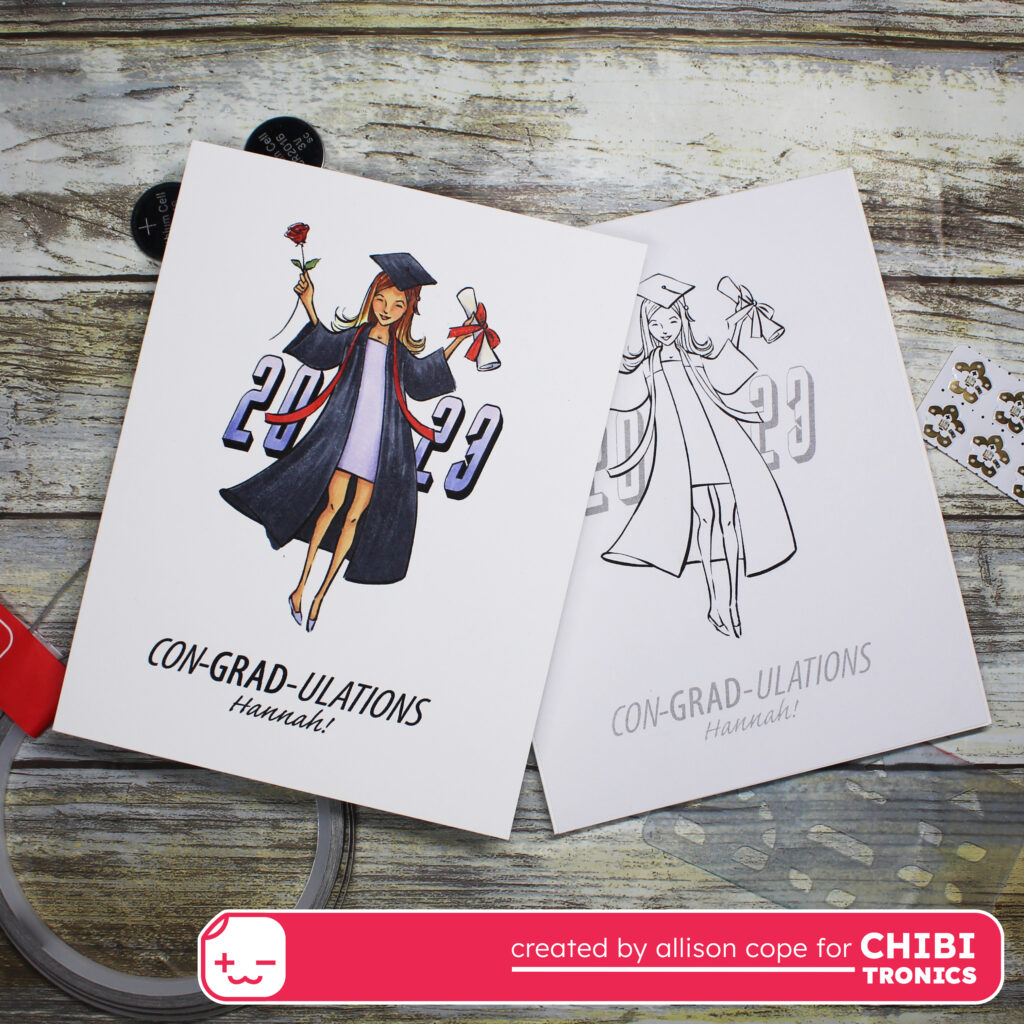
Hello everyone! Allison Cope here! Today I’m sharing how I made this fun light up customized graduation celebration card. Today I’m featuring the brand new Chibitronic Plumeria Animating Rainbow LED Light Stickers and a digital image, “Grad With Roses” digital stamp from Mo’s Digital Pencil by Mo Manning.
I always begin by printing out my card front panel twice for a card. I use only panel to color up my card front and the other as a light placement guide for my circuit.
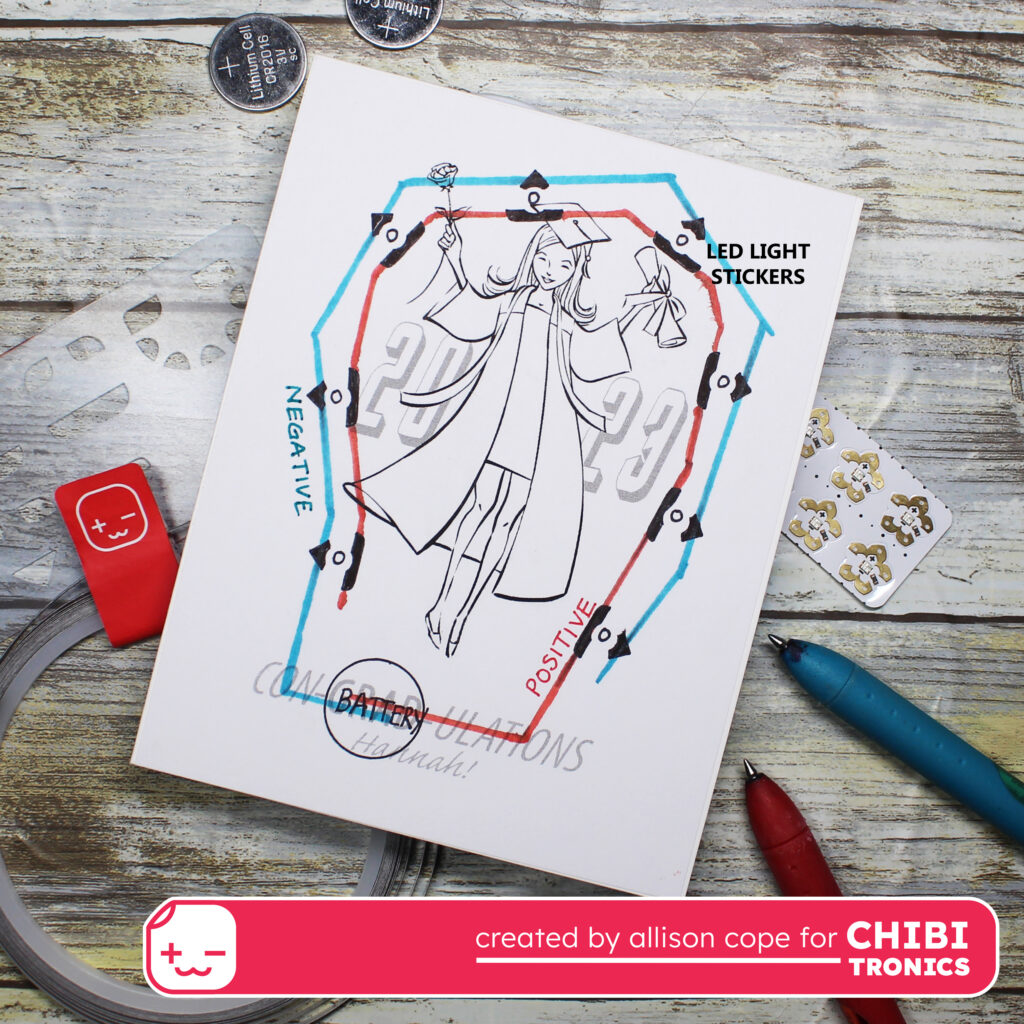
Next I map out and build my circuit on my print out.
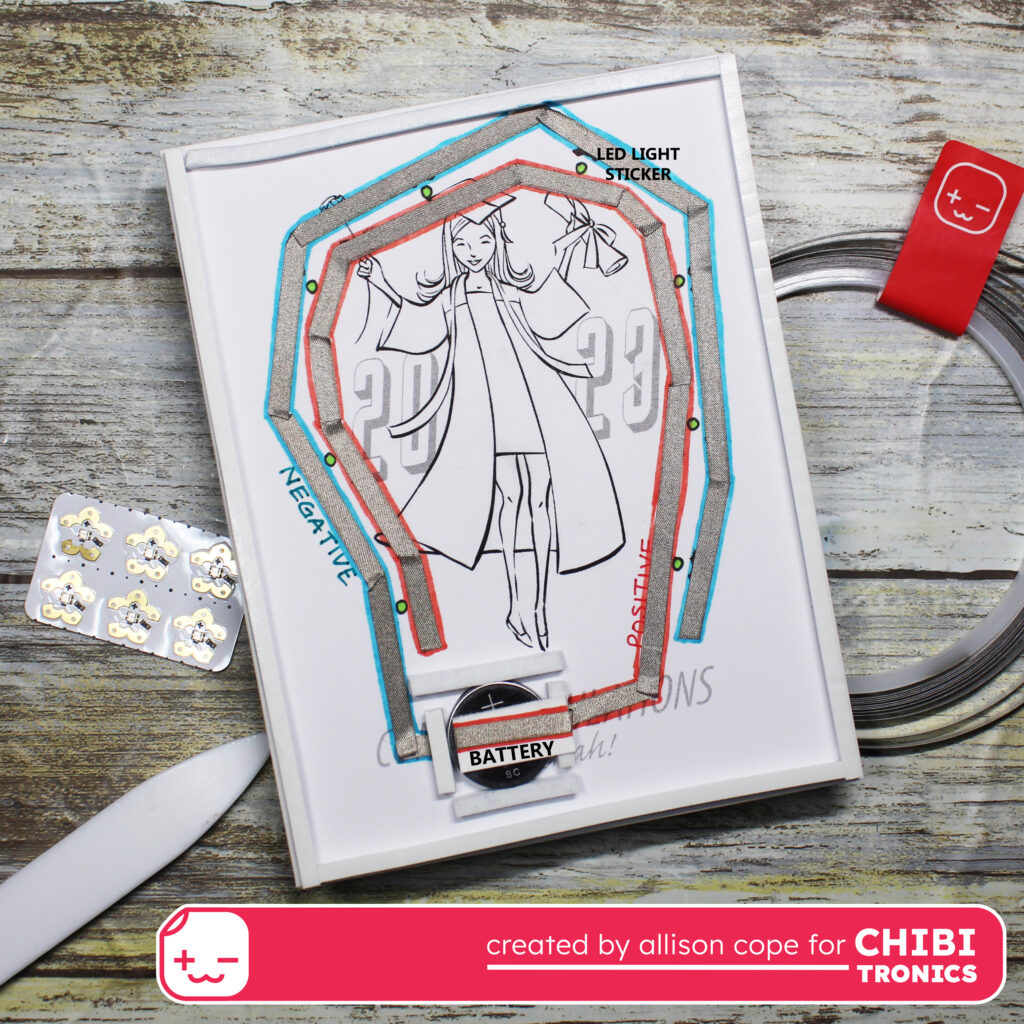
I start with the negative side of the circuit below my battery area and lay down all of my Conductive Fabric Tape on that side of the circuit. Then I build a simple battery housing from 3D foam tape and laid down the Conductive Fabric Tape for the positive side of the circuit.
Once my circuit is compete, I laid down each light sticker. In this case, I used the brand new Plumeria Animating Rainbow LED Light Stickers. When attached to the circuit and the circuit is switched on (or closed), these amazing lights transfer through the whole entire rainbow of colors!
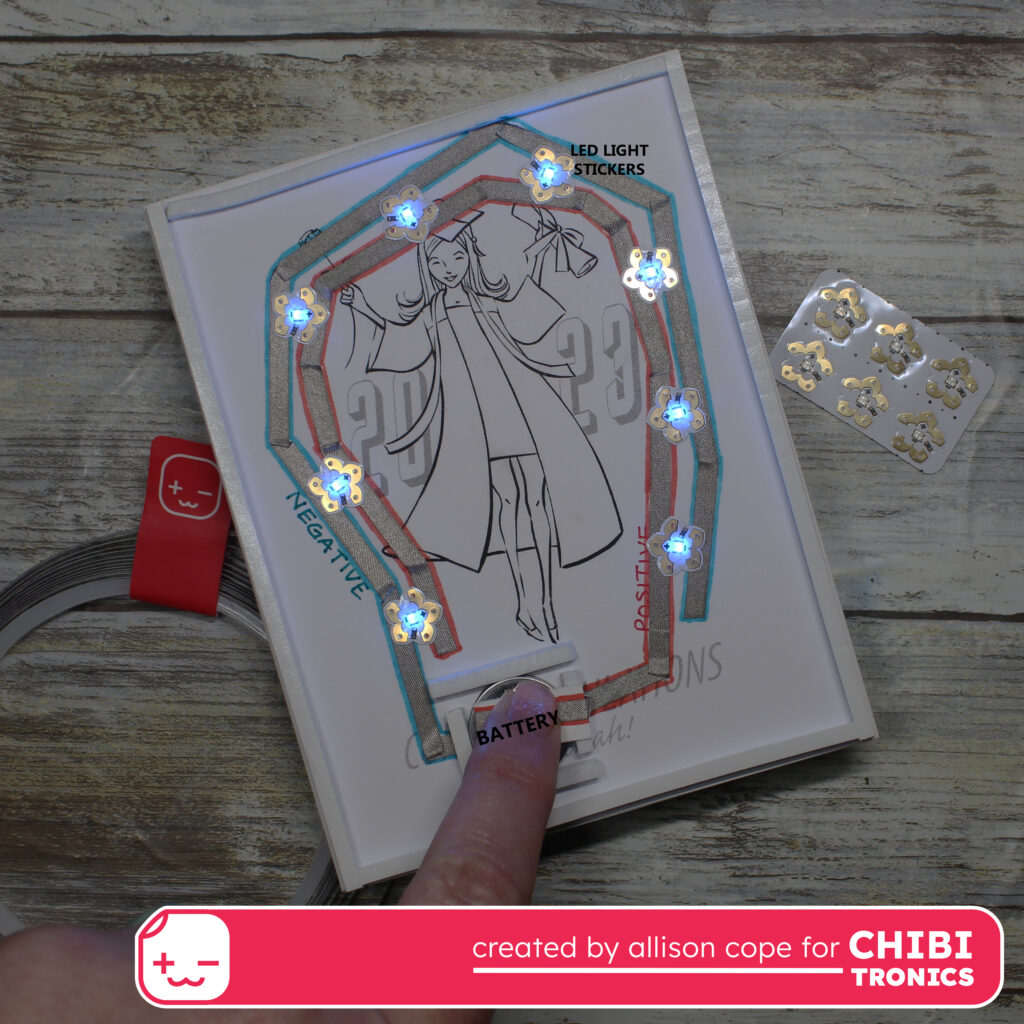
This is what the card looks like all lit up…
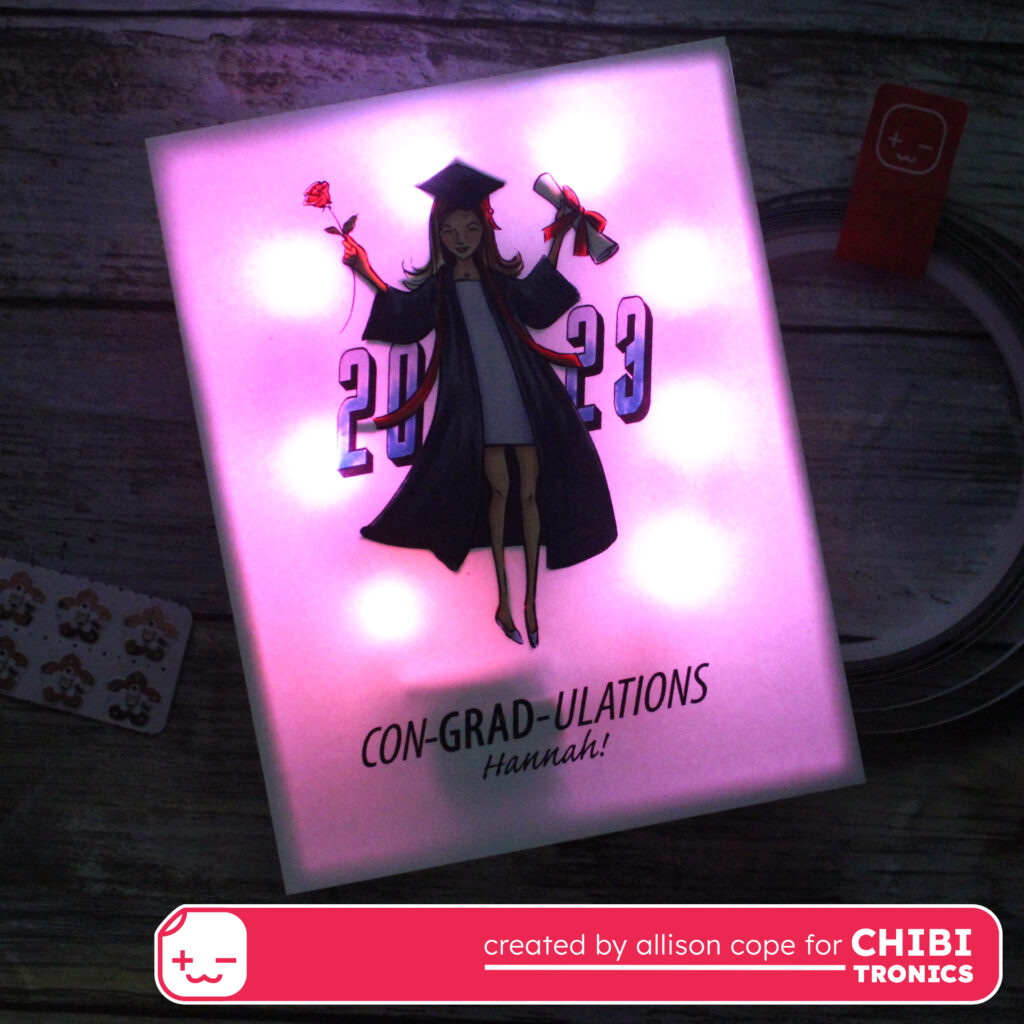
Now since this is an ANIMATED Light Sticker, I suggest you take a quick peek at how it looks in real time. Check out this VIDEO SHORT for all the light up fun!
Have a wonderful weekend!
