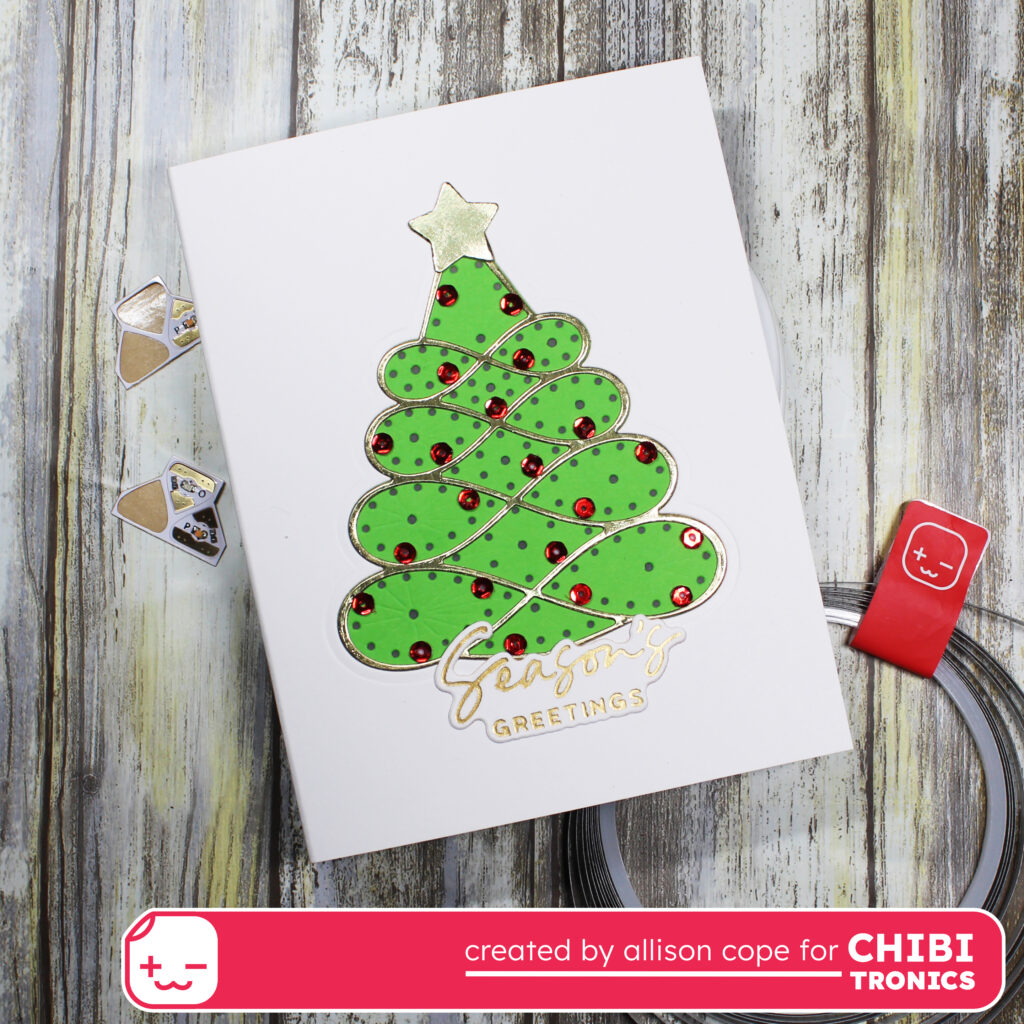
Hello everyone! Allison Cope here! Today I’m getting started on getting a few Christmas cards done for December.
To begin, I die cut the tree shape from the front of my card front panel. I adhered a piece of vellum under the shape so I can adhere my “Christmas Tree Stitched Die” from Spellbinders cut from green cardstock to the void.
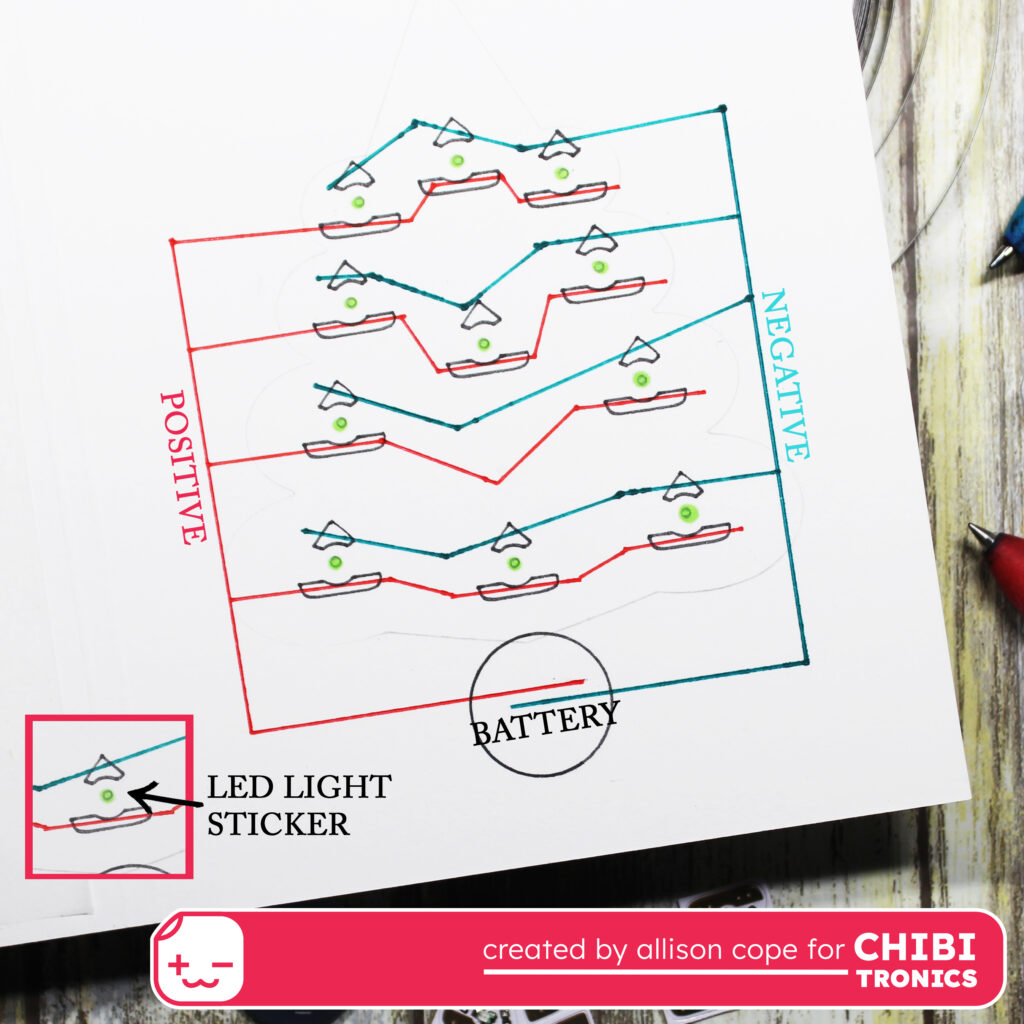
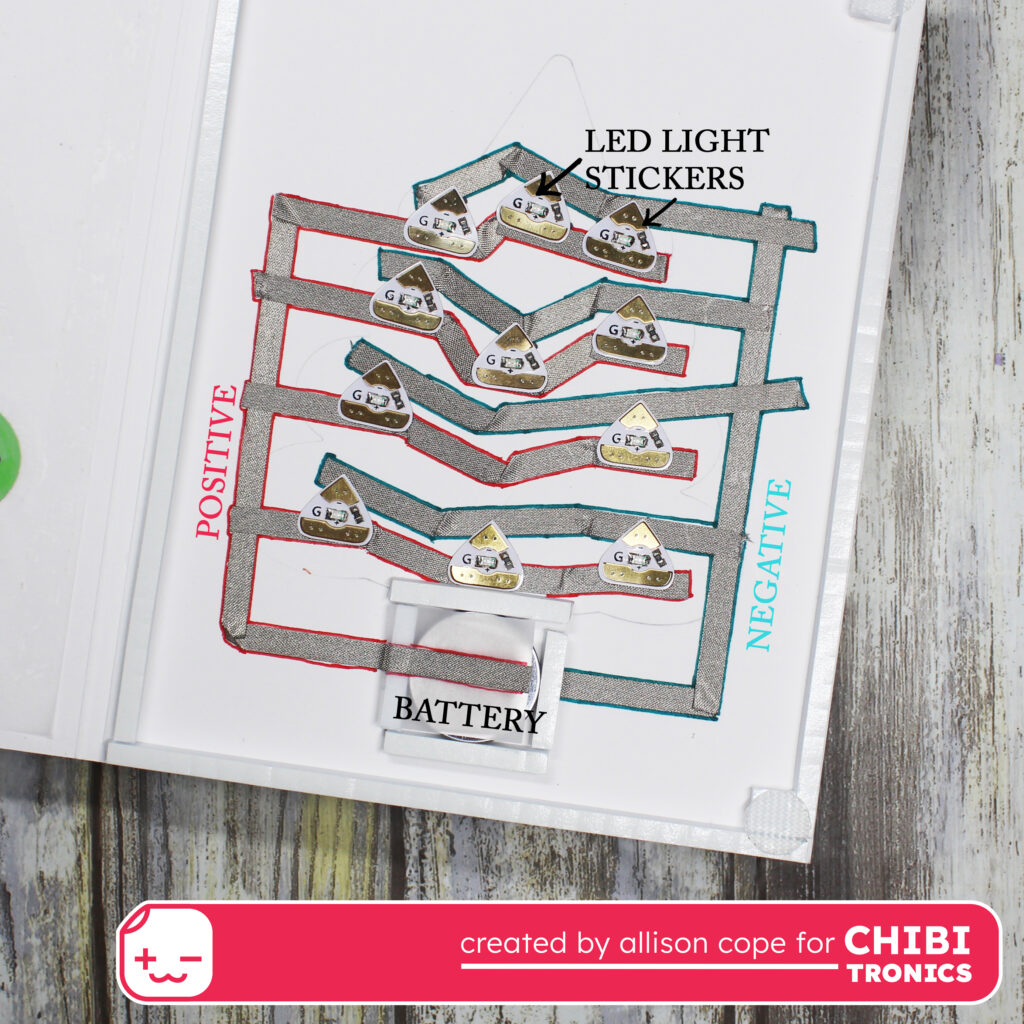
To map out my card’s circuit, I traced the outline of the tree on the circuit’s surface with pencil and also used the stitched die cut to locate all the places I want to add lights to.
Next I used my Craft Stencil to trace the placement of all my LED Light Stickers. Then I indicated the place for my battery, which will become the switch to complete my circuit. Then I drew out the location of my negative (blue) and positive (red) sides of my circuit.
I then applied my Conductive Fabric Tape down to the negative side of the circuit first. This allows the tape to begin on the under side of the battery housing.
Next I created a little house for my battery using some 3D foam. This ensures the battery will remain in the same spot of the circuit.
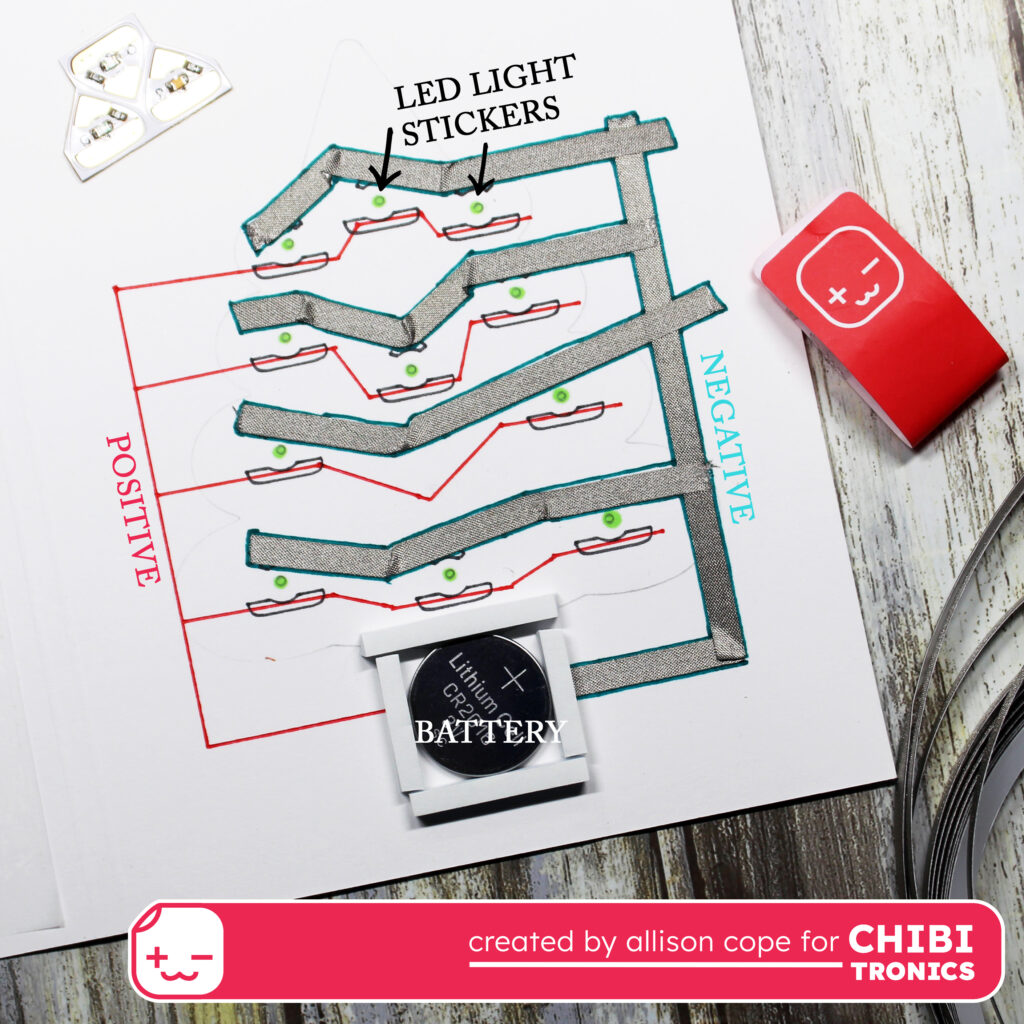
Then I created the positive side of the circuit. I created a little flap over top of the battery to begin my Conductive Fabric Tape on top of the battery. Then I continued it down the edge of the battery housing and along all the red lines to complete the circuit.
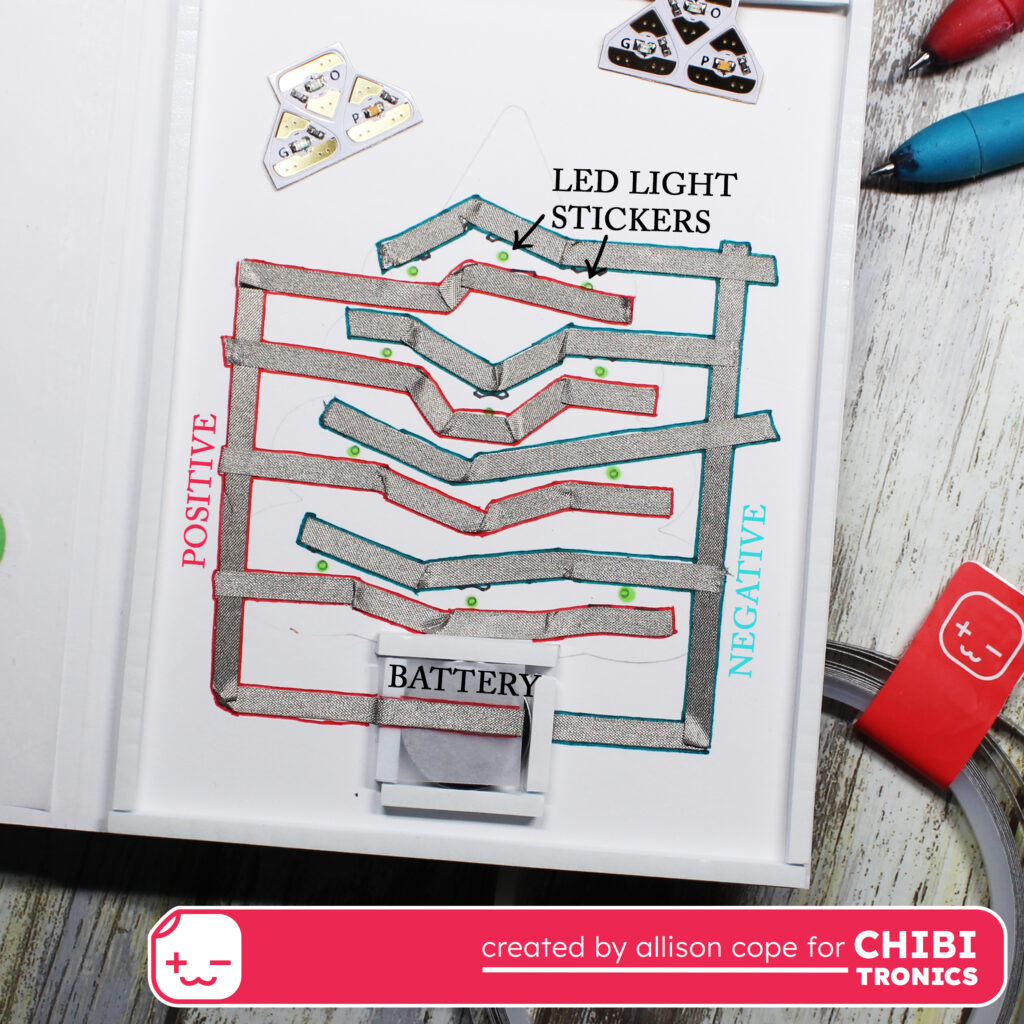
And now to add all of the Green LED Light Stickers from the Tropical LED Lights package; also found in the Lights Sampler Pack. She’s going to a bright one!!!
I also finished off the inside by placing 3D foam all around the edge of the card.
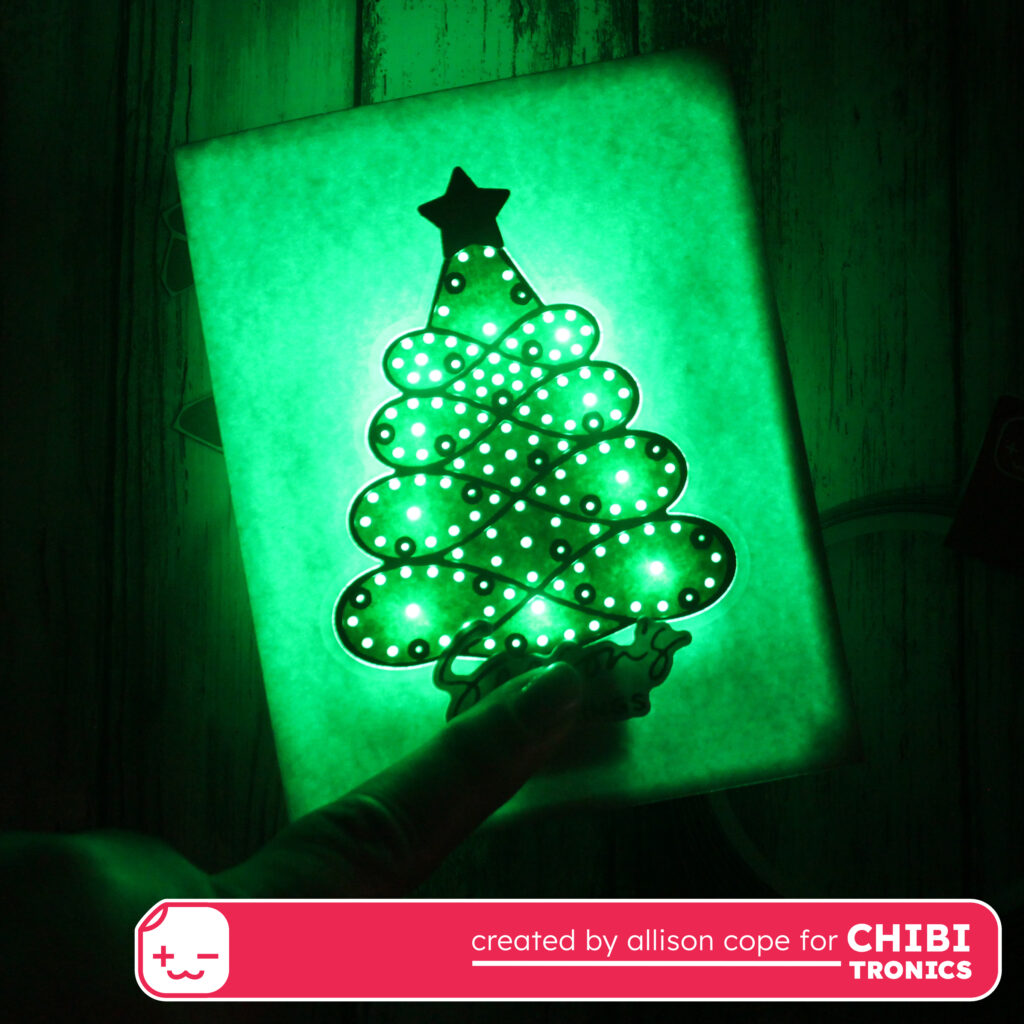
And of course, you have to test it out…
Don’t forget to check out the entire video of how I created this video HERE:

Thanks for joining me today. I hope you go out and create some fun light up Christmas cards of your own!