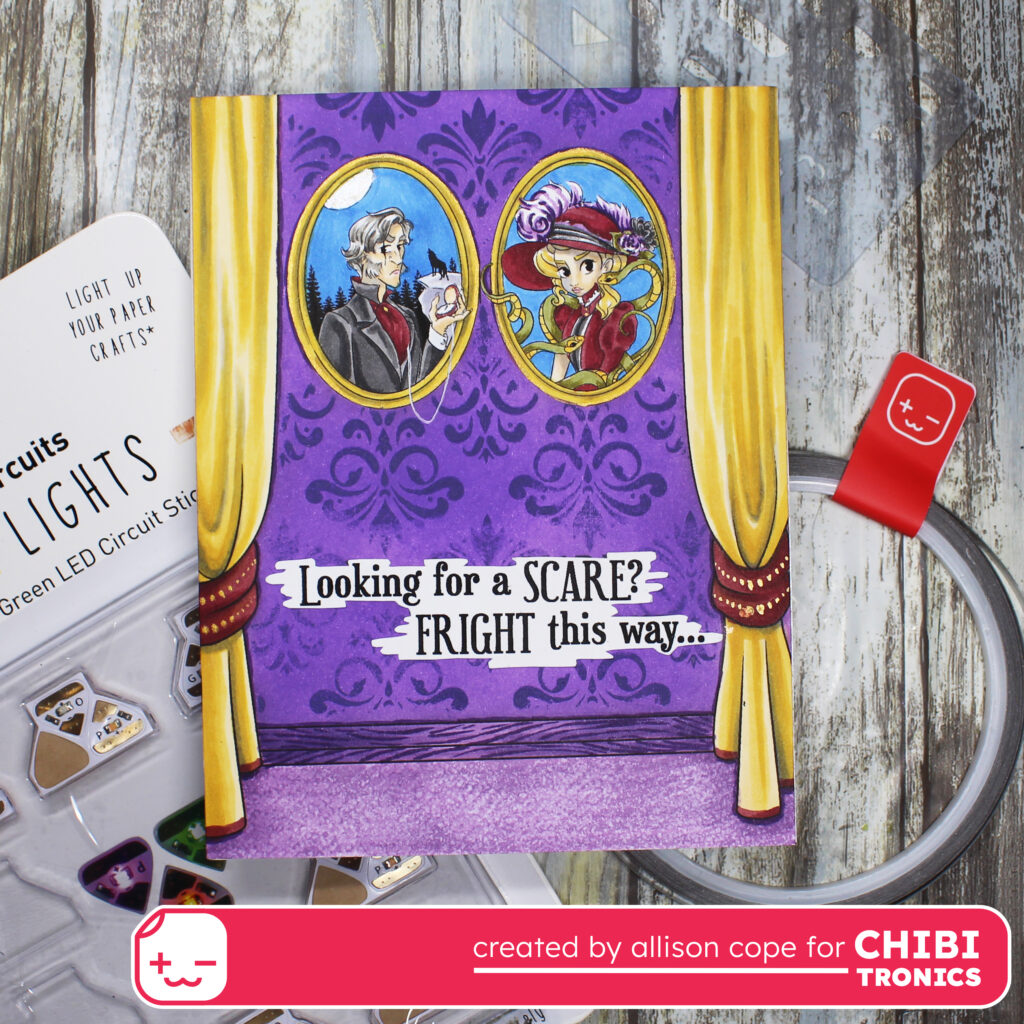
Hi everyone! I’m Allison Cope and today I’m sharing a light up haunted card featuring our Orange LED Light Stickers!
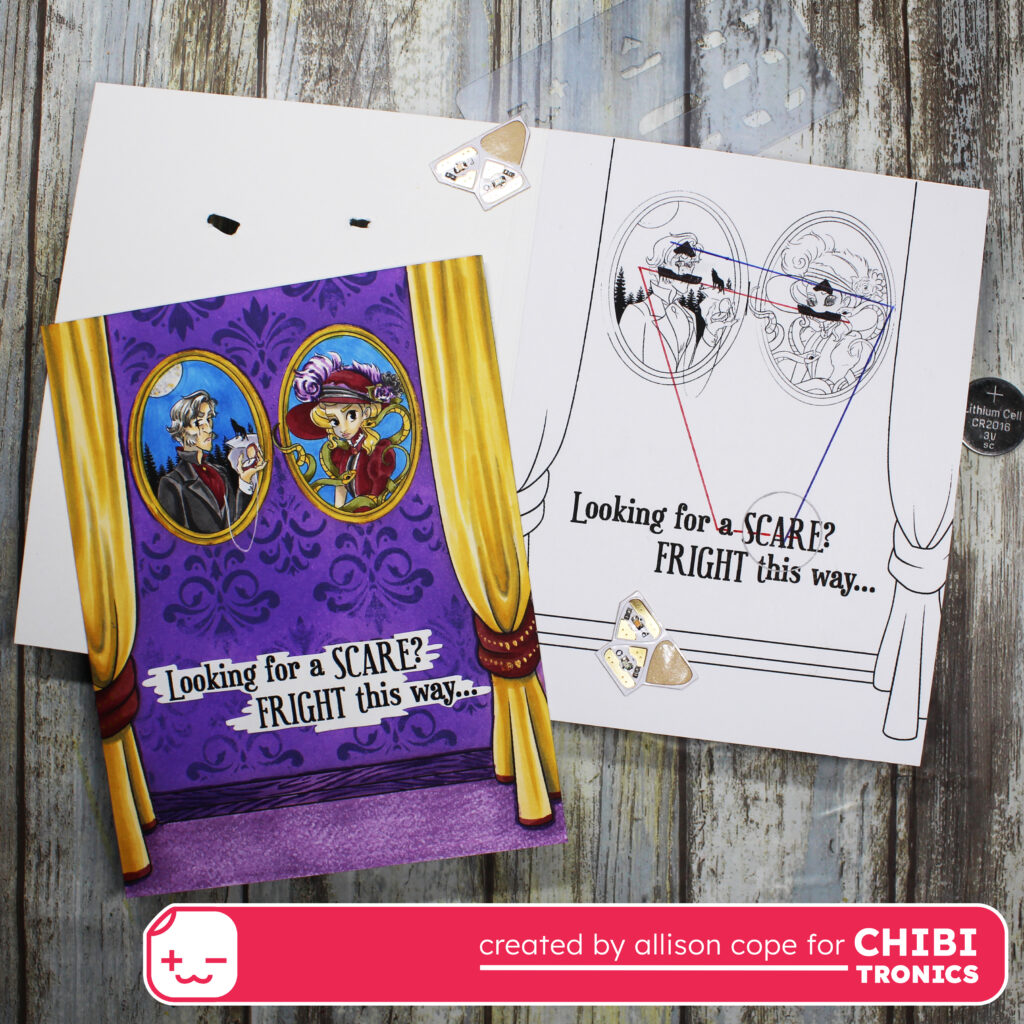
I began today’s creation by designing the scene using digital stamps, from Sweet November Stamps. I printed off two copies; one for the colored top panel and one for designing my internal circuit.
For the circuit, I took the second printed panel and applied to the inside of the card. I also cut 2 small holes in the front panel of my card so the light would pass through the thick cardstock and just light up the eyes of the man and women. I adhered the colored panel to front.
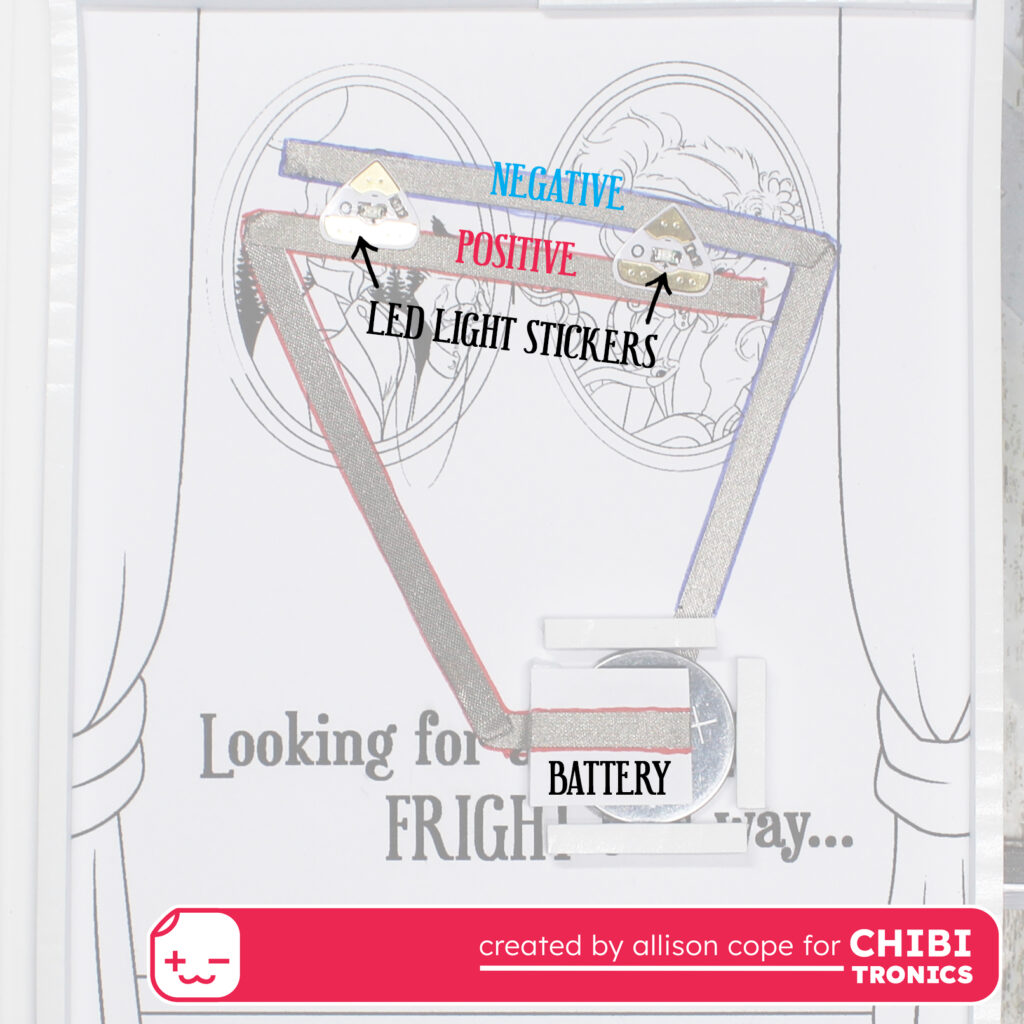
Next I mapped out my complete circuit. I created a circuit element for the location of my battery, I used the Craft Stencil to to trace out the location of my 2 Orange LED Light Stickers and I mapped out the negative (blue) side of the circuit and the positive side of the circuit (red).
Then I used my Conductive Fabric Tape to create my circuit. I began by creating the negative (blue) side and applying my tape to the template surface.
Then I created a battery housing using 3D foam tape strips. This locks in the battery so it doesn’t relocate itself within the card. Then I create a paper flap, where I wrapped the Conductive Fabric Tape right around the flap, to ensure the battery touches the circuit when depressed. This becomes a switch.
Then I laid the Conductive Fabric Tape down for the remainder of the positive (red) side of the circuit.
The last thing to do was apply my 2 Orange LED Light Stickers in their places. These stickers can be found in the Lights Sampler Package (red, orange, blue, yellow, pink, green lights) and also the Tropical Lights Sampler of lights.
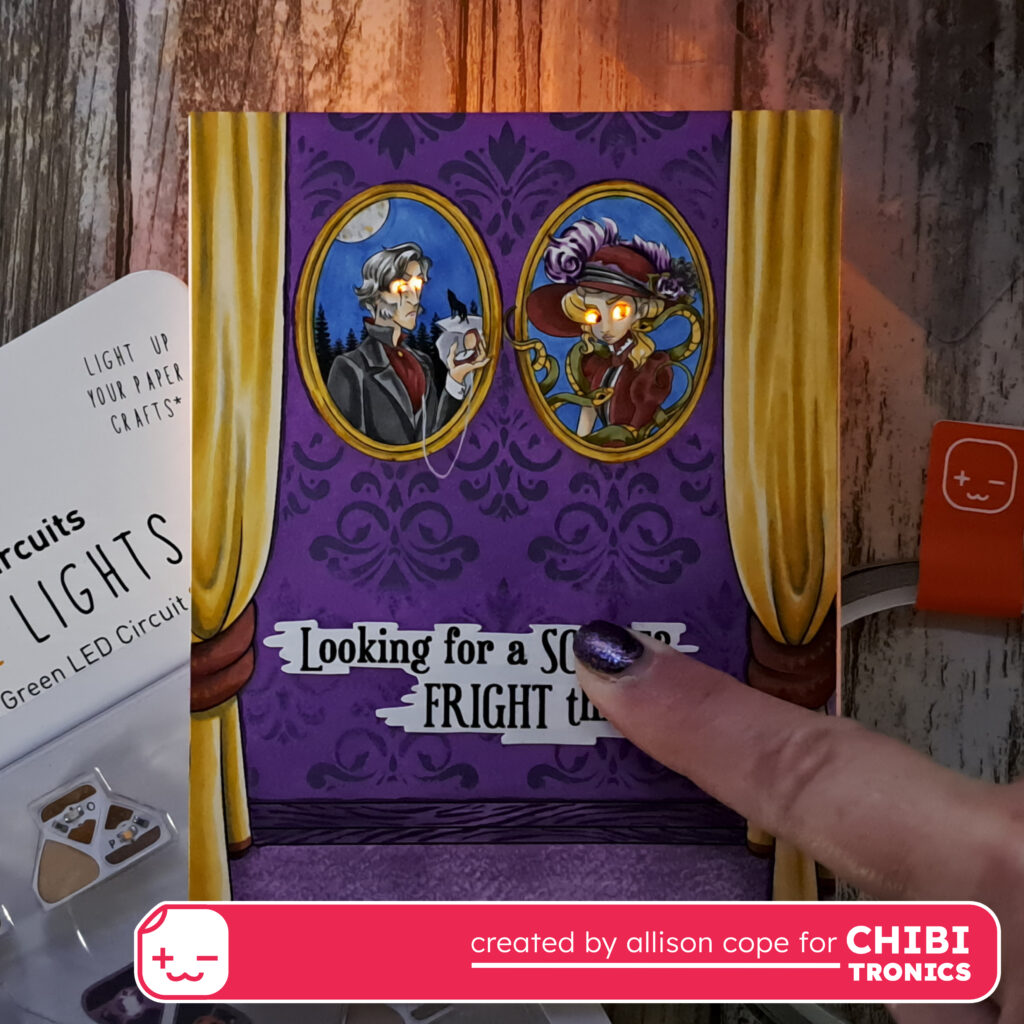
And here is the finished card. When the word “SCARE” is depressed on the card front, the eyes of the portraits light up and glow an eerie orange!
Thanks for joining me today! Have a great weekend!
~ Allison Cope ~