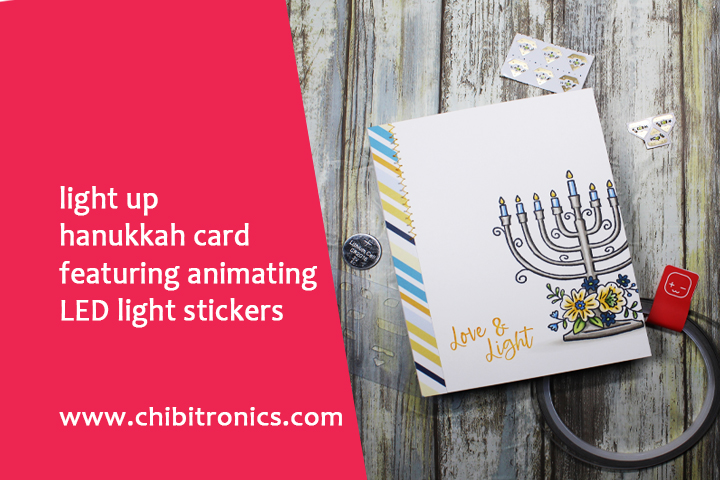
Happy Monday! I’m Allison Cope and today I’m sharing my latest light up creation featuring products from Chibitronics. Today’s card features the brand new “Love & Light Bundle” of products by Catherine Pooler Designs.
To begin my card, I created my front panel by stamping my menorah on the front with black ink and then inside my card panel with a lighter brown ink. This will allow me to match my light stickers up perfectly with my front panel image.
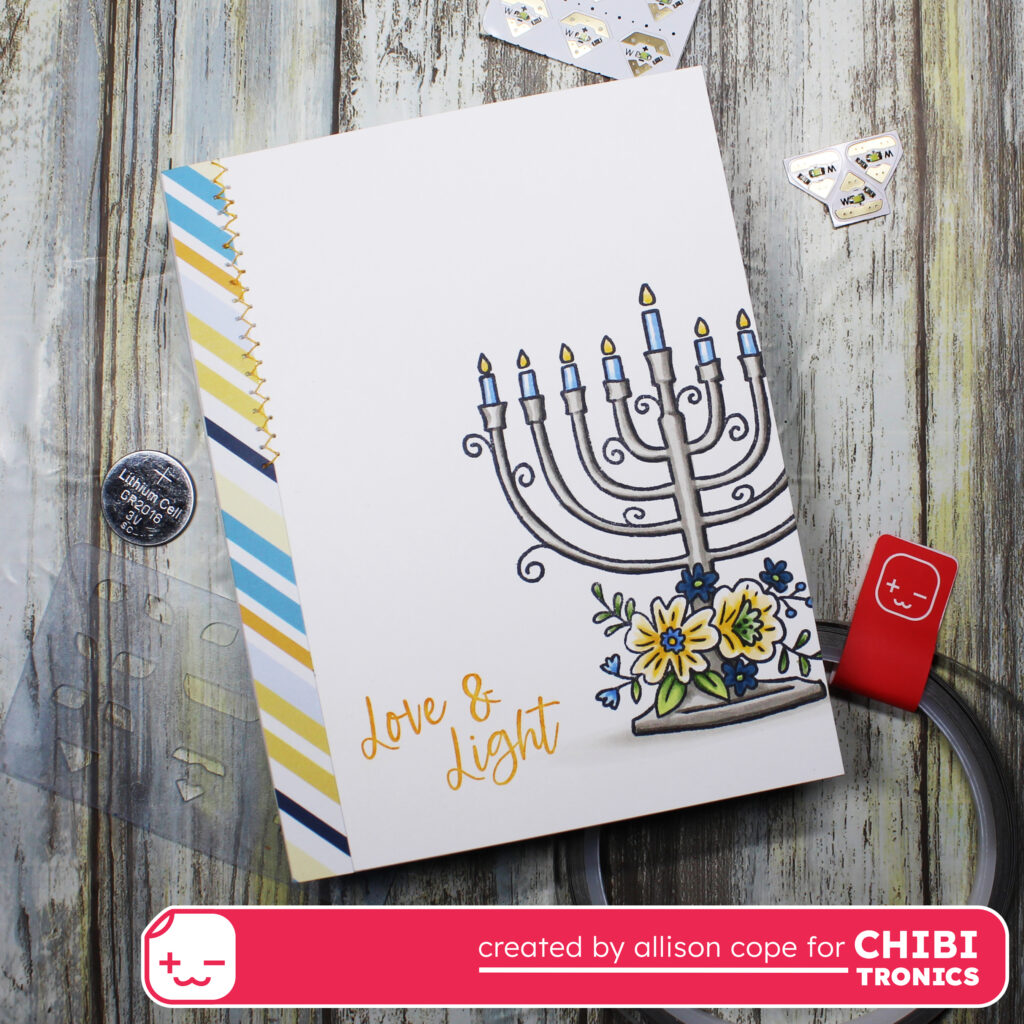
I cut 5 small holes in the front panel of my card so the light would pass through the thick cardstock and just light up the 5 candles that I chose to light. I adhered the colored panel to front of my card.
For the circuit, I took the inside stamped panel and began to map out my complete circuit. I created a circle element for the location of my battery, I used the Craft Stencil to trace out the location of my 5 LED Light Stickers and I mapped out the negative (blue) side of the circuit and the positive side of the circuit (red).
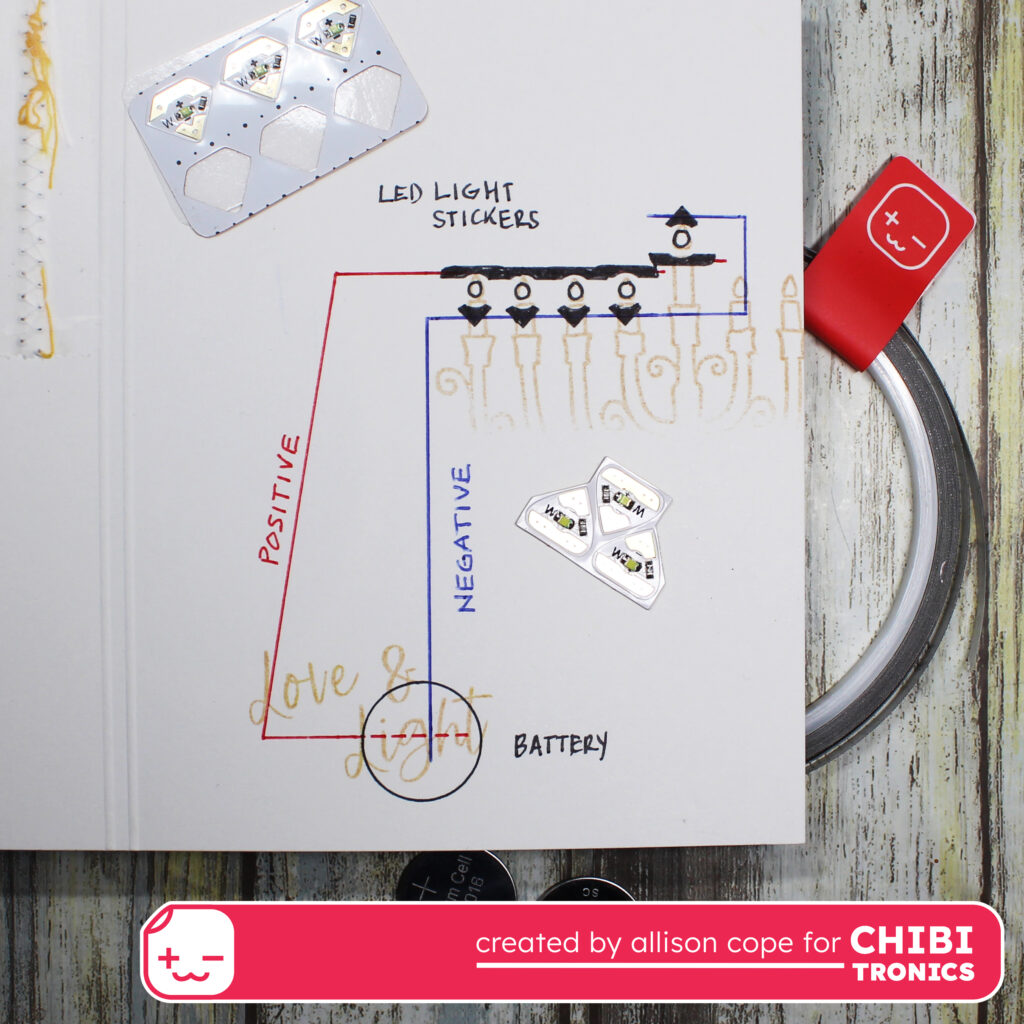
For my card today I will using both a combination of our White LED Light Stickers and our NEW White Blink Animating LED Light Stickers.
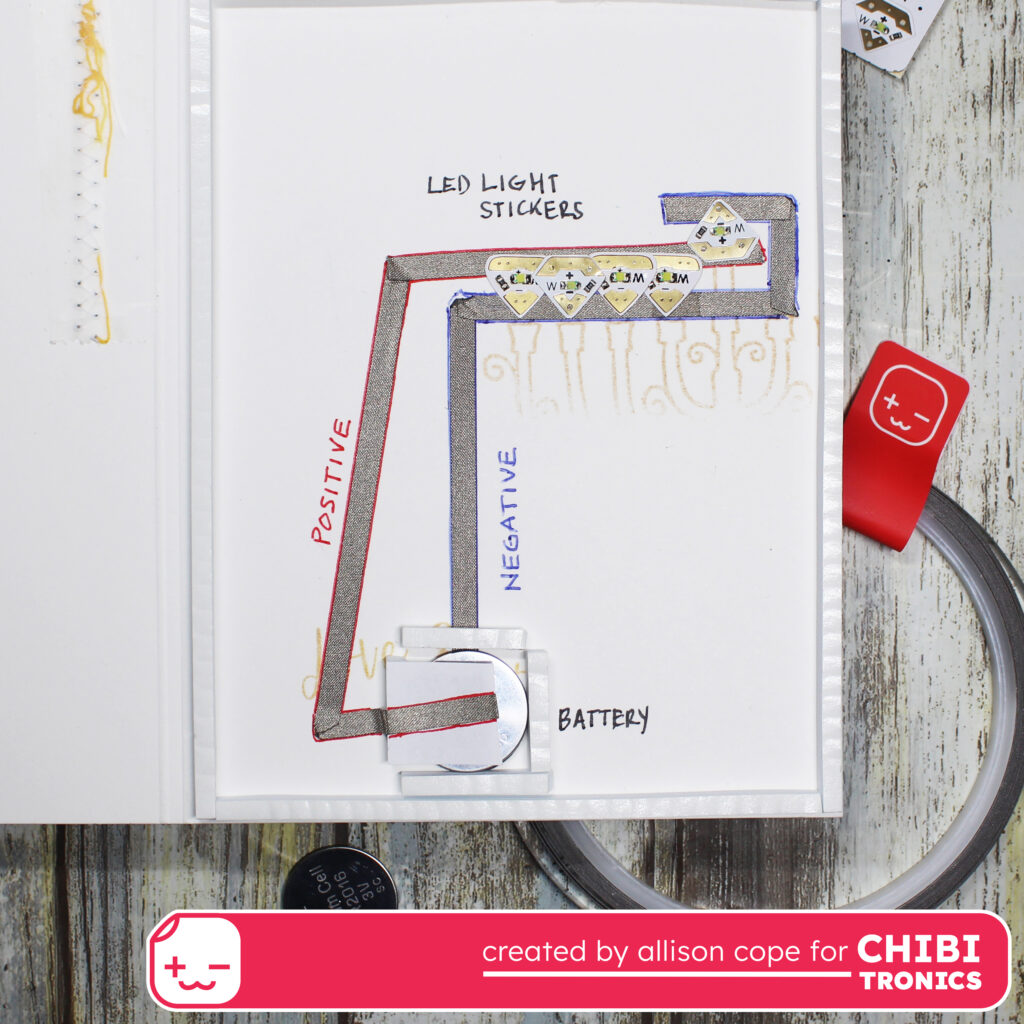
Then I used my Conductive Fabric Tape to create my circuit. I began by creating the negative (blue) side and applying my tape to the hand-drawn circuit template surface.
Then I created a battery housing using 3D foam tape strips. This locks in the battery so it doesn’t relocate itself within the card. Then I created a paper flap, where I wrapped the Conductive Fabric Tape right around the flap, to ensure the battery touches the circuit when depressed. This becomes a switch.
Then I laid the Conductive Fabric Tape down for the remainder of the positive (red) side of the circuit.
The last thing to do was apply my 2 White Blink Animating LED Light Stickers (gem shaped) and my 3 White LED Light Stickers. I placed the 2 White Blink stickers in the second and fifth positions of the menorah.
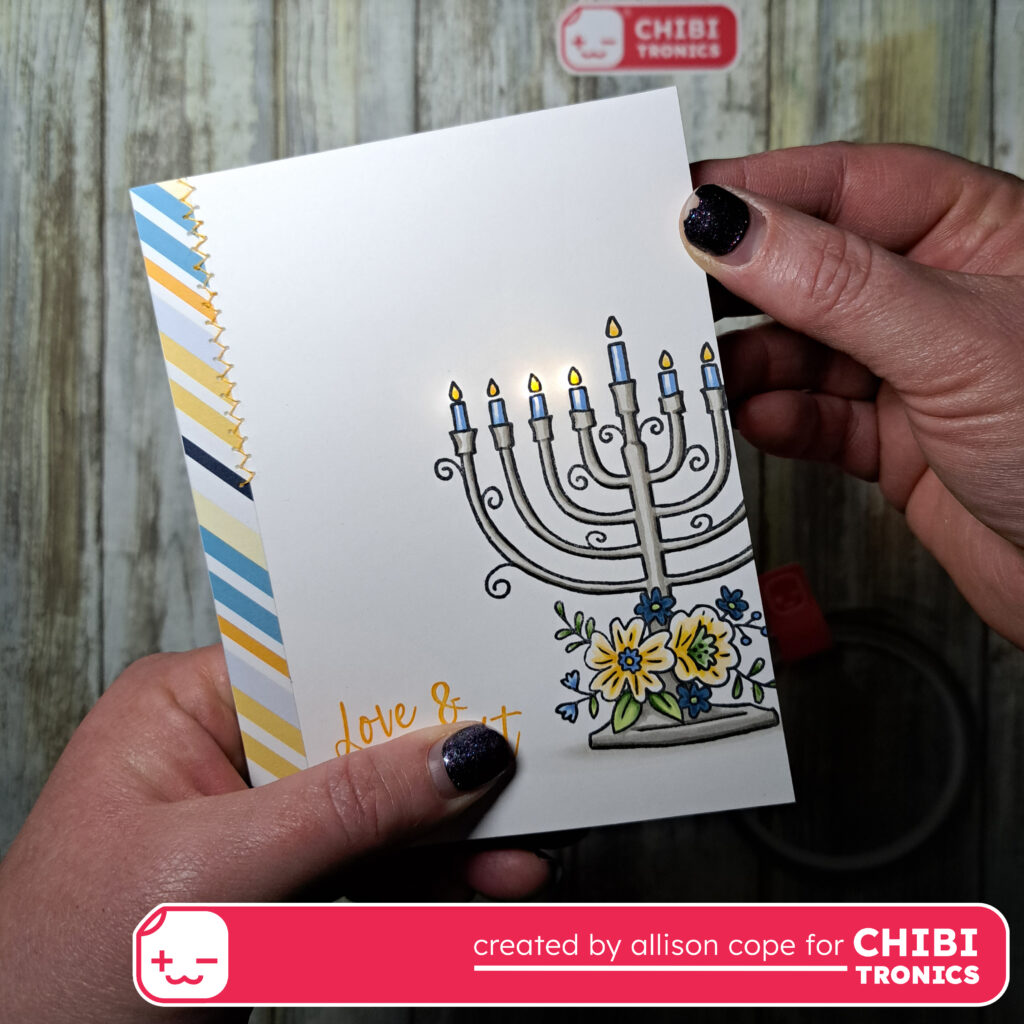
And here is the finished card. When the word “LIGHT” is depressed on the front of the card, the circuit is completed and the lights are all activated!
Make sure to check out my video tutorial as to how this card and circuit is made right HERE!
Thanks for joining me today! Have a wonderful week!