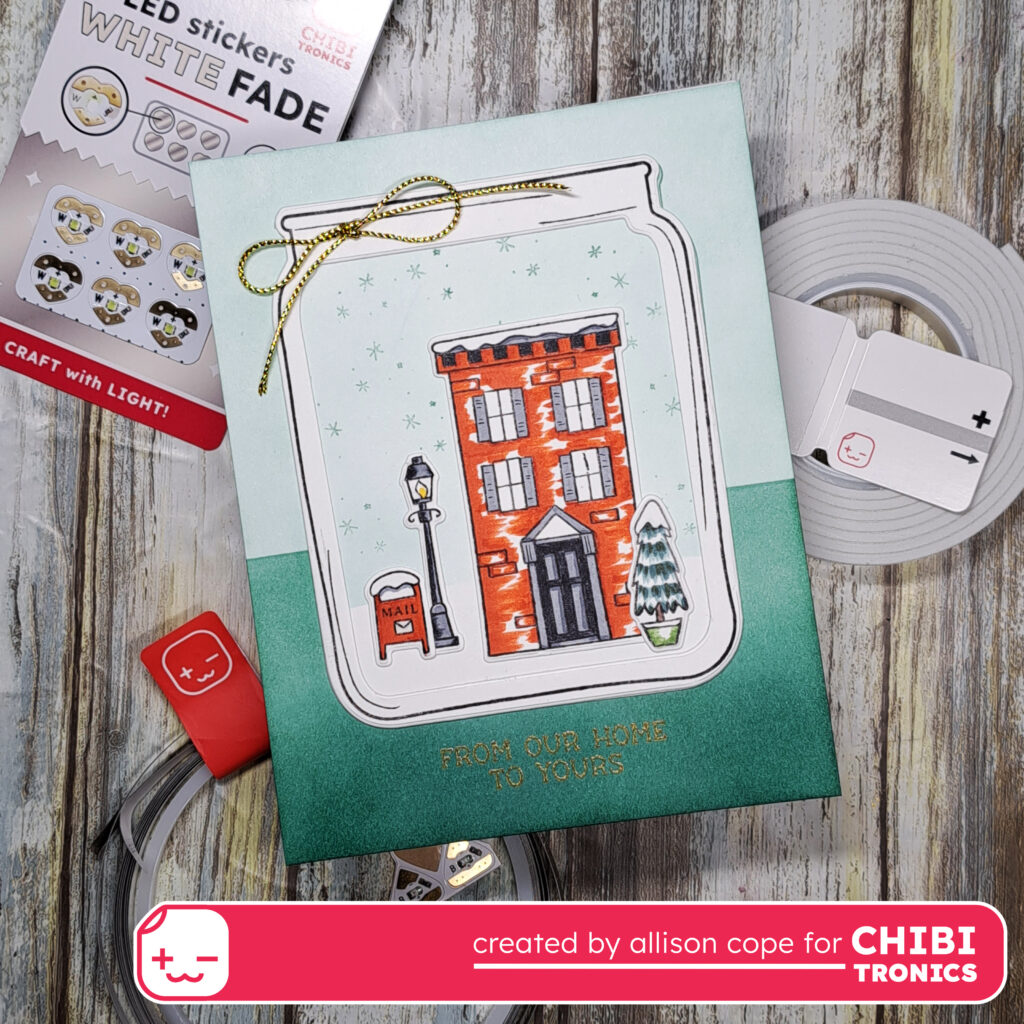
Happy Monday! I’m Allison Cope and today I’m sharing my latest light up creation featuring products from Chibitronics.
Today’s card features the brand new winter products by Catherine Pooler Designs.
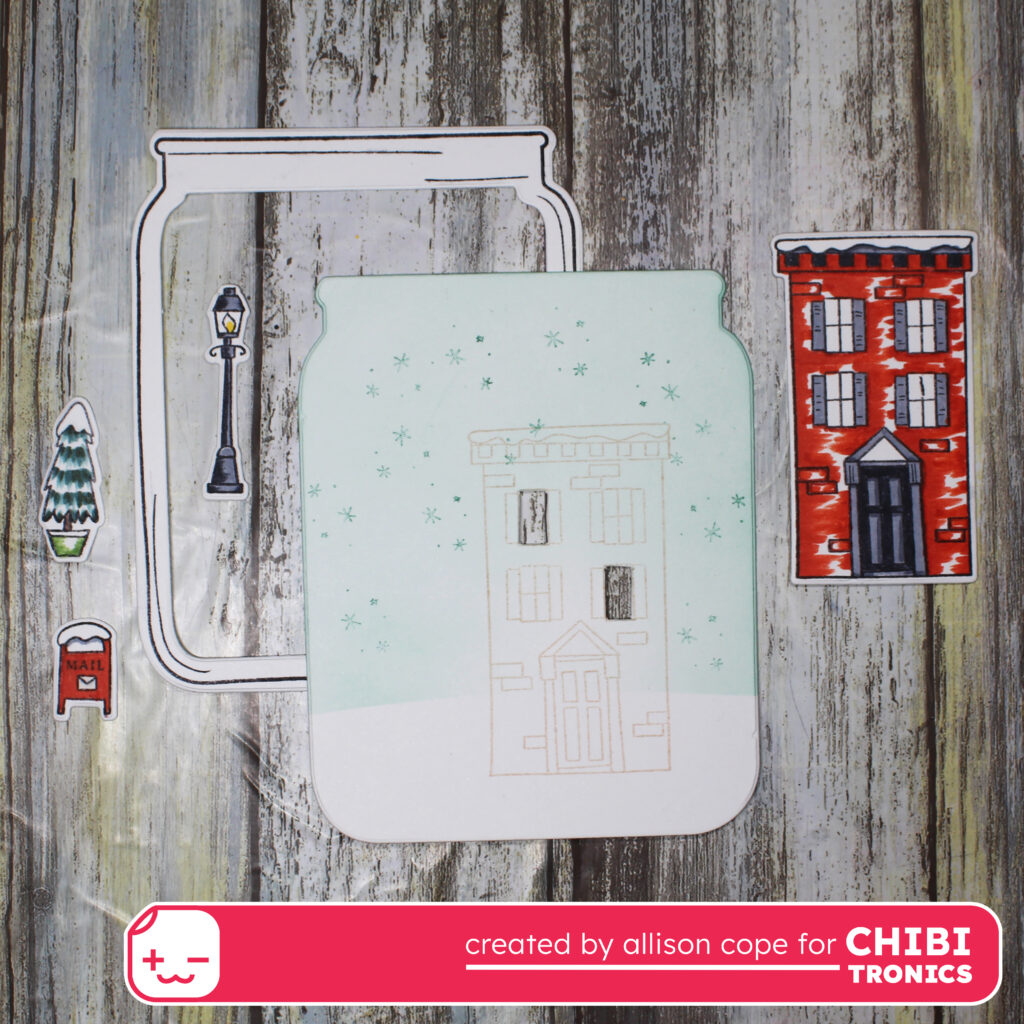
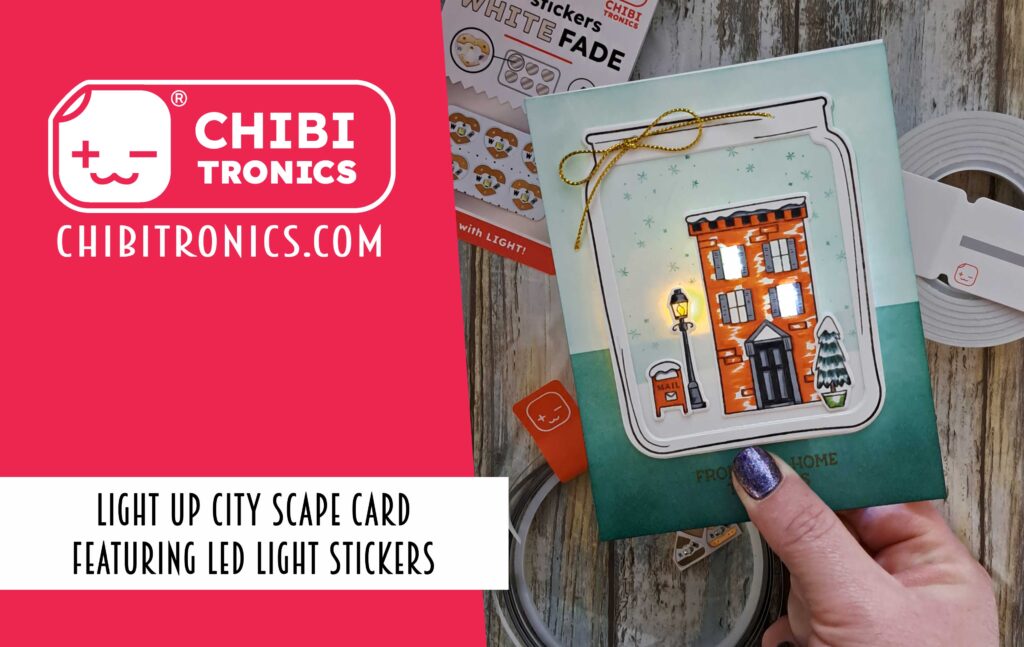
To begin my card, I created my front panel by stamping and die cut the city scape elements including the building, the potted tree, mailbox and street lamp. I also stamped and die cut the jar for the scene. I positioned the rowhouse within the jar and cut out the windows that would be lit. I also traced the window holes to the card front so I also cut them through the card front panel to allow the most amount of light to transfer through the cardstock. All the elements were then adhered to the jar and then the card front panel.
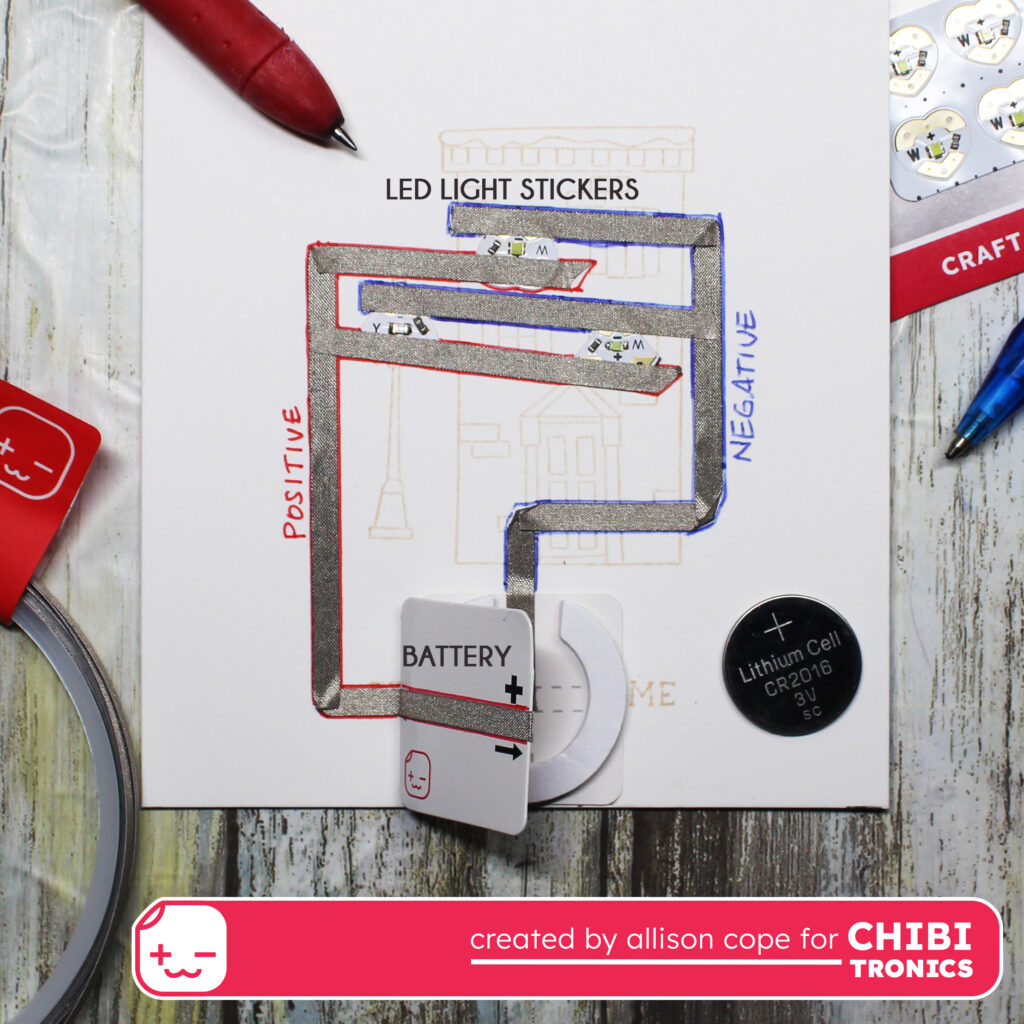
On the circuit building surface, I stamped the rowhouse, lamppost and the greeting in light ink in the same position as on the front of the card. This helps with the location of the LED light stickers.
Next I used the Craft Stencil to trace out the locations of my 3 LED Light Stickers. I added the self-adhesive Battery Holders right over the place of the greeting.
Next I mapped out my circuit. Using a blue pen, I mapped out the negative (-) side of the circuit, attaching the line to the pointy part of the stickers. Using a red pen, I mapped out the positive (+) side of the circuit and attaching the red line to all 3 of the fatter side of the sticker locations ensuring not to cross my lines.

Next I laid down my three LED Light Stickers. I added a Yellow LED Light Sticker to the lamppost location. Next I used a heart shaped White Animating Fade LED Light Sticker to the upper window and a gem shaped White Animating Blink LED Light Sticker to the lower window location.
I then began added the Conductive Fabric Tape to my circuit. I began laying down tape inside the Battery Holder on the base first. I took the tape all along the blue lines and out to each of the points of 3 light stickers.
Next I laid down the tape along the positive side of the circuit. I began by applying the tape to the inside lid of the Battery Holder, wrapping it around the lid and then down the length of the red line, out to each of the light stickers.
I adhered the “C” shaped foam inside the Battery Holder, popped in the 3V coin battery, peeled off the top of the foam and closed the Battery Holder lid to adhere shut. I gave the circuit a quick press to test.
I added a few pieces along the edges of the circuit panel and adhered my card front panel right over my circuit.
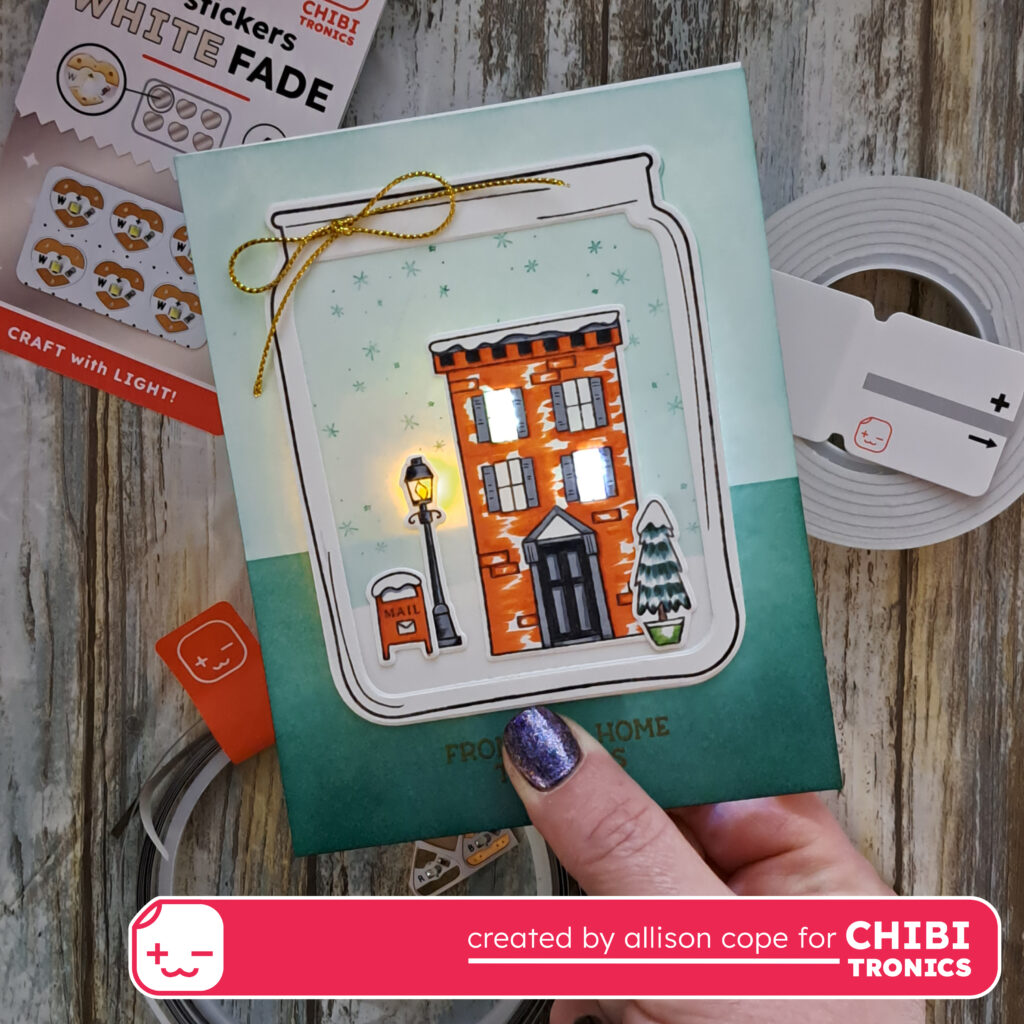
And here’s the completed card at lit up…
I also pop in a little note to the card participant on the inside telling them how to activate the lights.
Make sure to check out the making of today’s card over on the Chibitronic’s YouTube channel. You get all the step-by-step details of the making of today’s circuit. CLICK HERE.
Have a great week!
~ Allison Cope ~