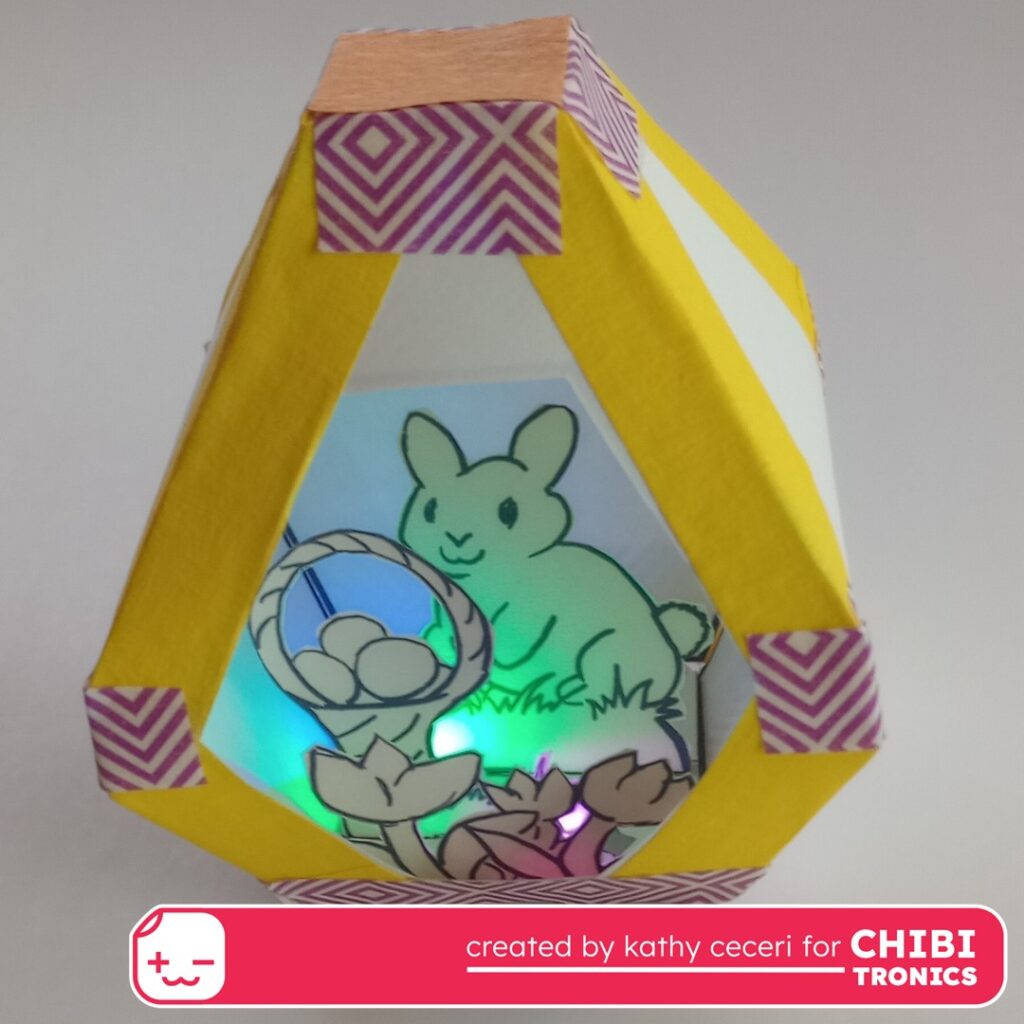
Hi! It’s Kathy Ceceri with a 3-D paper Easter Egg you can color with pink, green, and blue Chibitronics LED stickers! You can easily hand- or machine-cut this kid-friendly diorama from one sheet of white cardstock.
The tulips, bunny, and Easter Basket inside fit together with slots and tabs. To make the simple on-off switch, just add up a fold-up flap that connects to the bottom of the egg with two squares of peel-and-stick magnetic sheet. See the template and photos below to find out how it all comes together!
To start, cut out all the pieces on the template, including the extra square inside the diorama “window.” Fold up along the dotted lines. Cut out the slots (shown as thick solid lines) to make it easier to fit in the tabs. Also cut two squares of peel-and-stick magnetic sheet the size of the extra square.
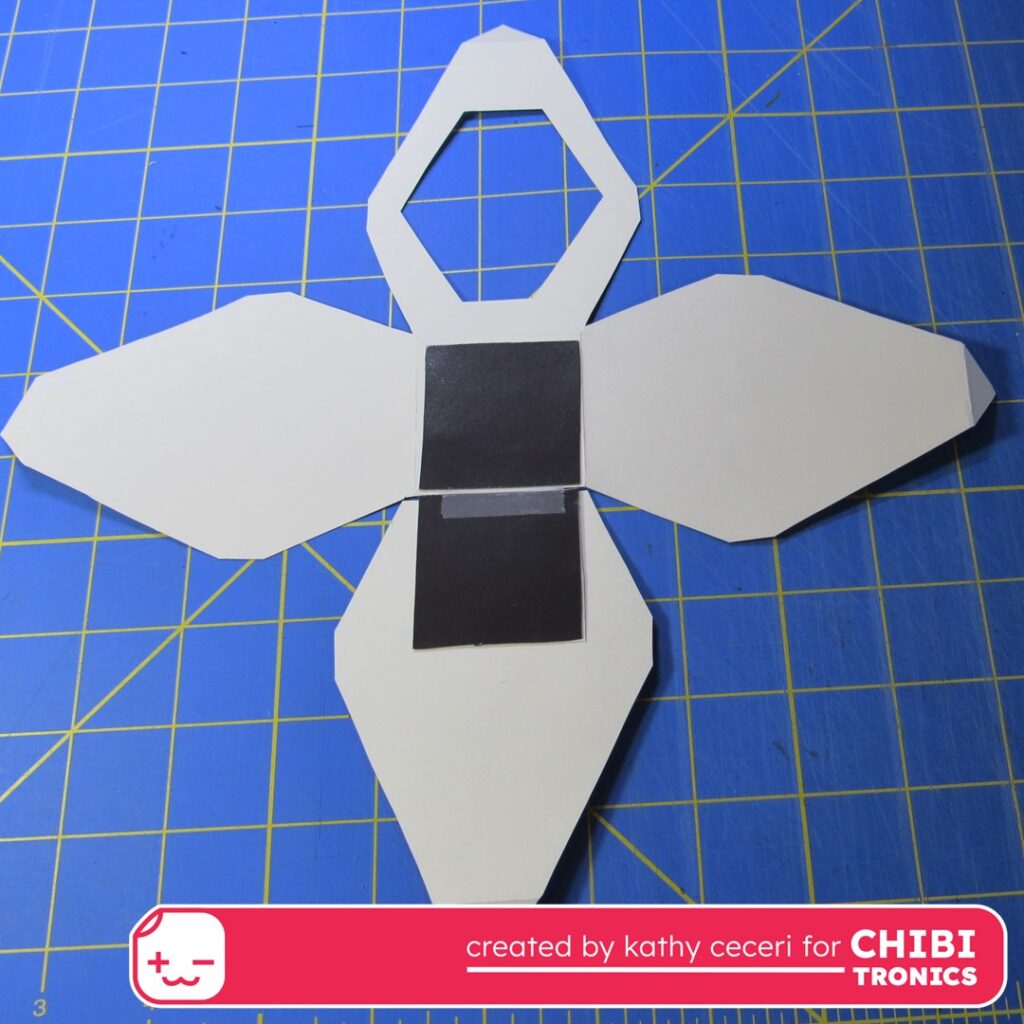
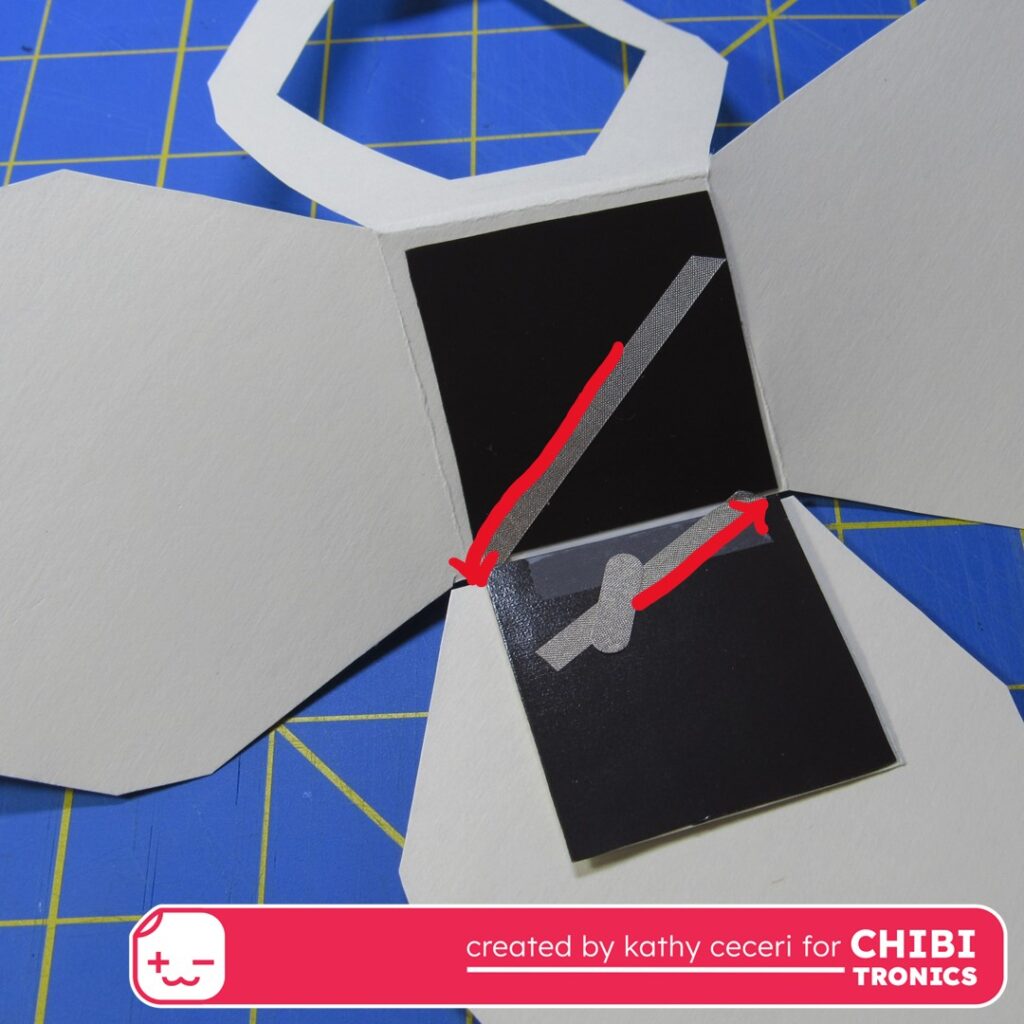
Turn the egg printed side down. To make the extra square into a flap that acts as the on-off switch, use clear tape to make a hinge along the bottom edge of the back side of the egg. Make sure the tape fits between the two slots on the corners. Stick one square of magnetic sheet to the extra square, and the other to the square in the middle of the egg.
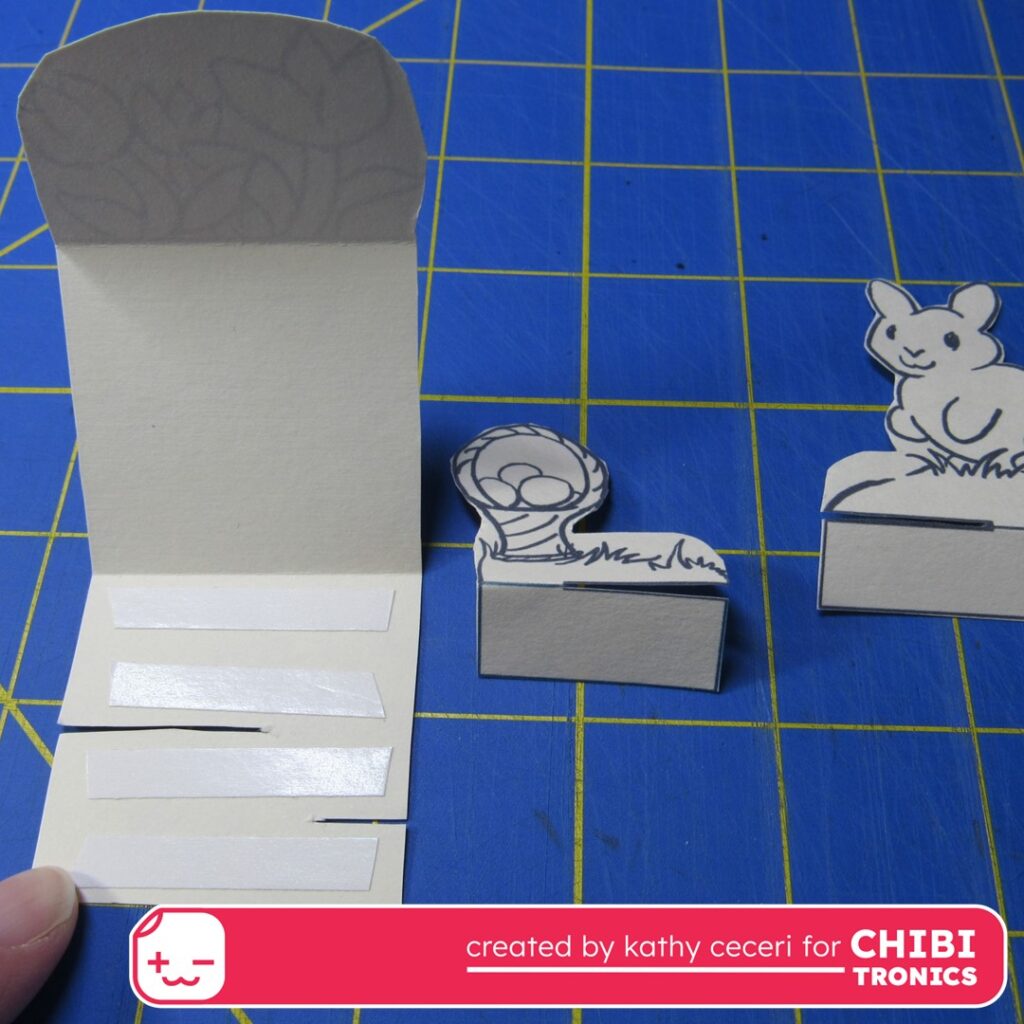
Turn the tulips face down, then fold up the square sections so the circuit layout is facing up. Tape or glue the layers together to keep them flat. (I used double-sided tape.)
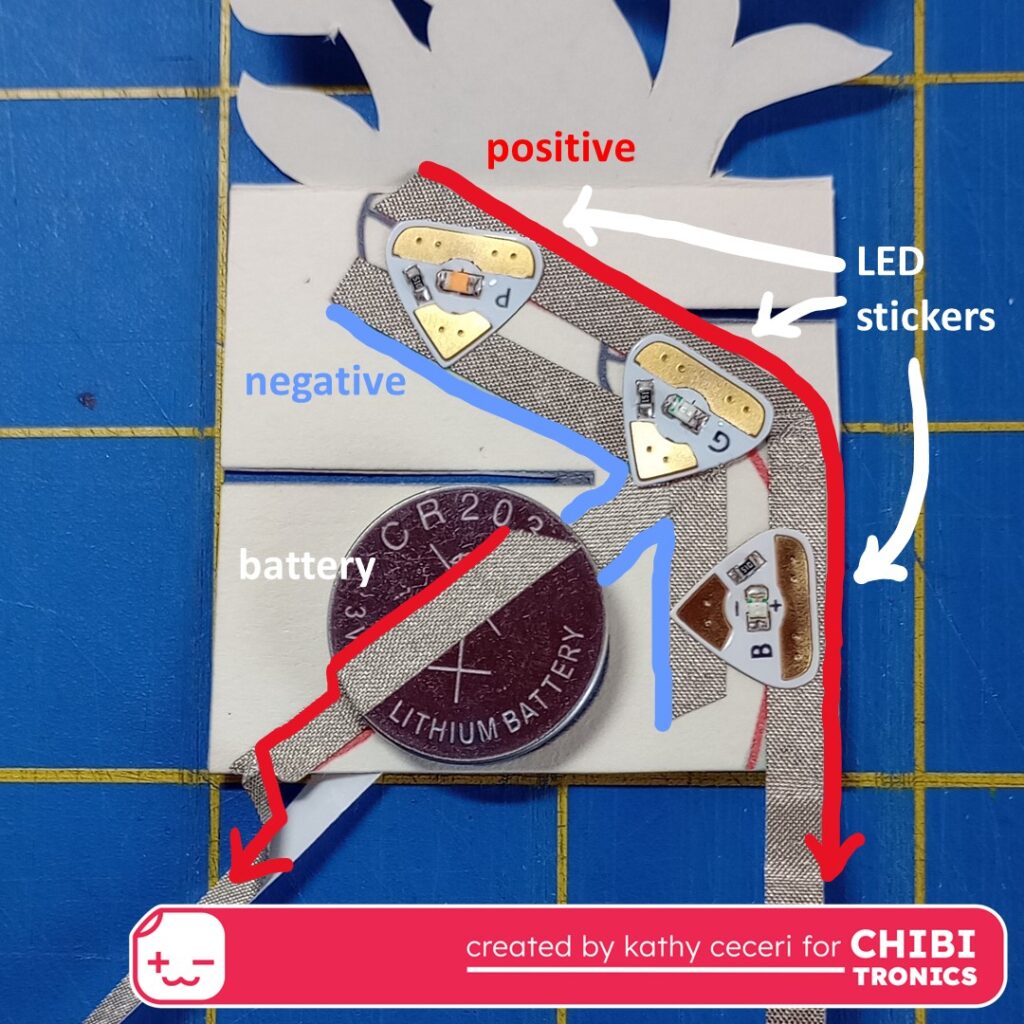
To make the circuit, lay the negative strip of conductive tape down first. To hold the battery in place, make a loop of the tape, sticky side out. Press the battery down on it, positive (+) side up.
Next, stick a strip of conductive tape over top of the battery (making sure it doesn’t touch the negative tape) and down along the card as shown. When you reach the edge, let about 2 inches hang off, leaving the backing paper on for now. Do the same with the positive tape on the other side of the card.
Now you can attach the Chibitronics LED stickers as shown. Pink goes in front (behind the flowers), green goes in the middle, and blue goes in back. Press them down securely.
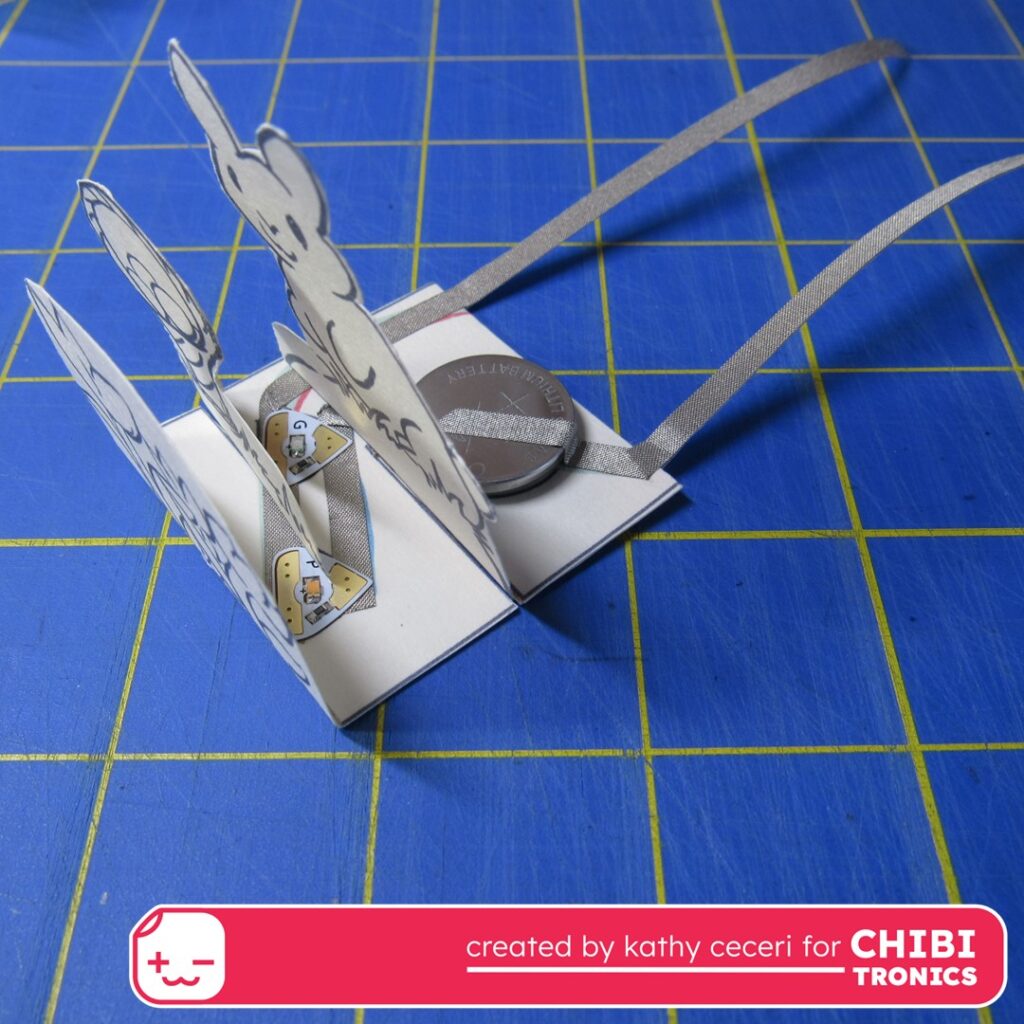
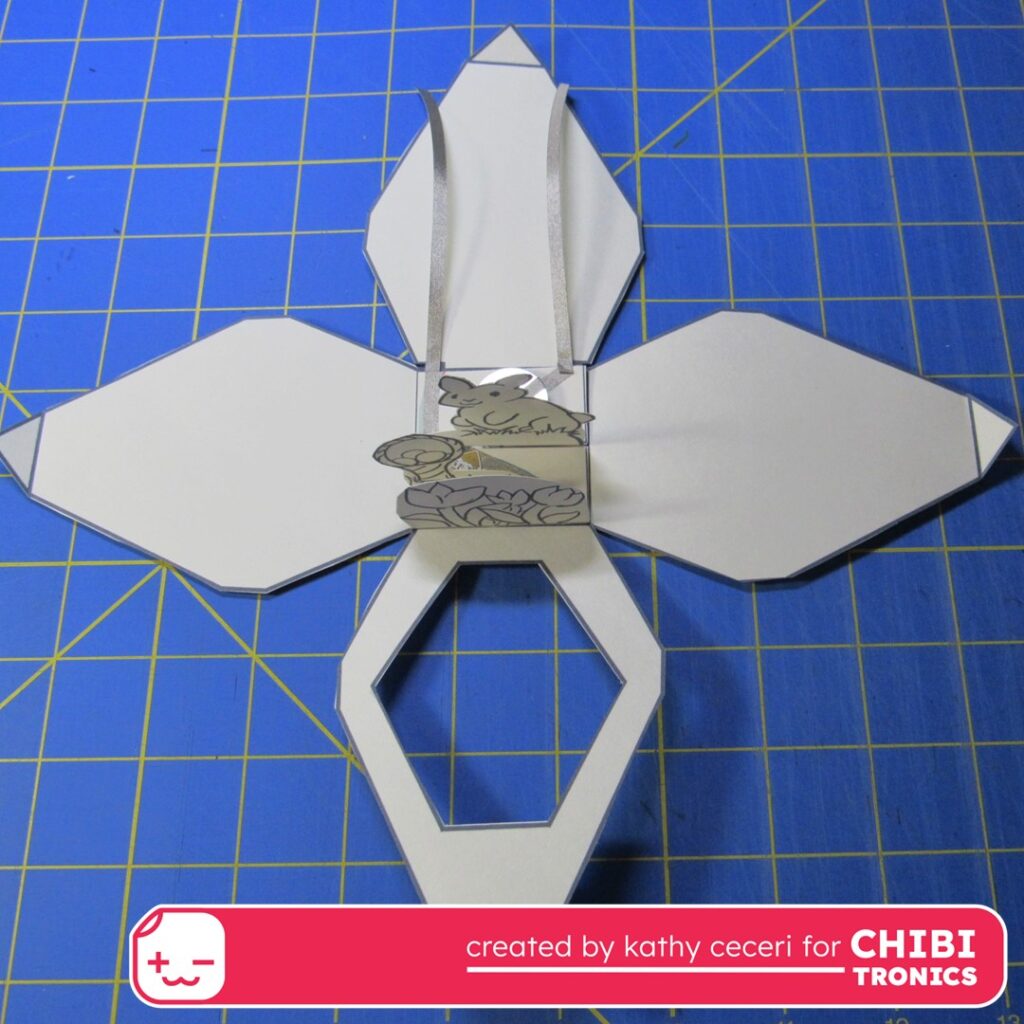
With the circuit complete, slide the basket into the middle slot and the bunny into the back slot. They can go right over the electronics, as long as they are not blocking the lights. Test your circuit at this point by touching the two loose “tails” in the back.
When everything is working, you can use clear tape to hold down the battery and the tabs on the underside of the circuit.
Turn the egg printed side up and tape or glue the circuit to the center. Slide the extra conductive tape through the slots in the back corners. Flip the egg printed side down (being careful not to crush the diorama). Stick one of the conductive tape ends over the magnetic sheet on the bottom of the egg at an angle, as shown in the circuit photos above. Stick the other piece over the magnetic sheet on the flap. For a better connection, you can add a conductive patch where they cross.
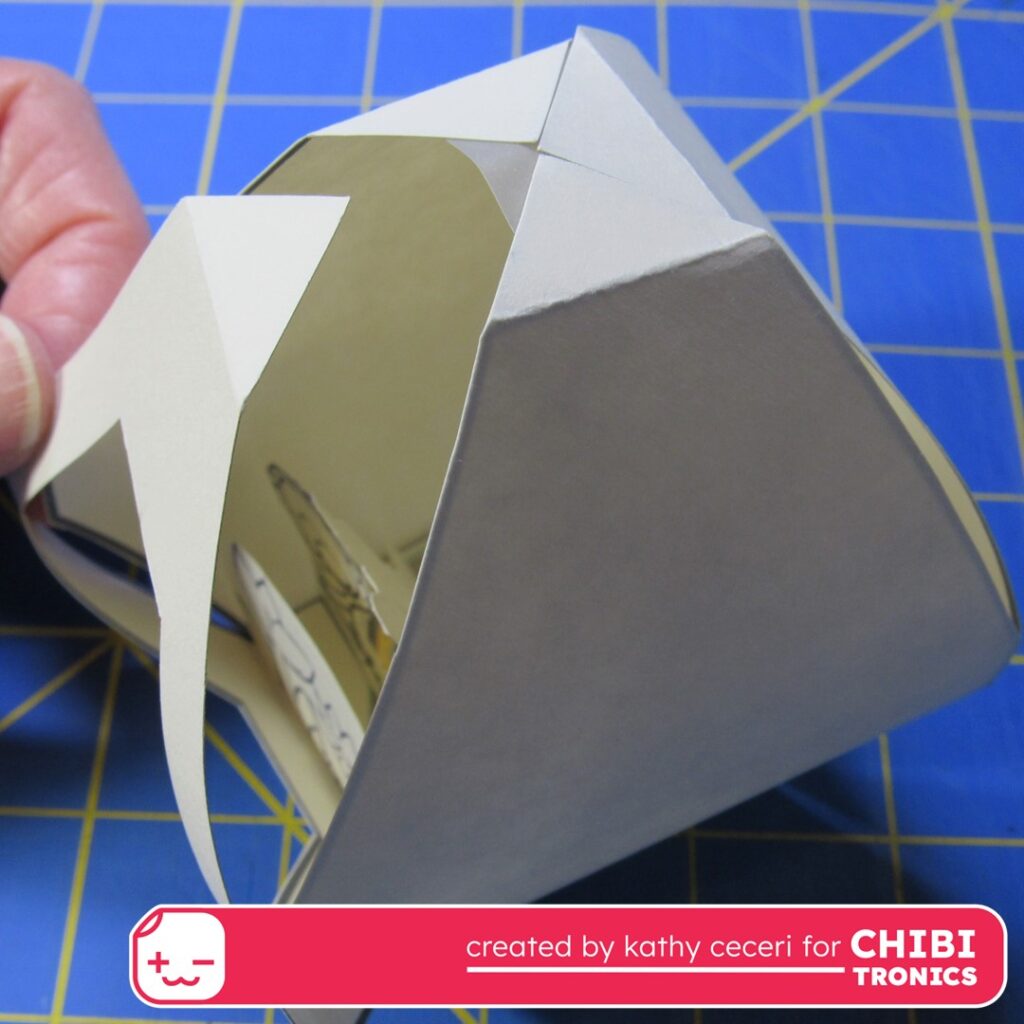
The last step is to assemble the egg, starting at the top. Put a piece of clear tape on the printed side of one point, and fit in the other points next to it.
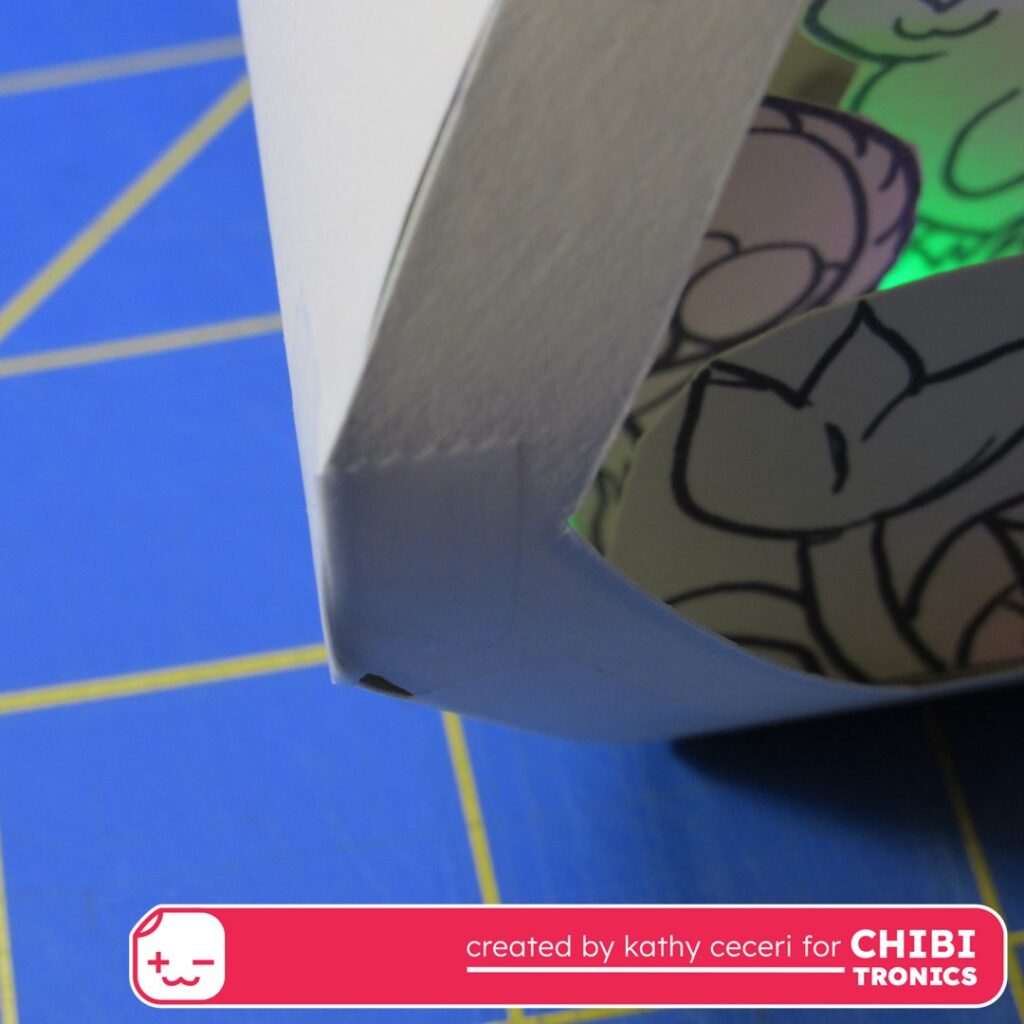
At the widest point of each side is a short flat area. Connect the sides here with a narrow piece of tape. Then seal up the remaining openings between the sides with more clear tape.

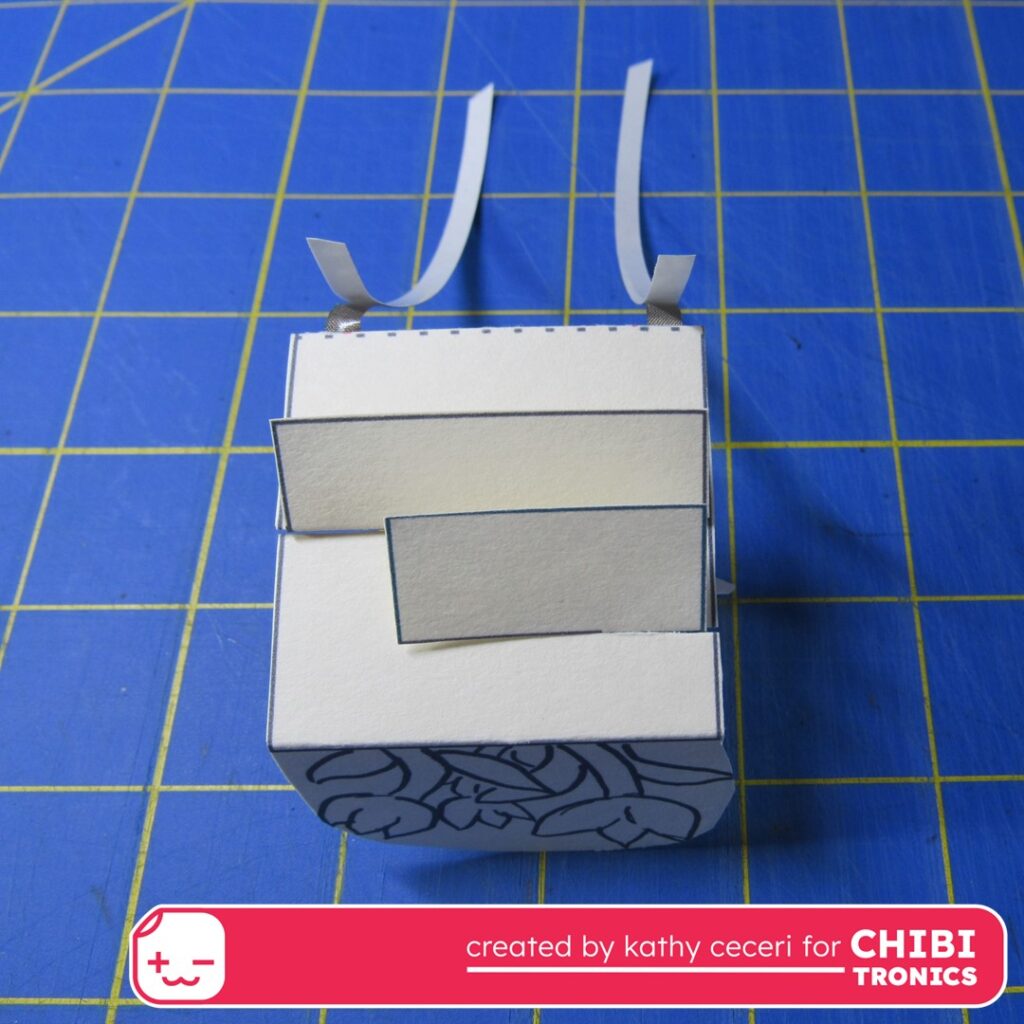
To finish, you can reinforce the edges with decorative washi tape and still leave the sides blank, to let the lights add the color. The on-off flap folds out when the LEDs are off, as shown here. To turn the lights on, flip it up so it connects with the magnet on the bottom of the egg.
Supplies
- 3 Pack Chibitronics Conductive Fabric Tape
- Lights Sampler MegaPack (30 LED Stickers) Red, Yellow, Blue, Pink, Orange, Green and White
- Conductive Fabric Tape Patches
- Magnetic Sheets with Adhesive Backing (such as this)