Make your own easy and fun glow-in-the-dark “gems,” and combine them with Chibitronics LED Stickers to create special light effects in your crafting projects.
Part 1: Make Your Own Glow-in-the-Dark “Gems”
For the first part of this tutorial, you’ll need the following materials and supplies:
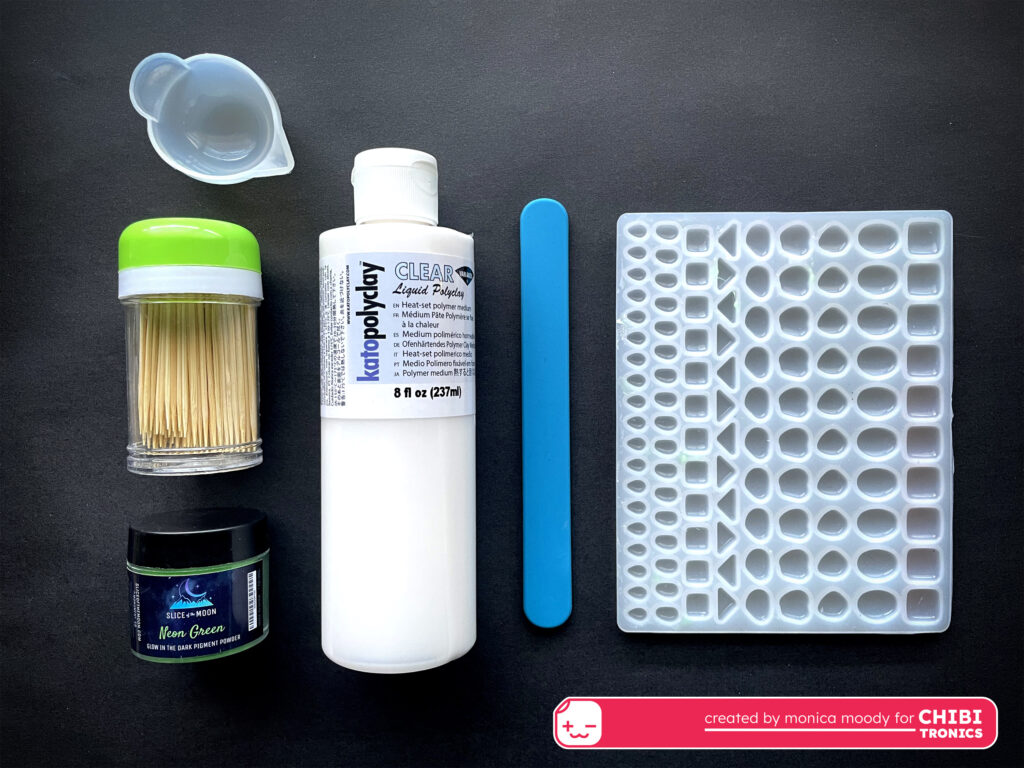
- Kato Polyclay Liquid Medium (2oz is fine, but 8oz is a better value when it’s available)
- Glow Pigment – I used Slice of the Moon Luminescent Pigment Powder
- Small mixing cup
- Stir stick
- Bakeable silicone mold
- Toothpicks for smoothing out clay, popping bubbles, or chewing on 😉
- Wet wipes for clean-up
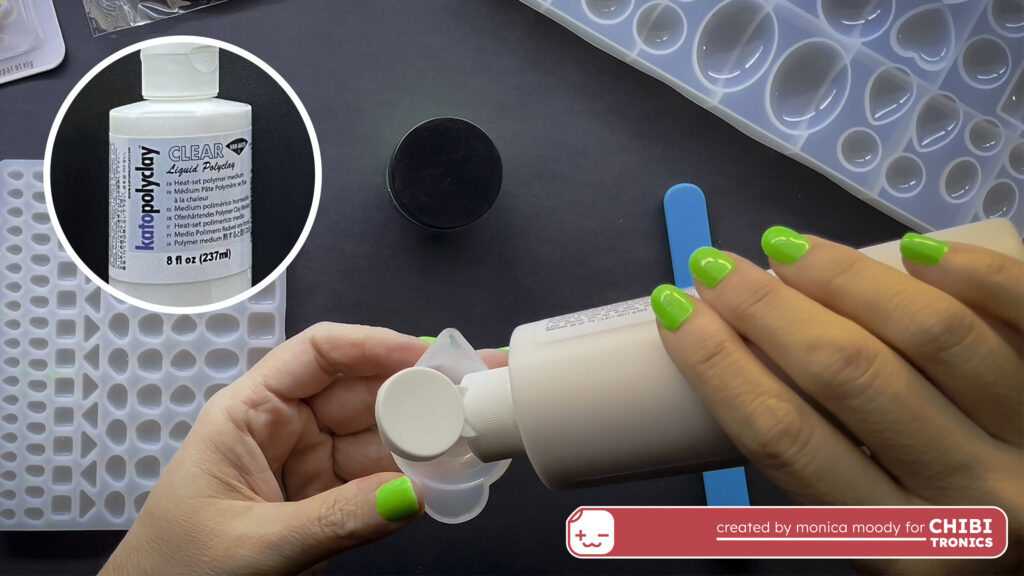
Pour the liquid polymer clay into a small mixing cup. Tip: use silicone cups and utensils to ensure no sticking (and easy clean-up). The container I’m using holds 15ml, and I poured about 8-10 ml of liquid into it.
If you’re wondering why I am not using clear resin…I’m using clear liquid polymer clay because its translucence does a really lovely job of diffusing light from Chibitronics LED Stickers.
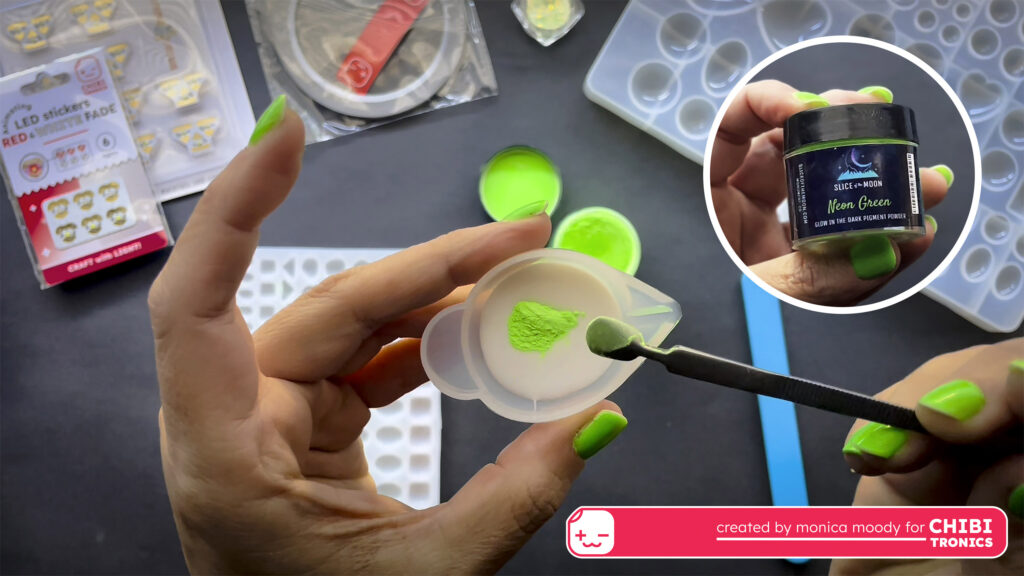
I used this tool with a tiny scoop (I think it’s a nail tool from the dollar store) to add two scoops of glow pigment – probably about half a teaspoon – to the liquid polymer clay. This is a small amount, but when using a mold that makes tiny shapes, a little clay goes a long way. If you plan on making lots of gems, you can use larger mixing cups and more material. Since I tend to make big messes, I prefer to work in smaller batches.
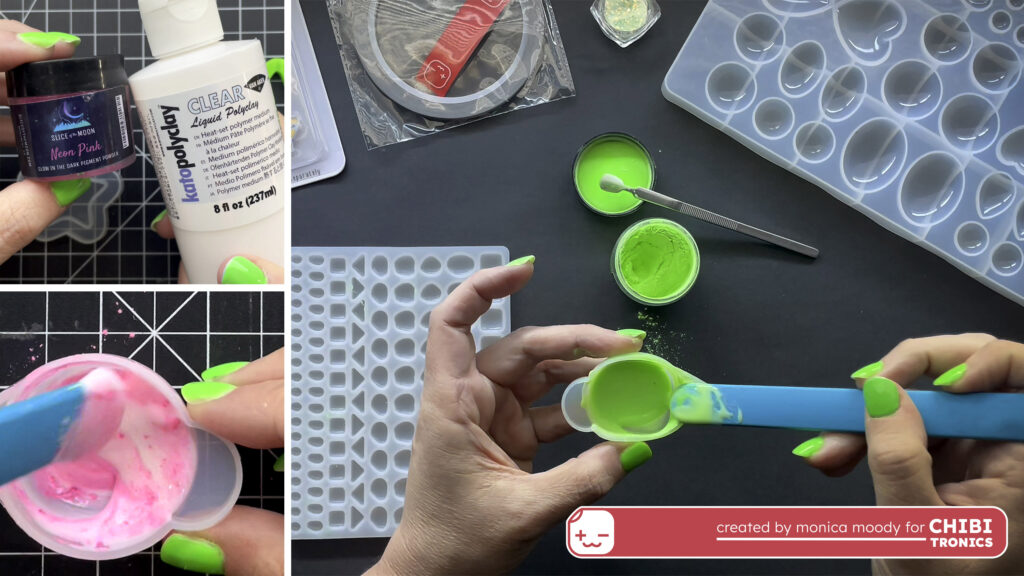
Mix the pigment and liquid polymer clay well. Be sure to scrape the bottom and sides of the cup while mixing.
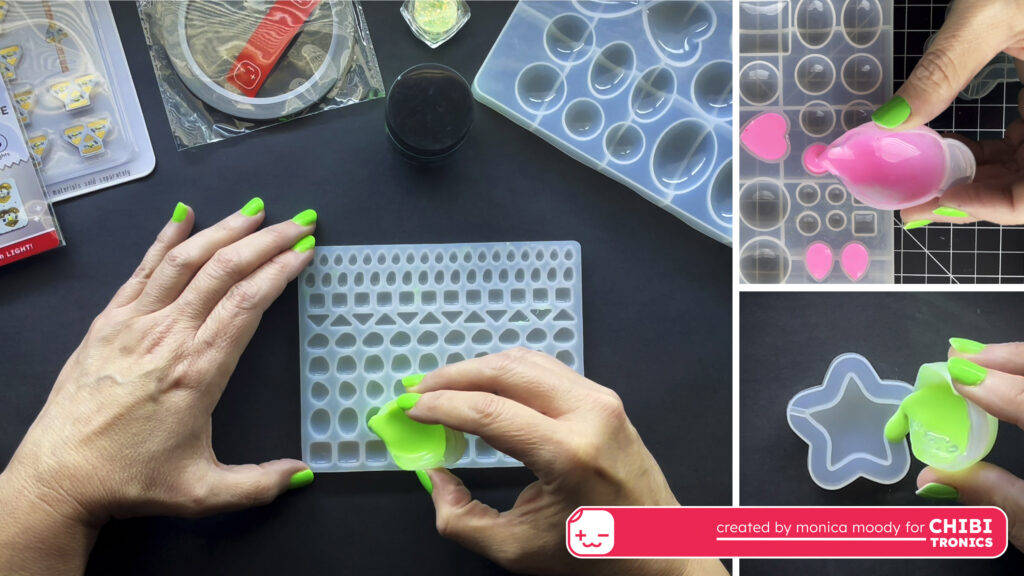
Carefully pour the mixture into the silicone mold. Then place the mold on a pan or cookie sheet, and into the oven to cure. Kato Polyclay liquid goes for 20 minutes in a 300-degree oven. If you use a different liquid clay, be sure to check the manufacturer’s instructions for baking time and temperature.
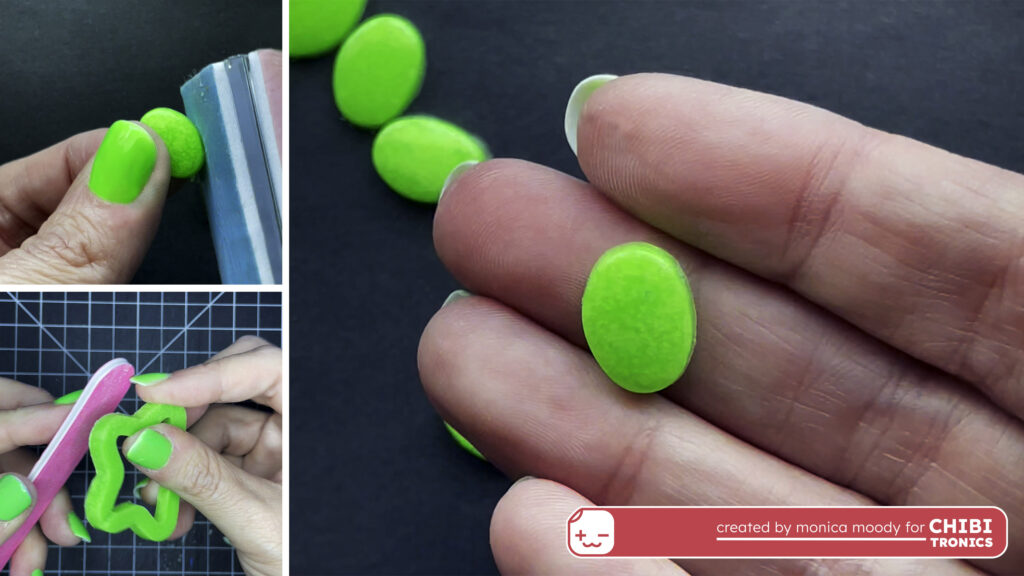
Remove from the oven after the appropriate time and allow to cool. Pop the gems out of the mold, and use a nail file to smooth the edges and backs as needed.
This batch of glow-in-the-dark gems is now ready to meet Chibitronics LED Stickers and make some luminescent magic!
Grab one of your cool new gems and head to Part 2 of this tutorial, below.
Part 2: Make a Light-Up Magnetic Bookmark
To make the light-up magnetic bookmark, you’ll need the following materials and supplies:
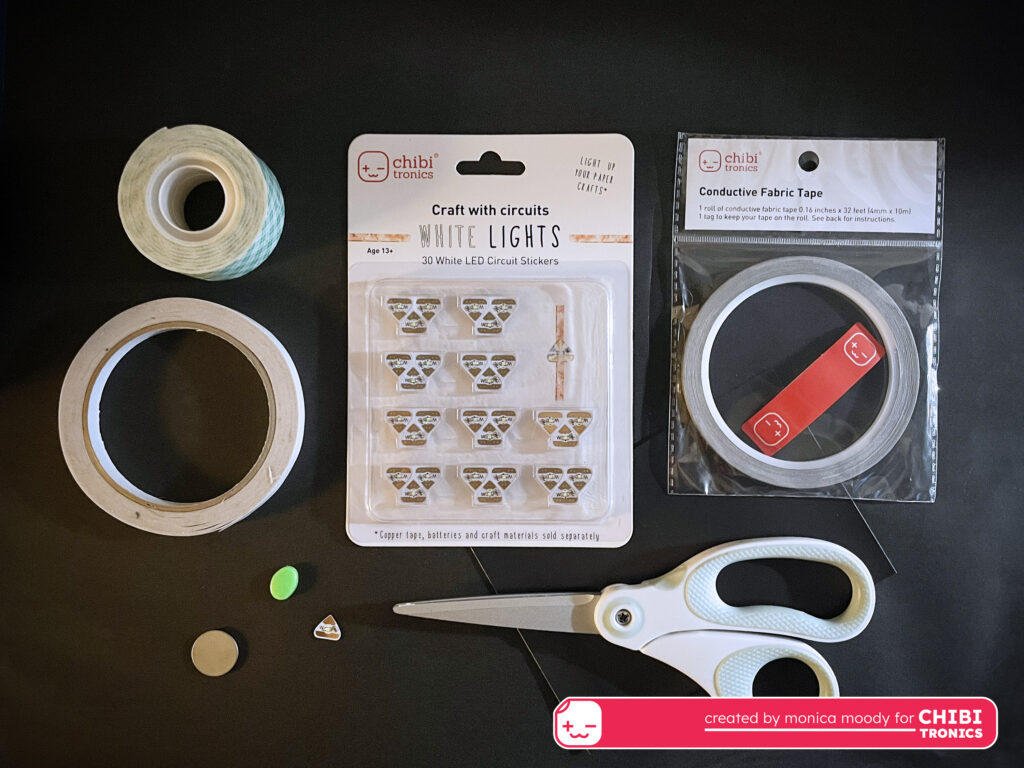
- Chibitronics Craft with Light Kit – White. Contains 6 white LED stickers, 1 roll of fabric circuit tape, 2 coin cell batteries 3V CR2016, and 1 tape tag.
-OR-
- Chibitronics White LED sticker – this project requires ONE white Chibitronics LED sticker. I got mine from the MegaPack shown above.
-AND–
- Conductive Fabric Tape
- Coin Cell Battery – 3V CR2016
- White cardstock
- One glow-in-the-dark “gem” (from part 1 of the tutorial, above)
- Adhesive-backed magnetic sheet
- Scissors
- Pencil
- Double-sided Tape
- Scotch tape
- Bone folder
- Laminating sheet *optional
You’ll also need these digital assets:
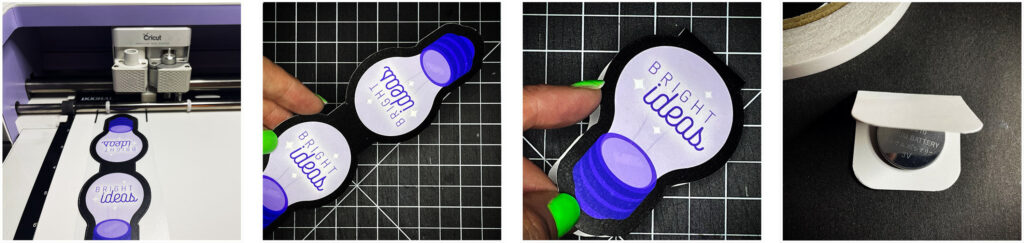
As shown in the first two images above, I used the print-then-cut feature of my Cricut Maker. You can do this too, or simply print the bookmark art on white cardstock (65lb. is great) and cut it out with scissors. Then fold in half at the top of the bookmark (top of the light bulb).
NOTE: I applied a 3 mil matte laminate (self-adhesive, not thermal) to my bookmark, after printing and before cutting with the Cricut Maker. I made an extra pass or two when cutting. This is optional but suggested, for protecting the bookmark.
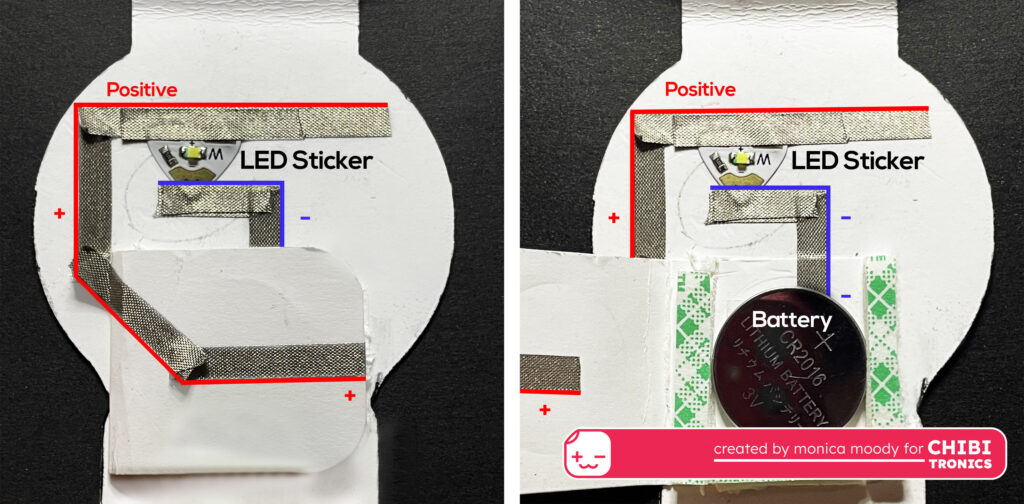
Next, I used cardstock to make a simple door/flap for my battery housing, then used double-sided tape to attach it to the inside of the bookmark. I traced a battery inside, and on the outside I marked a “+” to remind myself that the battery goes in with the positive side up.
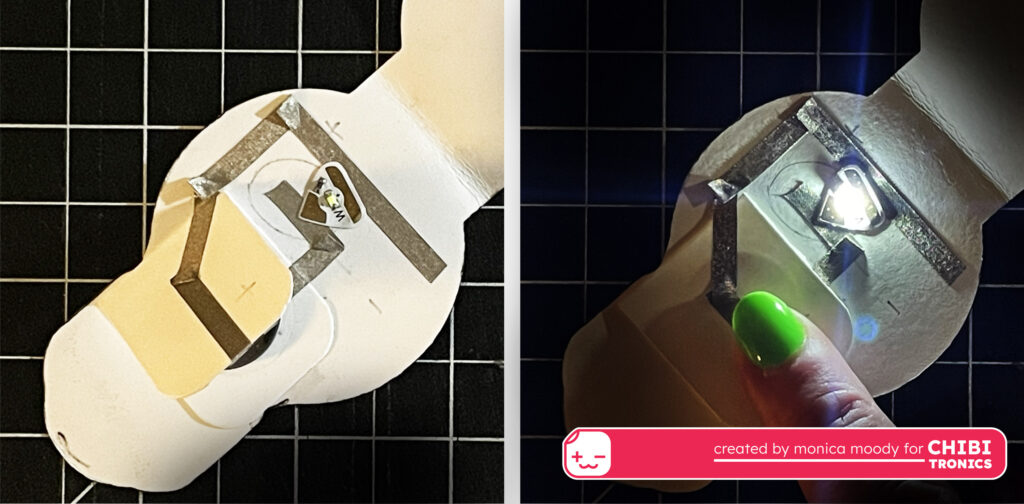
After I sketched my parallel circuit with a pencil, I applied conductive fabric tape to create the paper circuit’s traces. I attached the white LED Sticker, then I put the battery in the holder and held the flap down to make sure the positive conductive tape inside made contact with the battery. Success!
Since the circuit test was successful, I used a bone folder to ensure the adhesion of the conductive tape and added additional strips of tape to the LED Sticker’s two connection points.

Next, I cut a piece of the adhesive-backed magnetic strip to be a little bigger than the area where it goes (at the bottom of each light bulb). The paper backing was removed, and I stuck the magnet strip onto the bookmark, then flipped it over and used a craft knife to trim the magnet to the contour of the bulb shape.
I cut a second piece of magnet just like the first and held it “face-to-face” with the installed magnet, to make sure it would hold, then repeated the process above to adhere (and trim) the second magnet piece to the other end of the bookmark, as illustrated above.
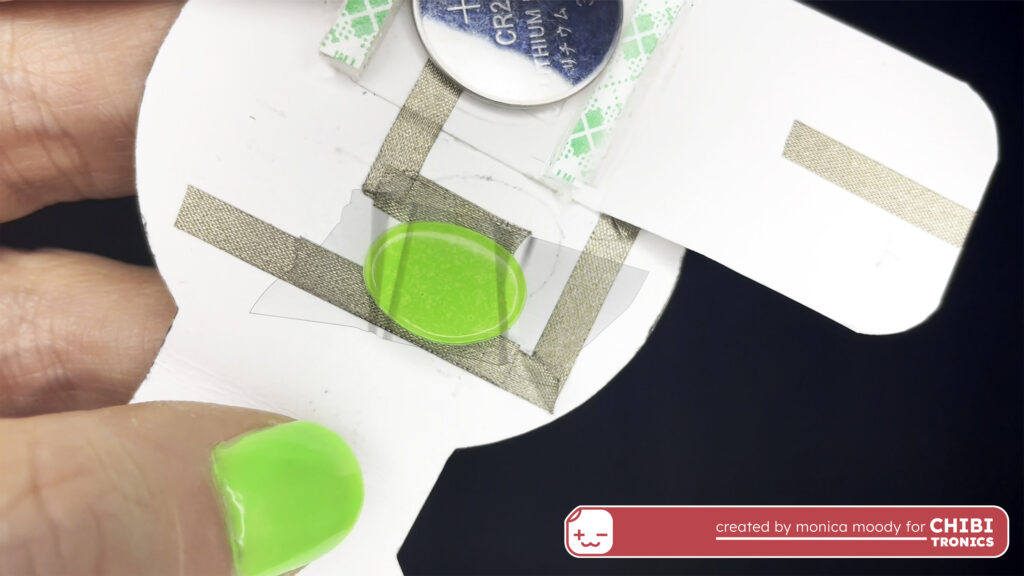
I placed the glow gem over the LED Sticker and secured it with a piece of clear tape.
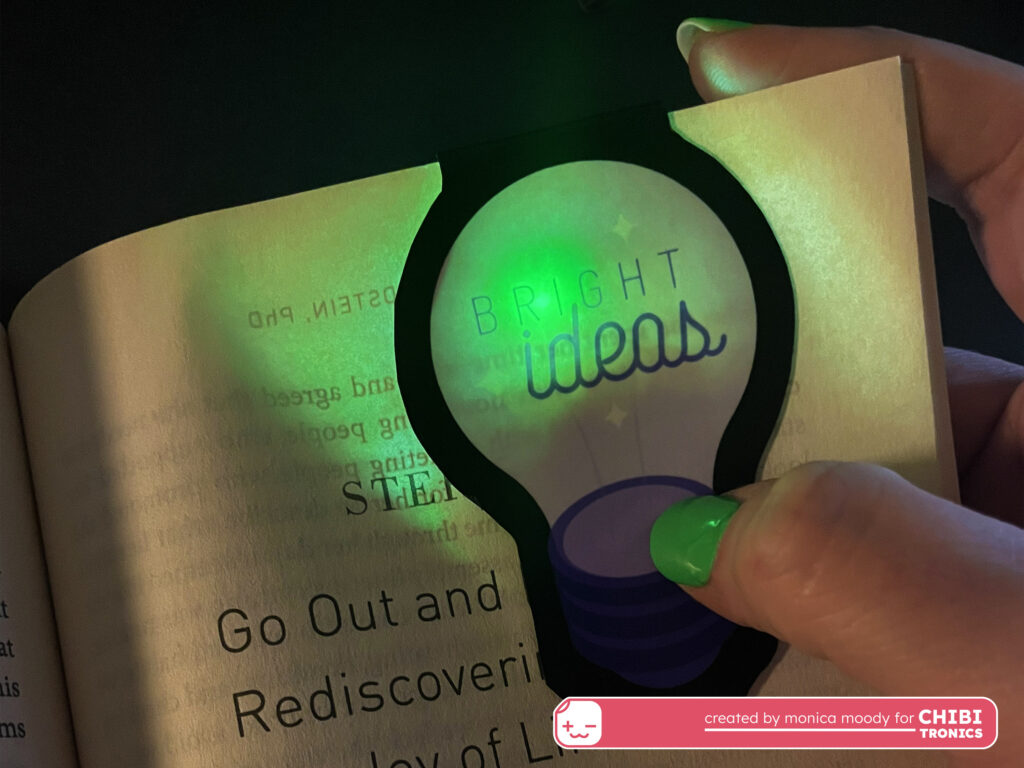
Finally, I clipped the magnetic bookmark onto a book page. I turned out the lights and pressed the bookmark to light it up. Check out the GLOW!
I have plans for the rest of those little glow-in-the-dark gems, too. I will be sharing several more projects in the coming months, as I continue to explore, experiment, and enjoy my time on Chibitronics’ 2024 Design Team.
Keep an eye out for new tutorials, including a light-up notebook, glowing LED jewelry, and more!
Coming Soon:
Stay tuned for a video tutorial in this space!