Video Tutorial
Introduction:
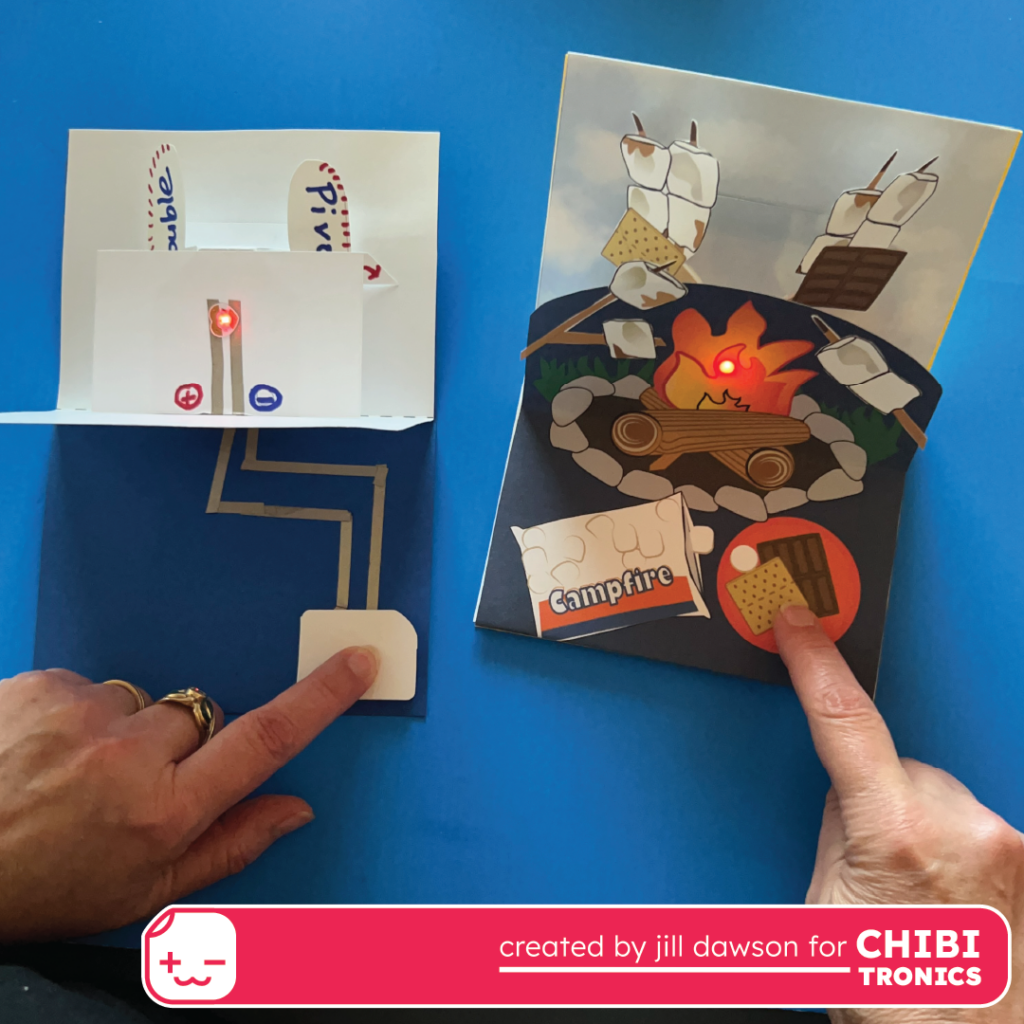
To celebrate #PopUpTober and #LightUpPopUpTober, I’m sharing a fun way to combine light with an engaging pop-up mechanism, to create a “smore-themed” pop-up spread! This type of mechanism has a lot of visual interest, with arms that move and rotate whenever a card is opened.
The Double Pivot mechanism, found on page 136 of Paul Jackson’s book, The Pop-Up Book: Step-by-Step Instructions for Creating Over 100 Original Paper Projects, is one example that uses this technique. Since it is an easily customizable mechanism that lends itself well to adding a paper circuit, I’ve adapted it here.
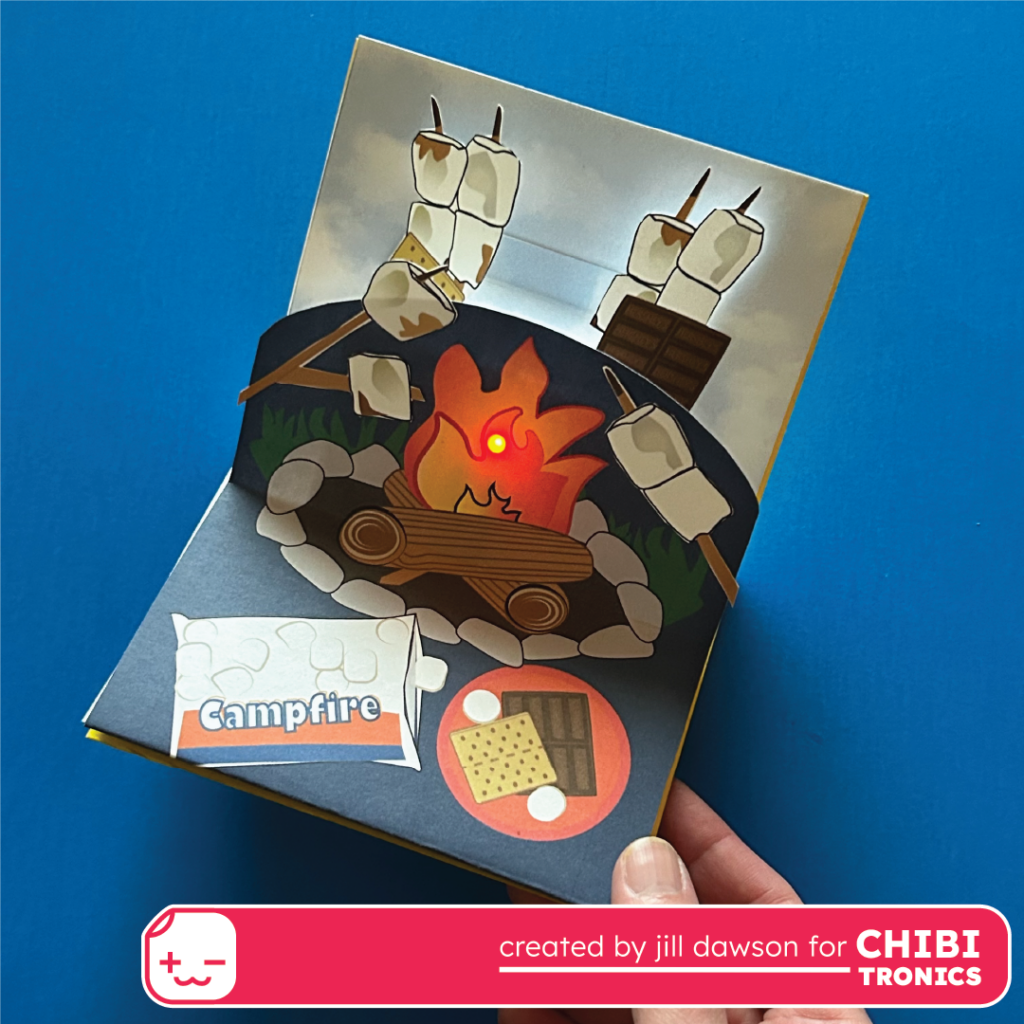
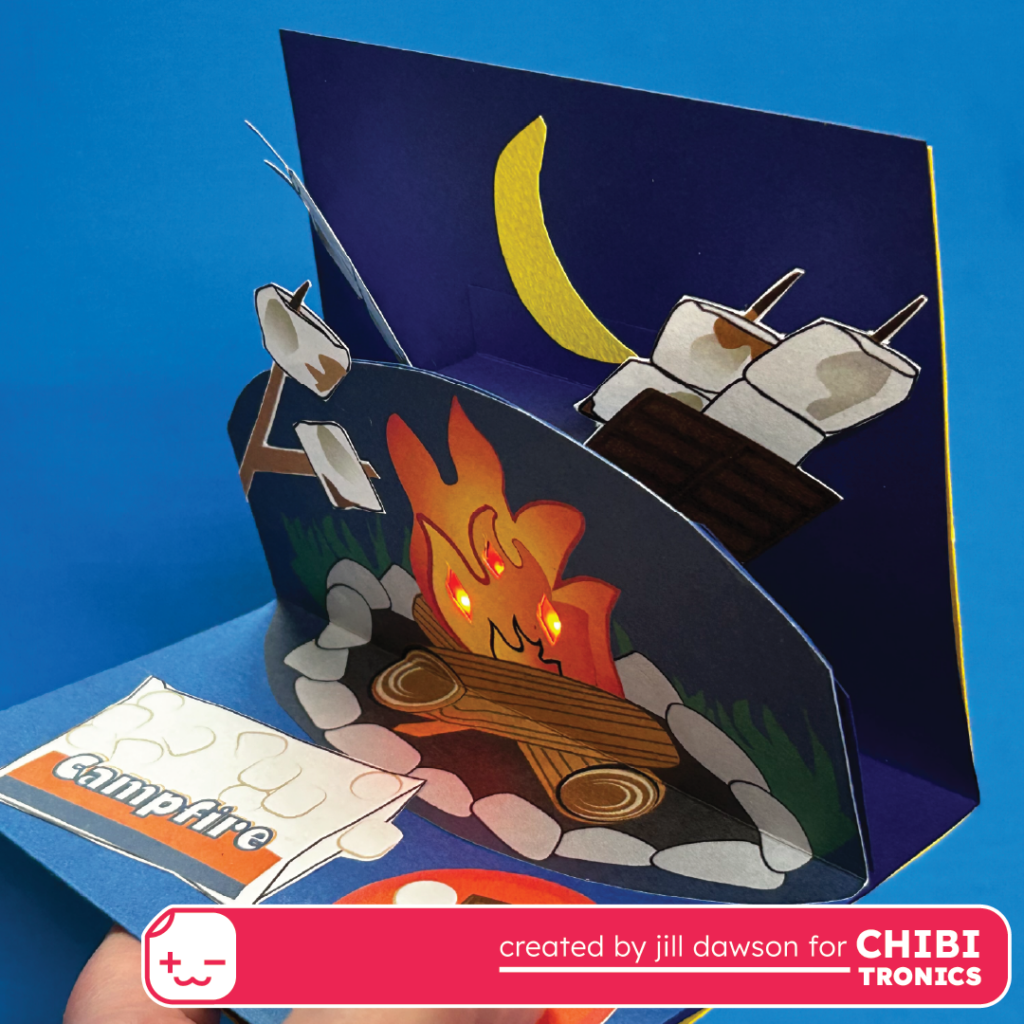
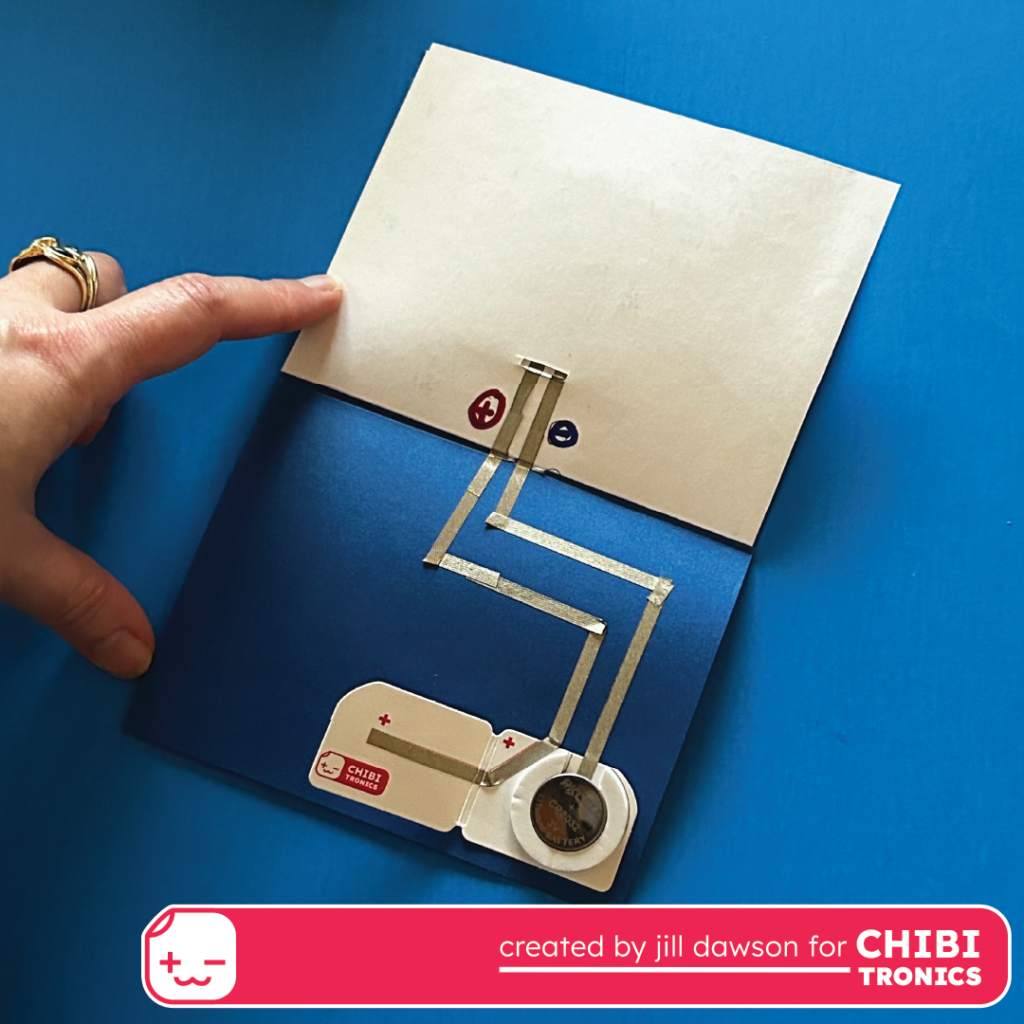
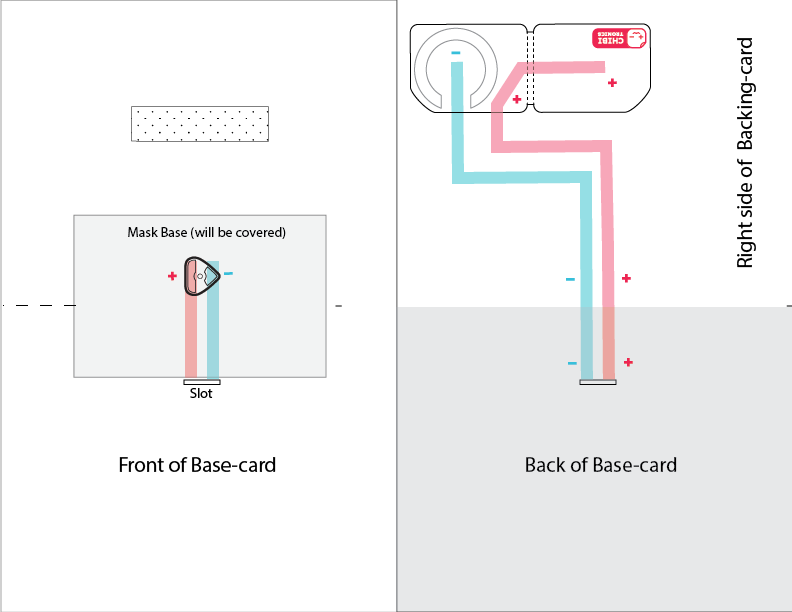
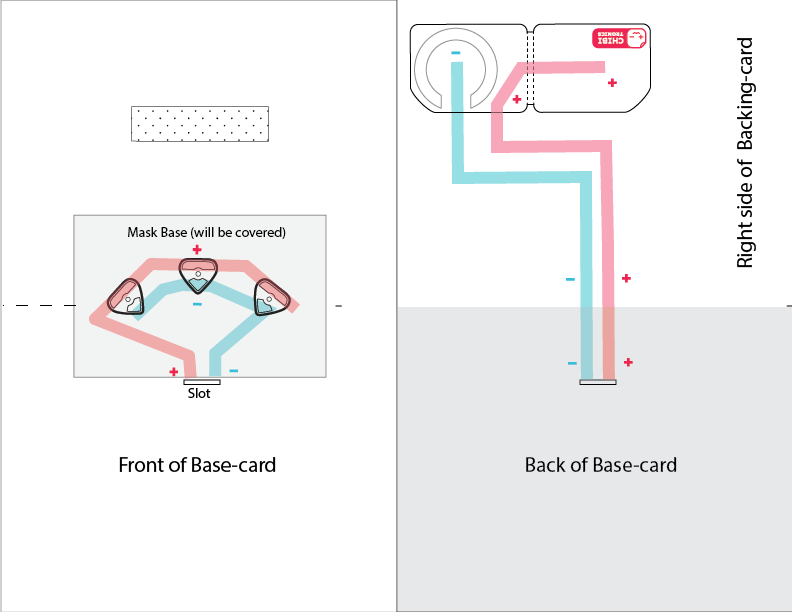
In order to conceal the circuit, my design has a slot cut in the base card for the conductive tape traces to slip through, allowing them to connect with a battery holder on the backing card. If you don’t have a battery holder, a folded piece of cardstock will also work.
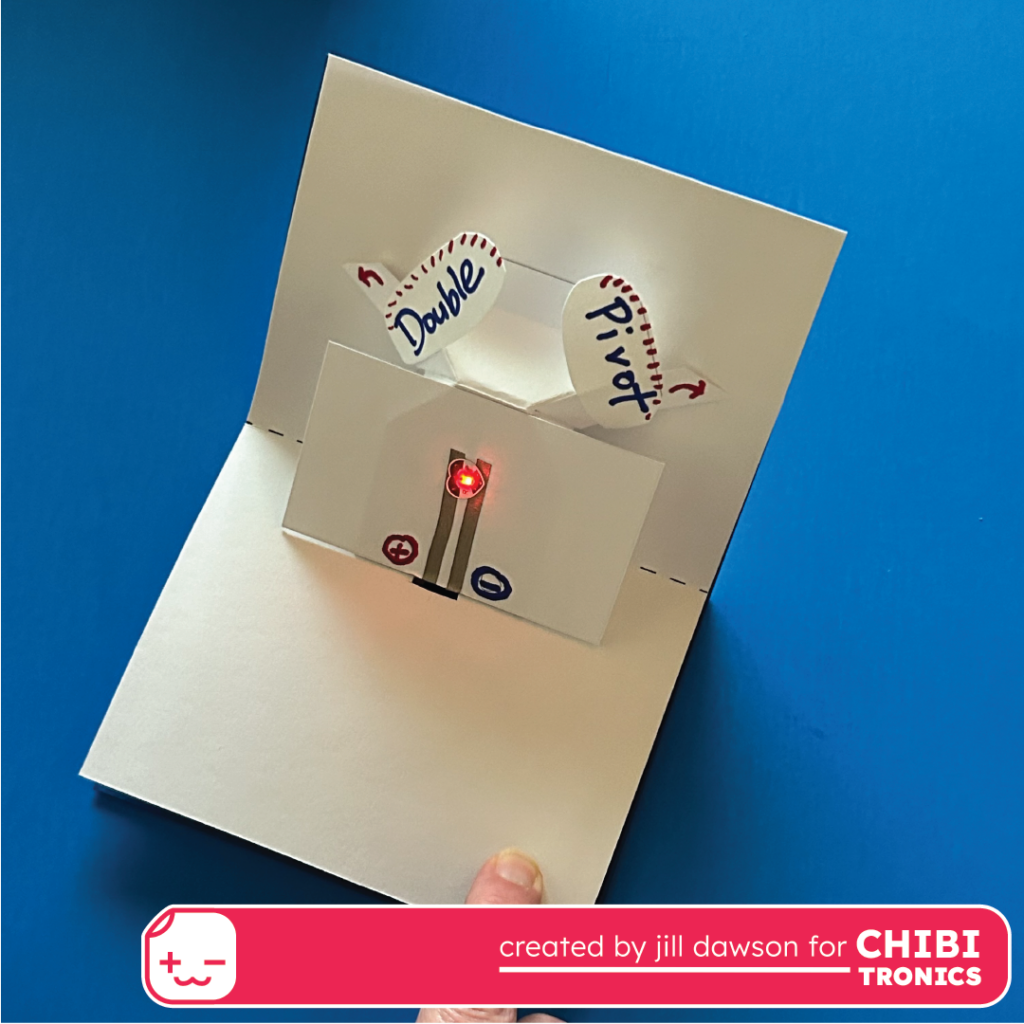
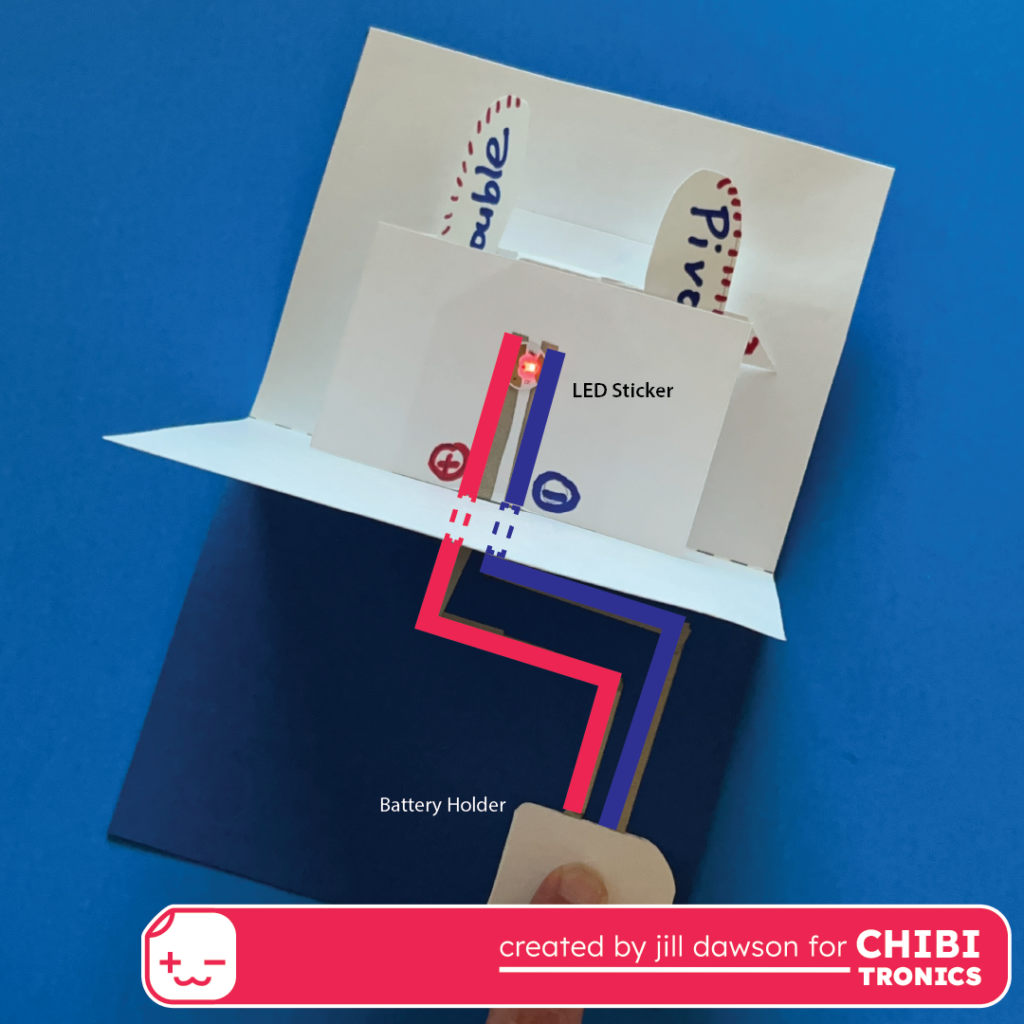
The shapes of the arms and the mask supporting the LED may be easily changed to suit your own ideas.
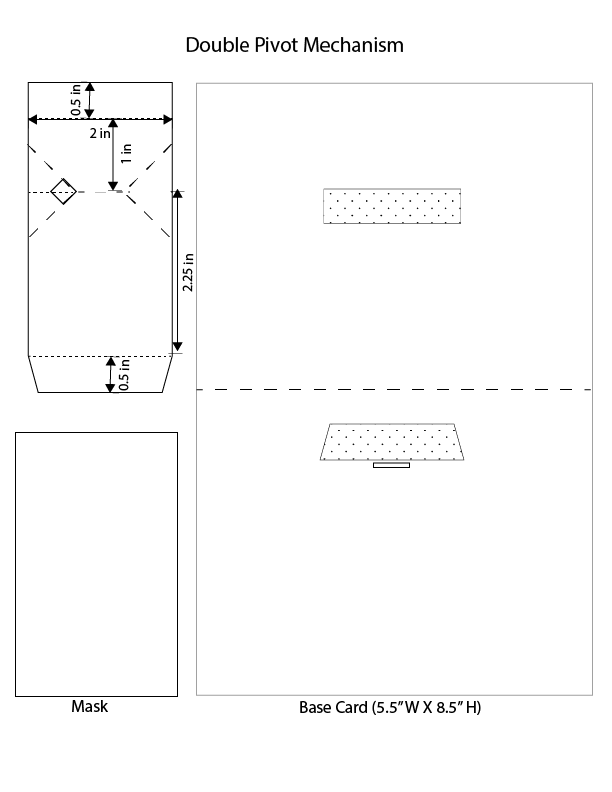
The dimensions that I’m sharing worked for my project, but the measurements (and subject matter) are easily adaptable!
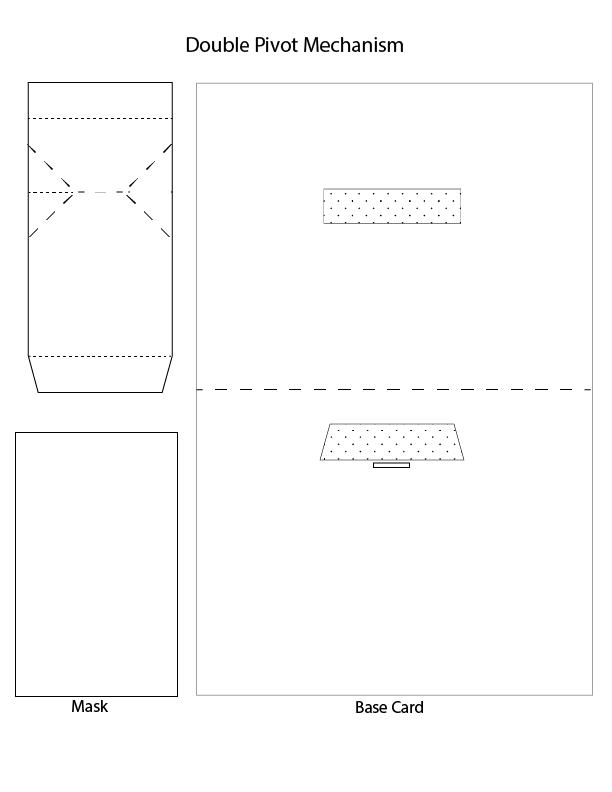
To make it easier to focus on the underlying circuit, I’m providing templates, circuit diagrams, and a campfire scene with roasting marshmallows. These support materials may be downloaded below.
Directions:
To view a full demonstration, please watch the video.
Useful Tools & Supplies:
- 1 or more Circuit Sticker LEDs
- Conductive Fabric Tape
- Coin cell battery
- Cardstock in colors of your choice (110 pound is ideal, but 65 pound will work)
- Vellum scrap (to diffuse the light)
- Scissors
- Cork-backed steel ruler
- Pencil with an eraser
- Pen-knife
- Japanese Screw Punch or a hole punching tool of your choice
- Double-sided tape
- Glue or an adhesive of your choice
- Printer (for printing the templates, circuit diagrams, and embellishments).
- Art Supplies of your choice
- (Optional) Chibitronics or WeRMakers Battery Holder
- (Optional) Chibi Stencil or Craft Stencil
Templates, Circuit Diagrams, & Masks/Props
Sample Templates
Sample Circuit Diagrams
Masking Pieces & Props


