How To > Sensors & Switches > Projects > Tutorials
Magical Magnetism: Intro to Reed Switches (Magnet On)
Written by: Jill Dawson
Introduction
Magnets, like wands, are magical! In this tutorial, we will show you how to make a magnetic wand that can trigger a circuit you make with a reed switch.
Contents
Learn How to Use a Reed Switch

A reed switch and magnet are an intriguing duo possessing magical qualities that may be applied in countless ways. Their mystical qualities make it possible to open or close a circuit with the power of magnetic force! That means you can create paper circuits that light up (or turn off) when triggered from a distance. With the flick of a wrist, you can trigger the switch! And any circuit, including a programmed one, may be triggered using this type of switching mechanism.
Imagine a wall covered in interactive artwork, with features that are only visible when a concealed magnet moves within range!
One way to conceal a magnet for this purpose is by creating a magnetic wand, which we’ll be showing you how to do. But, you should know that the possibilities for incorporating a magnet and reed switch into your paper circuits are endless!
What is a Reed Switch?
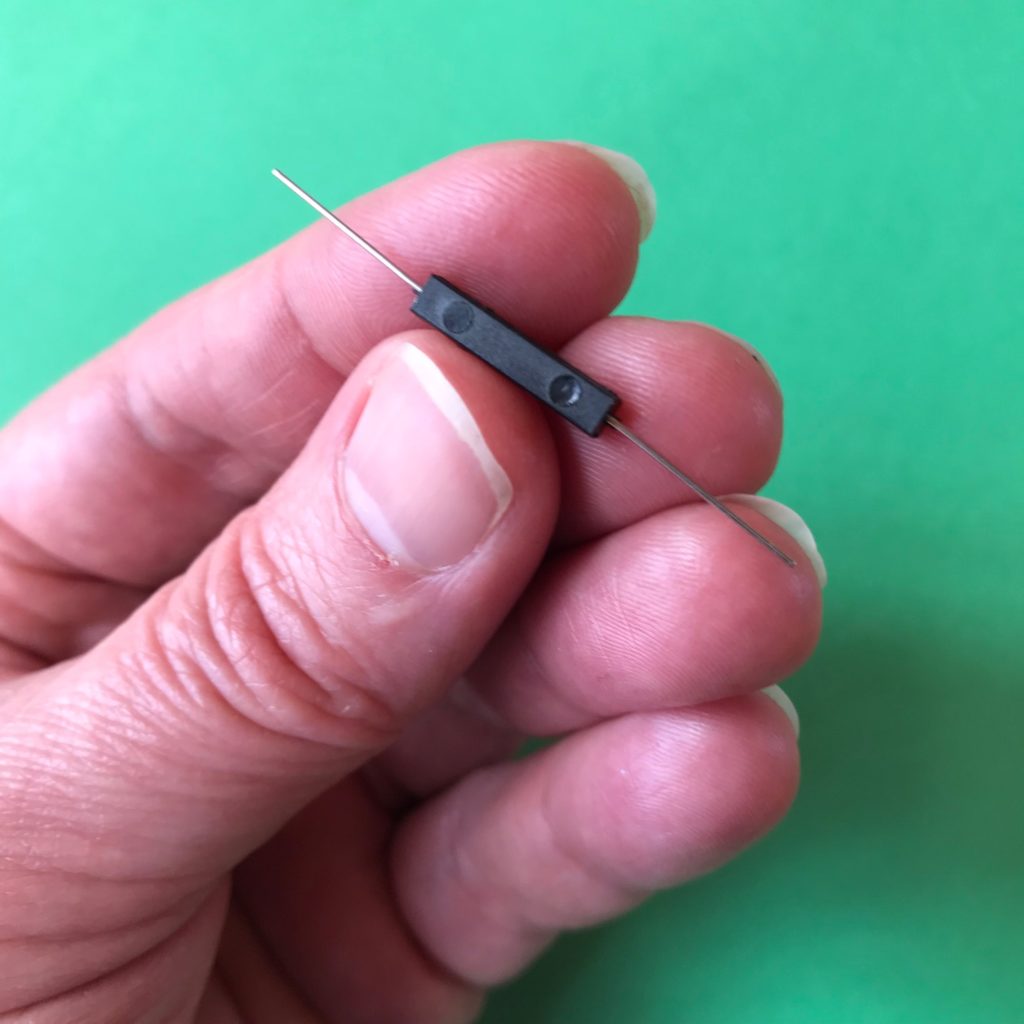
A reed switch is a small electrical component containing two thin fibers that are highly susceptible to magnetization. In the most common type of reed switch, called a “normally open” reed switch, these thin contacts usually contain an opening or gap between them, as illustrated in the diagram below.
When integrated into a circuit, this open gap prevents electricity from flowing through the switch unless a magnet is placed nearby. For this reason, we’ll be referring to this type of reed switch as a “magnet on” reed switch.
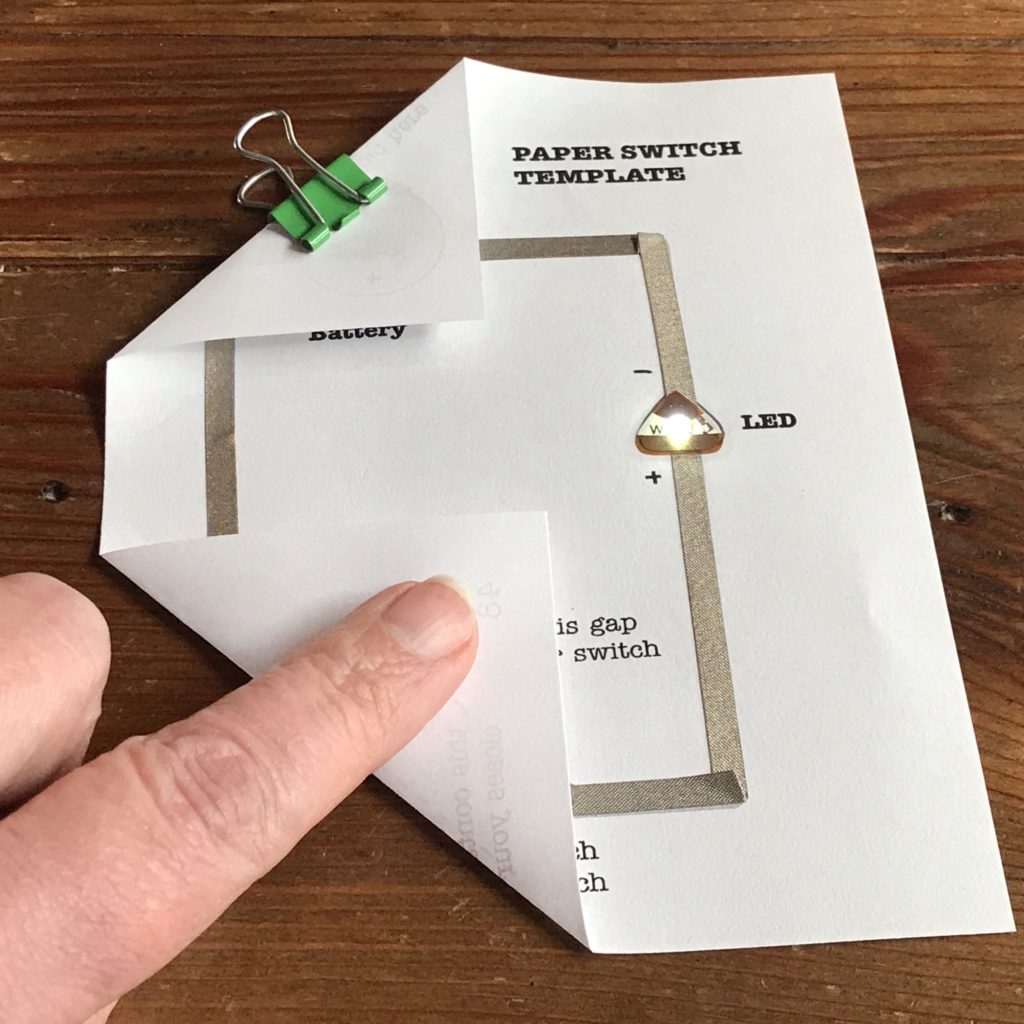
If a magnet is within range, the force of its magnetic field causes the fibers inside of the “normally open”/ “magnet on” reed switch to move closer together until they touch, closing the opening and forming a connection that allows electricity to flow through it. When this happens, and the circuit closes, you’ll notice some sort of actuation in the circuit, such as the lighting of an LED, the turning of a motor, or even the sound of a buzzer!
When the magnet is pulled away from the reed switch, the fibers move apart again, recreating the opening that was there before. With the switch now open, the flow of electricity within the circuit is once again disrupted.
Tips, Tricks & Call-outs
In addition to the “normally open”/ “magnet on” reed switch being explored in this tutorial, another type of reed switch works in the opposite way. A reed switch that is “normally closed,” normally allows electricity to flow through it when it is part of a circuit. That changes when a magnet is nearby. What do you think happens to the ferromagnetic fibers inside of a “normally closed” reed switch when it comes within range of a magnet? How might the circuit be impacted in this case? To learn more, visit Magical Magnetism: Intro to Reed Switches (Normally Closed).
1. Build a Circuit Using a Reed Switch
Tools & Materials
- Paper Switch Template (PDF prints out four copies to a sheet)
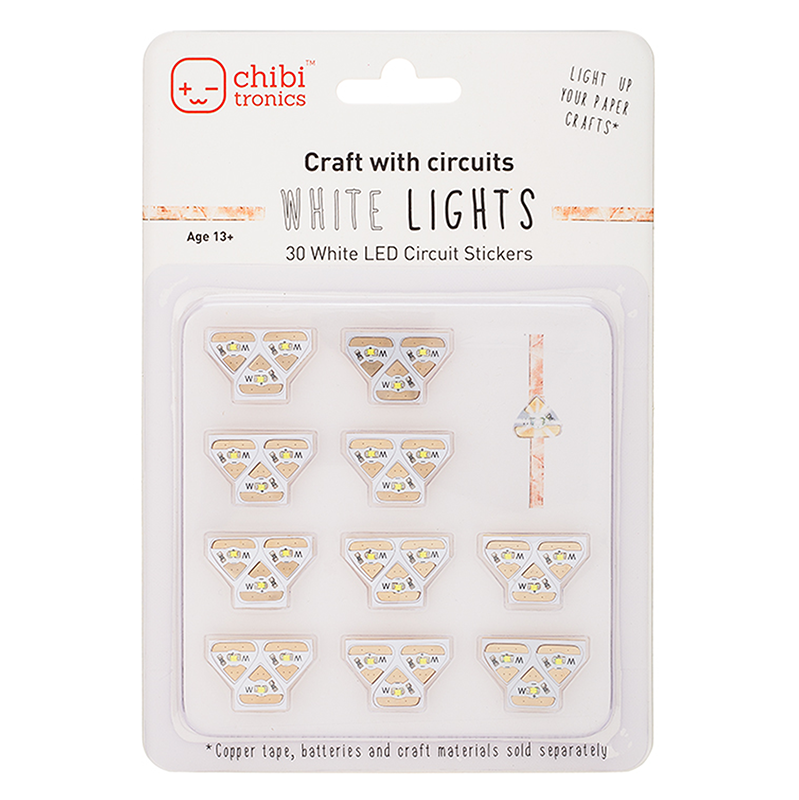
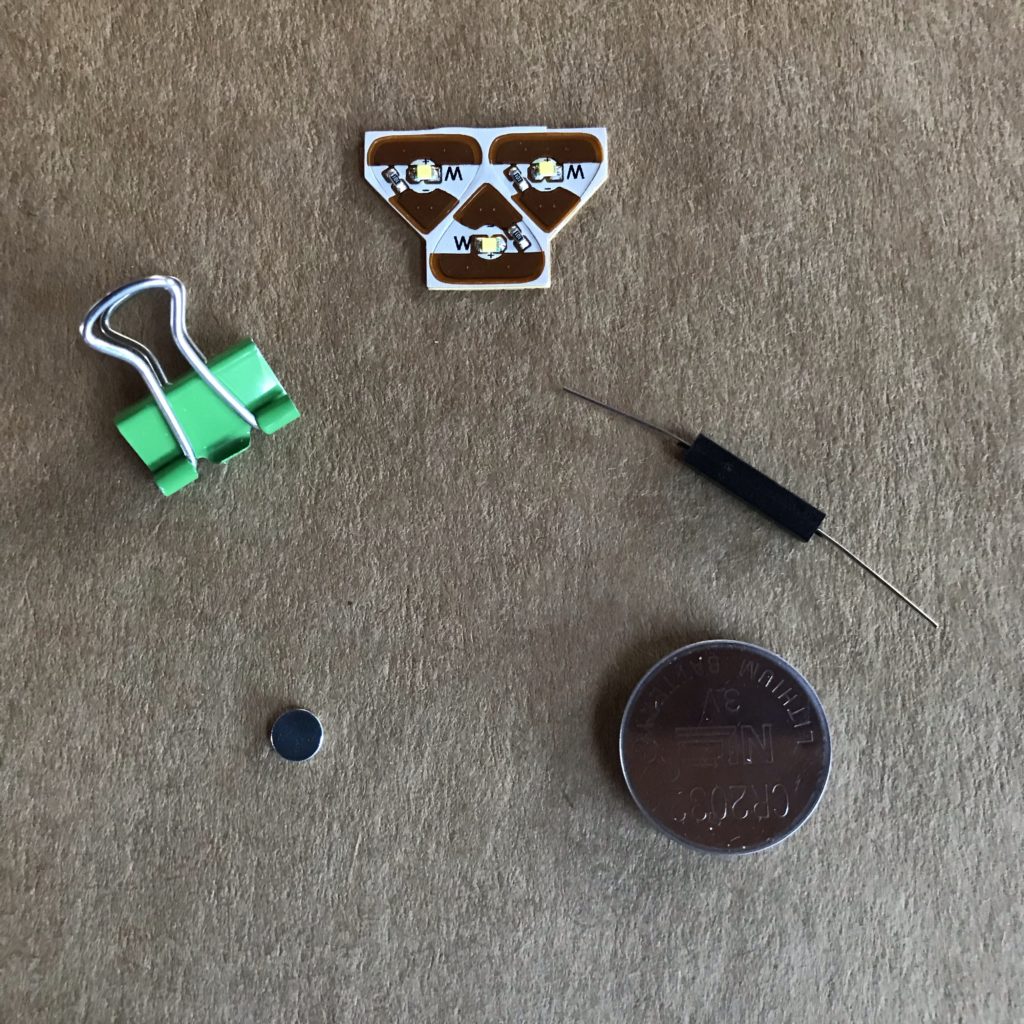
- Circuit Sticker LED
- Binder clip
- Coin battery
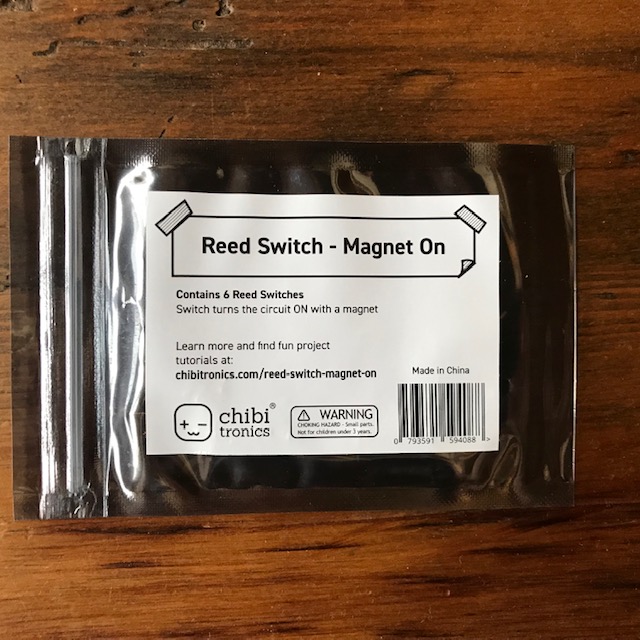
- “Magnet on” reed switch
- Magnet(s)
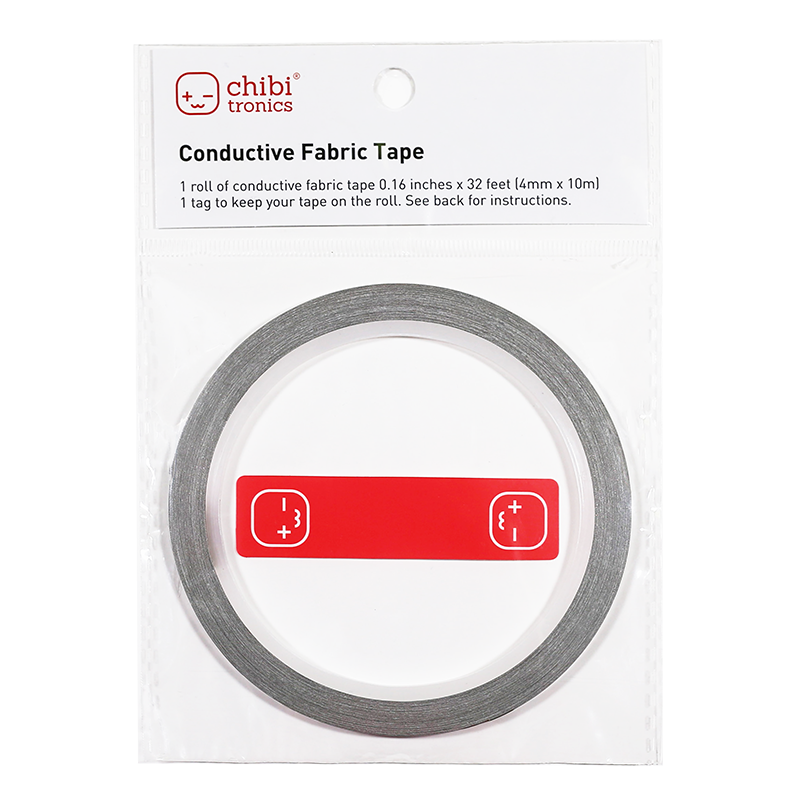
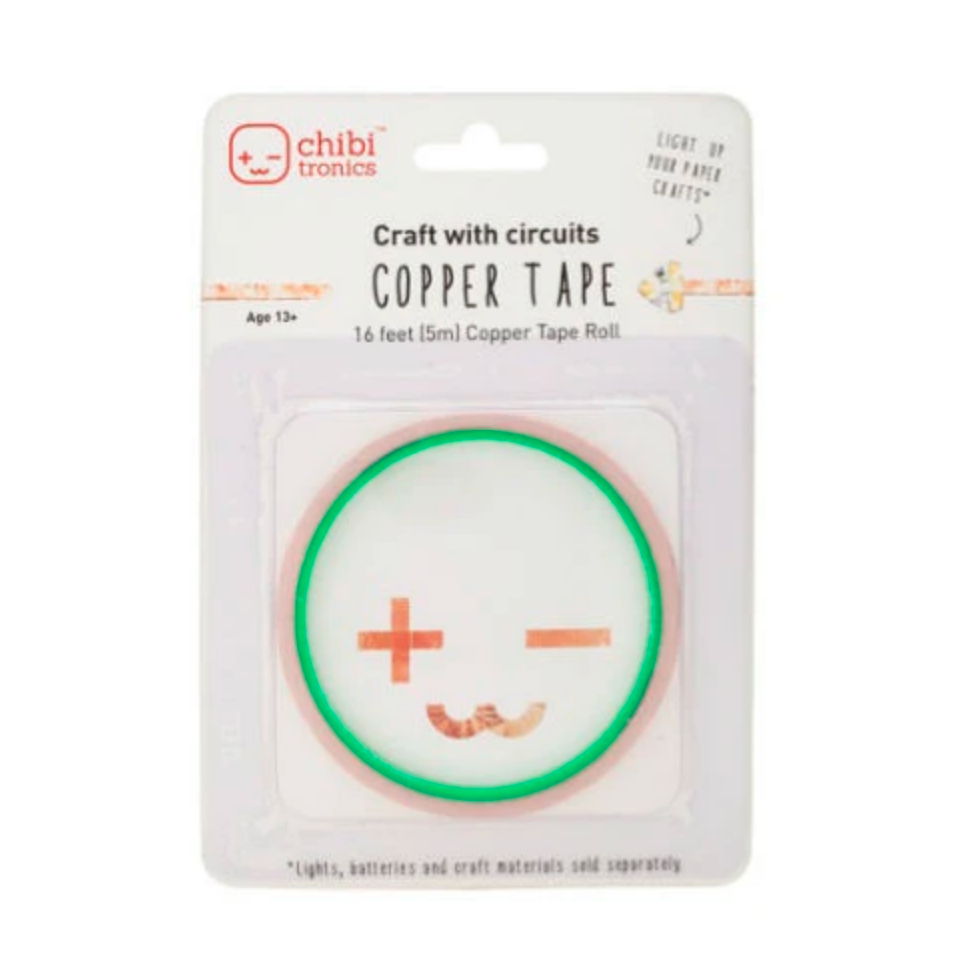
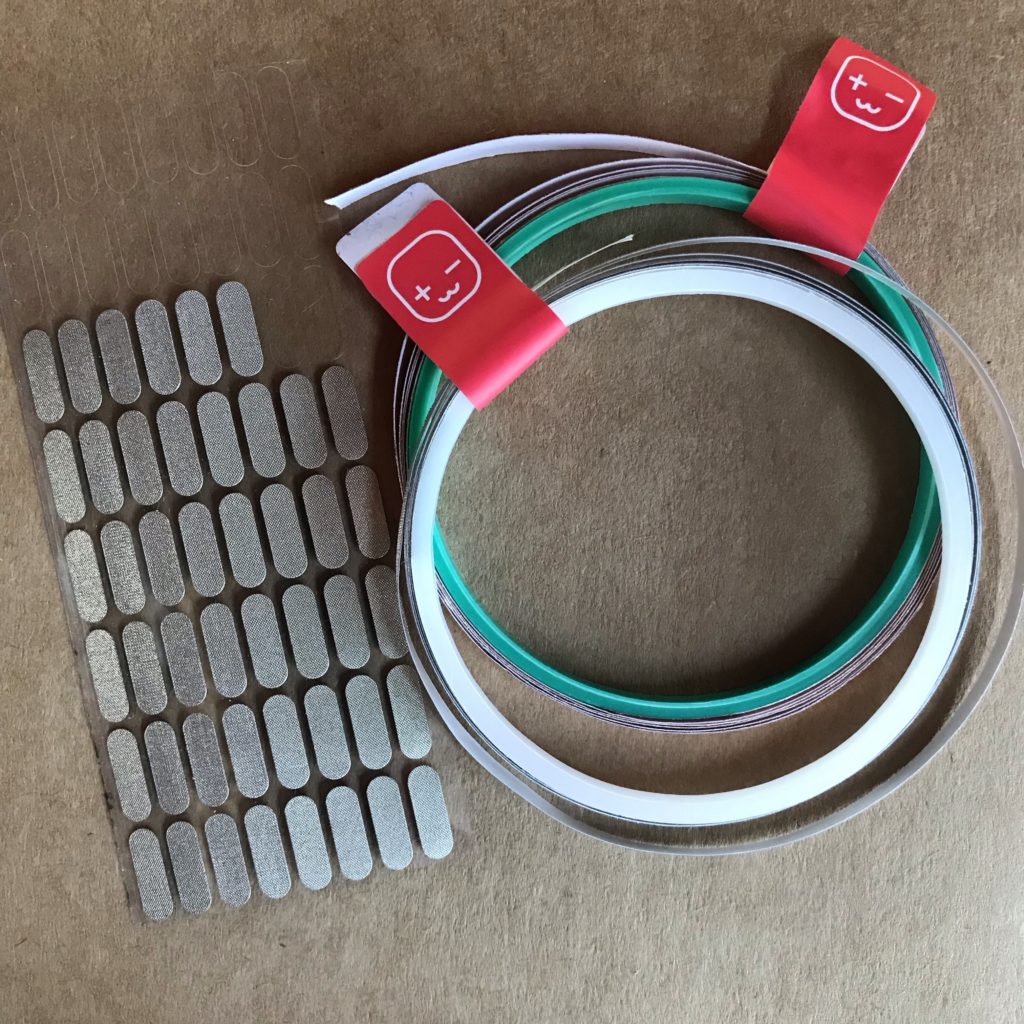
- Circuit Tape for the traces (Conductive Fabric or Copper)
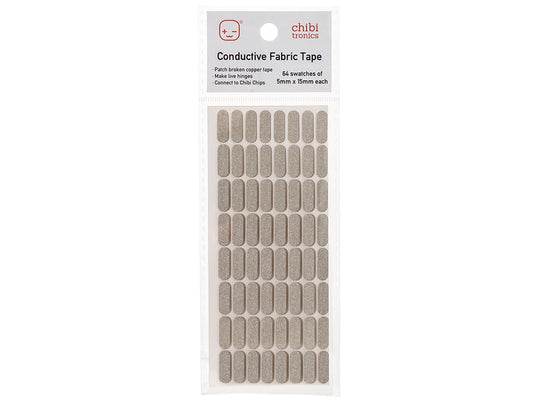
- Conductive Fabric Patches (or Conductive Fabric Tape) to adhere the reed switch
- Scotch tape
- OPTIONAL: Love to Code Creative Coding Kit
Directions
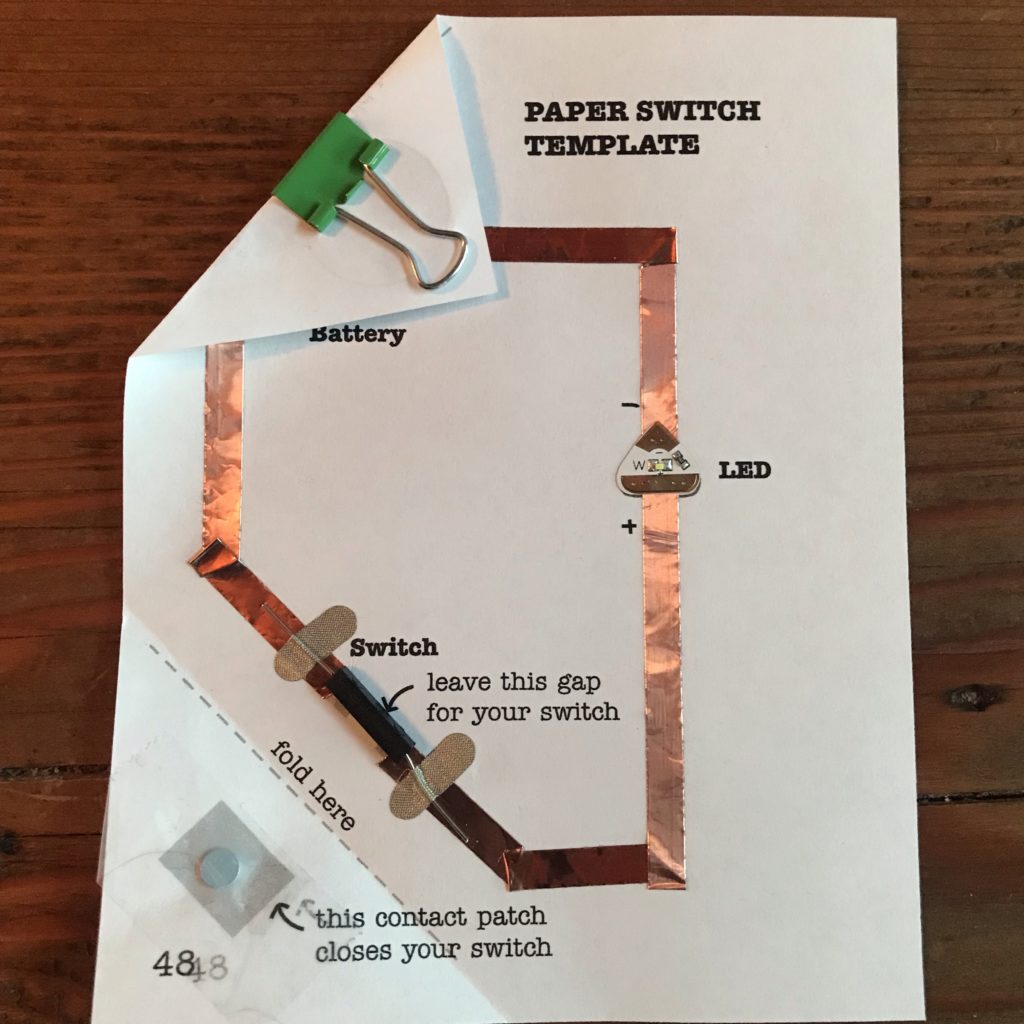
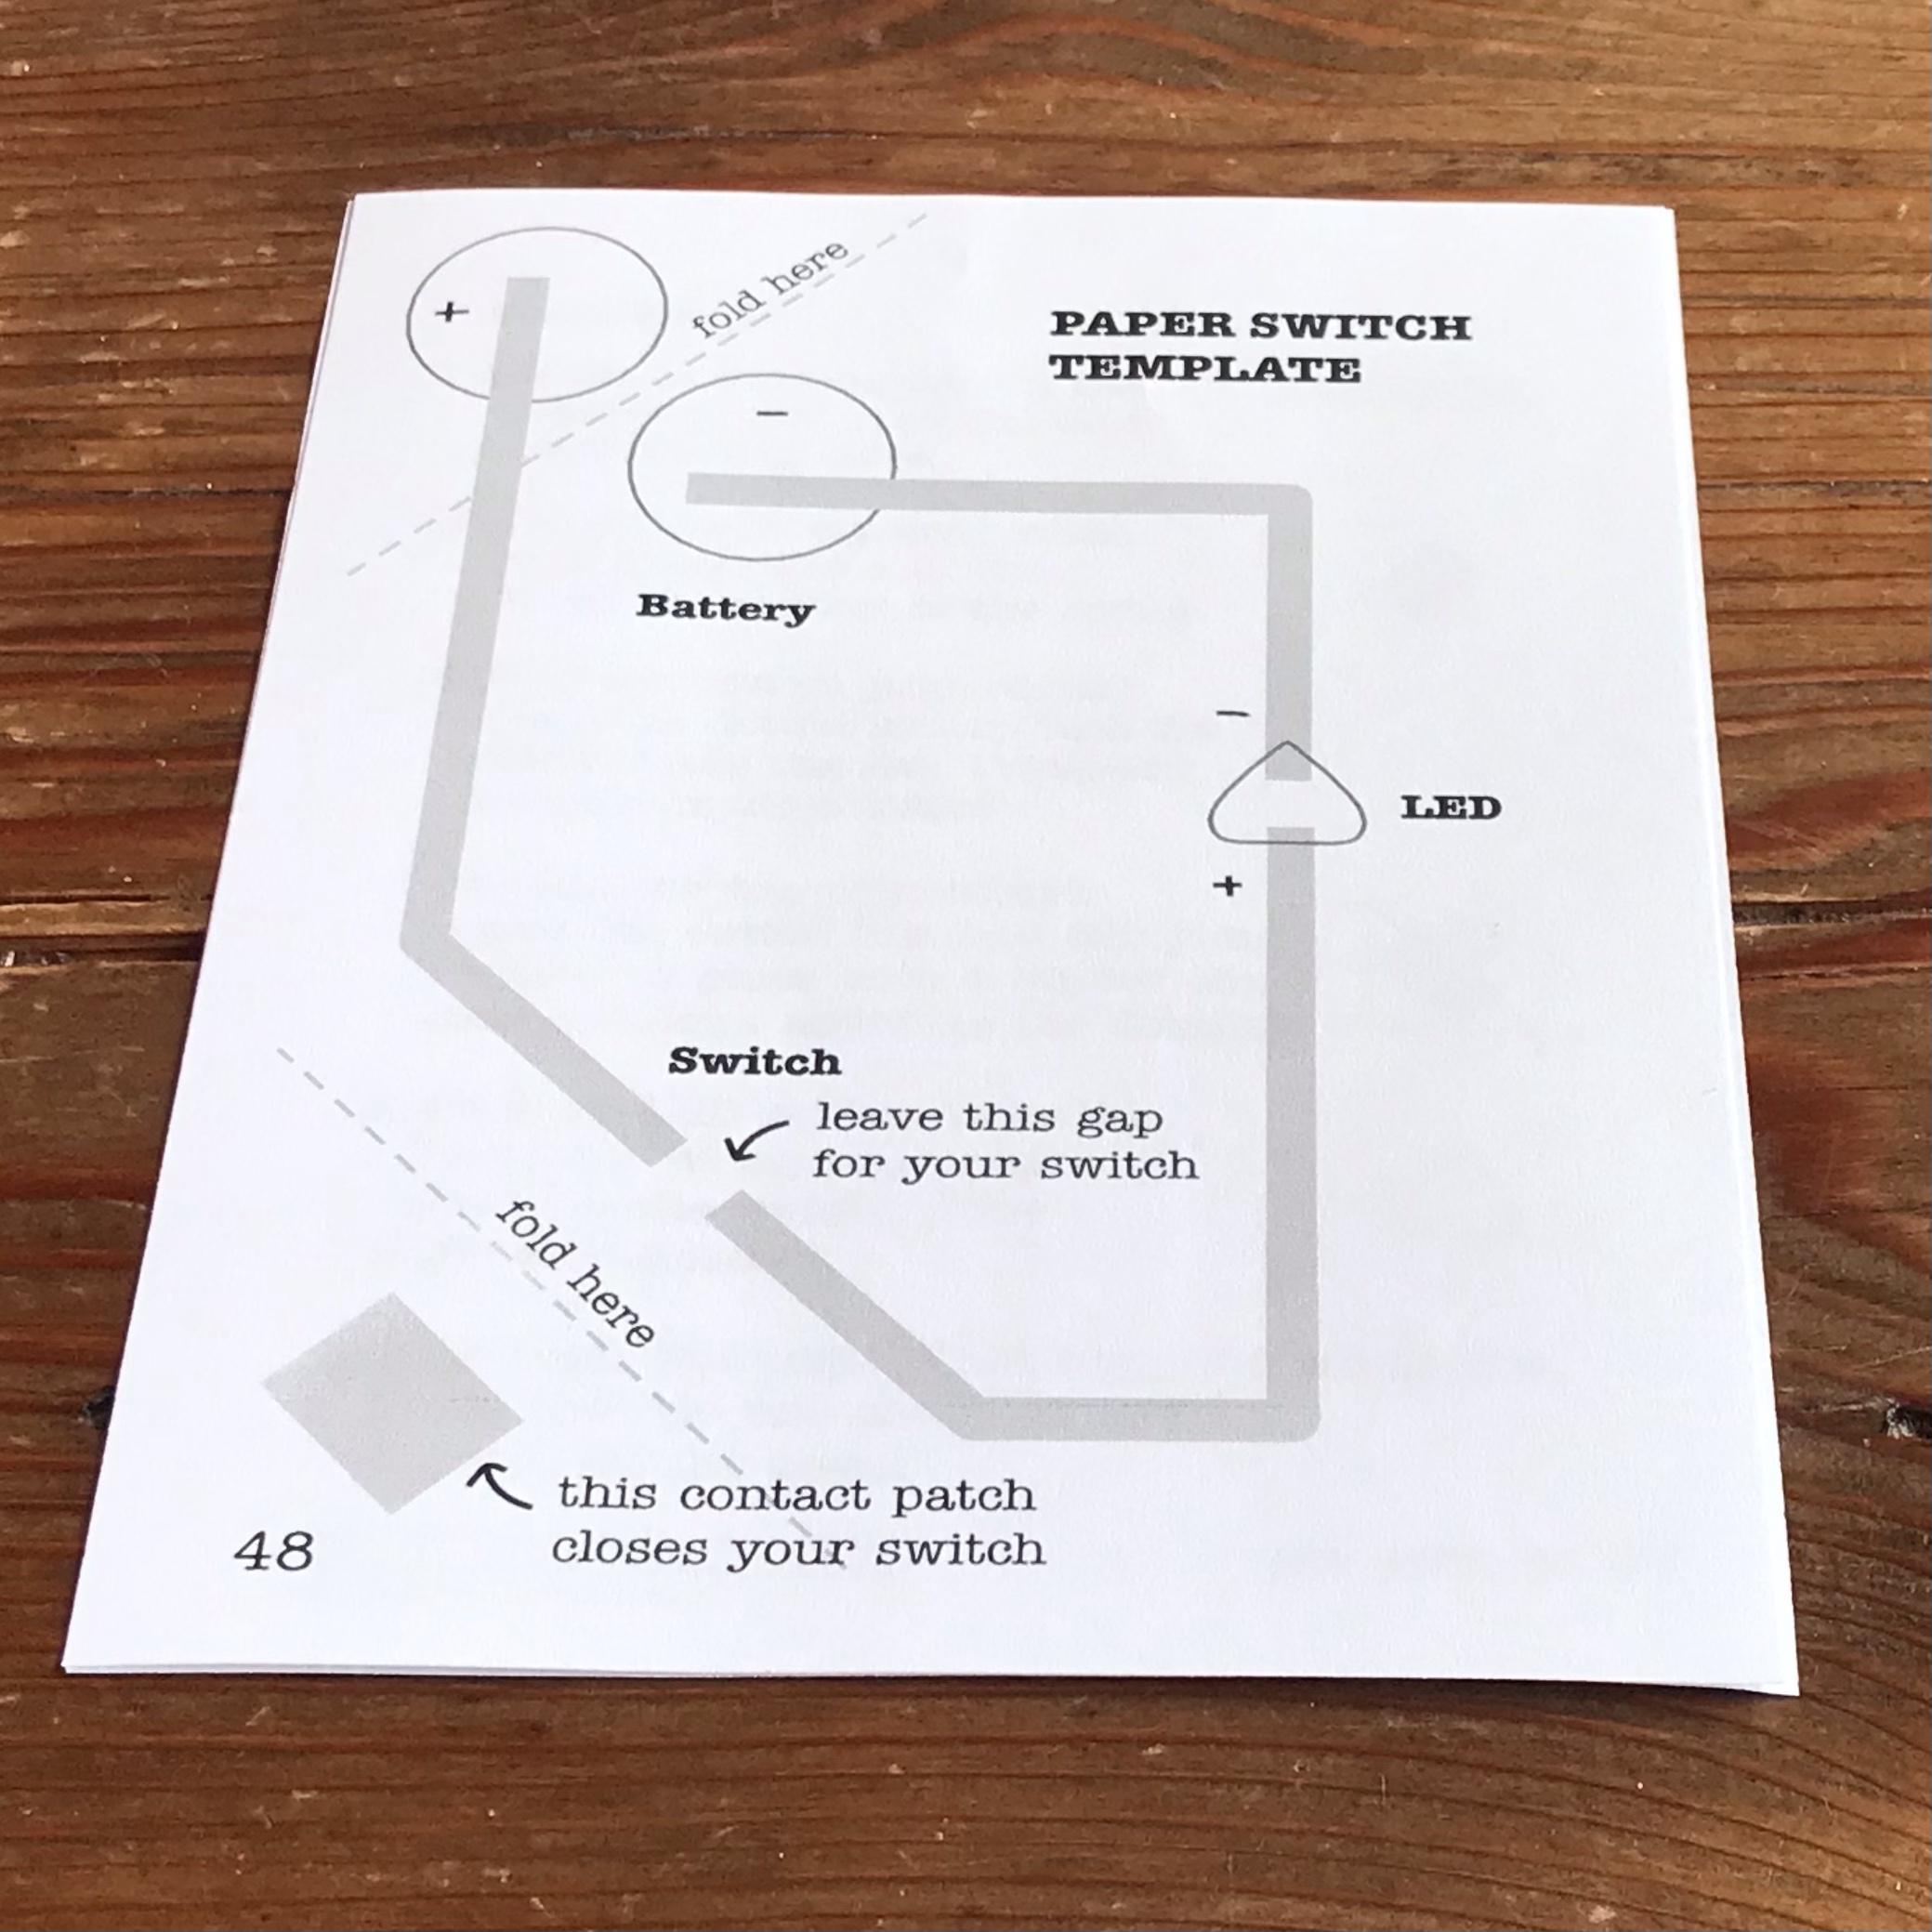
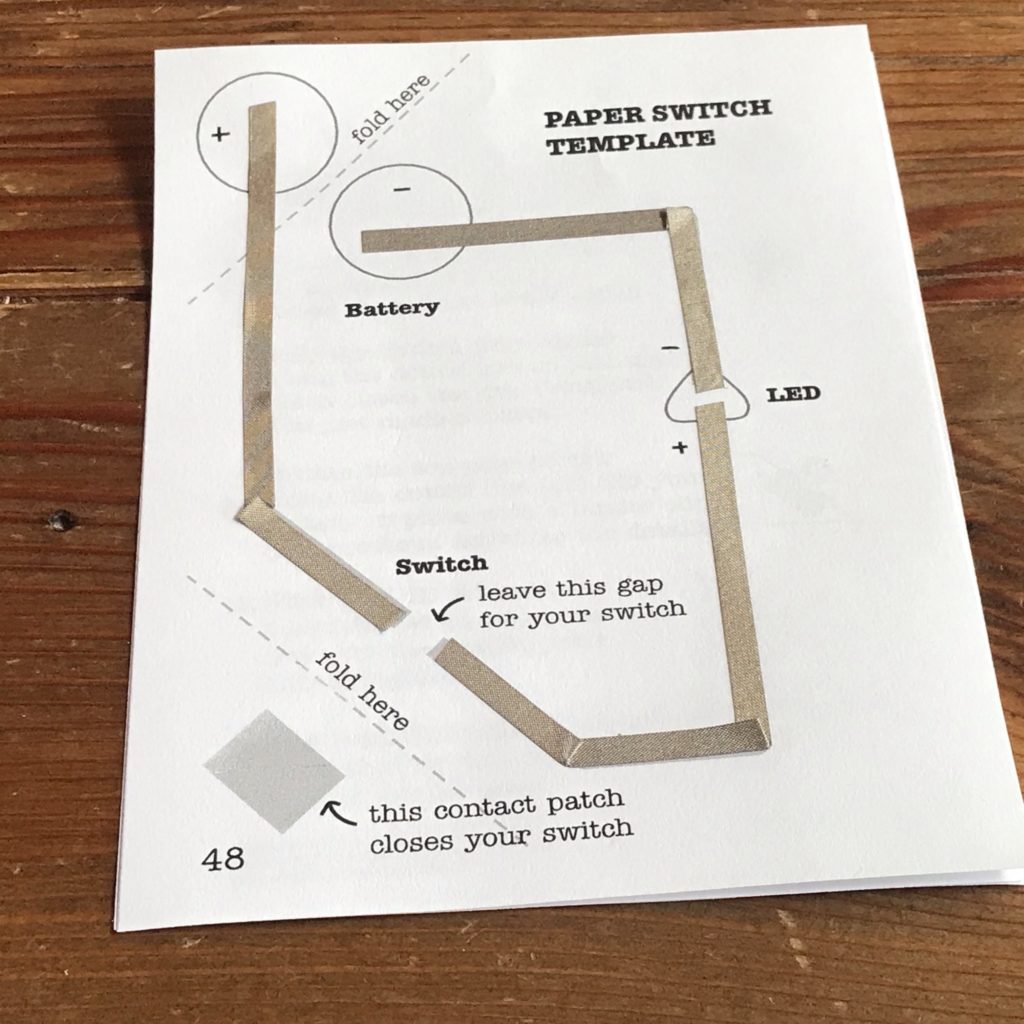
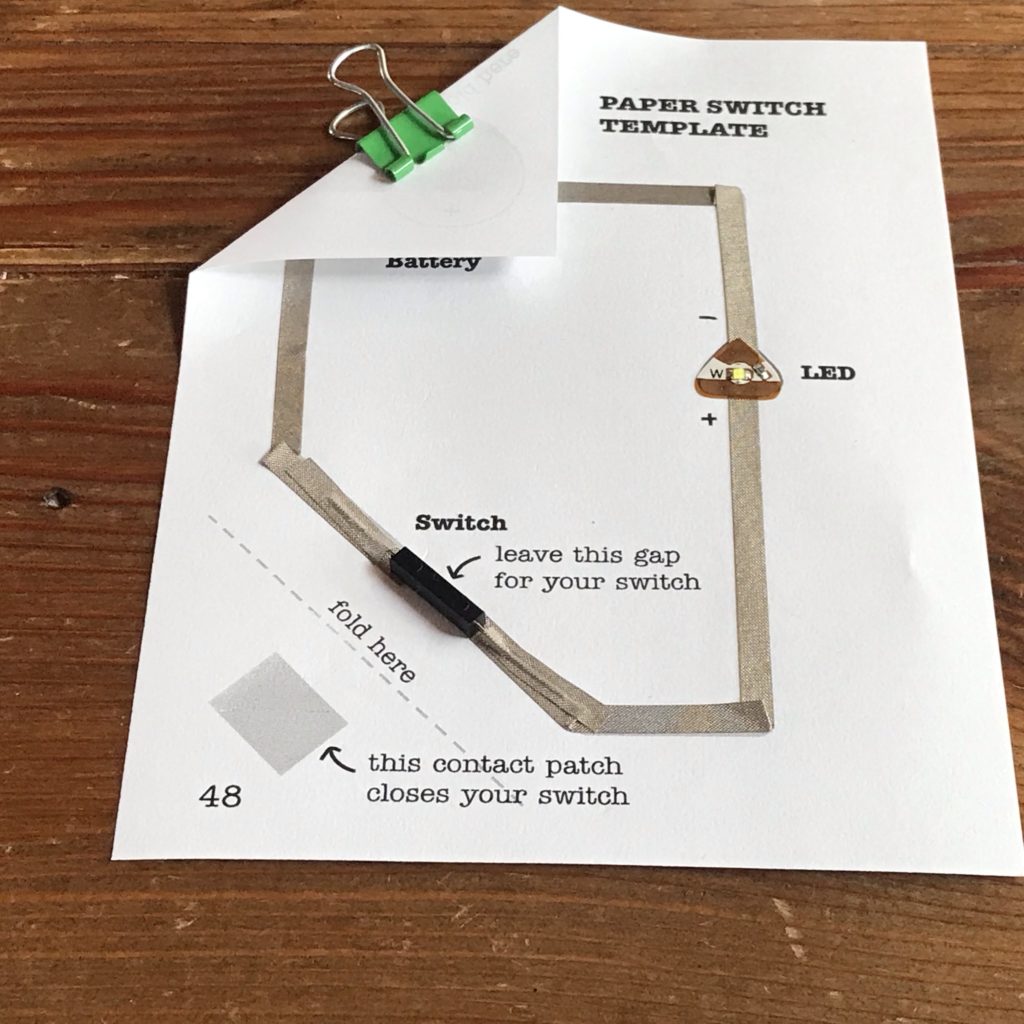
To demonstrate how to use a “magnet on” reed switch and magnet to open and close a circuit, we’ll be using a printed copy of the Paper Switch Template from page 46 of the Circuit Sticker Sketchbook.
Please keep in mind that the circuit you create may be more elaborate, the reed switch located wherever you wish, and the magnet hidden in a variety of clever ways.
The first thing you need to do to create the circuit is apply Circuit Tape (Conductive Fabric Tape or Copper Tape) to the gray lines on the template. Afterward, apply a Circuit Sticker LED to the template’s triangular footprint, ensuring that it overlaps both conductive traces; press it down firmly.
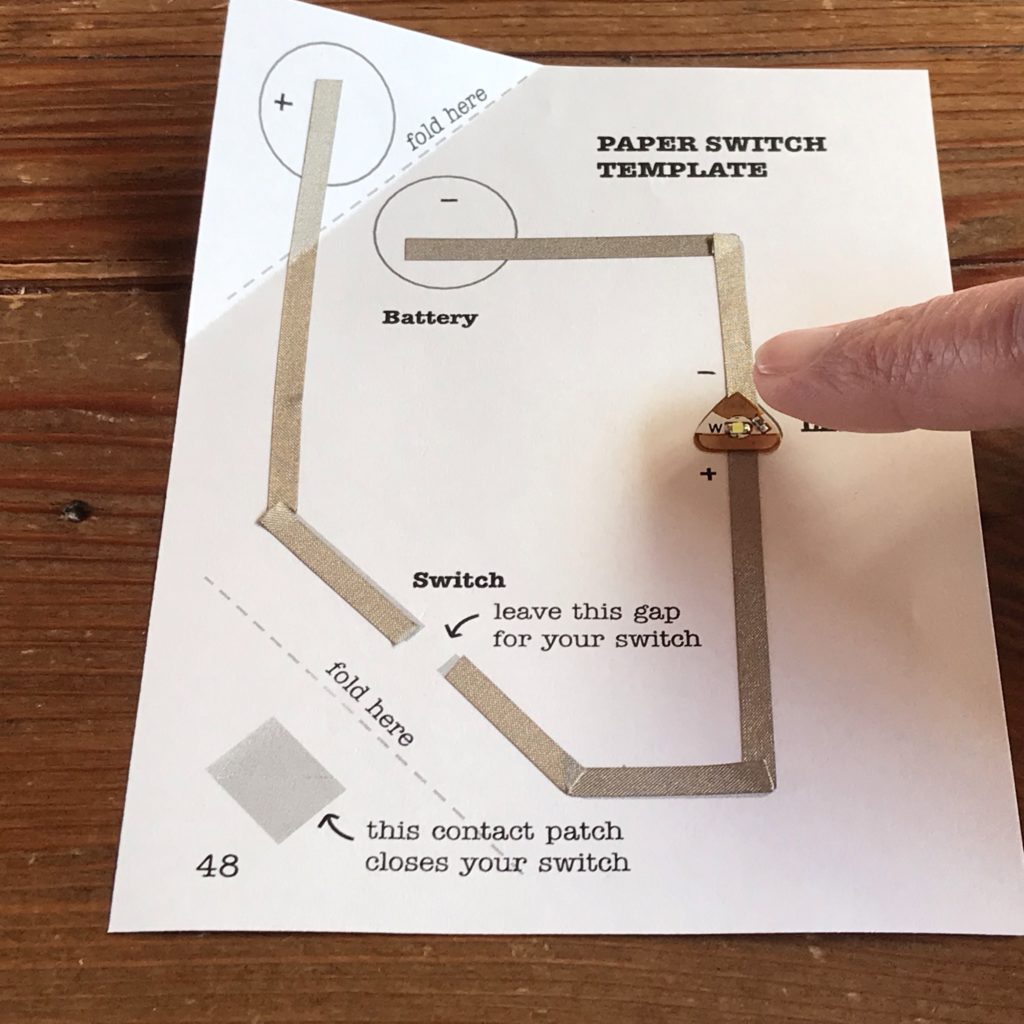
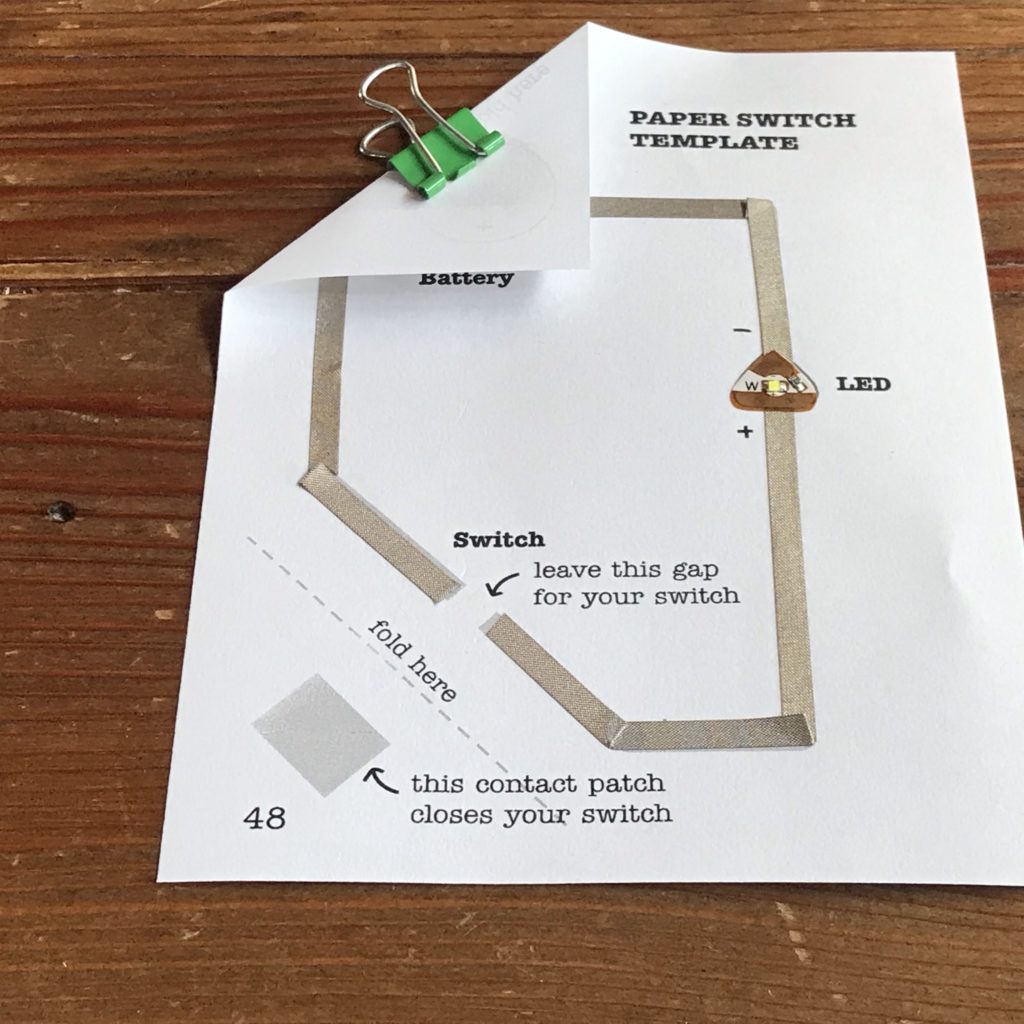
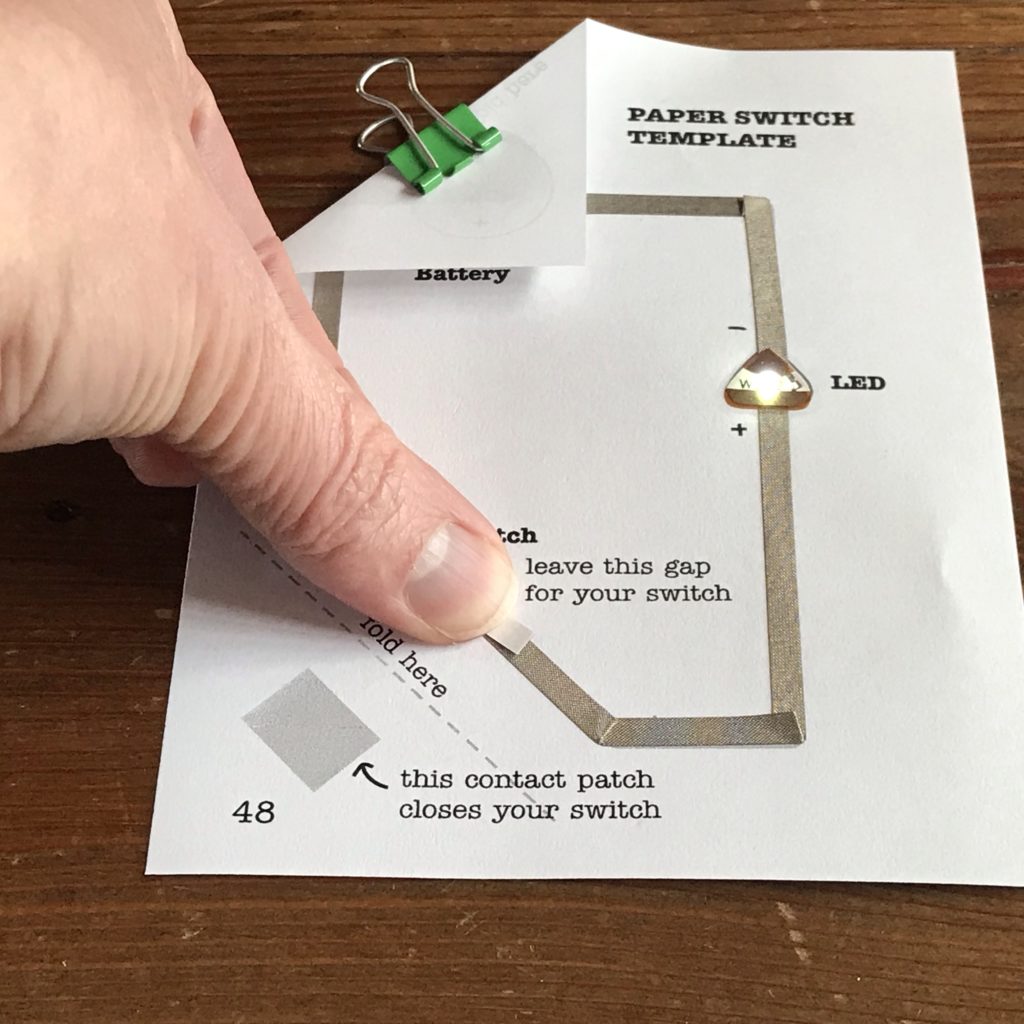
Once the LED has been adhered, insert the battery and secure it in place with the binder clip. Test the circuit by placing a piece of conductive material over the switch gap to ensure that the LED lights up as expected.
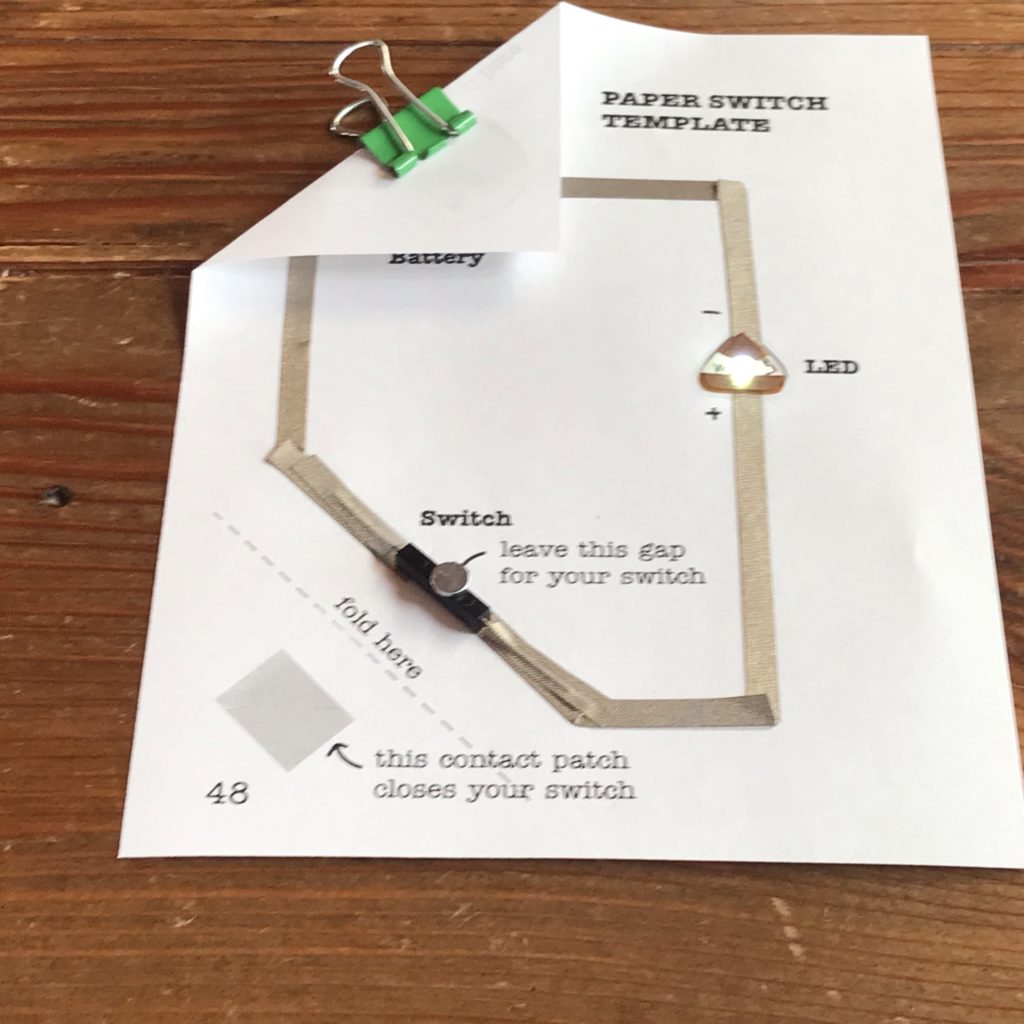
Next, place the reed switch in the center of the switch gap. Use a piece of Conductive Fabric Tape (or a Conductive Fabric Patch) to connect each metal leg of the switch to the conductive traces on both sides of the gap.
Once the reed switch has been adhered to the circuit, place a magnet over the reed switch to check the polarity of the magnet and determine where the switch is most easily triggered. It’s possible that you might need to rotate the switch and secure the legs again, if you determine that your switch is more sensitive on one side than the other.
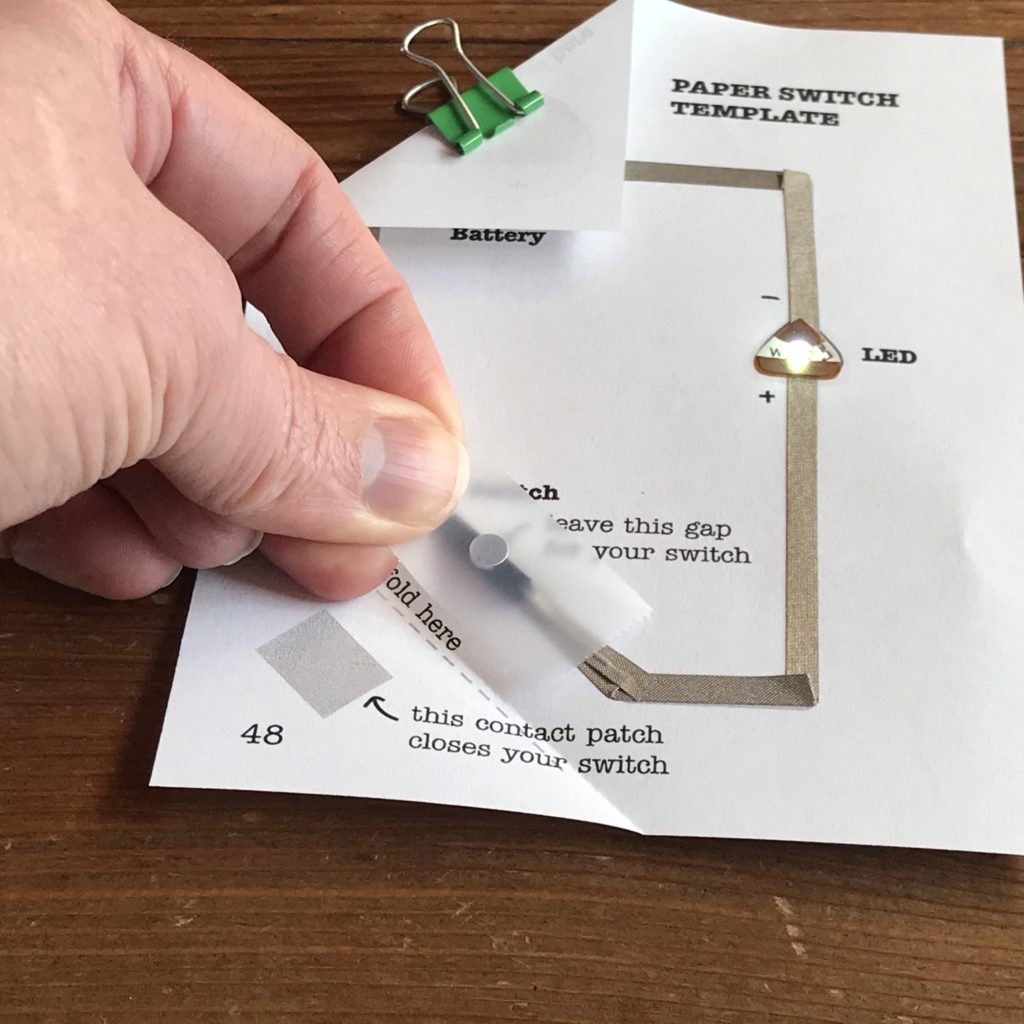
After ensuring the correct polarity of the magnet, adhere it to the “contact patch” area of the template. If you are using a tiny magnet, it’s helpful to use a piece of Scotch tape to pick it up.
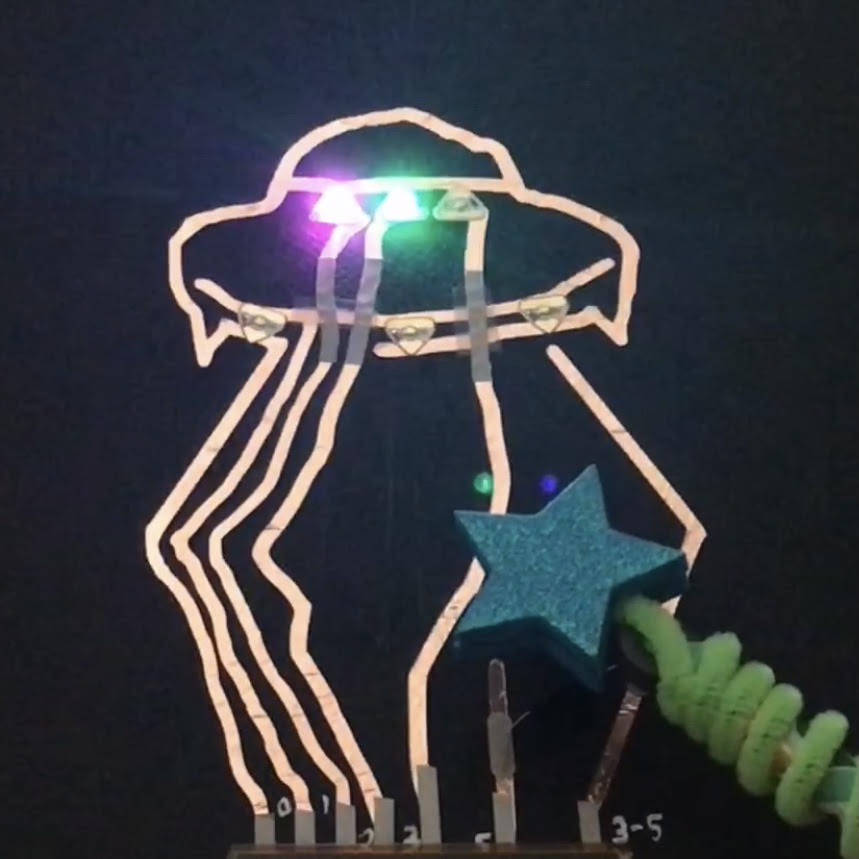
Testing the Circuit With Different Magnets
Tips, Tricks & Call-outs
You can also add a reed switch to a circuit you program with a Chibi Chip. The examples below are modifications from Love to Code, Chapter 3: Add a Switch (Part 1), using the Microsoft MakeCode Editor.
The first example uses the Basic Switch program. The second example adds a bit more complexity by triggering a function that makes the LED blink when the reed switch is activated.
2. Create a Magnetic Wand
The easiest way to make a magnetic magic wand is by rolling up a piece of paper and adding artistic details with help from washi tape. There are, of course, plenty of other ways to construct a wand; but, this method is the quickest, with lots of room for personalization! Just remember that you are only limited by the materials you have access to and your own imagination!
Tools & Materials
- A completed circuit containing a “magnet on” reed switch (such as the one created in Step 1)
- A piece of cardstock (I’m using an 8 ½ X 11 piece, but 12 X 12 will give you a longer wand.)
- A magnet strong enough for your needs (Self-sticking ceramic craft magnets are ideal for wands because they are sticky and strong.)
- Double-sided tape (a glue stick may be substituted)
- Pencil or wooden dowel (for rolling up the paper)
- Decorative washi tape
- Scissors
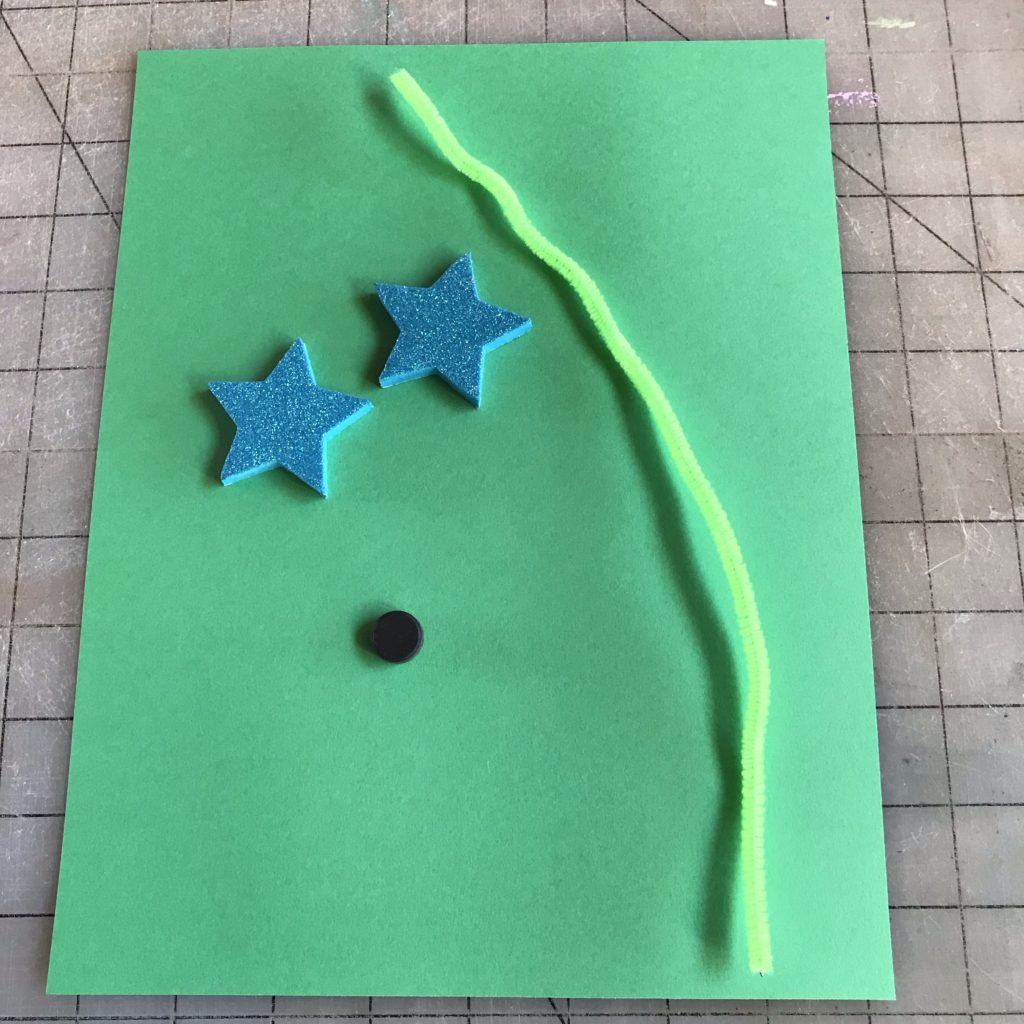
- Embellishments of your choice (I’m using adhesive backed foam glitter stars and a pipe cleaner.)


Directions:
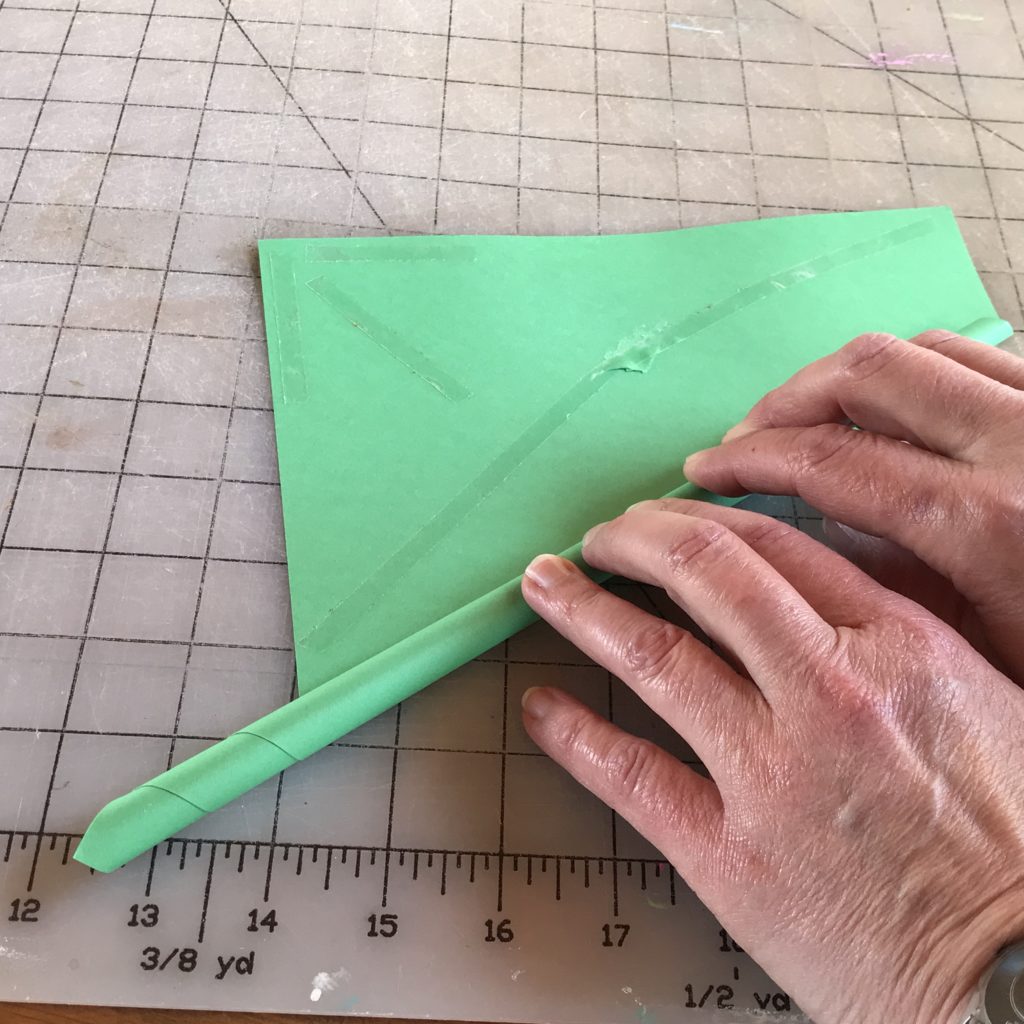
Lay your cardstock down on a flat surface with a short size facing toward you. Add three strips of double sided tape to the left corner.

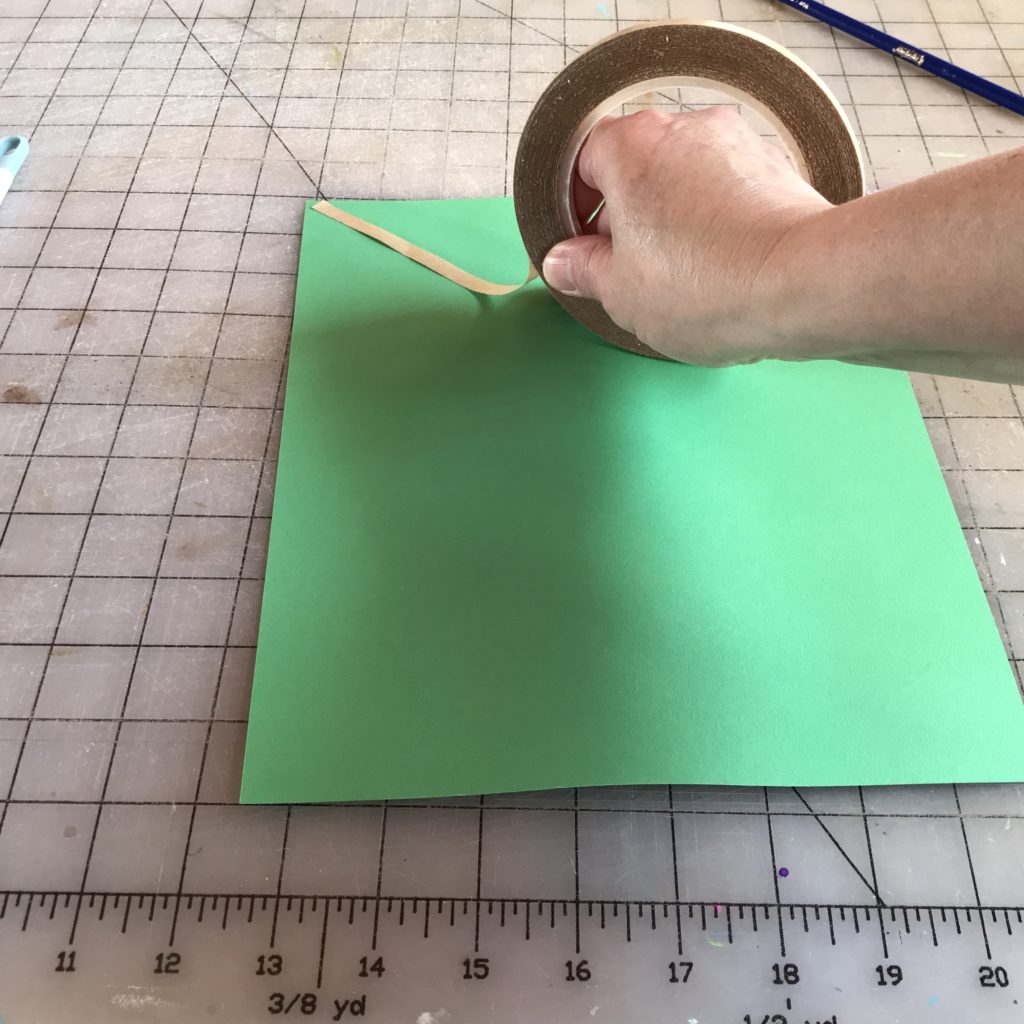
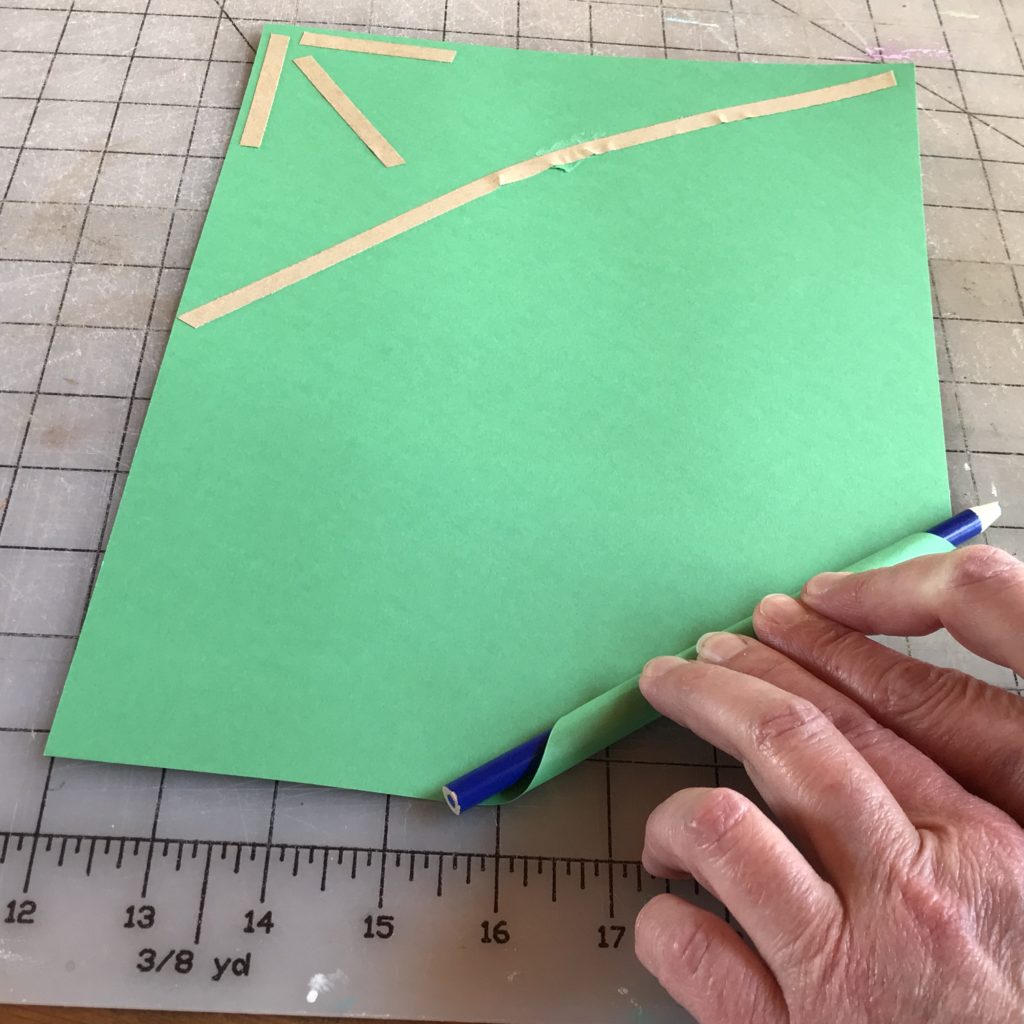
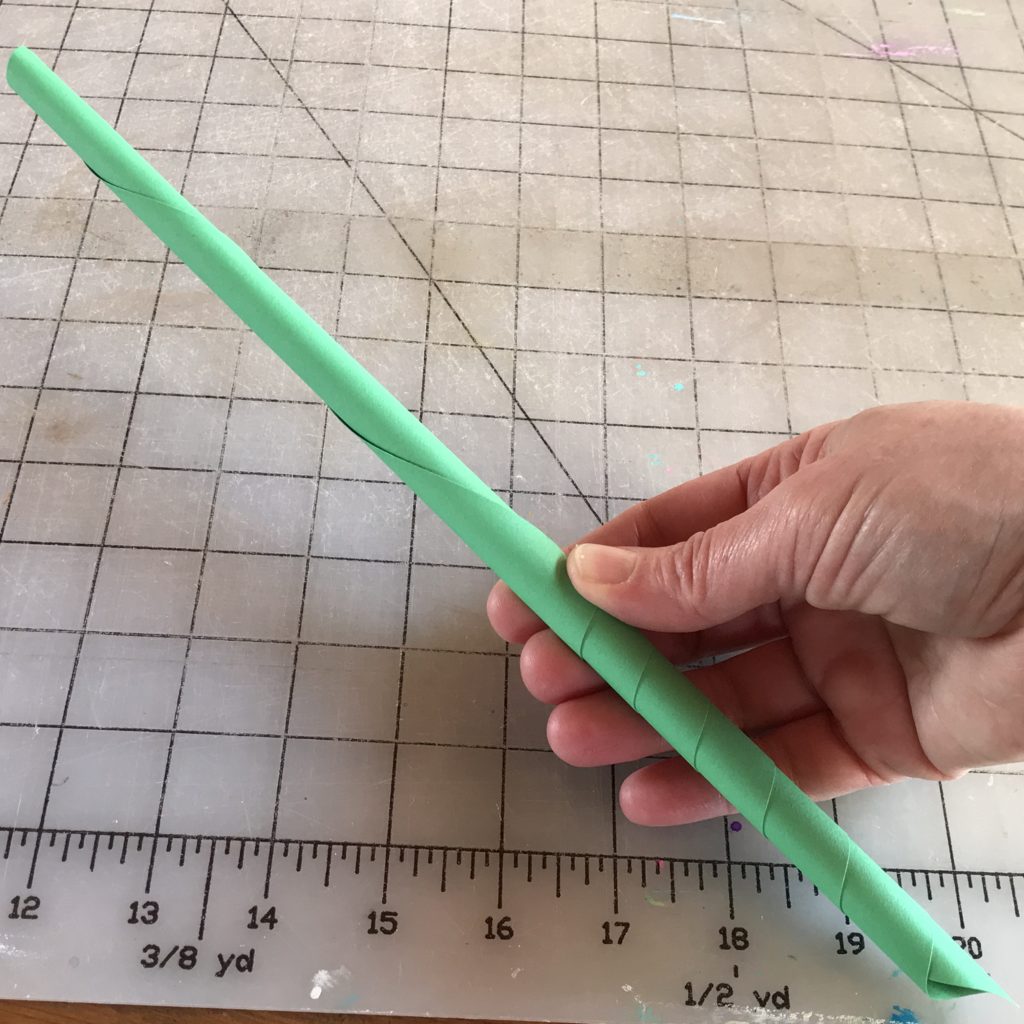
Apply a longer piece of double-sided tape diagonally across the paper, starting from the top right corner. The tape will help secure the paper as you roll it. Use a pencil or wooden dowel rod to hold the bottom right corner in place and roll the paper toward the taped corner. Tear the backing off the tape and finish rolling the paper into a tight tube. Remove the pencil or dowel rod.
If you want your want to have a flat bottom, use scissors to trim it straight.
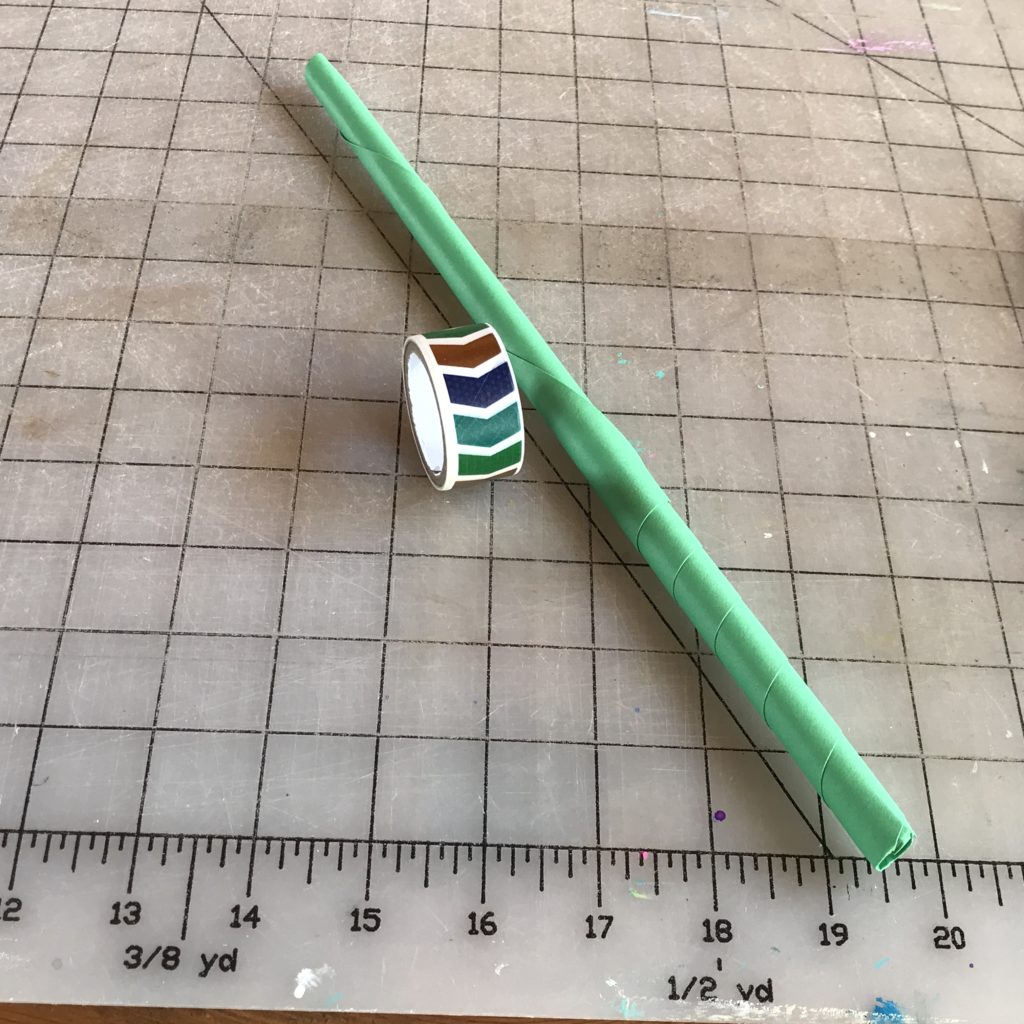
Adding decorative washi tape serves two functions. One is to jazz up your wand. The other is to prevent your wand from coming unraveled.
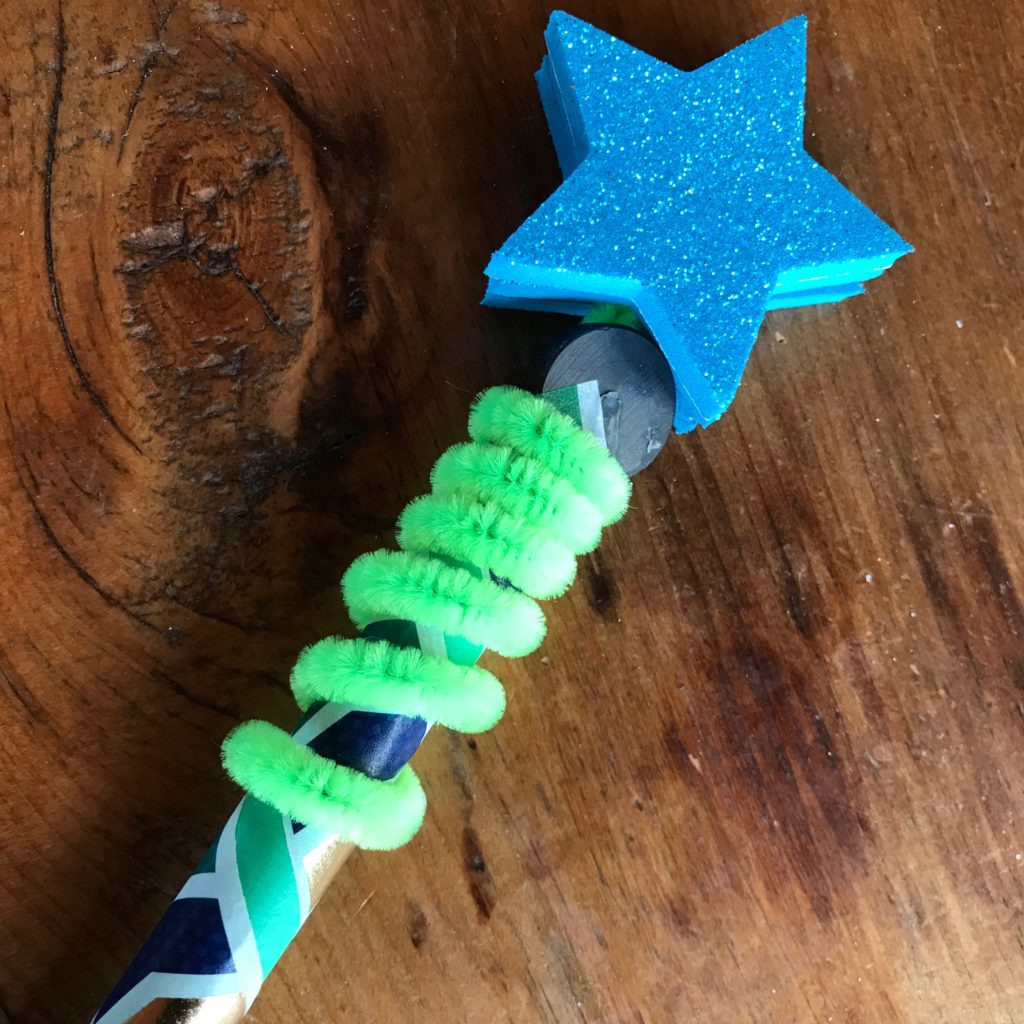
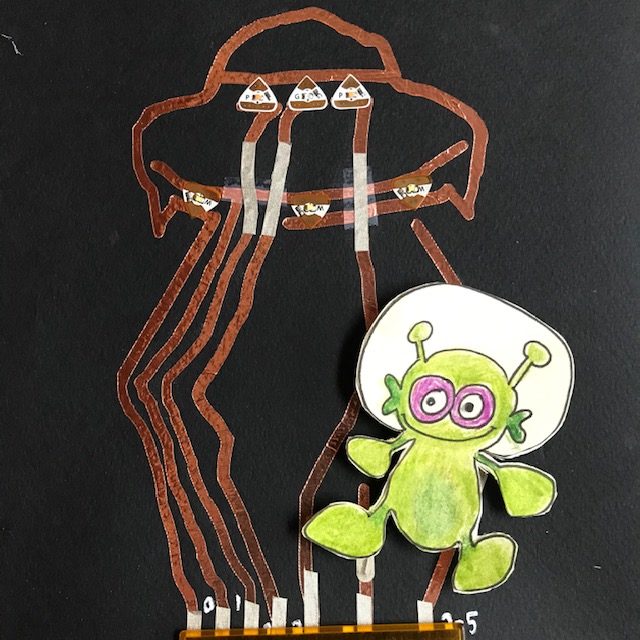
Once your wand has been wrapped in washi tape, you can add your magnet. If your magnet is not self-adhesive, you can use double-sided tape or hot glue to secure it. Add decorations if desired. I added a springy pipe cleaner to the end of my magnetized wand, but that part is completely optional.
Gallery


Similar Posts You Might Enjoy
Bee Amazing

With help from a reed switch, a magnetic bee “delights” his buddies by landing upon a flower.
Light up Flowers

A well-placed frog lights up the flowers in this scene using a magnet & reed switch.
Flying Concertina
This project combines conductive thread & a reed switch to add interactivity & conserve battery life.