Introduction
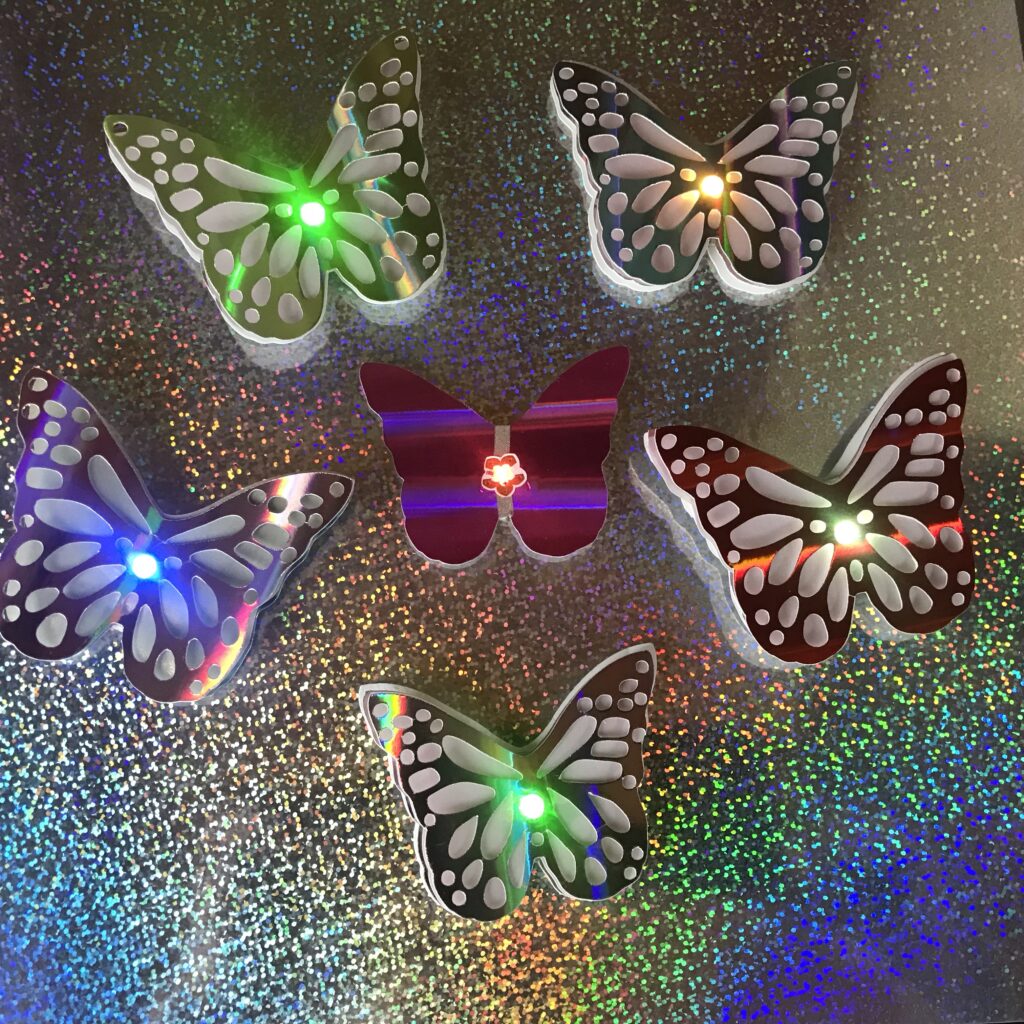
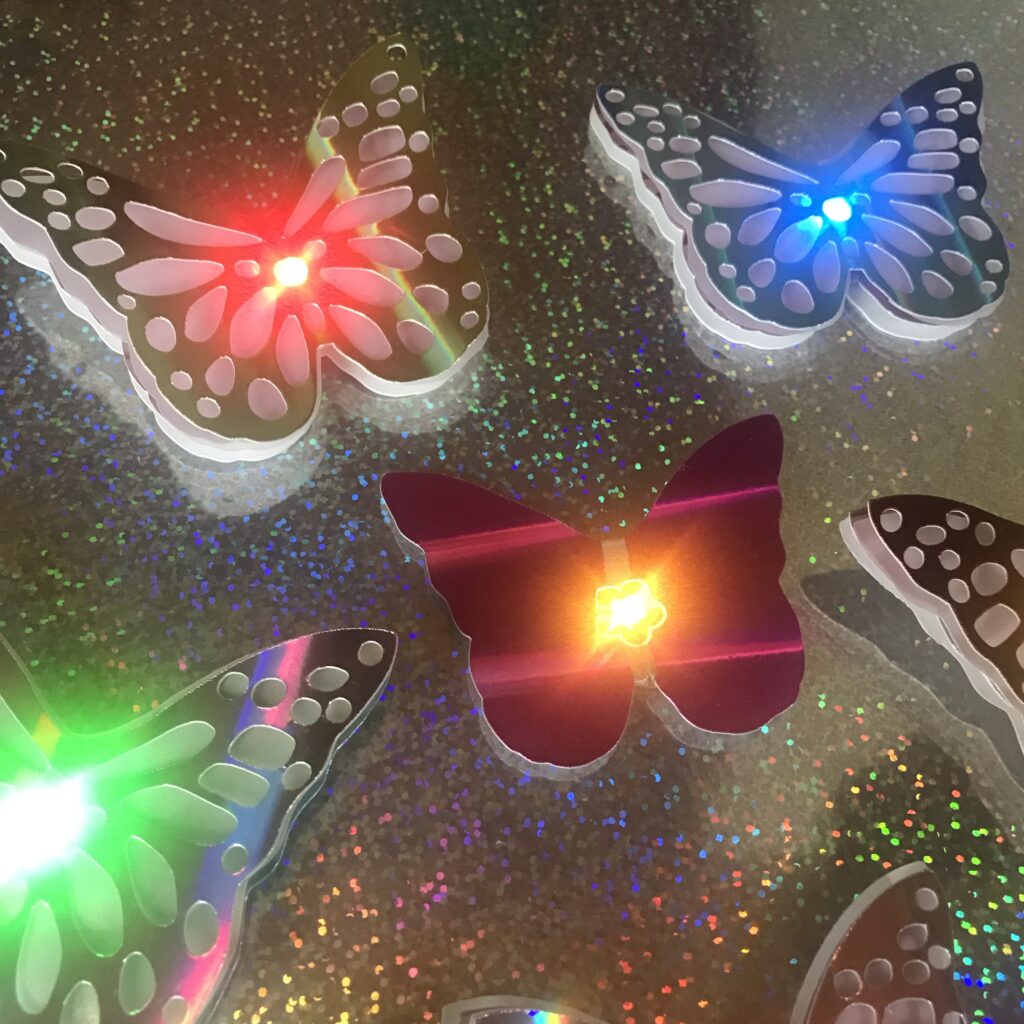
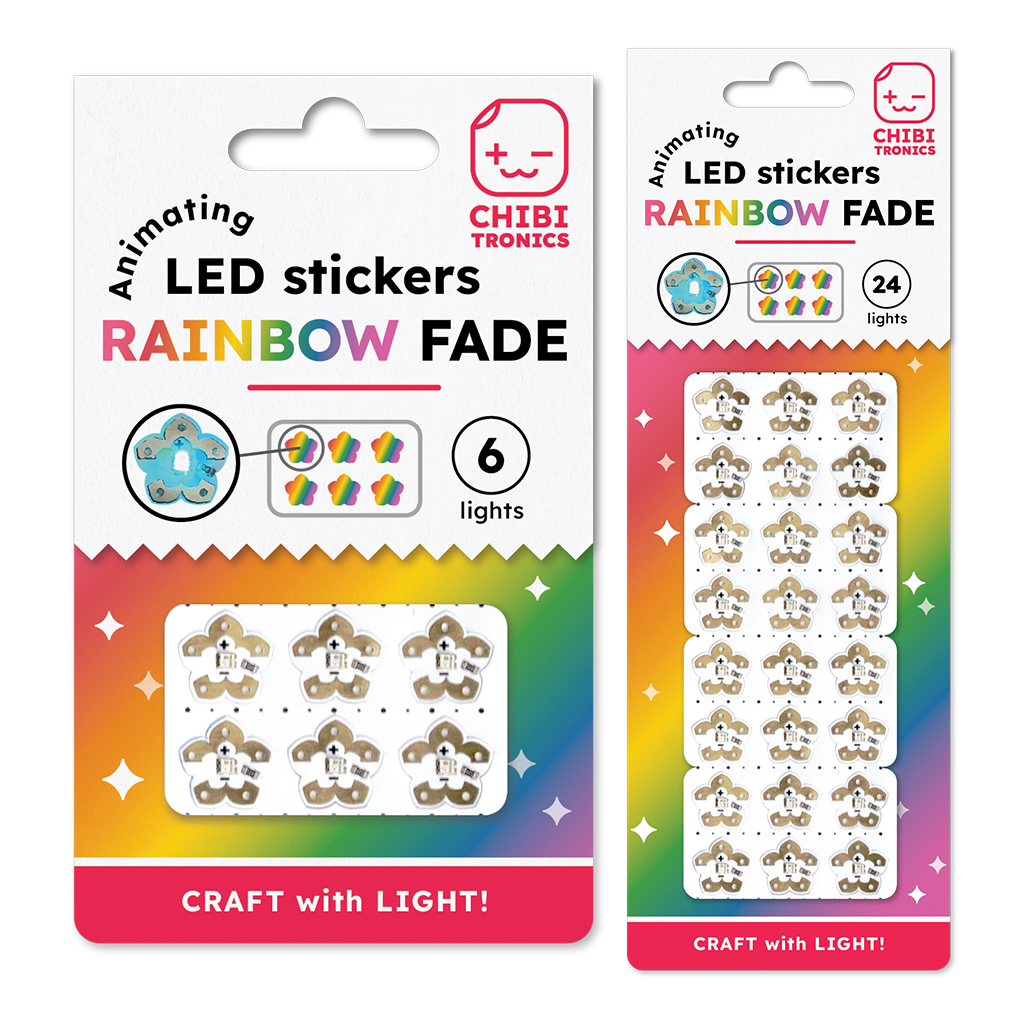
In this tutorial, featuring our new Rainbow Fade Animating LED, I’ll show you how to make a wearable butterfly pin that gently cycles through the colors of the rainbow.
Make a Color-Changing Butterfly Pin
Related
Categories
Animating LED, Wearable, Paper Craft
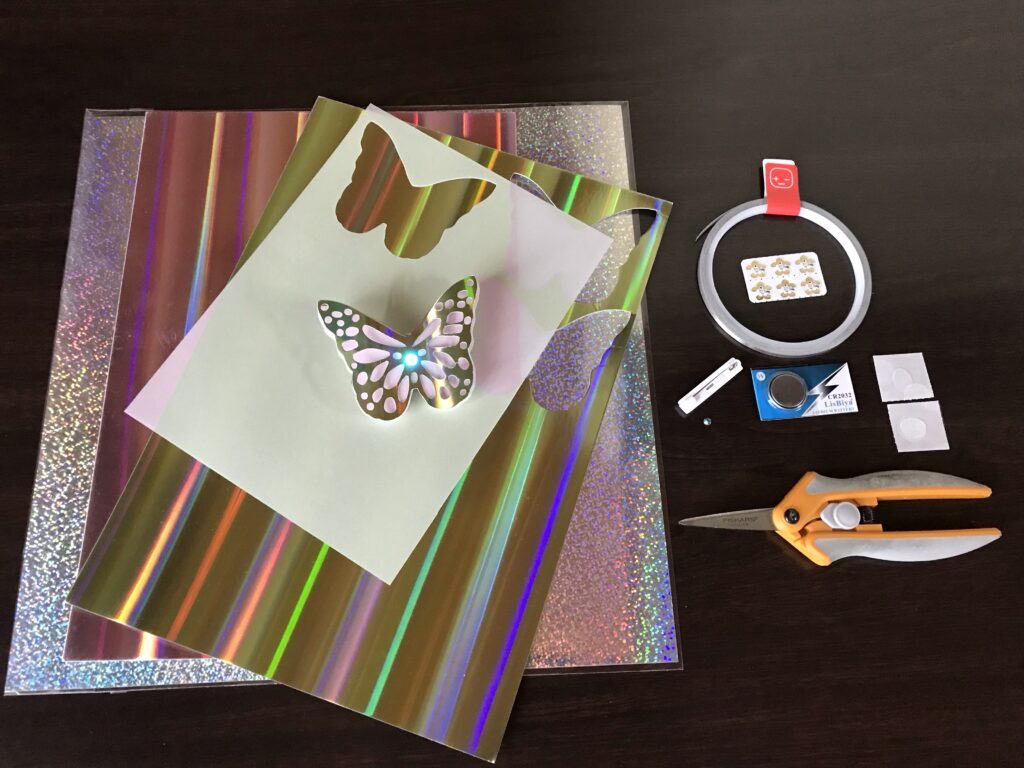
Materials & Tools
Electronic Supplies
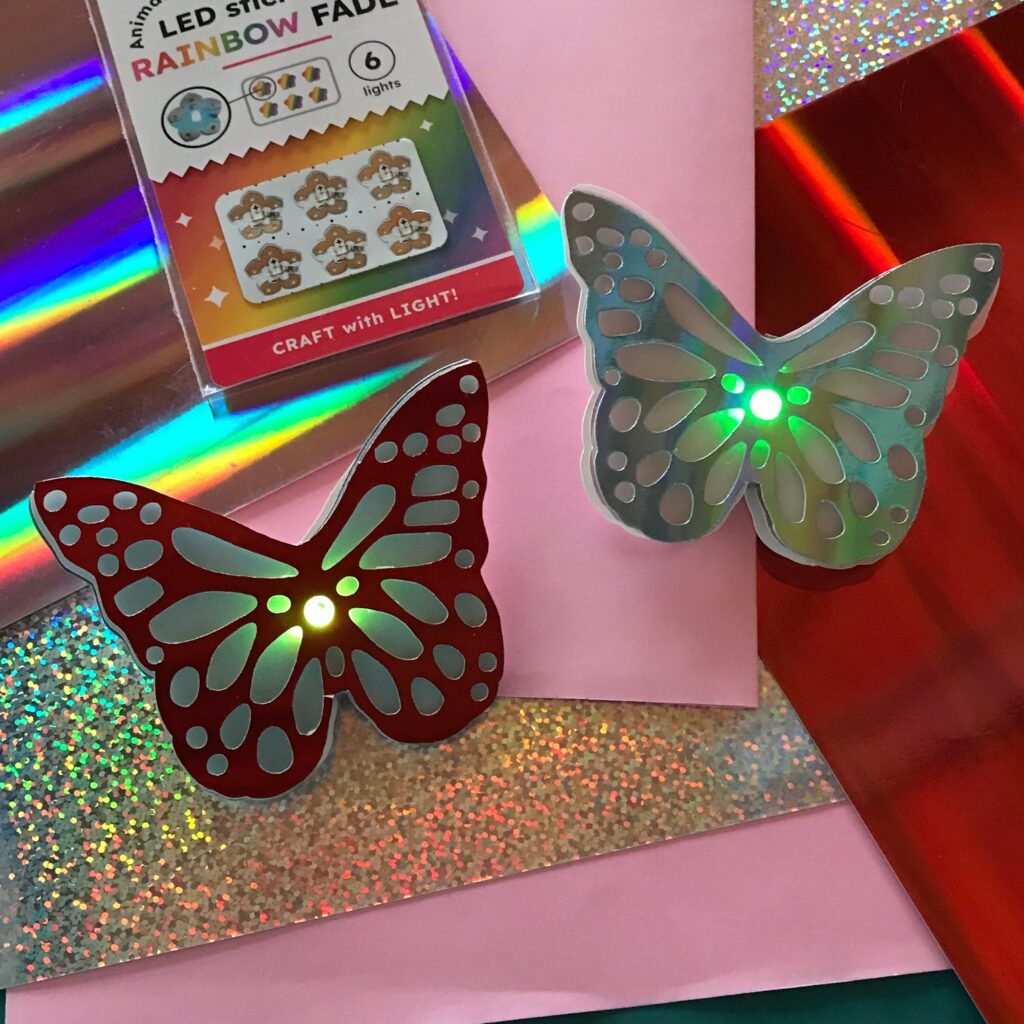
NOTE: A Chibitronics Craft with Light Kit contains most of the electrical components required for making a rainbow fading butterfly pin.
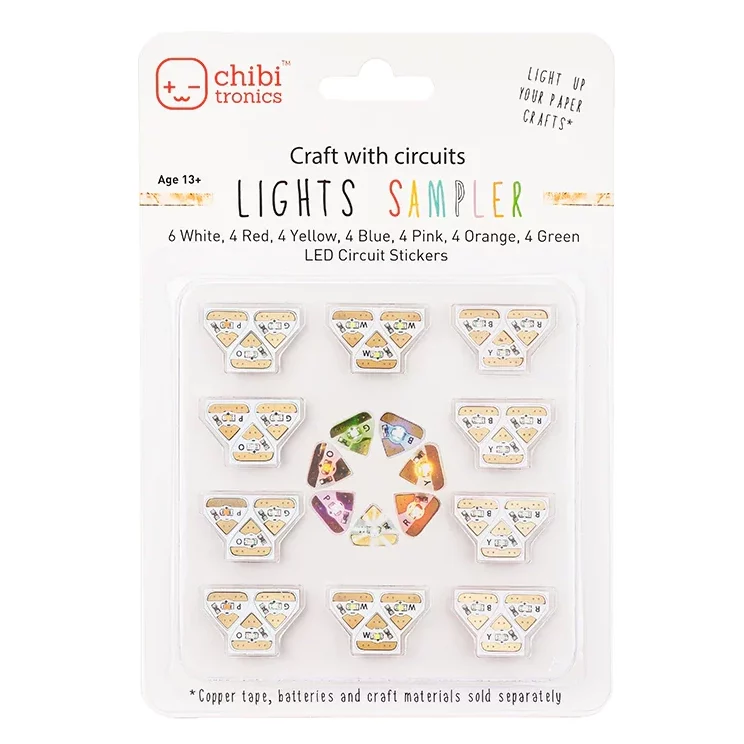
- 1 Chibitronics Rainbow Fade Circuit Sticker LED (or a Circuit Sticker LED of your choice)
- Conductive Fabric Tape
- CR2016 or CR2032 Battery
Other Tools & Supplies
- 1 X Butterfly-shaped piece of cardstock for the Circuit Layer
- 1 X Butterfly-shaped piece of translucent vellum for the Diffusion Layer
- 1 X Butterfly-shaped piece (made of iridescent or holographic cardstock) for the Decorative Layer
- (Optional, if you end up needing more room to add a pin back)1 X Butterfly-shaped piece of cardstock, the same size as the Circuit Layer, to use as a Backing Layer
- 2 X Glue dots
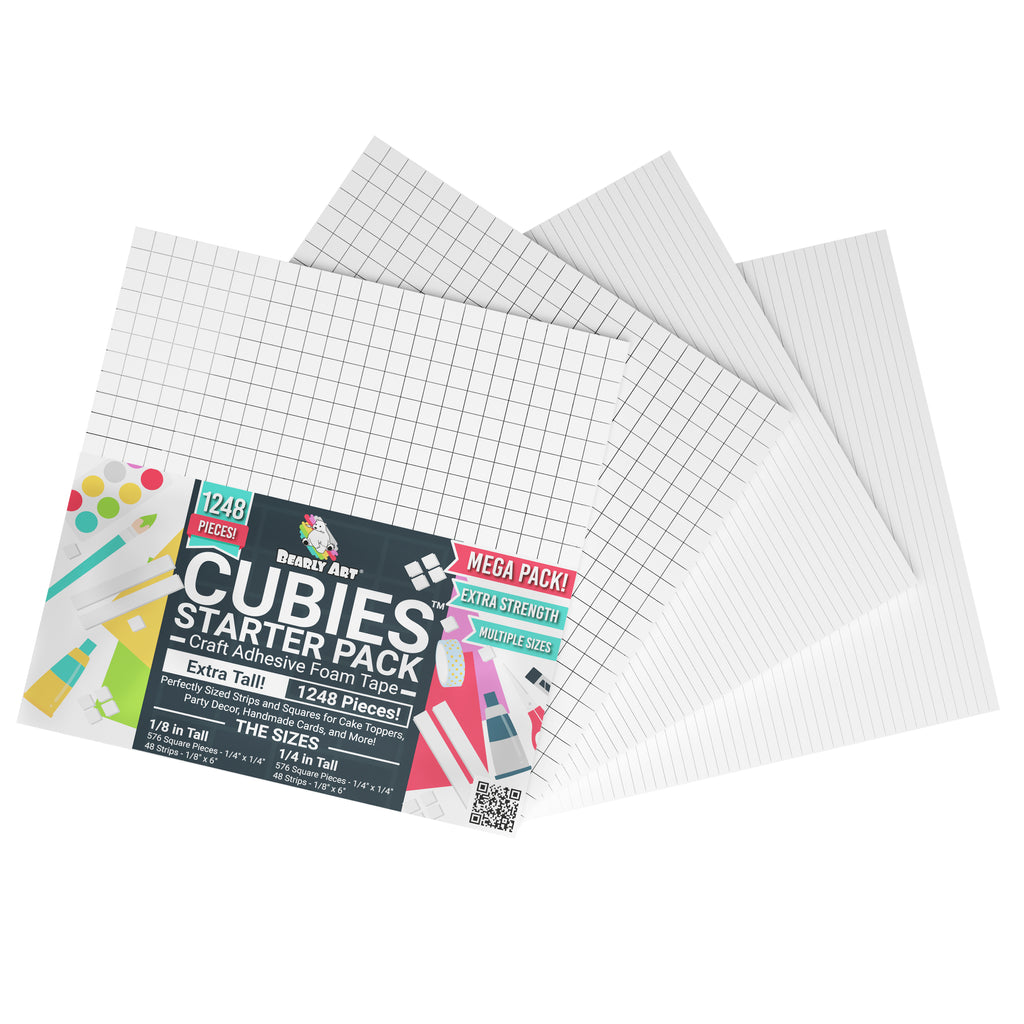
- (Optional) 2 x foam squares (Bearly Art Cubies)
- 1 X Adhesive pin back
- 1 X Clear gemstone
- Scissors
Optional
- Smart cutting machine (such as a Cricut or Silhouette) if using our digital cut file
- Printer (if printing the circuit diagram)
- Butterfly-shaped dies & a die cutting machine (If you plan to die cut your parts)
- Chibitronics Craft Stencil
- Hole punch or Japanese screw punch & self-healing mat
Directions
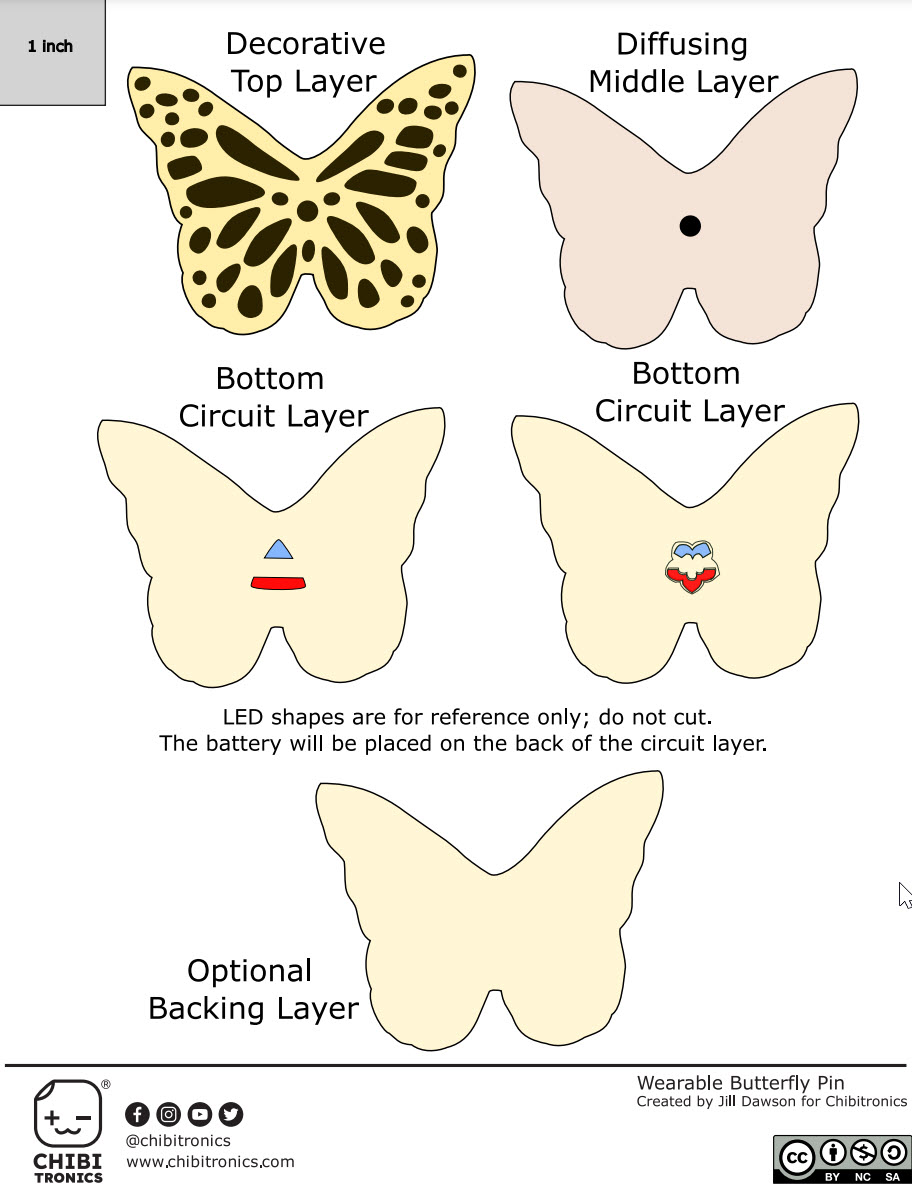
Step 1: Prep Your Butterfly Layers
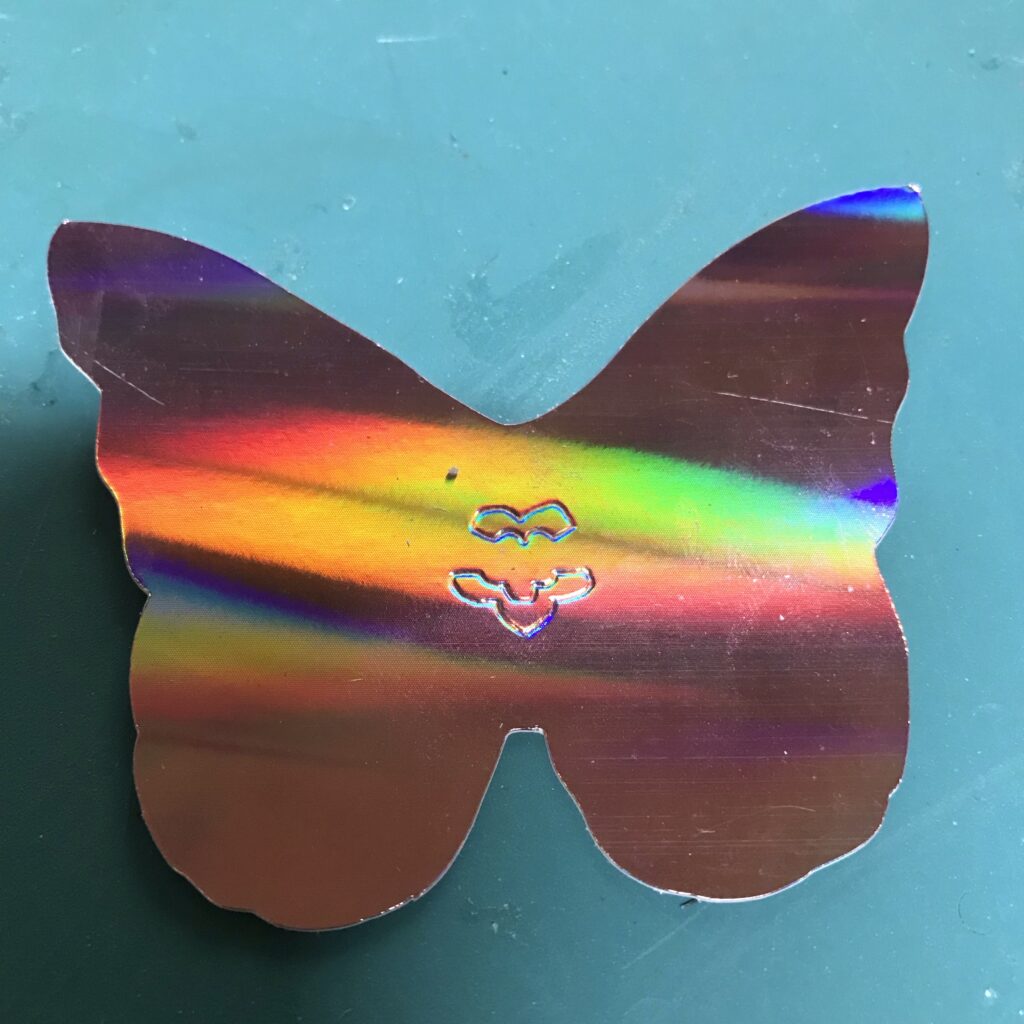
The first step in making your own rainbow fading butterfly pin is prepare your layers. You will need to cut a minimum of three layers: a Decorative Layer, a Diffusing Layer, and a Circuit Layer.
I suggest using a piece of iridescent or holographic cardstock for the Decorative Layer, ordinary card stock for the Circuit Layer, and translucent vellum for the Diffusion Layer.
Depending upon how much room you are left with on the back side, you may also need an OPTIONAL Backing Layer for the pin back.
There are many ways to make the shaped layers for a wearable pin.
- You could cut them with a home fabrication tool such as a Cricuit or Silhouette.
- You could use a specialized metal die pressed between the plates of a die cutting machine.
- You could draw and cut them out by hand.
When making your layers, it’s important to consider the size and location of your battery, so that the pieces are large enough to conceal it when your project is fully assembled.
Step 2: Build the Circuit
The following images are screenshots of two different versions of a circuit diagram for making a wearable butterfly pin.
The one on the left depicts a triangular footprint for the LED placement to match that of a classic Circuit Sticker LED sticker.
The one on the right depicts a floral footprint for the LED placement to match that of a Rainbow Fade Animating LED sticker.
You may download either of these annotated circuit diagrams to use as a reference as you build your circuit, or you may simply follow the directions below.
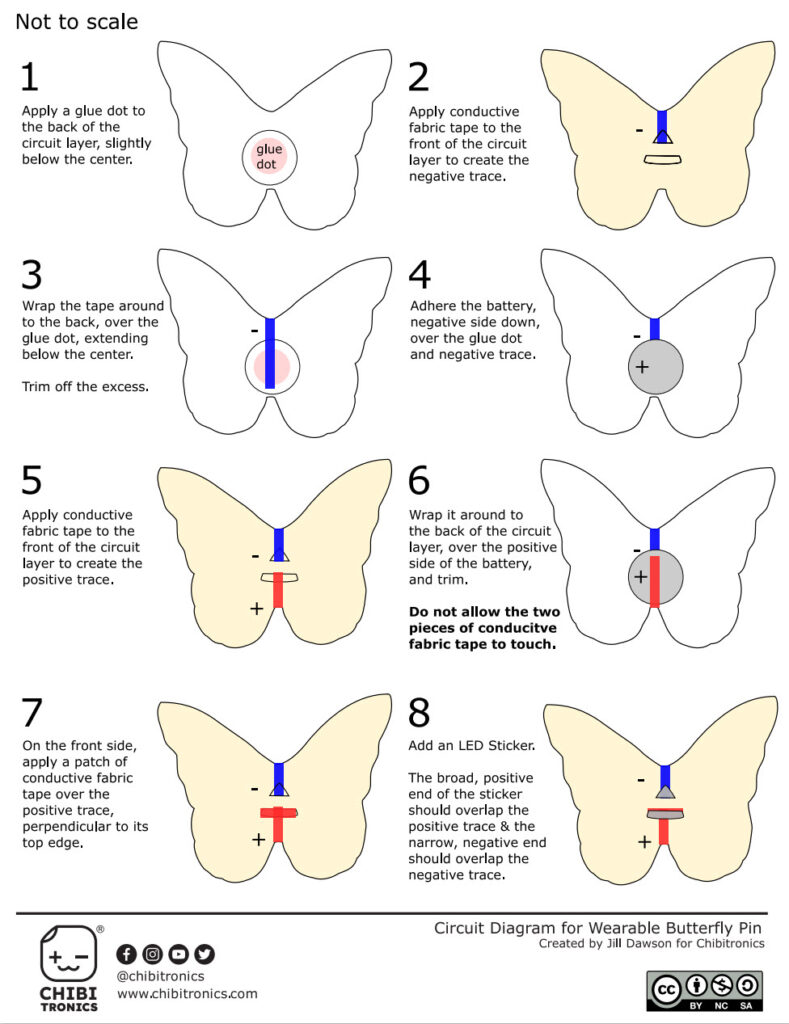

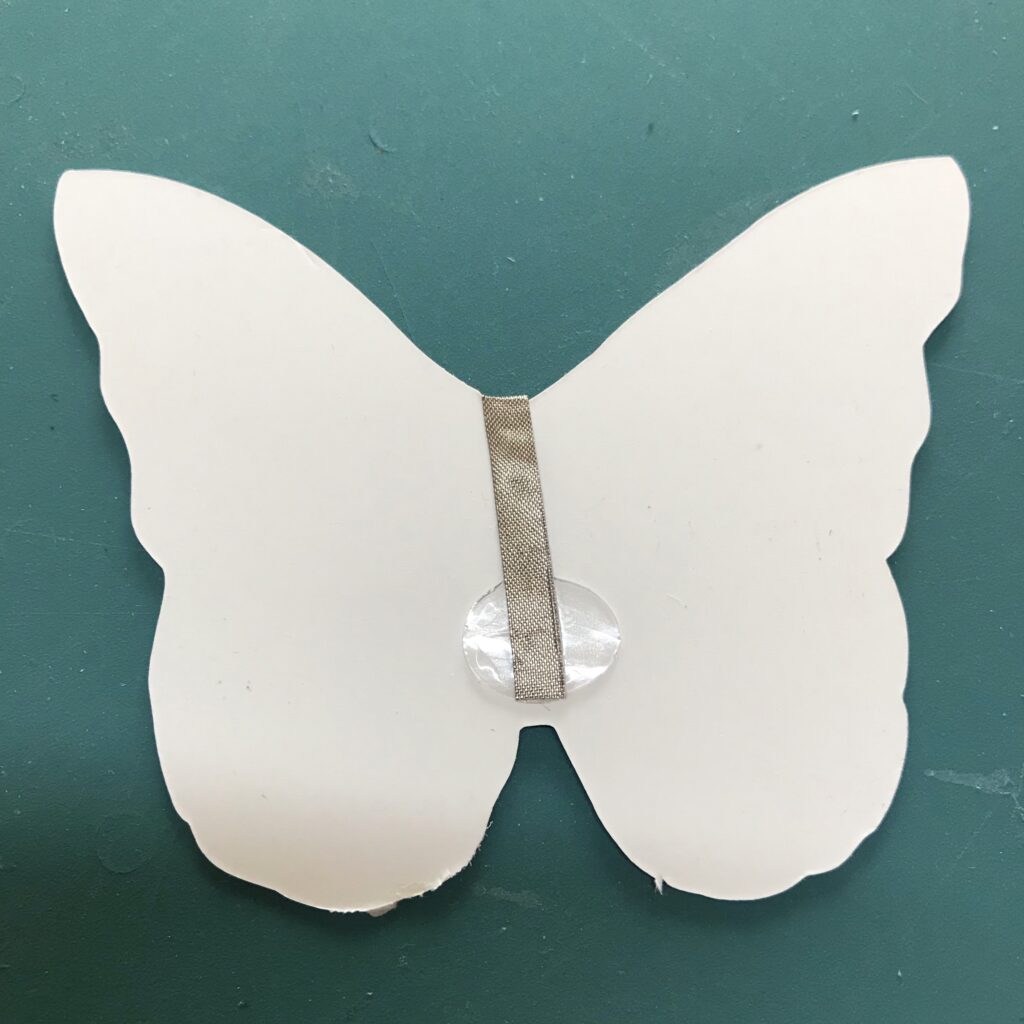
The next step in making your rainbow fading butterfly pin is to start building your circuit. Using the circuit diagram as a guide, flip your Circuit Layer to its back side and apply a glue dot in the center. Then, flip the piece back to the front.
If you are using our downloadable cut file and a Cricut machine, you can adjust your settings to score the LED outline (a flower for the Rainbow Fade Animating LED or a triangle for regular LED Sticker) directly onto your piece.
If you are not using our cut file, use a pen or pencil to mark the center of your Circuit Layer. Then, if you have a Chibitronics Craft Stencil, use it to draw the footprint of a Circuit Sticker LED with the negative end oriented upward.
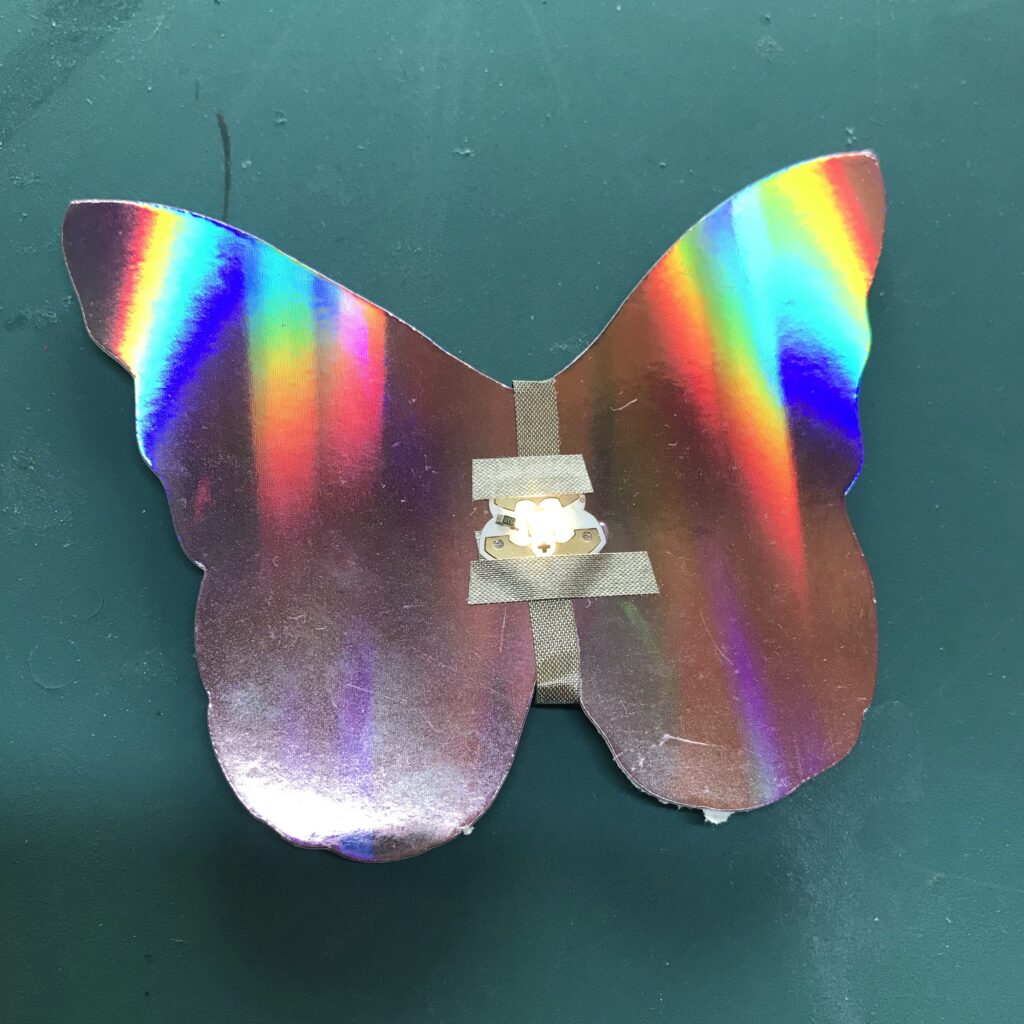
Starting at the top of the butterfly piece, a bit above the center, adhere the Conductive Fabric Tape, wrapping it around to the back side.
The tape needs to overlap the glue dot without extending too far below it. If it’s too long, trim off the excess to prevent a short circuit. (Remember to remove the plastic backing from the glue dot before applying the conductive tape.)
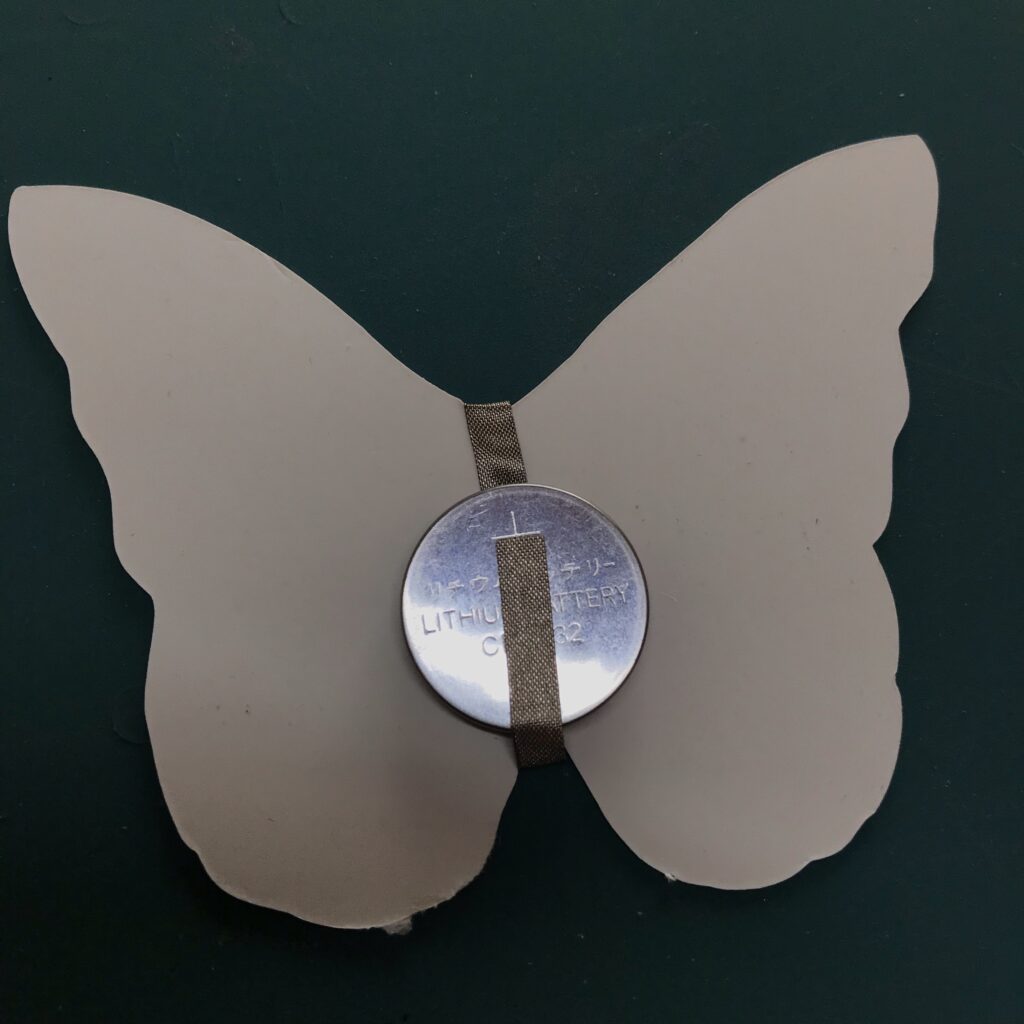
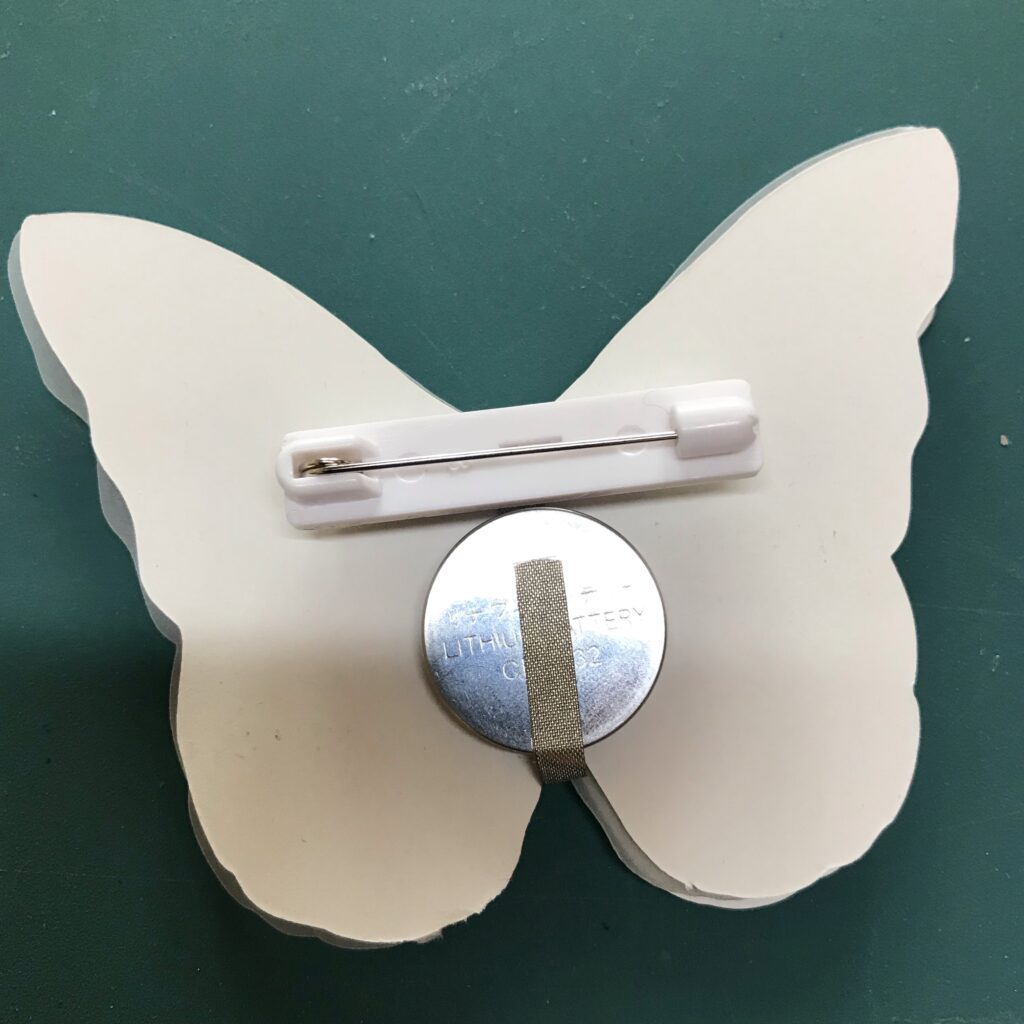
Then, place the battery on top of the glue dot with the negative, bumpy side facing down.

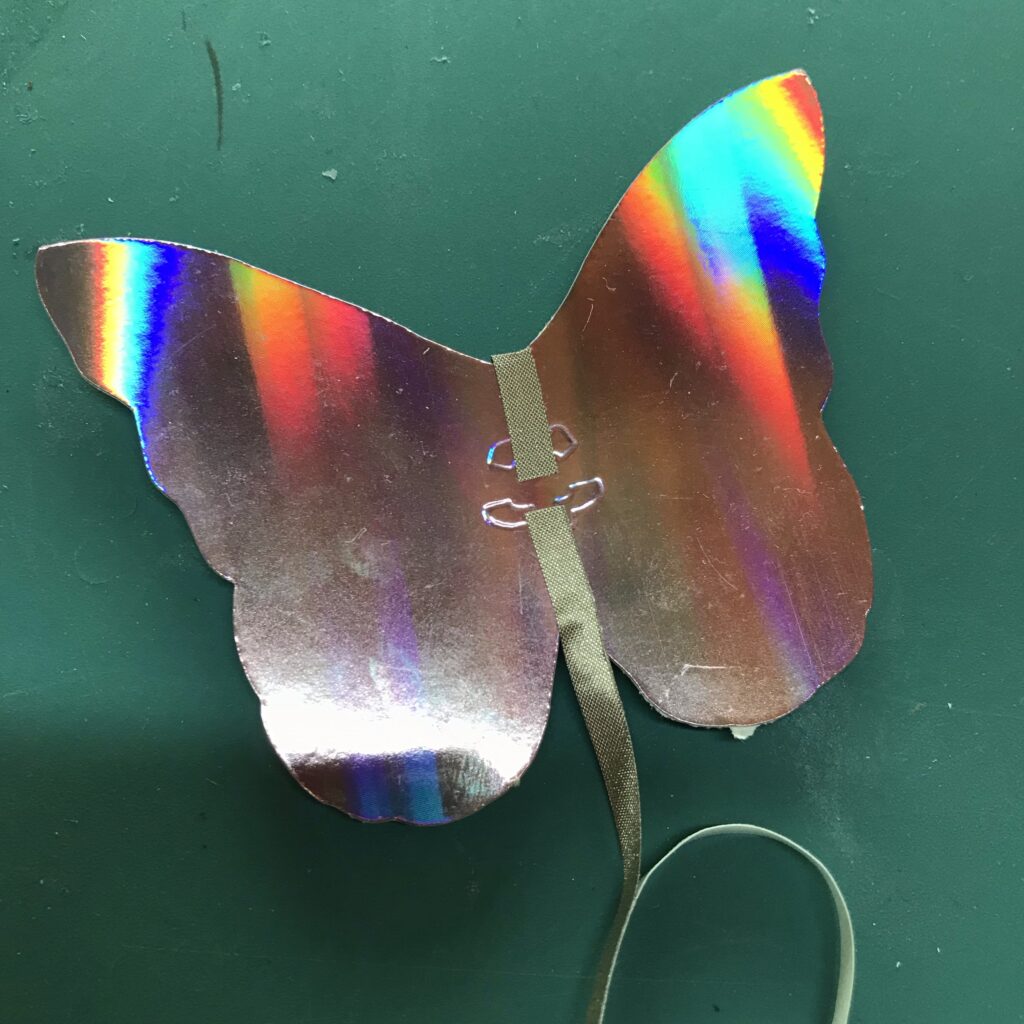
Return the butterfly to its front side and apply a second piece of Conductive Fabric Tape, starting a bit below the center. Wrap it around the bottom edge of the butterfly and adhere the tape over the top, positive side of the battery; trim off the excess so that it does not extend beyond the battery’s edge.
Ensure that the positive and negative pieces of fabric tape don’t touch one another, to prevent a short circuit.
Next, add a patch of Conductive Fabric Tape over the positive lead and gently peel your flower-shaped Circuit Sticker LED from its backing. Before applying it over the conductive tape, pay attention to which end is positive and which end is negative.
While your flower sticker may look like it’s oriented upside down, you’re going to be applying the sticker with its narrower, negative end (the one with two petals) pointing upward, toward the negative side of the battery.
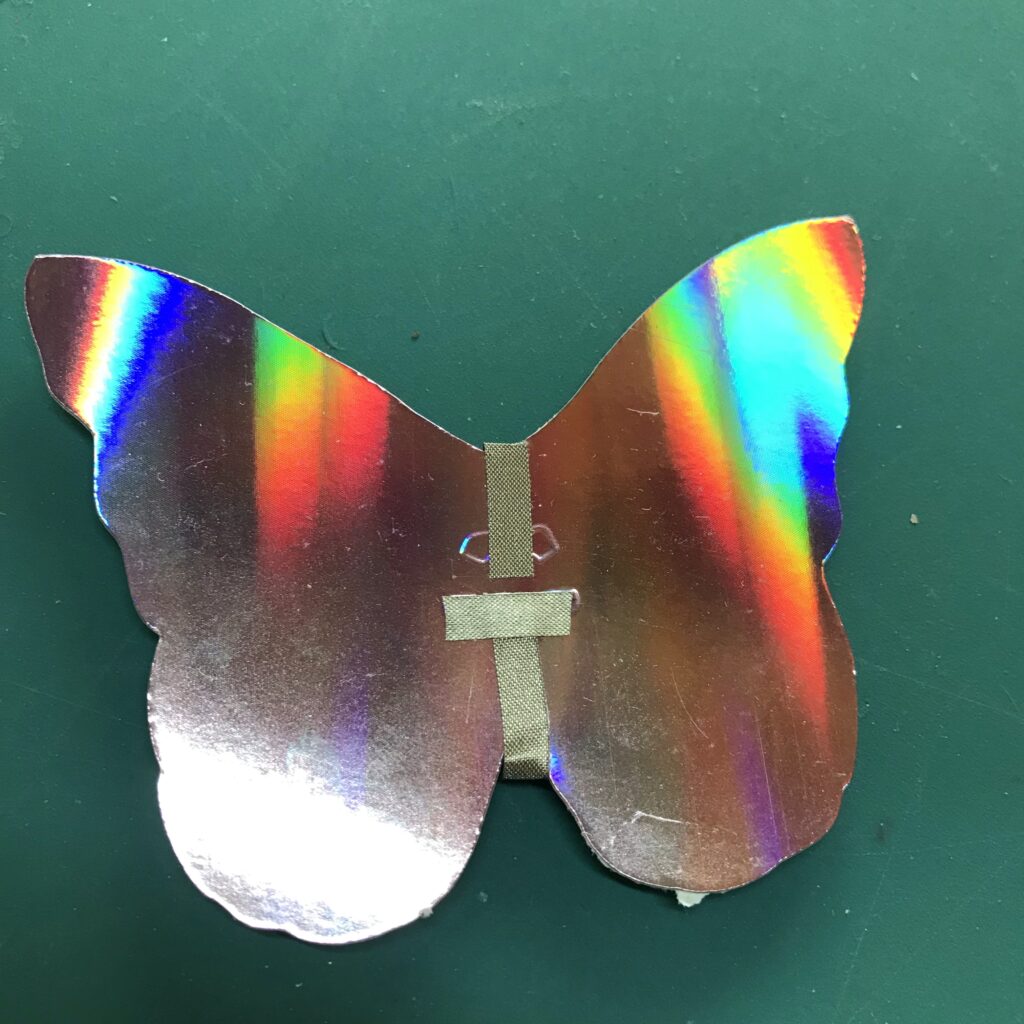
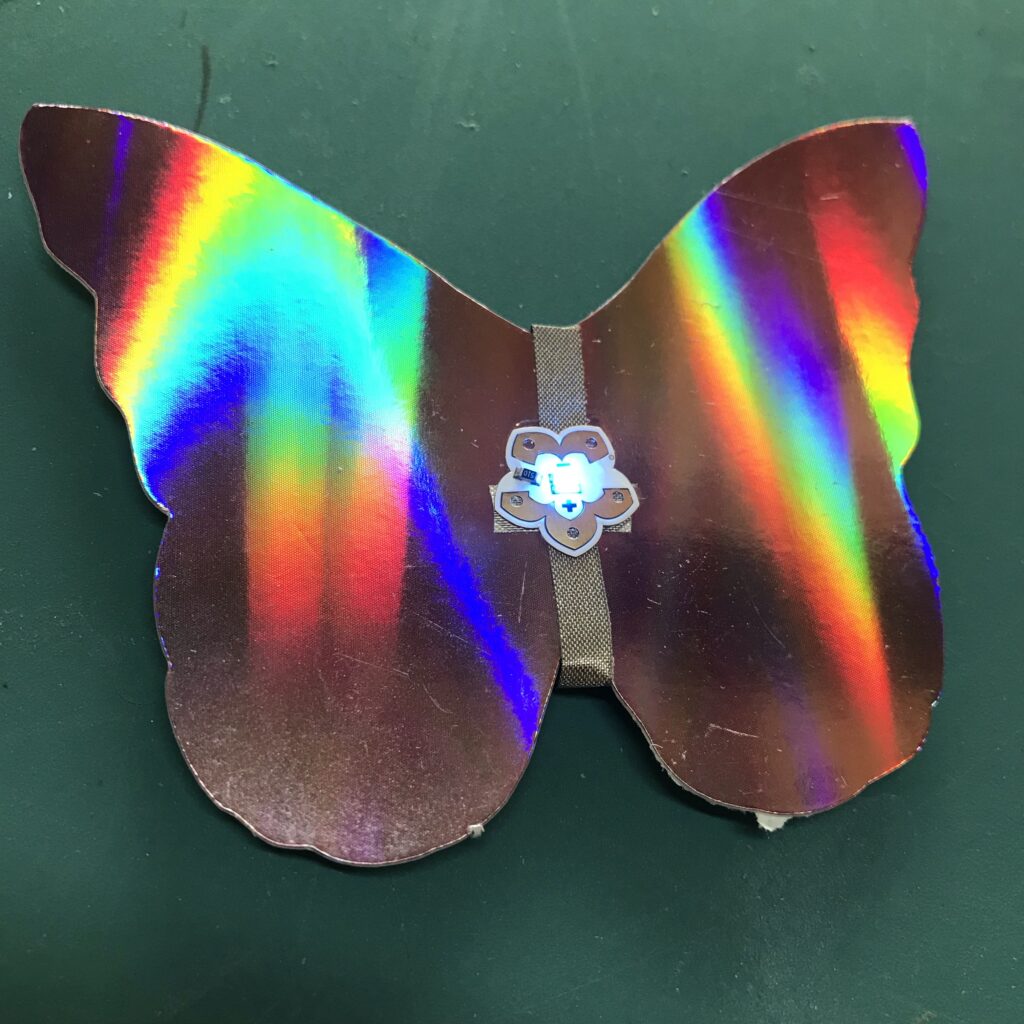
The wider, positive end of the sticker (the one with three petals) will connect with the top, positive side of the battery.
Press the sticker down to ensure a solid physical and electrical connection.
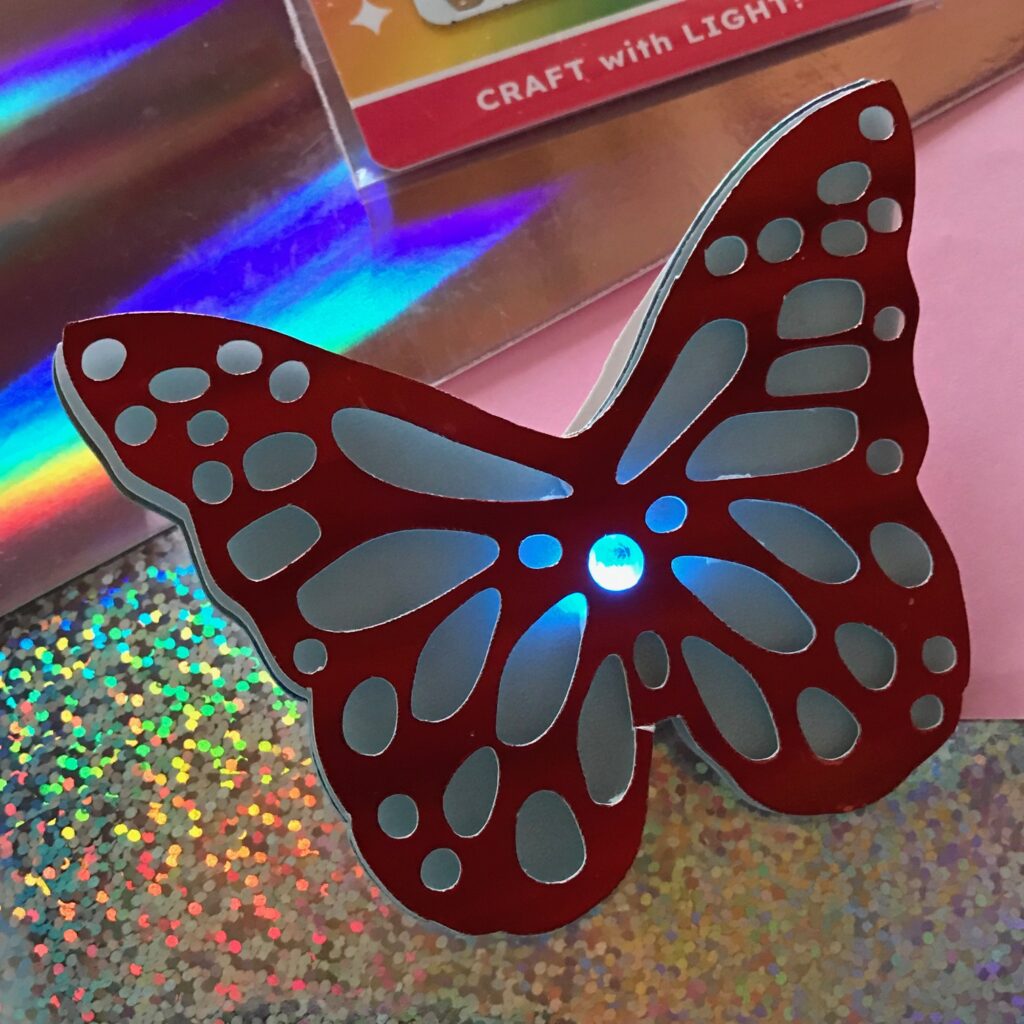
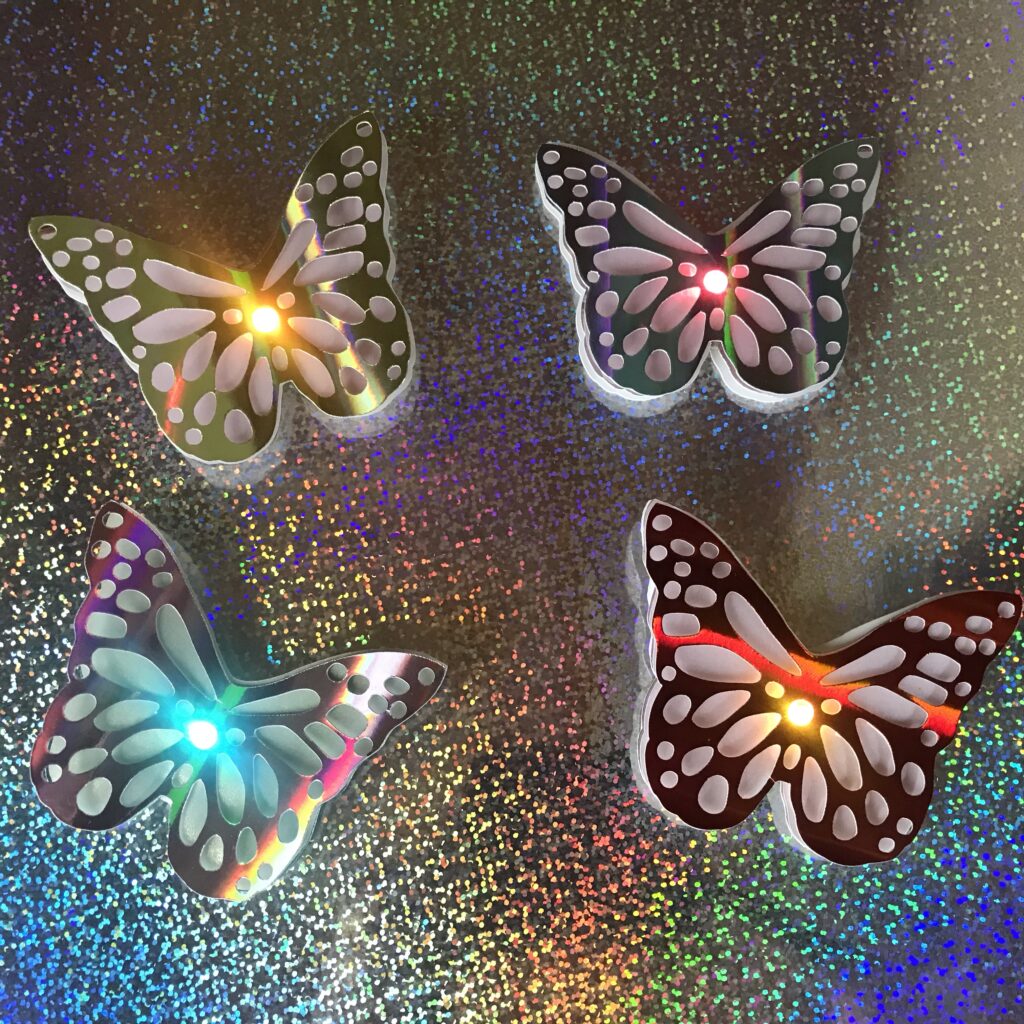
At this point, your flower-shaped animation LED sticker should be gently cycling through the colors of the rainbow!
Tips, Tricks & Call-outs
Adding patches of Conductive Fabric Tape over the metal pads of the Animating LED sticker, and overlapping the positive and negative traces that connect to the battery, can help strengthen the physical and electrical connection. While it covers up part of the pretty flower, this trick is especially useful for stickers that may have lost their adhesive strength due to handling or repositioning.
Step 3: Add Layers
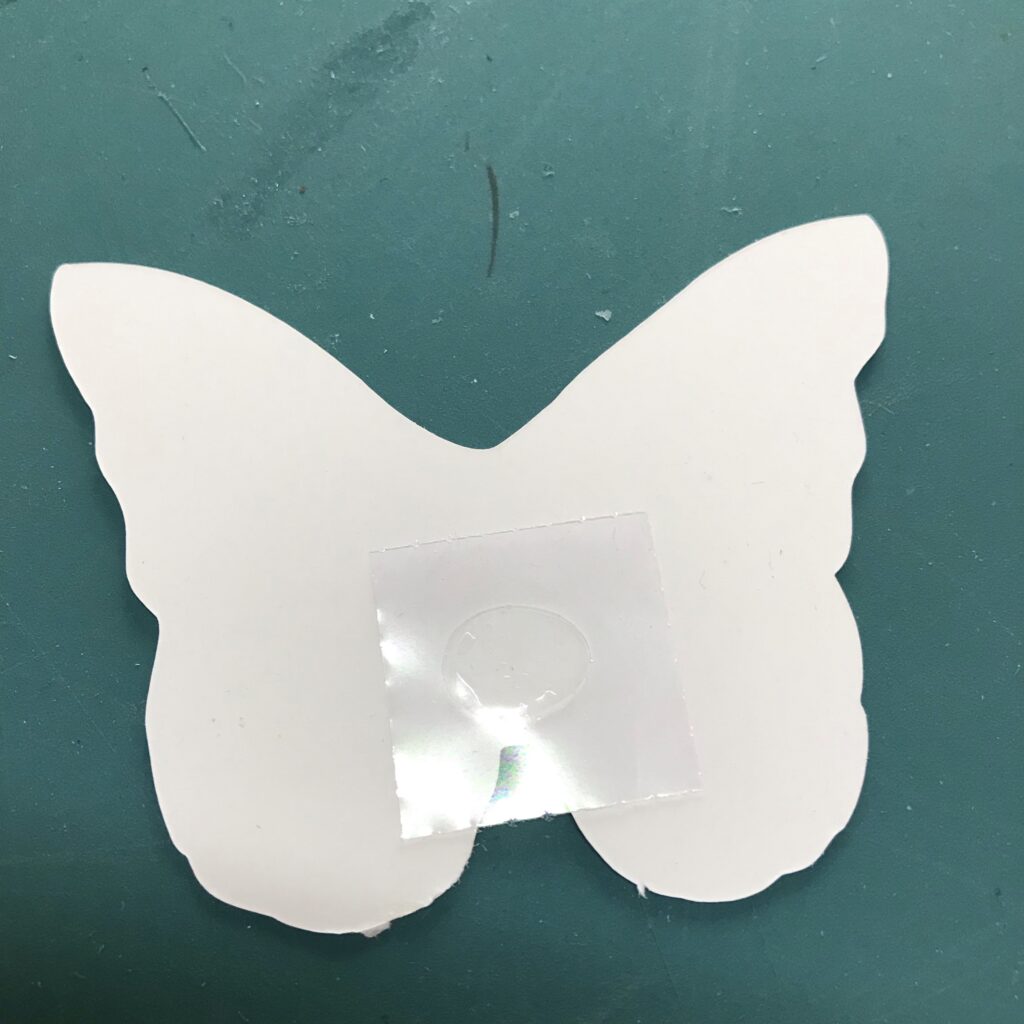
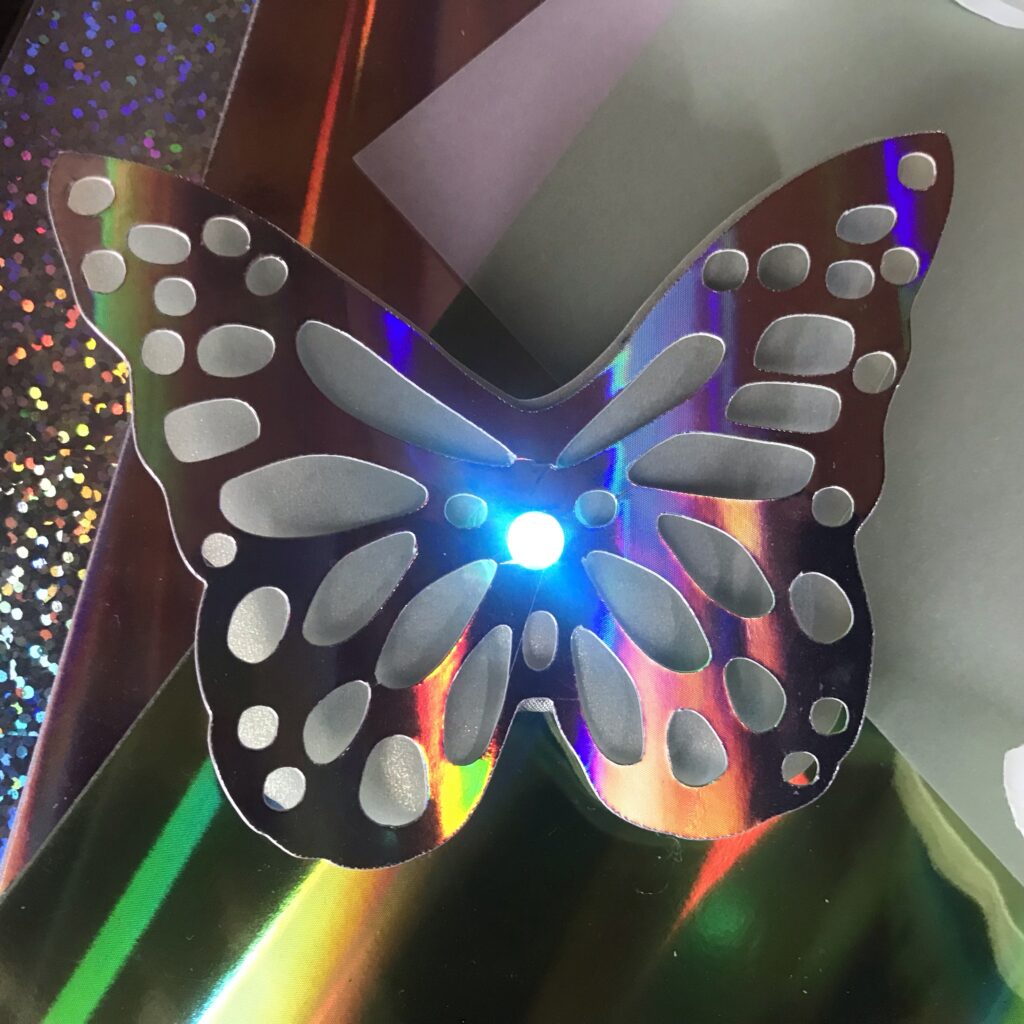
The next step in creating your rainbow fading butterfly pin is adding a Diffusion Layer. Take your translucent vellum butterfly piece and punch a hole in its center if needed. Apply a glue dot over the back of the hole, position the hole sticky-side-down over the LED, and press down.
The glue dot will not interfere with the functioning of your circuit, but it will hold the butterfly pieces together.
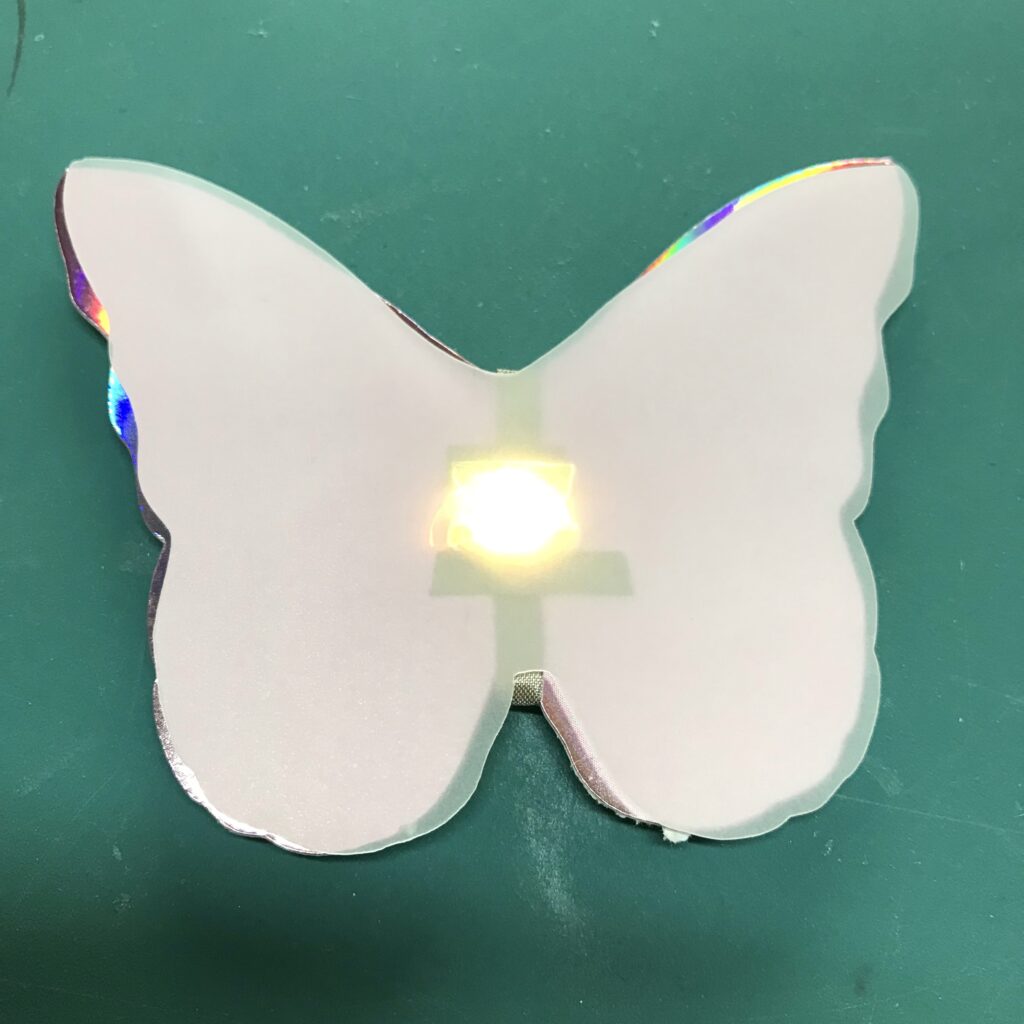
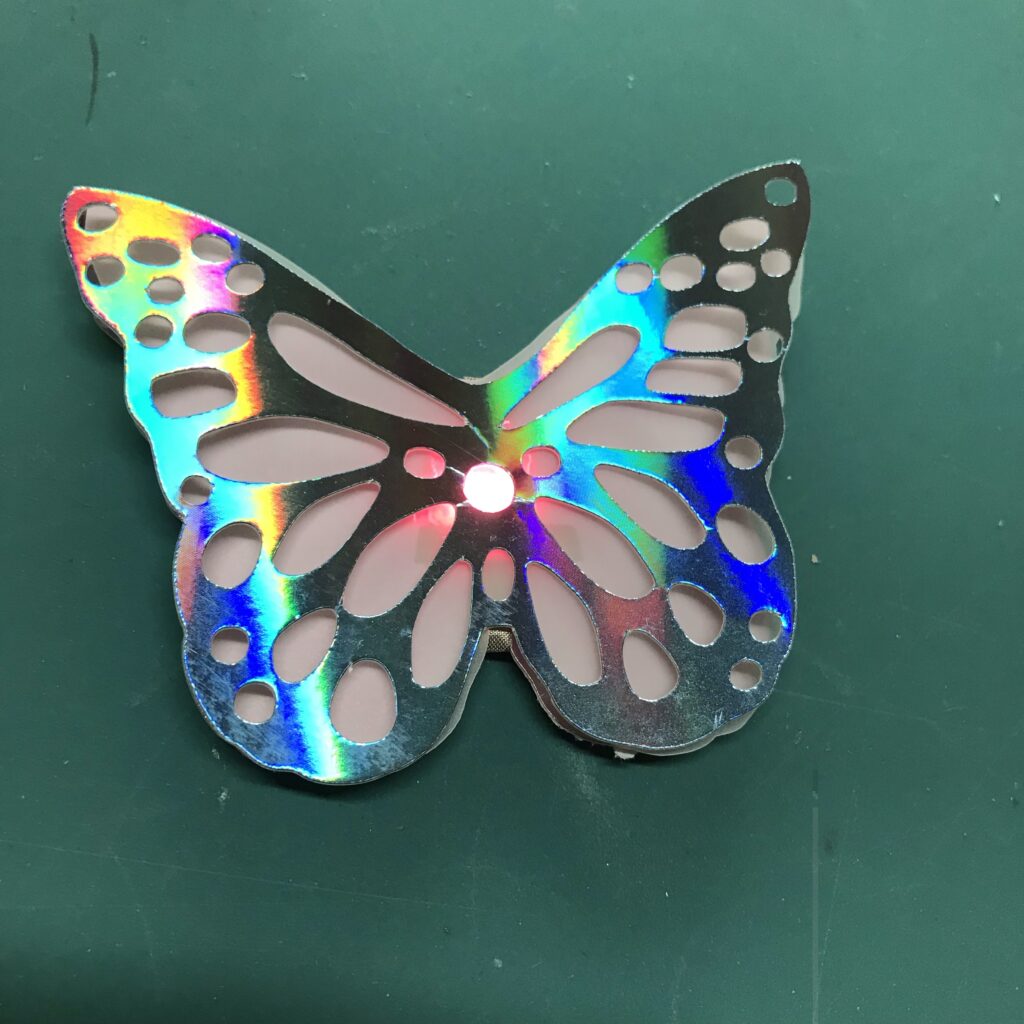
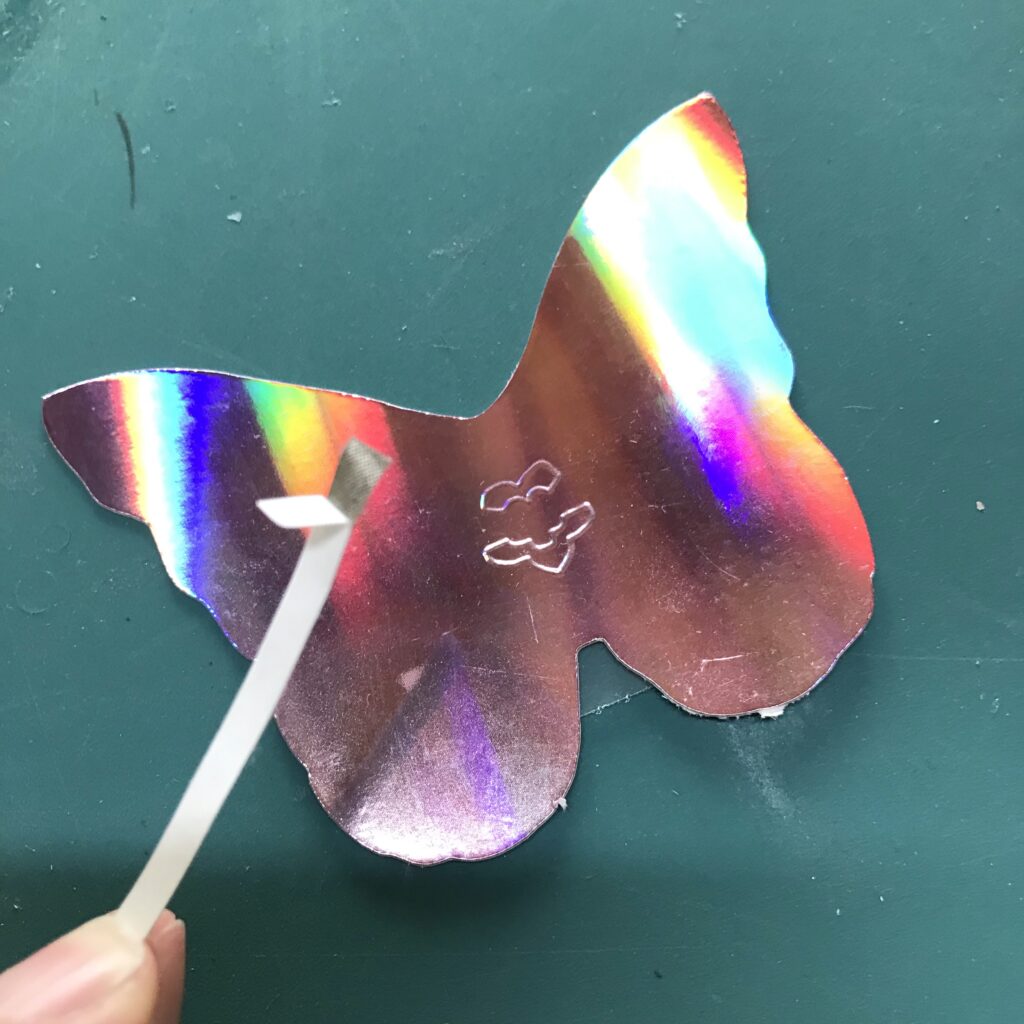
Repeat this for your Decorative Layer. Then, apply a clear rhinestone over the sticky LED to cover the gluey center and help diffuse the light.
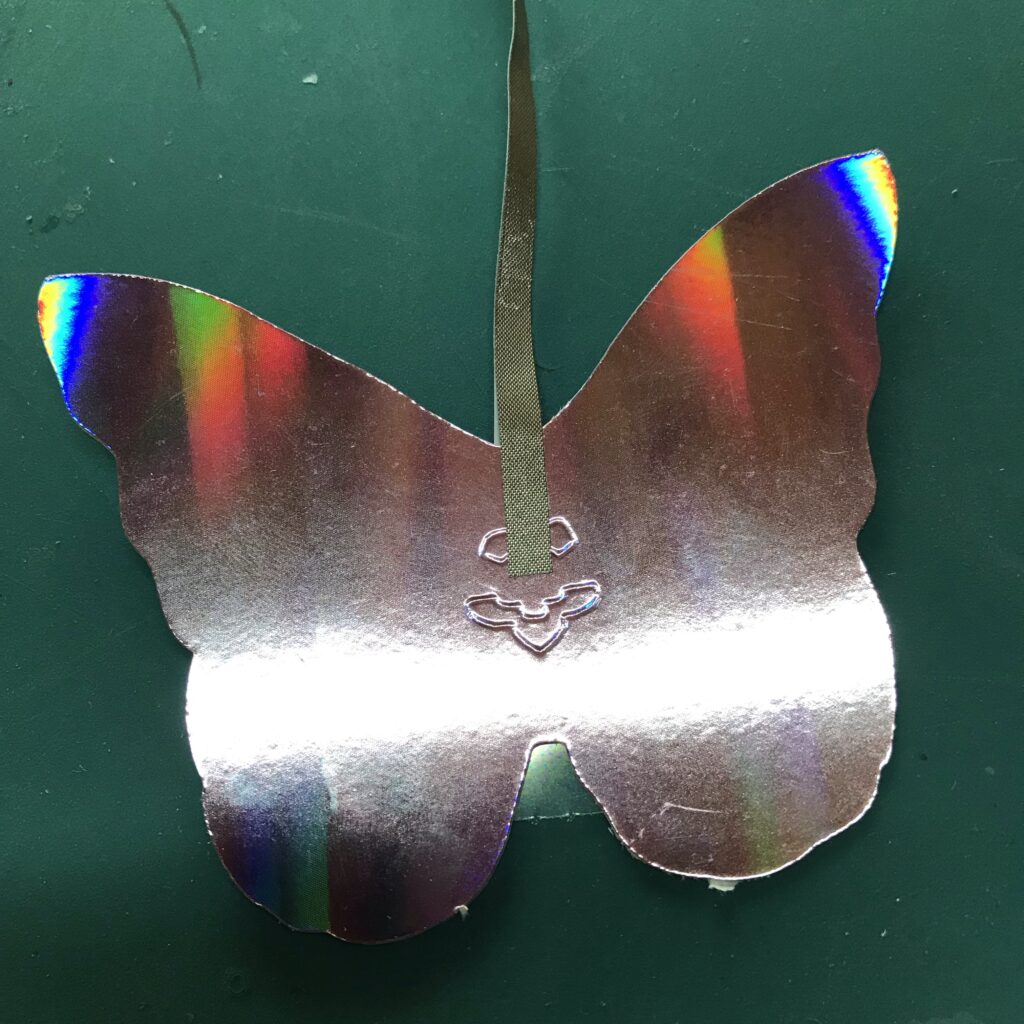
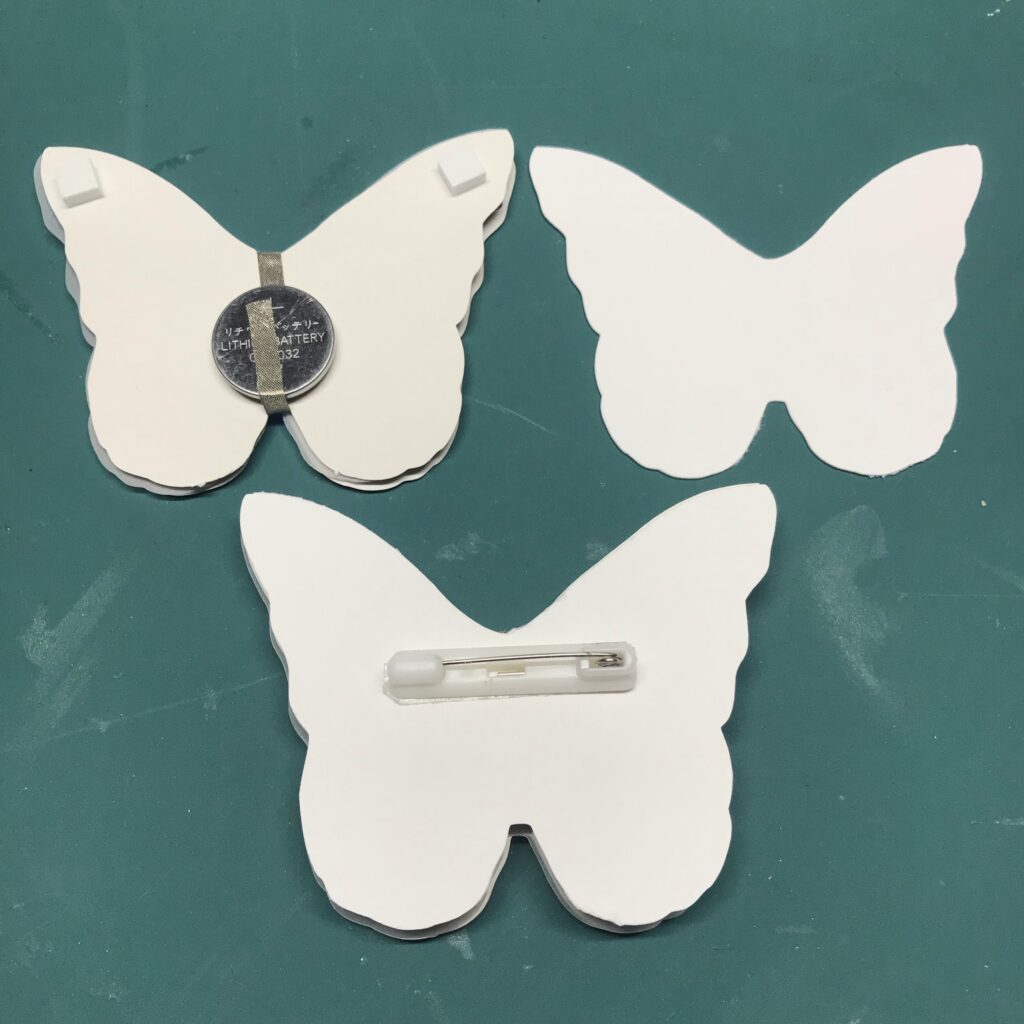
Step 4: Make it Wearable
The last step, in making your butterfly wearable, is to add an adhesive pin to the back side of your butterfly.
If there is room for a pin back in the space above the battery, on the back side of your Circuit Layer, you may go ahead and adhere it in place.
If you need more room on the battery side, you’ll need to add an optional Backing Layer.
The best way to do this is to add a piece of foam tape to the backs of each wingtip (on the side housing your battery). Finally, adhere the light-up piece on top of the Backing Layer and add the pin to its back side.
If desired, you can play around with the wings to give them more dimension, by lifting them up.
Gallery

Similar Posts You Might Enjoy

Featured Products
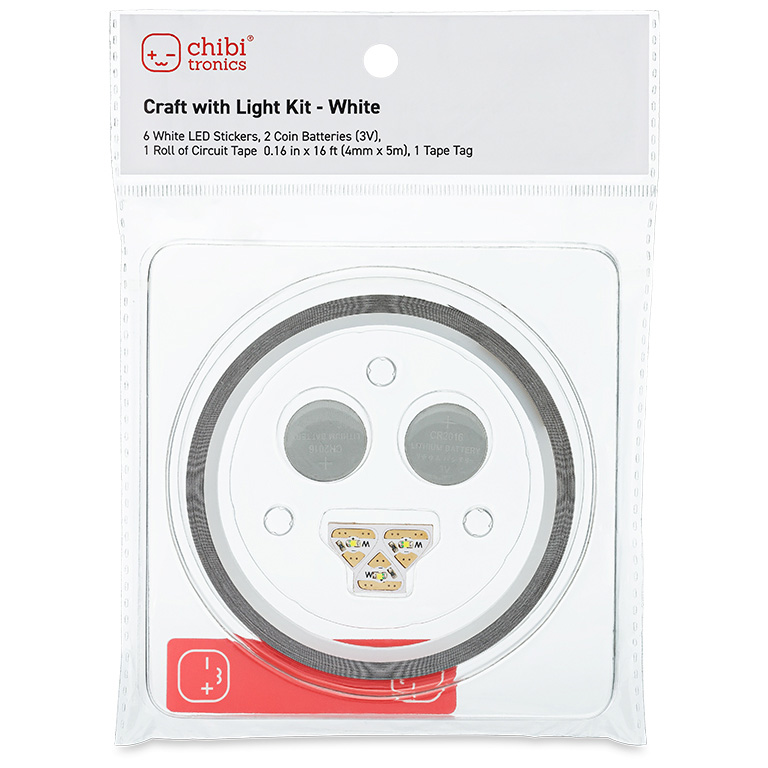
Craft With Light (White)
$20.00
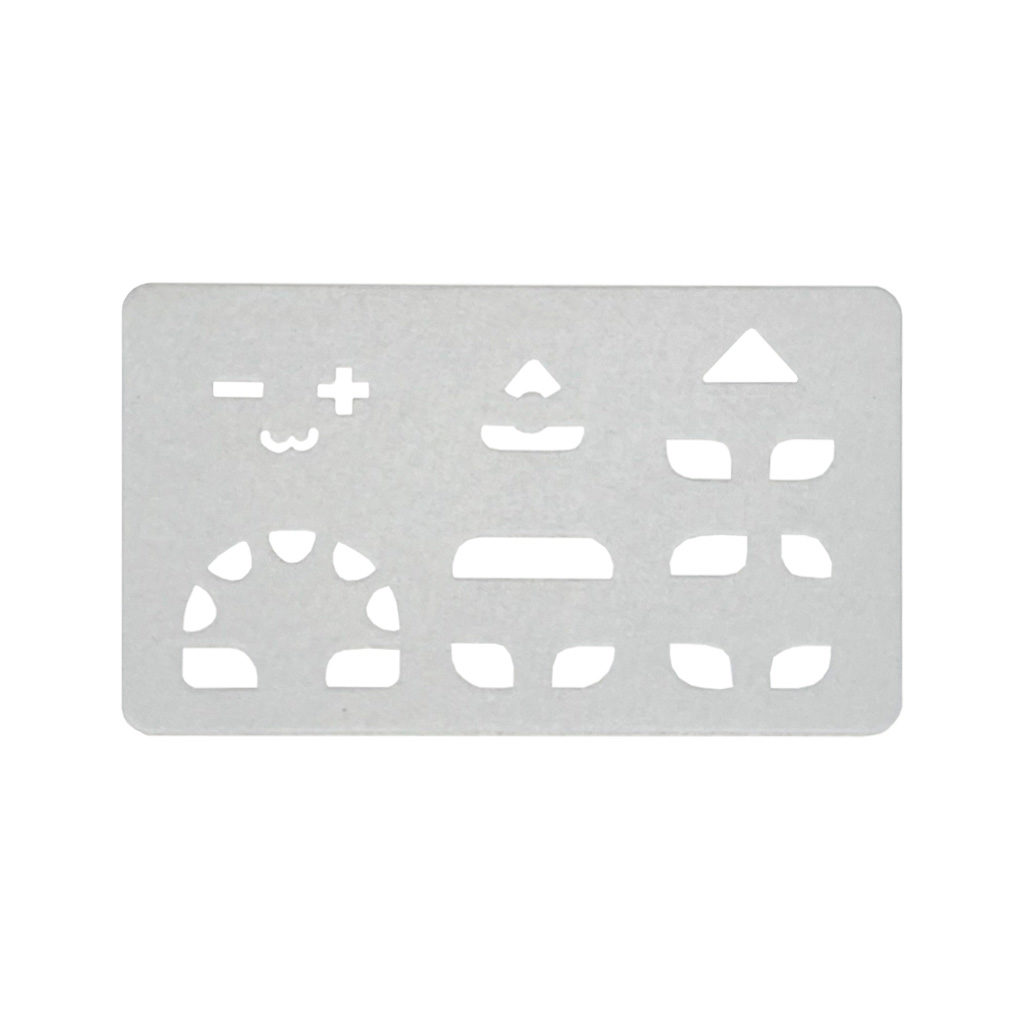
Craft Stencil
$5.00
Conductive Fabric Tape
$10.00