How To > Paper Circuit Techniques > Tutorials
Shadows, Silhouettes, & Layers:
Experiments with Paper & Light
Written by: Natalie Freed & Jill Dawson
Shadows, Silhouettes, & Layers (Oh, my!)
In this activity, you’ll make swatch cards to experiment with different paper and light effects and ponder possibilities for using the properties of both for art and engineering.
Videos by Jie Qi to Get You Thinking
Related
Categories
Paper Circuit Techniques, Pressure Sensor, Special Effects, Book Arts
Supplies
Materials
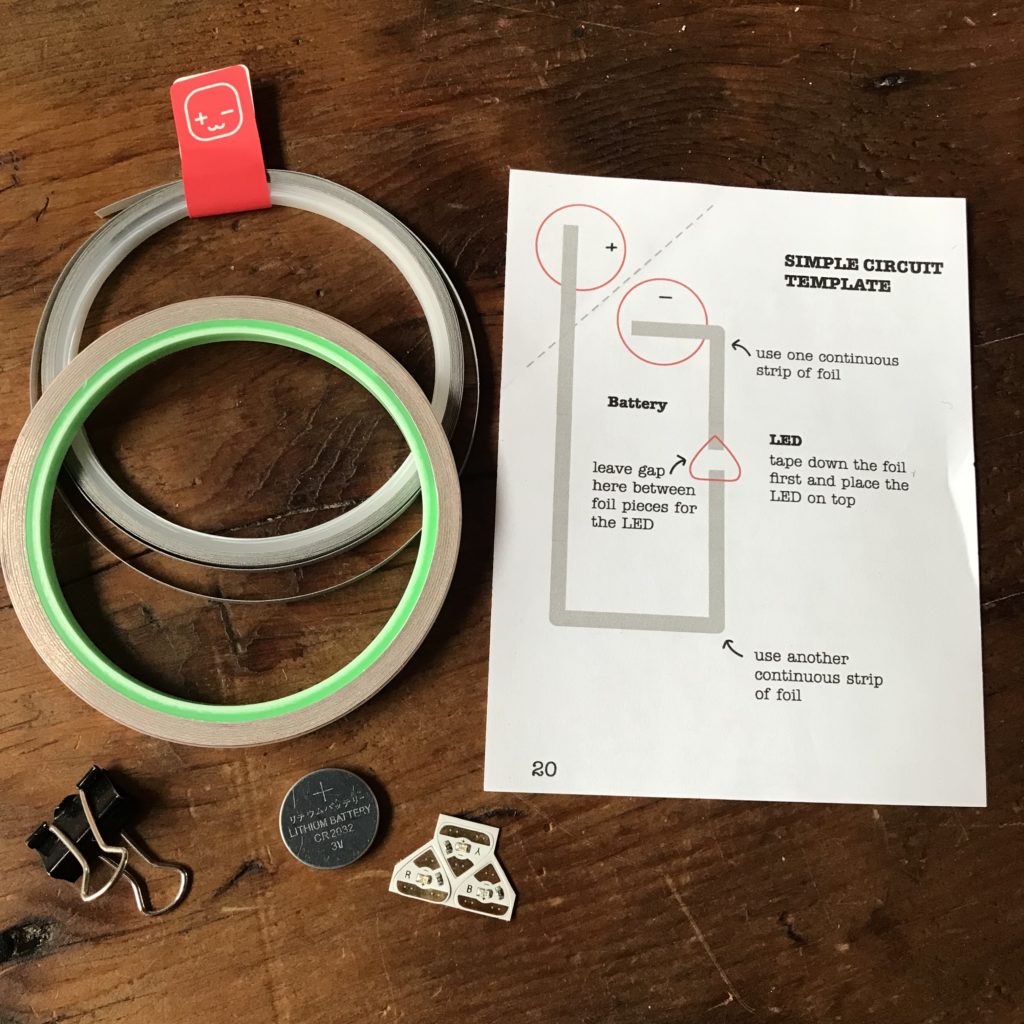
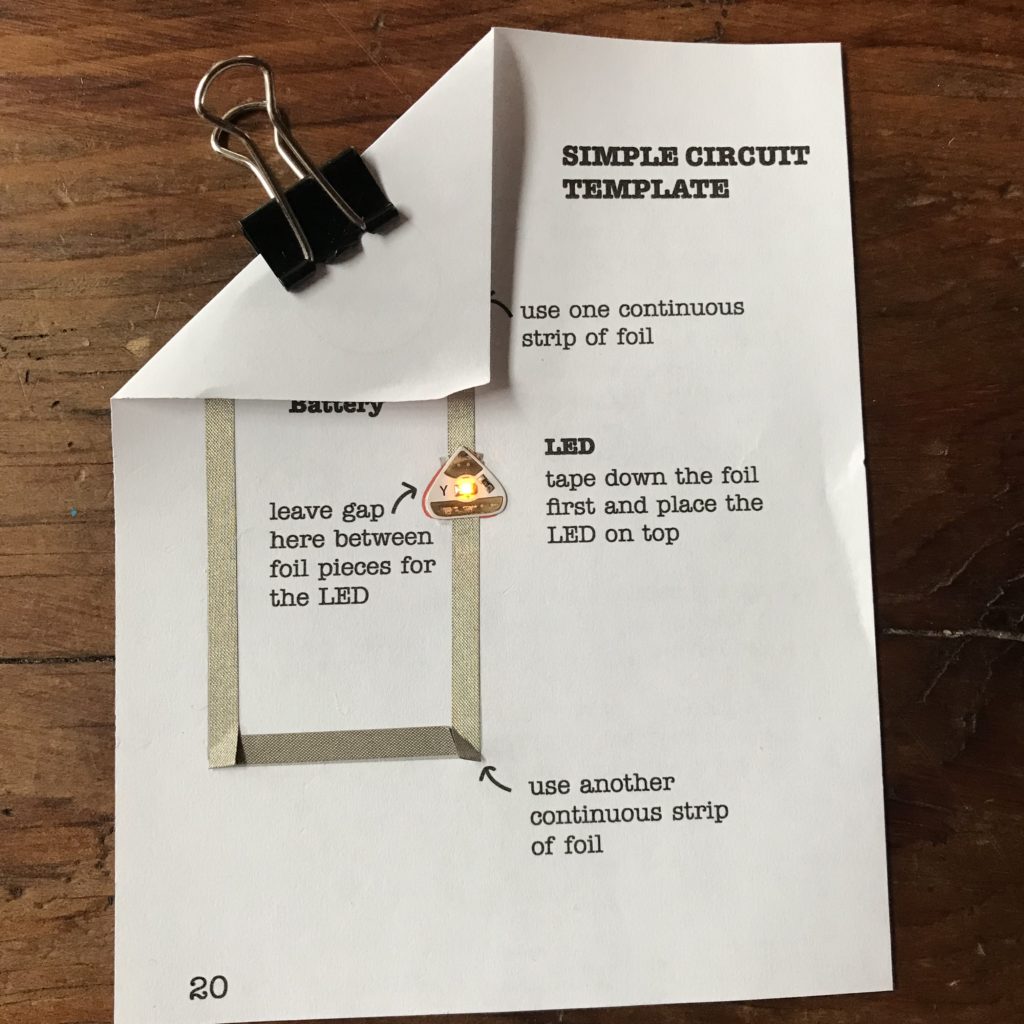
Simple Circuit template or Parallel Circuit template, printed, using:
- 1 or more LEDs
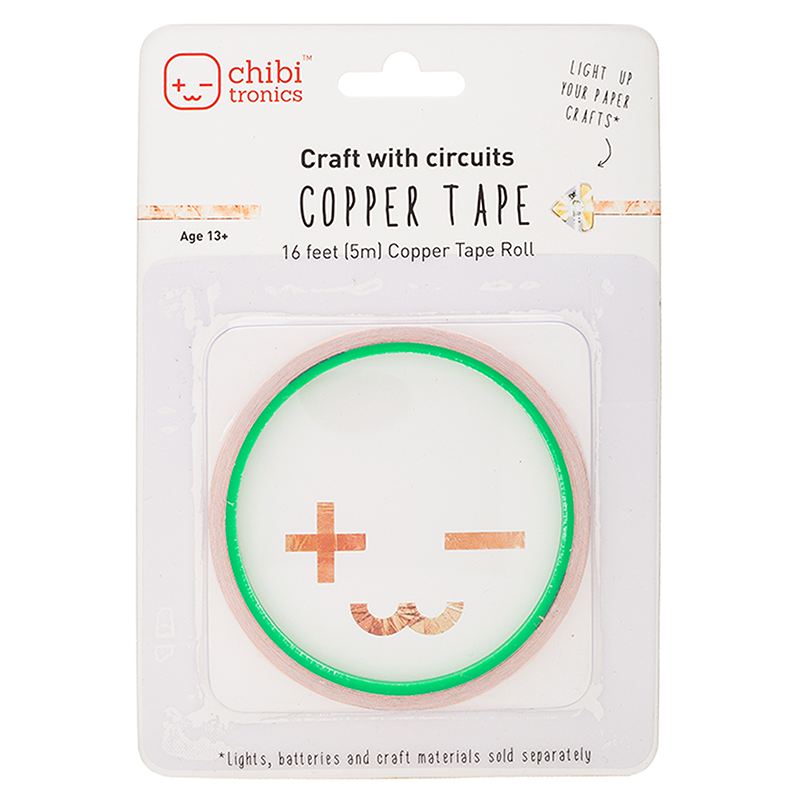
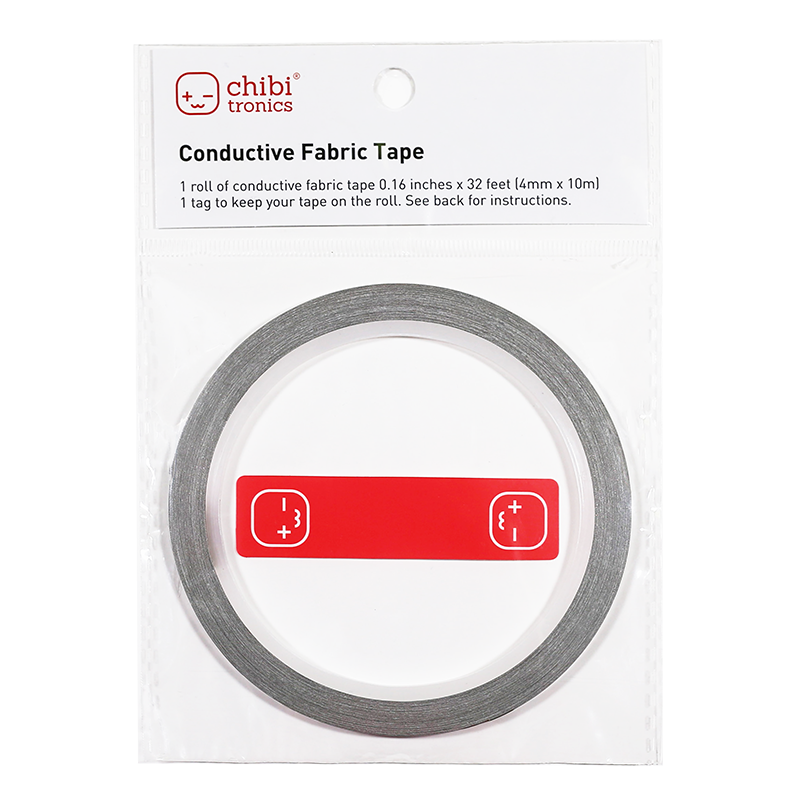
- Copper tape or Conductive Fabric Tape
- CR2032 battery
- Binder clip
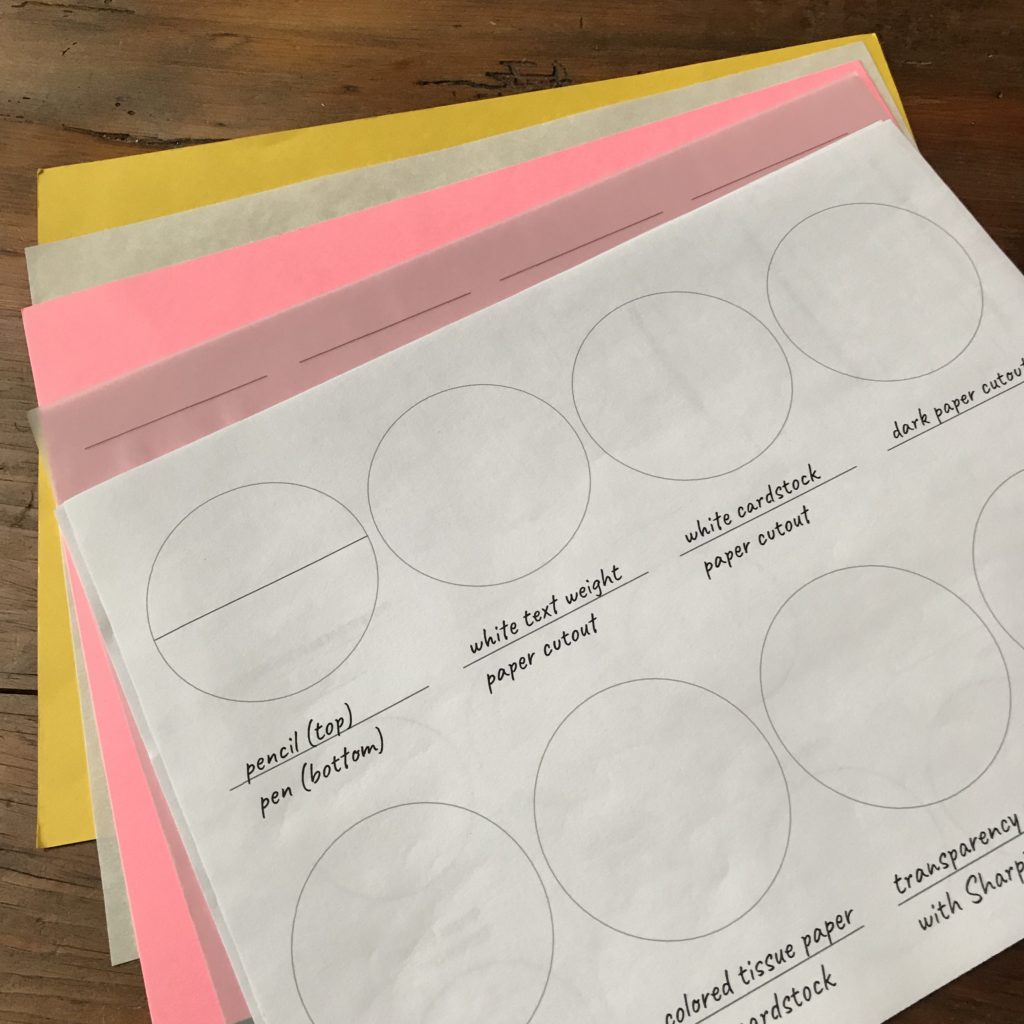
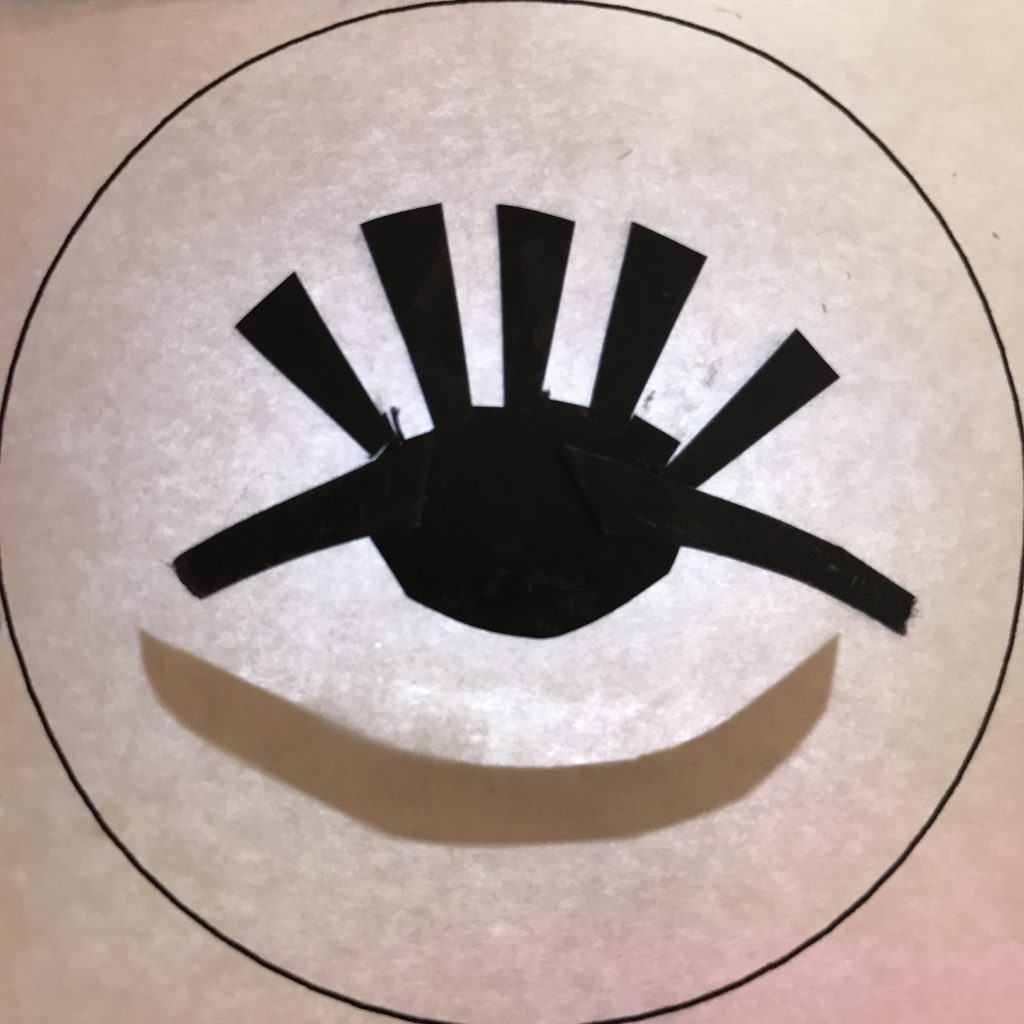
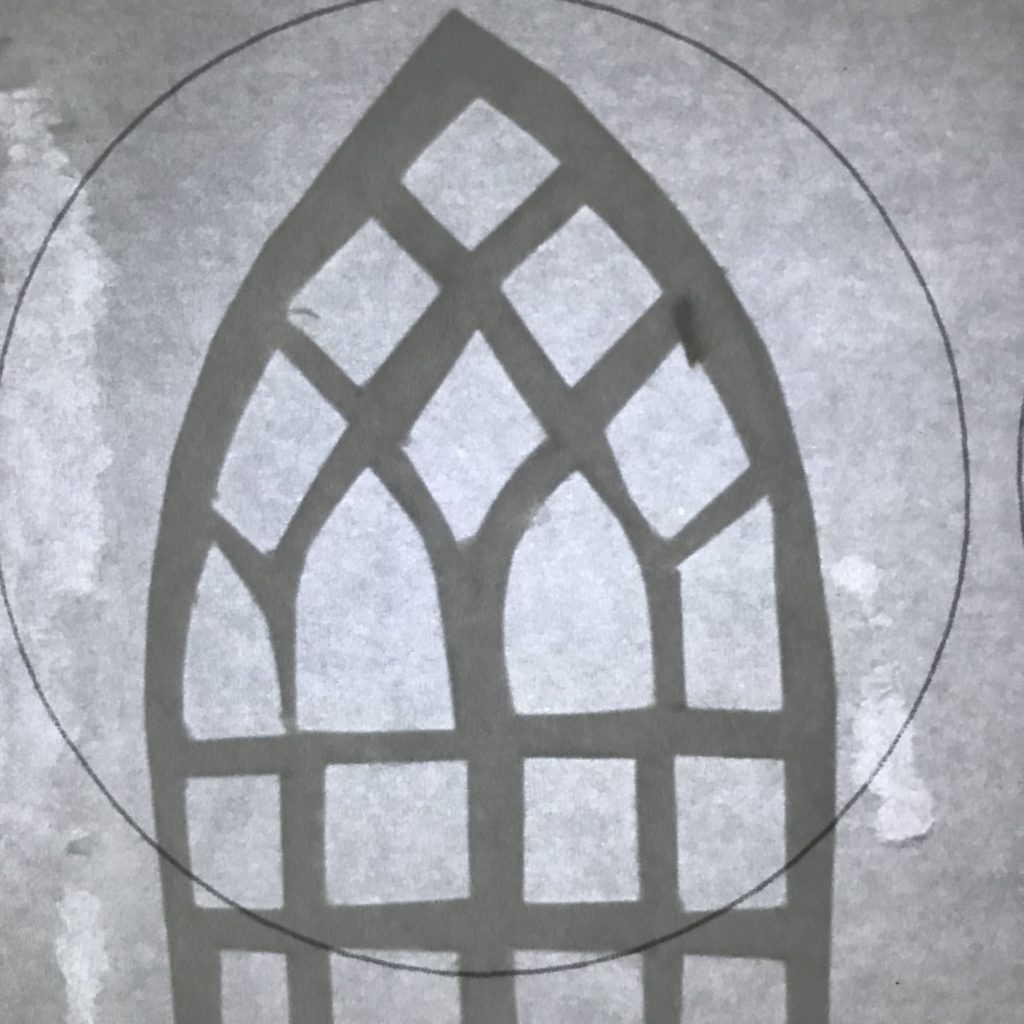
Shadows and Silhouettes Remixable Template (printed on one or more types of paper).
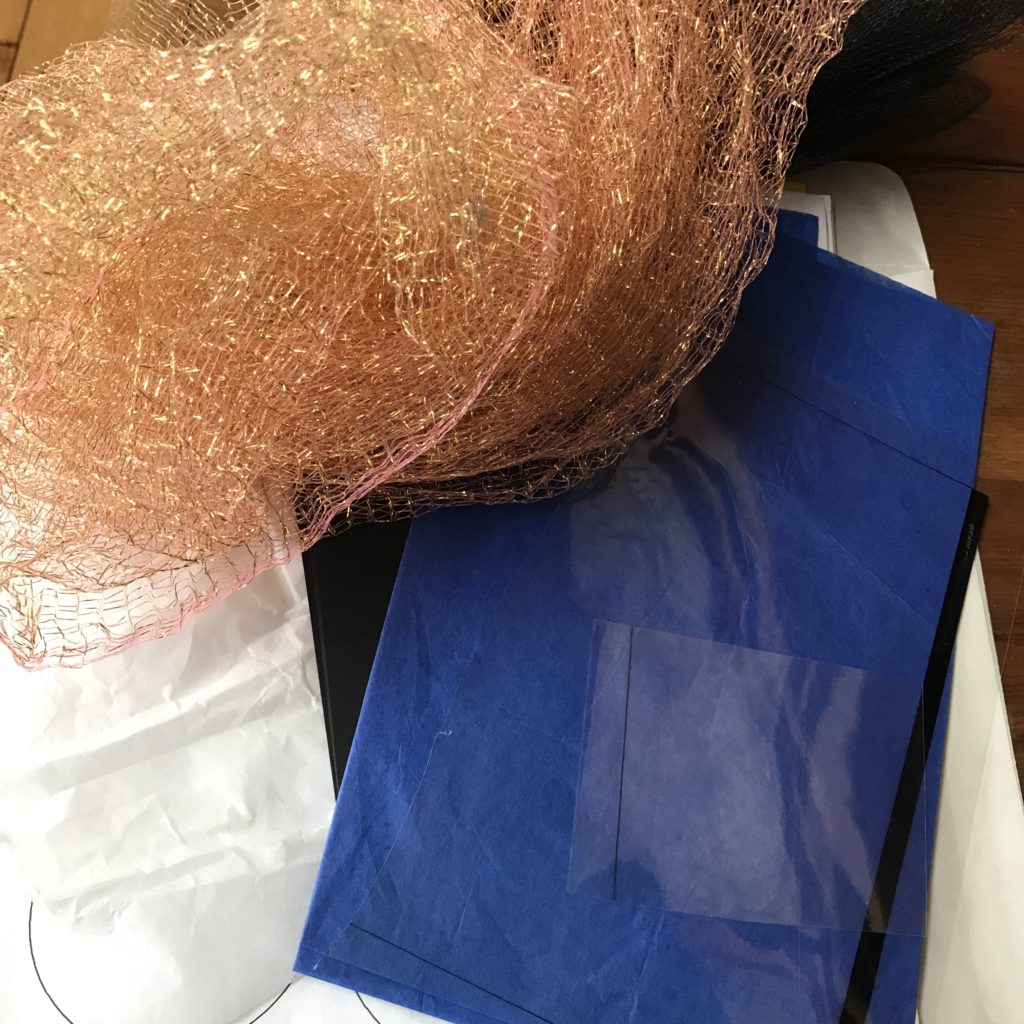
Suggested art materials to explore include:
- printer paper (white & colored)
- cardstock (black & white)
- vellum
- tissue paper (white & colored)
- clear transparency plastic
- washi tape
- translucent fabric (such as tulle or gauze)
Optional:
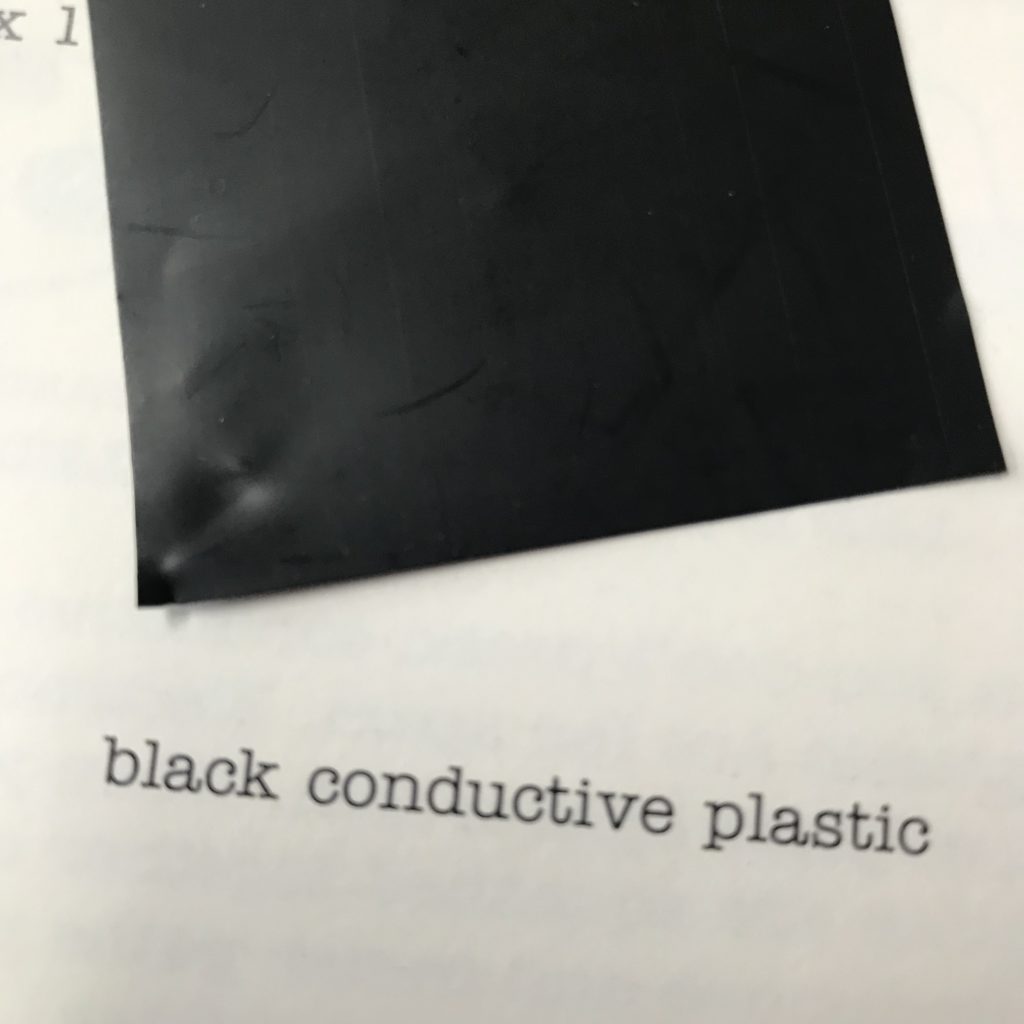
One small piece (1/2″ square) of Pressure Sensitive Conductive Plastic (velostat/linqstat).
Note: The Chibi Lights STEM Starter Kit comes with a piece, but it is not quite as conductive as the product currently carried in our store.
Suggested Tools
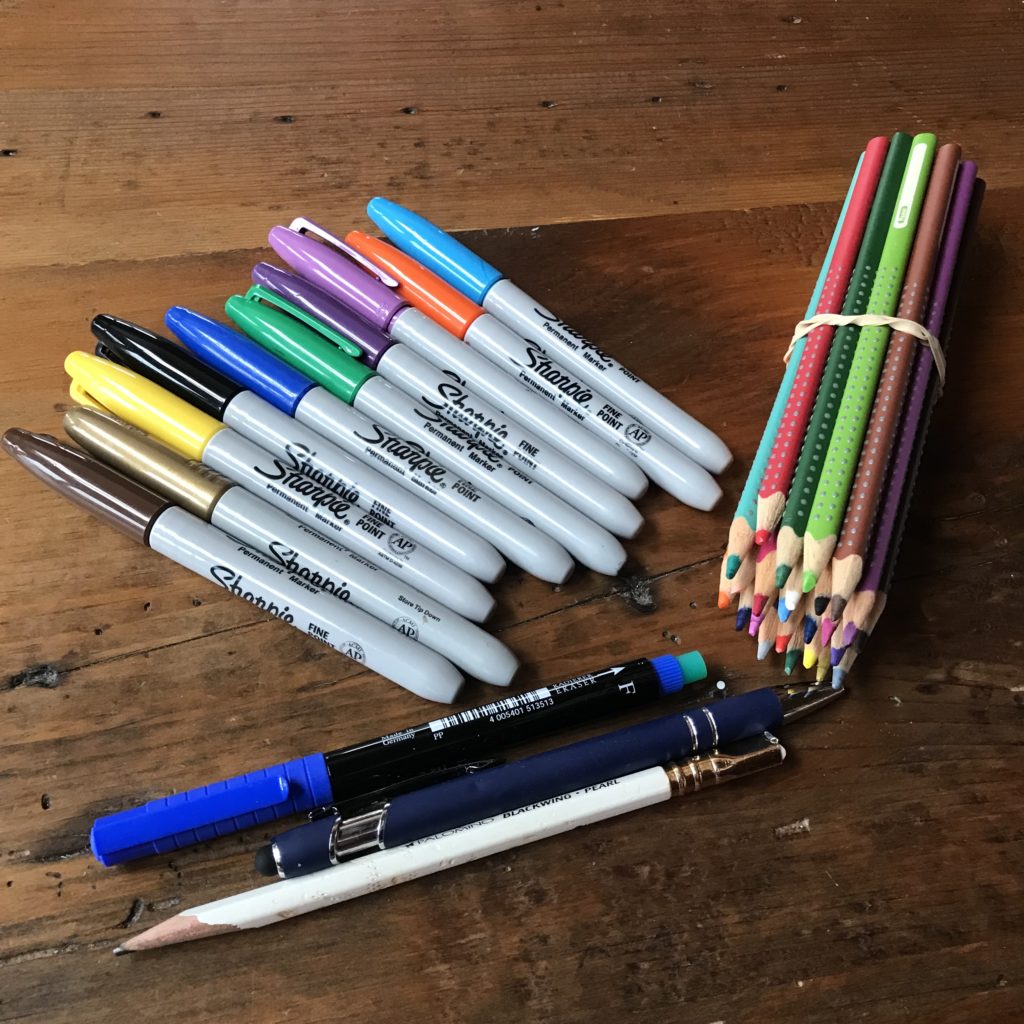
- Pencil, pen, and other drawing materials such as Sharpie markers, crayons, and colored pencils
- Scissors
- Awl, thumbtack, or other pointy object
- Hole punch
- Craft knife and cutting mat
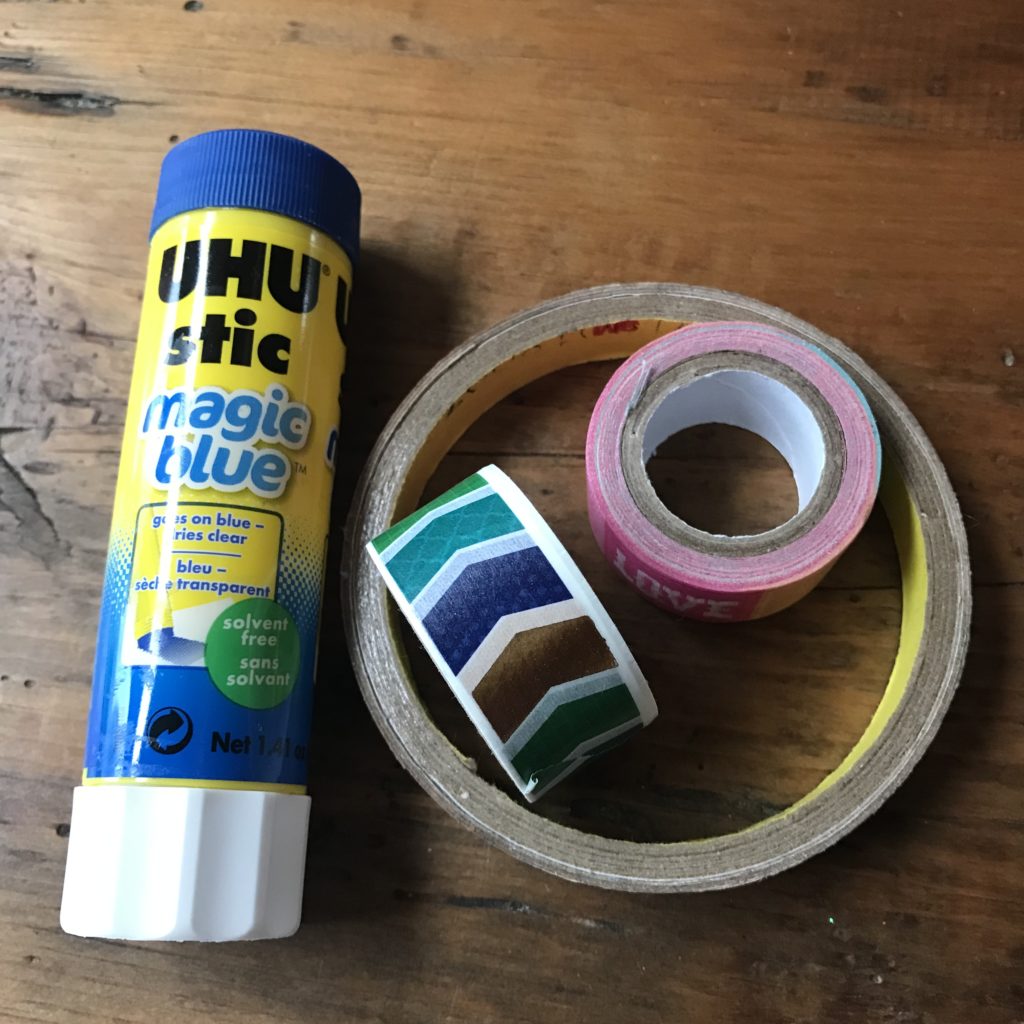
- Glue stick
- Double-stick tape
- Rubber stamp ink pad and stamps

Directions
Step 1: Prepare Your Materials
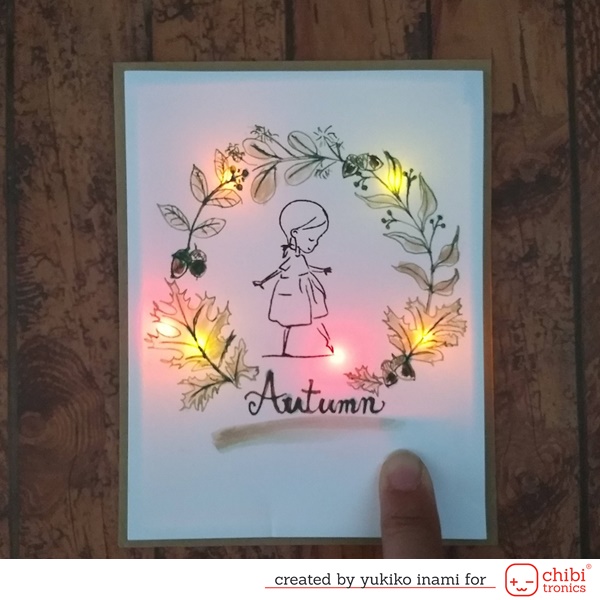
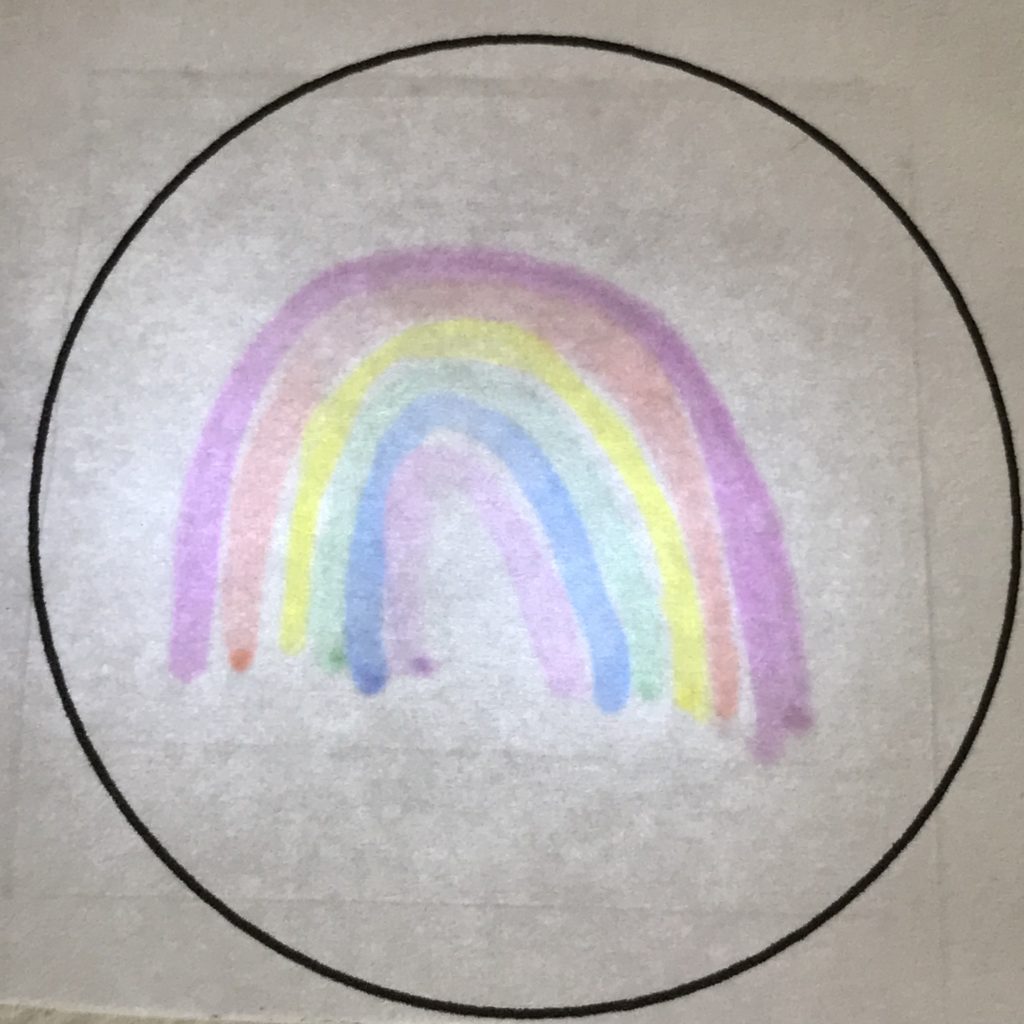
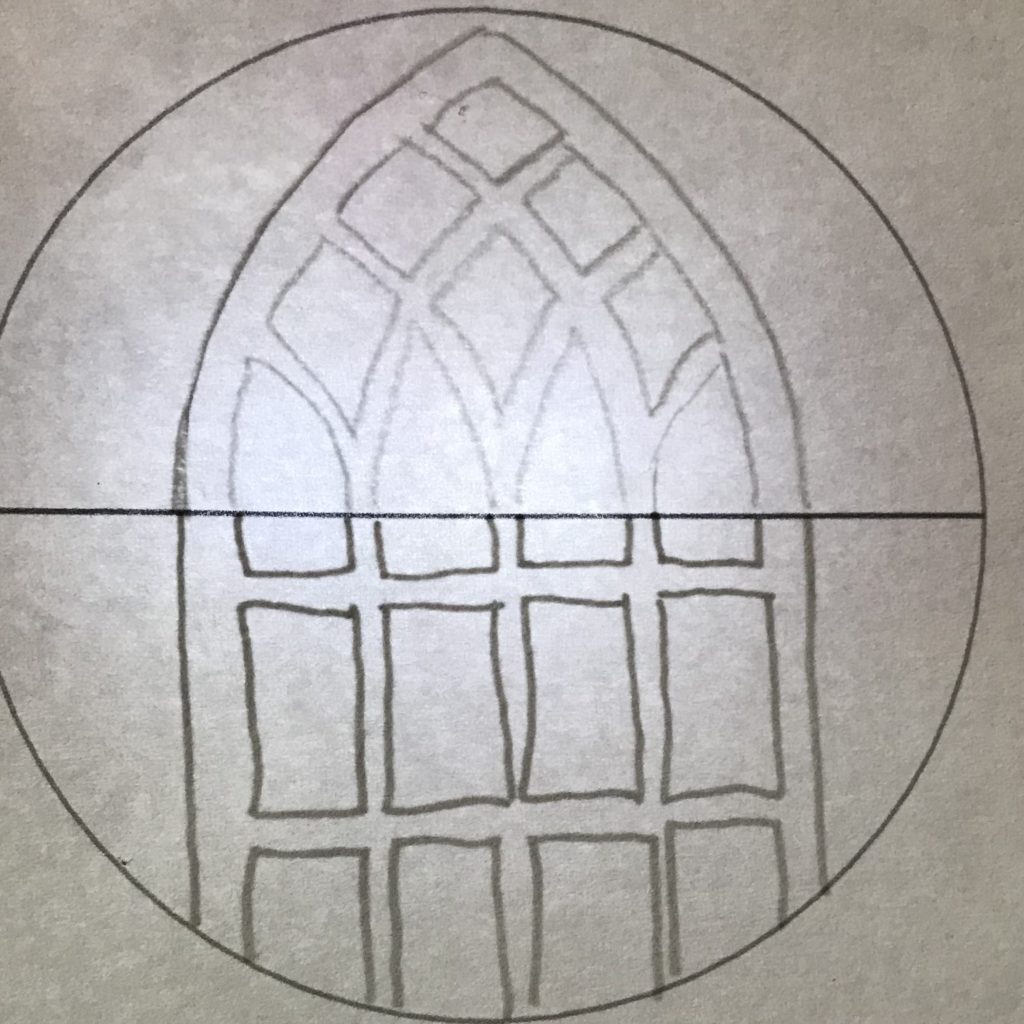
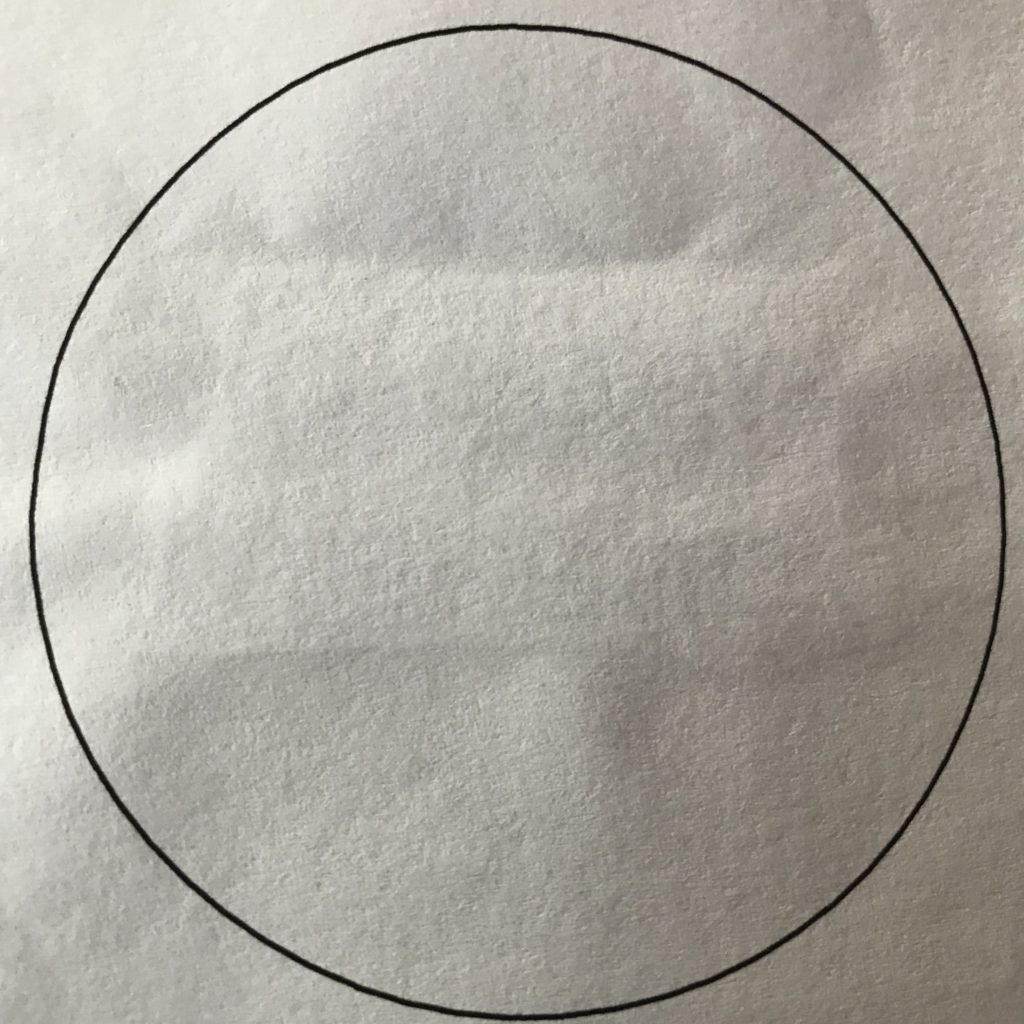
The first step to begin your experiments with paper and light is to customize (if desired) and print out the Shadows and Silhouettes Remixable Templates. Consider printing one or more pages on different types of paper, such as white printer paper, colored printer paper, cardstock, or vellum.
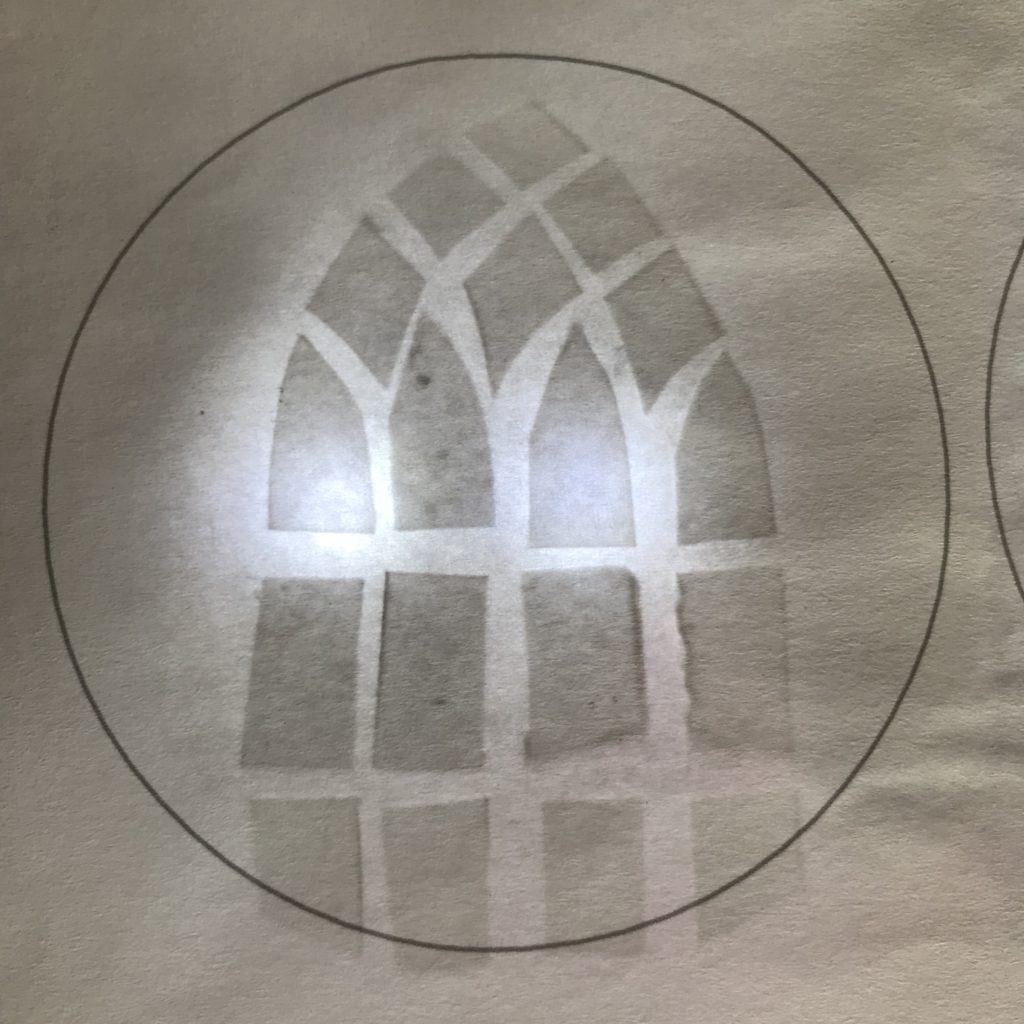
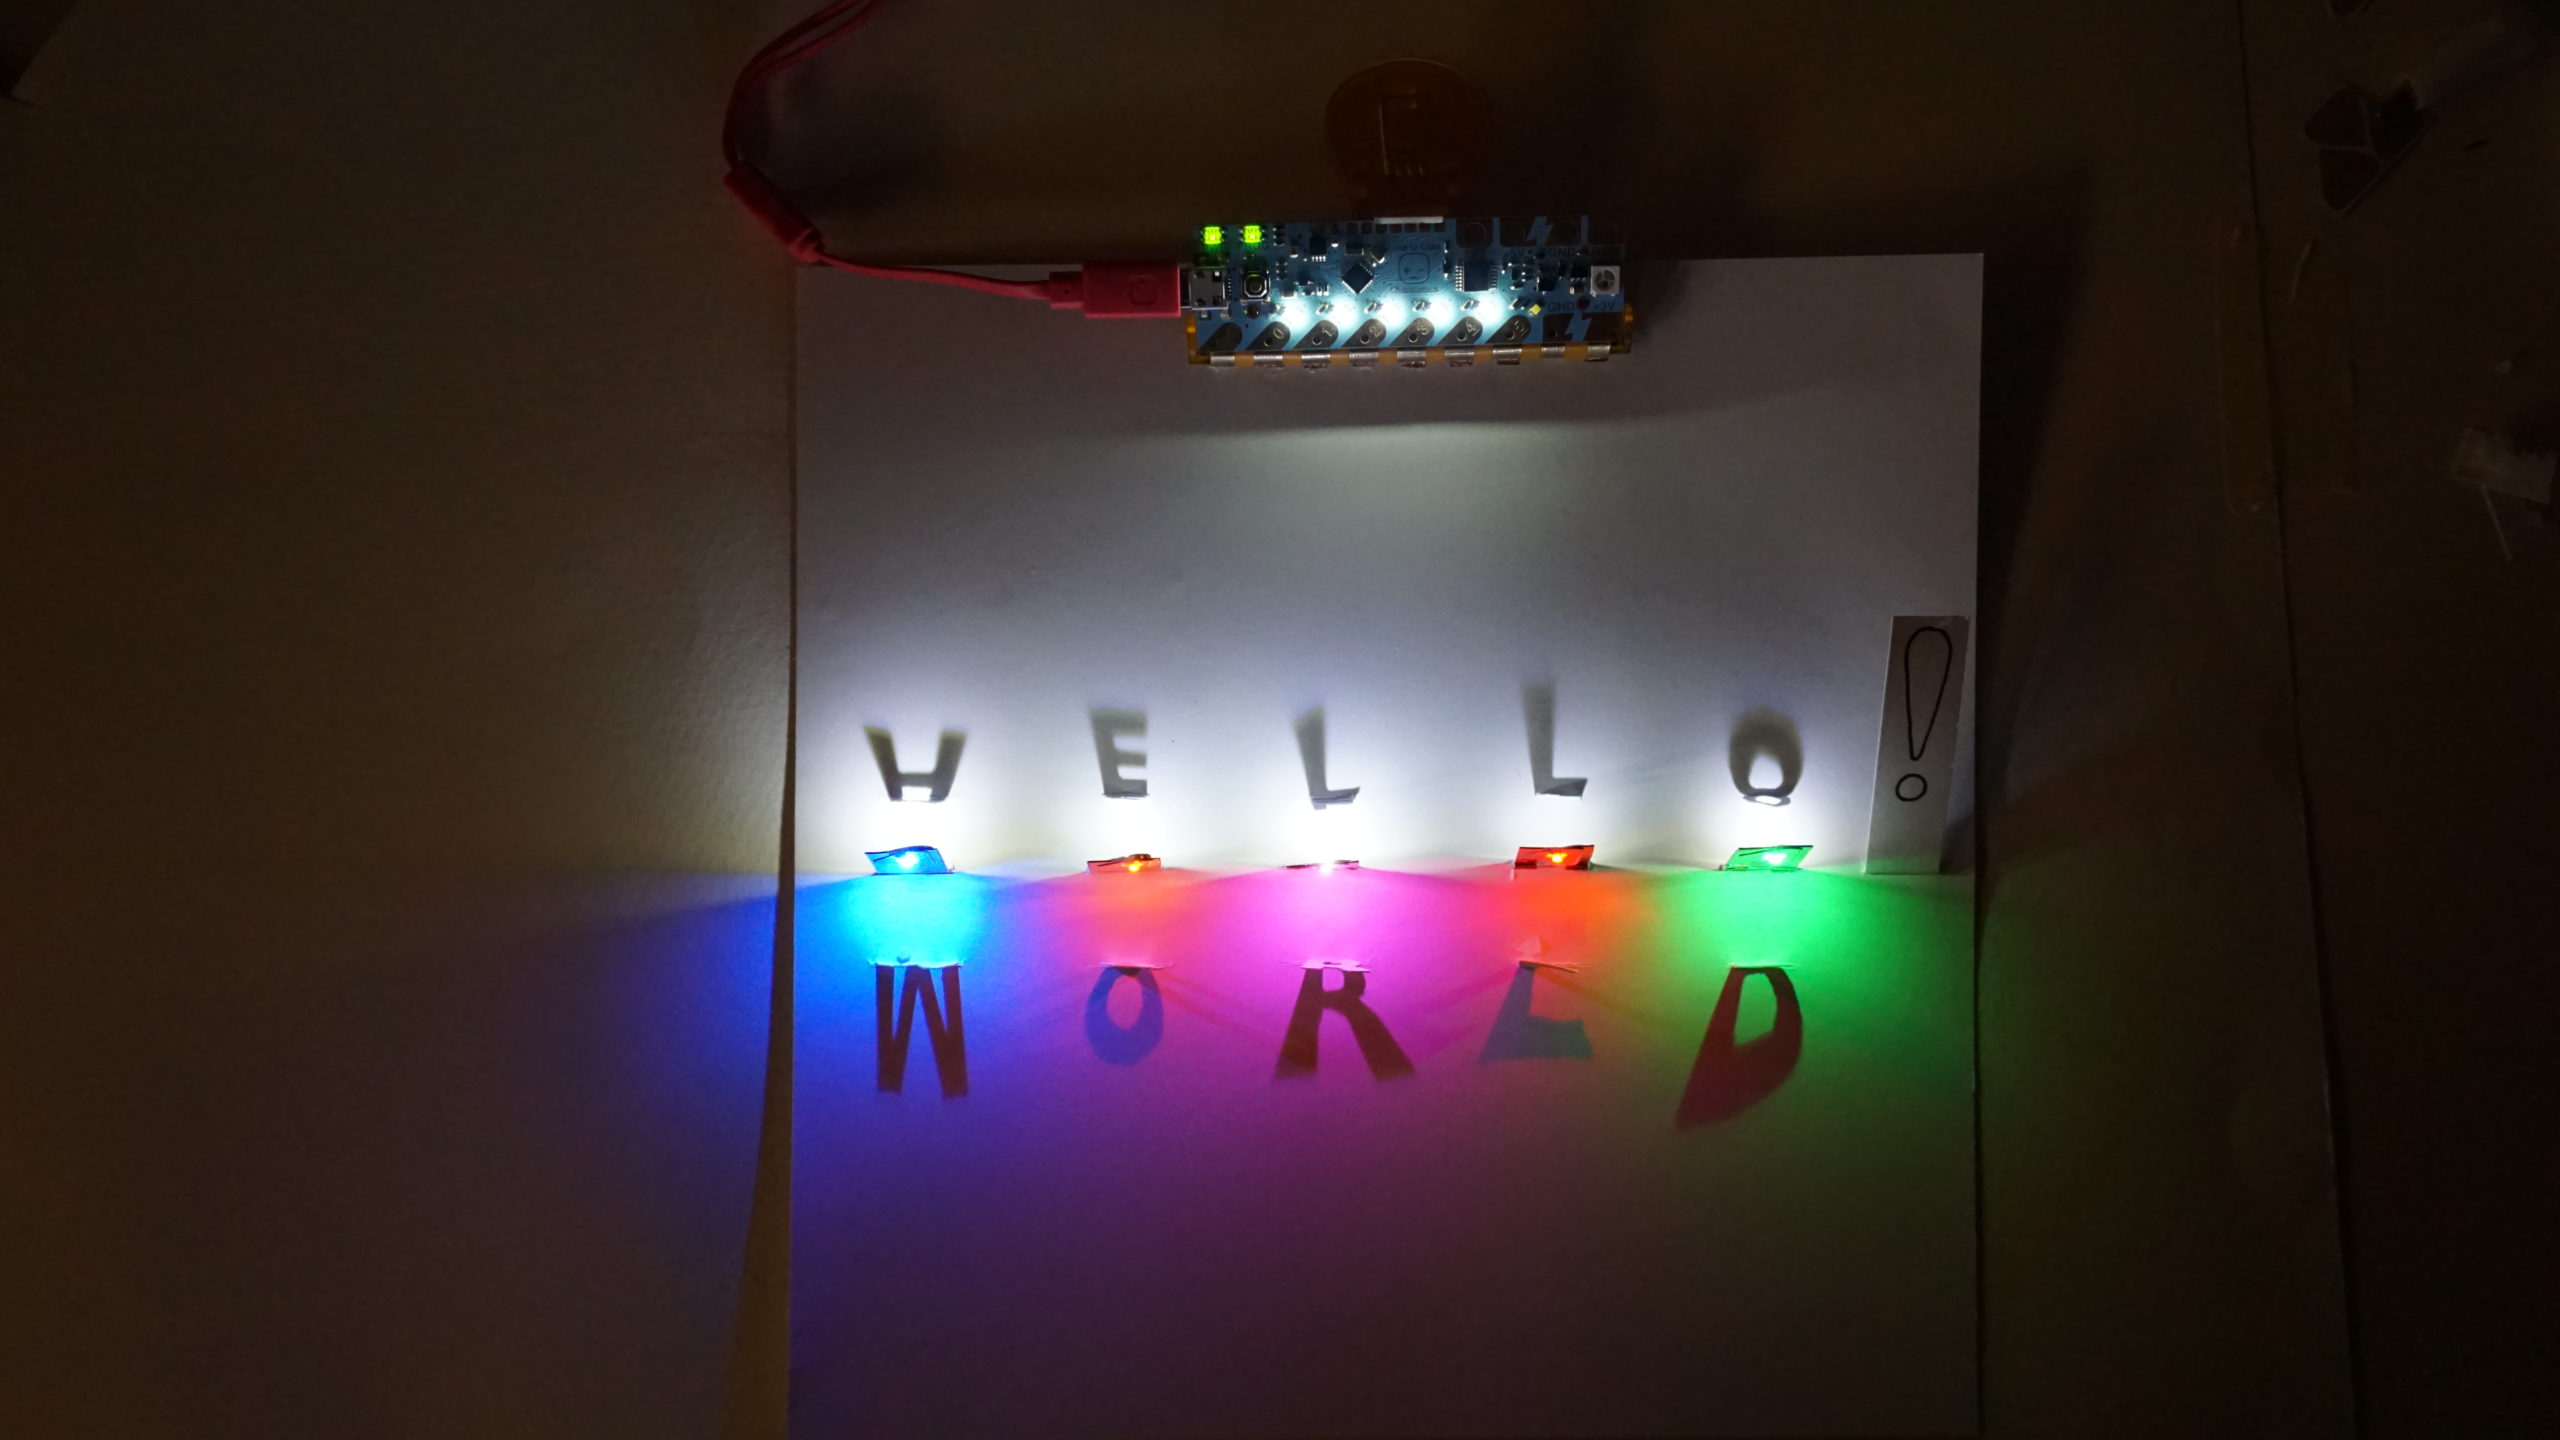
Step 2: Create a Light Source
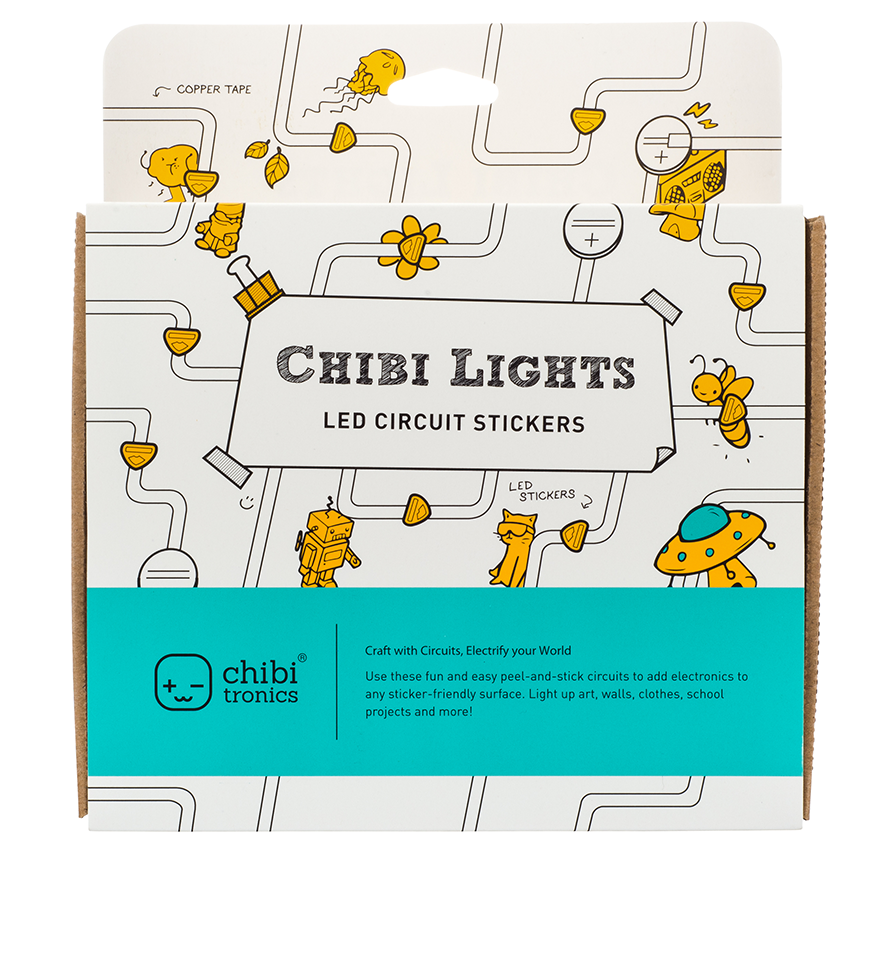
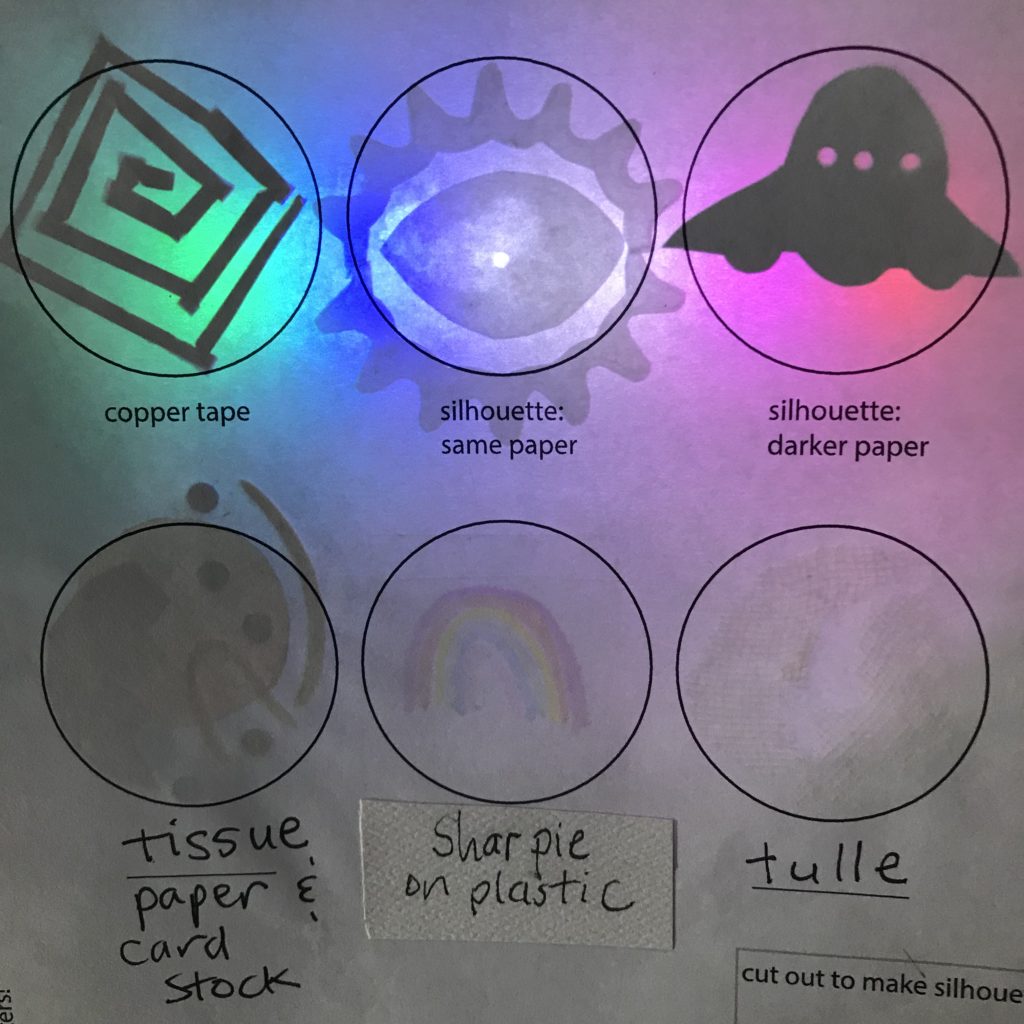
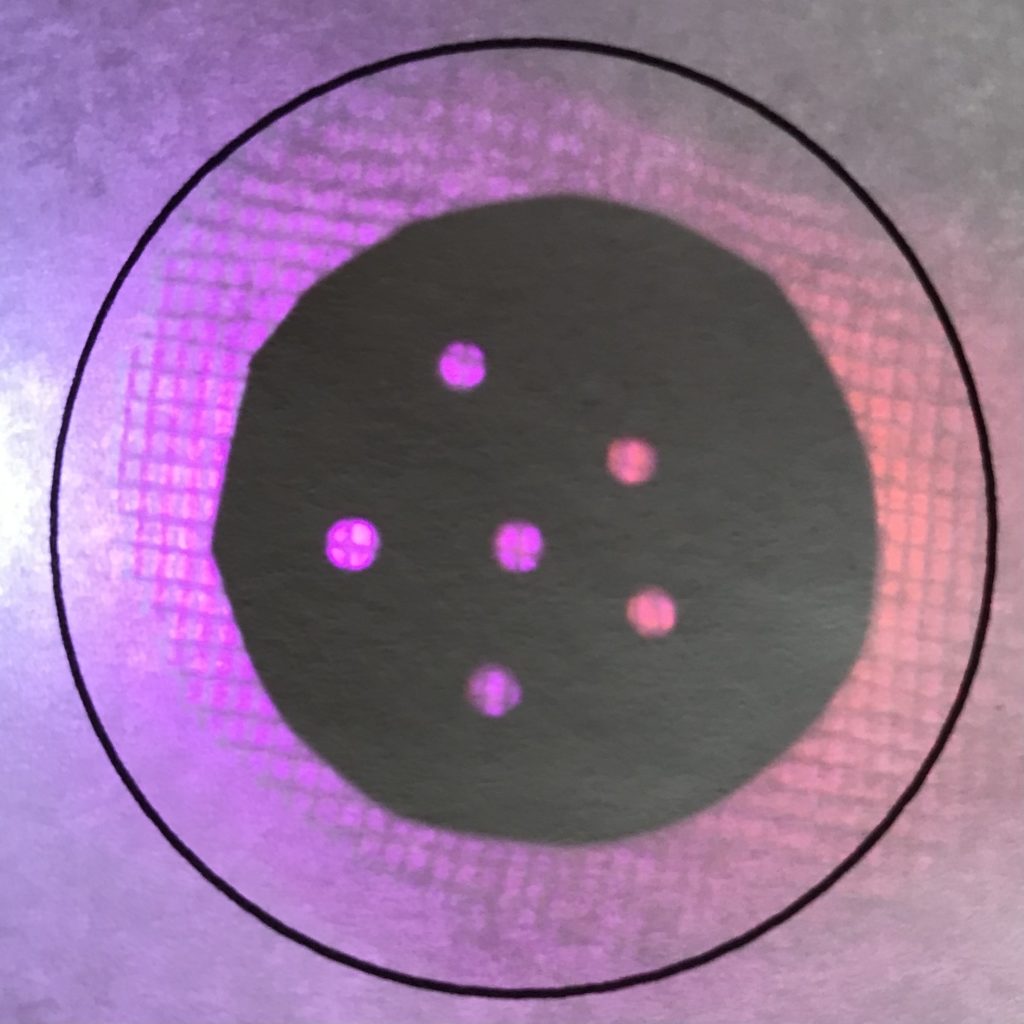
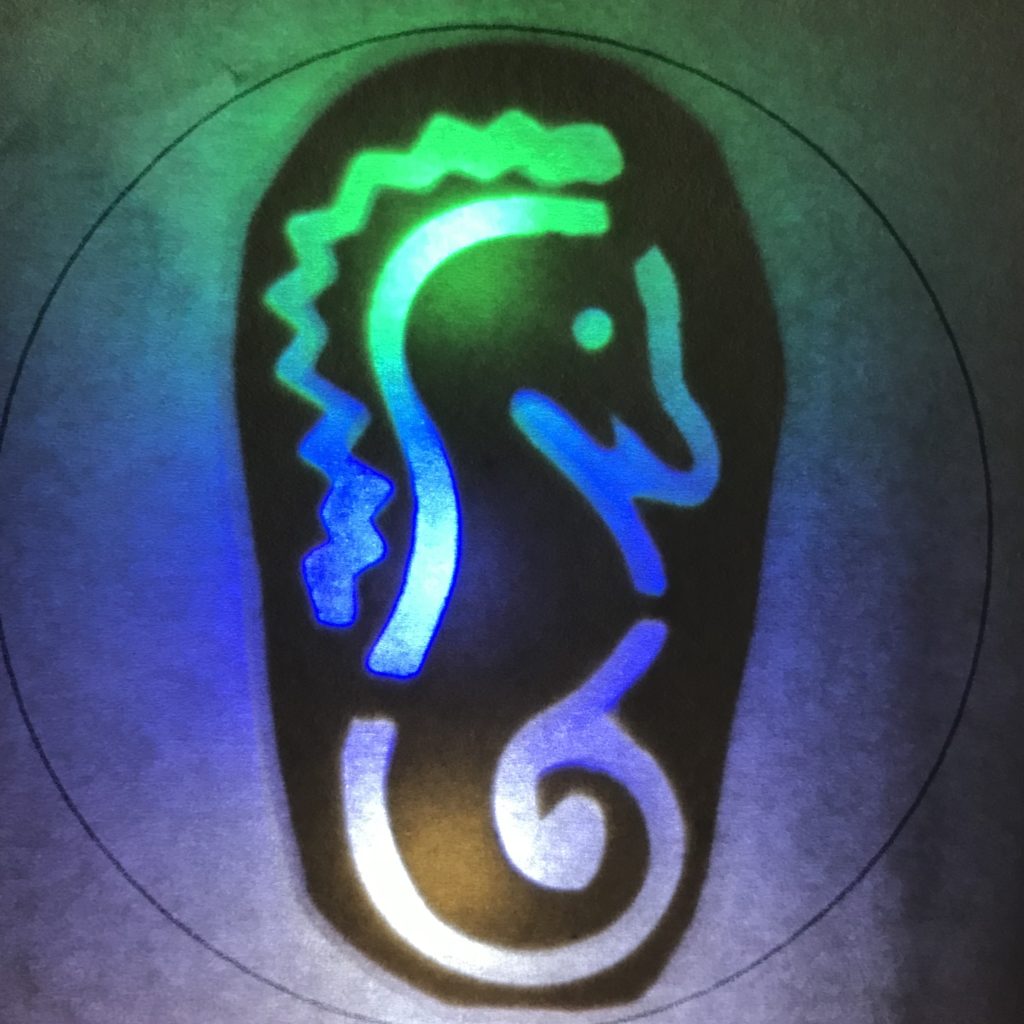
The next step is to create a light source for backlighting the experiments that you’ll be creating on the Shadows and Silhouettes Remixable Templates. Using one of our Simple Circuit or Parallel Circuit templates, construct a circuit with either Copper Tape or Conductive Fabric Tape. In this tutorial, we’ve used a variety of LED colors as part of our experiments with paper and light, but you may opt to use just one or two.
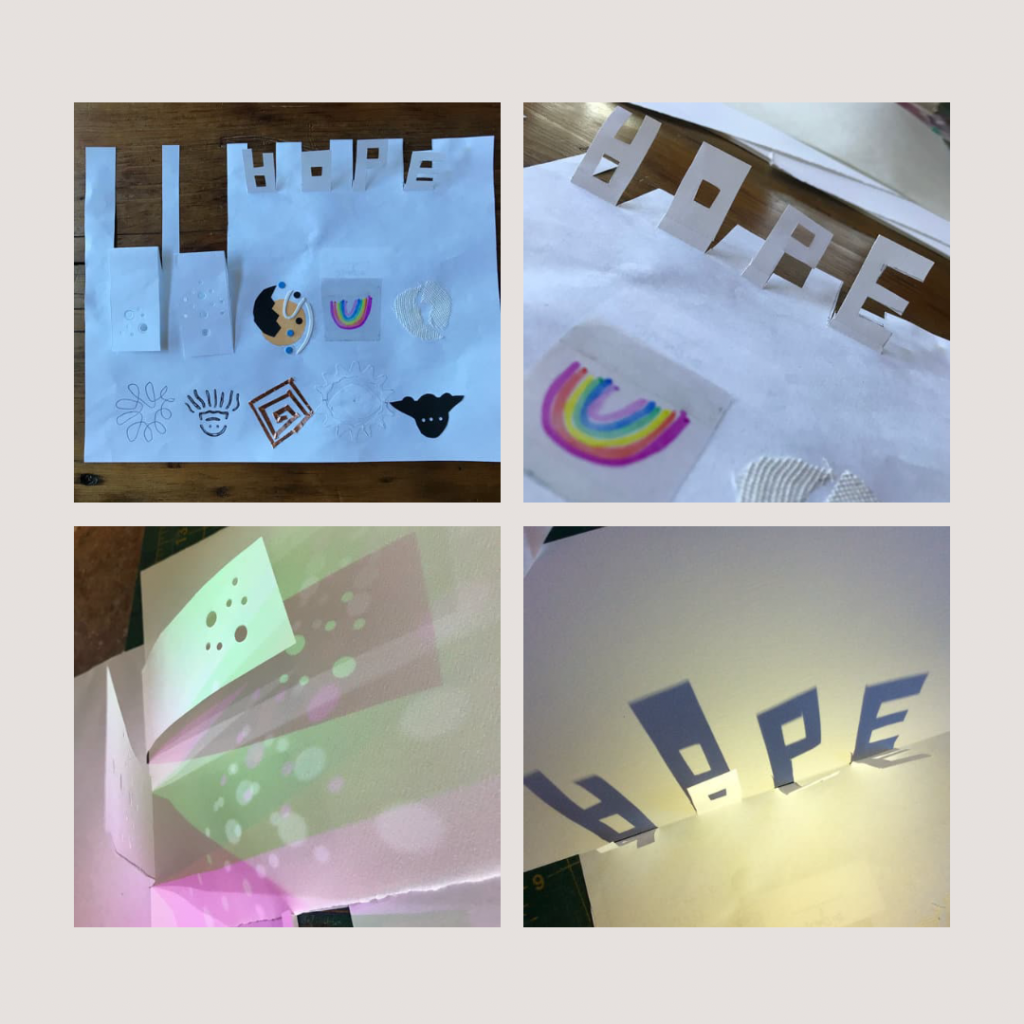
Step 3: Start Experimenting
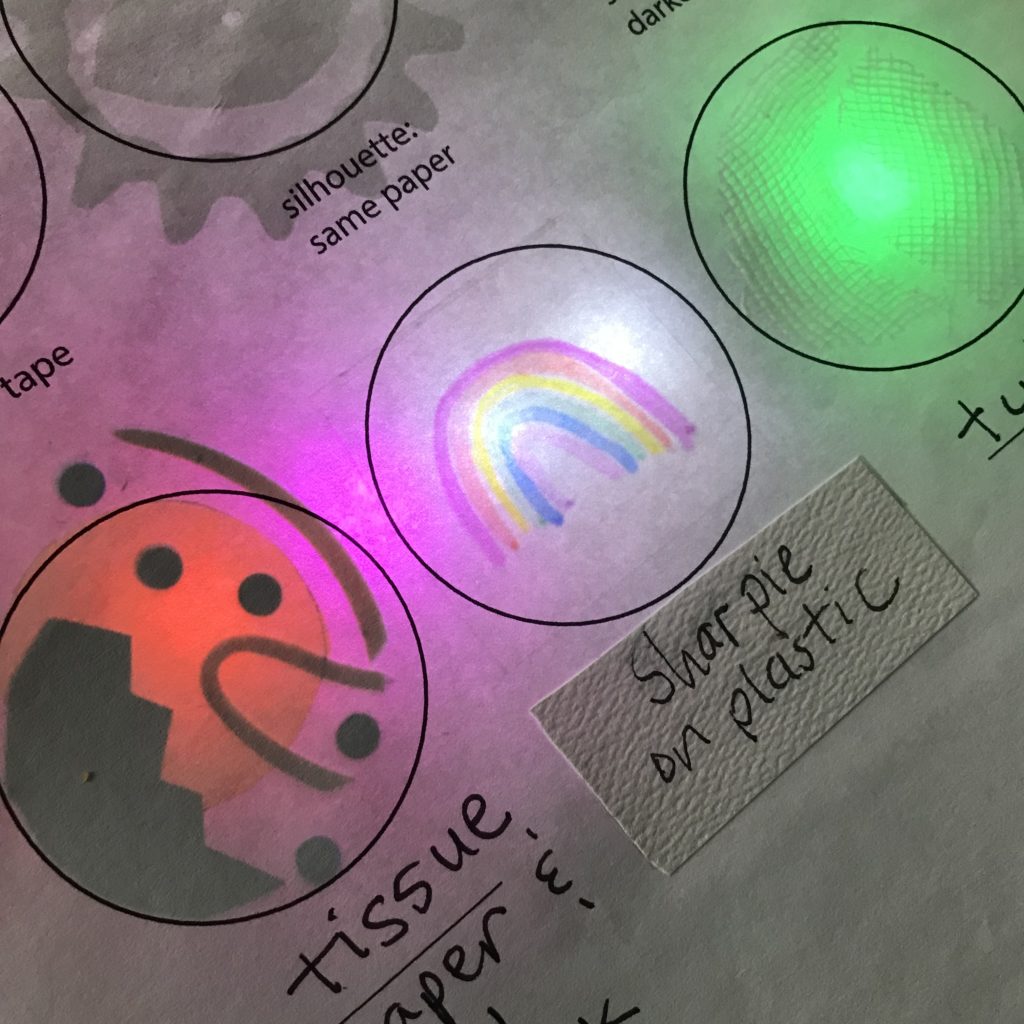
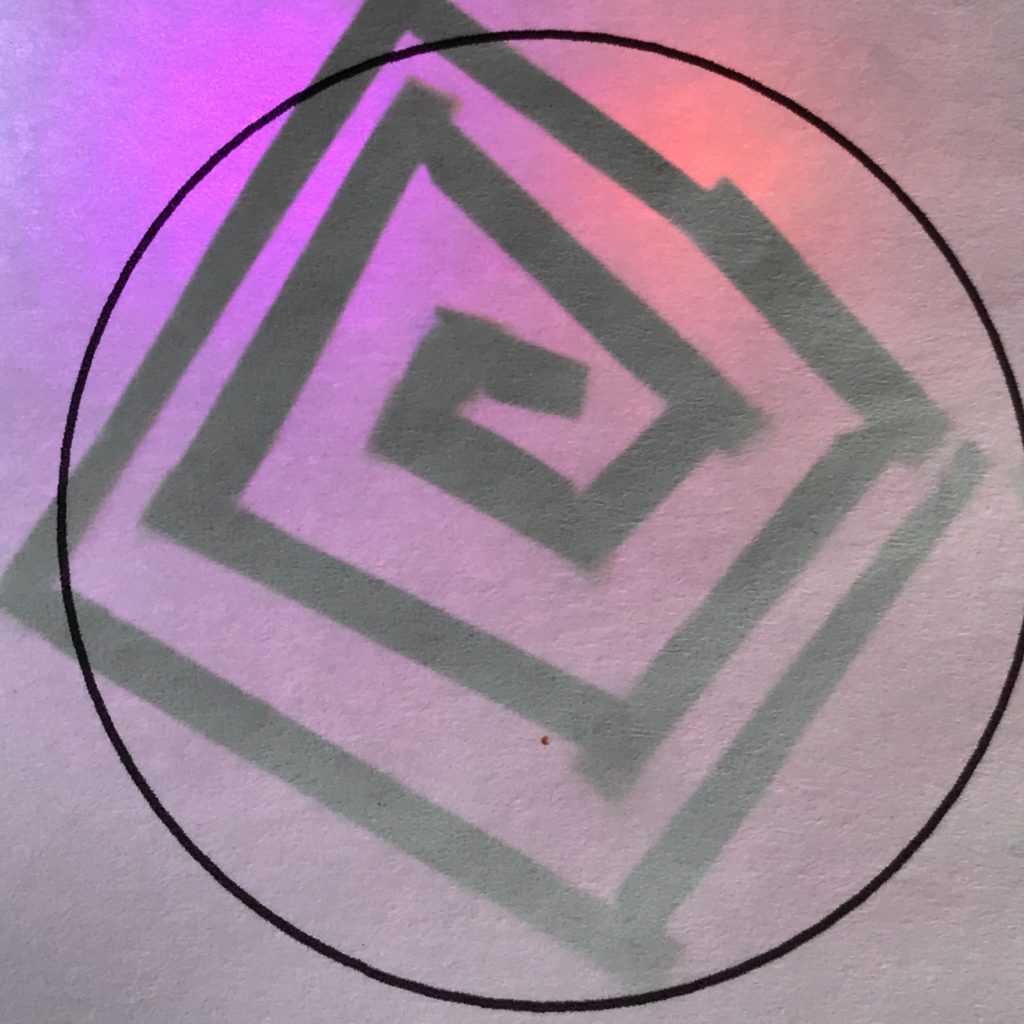
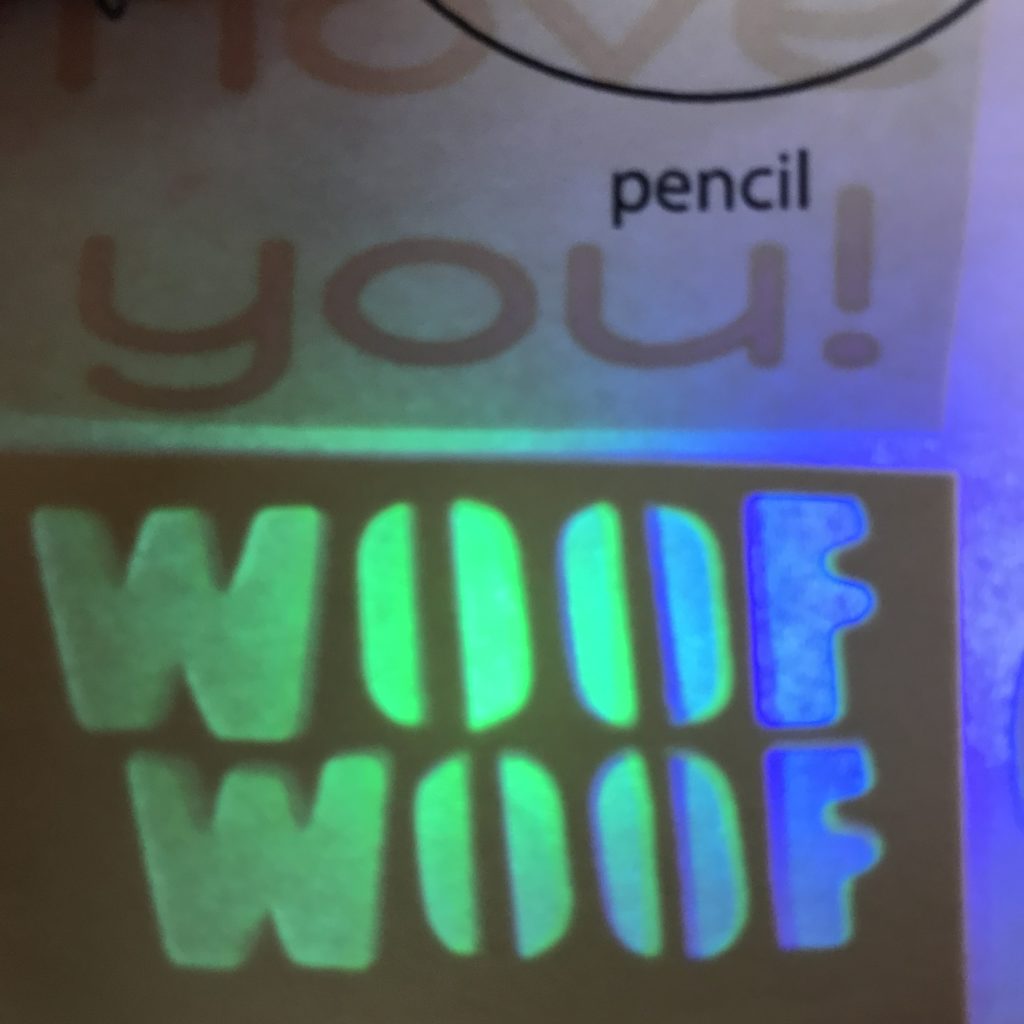
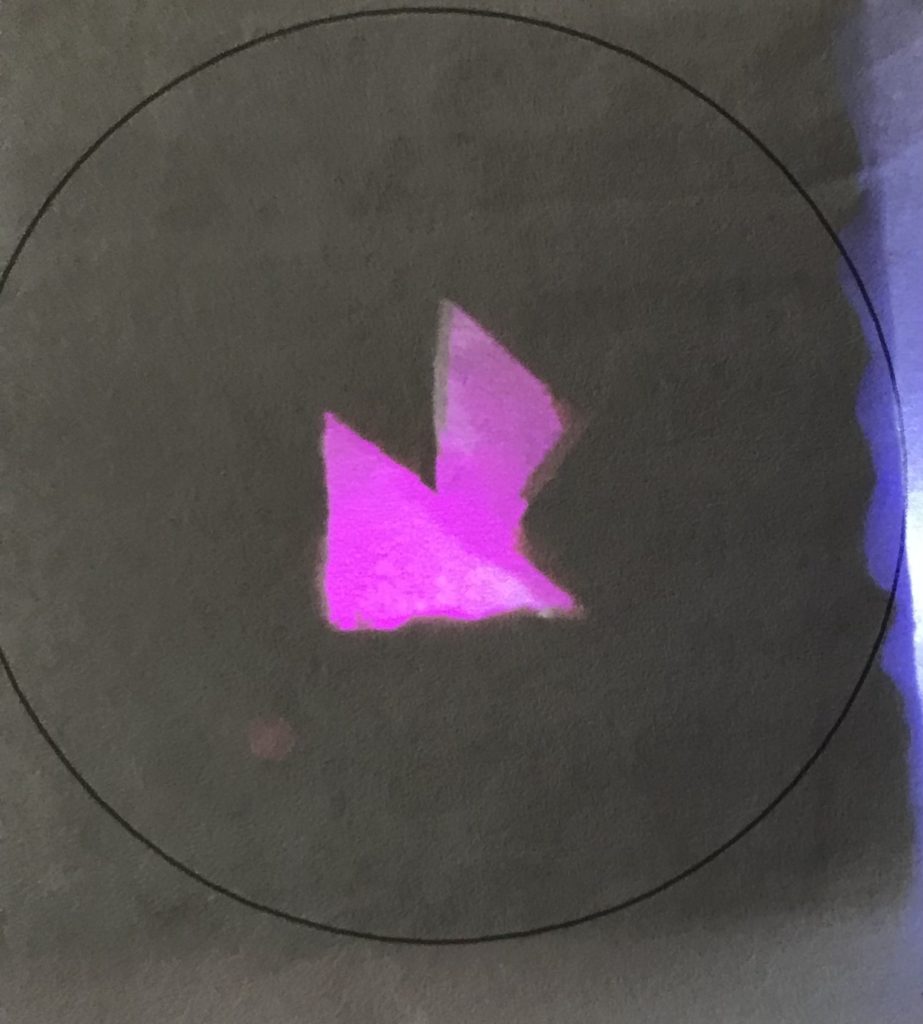
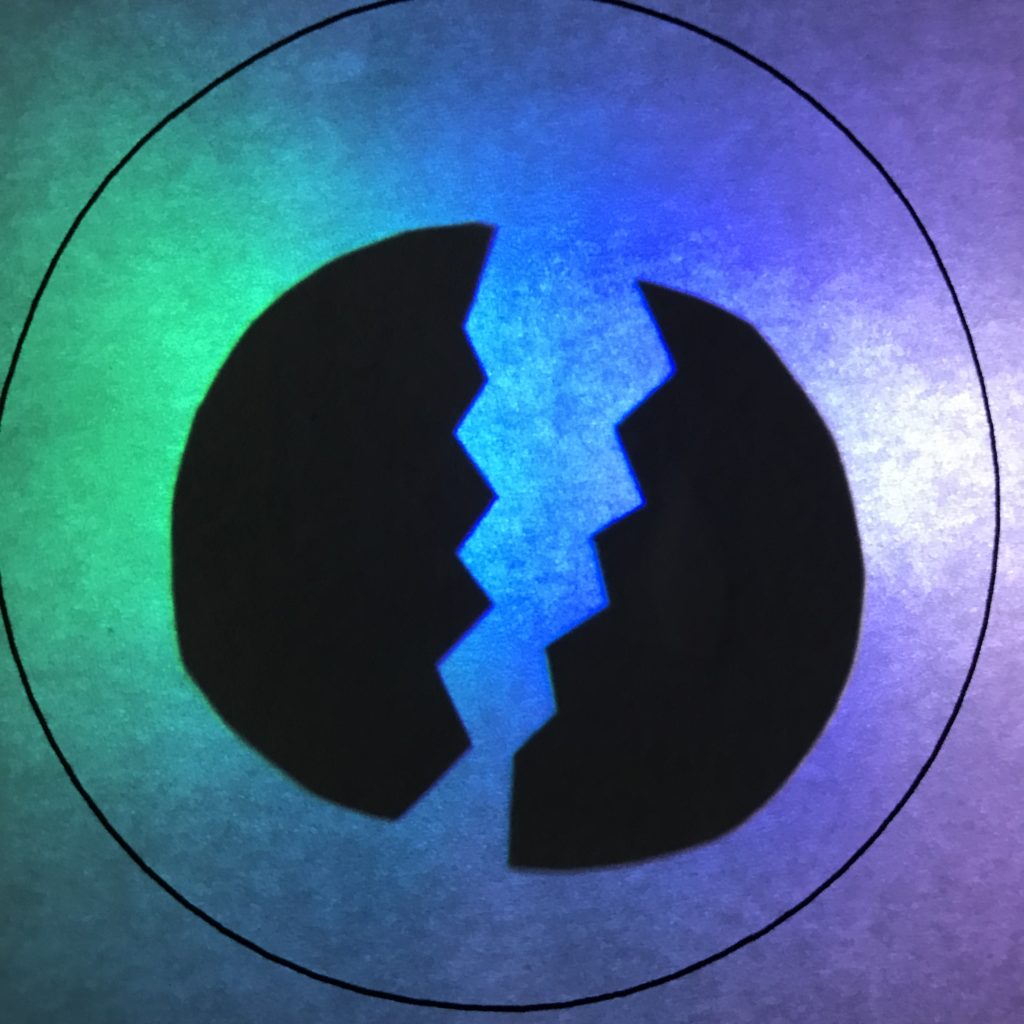
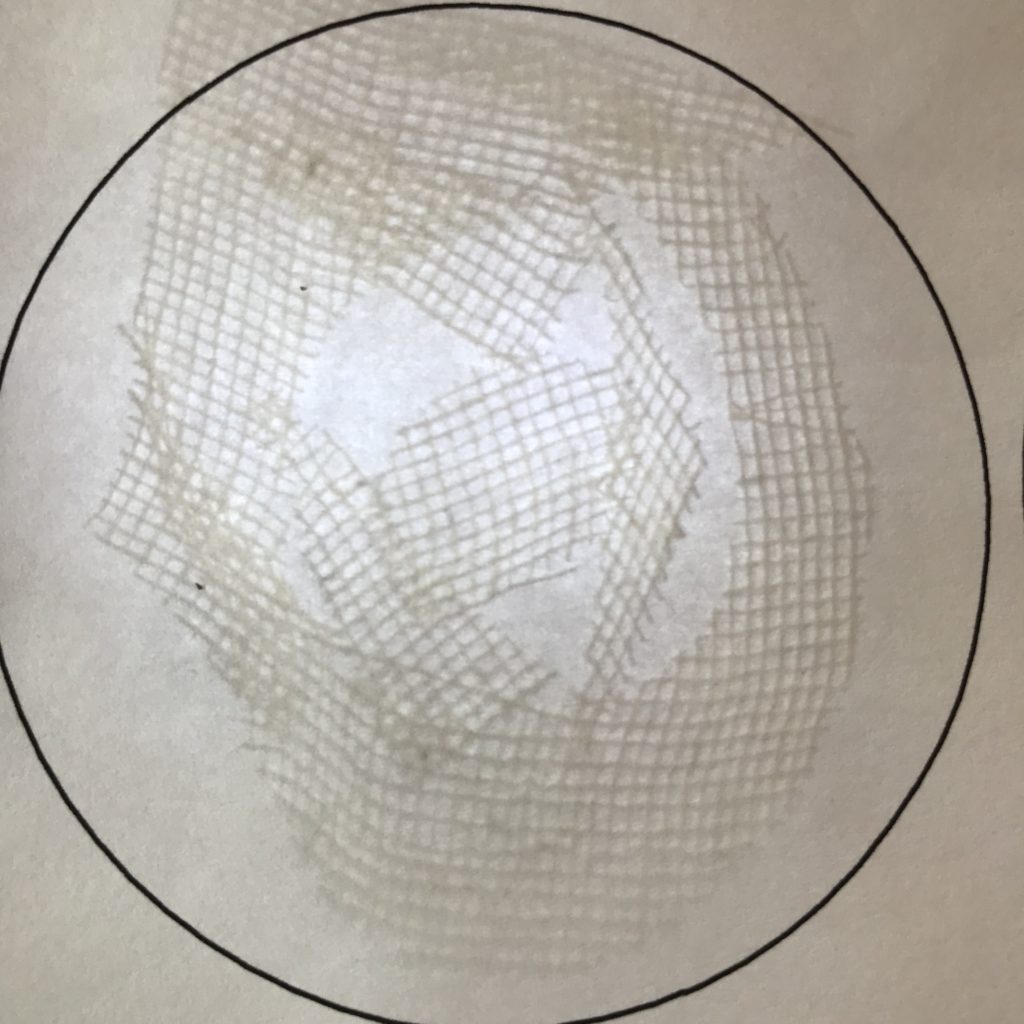
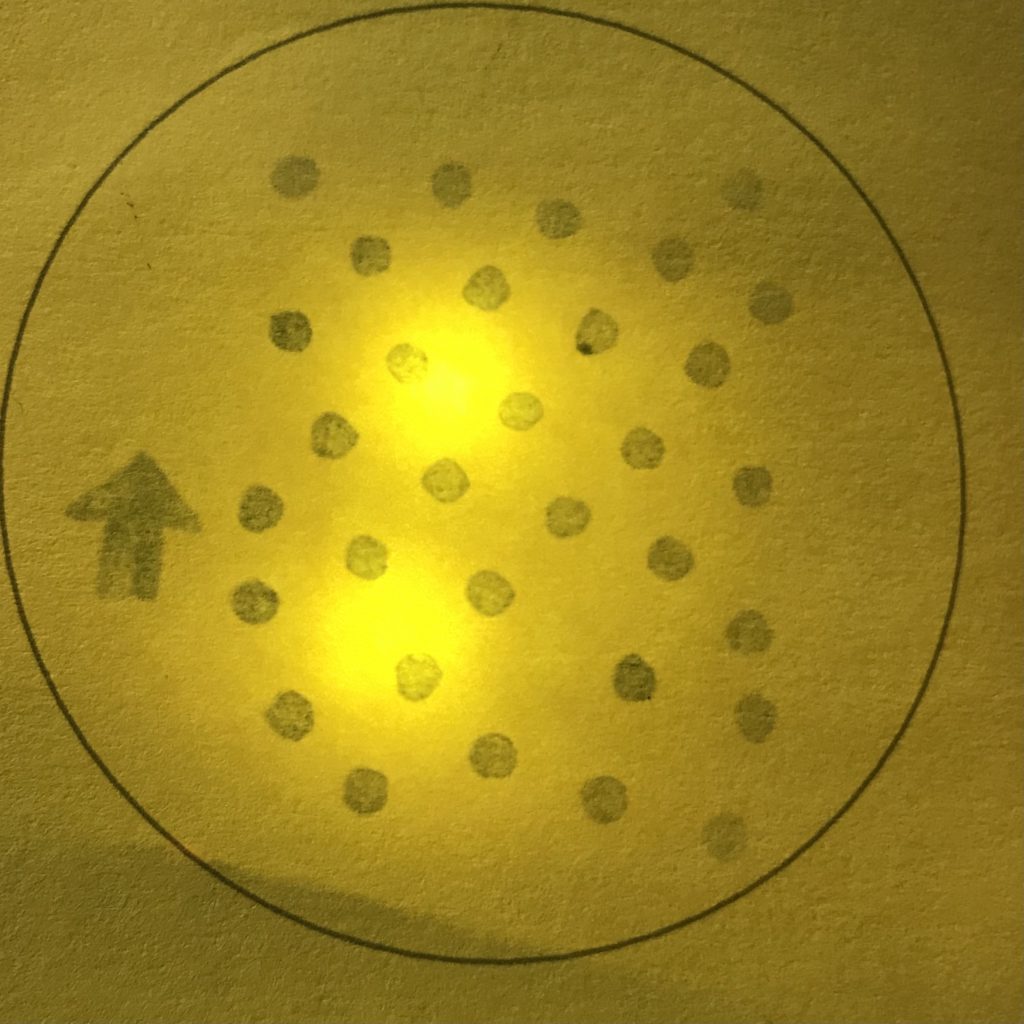
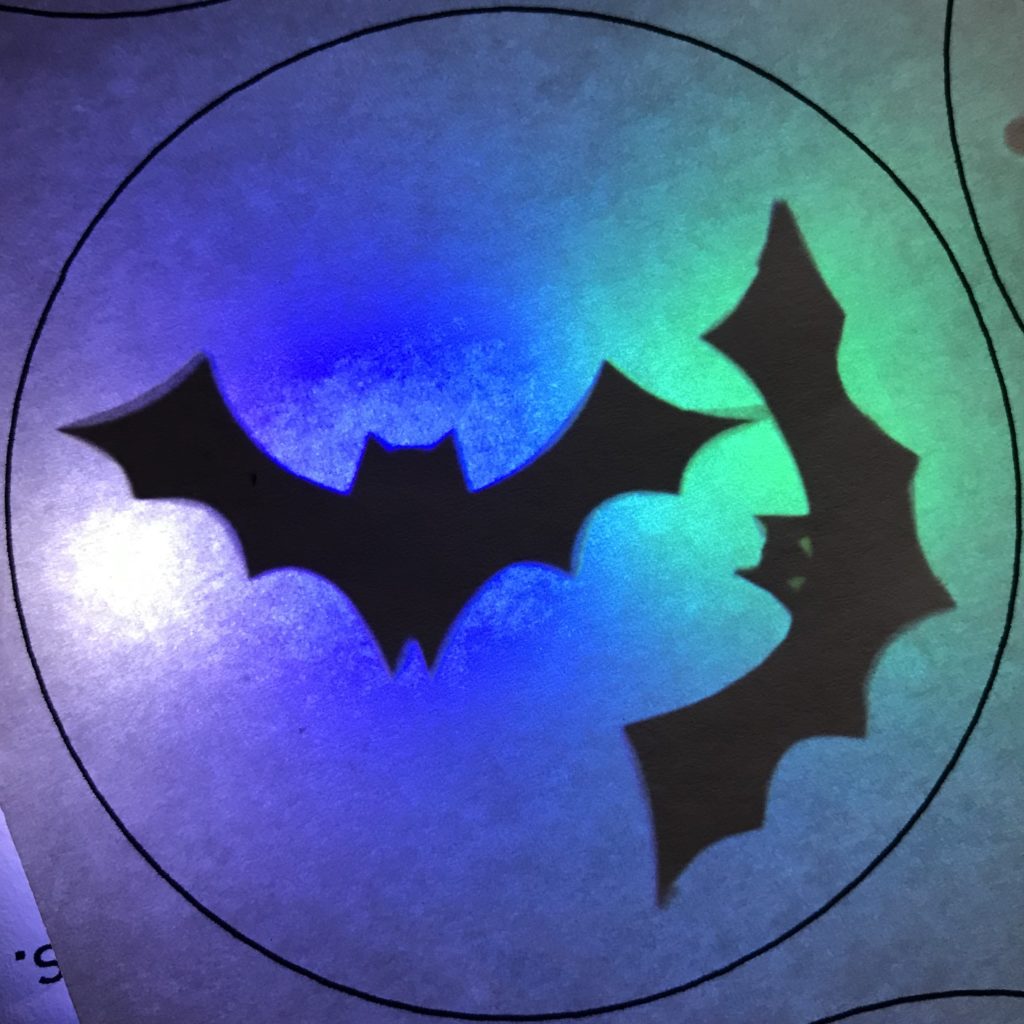
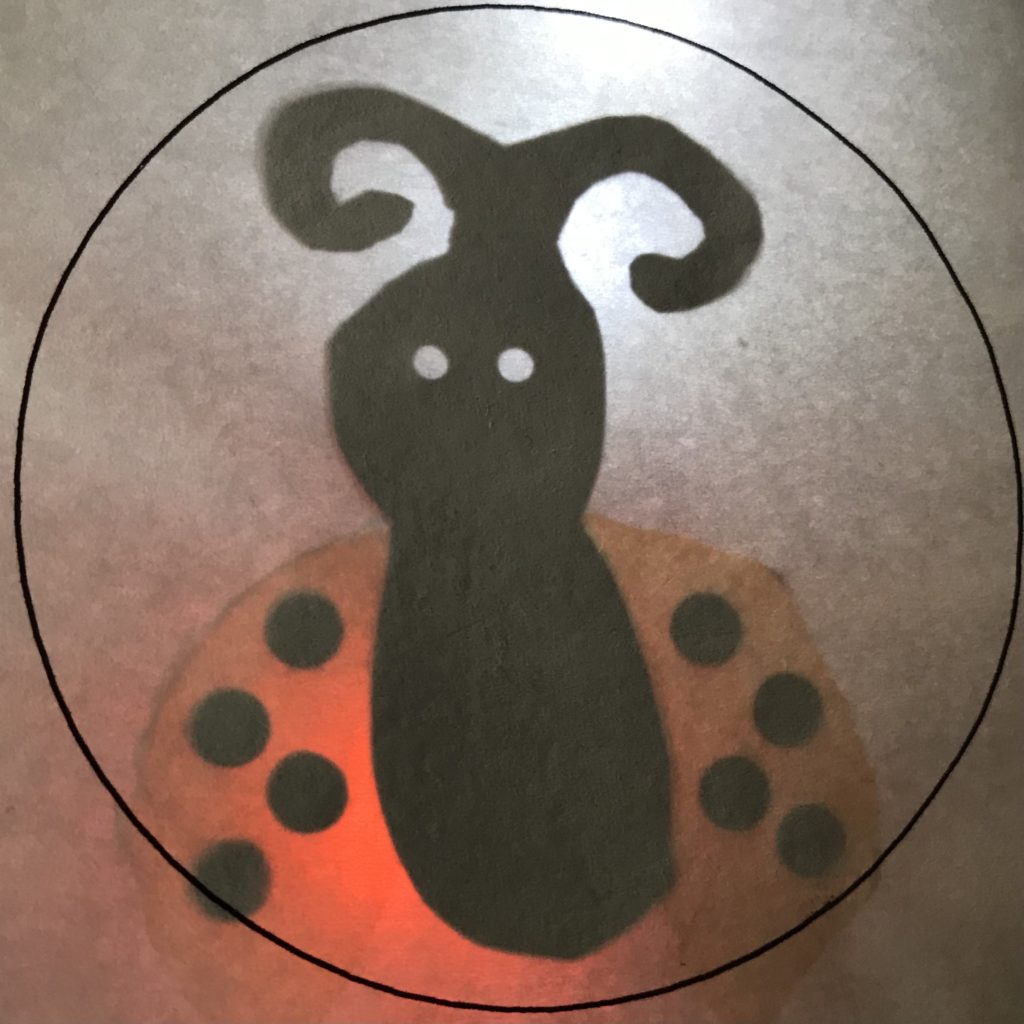
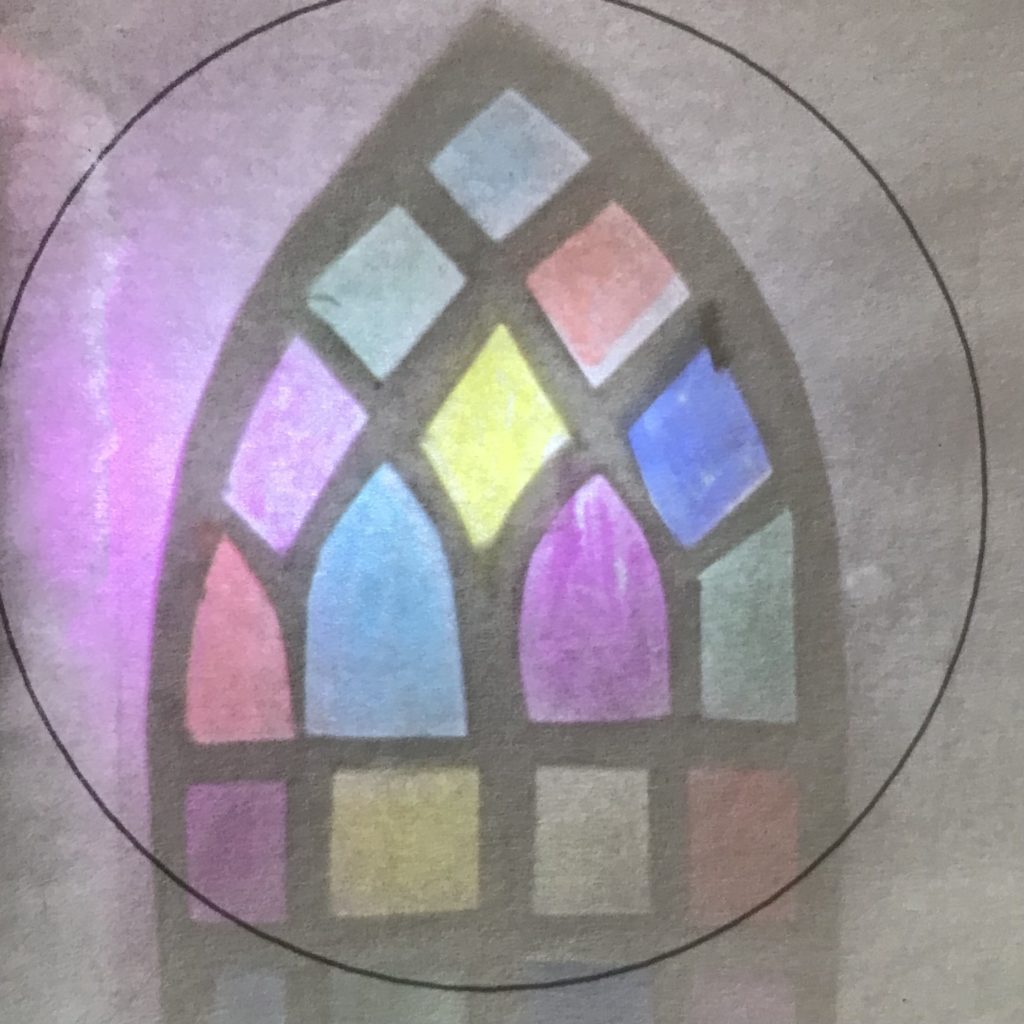
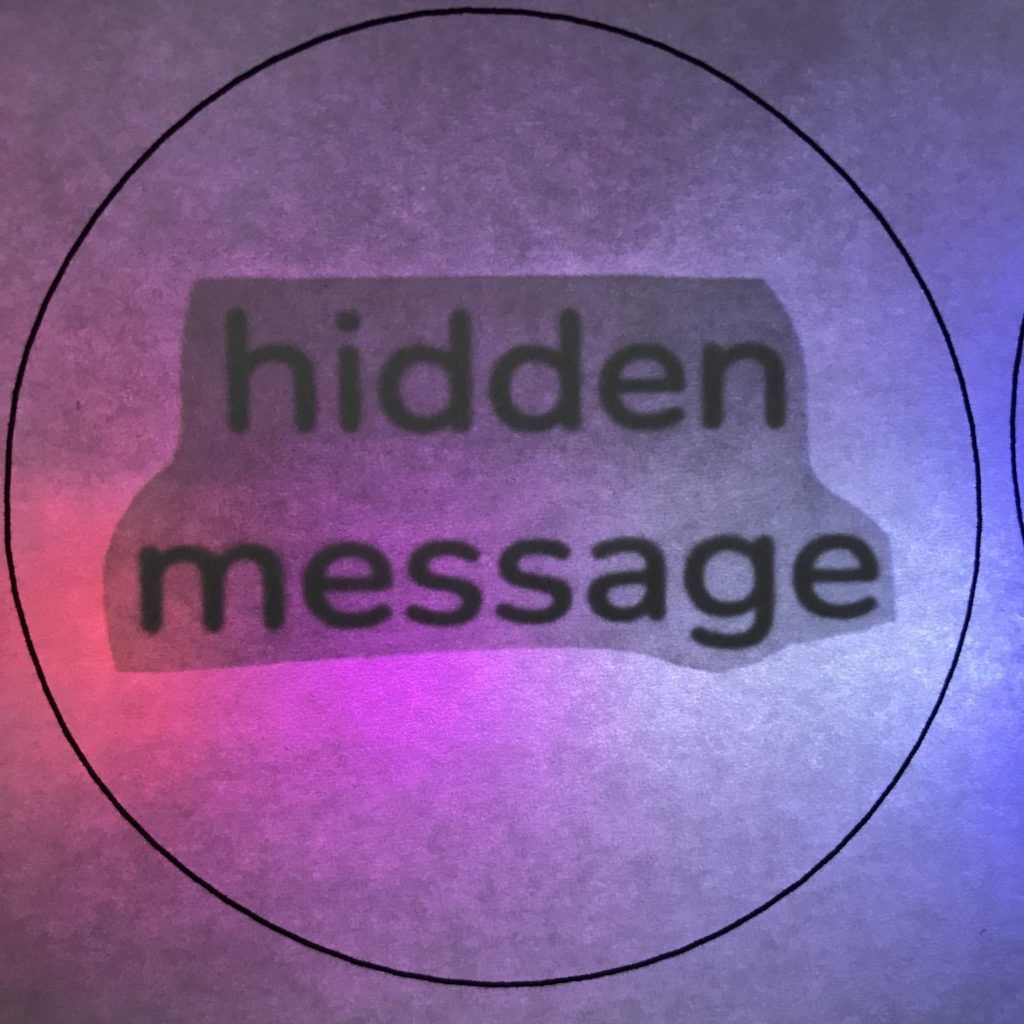
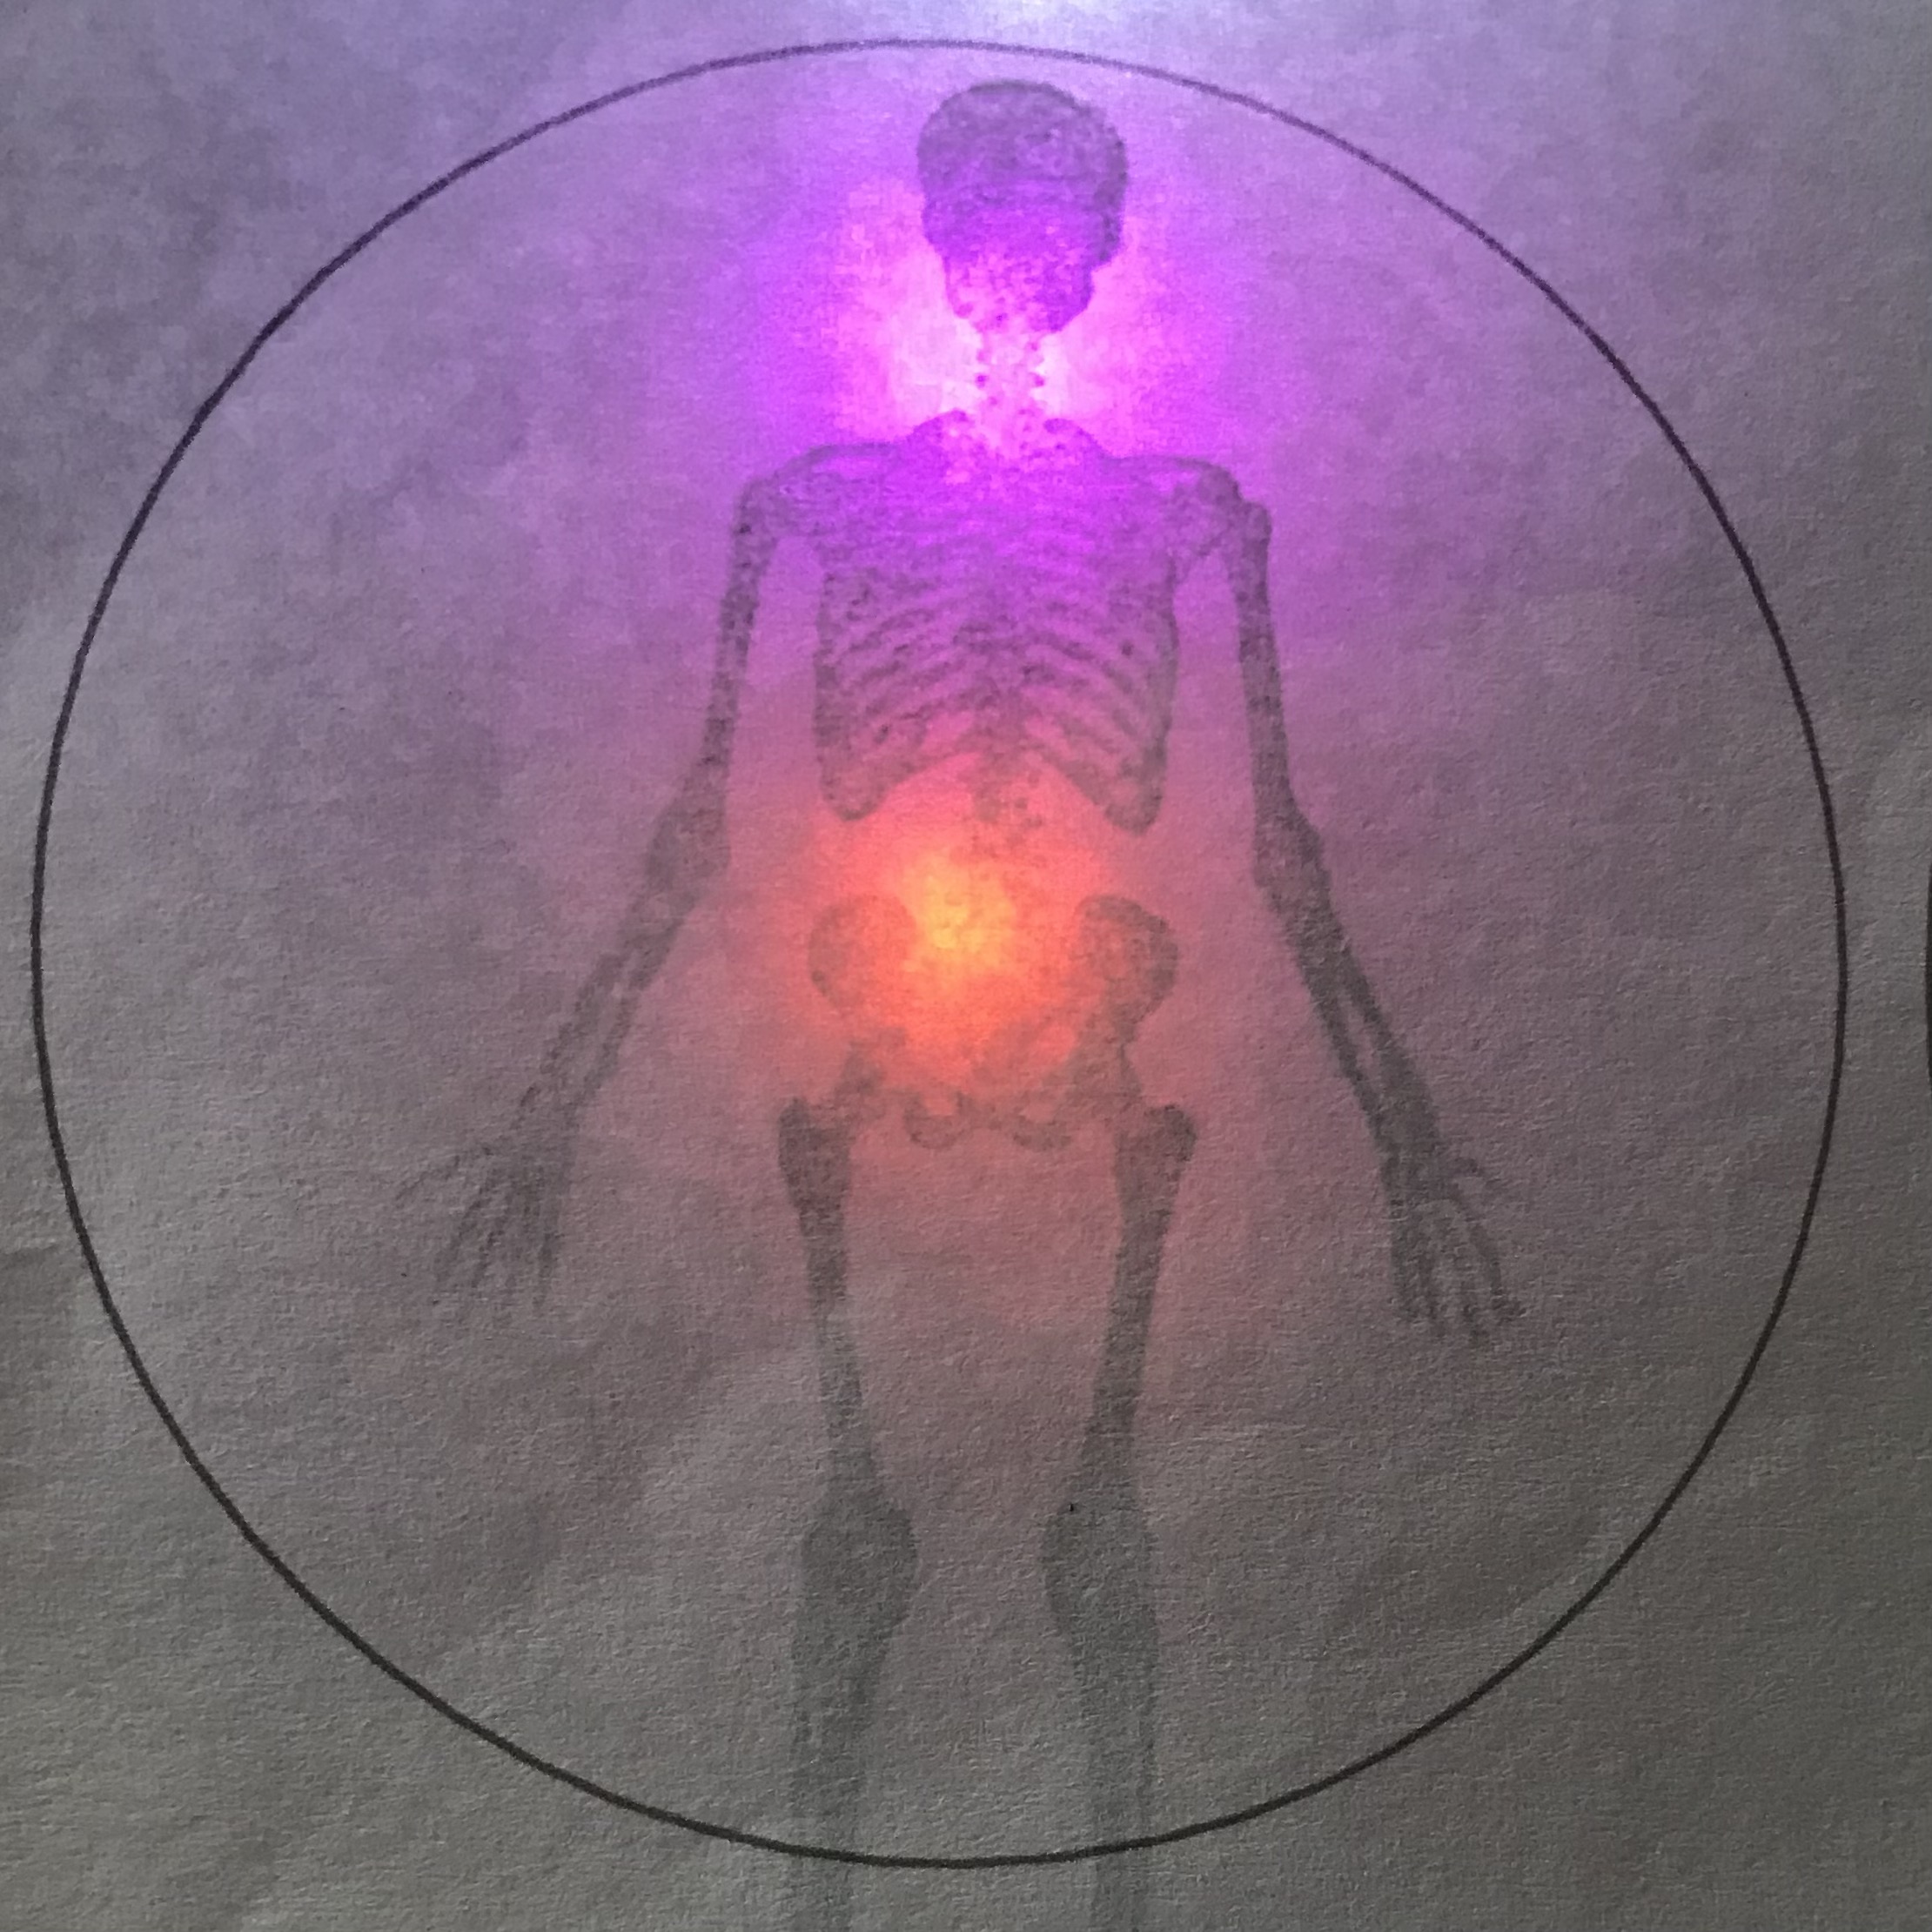
The last step is to begin your exploration by drawing, gluing, and taping a variety of materials to the back of the templates you’ve printed. To begin experimenting with different shadow, silhouette, and layering effects, change the location, proximity, and/or color of the light source you’re using to backlight each new example you create.
Some Questions to Consider
- What does it look like without the light? Can you see what’s behind the page?
- When you add the light to the back of the page, what do you see?
- What changes when you move the light closer or farther from the page?
- What happens when you change the brightness of the light (using the pressure sensitive plastic)?
- What changes when you add colored light, versus white light?
- What changes if you use more than one material to make your layers?
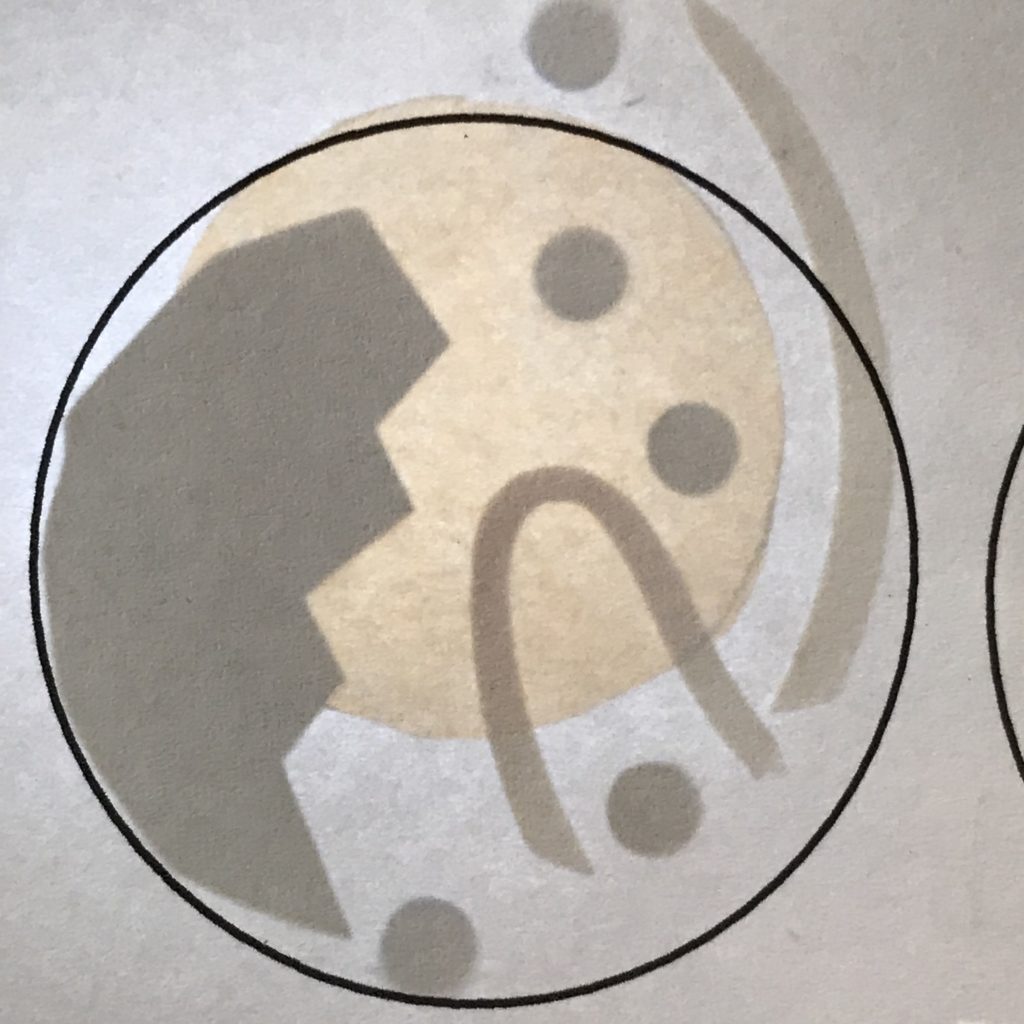
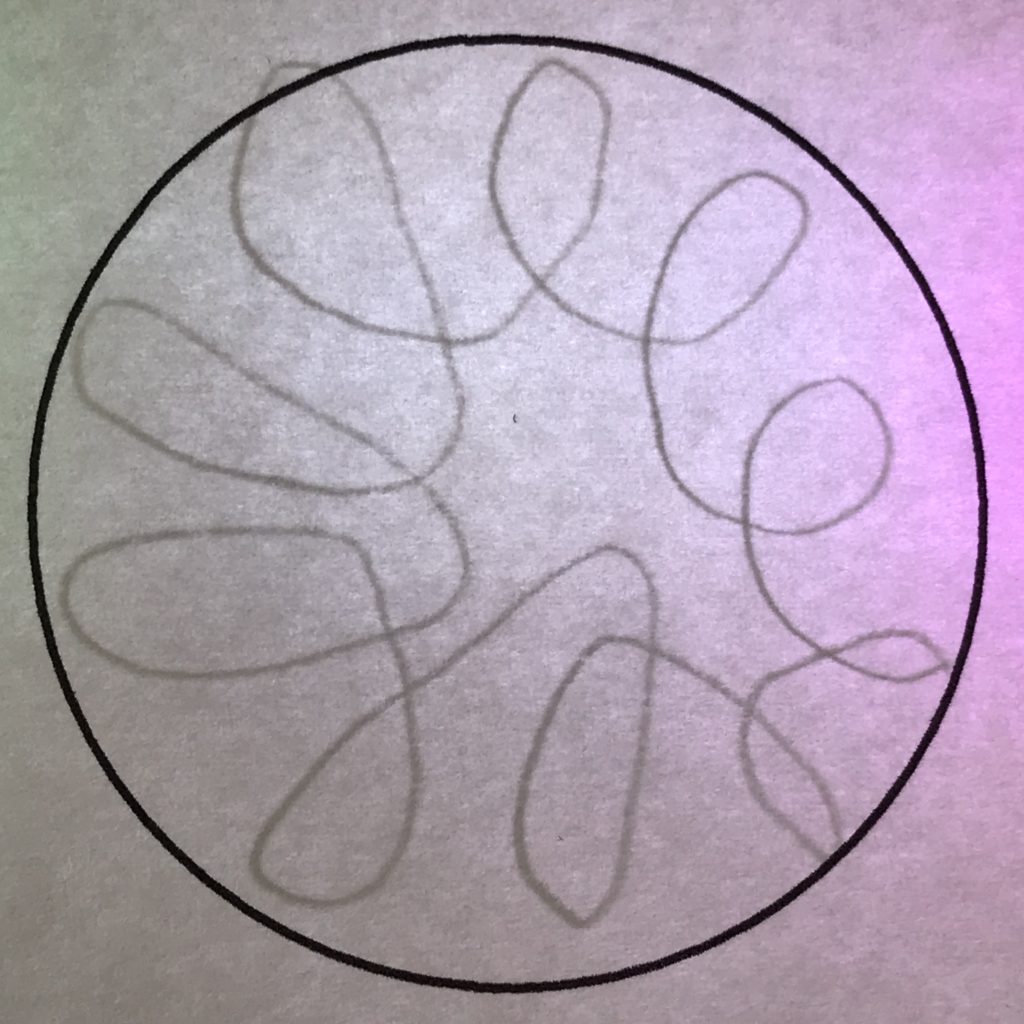
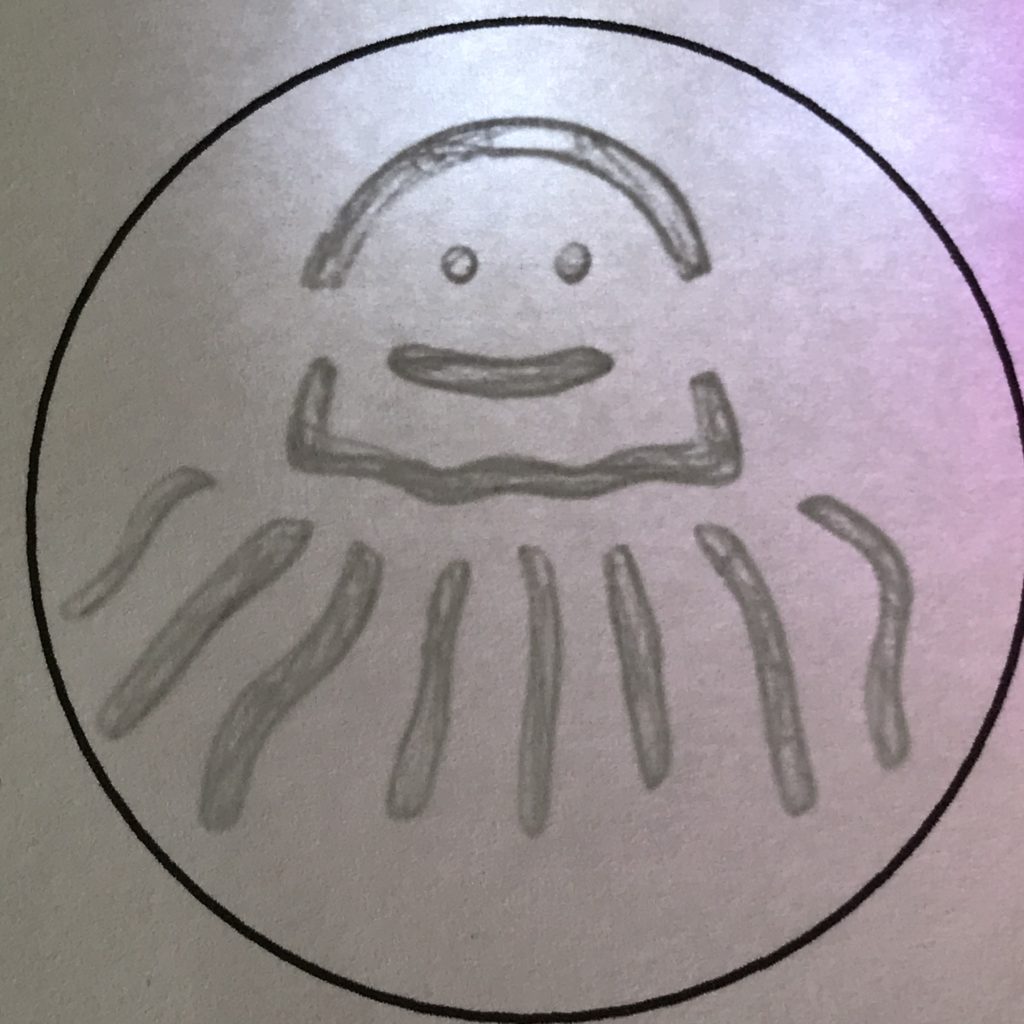
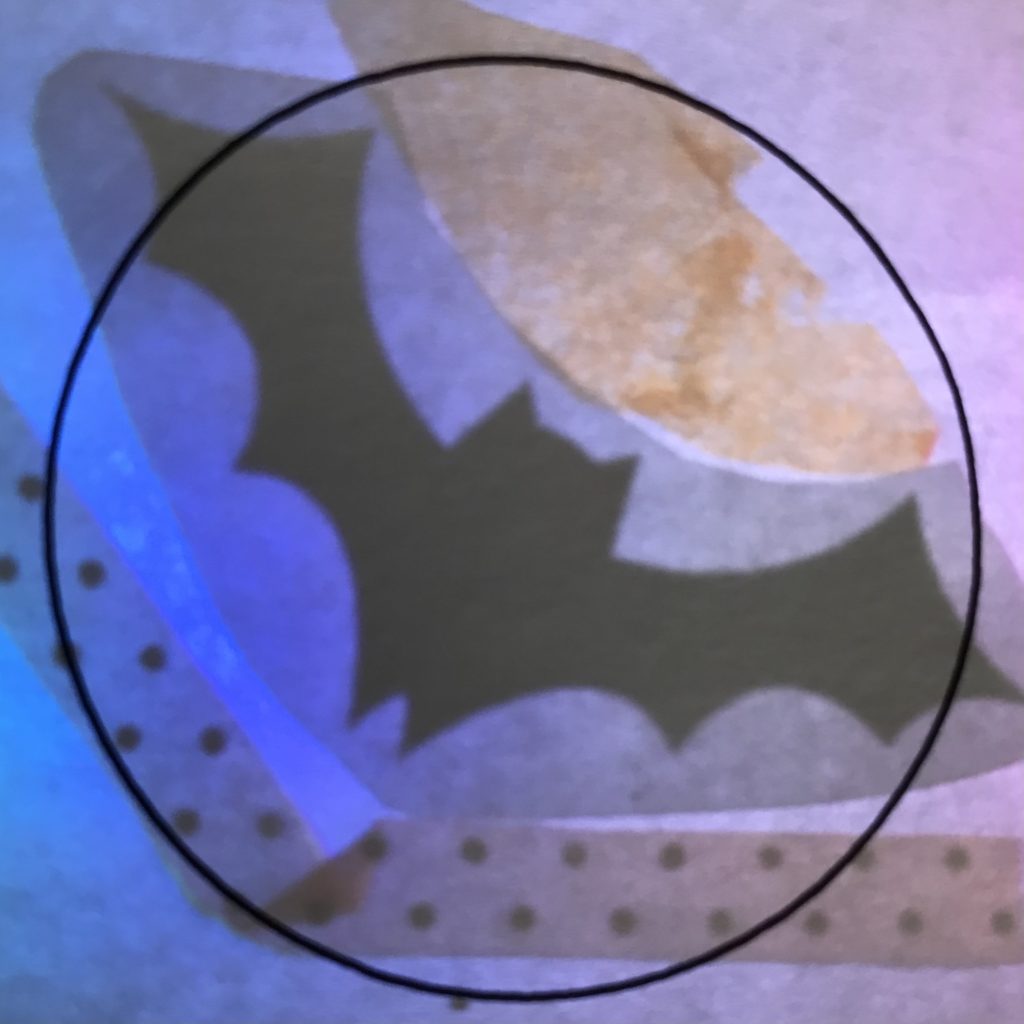
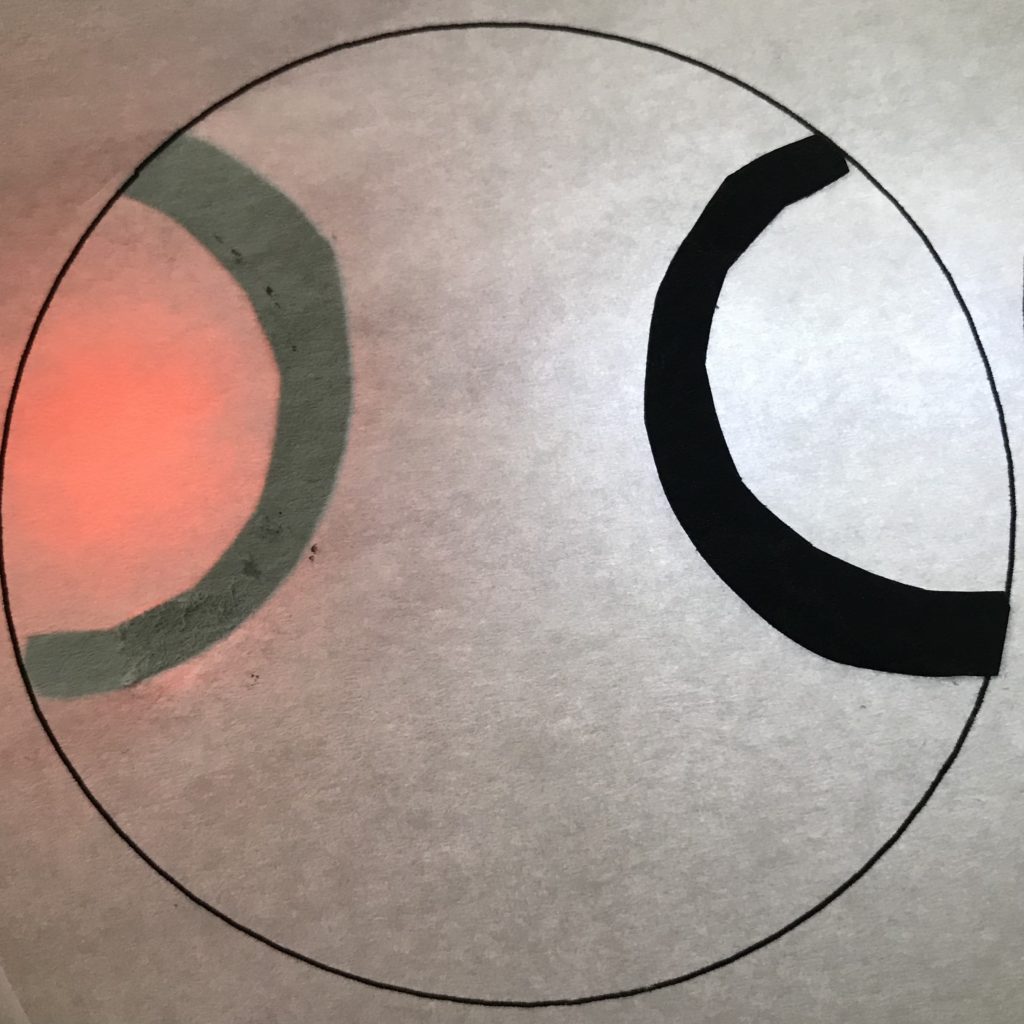
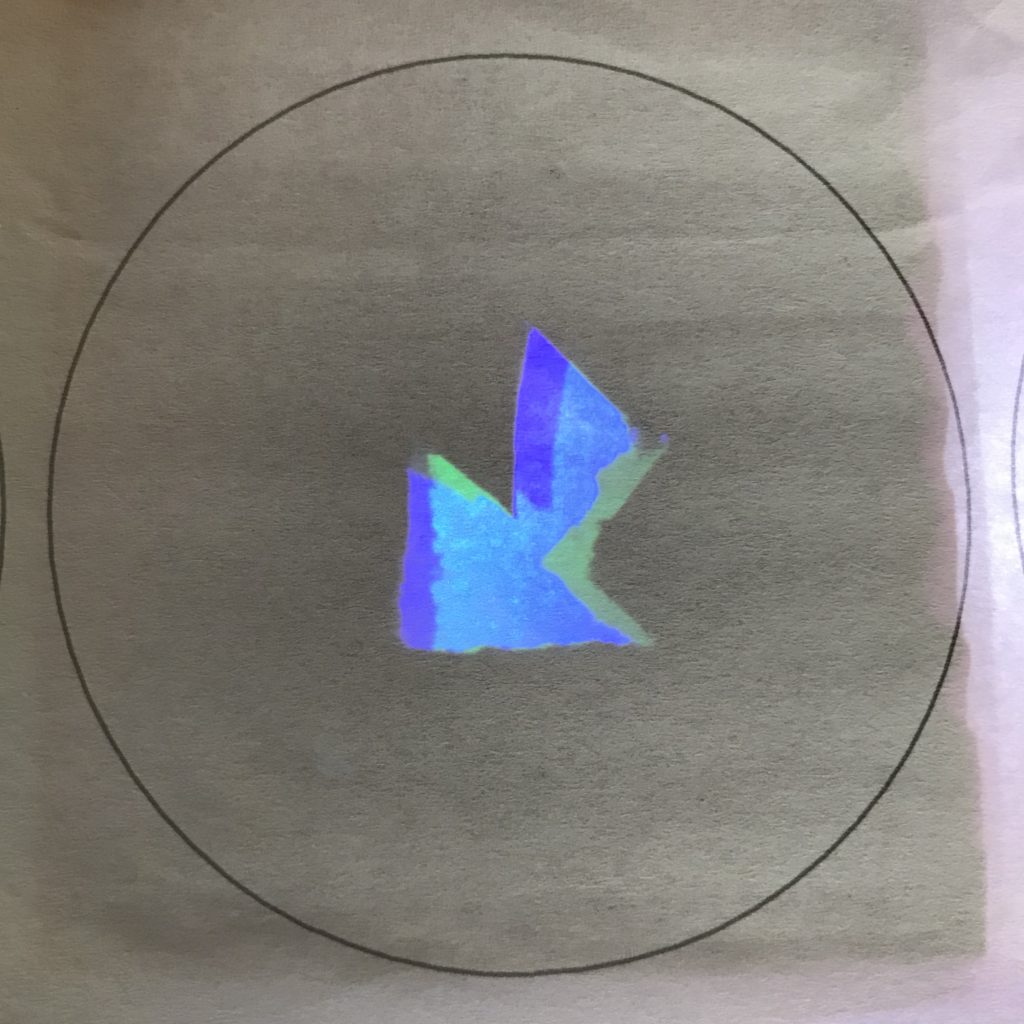
Experiments with Paper and Light


Tips, Tricks & Call-outs
If using word-processed text, edit it to create a mirror image before printing. Then, to avoid seeing the black ink through white paper, glue the white sides of the paper together, shining the light from underneath.
Gallery
Related Project Tutorials
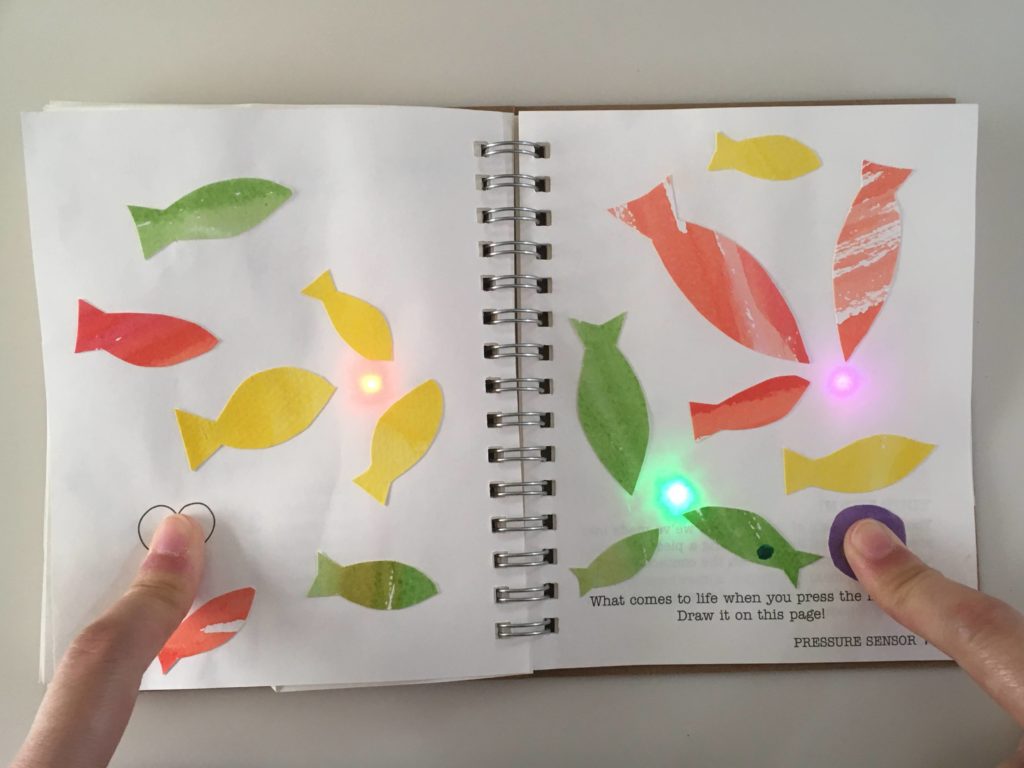
DIY Pressure Sensor Tutorial
Instead of blinking your LEDs on and off, you can make them fade in and out with a pressure sensor you make yourself!
Night Light Tutorial
Learn to use copper tape and sticker circuits to make a night light that reveals a secret image when you turn it on!
Similar Posts You Might Enjoy
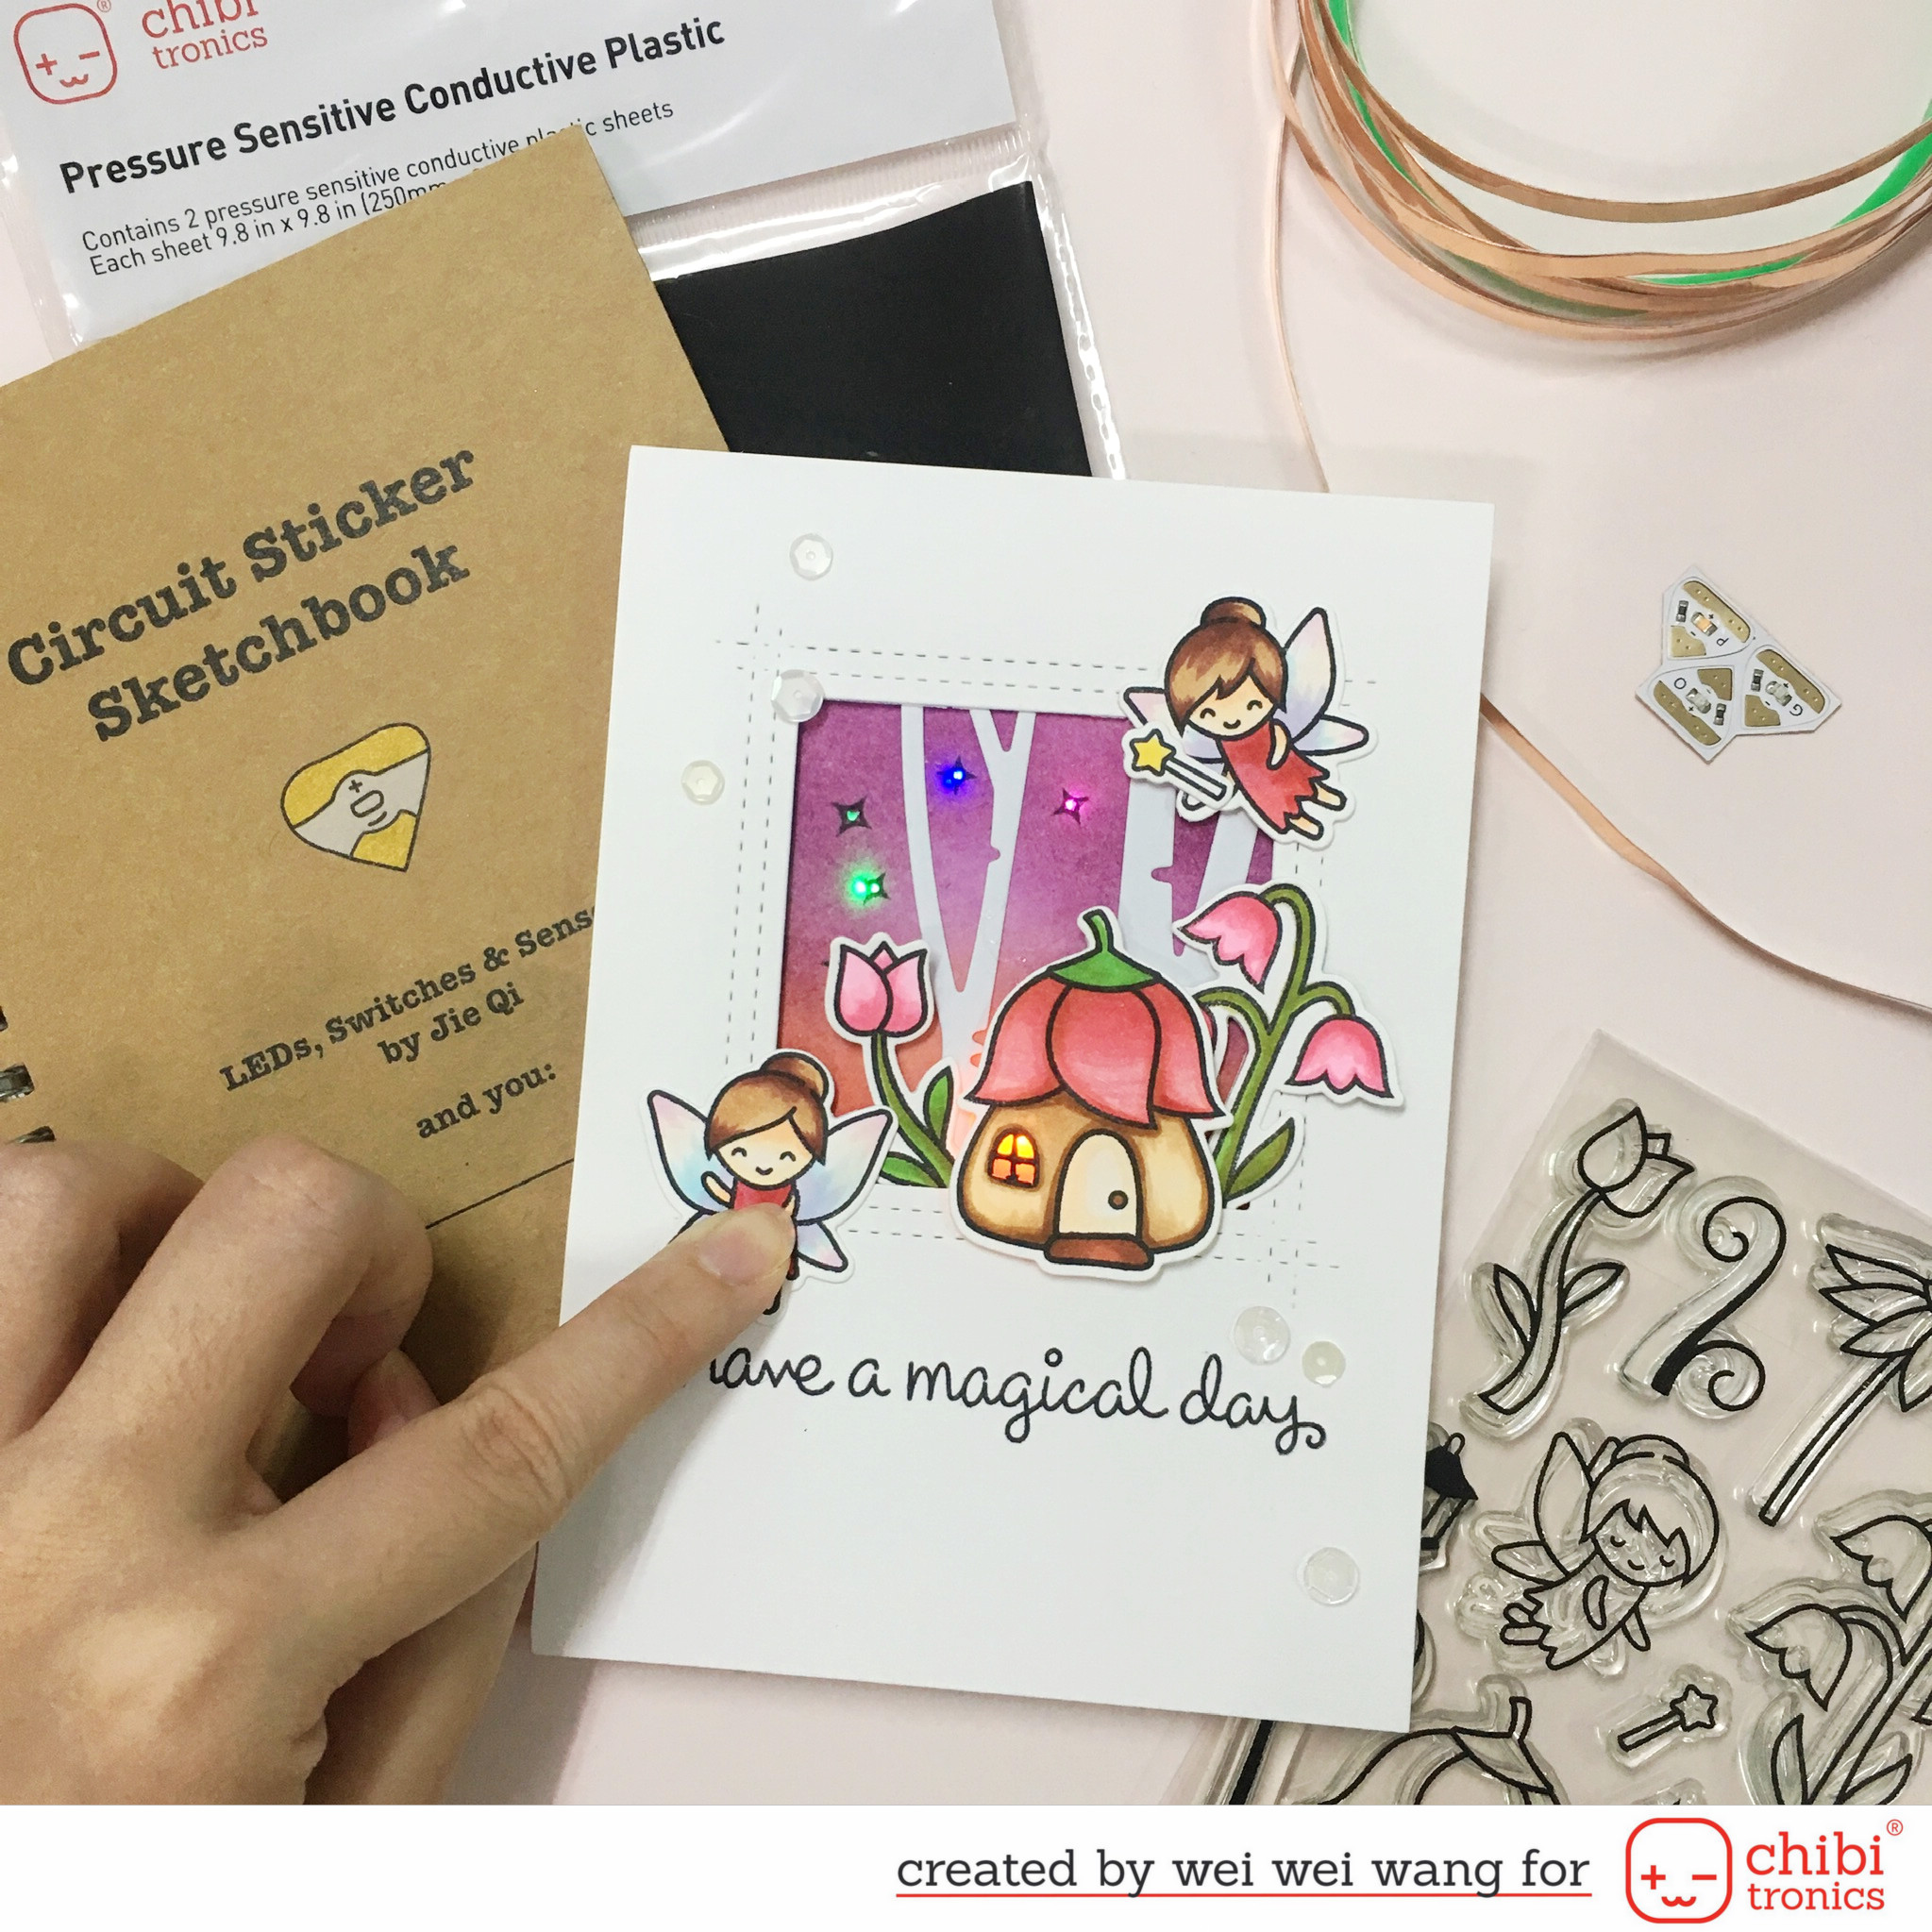
Light-up Card Using Pressure Sensitive Conductive Plastic
Make an adorable fairy friends card that lights up; the harder you push, the brighter it gets!
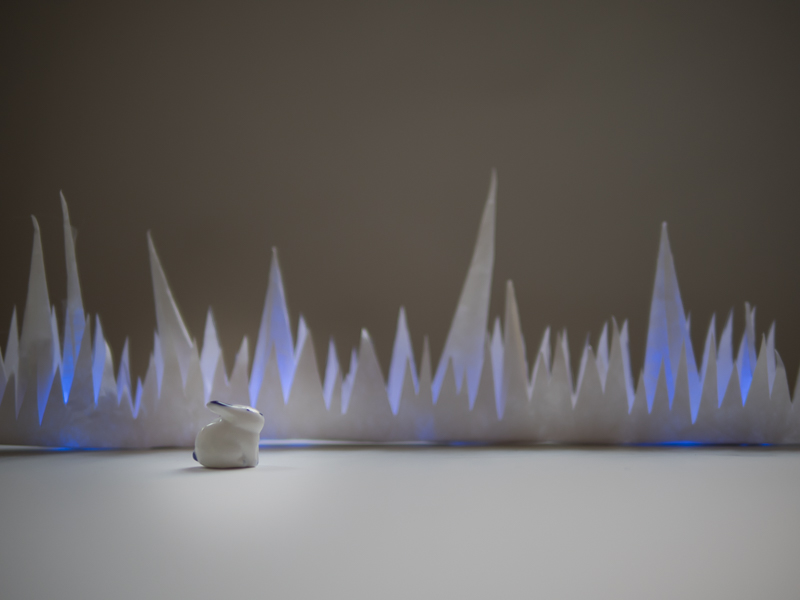
Frozen Icicles
Create your own Winter Wonderland by making a paper craft set of icicles that light up with a simple paper circuit and learn how to play with shadows.