This tutorial will show you how to make a super-slim battery holder using magnetic sheet. This is great for making decorative battery holders and cards to be sent through the mail!
Materials:
- magnetic sheet
- scissors
- glue stick
- pen
- paper
- LED stickers
- battery
- copper tape
Steps:
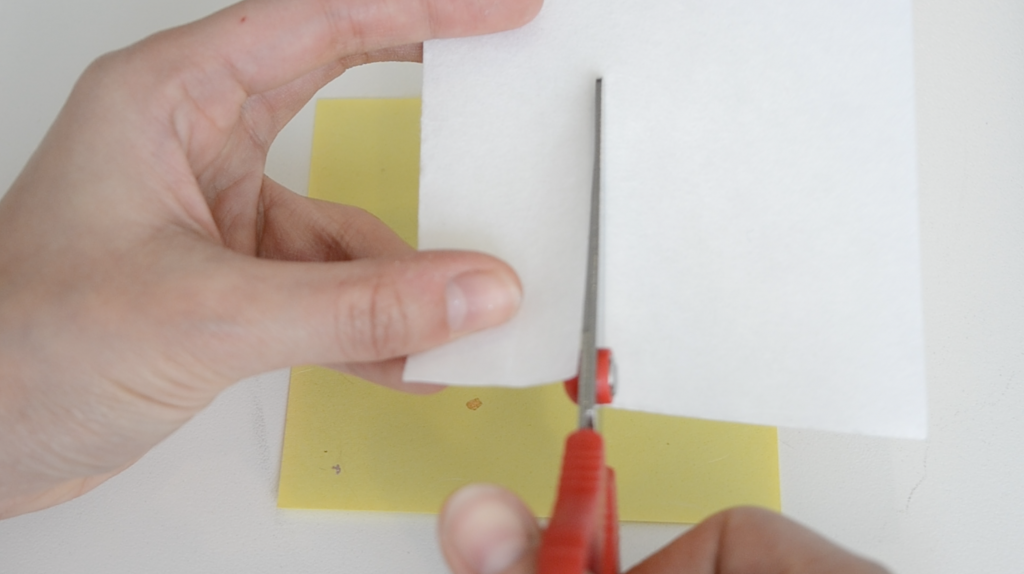
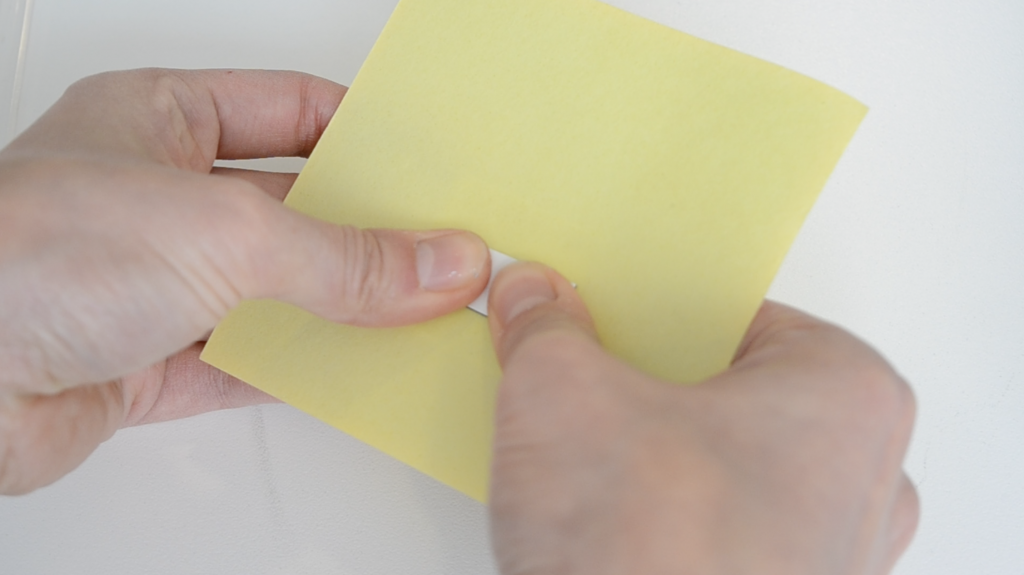
1. Cut a rectangle of paper that is twice the size of your battery to make a base for your battery holder.
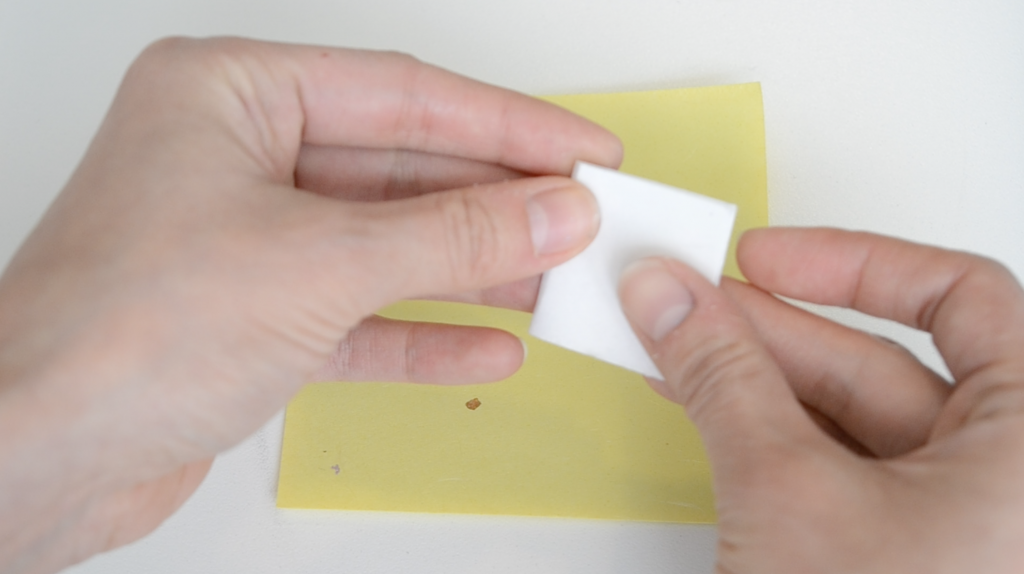
2. Fold the paper in half.
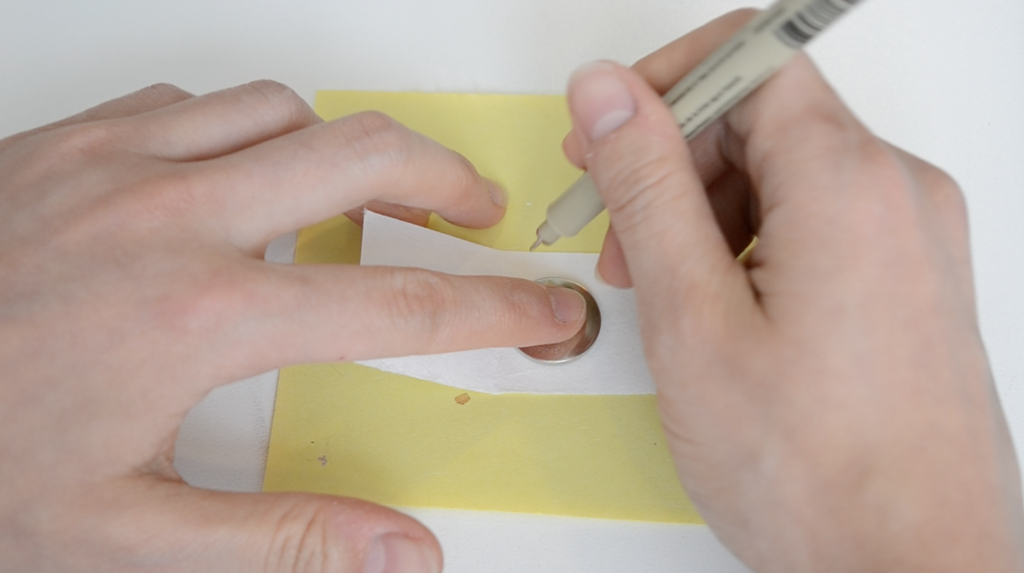
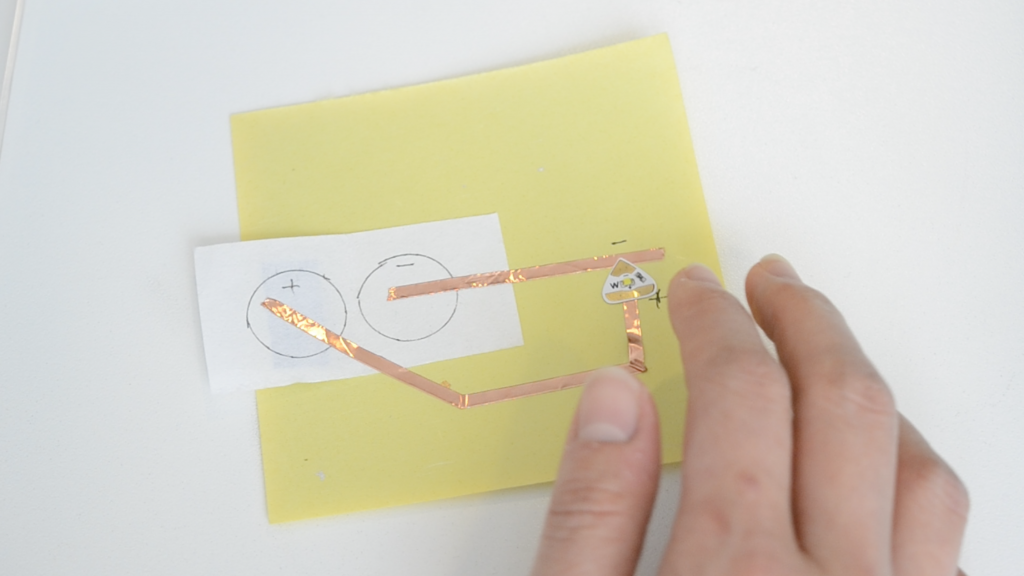
3. Trace your battery on both sides of the fold and mark one circle with “+” and the other circle with “-“.
4. Glue the “-” flap side of this paper down to your main sheet. NOTE: to make a standalone battery holder (separate from a base paper), you can skip this step.

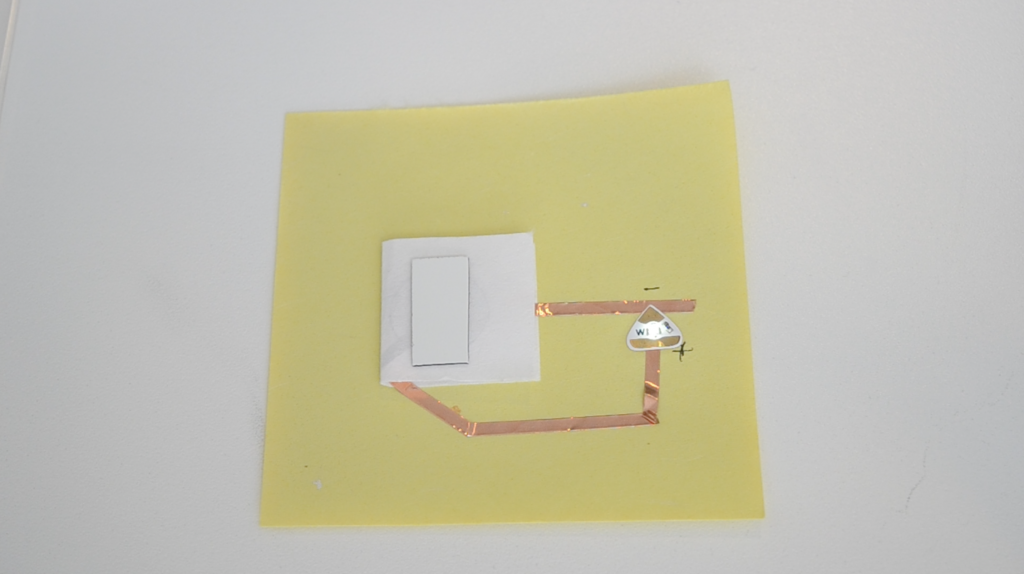
5. Cut two small strips from the magnetic sheet. They should be slightly smaller than the folded batter holder.

6. Apply glue to the dark side of the magnet. NOTE: I’ve found the dark side to have stronger magnetic cling than the other side.
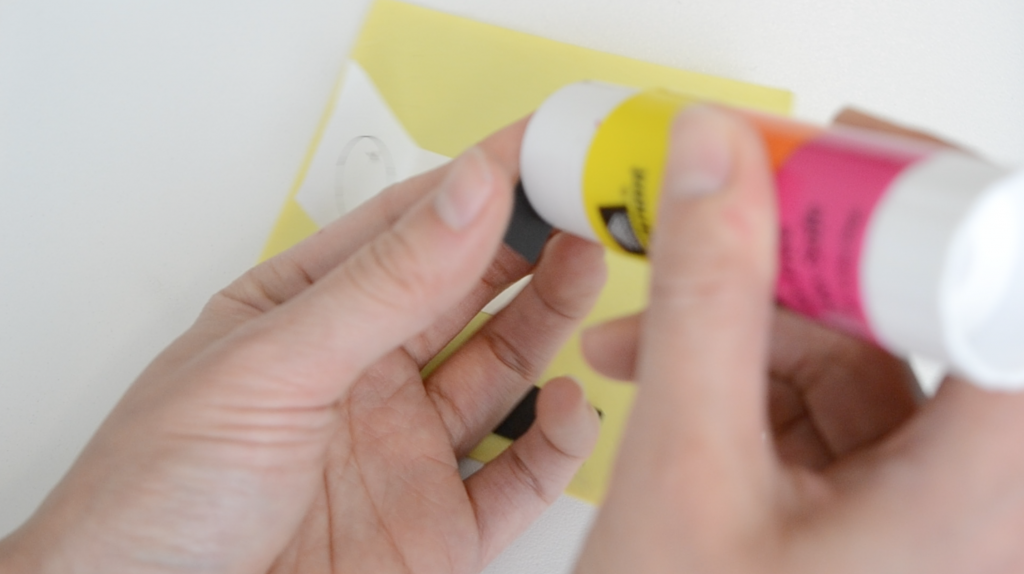
7. Glue this strip over the folded battery holder.

8. Apply glue to the dark side of the remaining magnetic strip and glue this to the back of the paper. Make sure the two magnetic strips align (they will automatically snap together when this happens).
9. Your battery holder is complete! Now you’re ready to build the rest of your circuit.
10. When you add your battery, the sheet magnets will keep the battery in place and connected to your circuit.
Now that your magnetic battery holder is complete, you can decorate over it with your own designs.
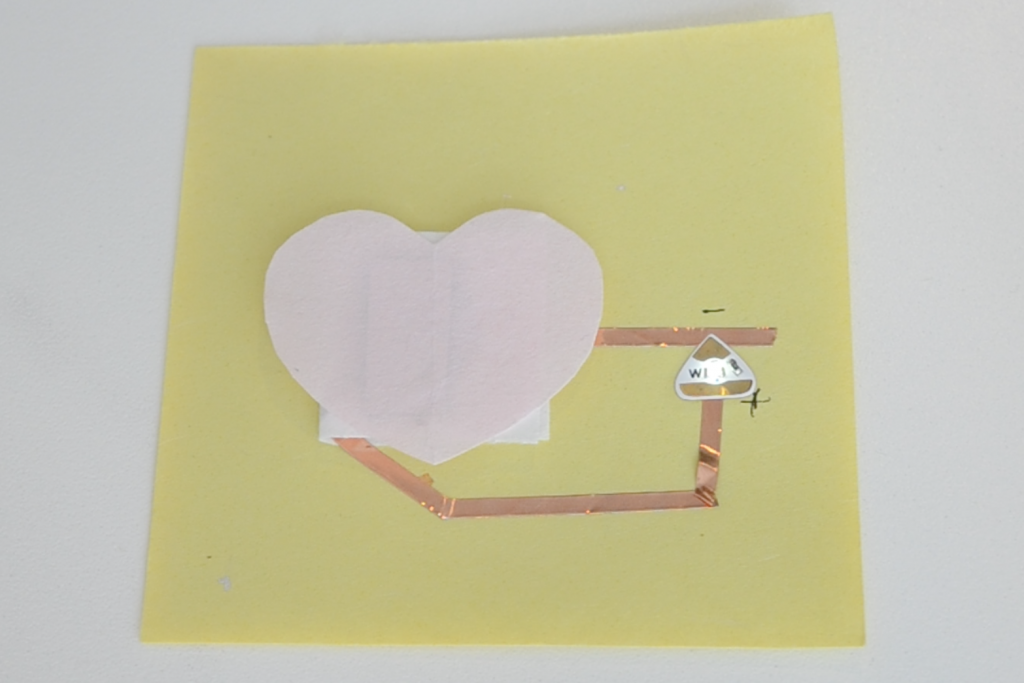
Happy making!