Hi, crafty friends!
This is Eiko. Today I have very exciting news! A collaboration kit from Chibitronics and Lawn Fawn will be released!!! I made two sample cards. I am glad if you enjoy it.
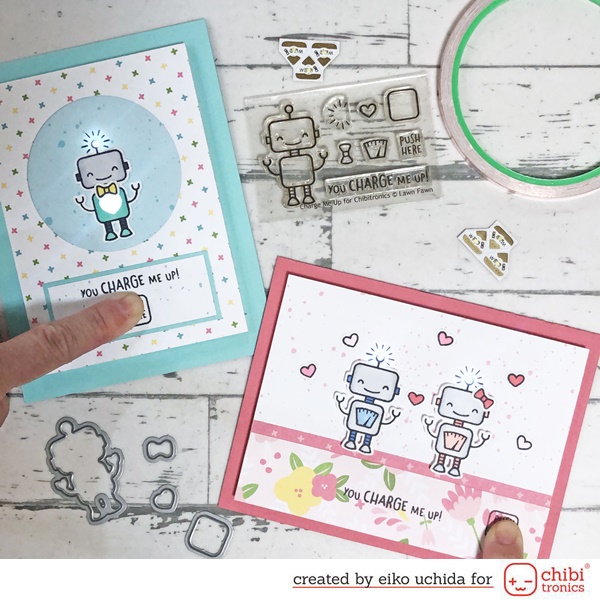
First card is here.
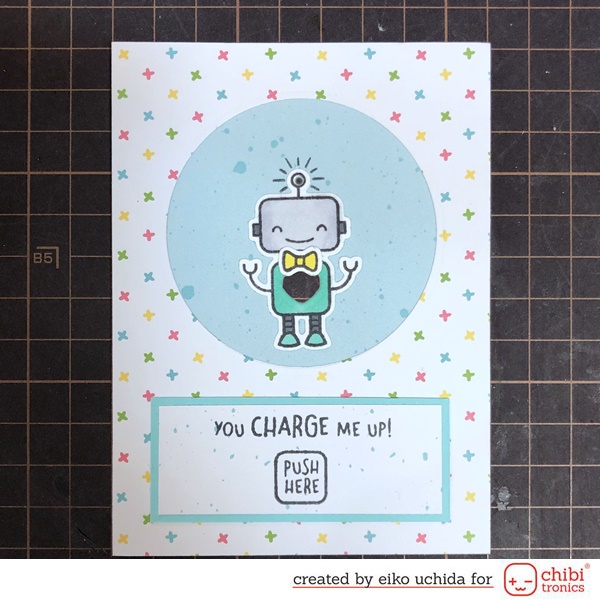
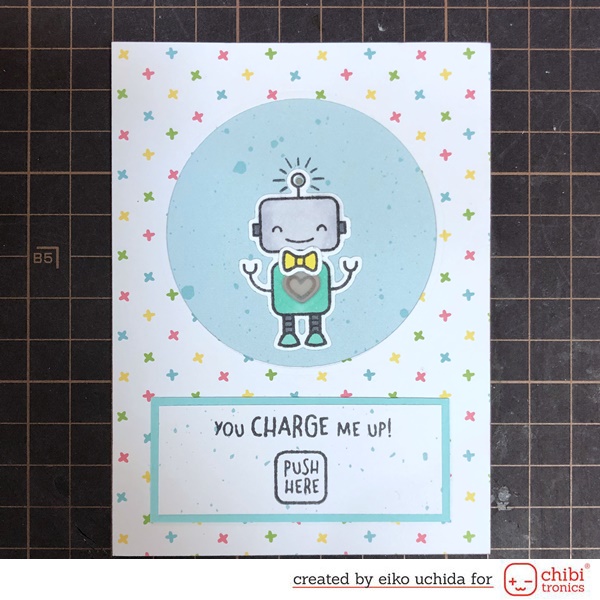
You Charge Me Up Card.
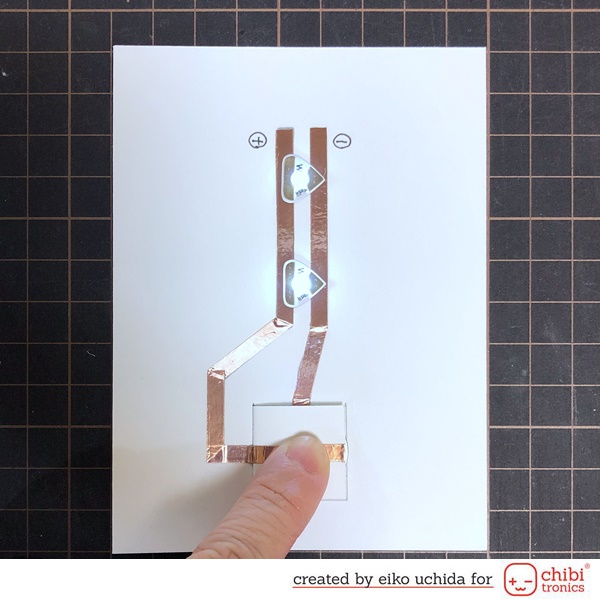
When you push the banner, the heart and antenna light up.
Prepare these parts.

- 4 1/4” x 11” mermaid cardstock
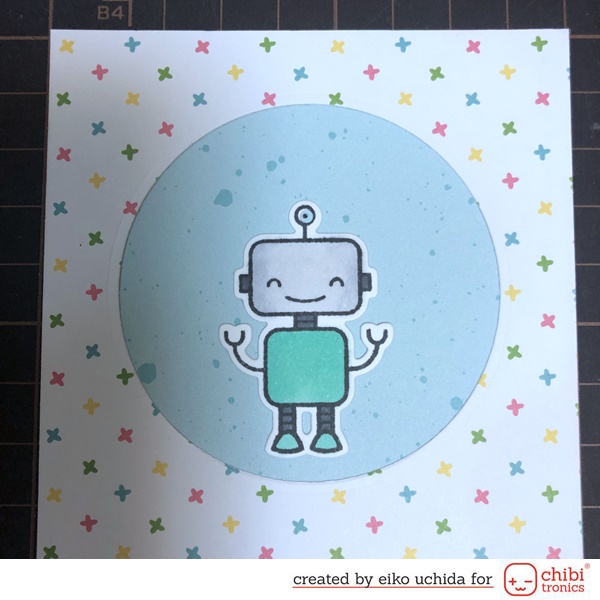
- Cut Rebecca patterned paper to 3 1/2” x 4 3/4” Die cut a 2 1/2” circle in the center of the paper, about 1/2” from the top.
- Circuit card base
- Cut a 3 1/2” square of sea foam patterned paper.
- Create a banner mermaid cardstock, sized 1 1/8″ x 2 3/4″.
- Stamp the sentiment on a 1” x 2 5/8” piece of sea foam patterned paper in black ink.
- Stamp the heart on small piece of vellum.
- Stamp the robot and ribbon onto white cardstock. Color the parts with Copic markers and die cut using coordinate die. And die cut the antenna with 1/16″ circle die.
- Small battery holder.
Create front panel.
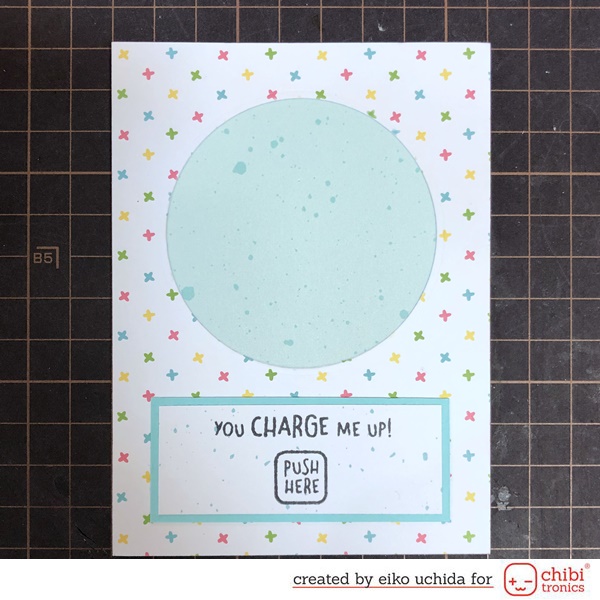
- Glue sea foam patterned paper behind the Rebecca circle with the light blue side up.
- Glue sentiment on top of banner, and then place on top of the front panel.
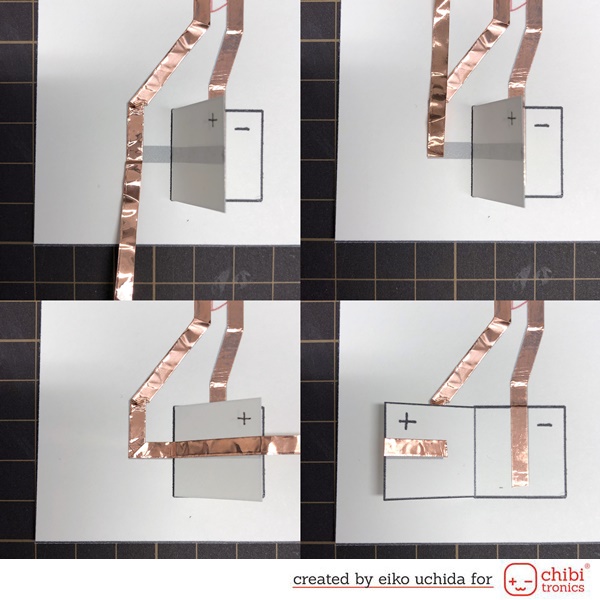
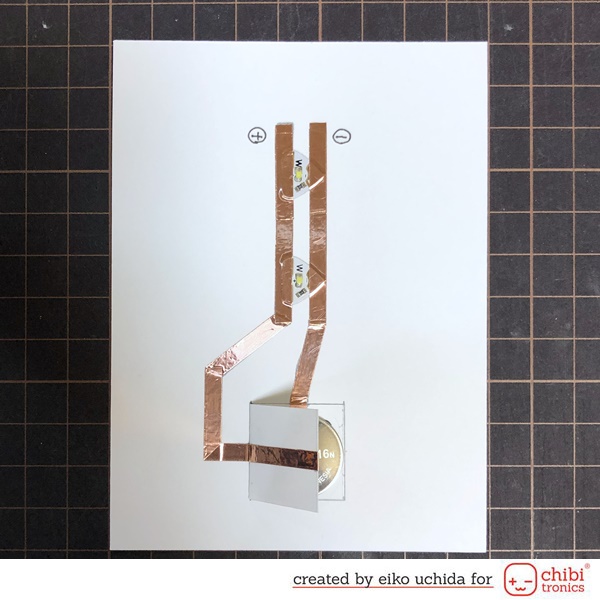
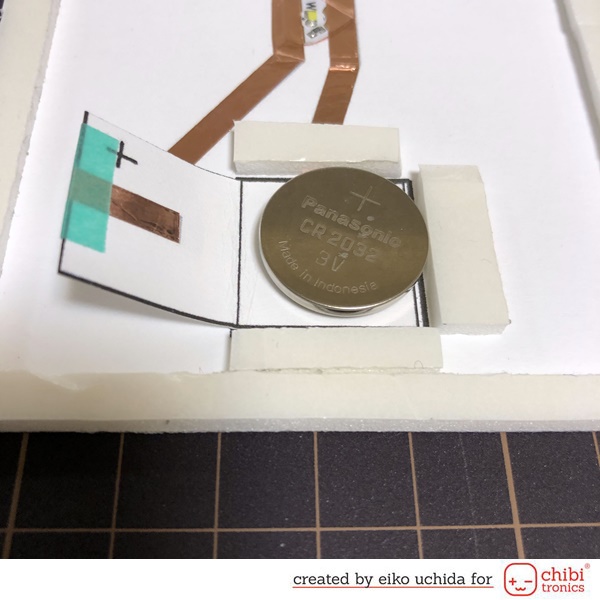
Cut the small battery holder and fold in half.
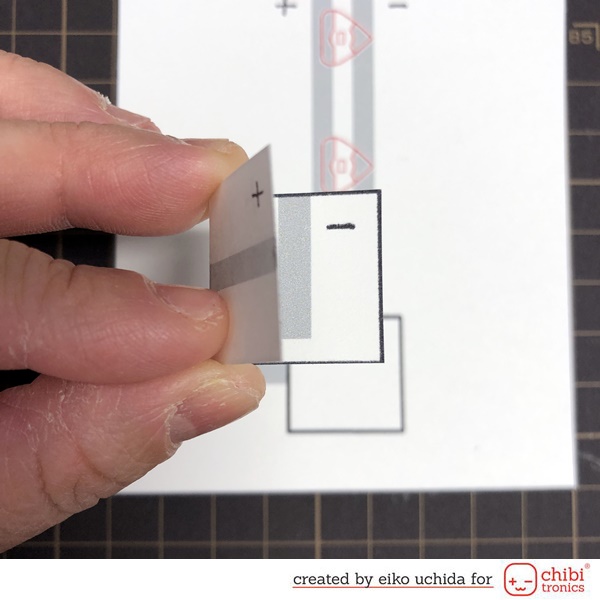
Glue the battery holder to the card. Place on the square such that the grey lines on the template connect to the grey lines inside the battery holder.
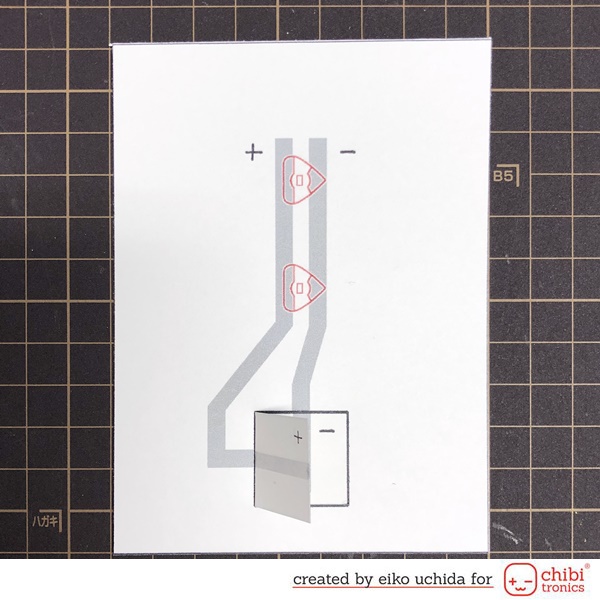
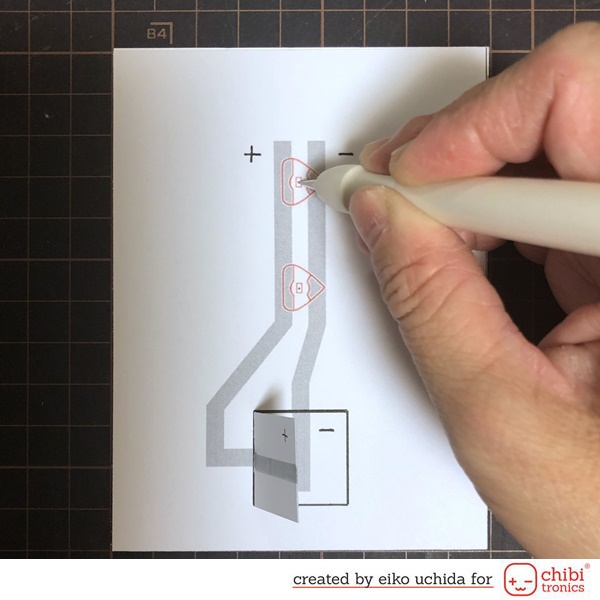
Put the circuit card base on the front panel, mark the center of LEDs with the awl or needle.
Place the robot in the circle. Adjust the antenna of the robot to the hole you opened just now.
Die cut the antenna and heart. Glue the robot on the front panel and then glue the ribbon on the robot.
Glue the vellum behind the front panel.
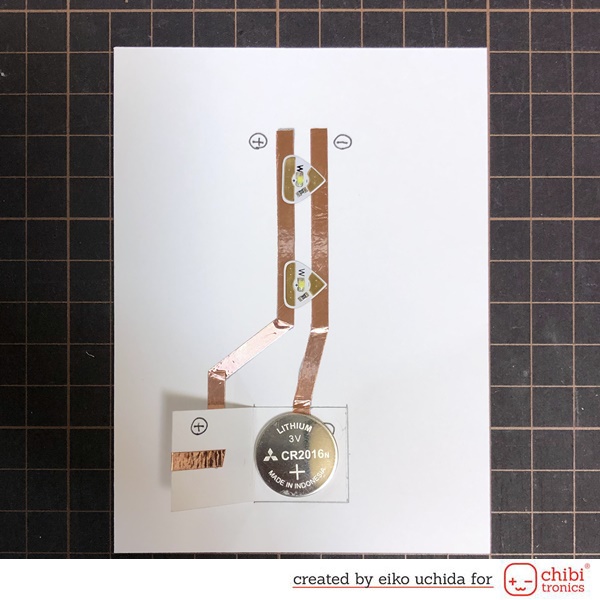
Build the circuit.
Stick the copper tape on the grey line.
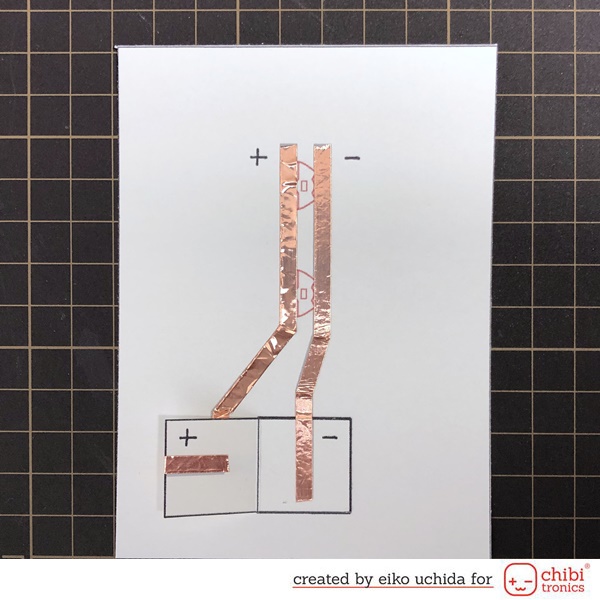
At the corner, fold tape back, exposing the sticky side. Flip and turn the tape, to form a corner. Then stick the copper tape to the inside of the switch.
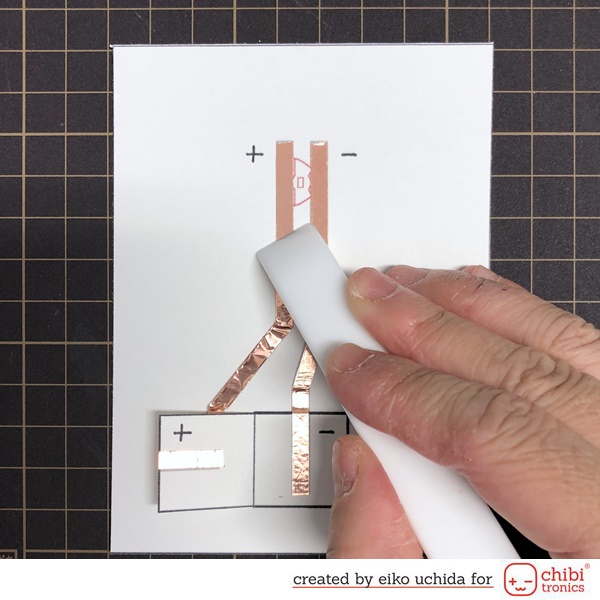
Smooth copper tape with bone folder.
Place LED sticker on top of the copper tape. Press the sticker down for 15 seconds. Add battery into the battery holder with positive side up.
<Tips.1>
Stick short copper tape on the edges of the LED to reinforce.
Stick small pieces of foam tape around the battery to keep it in place. The foam pieces must be placed just outside the edge of the switch. And stick the foam tape around the entire edge of the card.
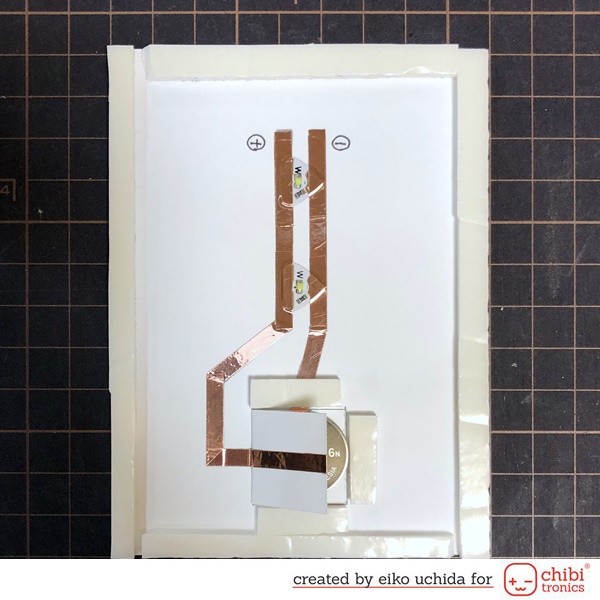
If you use thinner foam tape than the height of the cell battery, layer the foam tape to thicker than the battery height.
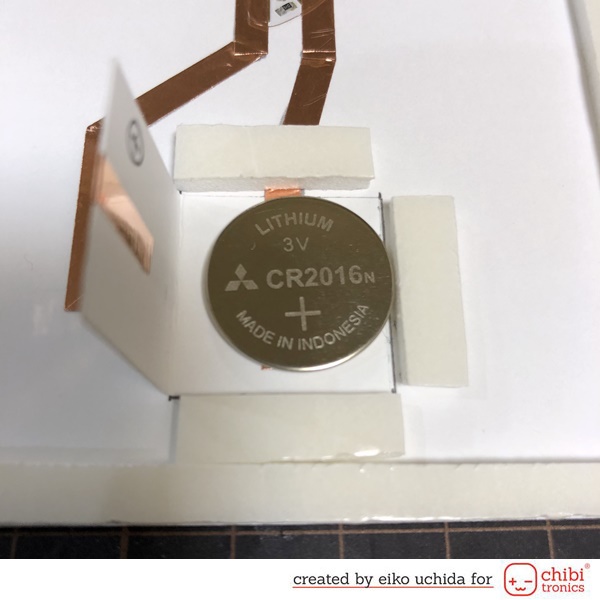
<Tips .2>
If the LED stays on even after layering the foam tape, try the following method. Stick the small washi tape on the inside edge of the switch lid to make a slight gap with a battery.
Assemble the card.
Carefully place the front panel on the circuit card base.
Apply double-sided tape backside the circuit card base. Adhere the circuit card on top of the folded card base, making sure the lights shine through the heart and antenna.
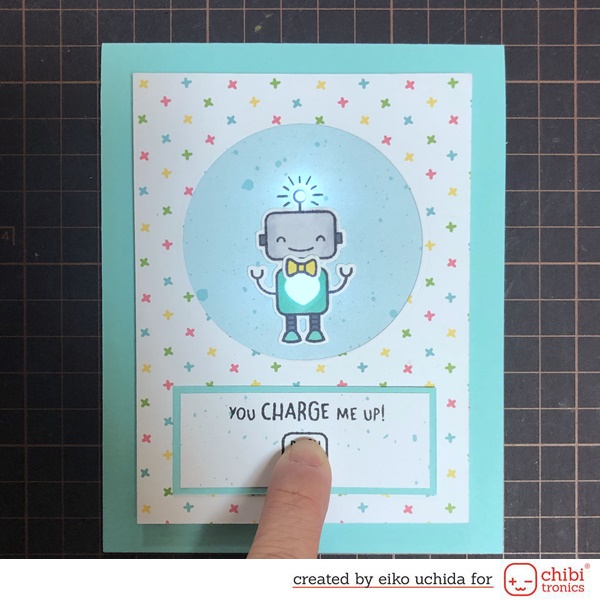
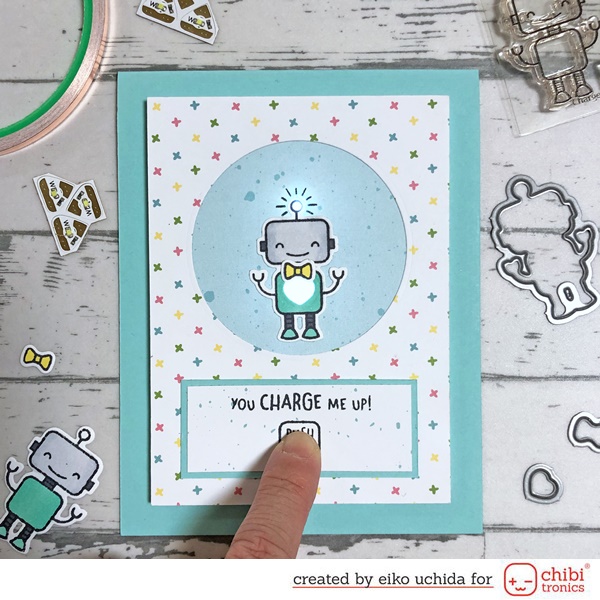
Finished! When you push the banner, the heart and antenna light up.
Be sure to check out the whole video tutorial for more details.
Thank you for stopping by!
Eiko Uchida
~Supplies list~
Oh my!!! How cute!!!
This is too cute!
These cards are sooooo cute!
Adorable cards! Love this fun collaboration kit! The robots are as cute as can be, and the addition of the lights makes each card extra special!
How cute with the light up robot.