Chapter 1: Simple Circuit
Overview
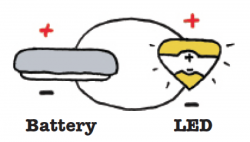
Let’s get started by lighting an LED. We will use the copper tape to connect a battery to the LED circuit sticker n a loop. The “+ side” of the LED circuit sticker needs to connect to the “+” side of the battery and the “-” point of the sticker needs to connect to the “-” side of the battery. This continuous loop is a complete circuit.
Materials
- 1 LED Circuit Sticker
- 3V coin cell battery
- Binder clip
- Conductive copper tape with conductive adhesive
- Template 1 from the Circuit Sticker Sketchbook
Directions
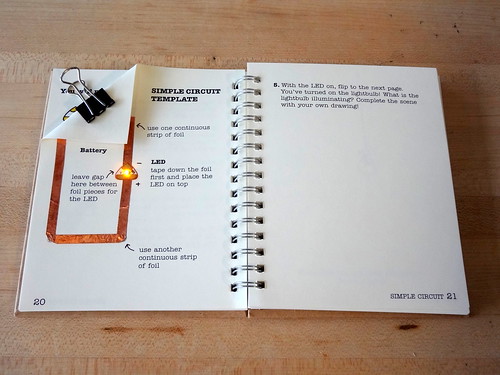
1. Use copper tape to and stick over the gray lines. Apply the copper tape as a continuous piece, rather than separate pieces, even when turning corners. The adhesive on the bottom side of the foil makes a weak connection.
2. Fold the page corner along the dotted line and place the battery “+” side-up over the “-” circle.
3. Fold the corner flap over, and clip the battery in place with a binder clip.
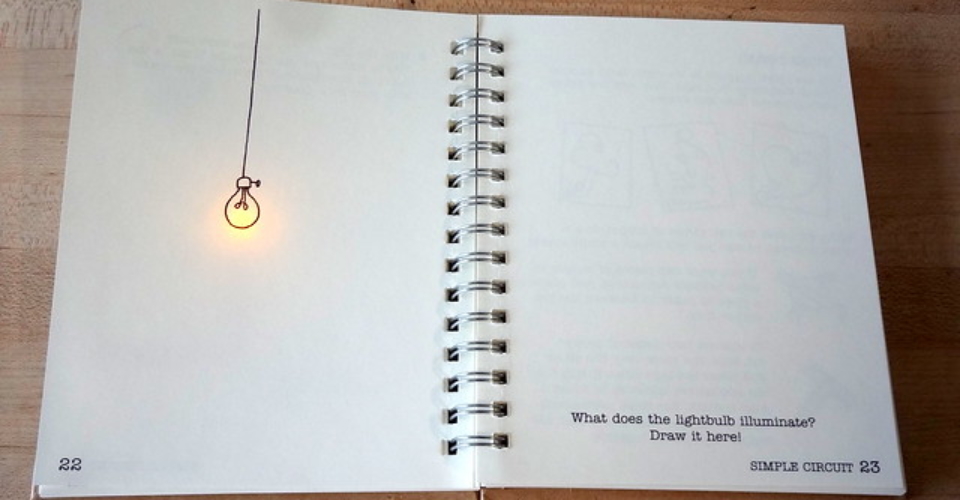
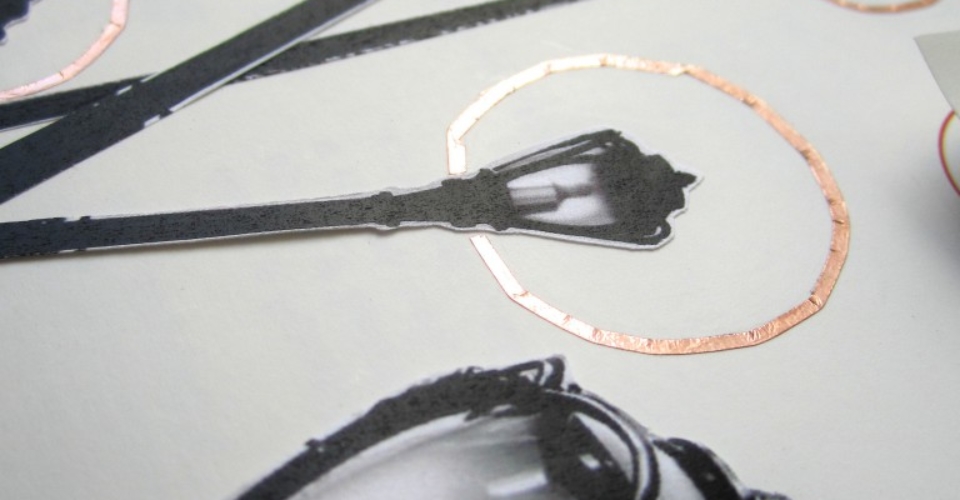
4. Stick the LED circuit sticker onto the copper tape over the triangular footprint. Congrats you’ve turned on the light in the room! What do you see? You have just built a simple circuit.
Check out the gallery below to see what others have created. Tag us on Instagram or Twitter, @chibitronics, to share your projects with us!