Troubleshooting Guide
Having trouble with a circuit? No worries! Use the guide below to carefully review the circuit, and it’s likely you will discover how to make it shine the way you want.
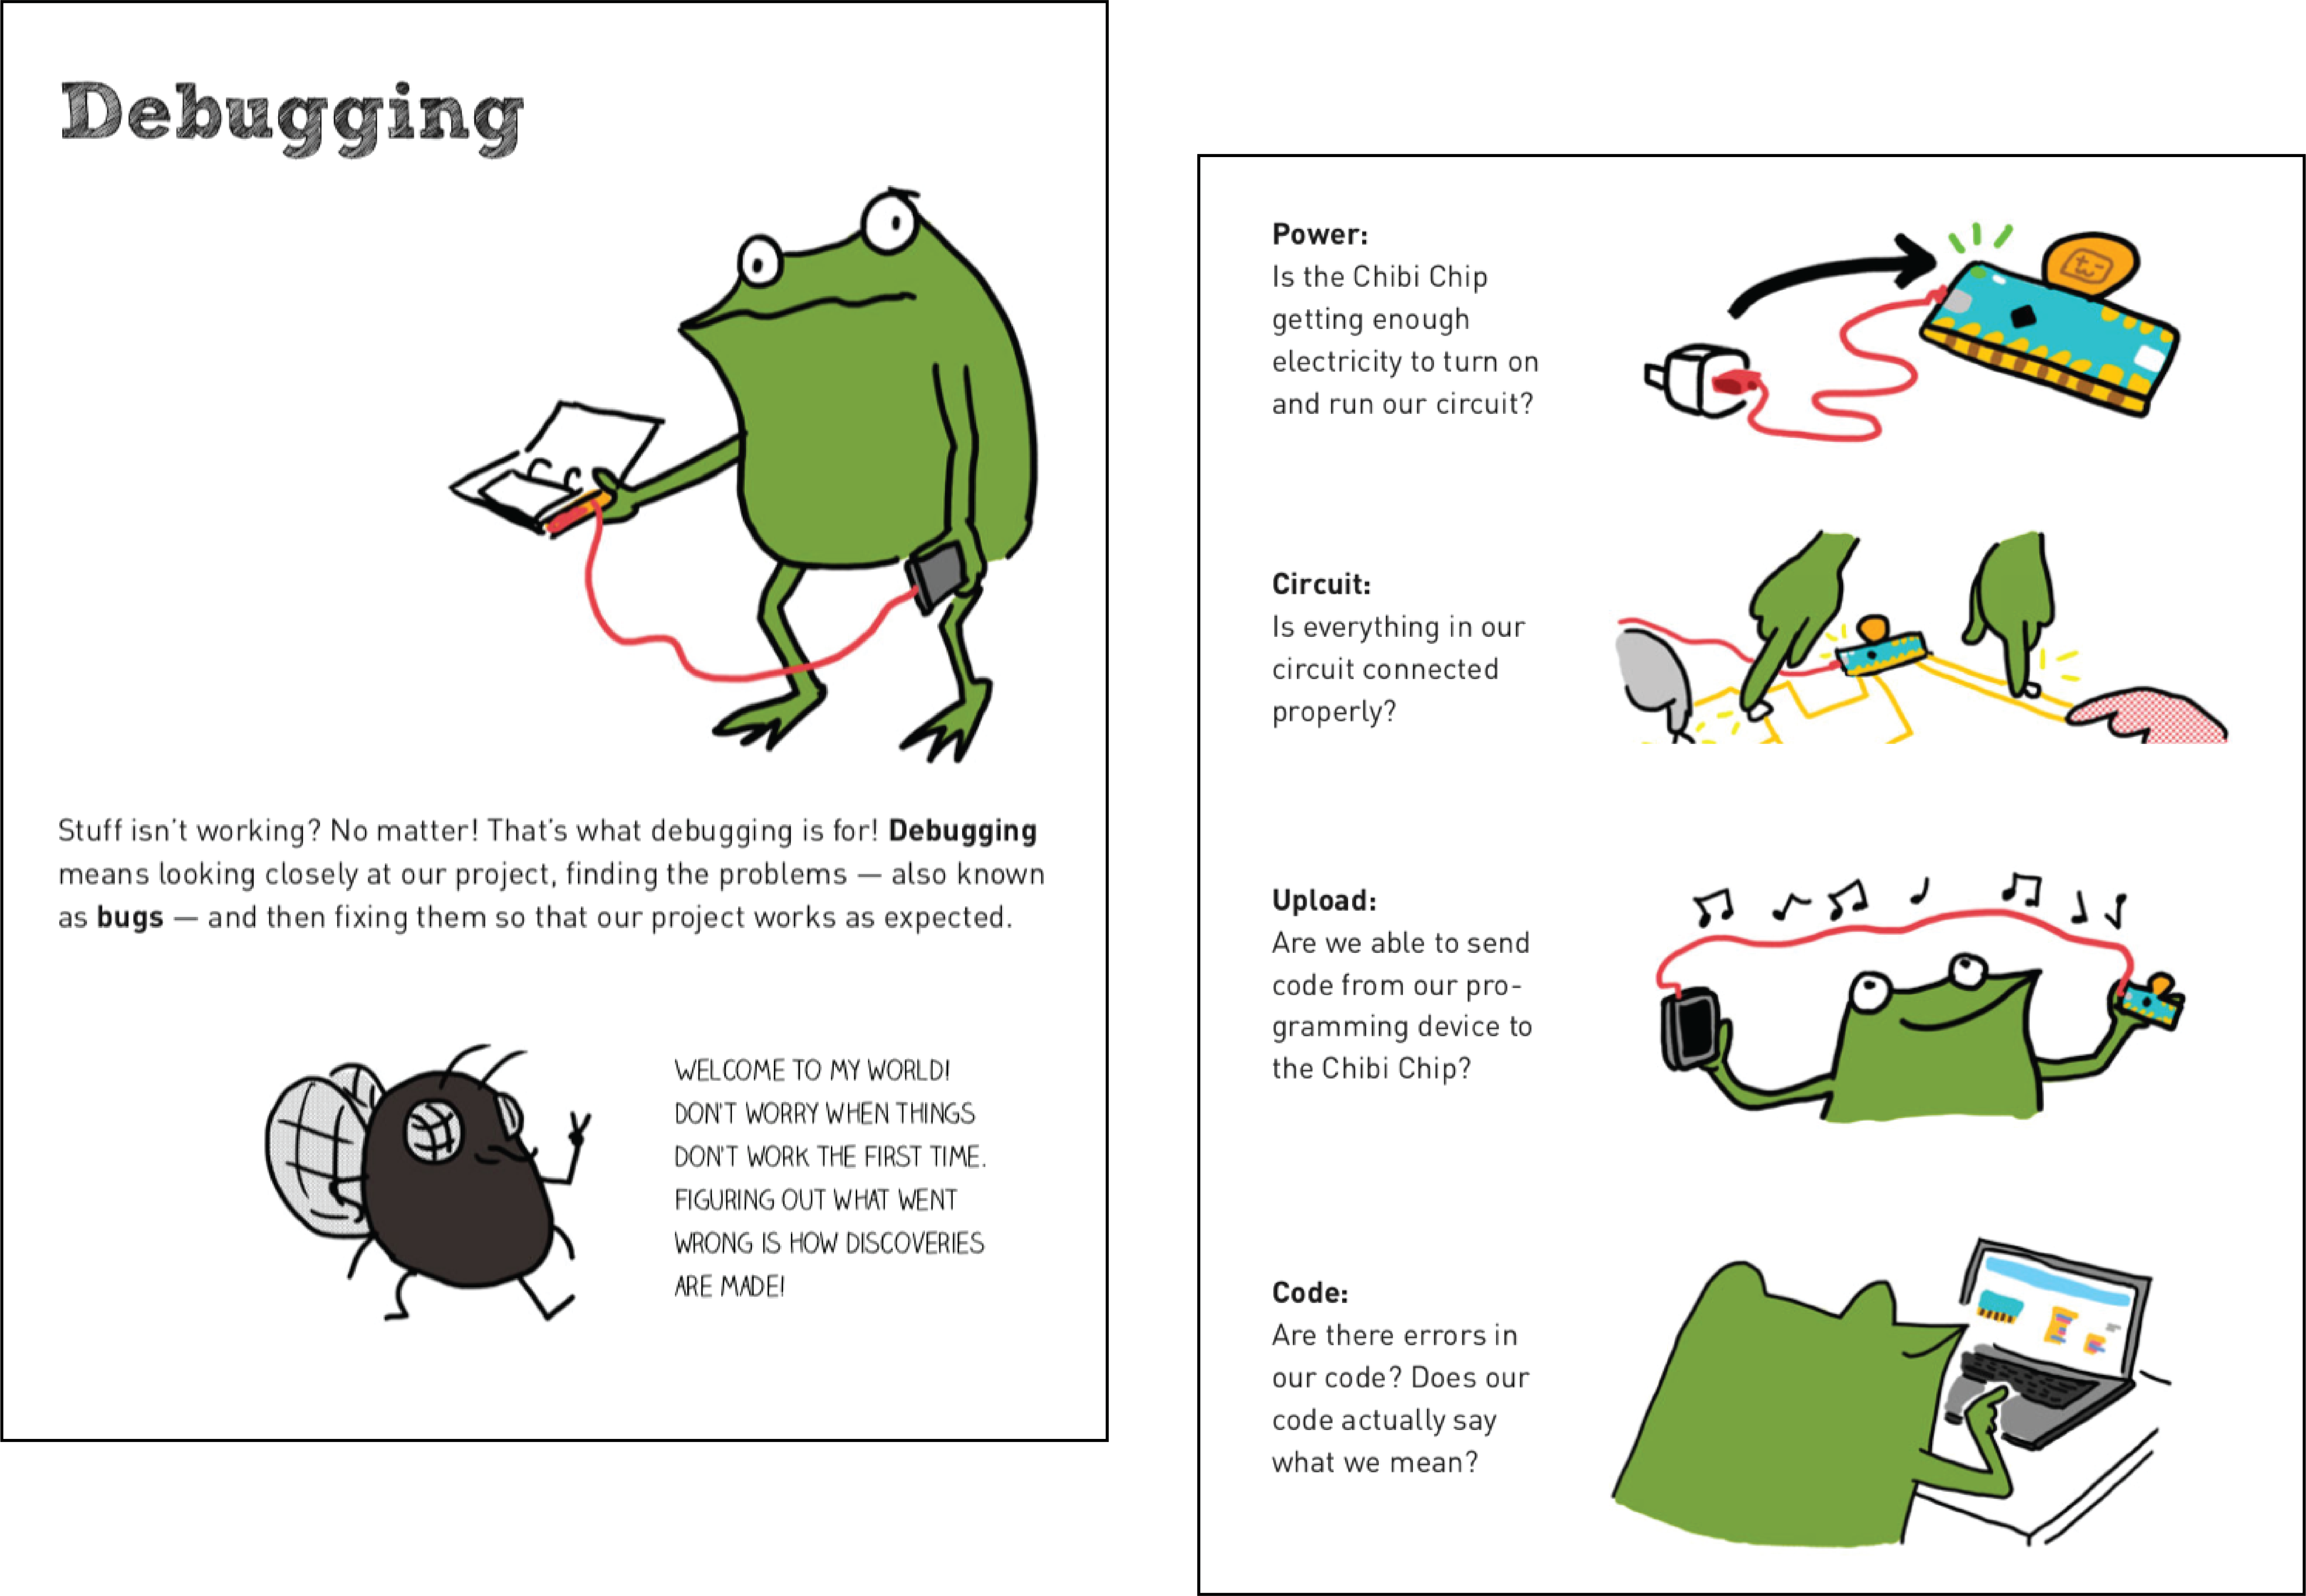
For Love to Code troubleshooting, we recommend our debugging chapter: here’s the ChibiScript version and the MakeCode version.
At the bottom of this guide are Best Practices for working with circuit stickers. Follow these tips to help ensure your circuit works smoothly and prevent bugs!
Is the LED backwards?
If your LED is in reverse, it won’t shine. A quick way to check is to flip your battery over in the battery holder. This reverses the + and – terminals, thus matching the connections of a reversed LED.
Is the LED connected securely?
Sometimes a connection just isn’t strong enough. Try pressing on the metal pads of the LED stickers to make sure they are firmly connected to your copper foil or conductive fabric tape. The LED stickers work best with foil that is flat, not wrinkled. Flatten wrinkled foil by rubbing it with a soft pencil eraser.
Is the battery connected?
Try pressing on the battery and re-clipping the battery to ensure that the copper or conductive fabric tape tabs are touching the battery’s contacts.
Is the battery shorted?
If the + and – sides of your battery are connected directly with a conductor, such as copper foil or conductive fabric tape, you will drain power from the battery rather than turning on the light. Inspect your circuit and make sure that the conductive traces from the + and – sides of the battery are not accidentally touching.
Is the battery dead?
Sometimes one or more LEDs in a circuit won’t turn on simply because the battery is too weak, or out of power. Try switching your battery out for a fresh one.
Are the conductive tape connections secure?
If you taped two pieces of copper foil together to make a circuit, try pressing very hard on the intersection to see if there is a connection issue. When overlapping foil, use a large area of overlap to increase connection strength or join the pieces with a patch of conductive fabric tape.
Is there a crack in the copper tape?
If you fold copper tape too many times, it can crack and break the connection. Try using one of our fabric tape patches to make a more durable hinge, or taping copper tape upside-down over the broken connection to bridge it. If you have access to a soldering iron, you can also solder the circuit back together.
Circuit still not working?
Send us a note using our Contact Us page. We are happy to help!
Best Practices
- Sketch: Draw your design first, so you’ll only have to tape once.
- Single Continuous Copper: Do not tape multiple copper tape pieces together to create electrical connections. This will not work since the glue on the tape is not reliably conductive. If you need to add a patch to connect two pieces of copper tape or repair a tear, try one of the conductive fabric tape patches.
- Smooth: Smooth the surface of the copper tape so that it’s shiny, bright and has a solid connection. If you use a pencil eraser to do so, make sure to clear any eraser bits.
- Set: Press firmly on the circuit sticker and count to five seconds to make a strong bond.
- Keep it Sticky! Wash and dry hands prior to using. Our stickers don’t like water, oil, or dirt to come between themselves and a great connection, so try to touch the adhesive as little as possible before placing your sticker.

For other questions not covered on this page, please visit our FAQ or contact us for help! Make sure to also check out our safety guidelines.