What Makes You Shine?
Make a light-up name badge and share something about yourself
Grade Level: Suitable for Grade 2 and up
Suggested Time: 30-45 mins
Overview
This activity introduces simple circuits using Chibitronics LED light stickers. The students will be able to introduce and express something special about themselves by making a personal light-up name badge.
This activity can serve as a creative hands-on icebreaker. A great way to welcome your students and begin a school year!
Learning Goals
By completing this activity, students will:
- Build a simple circuit on paper
- Design a light-up name badge
- Learn how a circuit works
Key Concepts
- Simple Circuit (Power, connector, and LED)
- Current
- Complete Circuit
- Short Circuit
Simple Circuit
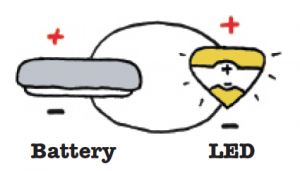
Let’s get started by lighting an LED! We will use the foil tape to connect a battery to the LED in a loop. The “+” side of the LED sticker needs to connect to the “+” side of the battery and the “-” point of the sticker to the “-” side of the battery. This continuous loop is a complete circuit.
Electrons only flow in loops, and this complete circuit allows electrons to flow from the battery, through the LED, and back into the battery. This round-trip flow of electrons, called current, causes the light to turn on and shine. Electrons are lazy, and always take the path of least resistance. Since electrons prefer to take a “shortcut” through foil, rather than do work lighting an LED, an accidental foil connection from + to – will quickly drain the battery, and the LED will not light. This condition is called a short circuit.
–Circuit Sticker Sketchbook (p.17)
We encourage you to first let the students start making their light-up name badges. You could introduce these concepts as they are making their projects, explain while you are helping them troubleshoot or revisit them at the end of the session.
Materials and Resources
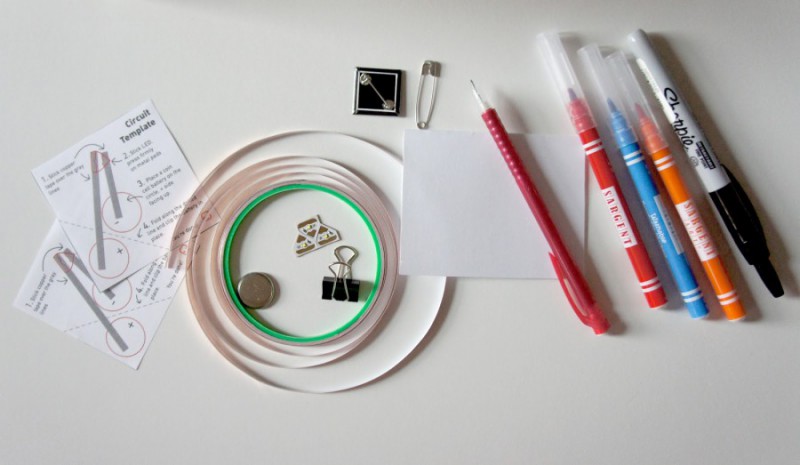
For this activity you will need (per student):
- 1 Circuit Sticker
- 1 (3V) coin cell battery (Store your batteries separately, and away from other bits of metal. This avoids accidental connections that can drain the batteries.)
- 1 Binder clip
- Conductive copper tape. (The edges on the copper tape can be sharp. Watch your fingertips.)
- Simple Circuit Template
- Precut card stock paper for name badge.
- Badge pins or safety pins
- Drawing supplies
Let’s Start
Create your own light-up name badge and be ready to share the project with your students to spark their interest
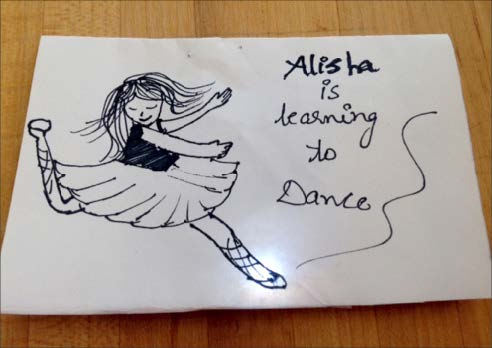
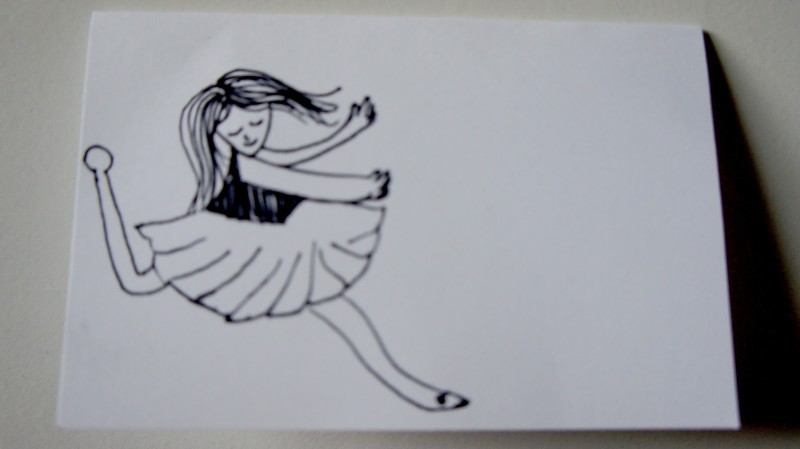
Give cardstock paper and sketching supplies to the students. Ask them to write their names and draw something unique about themselves.
Creative prompts
I am learning to…
I have never…
I like…
This year I plan to…
Have the students quickly share their sketches with the person sitting next to them.
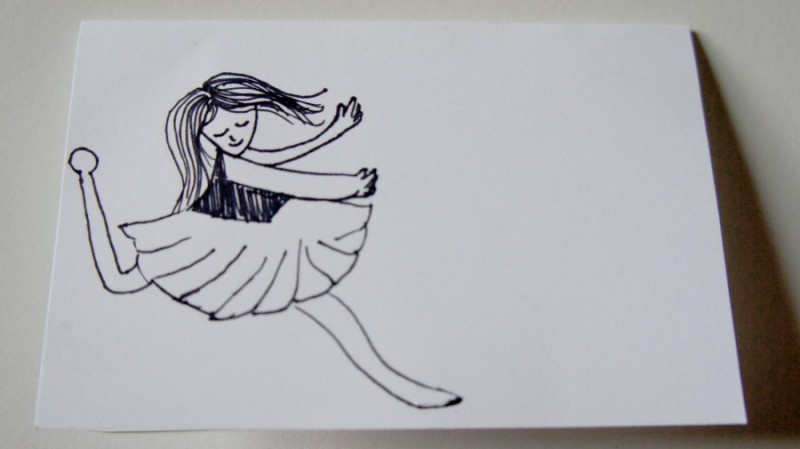
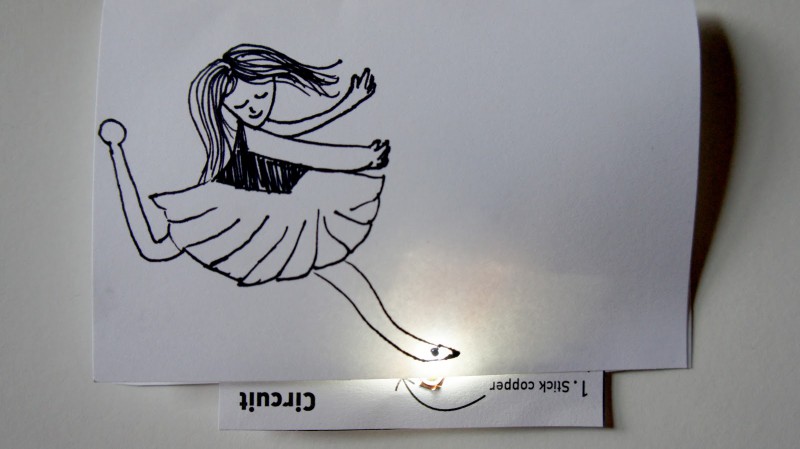
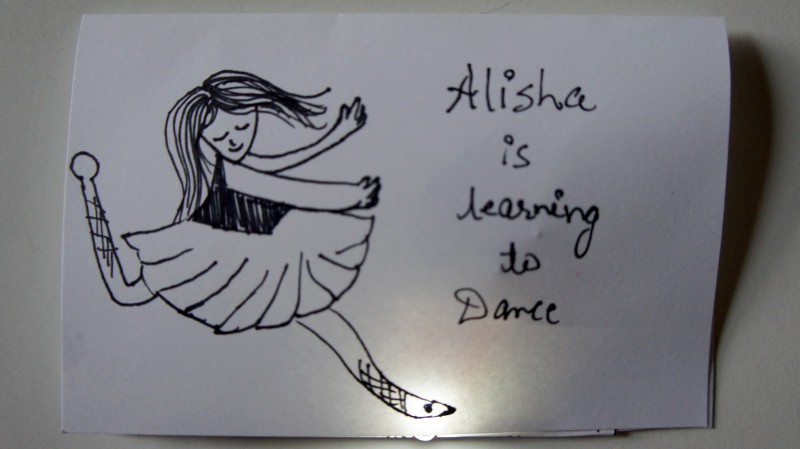
Ask them to identify and mark the part in their sketch that they want to light-up.(For example in the picture below the foot in the sketch has been marked with a dot.)
Pass around the template, copper tape, battery, LED light and binder clip. Follow the instructions on the template to make the circuit.
You could use this step as an opportunity to provoke questions and also encourage the students to share their questions with the group.
Question prompts
Describe what… ?
What would happen if …?
Why do you think that …?
How would you…?
Remember to ask, “What questions do you have?”
Once the circuit is complete and working, have the students place their circuits underneath their drawing, aligning the light with the part they want to light up.
Wrap-Up
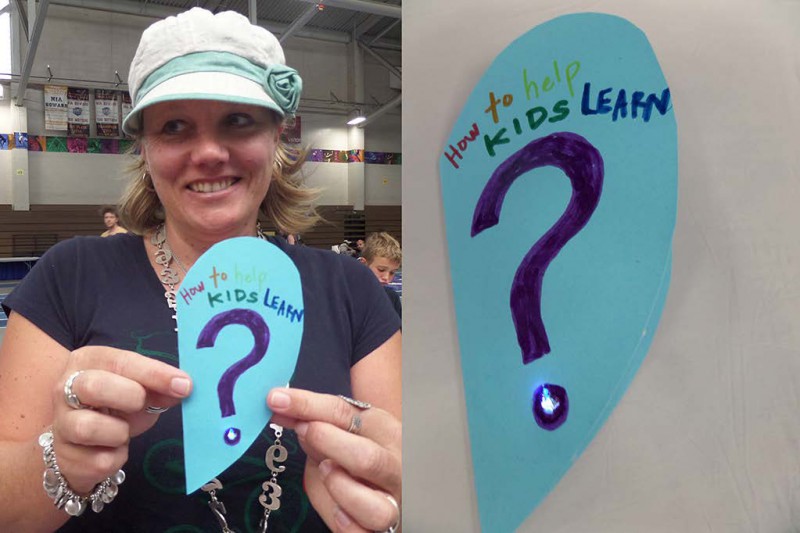
Encourage students to wear their name badges and share something about themselves using their new creations.
Give the students a chance to share their learning experiences with the group.
Reflective prompts
What did I find most challenging about this activity?
How did I fix the problem?
Where else do I see circuits?
What would I create next with circuits?
Projects Gallery
Alignment to Standards
We think the following standards are most relevant to this activity. You could adapt this list for your class session. The complete list of all the standards can be found on the respective websites of each framework.
- Creativity and innovation- Students demonstrate creative thinking, construct knowledge, and develop innovative products and processes using technology.
- Create original works as a means of personal or group expression
- Practice 1 Asking questions and defining problems
- Practice 6 Constructing Explanations and Designing Solutions
Good Luck for the session! Share your experiences with the chibitronics community. We look forward to hearing more from you.

