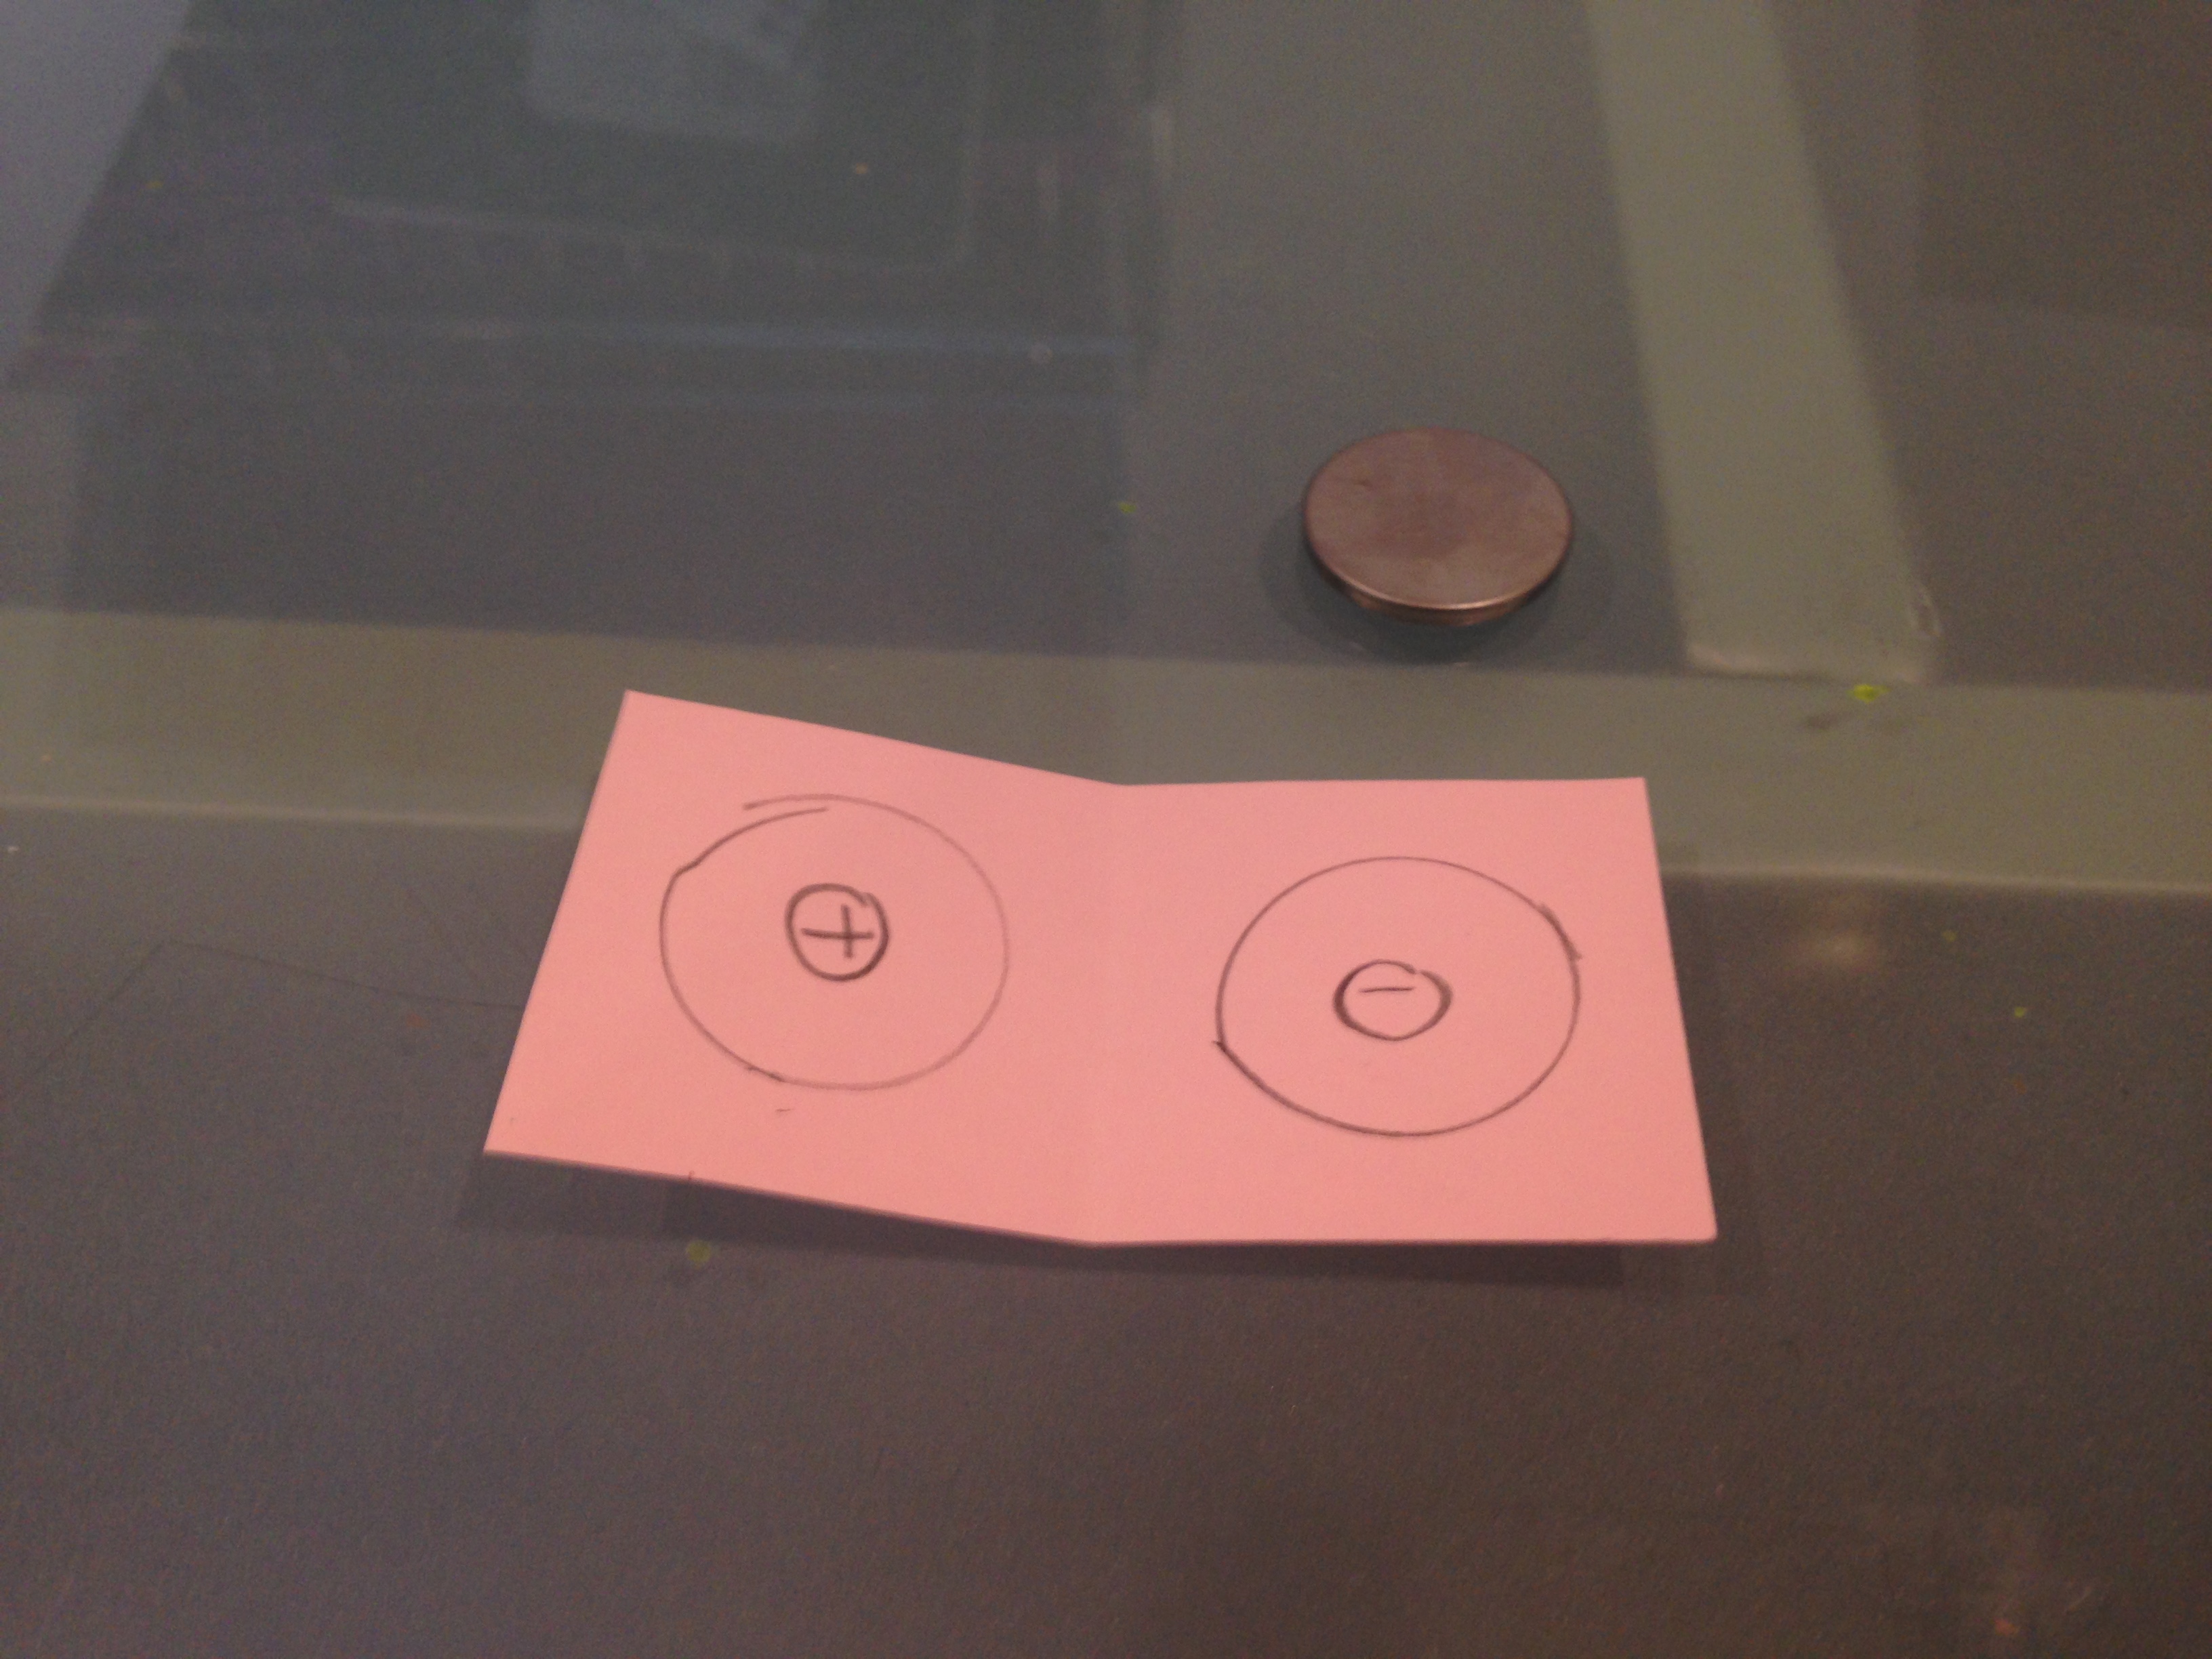
1. Cut a piece of card stock (about 2.5” x 1”). Fold the card stock in half. Trace the battery shape on both halves. Mark the left side as positive (+) and the right side as negative (-).
2. Attach the folded paper on the bottom of your project with glue, tape, adhesive, etc.

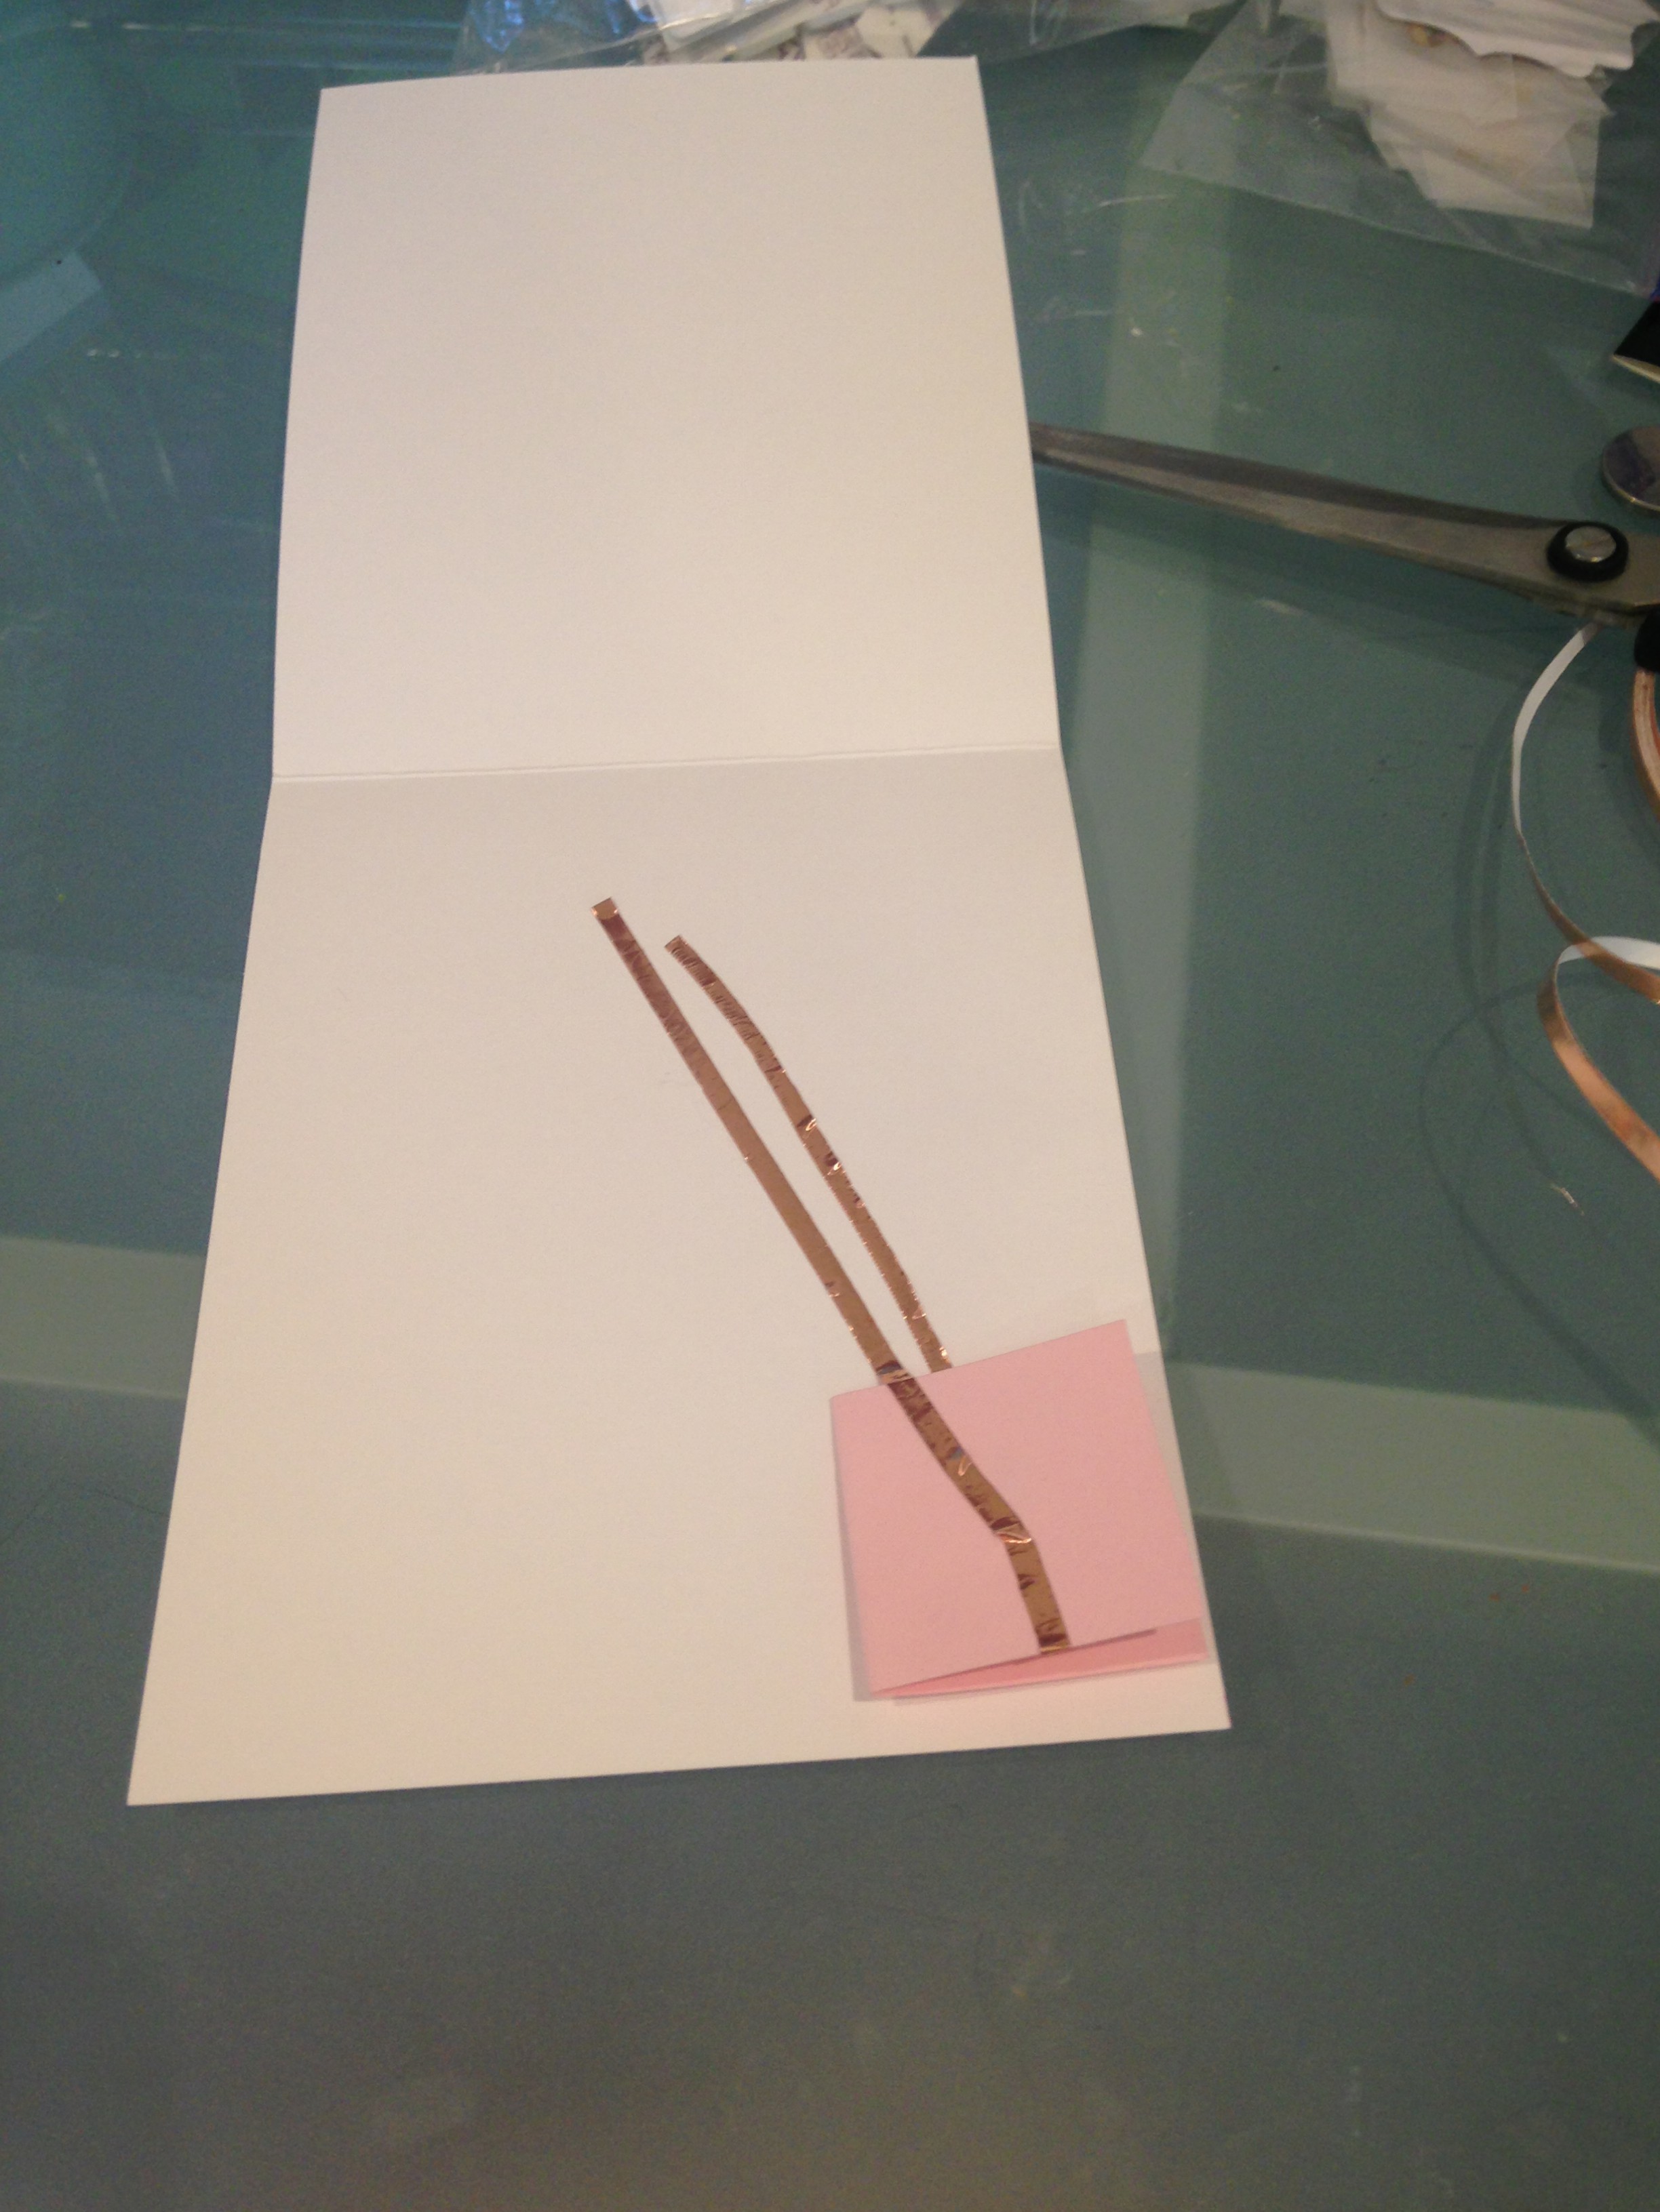
3. Once the folded paper is set, cut two strips of copper tape. One piece of tape should be 2” longer than the other piece of tape.
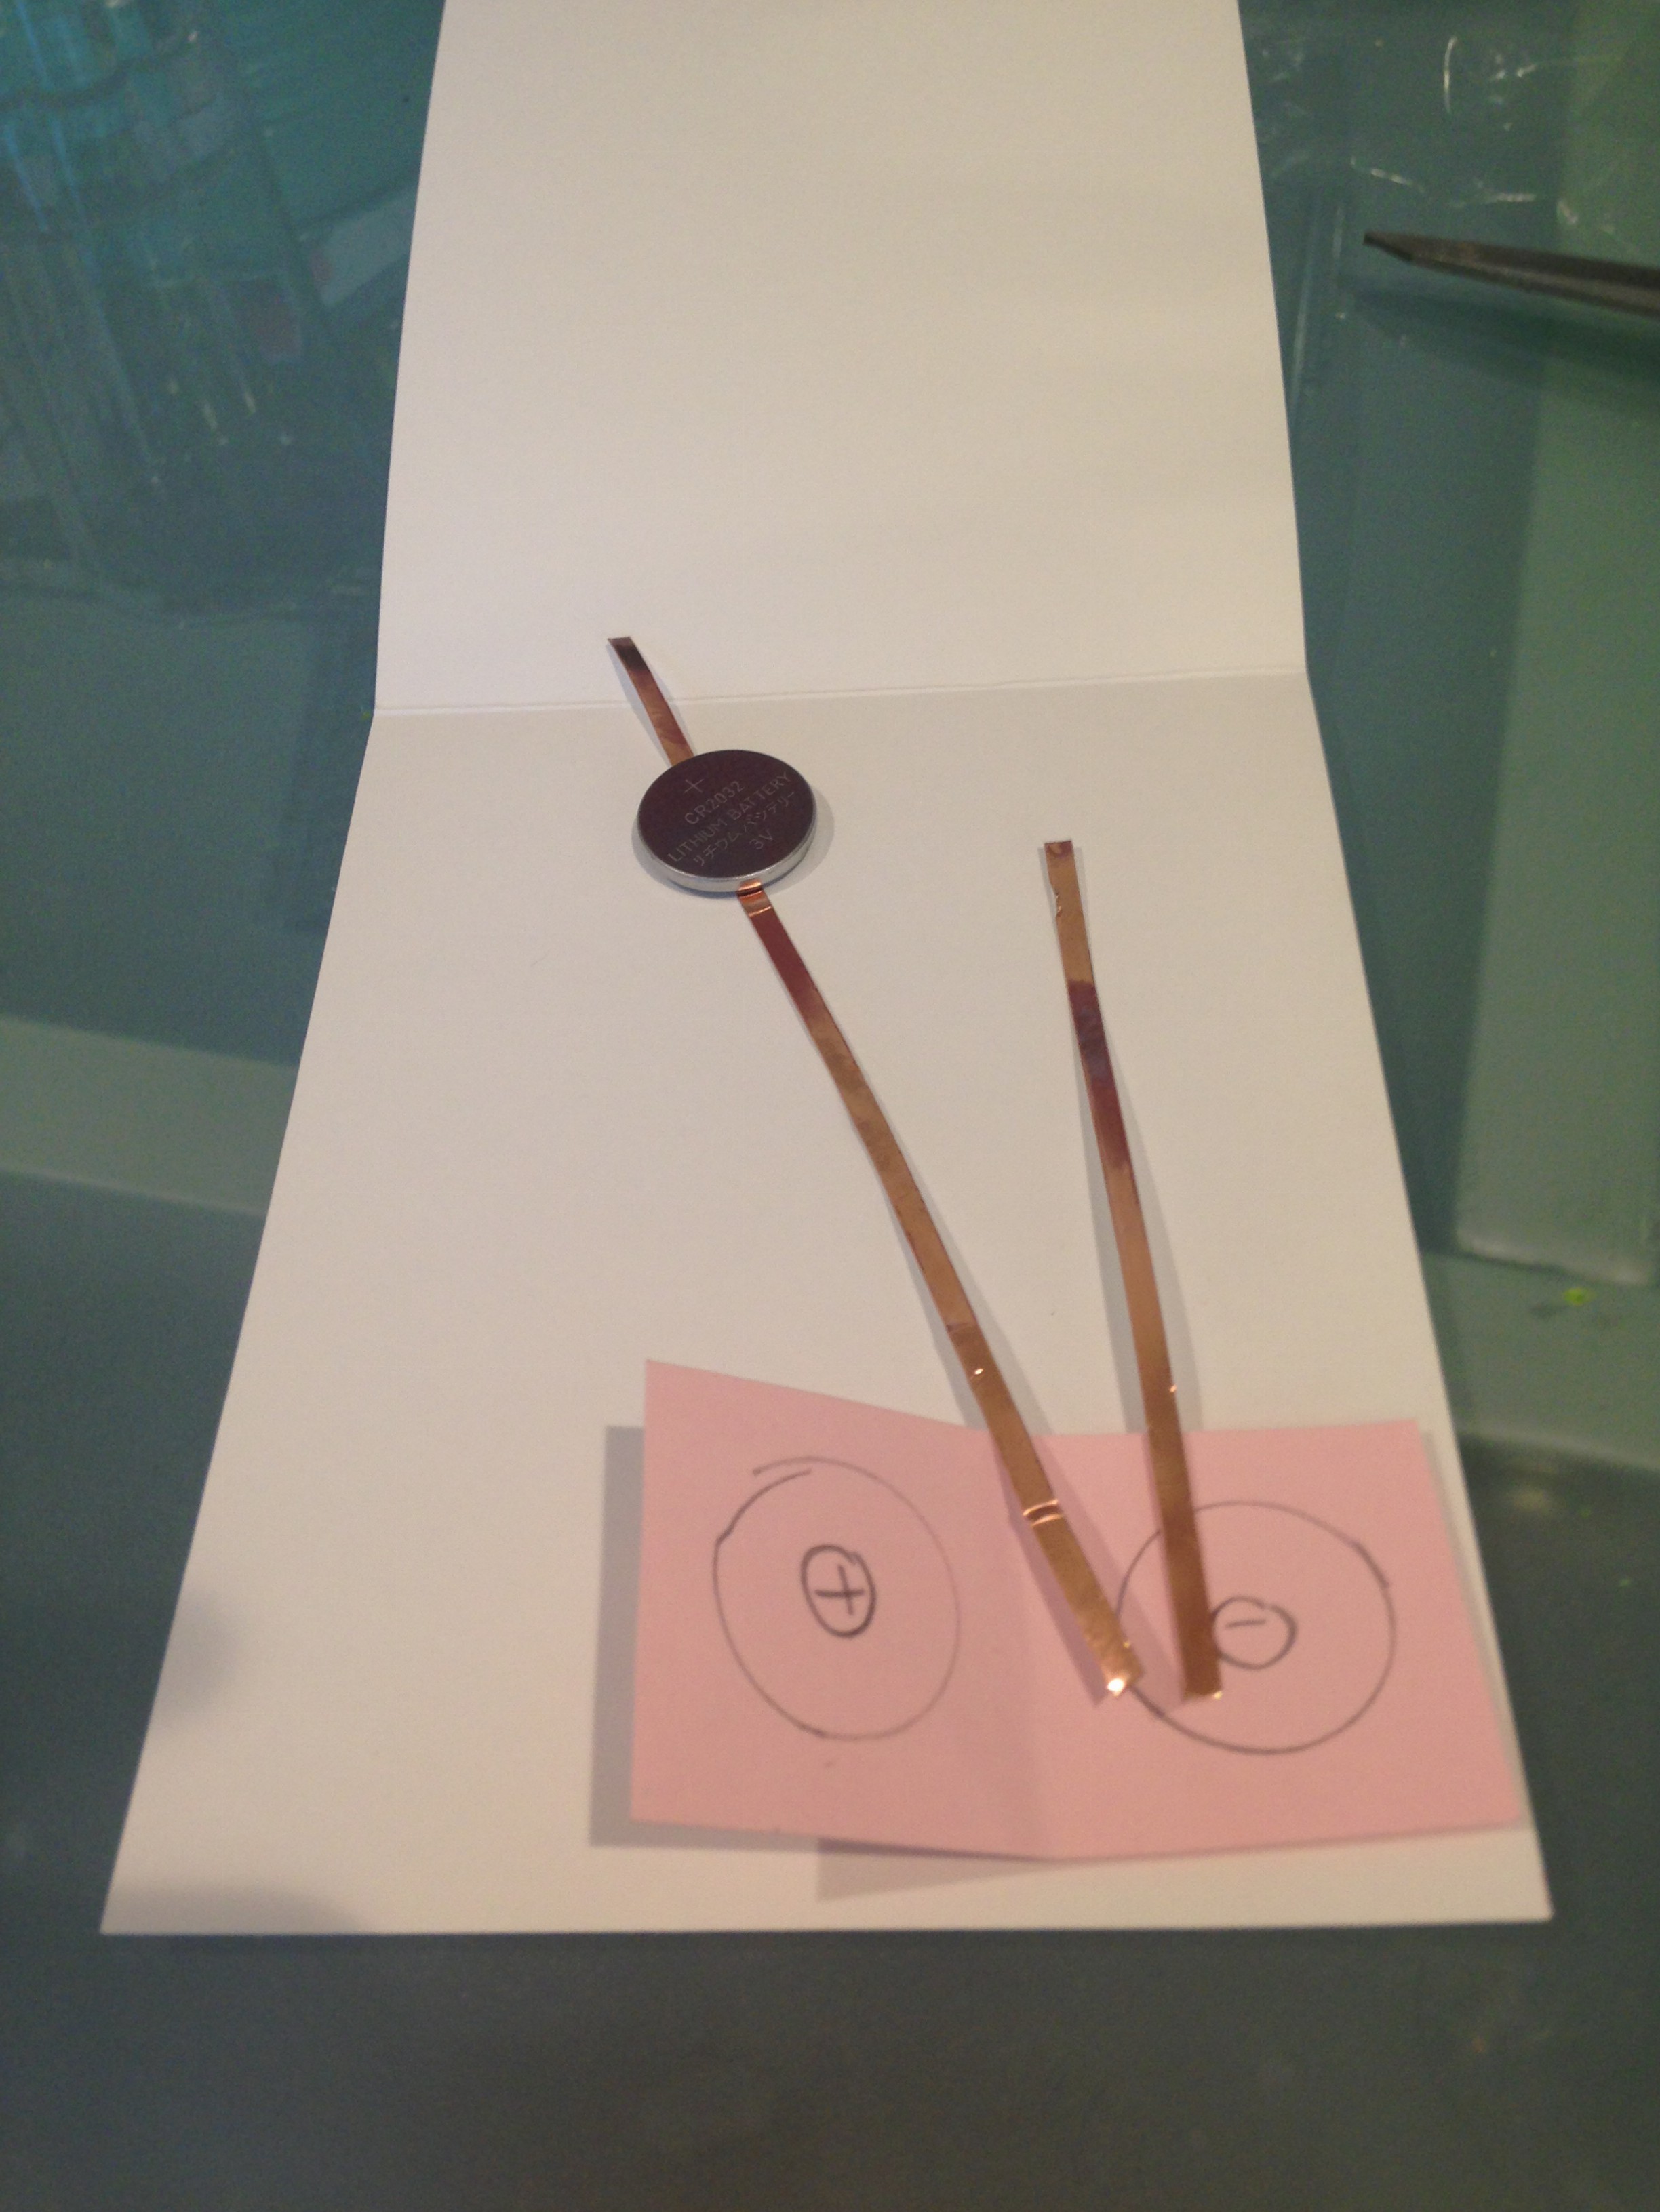
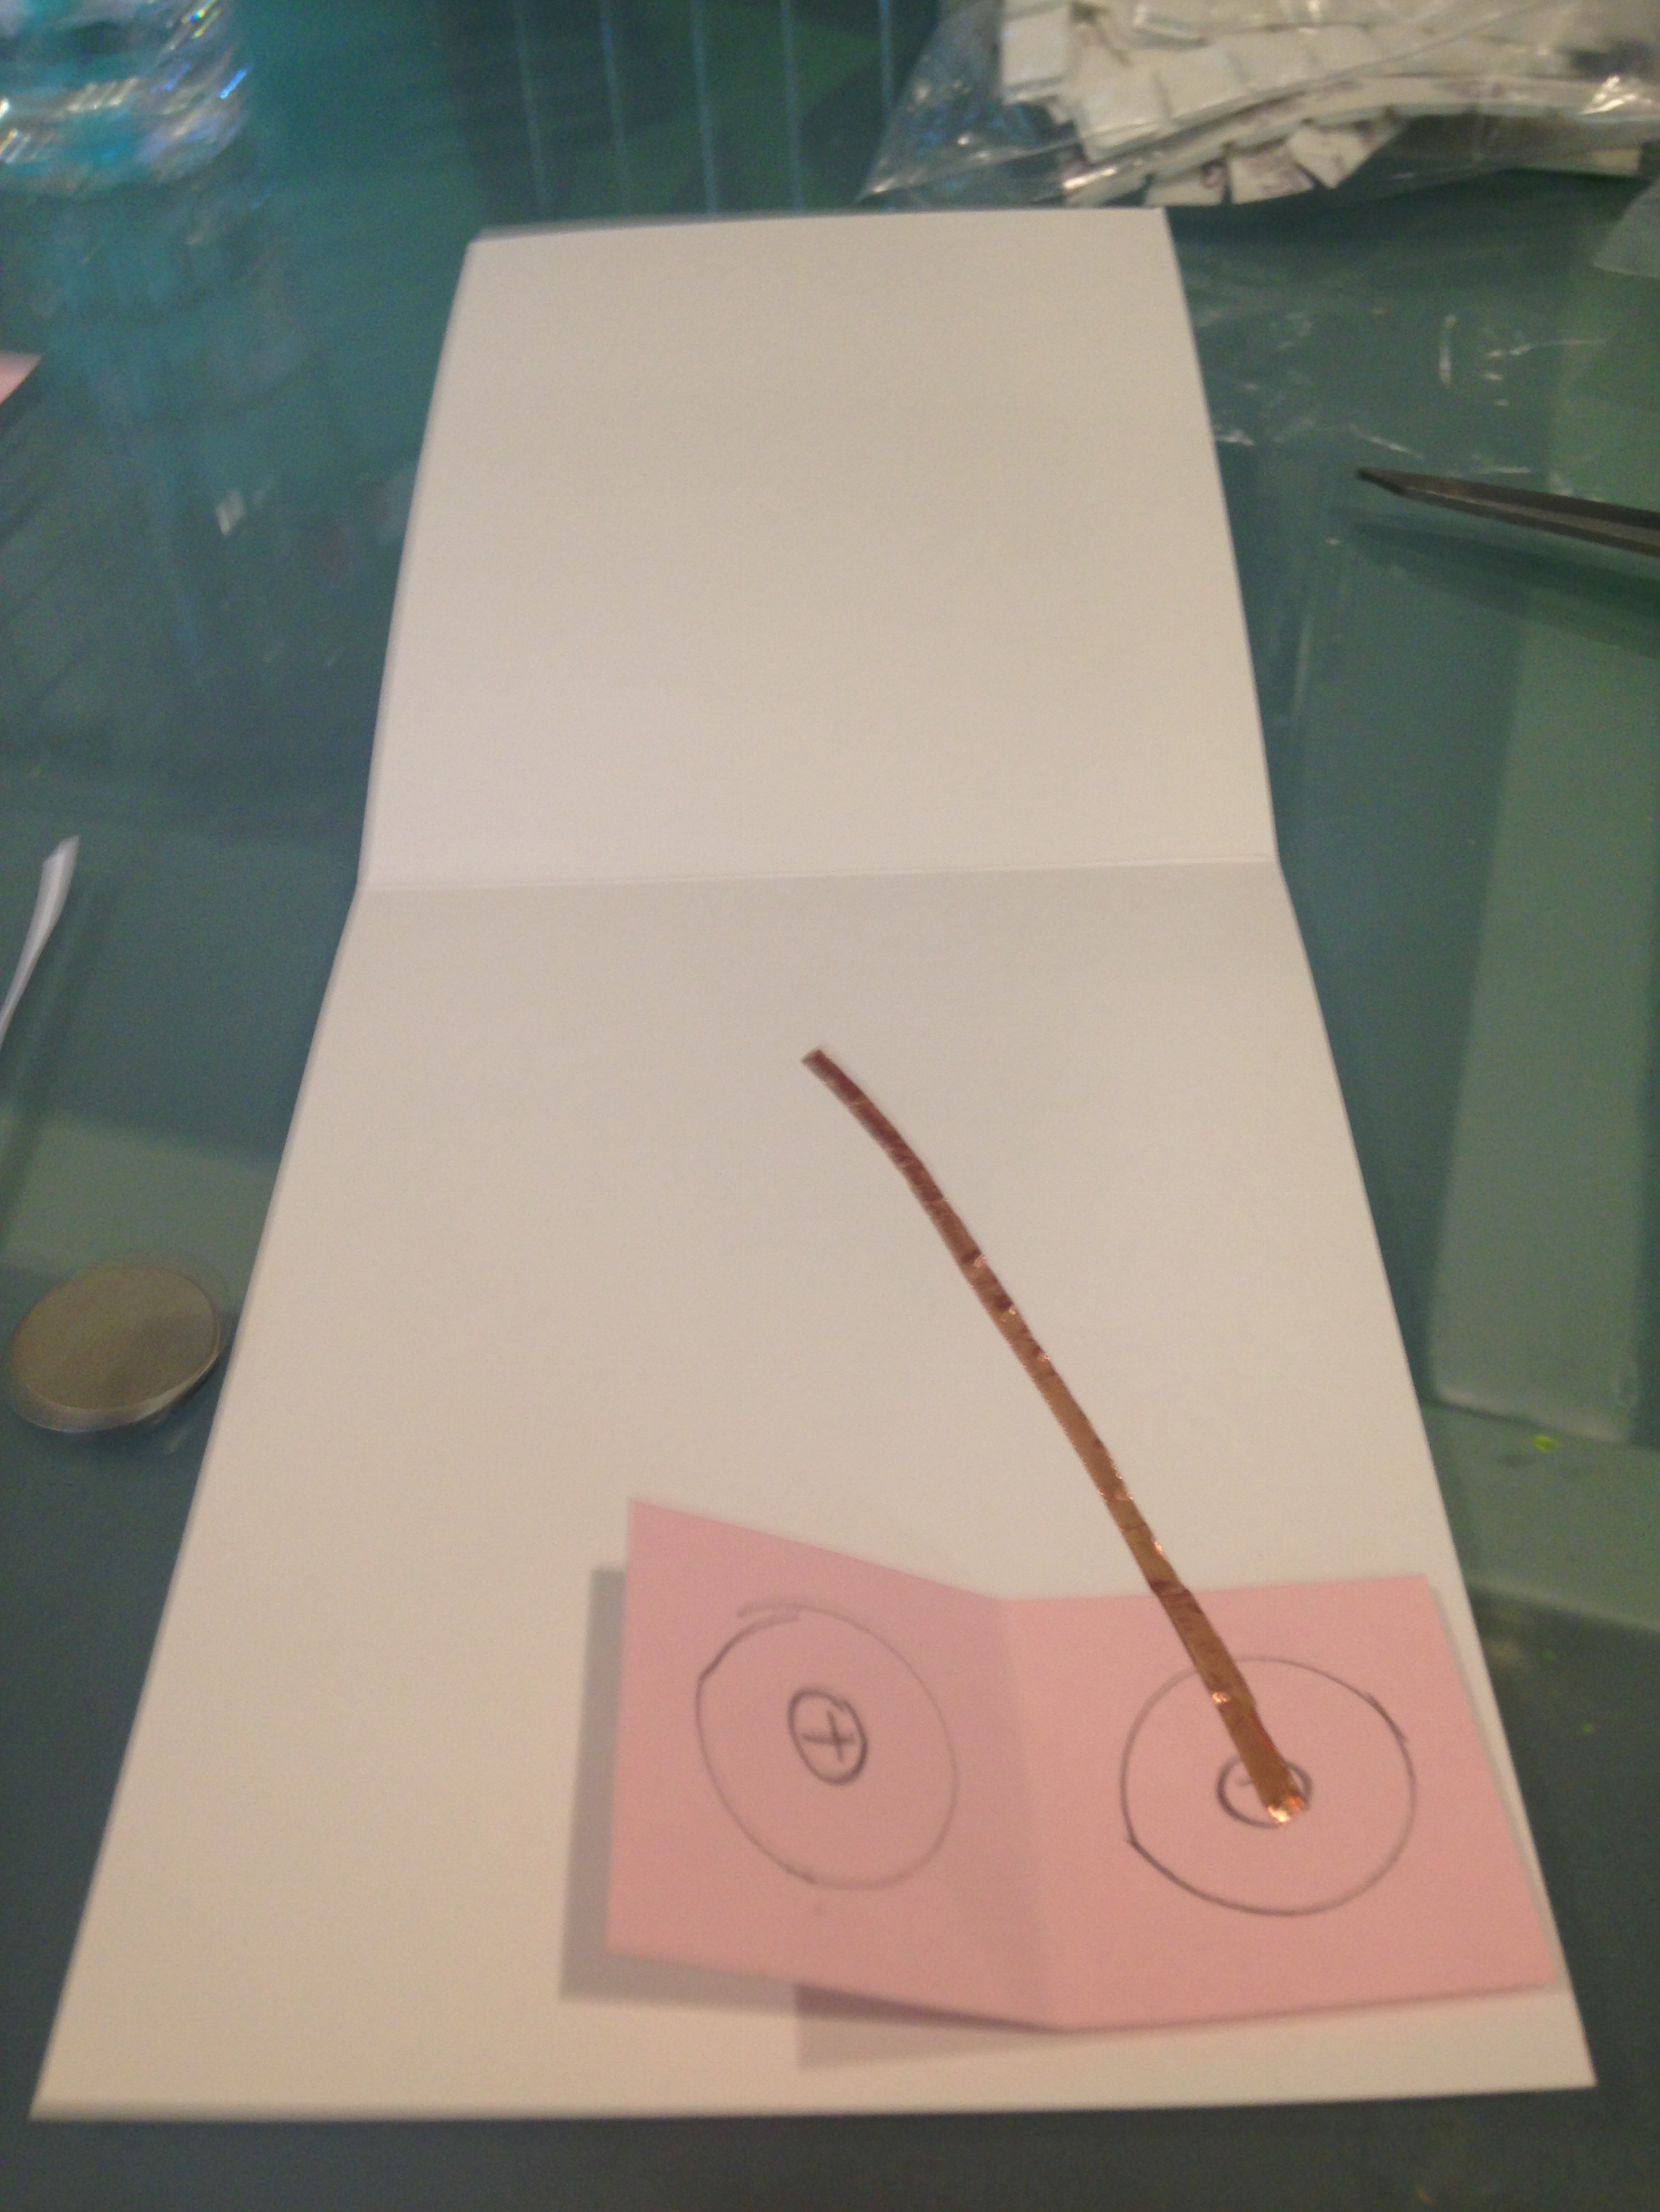
4. Use the shorter piece of tape, and start taping from the center of the battery circle marked negative upwards to the location where you want the stickers to be.
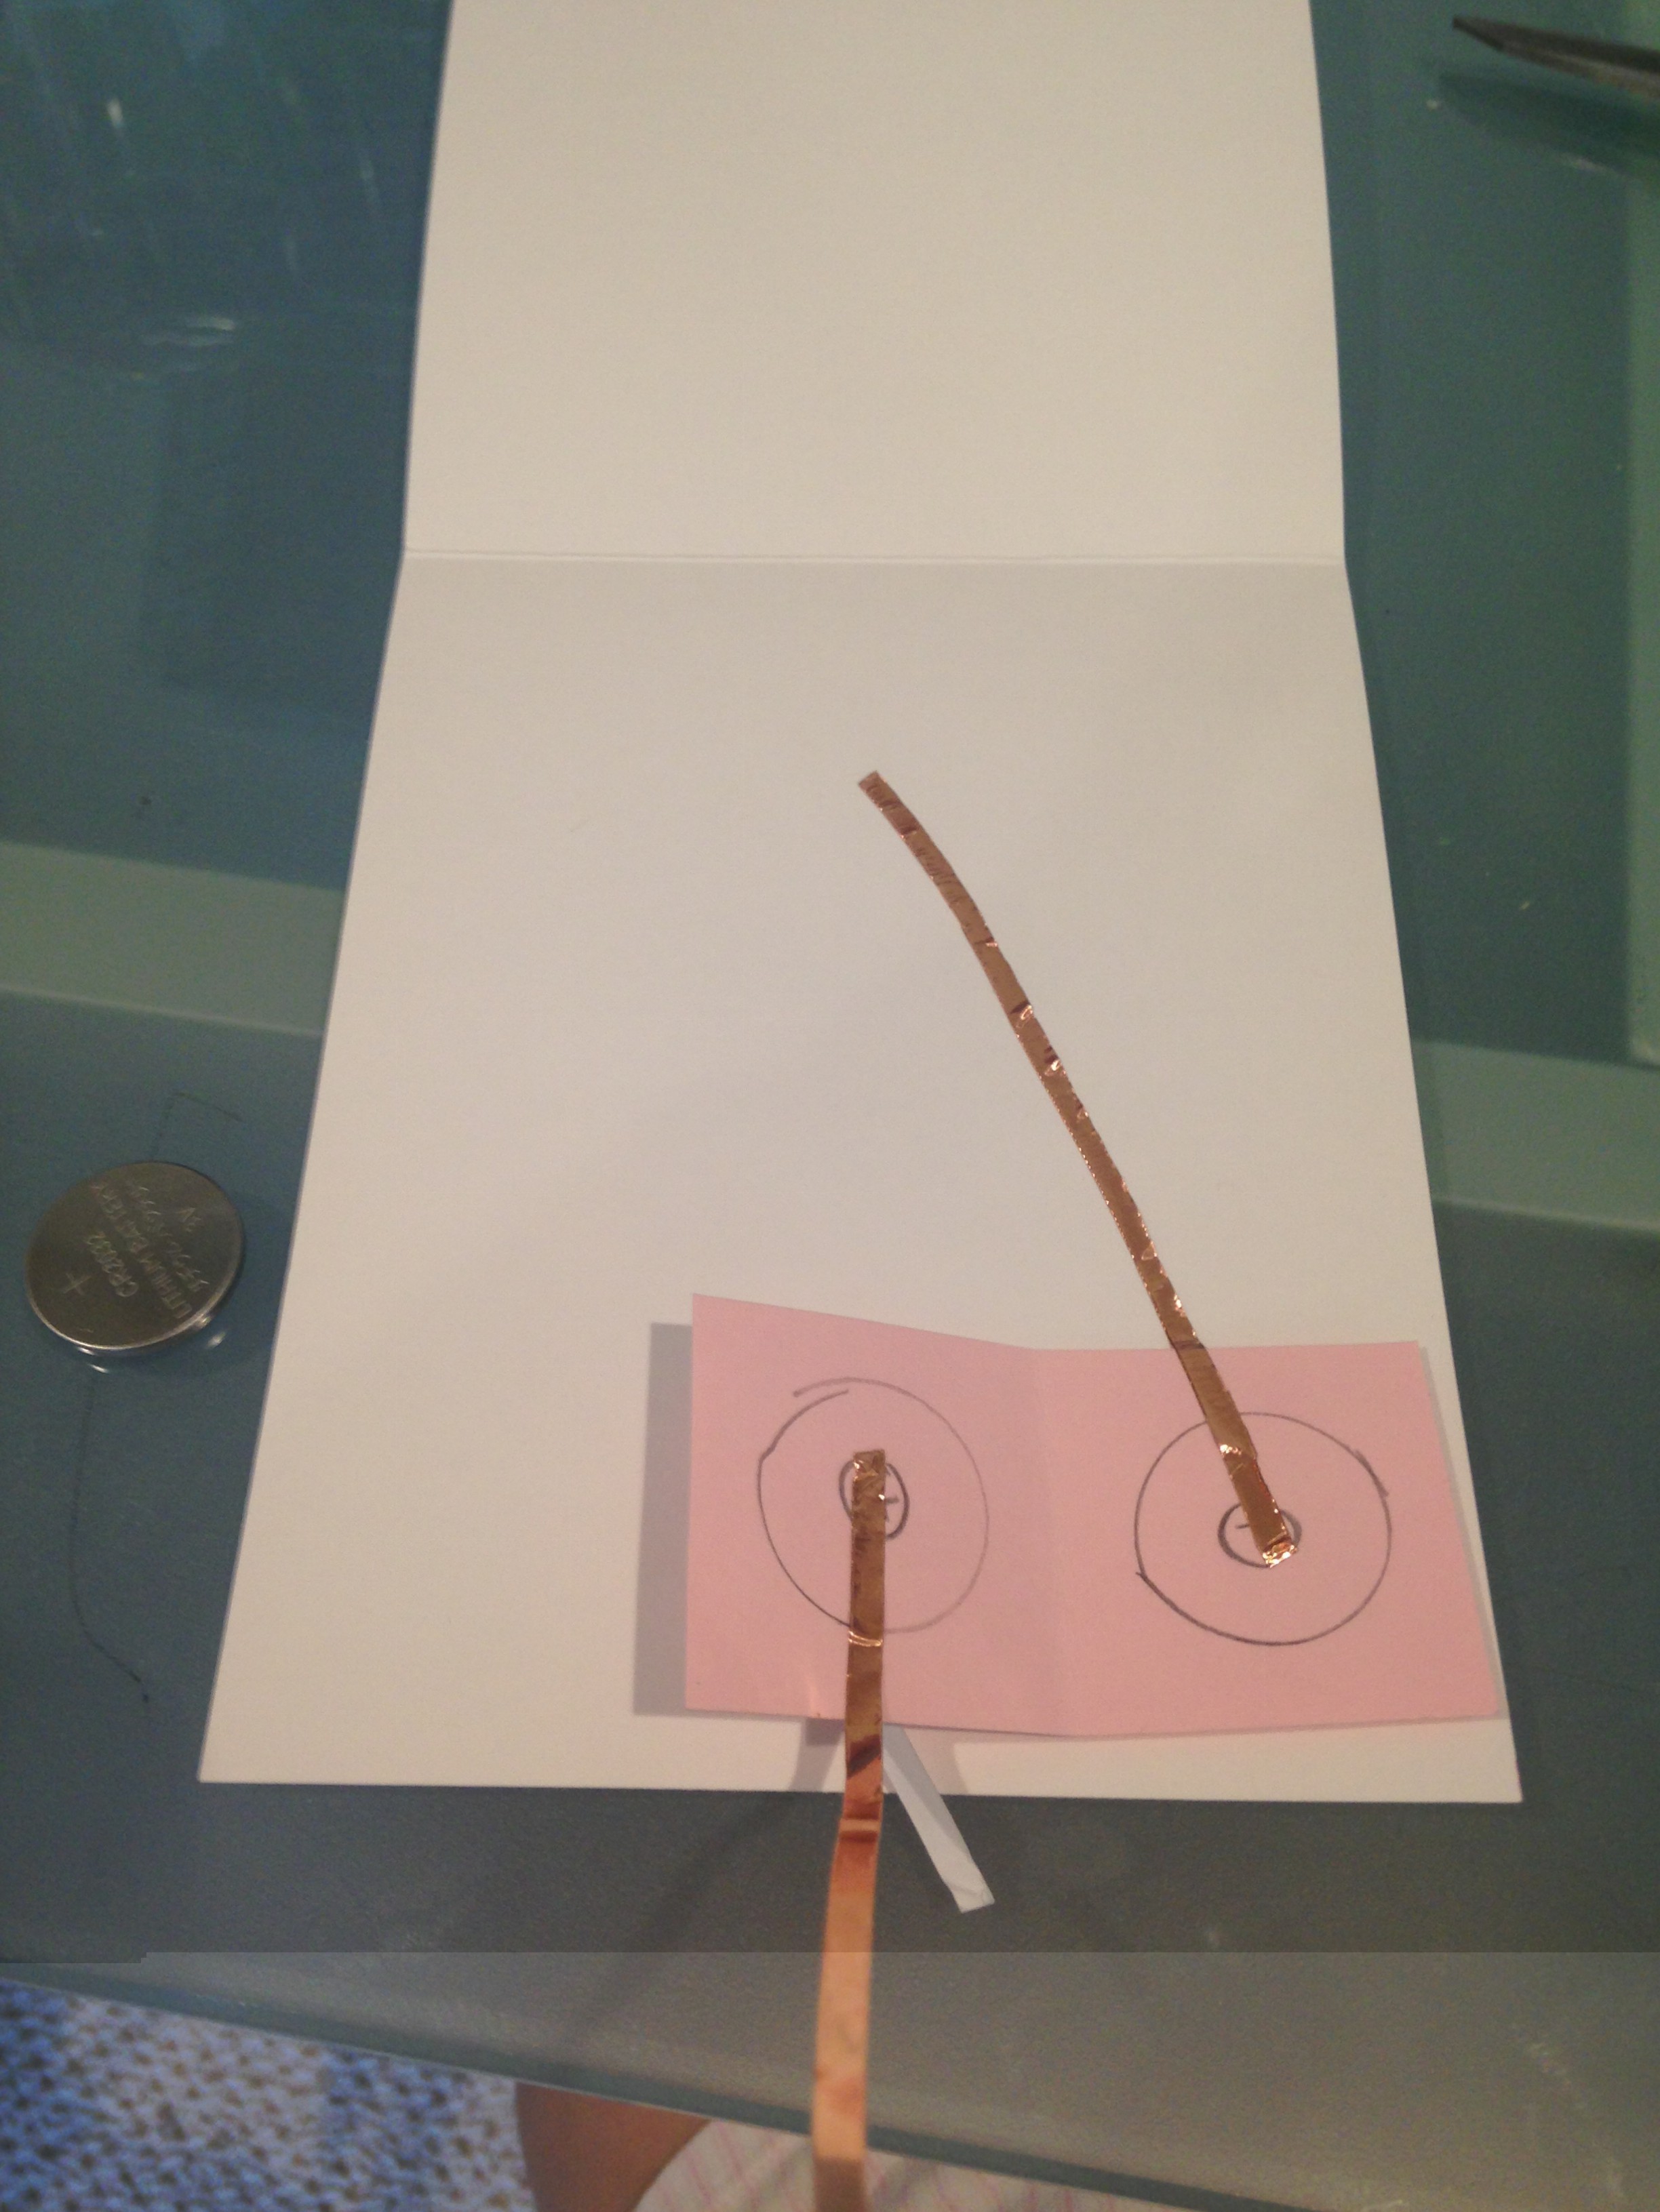
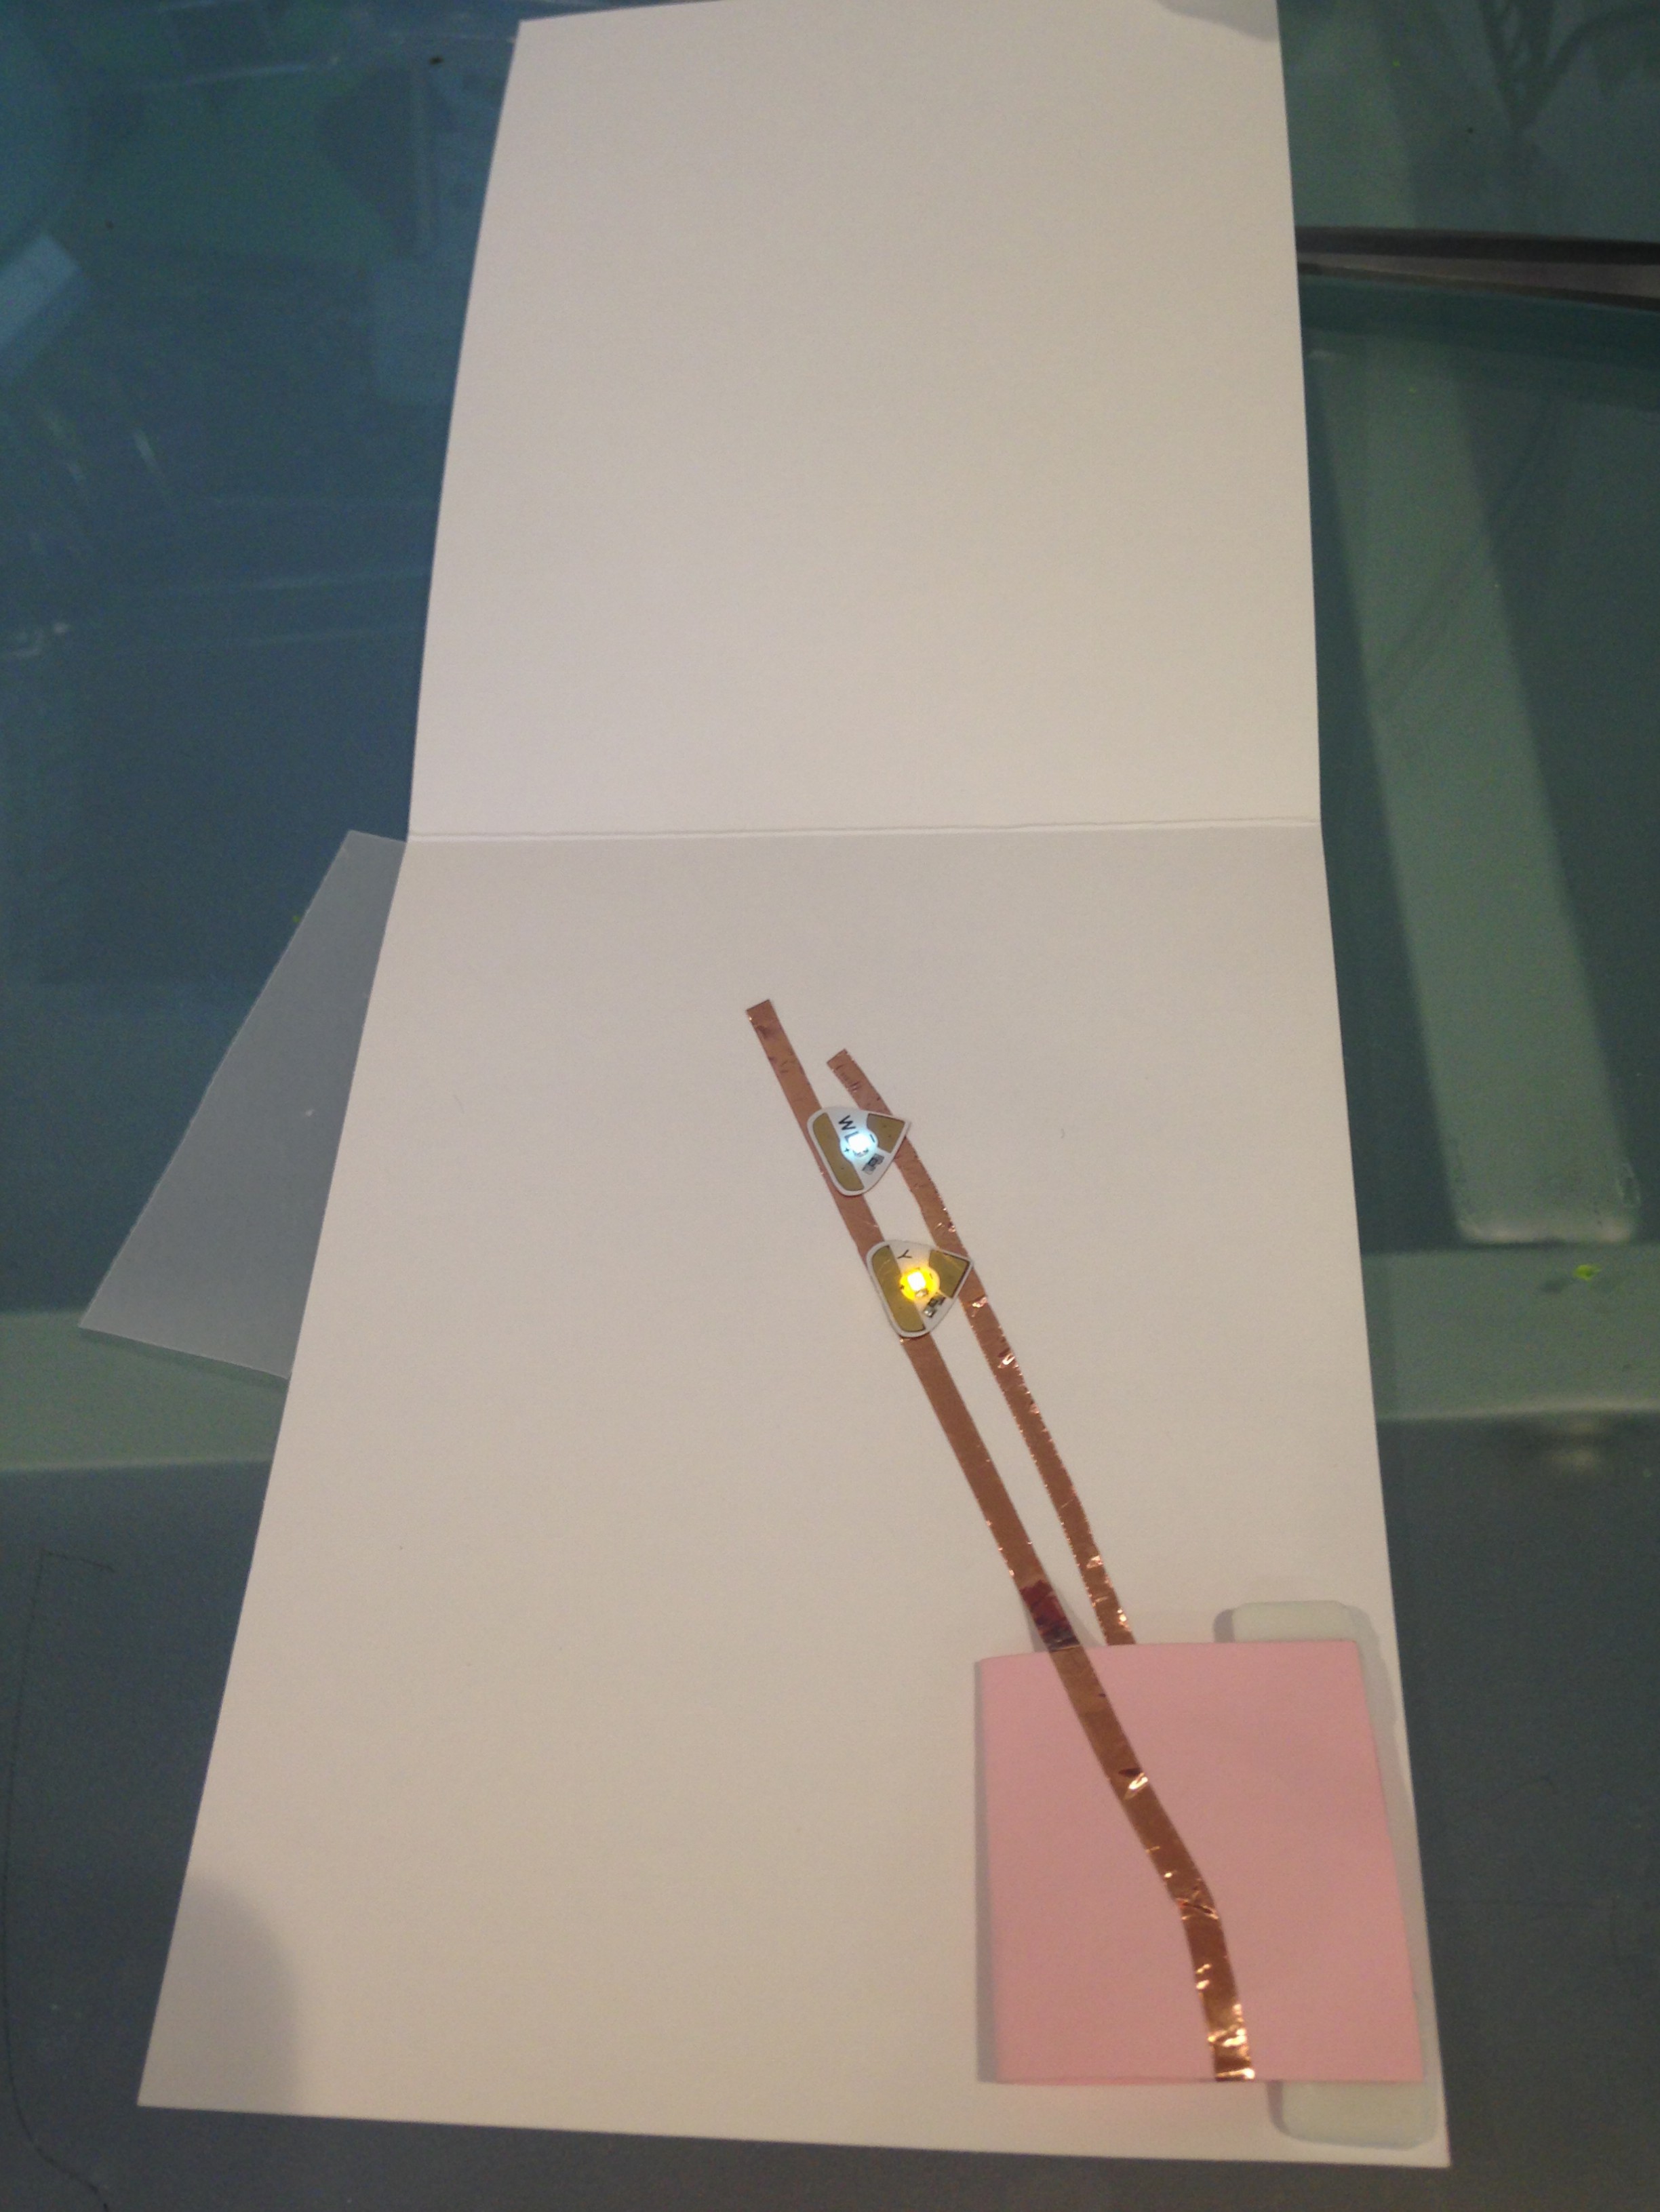
5. Use the longer piece of tape, and start taping from the center of the battery marked positive to the other side of the battery holder, and then upwards to the location where you want the sticker to be. This should be parallel with the other piece of copper tape, with about .7 cm between the two lines.
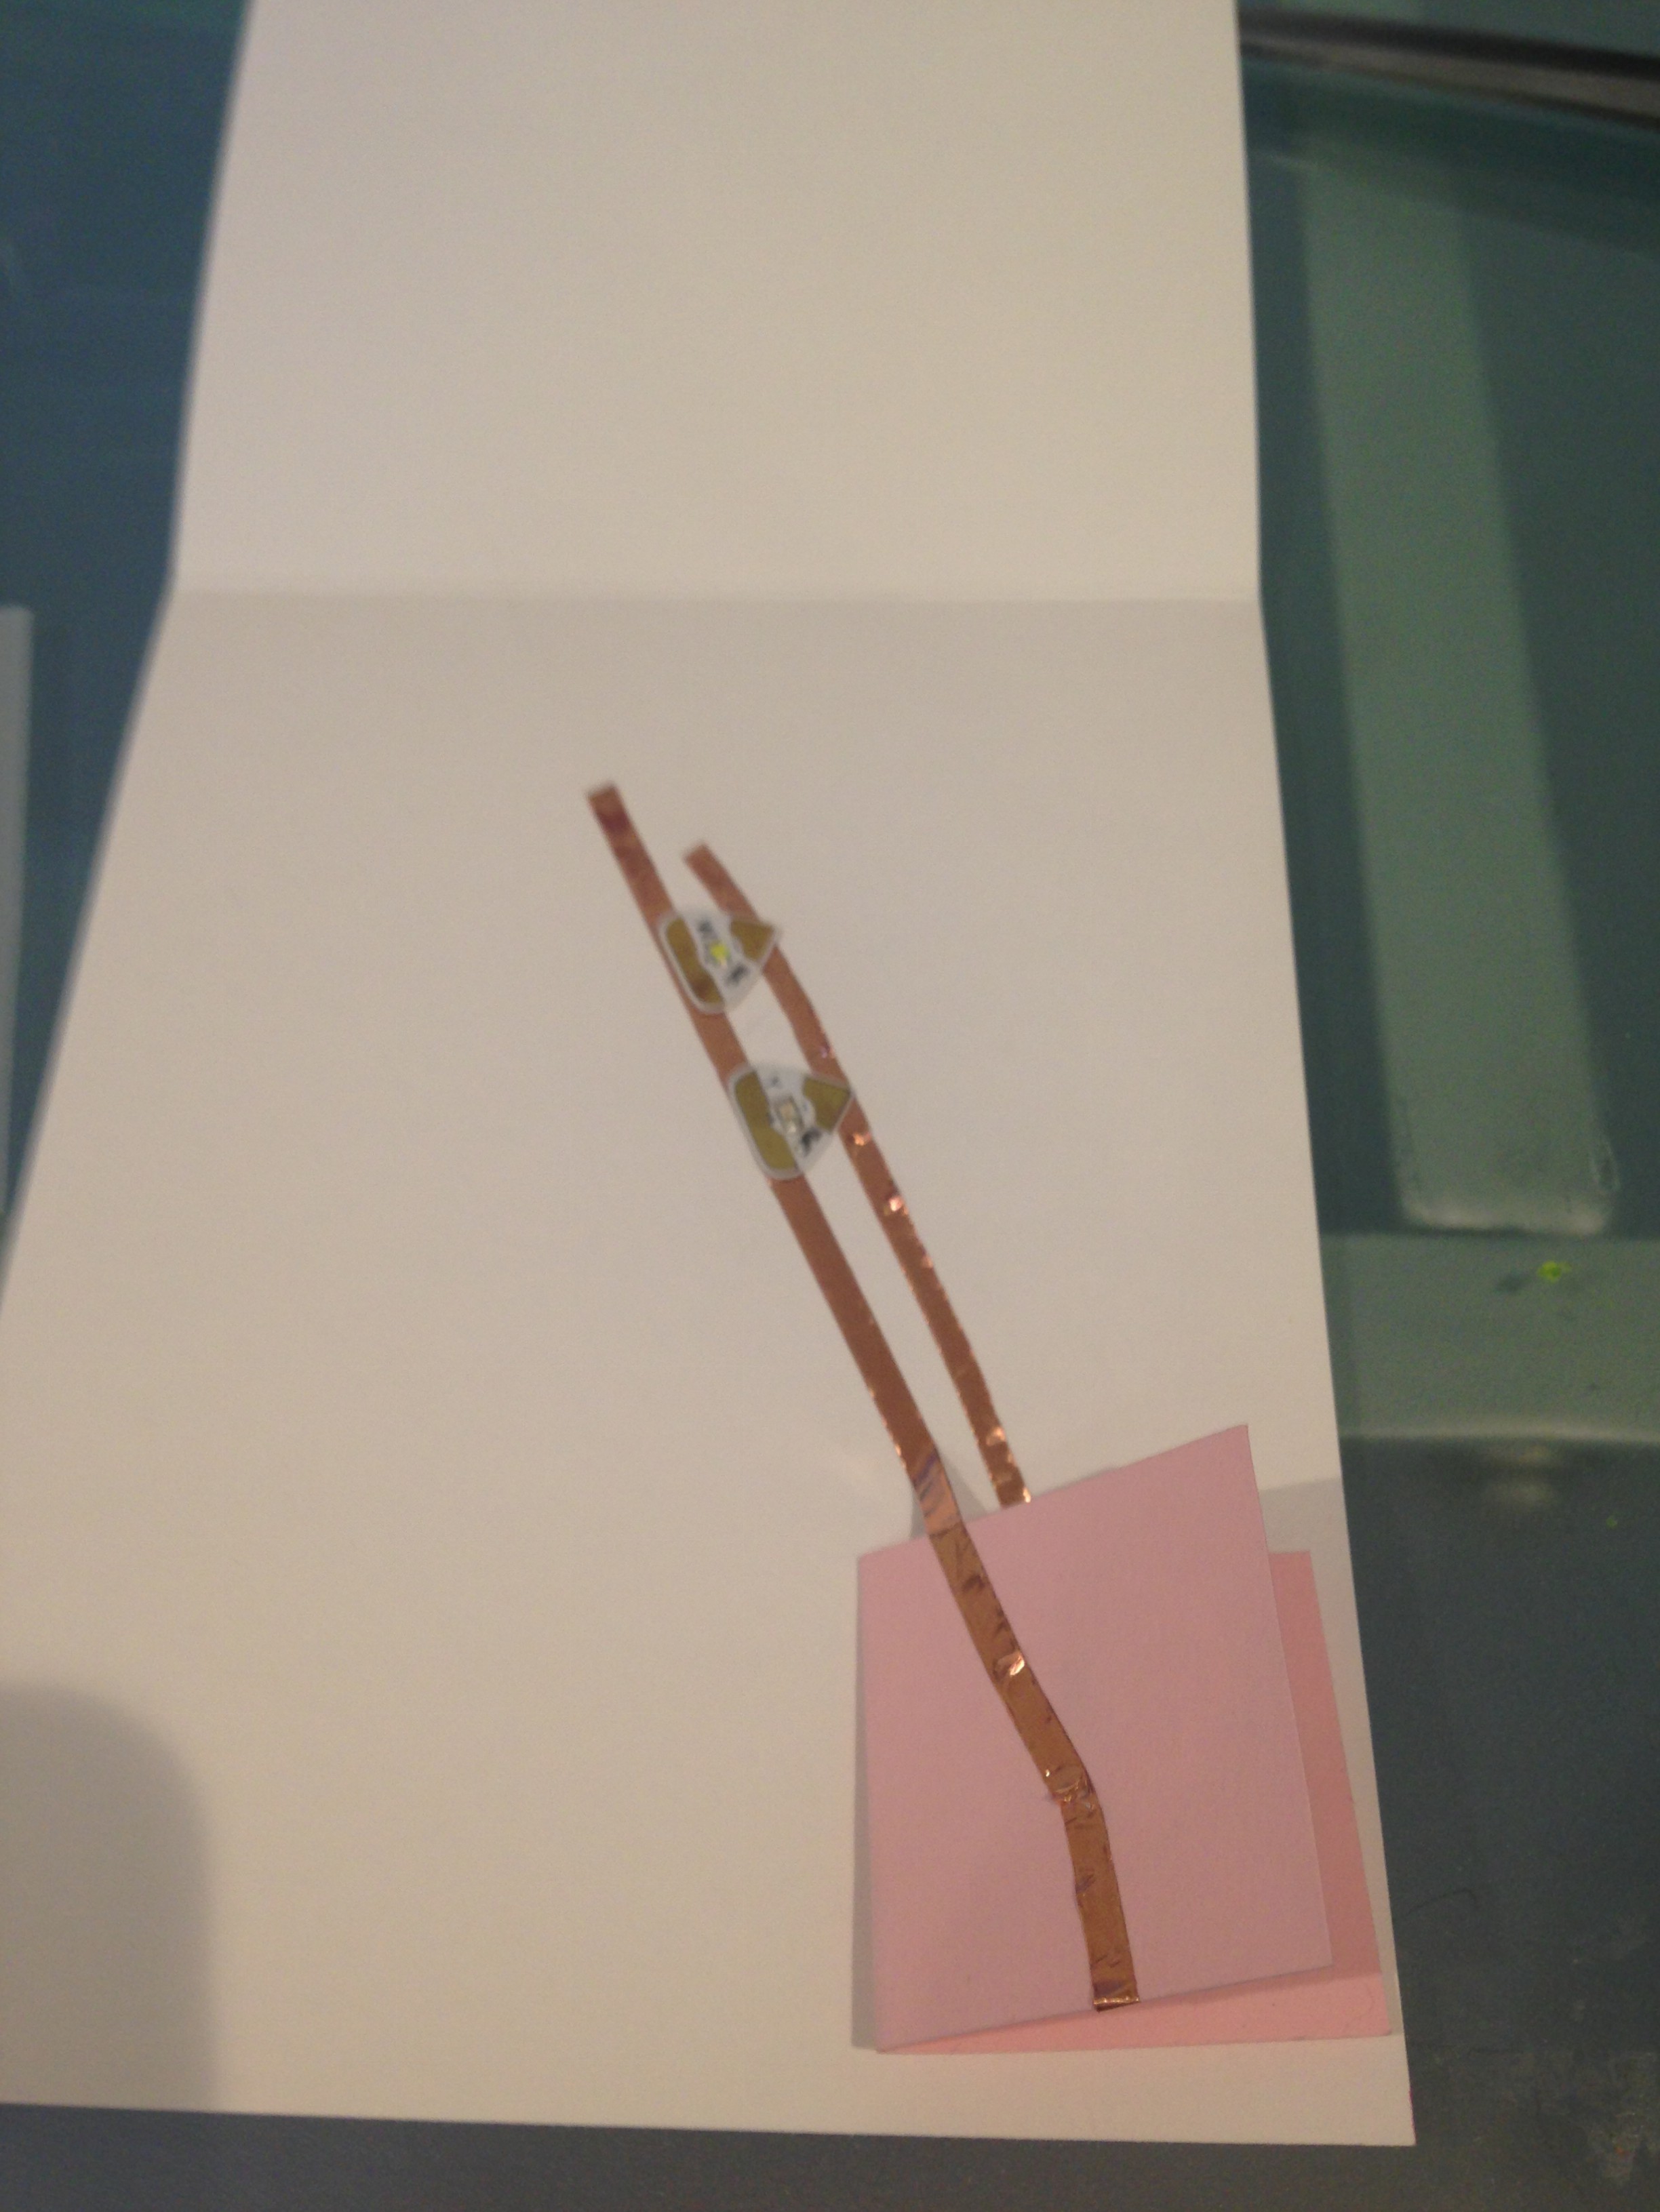
6. Attach stickers to the copper tape. Press down the stickers, and make sure the copper tape is smooth.
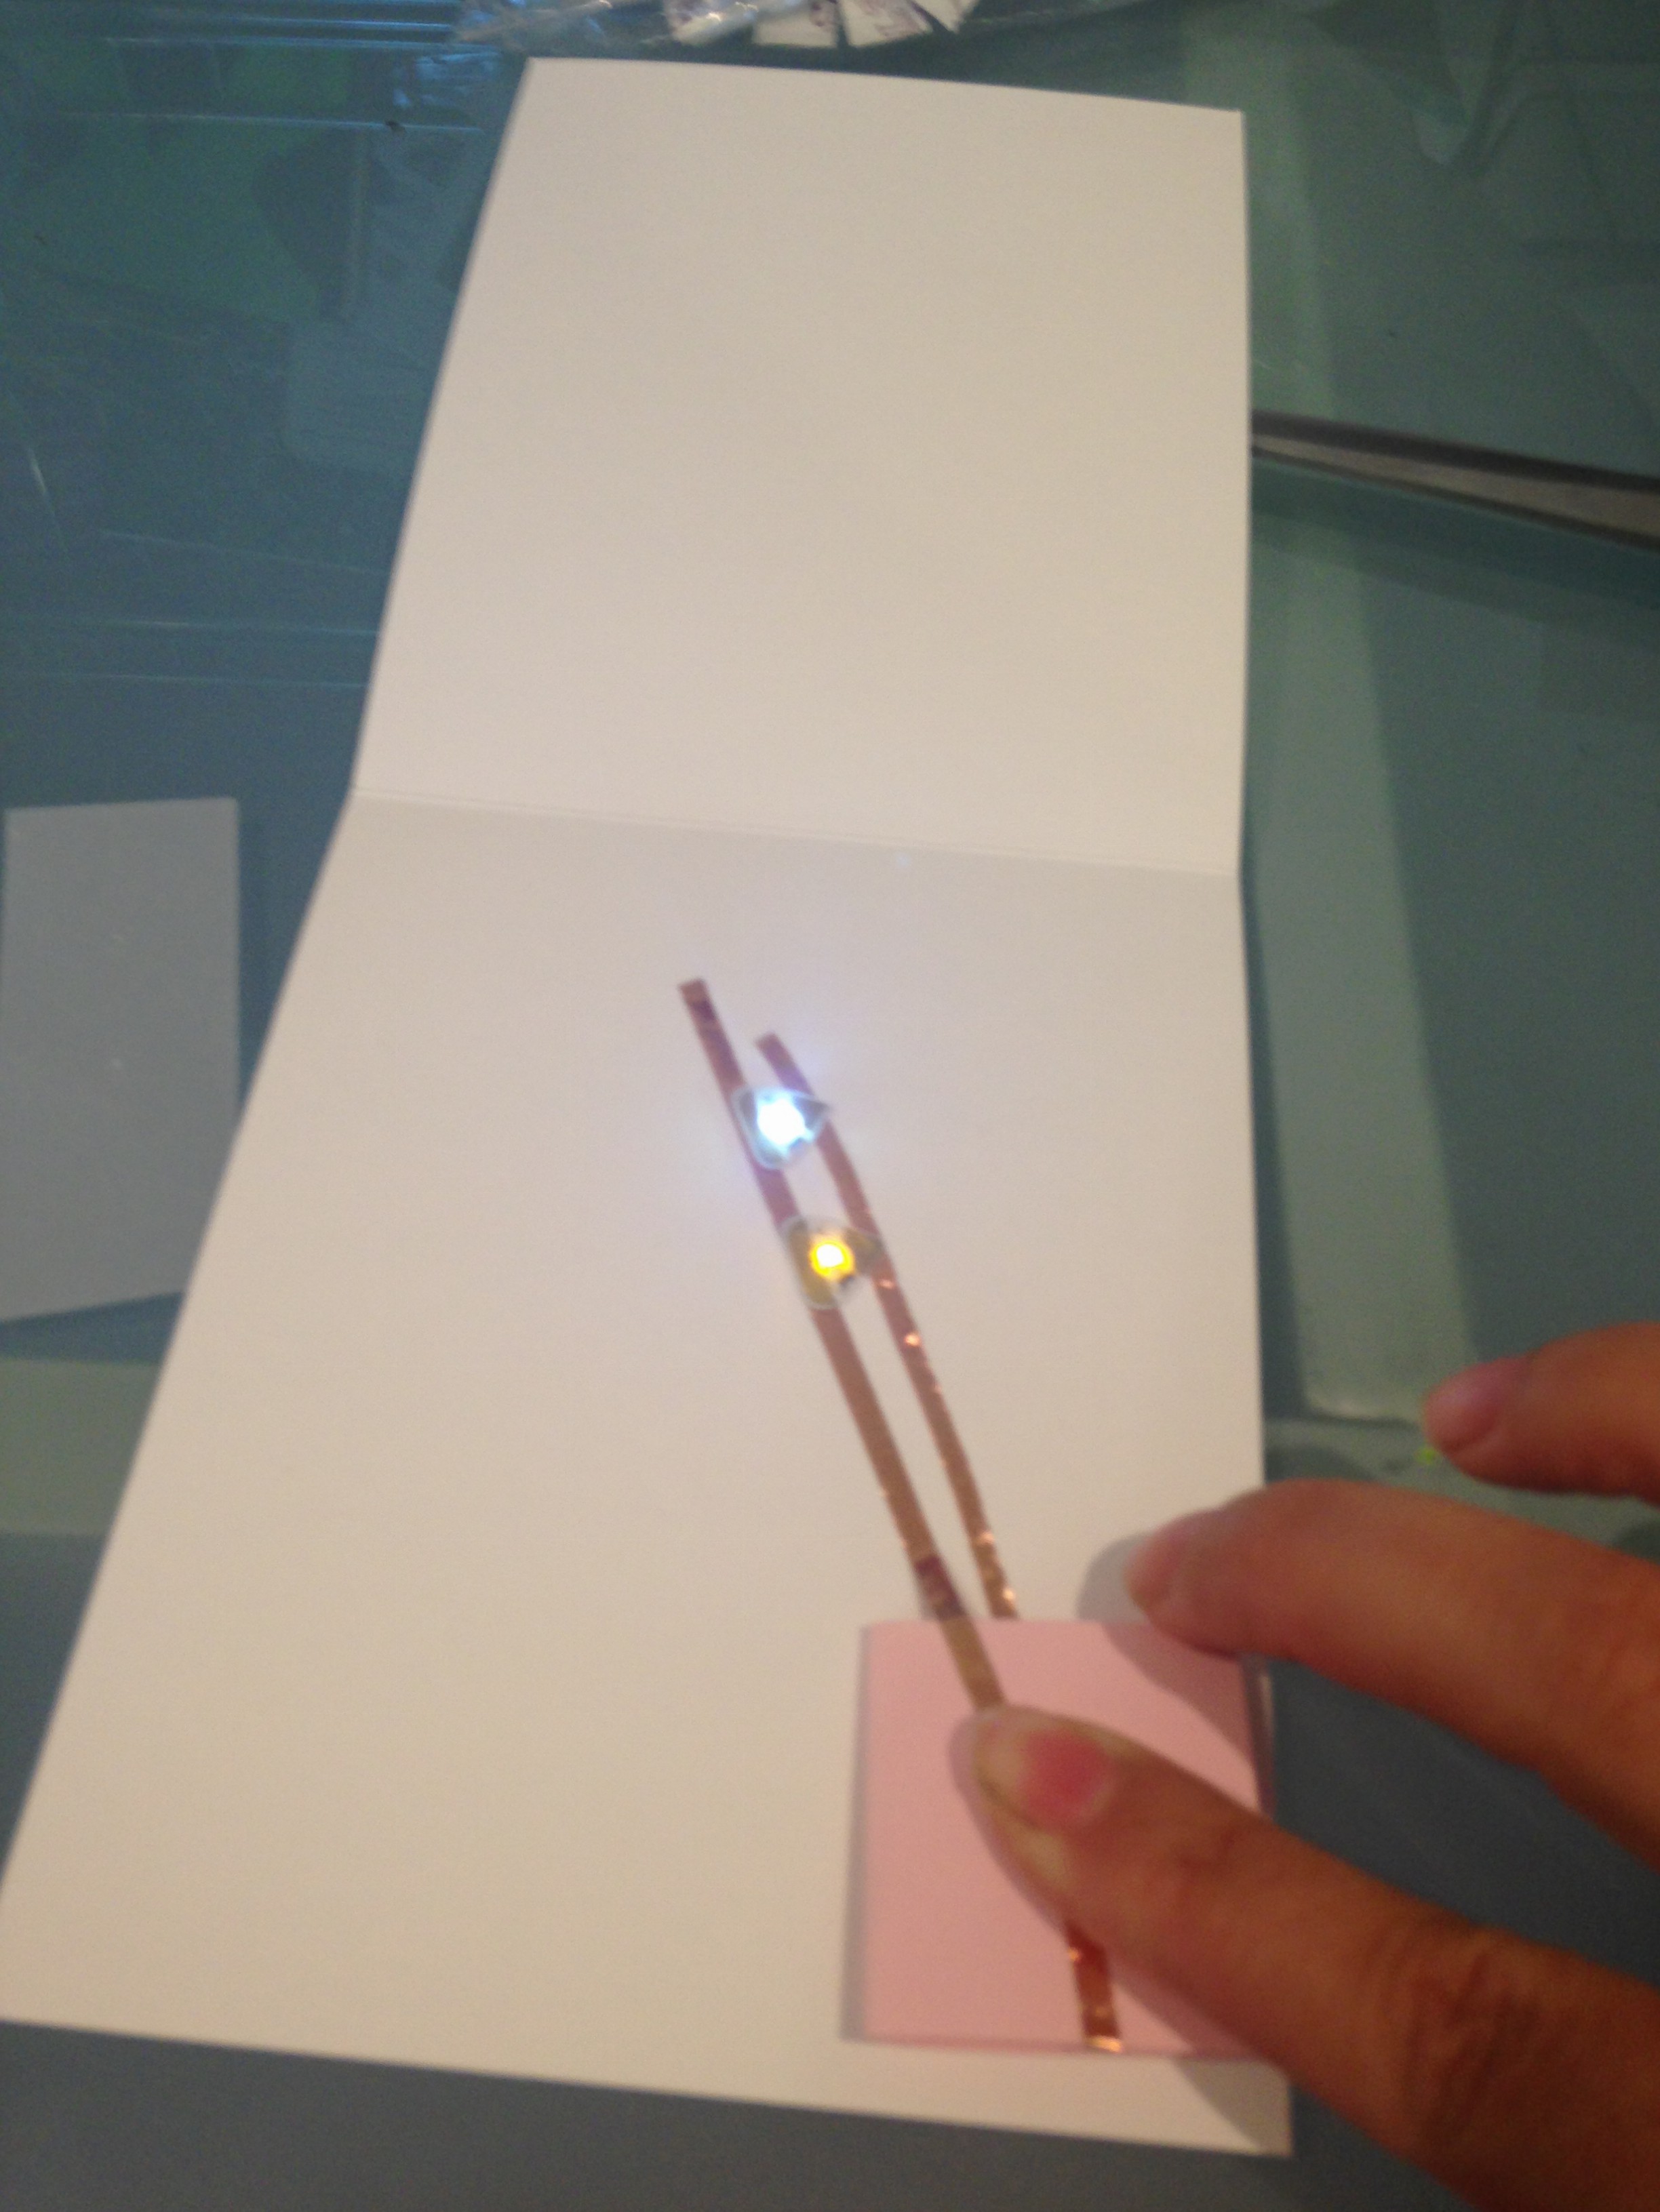
7. Insert battery in paper holder. The positive side of the battery should be touching the positive circle in the battery holder. Check that the battery works.
8. Keep the battery in place by adding foam stickies.
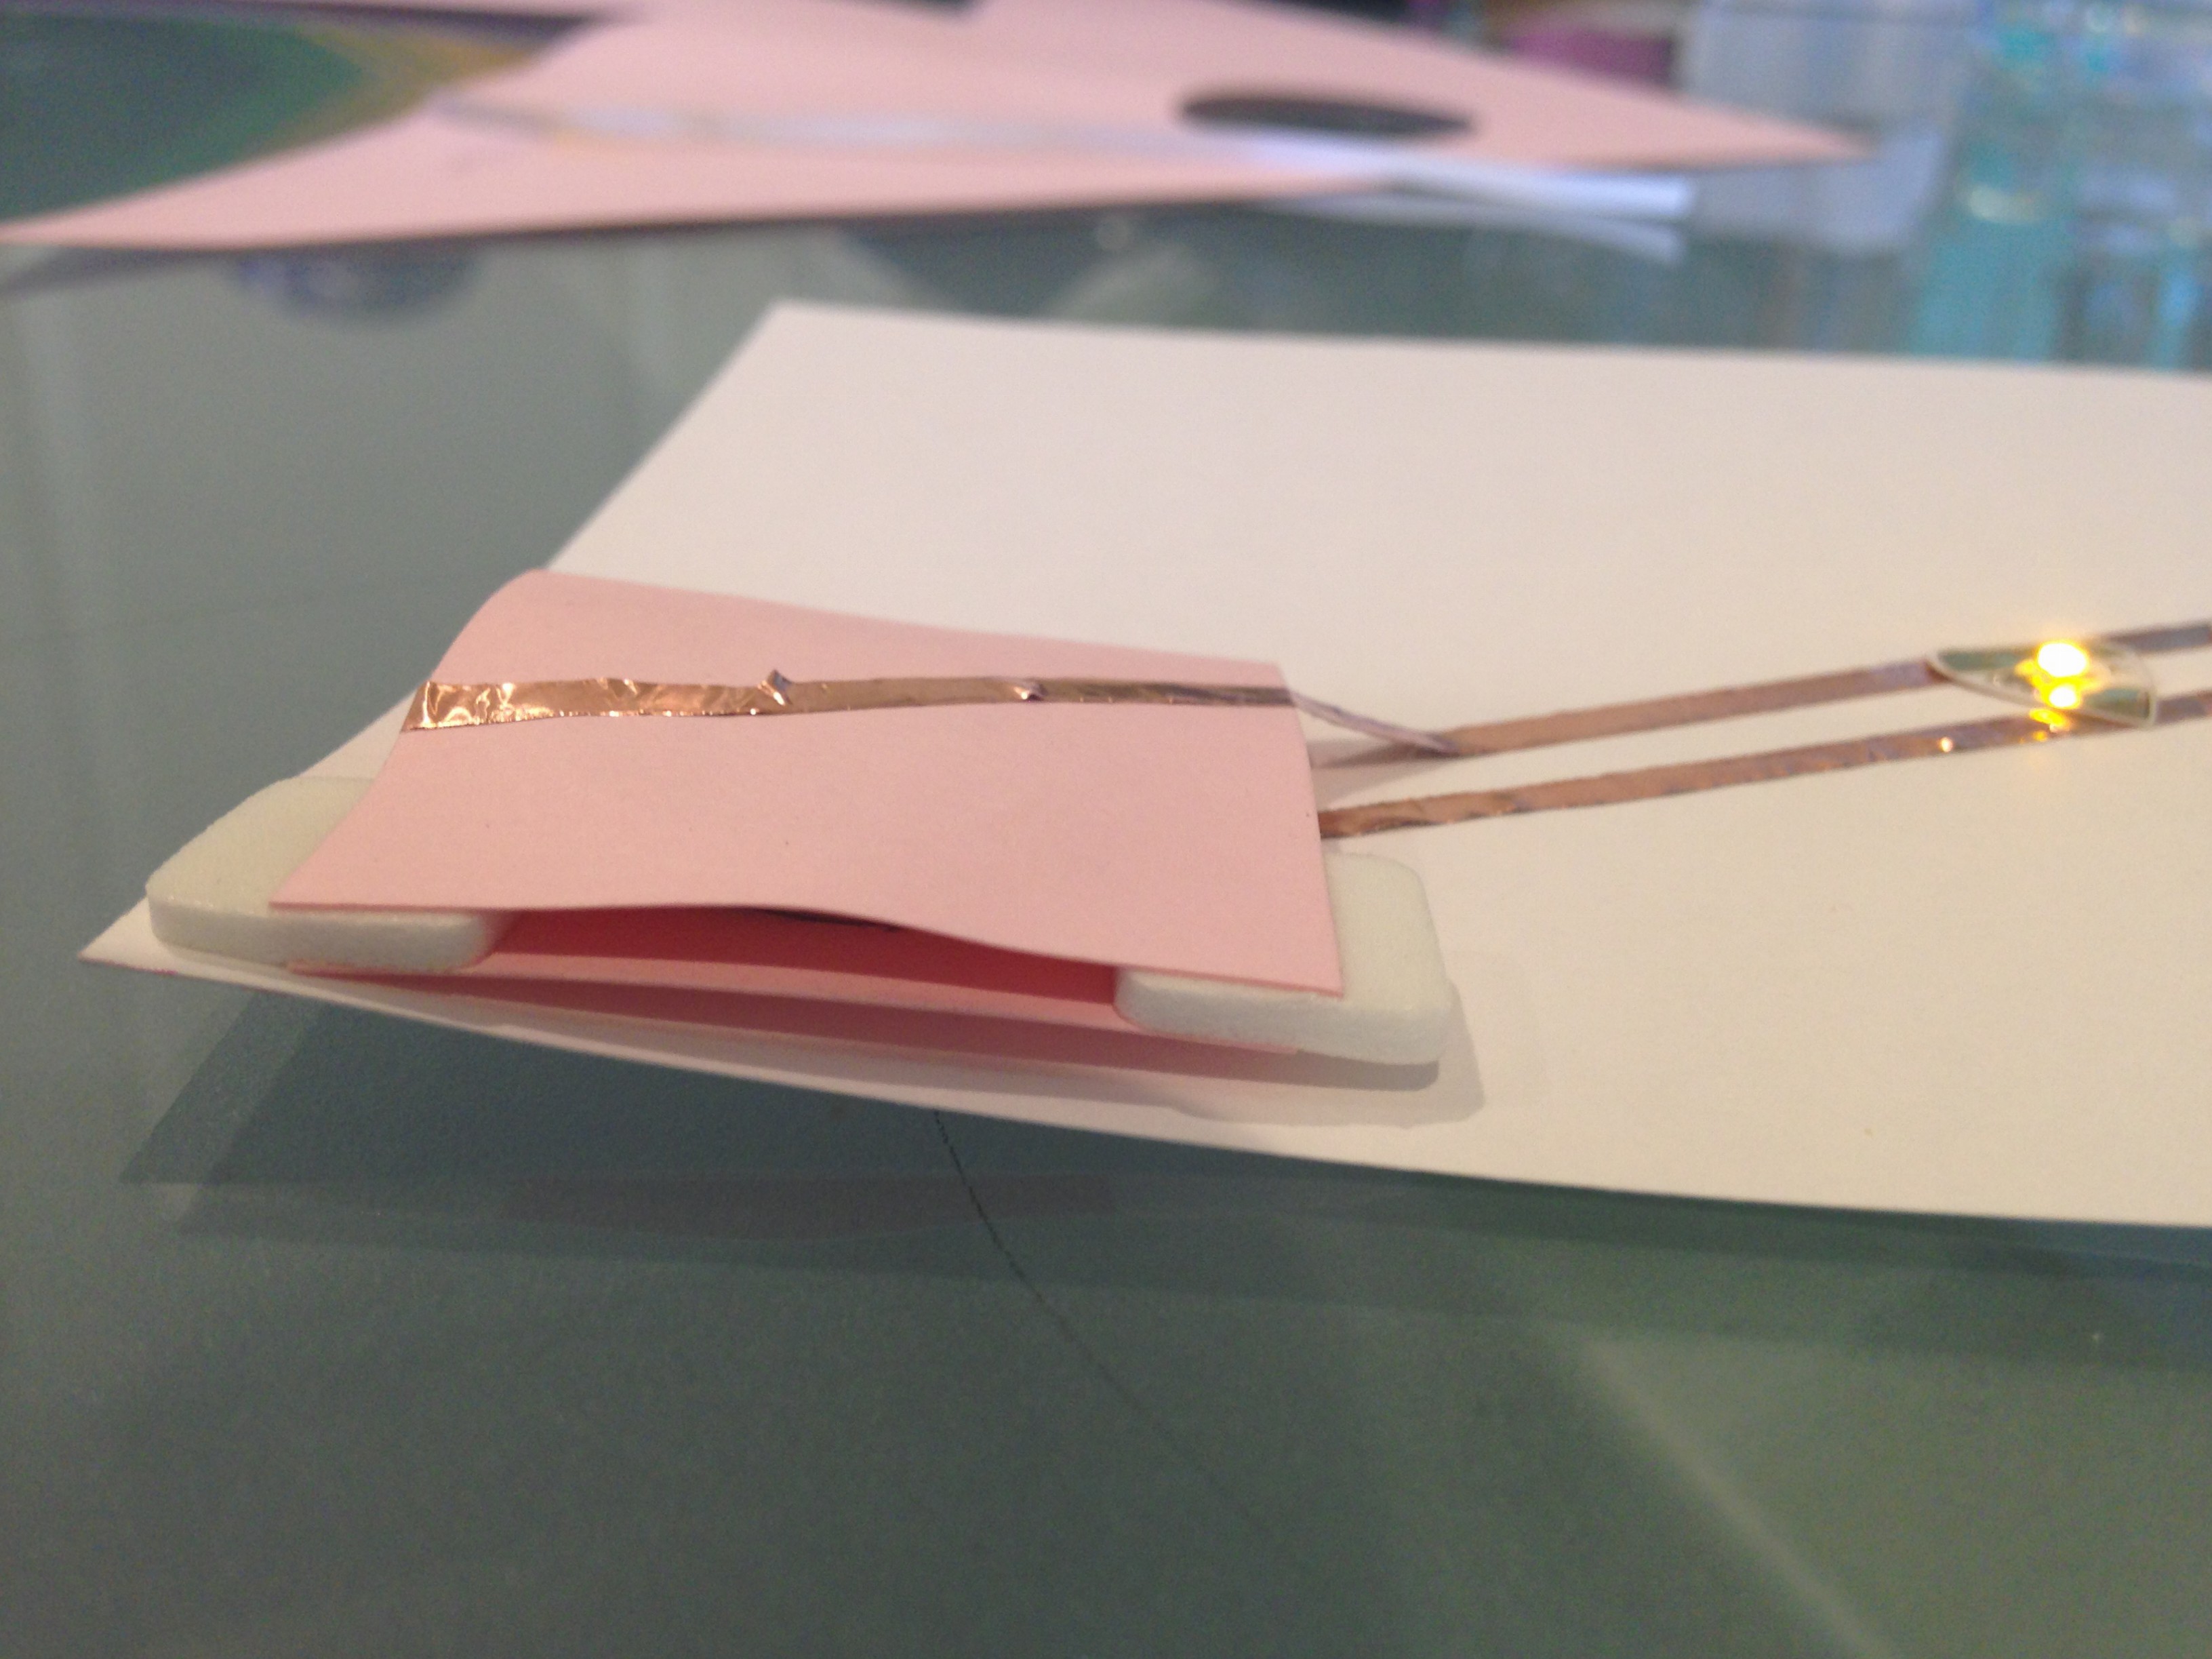
9. Now, your lights are done! Cover for a diffused look, or poke holes on your card for the lights to show through.

One thought on “How to Create a Paper Battery Holder with Foam Adhesives”
Comments are closed.