This tutorial shows you how to make a paper battery holder with magnets for coin cell batteries (CR2032).
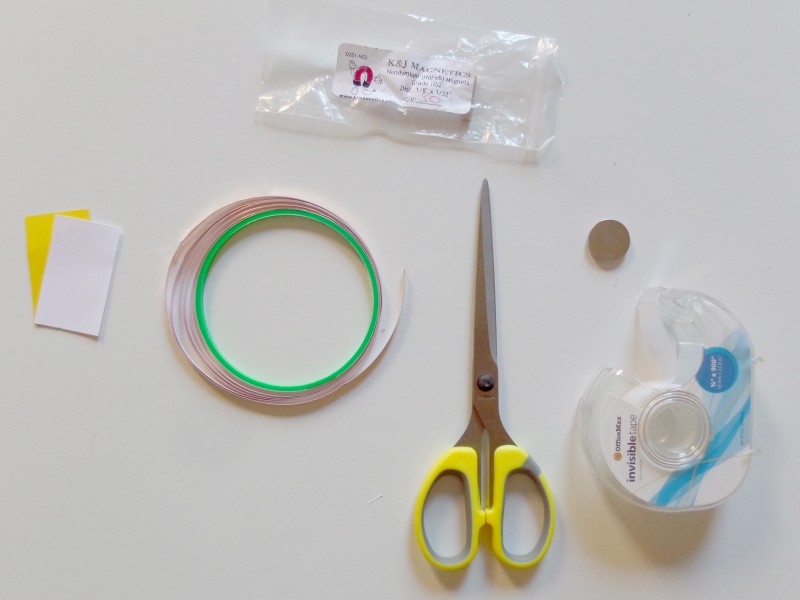
MATERIALS AND TOOLS
- Paper strip, preferably cardstock (about 2 inches long and 1 inch wide)
- Copper tape
- Clear tape
- Scissors
- 3V coin cell battery (CR3032)
- Small disc shaped magnets
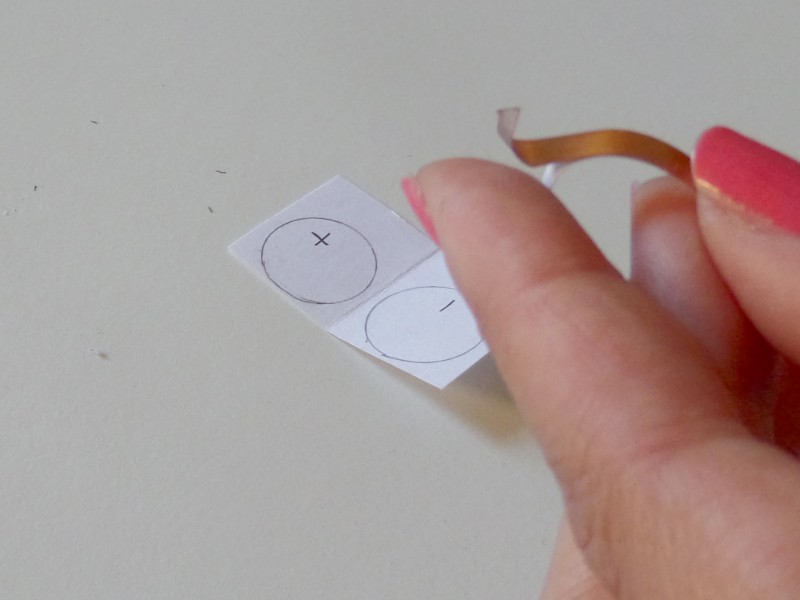
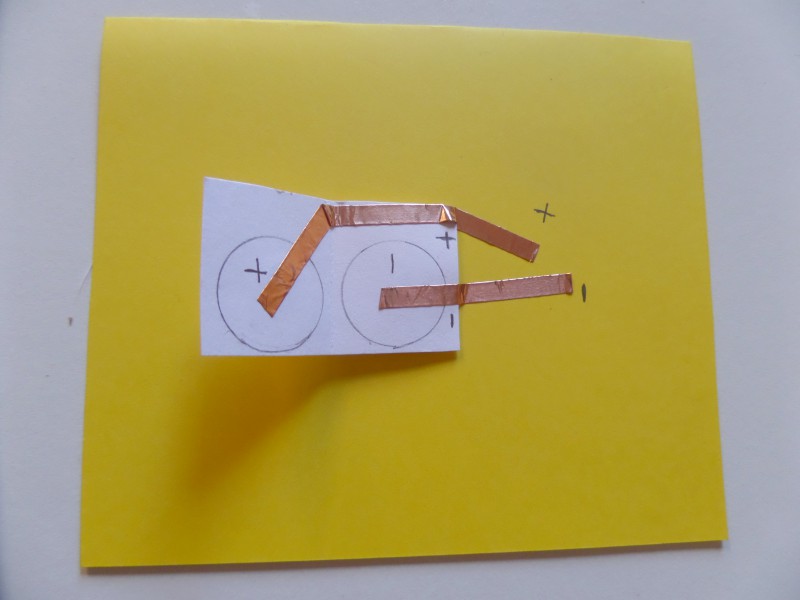
Step 1: Take the paper strip and fold it in half.
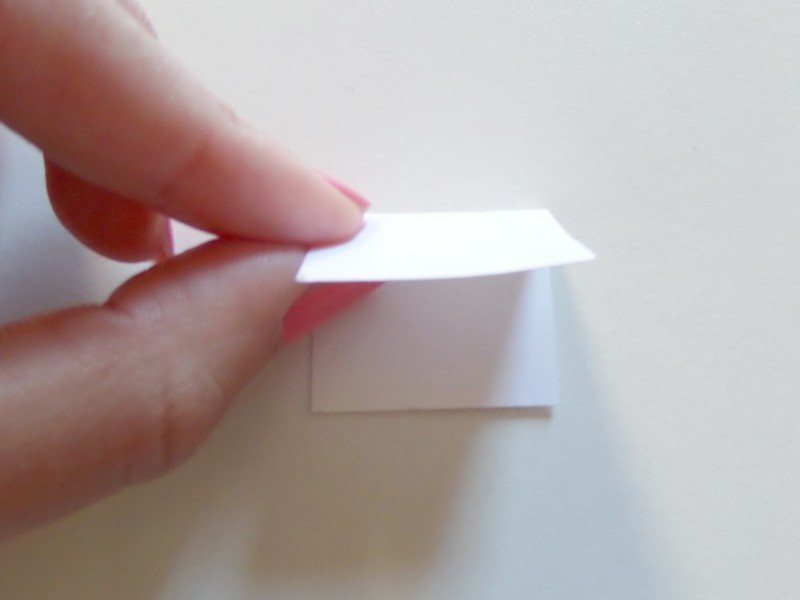
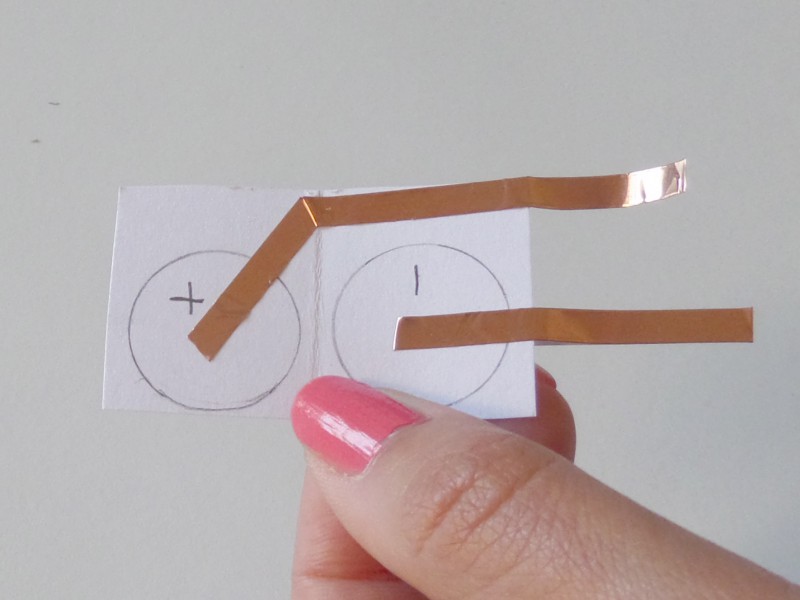
Step 2: Trace the coin battery on either side of the fold, mark the positive side and the negative side.

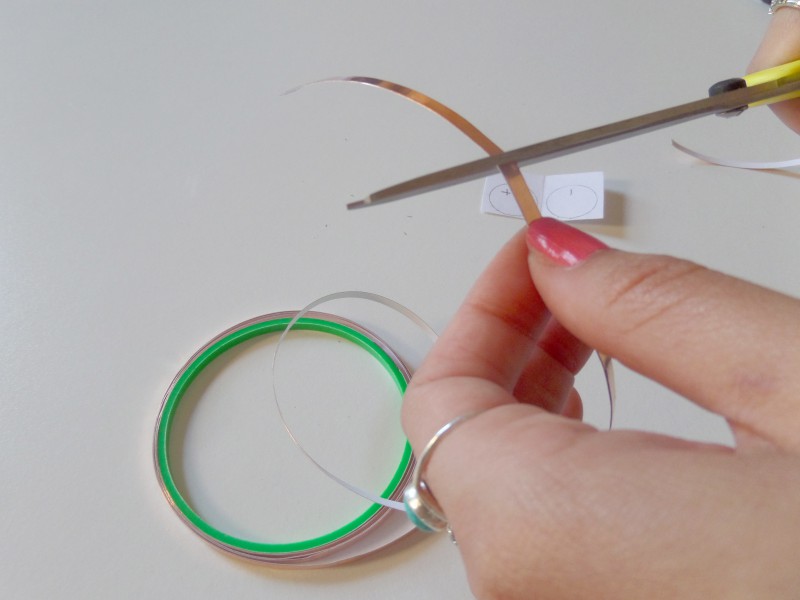
Step 3: Cut two pieces of copper tape, about 3 inches long each.
Step 4: Take one of the copper tape pieces and peel off the paper backing.
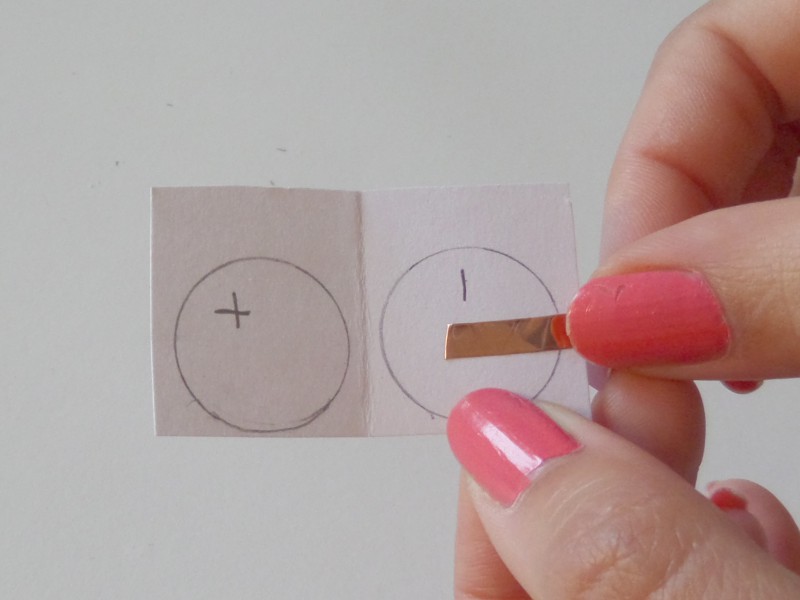
Step 5: Start taping down the strip starting from one of the circles (-) towards the paper end as show in the picture. Leave the excess copper tape hanging off the battery holder. This is the (-) lead of the battery holder.
Step 6: Tape the other copper tape strip from the other circle (+) till the edge as shown.
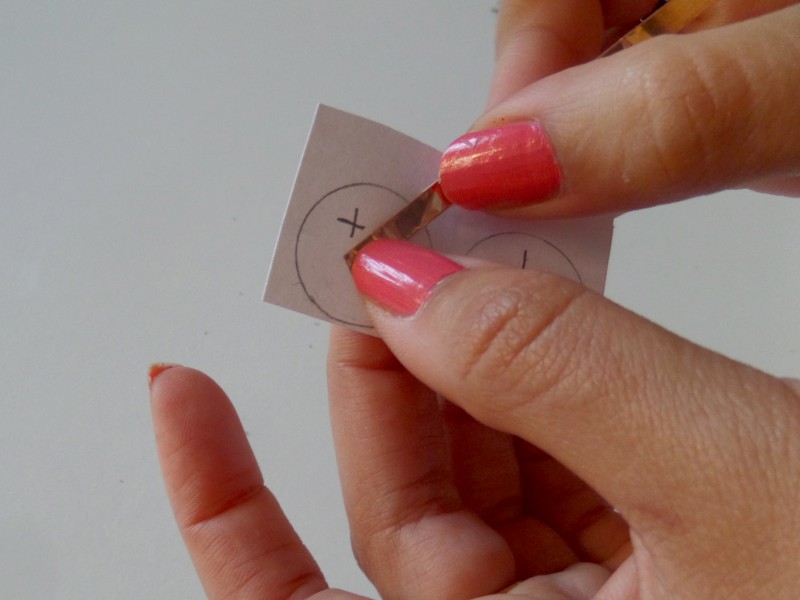

Step 7: Fold the tape back over itself so that the back (sticky) side is up and then fold the tape down in an angle. Continue taping till the end of the paper as shown. Make sure the copper tape stays outside the traced circle marked that is marked (-). This is the (+) lead of the battery holder.
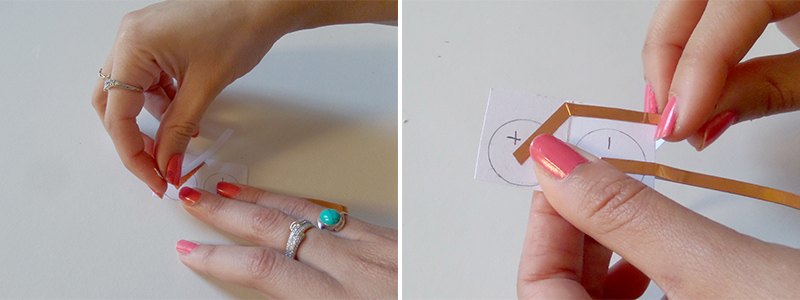
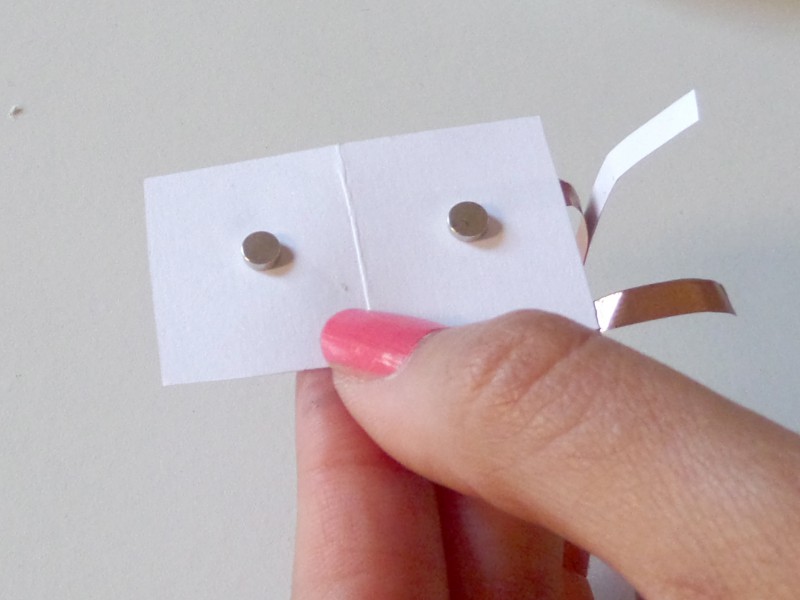
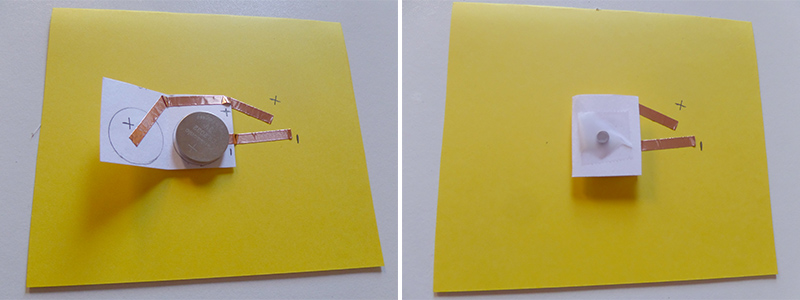
Step 8: On the back, place the two magnets in the middle on either sides of the folds.
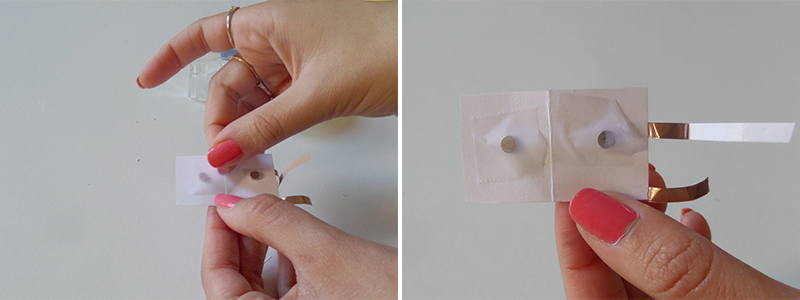
Step 9: Use Clear tape to attach the magnets to the battery holder.
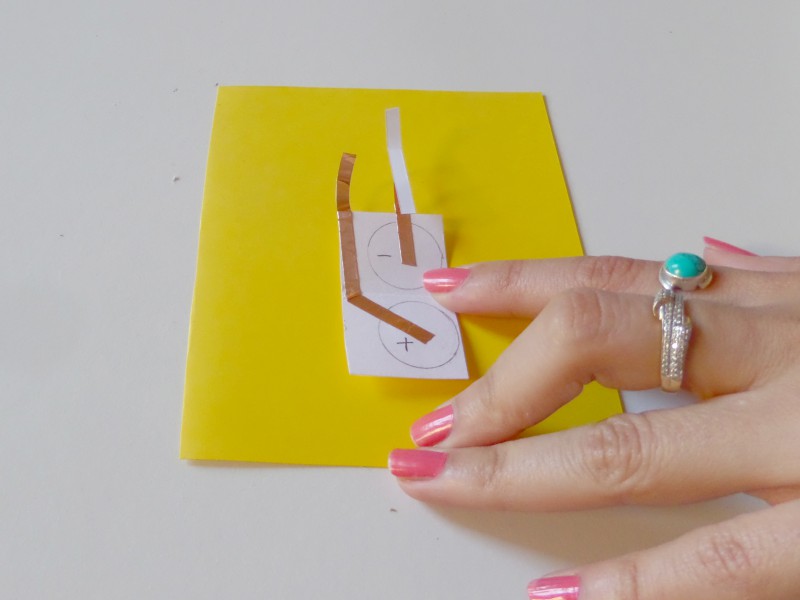
Step 10: Turn to the front side and attach the battery holder to your project.
And you’re done!
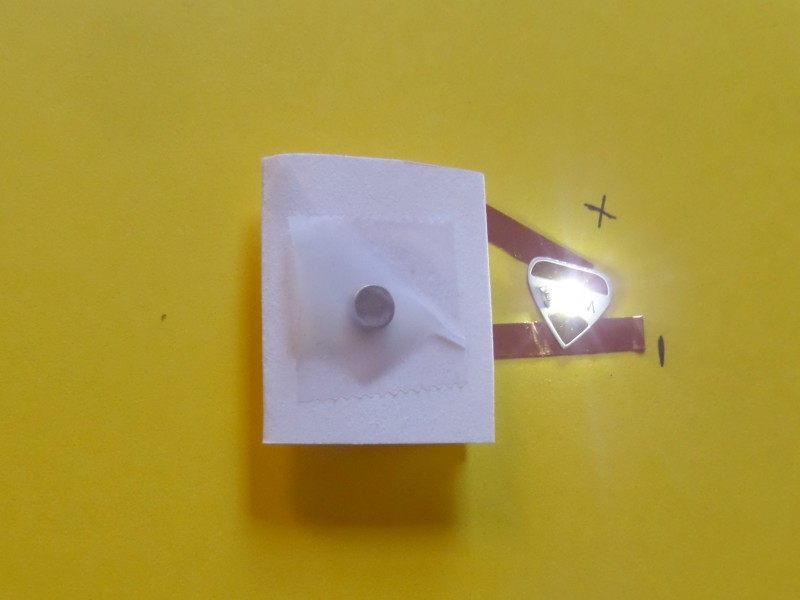
Add a battery
Place the battery on the holder with the (+) side facing up. The battery will snap to the magnet and won’t fall off. The flap acts as an On and Off switch.
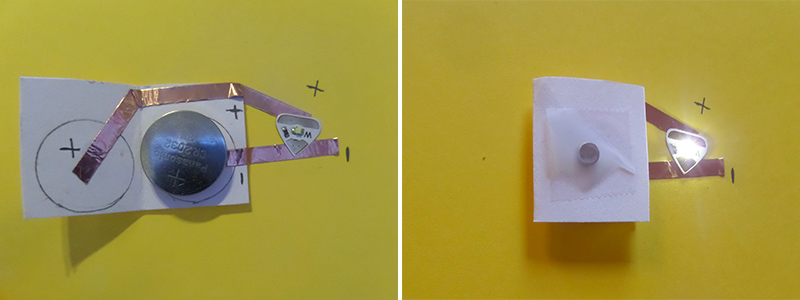
ADDING AN LED Sticker
Stick the LED sticker on top of the tape aligning the positive and negative to the postive and negative lead of the battery holder.
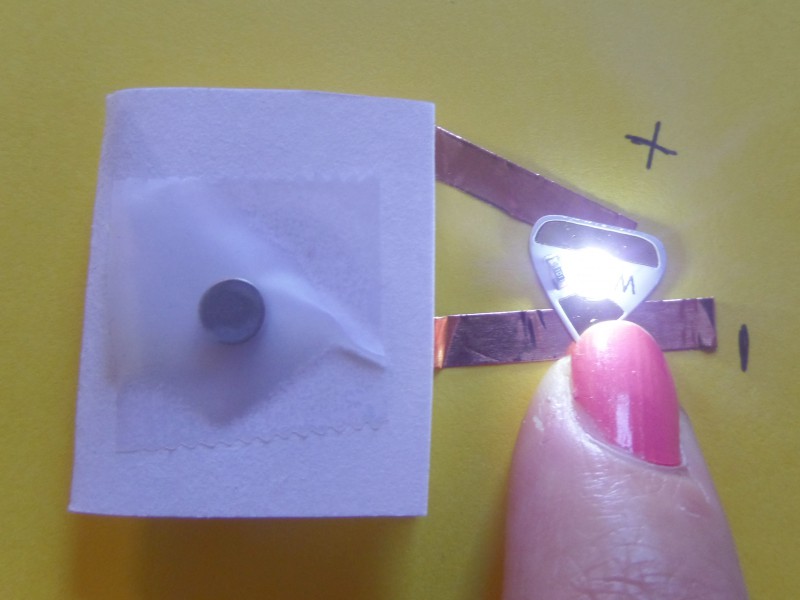
Unfold and fold to turn the battery holder Off and On
3 thoughts on “Paper battery holder with magnets”
Comments are closed.